What's going on in your shop?

Messed up another one tonight. Started chasing around a minuscule issue on a plunge and ended up over grinding pushing it way off center. This is like the fifth knife I’ve messed up in a row Haven’t all been the plunge issue but still irritating. Stuck in a rut.

I did that with one last year. I ended up making the blade narrower until I got it centered again then reworked the bevels. I did lose about 1/4 of the blade width, but it was pretty wide to begin with.
 
Messed up another one tonight. Started chasing around a minuscule issue on a plunge and ended up over grinding pushing it way off center. This is like the fifth knife I’ve messed up in a row Haven’t all been the plunge issue but still irritating. Stuck in a rut.
View attachment 75325
Yes, looks fixable. Lets say by grinding (as shown in photo) to the left towards the center, that the width of the blade at the cutting edge is then too thin, or reduced to near zero. Can the problem of having too thin of a cutting edge be overcome by simply grind down the blade edge and ricasso flat (the red colored faxe) to widen it to the correct width, let's say .020"+/-? This may reduce the height of the blade by a small amount and may require a bit of "mid-course correction" in blade pattern shape.
Hope that makes sense.
Yes. I'd much rather take back an edge that is too thin than to make one sharp that is too thick.
 
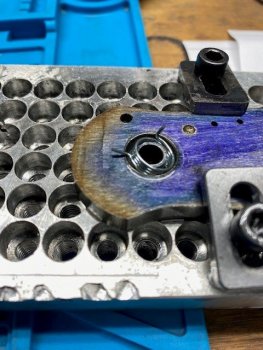
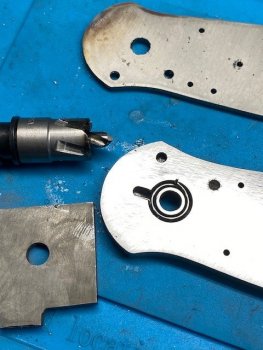
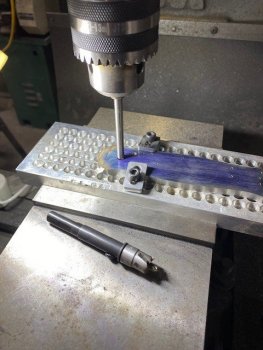
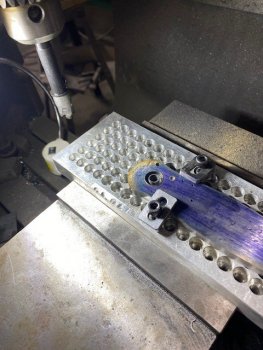
I need to locate the center of this hole to use the annular cutter. These are often called generically as rotabroach's but that is a brand.

I have the work clamped to a fixture plate and then tight in the vise on the mill.
I use a drill rod that is 1/4" that fits the pivot hole exactly. I move the mill table back and forth until the drill rod slides up and down perfectly.
I then lock the gibs to hold it all steady and change the drill rod for the cutter. I would normally use collets for this as they are more accurate but the cutter is made for a drill chuck so I used that.

locate a hole.jpg

The cutter is plunged to depth. Slow RPM and lot's of cutting oil.
rota broach.jpg

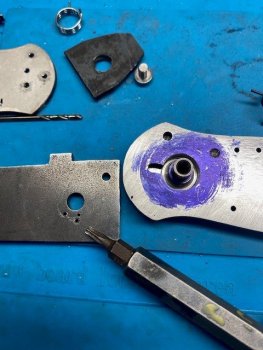
The spring fits but I need to add a slot for the horizontal part of the spring.
spring.jpg

It fits.
milled.jpg

I learned that the coil spring needs the hole to be just right. I had to experiment with different locations on my test blade.
spring holes.jpg

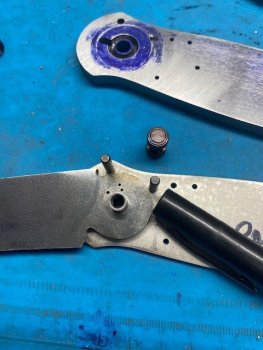
I have the tang to shape. I need to miss the stop pin at the top as the blade pivots. The pin to the right will be where the button hole goes to hold the spring on the bottom of the button. I have a 1/8" in there just to show it. I use this 1/8" hole to locate the hole center as I did with the annular cutter for a .312" end mill to plunge to depth.
tang shaped.jpg


so a few steps later...
 
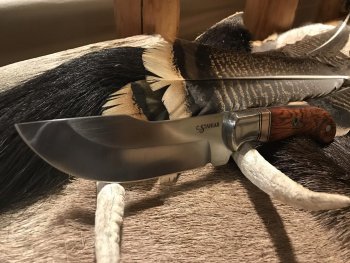
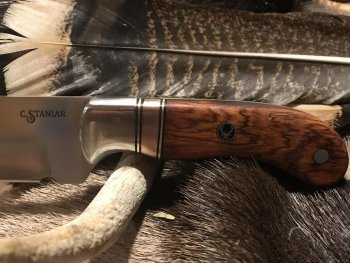
Finished this one up for a client the other day. He said he wanted a hunter/skinner combo with a good size belly. Another client had asked for something similar so I sent him a pic and it was exactly what he was looking for.

154CM Stainless Steel
OAL - .9.75"
Blade Length - 5"
Stainless Bolsters
Black and Brass Accents
Mokume Gane Accents - that's $4 in quarters :)
Cocobolo handles
Custom elk mosaic pin

Image0001.jpg


Image0002.jpg
 
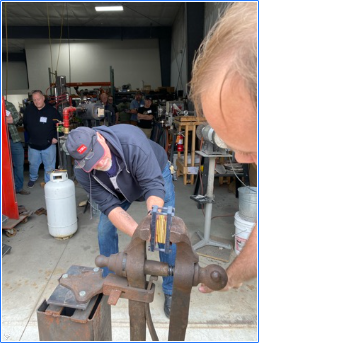
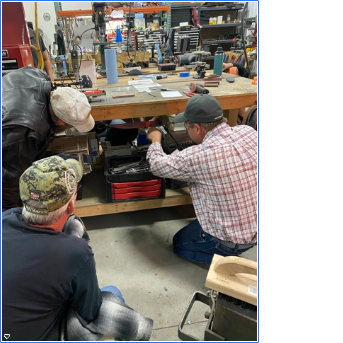
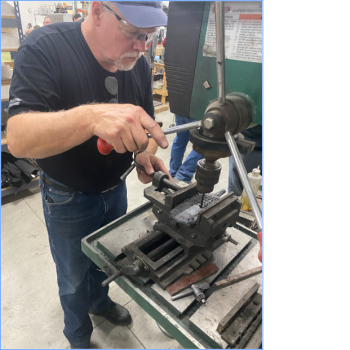
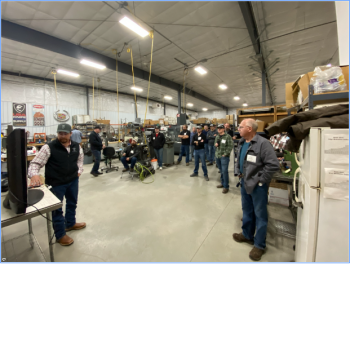
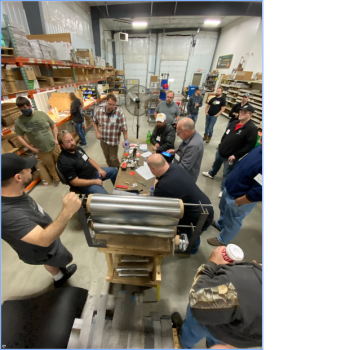
Last Saturday we hosted a Midwest Knifemakers Guild meeting at our shop. If you aren't in a guild, join one. If you don't have a guild close to you start one. These are all about exchanging knowledge and techniques and making friends.
.

Peter Martin demo's making Mokume.
download (1).pngdownload (2).png

Cody Hoffsommer is showing how a blade goes through decalance and recalance (sp?). Basically this is where a piece of steel goes through the magnetic to non-magnetic phases.

download (3).pngdownload (4).png


Peter Martin puts some dimples in his Ti billet for rain drop pattern.
download (18).png

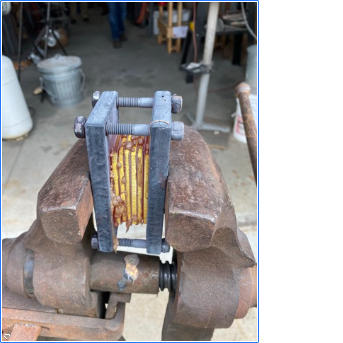
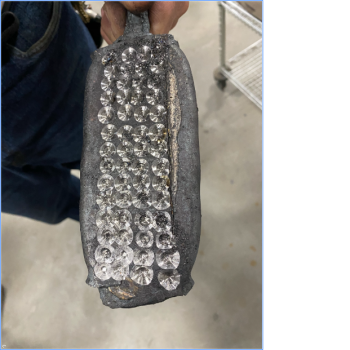
Here is what it looks like all drilled. The can is still on the Ti billet. The idea is to have the Ti push up into the holes when pressed.
download (16).png

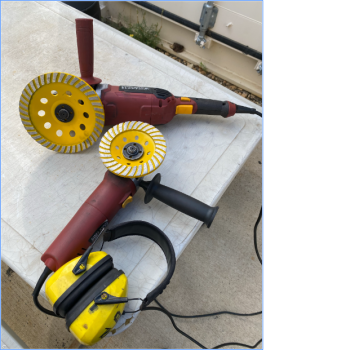
Oxidized Ti is insanely hard. We tried these diamond wheels to try and cut it. They do work but it's very slow.
download (15).png
 
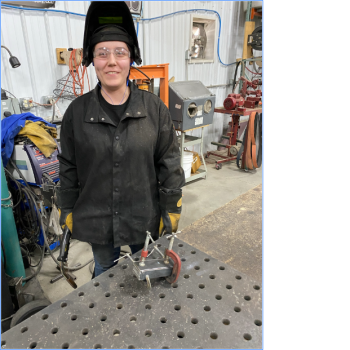
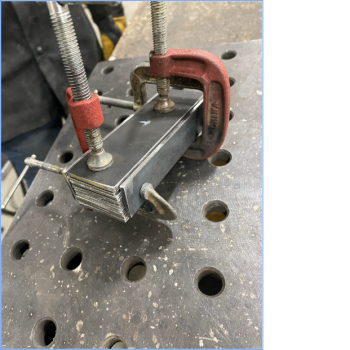
This is Alyssa, she works in our shop as a welder and fabricator. I had her weld up the Ti billet several of us made. The billet is stacked and then completely boxed in with mild steel. Every seam is welded so no oxygen gets in.
download (12).png

A close look at the billet before it is completely welded shut.
download (11).png

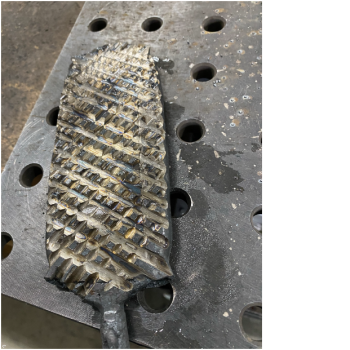
Here is a billet of Ti (can still on) with grooves cut in. It goes back in the heat and pressed much like ladder pattern.
download (5).png


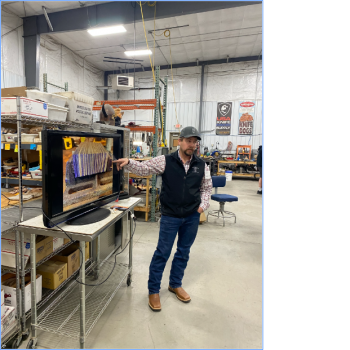
We had two classes going at once. When each session is done, the groups rotate to the other session. On the other side of the building Luke is showing the Proxon pantograph. Here Cody is showing how he lays up a damascus billet.
download (10).pngdownload (9).png

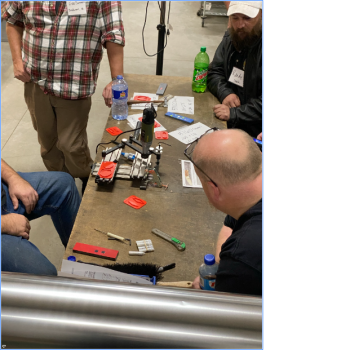
Luke is showing the Proxon pantograph.
download (8).pngdownload (7).png
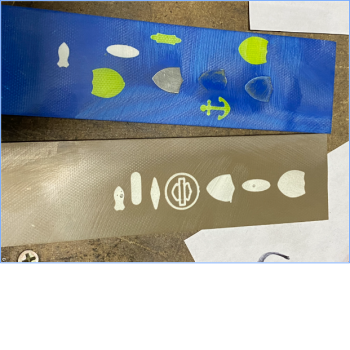
Some examples of inlays done with the Pantograph. The blue one shows inserts. The olive color g10 shows how colored epoxy can be used in place of an inlay.
download (6).png
 
This is Alyssa, she works in our shop as a welder and fabricator. I had her weld up the Ti billet several of us made. The billet is stacked and then completely boxed in with mild steel. Every seam is welded so no oxygen gets in.
View attachment 75409

A close look at the billet before it is completely welded shut.
View attachment 75410

Here is a billet of Ti (can still on) with grooves cut in. It goes back in the heat and pressed much like ladder pattern.
View attachment 75416


We had two classes going at once. When each session is done, the groups rotate to the other session. On the other side of the building Luke is showing the Proxon pantograph. Here Cody is showing how he lays up a damascus billet.
View attachment 75411View attachment 75412

Luke is showing the Proxon pantograph.
View attachment 75413View attachment 75414
Some examples of inlays done with the Pantograph. The blue one shows inserts. The olive color g10 shows how colored epoxy can be used in place of an inlay.
View attachment 75415
Thanks for posting Boss. That Proxon pantograph looks very interesting. I may have to look into that.
 
Looks like a good time Boss, I wish there was something like that going on in my area.
I miss doing knife shows and going to gun shows, it seems to be hard doing anything interesting with this covid business going on. thank god hunting season is right around the corner.
 
When I first joined this forum you were dealing with health issues. Good to see you active making knives again.
Gosh, it seems like it's taken forever, but I just finished bead blasting handles, and applying a single coat of Tru-Oil. Provided my body cooperates, a couple days of building kydex sheaths....and they should be ready to go! Stay Tuned!
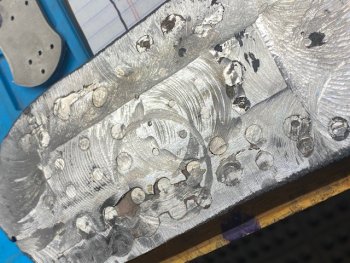
 
I showed some titanium billets earlier. Here the billets. These were in cans that have to be peeled.
Ti doesn't stick to steel but it will create mechanical locks all around the edges and these dimples.

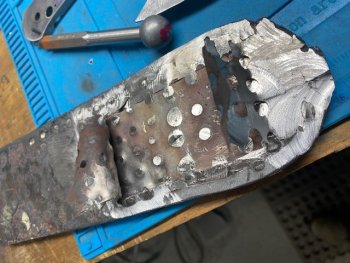
Here I tried face milling but the can started to delam and chewing up the carbide inserts in my face mill.

dots.jpg

so now I have to peel it.
dots2.jpg

This is a recipe for stitches at the ER.
I used an angle grinder to grind away the edges of the can until I could see Ti.
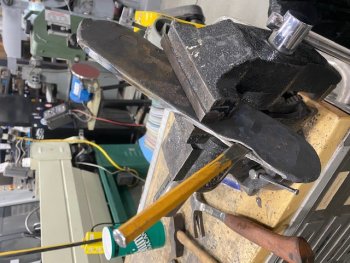
Then chisel.
peeling.jpg

Next time I use a thinner can.
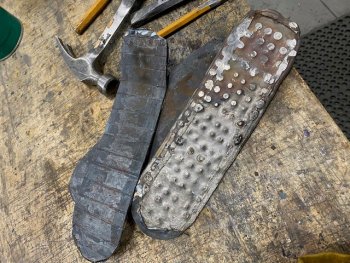
can and peeled.jpg

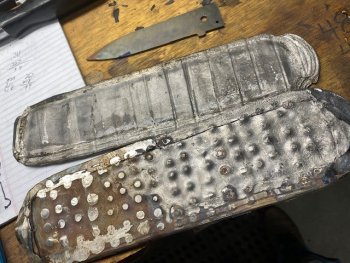
Both of these billets peeled back. The one with dimples still has some can around the edges.
The top billet has a visible delam on one layer in the back but the rest of it seems solid.
It will be interesting to see these clean up.
Getting these two peeled took all day. I'm slow but it still took all day.
It will take another day to mill them kinda flat.
It's much easier to buy your damascus Ti but then it's easier to buy a knife isn't it?

peeled.jpg
 
When I first joined this forum you were dealing with health issues. Good to see you active making knives again.
Thanks! I'm still dealing with them (the health issues). Lupus, which attacked my lungs, resulting in interstitial lung disease, and a dose of firbro on top of it. God has just granted me a few more "good" days then bad ones lately.... so I try to use them wisely and get a little work done when/while I can. Sometimes it's really difficult to not fall down the hole of despair, but its folks like you, and the rest of the wonderful people here on the forums, and in the knife community, that help keep me on level ground! Most won't ever realize how they said (typed) a kind, encouraging word to me.... when I was hanging on the edge.... and needed it the most. :)
 
Last edited:
Back
Top