This is a Proxon Pantograph. They run around $230 on Amazon. The rotary tool is another $110 so for $340 you get a mini pantograph.
We have been testing one here and the results are encouraging.
These do have to be modified a bit. We are using 4 to 1 reduction from pattern to work piece. The stylus has to be modified (replaced) to be 4 times larger than the cutter so everything fits. Not a huge problem but you need a lathe. The black pieces are a shield pattern that has a positive and negative. We print these on our 3D printer and will be making these for sale in the near future.
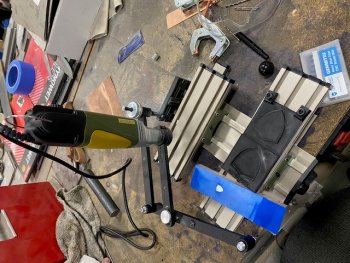
In a nut shell, you use the negative pattern to make a hollow spot in your knife handle and the positive pattern to cut out your insert.
The depth and insert each don't need to be more than .040" and you can probably get by with less.
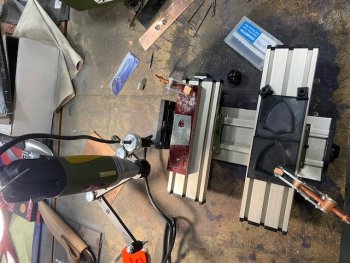
This is too dainty of a tool to cut metal like stainless or titanium. This is for micarta, bone, MOP, etc.
HOWEVER, I managed to cut a shield out of .041" nickel silver and that makes it good enough. We just glue the donor metal to a scrap of micarta and slowly mill our way around the positive pattern. The cutter is only 1/32". Push it too hard and you will break it. The whole tool is wobbly and light weight. A practiced delicate touch makes a difference and you will get the hang of it in one or two tries.
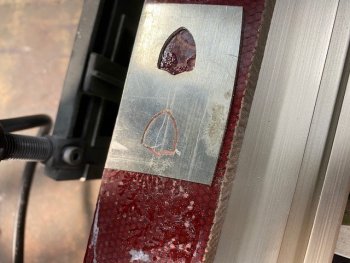
A utility blade is used to pop off the shield.
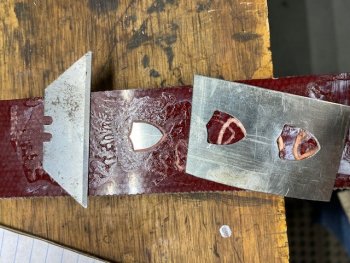
This was my first attempt and I left a little burr on the edge. A few strokes on some sand paper cleans it up.
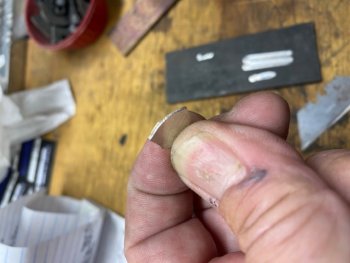
The far left insert is white g10. The insert on the right is the one I just cut out. The gap around the insert in this case was fairly big and a deal breaker as far as I was concerned but a little super glue over the gap and some sanding filled that in nicely and it looks as tight as I see most inlay's. With some practice I think these could be dead on.
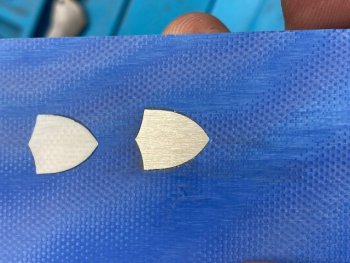
We have some more testing to do but at this point I am pretty encouraged. It will take user technique and practice. This tool is small, light weight and not meant for serious production work but it will do the job for the occasional inlay. Look on Chris Crawford's facebook page for a recent post about these. When he posted this article, we had ours on order and it arrived a few days later so it timed out perfectly for us and we pretty much copied what someone else had already done. If you are near us, Luke will do a demo at the Midwest Knifemakers Guild here for our October 17 meeting.


