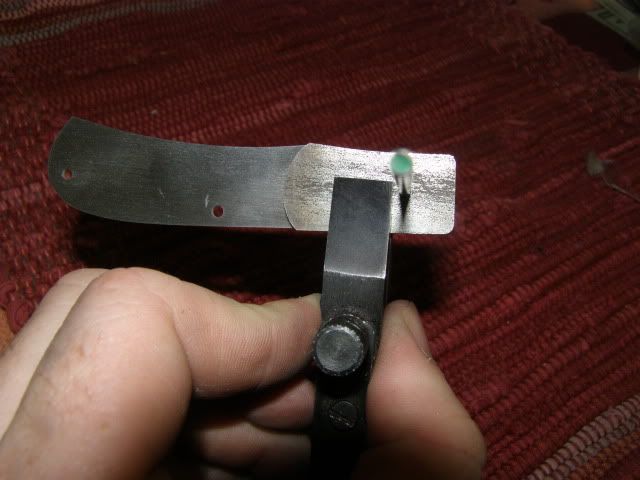
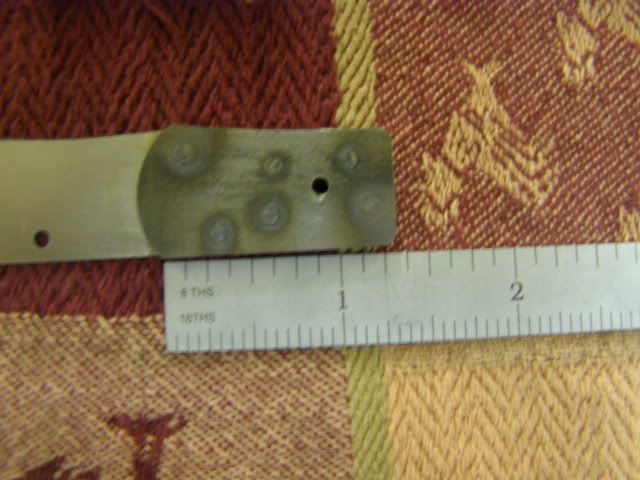
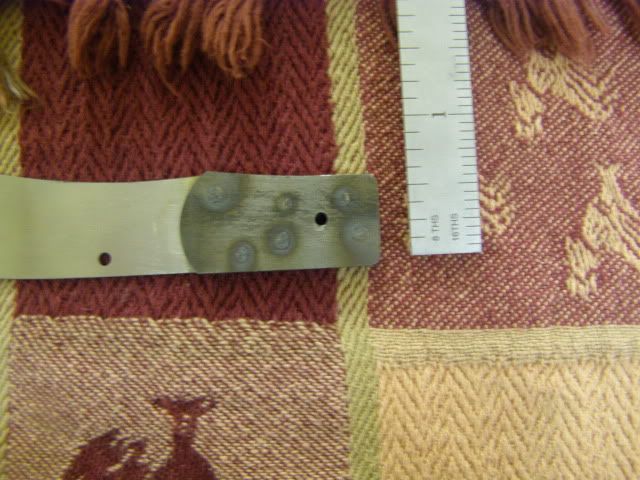
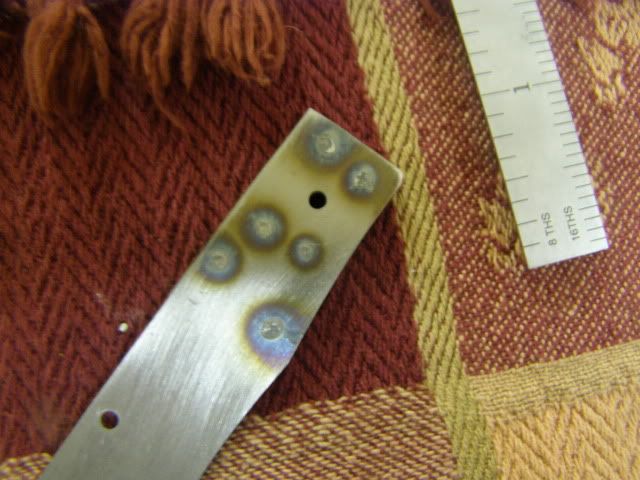
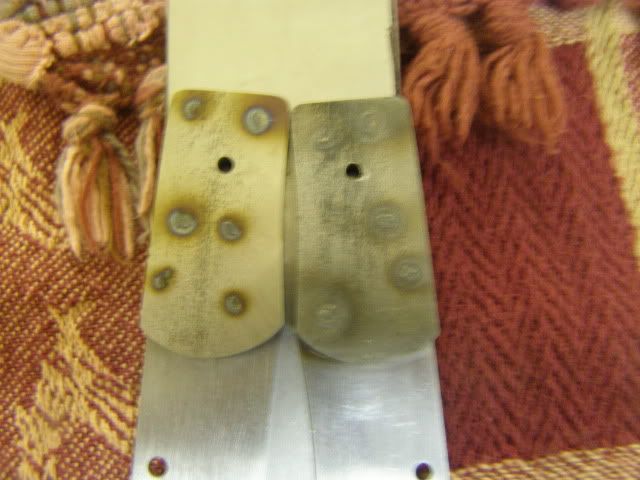
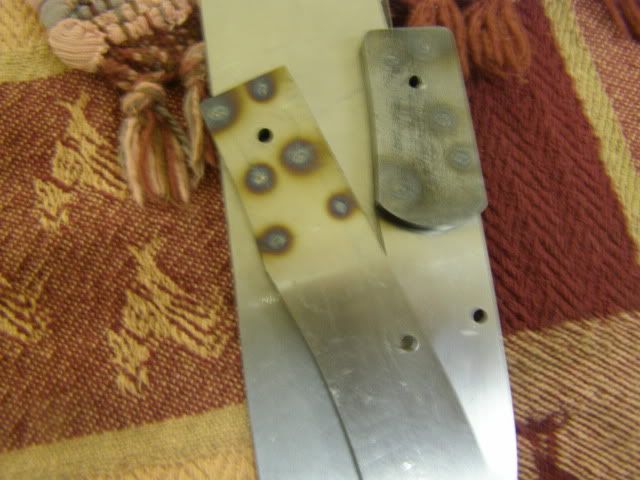
Just a suggestion but if you bring those liners up to a dull red with a torch those dots and hard spots will disappear. It also makes the liner shine a bit more when polished.
That's what I had thought I remembered reading. Thanks! I did as Rusty suggested and then flat sanded again and didnt see the spots, seems to have done the trick. No pics, after this July I'm trying to be a bit more carefull with flames and such......
Josh Dabney glad you are enjoying this. These little things are frustrating, but I think that's why I keep trying to make em
I quoted Mr. Hurst a couple of completion times and have had to renig on them, because a few steps slowed me down and life/work have kept me out of the shop more than anticipated. He's told me not worry engravers are always waiting on knifemakers lol.
Dave and Sean I'd offer you a cold beer, but i'm not sure I have any. That's being a bad host
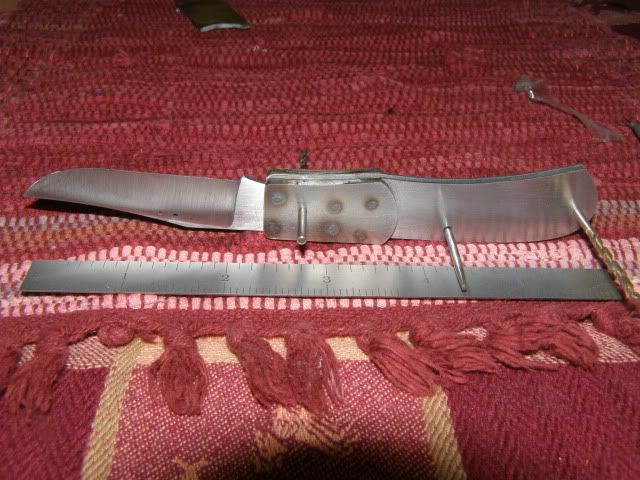
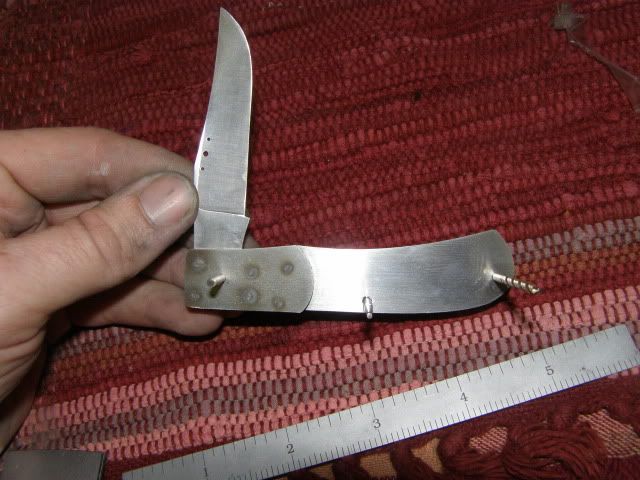
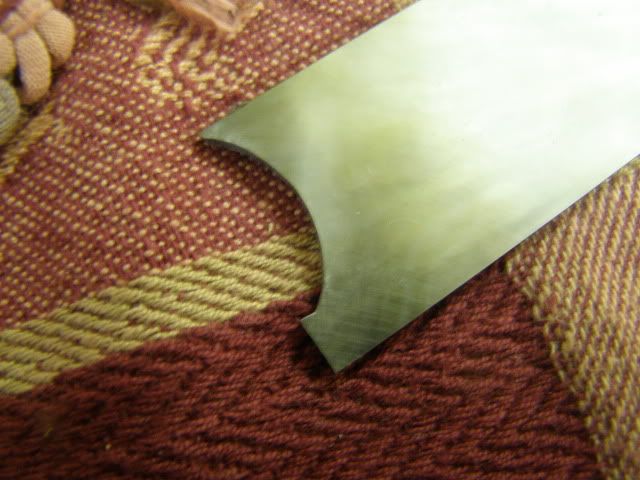
There's not a lot of pictures in this next set of the work I did tonight. what I'm doing now is getting the pearl to fit the curve of the bolster. It's slow and tedious, but it seems to be getting the results I wanted.
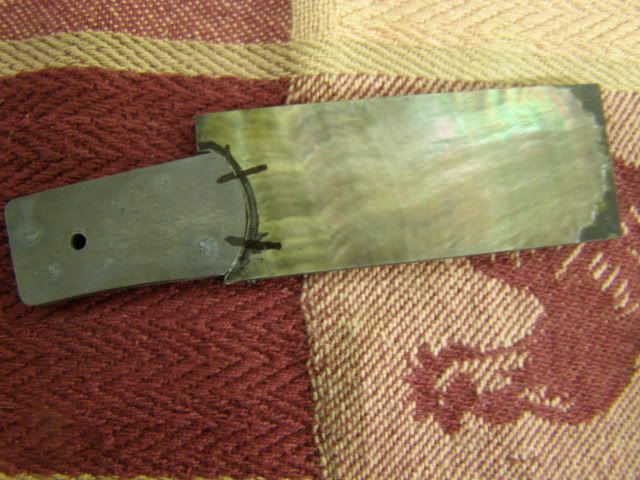
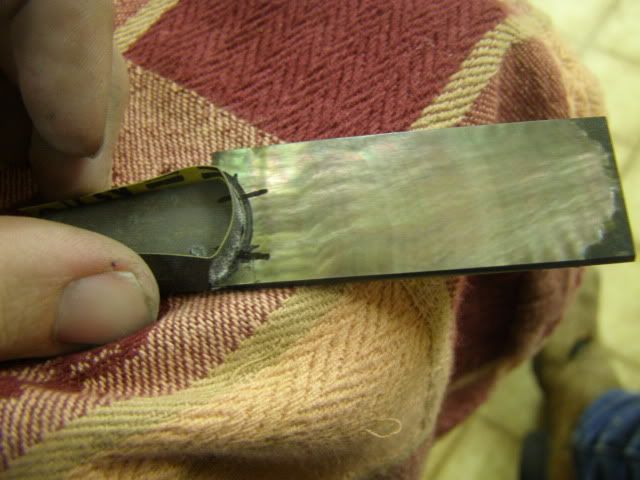
First off using the rough cut I fit the pearl to the handled and drew a couple of tick marks just to help me stay lined up. I marked from the bolster to the pearl.
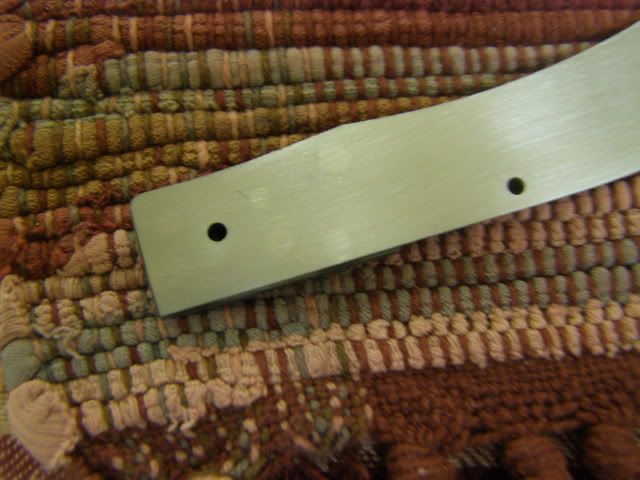
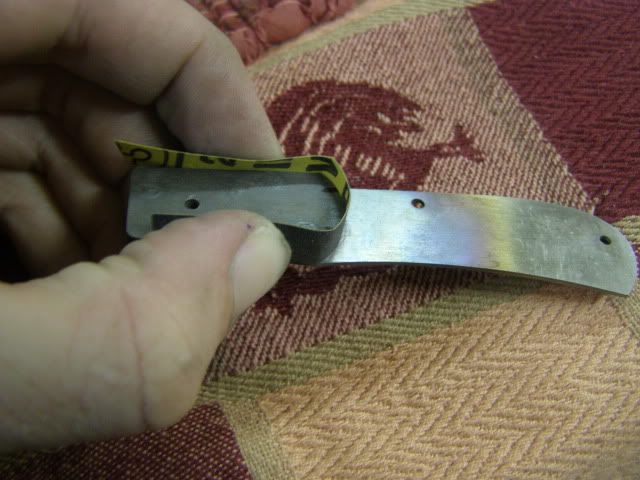
Up until this point all the rough cutting has been done by jewelers saw and needle files.
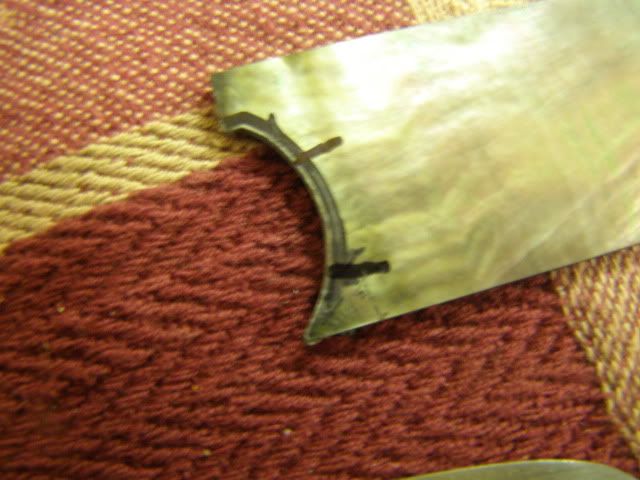
I kept placing it against the bolster and looking for the high spots. From there I would knock them down with the files. Here it is rough cut with files from the back side of the pearl.
Now to how I'm final fitting it. You notice I haven't cut anything else on the pearl. Gives me some wiggle room leaving the excess for now.
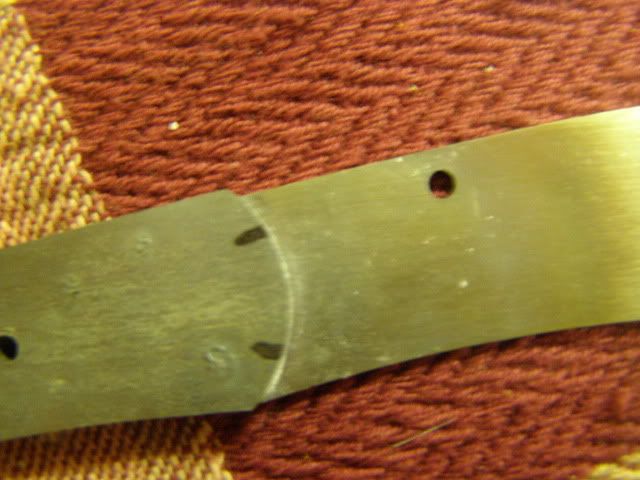
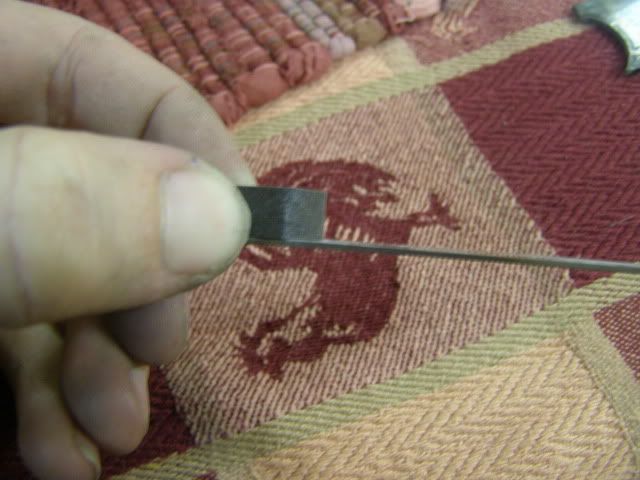
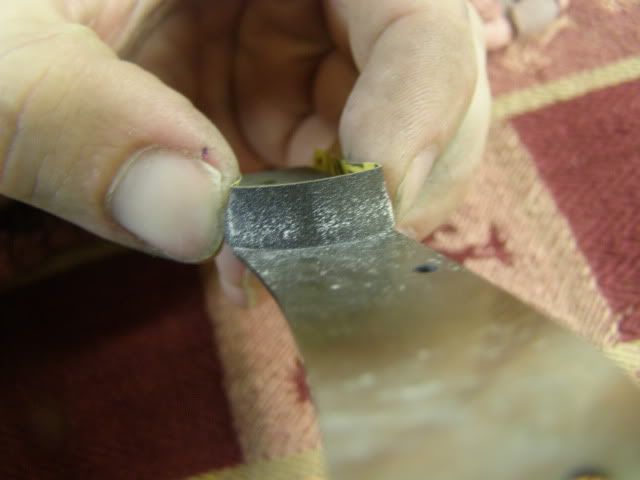
I started with 220 grit sandpaper and cut some very small strips and wrapped it around the bolster like so
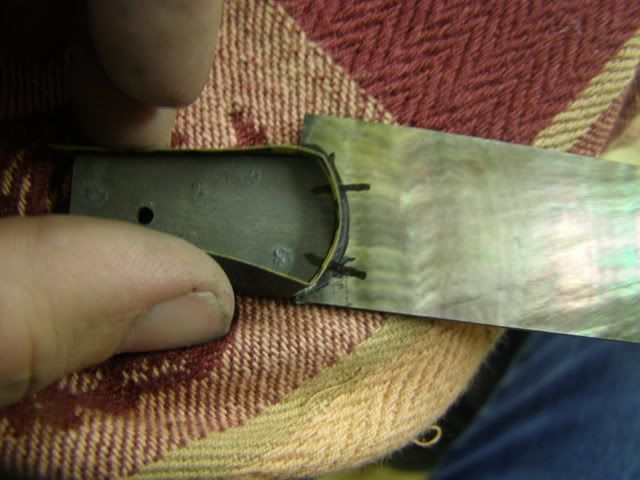
My next step was to place the pearl on the liner, lining up the tick marks
From here I used one hand to hold the sandpaper on the bolster and the other hand to pick up the pearl and rub it against the sandpaper making sure the tick marks where lined up. I just kept doing this and switching out sandpaper when it was dirty. Like I said slow and tedious.
Here's a picture of the sandpaper, notice there's a spot in the middle that there is not much pearl dust. There's a slight dip in the pearl right there that I'm working on with 220 grit. I'm confident once I get the dip sanded out the other grits will go faster. I plan to take this up to 1000 grit. I'm just going to see what the fit is like as I go.
As I go up in grit I will pay attention more to the dust build up underneath the pearl and how everything is lining up EXACT. For now I'm considering the 220 grit a rough fit and trying to work the dip out. I also haven't run the pearl on my flat granite plate yet. It is pretty close to flat from Culpepper, so I was just waiting until I had gone up in a few grits on the curved part.