Couple of slip joint WIP

Me too Sean! :D I'm far enough along to need bushings...which of course I forgot to order since they'll have to come from another source. :rolleyes: Wouldn't it be nice to be able to buy everything we need at competitive prices from one place? :D Anyway, I'll have bushings soon.

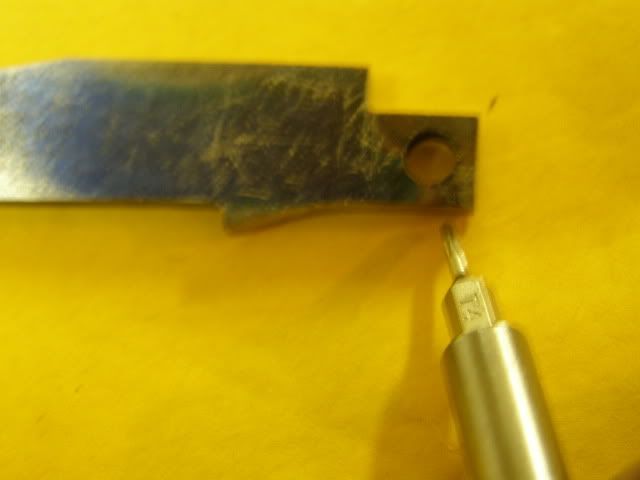
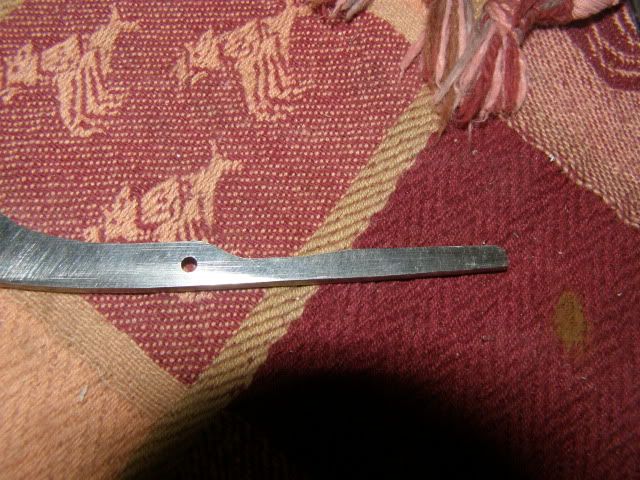
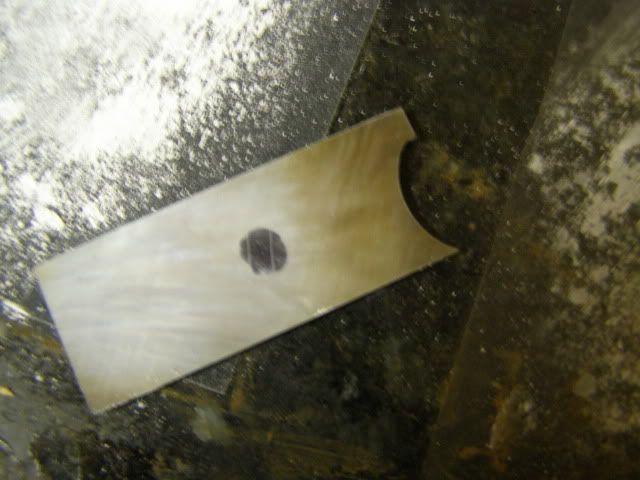
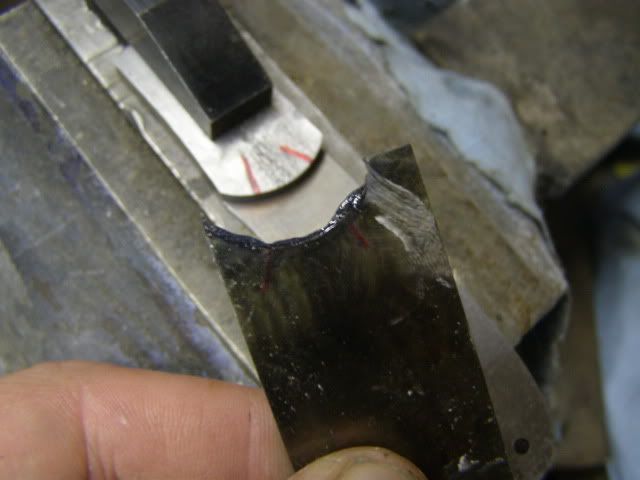
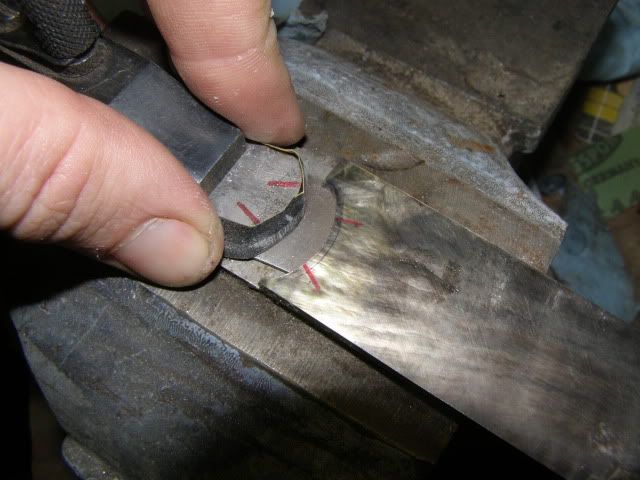
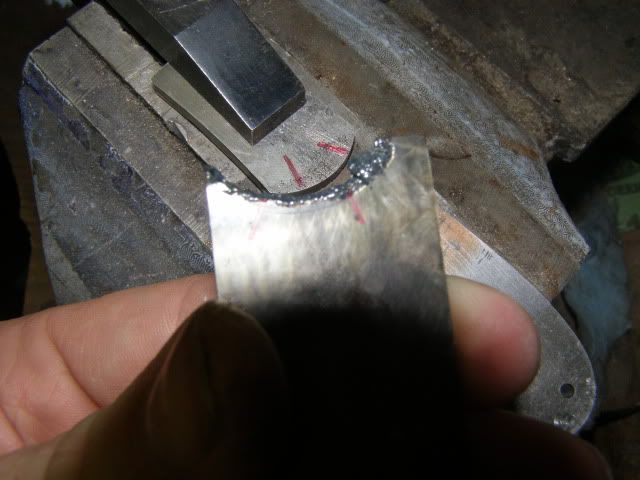
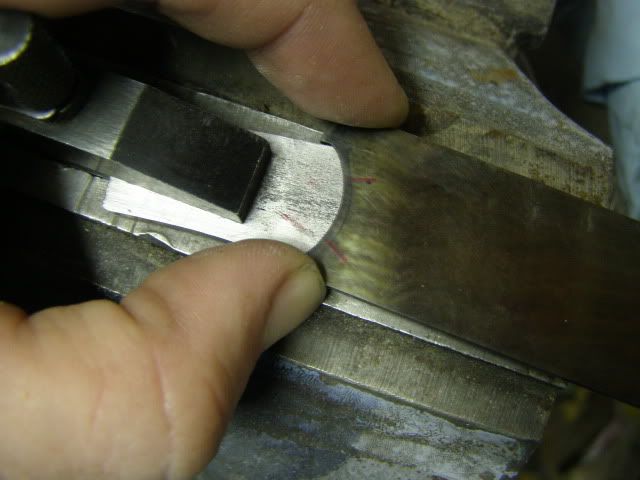
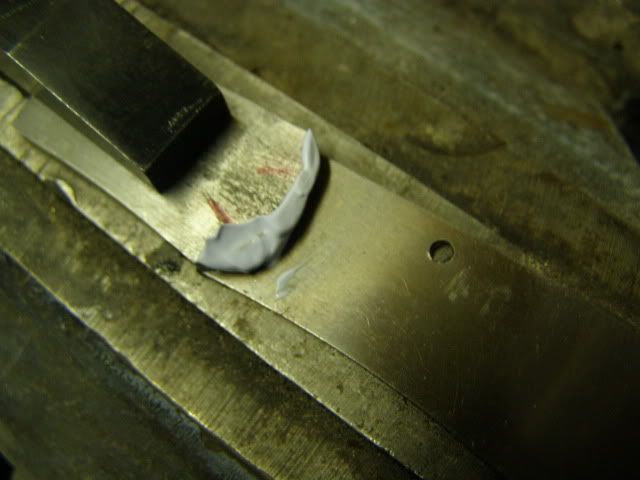
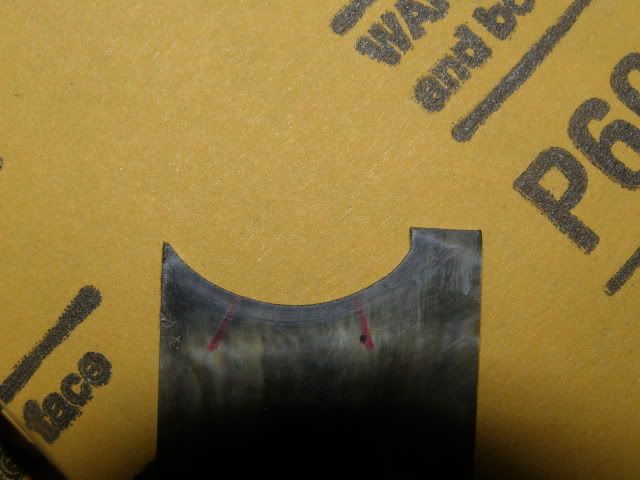
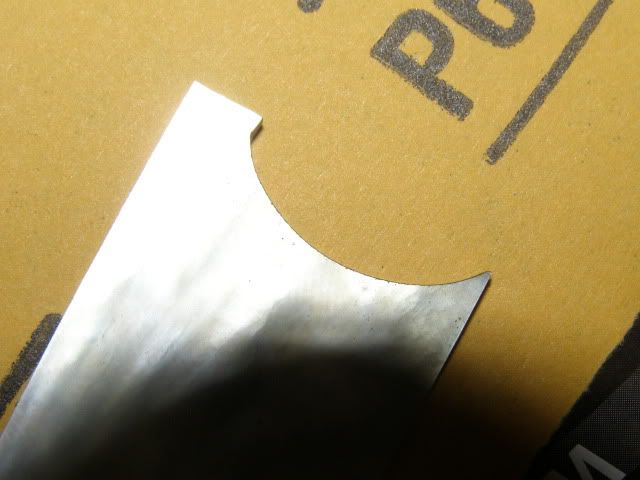
I did start on my rise/fall indicator. Have you ever tried drawing a circle with an Etch-a-Sketch? That's what it's like for me trying to mill a circle for the dial indicator to set in. :D I never could draw worth a dang.

What and no pictures of the rise and fall indicator ban1:D

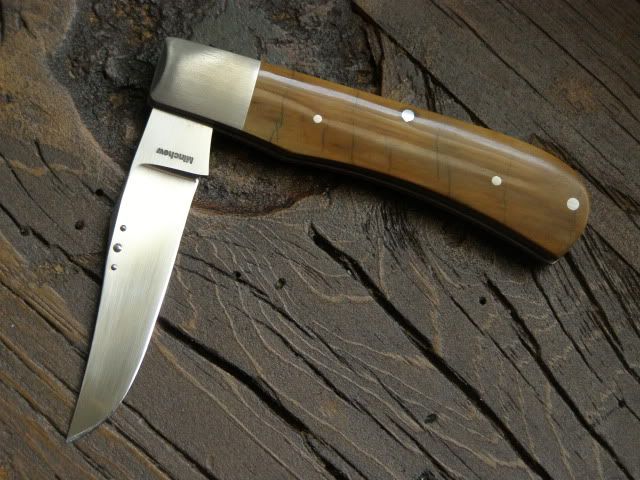
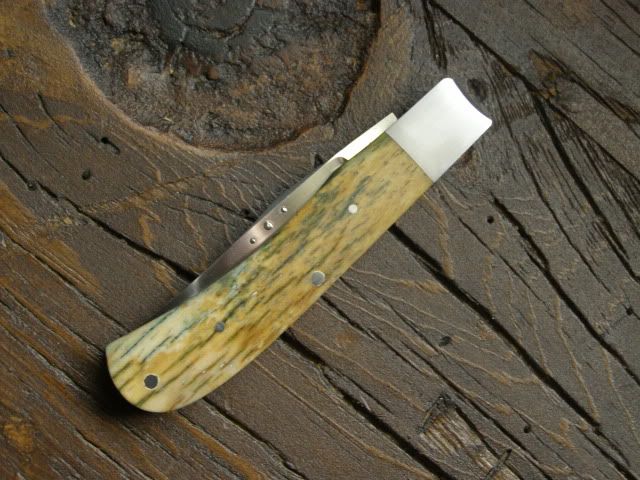
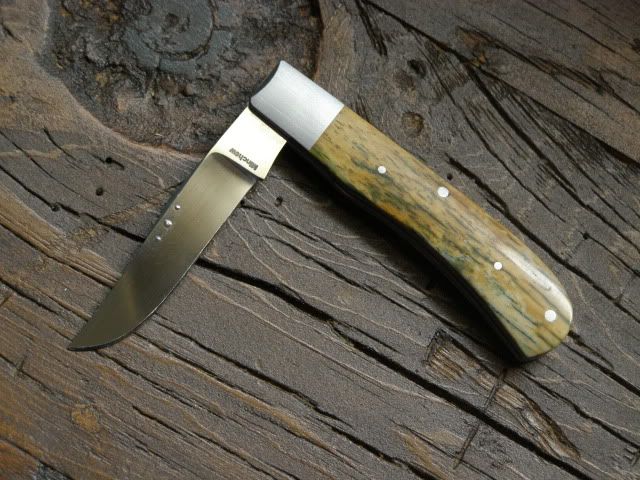
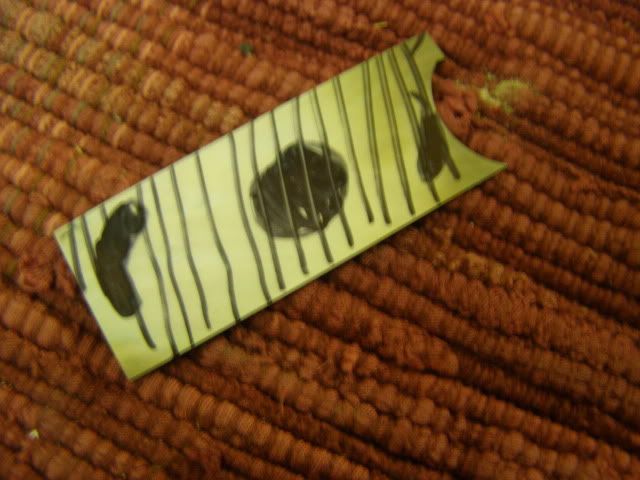
Well I got some more fuses yesterday afternoon. I've etched the relief on both of the black lip knives and started on the others that I've been working on. I may have a couple of these done for the show to recoup the cost of that blacklip i may or may not have broke......:eek:
 
:D Well, lemme finish it first, then I'll look for a photo angle that hides the worst of my childish milling job. That's if it even works, which is still iffy at this point. But it's fun, I'll give you that.

Good luck at the show Ryan. Wish I were going to be there.
 
Looking good! What did you use to spot-weld?


I used the 220 volt spot welder from Harbor Freight. I waited until they were on sale. It had to sharp poin copper leads, but I reshaped them to more of a dome so that the dimples wouldn't be as big and deep when I did spot weld.

I'll be working on these two tonight some when I get home.
 
Ok I got kinda wrapped up in the knife and didn't have much time tonight anyway so I didn't take as many pictures as I should have.
First off I put the knife together (no pearl attatched yet still getting all that fit) to check my back spring in all three positions. I haven't messed with it yet because it was so close.
I was only high when closed so I took some off the bottom of the blade. This is an older picture but illustrates where I took material off. I did it VERY slowly
knives573.jpg

I also worked on making dang sure my liners where flat. On the knives I finished I just flat sanded them. After getting them together I realized after talking to Todd that I also need to adjust some by bending so I have to do some bending on one liner. Sorry no pictures

Next up I wanted these to have a little lighter pull than the finished knives so I started removing material on the spring. I would do a small amount with the dremel then try it. I was amazed at how little it took to lessen the pull. I was carefull not to make any sharp corners and didn't want to get into the area where the kick rested when closed. That would have caused the blade to dip more. You can see the area from the pivot pin towards the end that I have a dip in where I removed material.
knives851.jpg


Other than that I've been polishing blade flats and fitting that dang pearl.

I also finished a couple and here they are
knives203.jpg

knives215.jpg

knives219.jpg
 
I am still working on the pearl shaping, but this is the process I'm using.
I used 220 grit to get it to where there where no dips and jags from files or the jewelers saw.
knives852.jpg

knives853.jpg

Up until this point I had not flat sanded the pearl. My main concern until this point was getting the piece roughed in. Here I marked the back with lines to show where I had high and low spots after flat sanding. The dark spots colored in were low spots I could feel with my finger.
knives855.jpg

Here I have sanded to 800 grit. Notice there is still a spot in the middle that is black. That spot measures .002" thinner than everywhere else. It is hidden by the liner and the glue I will be using works better with a few thousandths gap underneath.
knives856.jpg

Ok I did 220 grit sandpaper, now I have it clamped up in a vice to hold steady so that I can make sure my tic marks are lined up dead on every time. From here I used coarse valve grinding compound. You can see a bit of it on the pearl.
knives857.jpg

I worked this for a good bit, cleaning it several times and checking fit.
After this I wrapped 400 grit sandpaper around the bolster like the 220 and gave a few quick swipes with it.
knives859.jpg

Next I had a bit of fine valve grinding compound and put that on the pearl and moved it up and down the bolster to make sure it was good and lapped in. Notice I still have tic marks.
knives860.jpg

From here I check fit again with no compound.
knives862.jpg

Just for added confidence I put flitz on the bolster and worked the pearl with flitz for a good while.
knives861.jpg

I was happy with the fit, especially seeing how rough it was with the jewelers cut and the files.
knives863.jpg

knives864.jpg

Only a couple more bolsters to go....takes forever
 
Last edited:
I have never considered going to such lengths to get good fit. That is amazing, and like everything else I learn around here, raises the bar for my future work.

I'm glad you're back, guys! I missed Sean as much as Ryan. :)
 
I'm glad you're back, guys! I missed Sean as much as Ryan. :)

Ive been very busy Dave, with natural gas prices up this last quarter everyone is trying to get a hole in the ground. Its good for business but all these hours at a "real job" have been cutting into my knife making time. Most of the rigs are shutting down for the holiday so I should get some work in the next couple of weeks. I have about got my new grinder (KMG clone) finished, just ordered wheels and things from Tracy. Im pretty pumped about that. On another good note, just had a customer call to let me know today that he just used one of my knives on a deer and was so pleased he wanted to order another one.2thumbs

Anyway enough rambing from me. Lets see some pics Dave.;)
 
Sean I can sure appreciate the part about work getting in the way of your calling. My job drains everything I have during the week, which leaves weekend mornings for me in the shop. Today, I made larger-than-life dice for a gigantic Monopoly game we're going to use for the department Christmas party at work. We take our capitalism seriously! :D I've made this whole game, the board is about 12 feet square and the dice are 6" cubes. :) I also made "big money" last night. So that's my shop time for this weekend.

On top of that, I still haven't gotten the bushings for my knife; keep forgetting to order them at work. K&G's website CC processing link is not secure (just "http" rather than "https"), so I'm not going to order from their website... So I have to call, which I keep forgetting to do. But anyway, I'm still making my rise/fall jig, so some progress is happening. No pics yet though.

Last weekend my mill shifted its depth somehow and screwed up the cut I was making, so I have to figure out why that happened before I ruin all my work so far. Yikes! If it ain't one thing, it's something else. The FUF loves me and my shop. So I'm seldom lonely. Or straightforwardly successful. :)
 
I've consulted this thread about 5 times today as I put together my first slippy. Thanks a ton!

Man you're so far ahead of me already! I can't wait to see that first one. Please, if you think of it, because I don't browse this forum as much as I'd like, point me personally to your thread when you get ready to have one. I mean, PM me or something so I don't miss it. Okay? Really.
 
Man you're so far ahead of me already! I can't wait to see that first one. Please, if you think of it, because I don't browse this forum as much as I'd like, point me personally to your thread when you get ready to have one. I mean, PM me or something so I don't miss it. Okay? Really.

Will do! On this first one I'm screwing it together like a little girl. :haha:
 
Just wanna thank Ryan one more time for this WIP ! I've got my first slippie together peened and in good working order. :)

This thread is so complete and detailed that with it even a newbie can make a slip joint and get stisfactory results

Excellent Ryan ! -Josh
 
Will do! On this first one I'm screwing it together like a little girl. :haha:

Man that's funny! :D

Just wanna thank Ryan one more time for this WIP ! I've got my first slippie together peened and in good working order. :)

This thread is so complete and detailed that with it even a newbie can make a slip joint and get stisfactory results

Excellent Ryan ! -Josh

Congratulations! We'd all love to see your knife, don't be shy! :) And you're right, this is the best WIP I've ever seen and it's going to be my bible for a long time to come.


2thumbs to Ryan! :D
 
Just wanna thank Ryan one more time for this WIP ! I've got my first slippie together peened and in good working order. :)

This thread is so complete and detailed that with it even a newbie can make a slip joint and get stisfactory results

Excellent Ryan ! -Josh

Pictures or ban1 :p
 
Back
Top