Ok I've been fitting pearl, and getting ready to relieve the liners. I'll show what I started doing as far as releiving the liners.
I use my etcher, to do this I need a pattern.
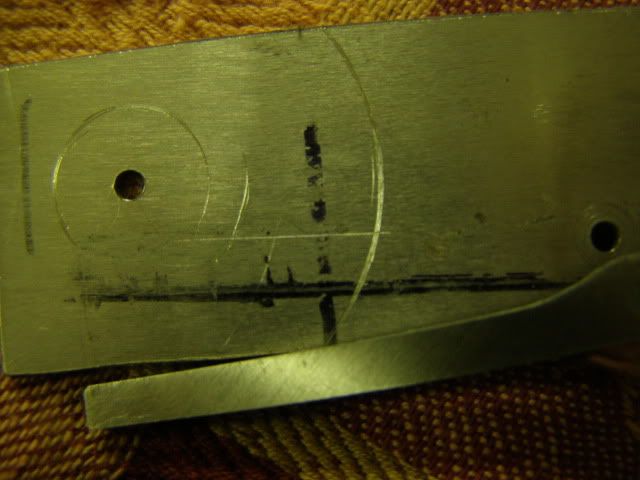
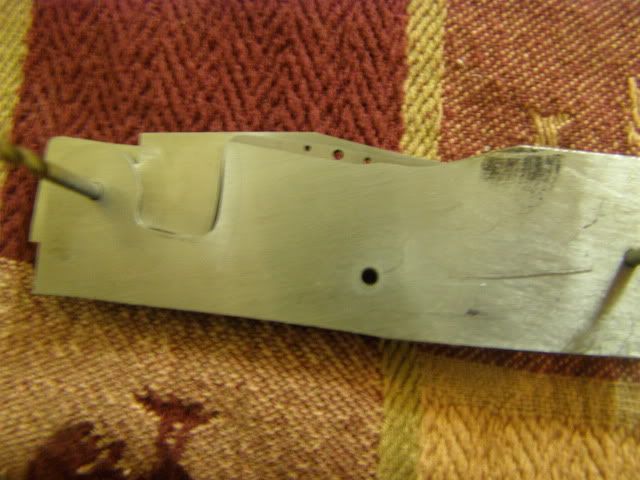
First I take my knife liner to 600 grit, this will be the final grit for the inside of the liner. I didn't make it perfect because I have to touch it up a little later on.
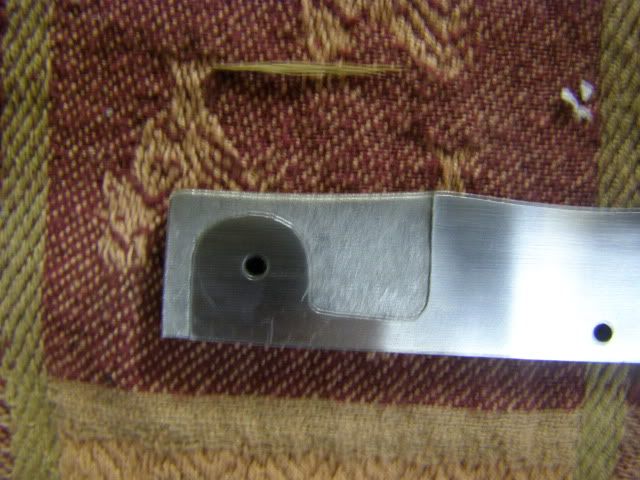
From here I measure to where I have a surface area for the blade to ride on. It has just a little bit of relief on the top. This way the scratches on the tang do not show when the knife is opened.
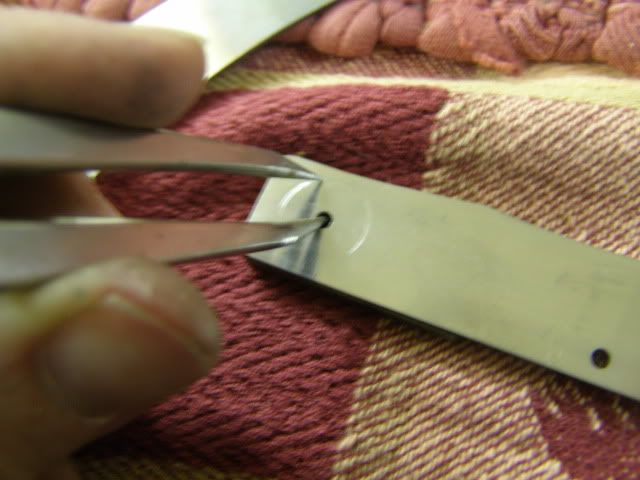
Next using a piece of liner material that has the holes drilled in it (spring holes and pivot hole) I transfer the mark over.
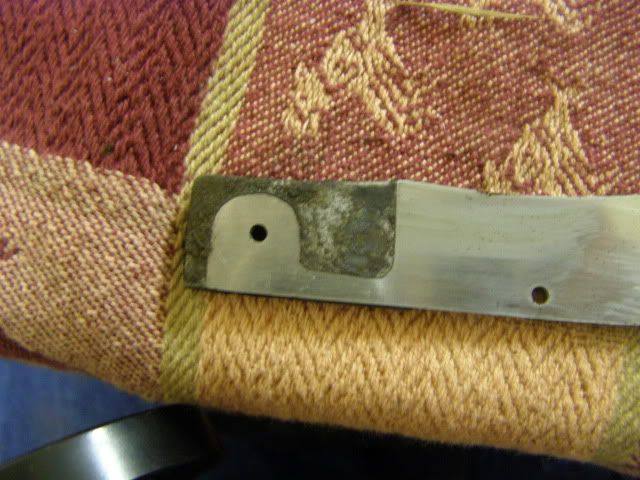
Next I place the blade on the good liner and line up the pivot holes. I measure over to the the start of the bevel.
I then transfer that mark over to the scrap liner.
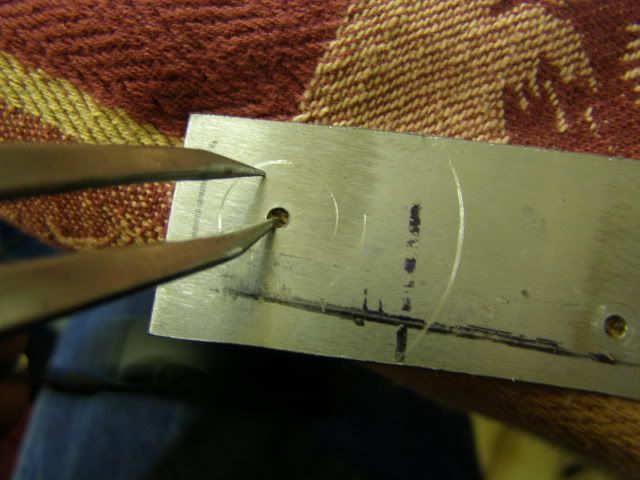
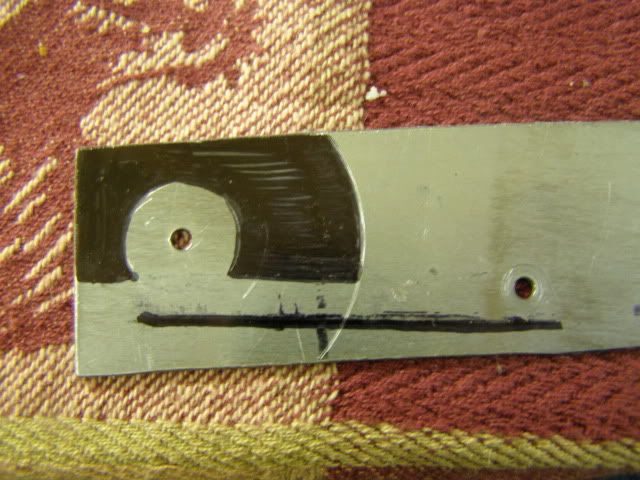
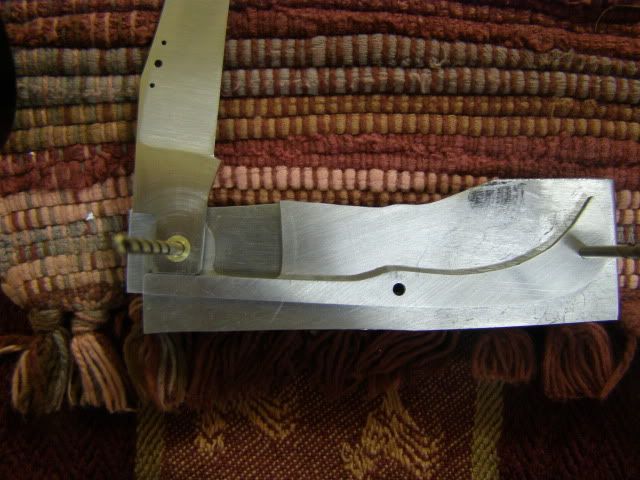
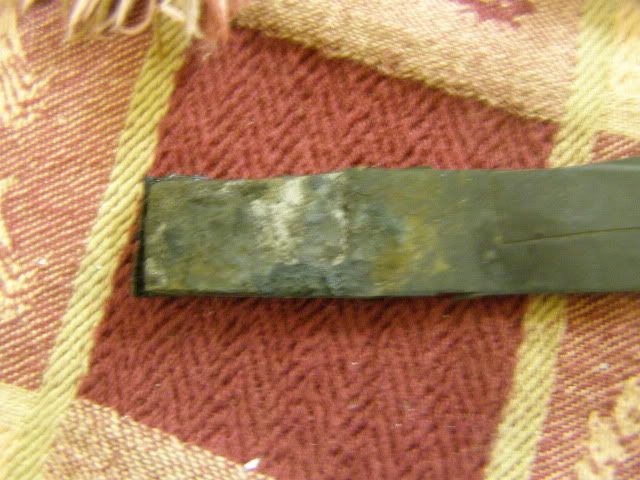
next step is to place the spring on the scrap liner/pattern.
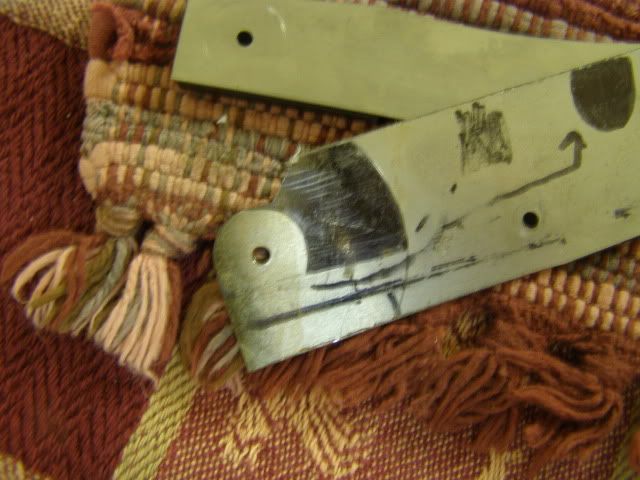
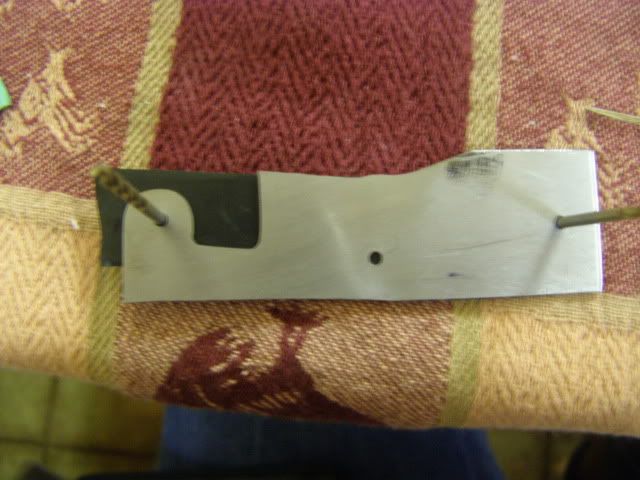
I scribed a line over the spring to show where the spring sets when the knife is assembled
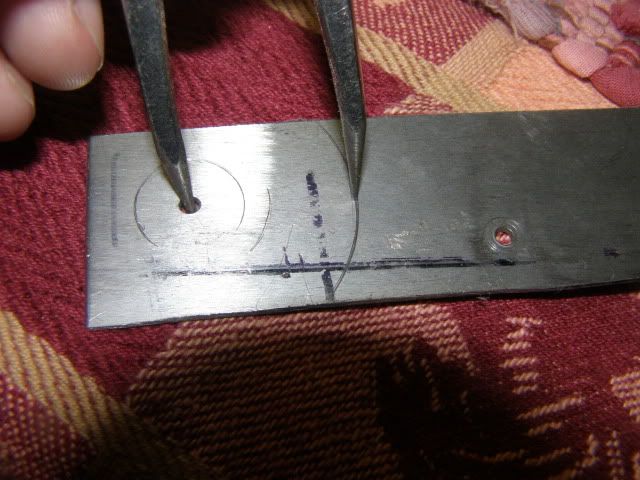
Next I blacked out the area that will be removed. The single black line drawn is just a reference point I made for the bottom of the spring.
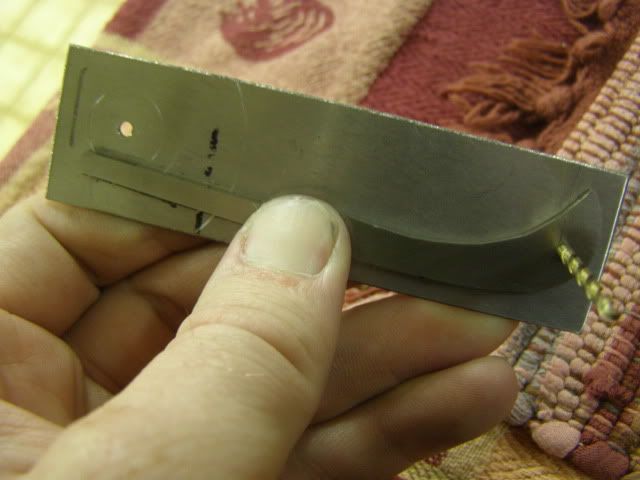
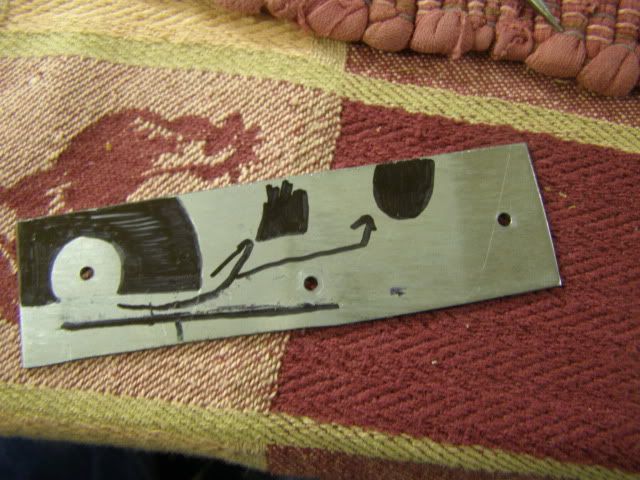
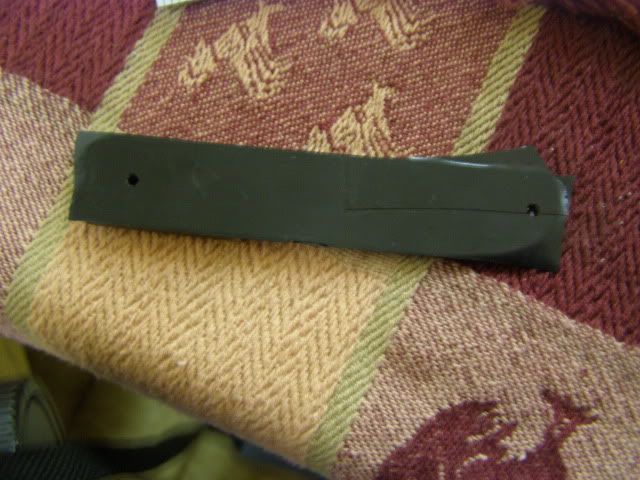
Next I've included a couple of rough drawings to show what not to do. I said to remove the solid black area, but watch out of the sharp corners. The middle chicken scratch is showing the sharp corners, the chicken scratch on the far right is how I will actually cut it out with a dremel. No sharp corners all rounded.
I have to admit I let time get past me on this. Throughout making these knives I've been working on one or two others in case I messed one of these up. I got to a point and set them aside, but while I was waiting on the second set of pearl to come in I got them to the point of having bolsters as well. I planned on having all day to get the etched relief done on both knives, but it didn't happen. Work took longer than expected so I'm a little behind on where I planned on being this weekend.
Tomorrow I'll will show the cut pattern and what I do to transfer it over to the good liner.