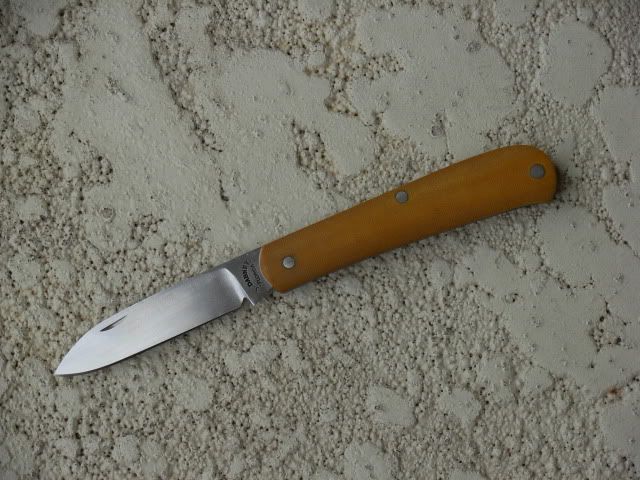
Knife #7
Please please no ban1

I didn't wanna hijack Ryans thread here but the threat of ban has changed my mind, LOL
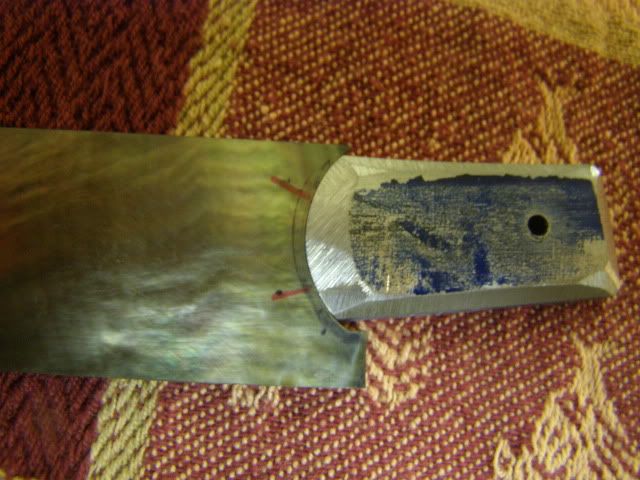
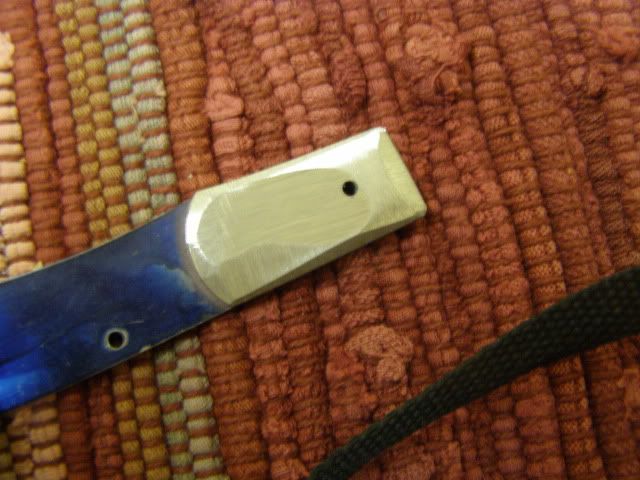
This is a Zulu pattern from GLWJ
3/32 ATS-34, in house HT to Rc 60-61 with dry ice cryo.
.040 410 SS liners
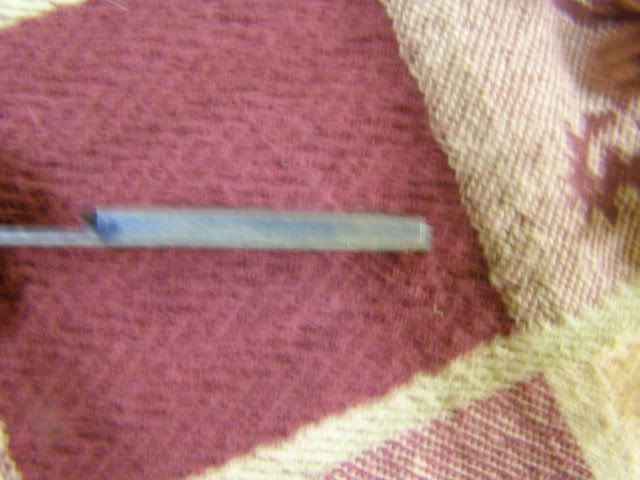
1/8" 416 SS pins
Carmel Micarta scales sanded to 1000 then buffed with white compound
Nail nick hand cut with Dremel
Spring flush in all three positions
Snaps open and closed nicely
Blade lays to one side in the closed position
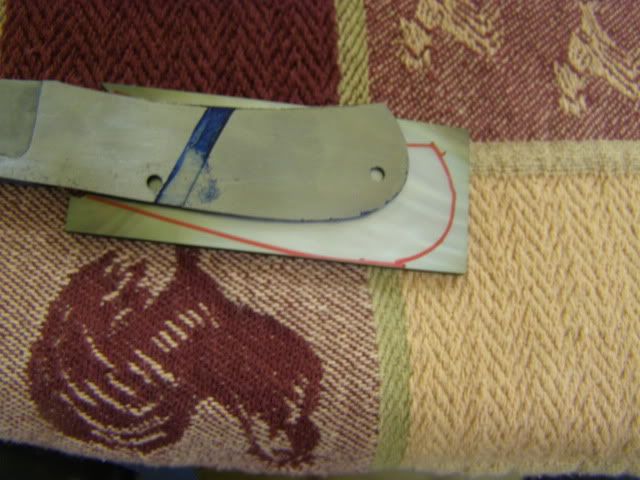
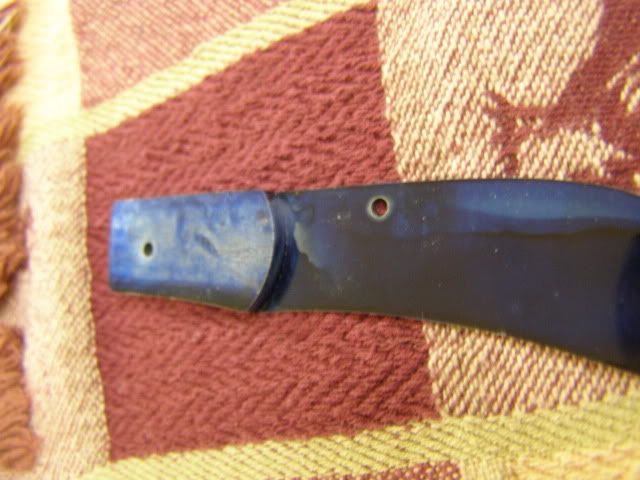
At least it doesn't touch the liner though. I'm thinking I can fix this next time by surface grinding the blade (on flat platen) before drilling and reaming the pin hole
I did some things out of order purposely on this one. I decided to assemble the whole works before doing any hand sanding on the bevels or etching makers mark. I didn't wanna invest alot of hand finishing time on a knife that could have potentially turned out unsatisfactory in the function dept. so the finish is not going to be the best on this one
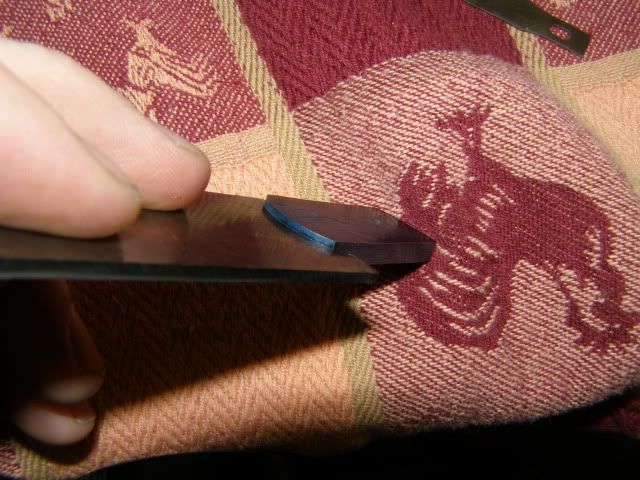
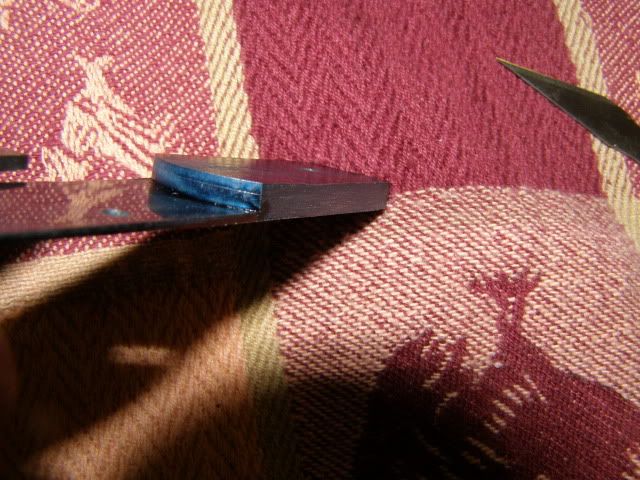
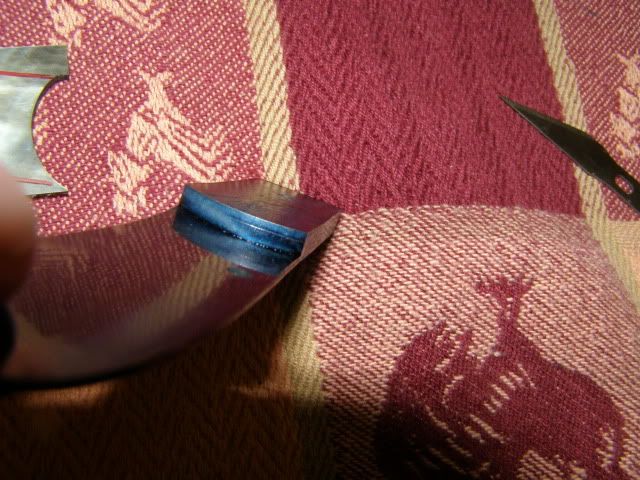
Yall ought to like this one... I intended on doing 416SS bolsters on this knife. Cut out the material and needed to solder them on. Didn't have any flux or money but had some Rosin Core silver solder so I figured I'd give it a shot. Clamped with vise grips, put in vise, hit with Mapp Gas. The result.... A beautiful 3/8" liquid silver orb rolling around on the bolster lol. You know the rest of the story.... liquid solder to the concrete floor 2thumbs Only one speck of the "splash" got my ankle so no harm done. It's funny how a miserable failure like this really made me laugh and smile and say the heck with bolsters and stag, why not shadow pattern.
I just snapped a couple pics to show you guys and will try to get better ones when the hand sanding is finished.
Let me know what yall, Think -Josh