Couple of slip joint WIP

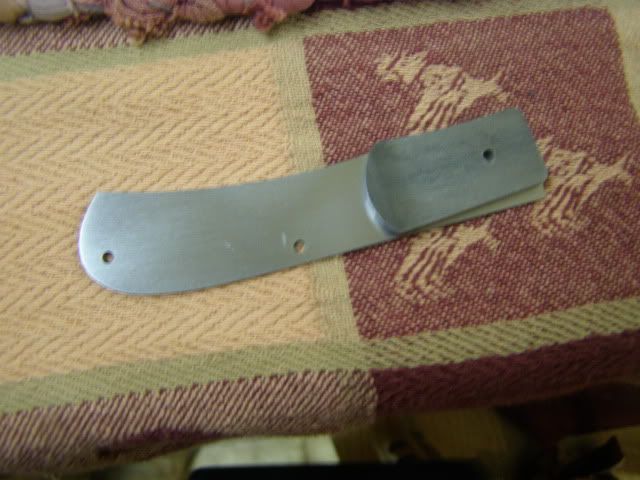
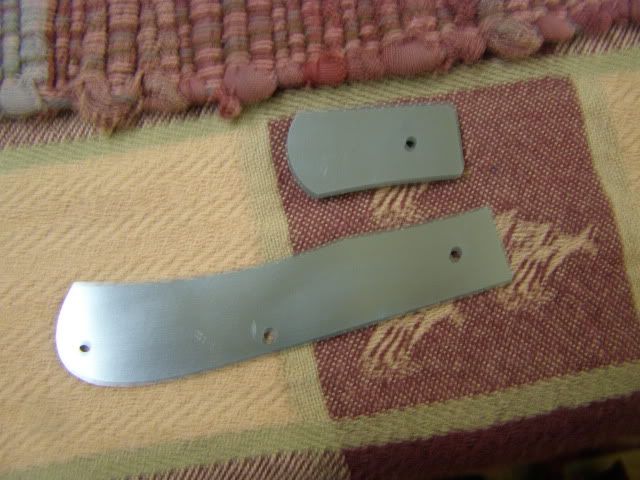
:) Ken, you and Sean are tough customers! I'm concerned that my attempt will be very disappointing for our readers. However, I do have my first blade and spring profiled, and I'll give a picture of it below. The pattern and material is courtesy of Sean Cochran. 2thumbs

005_Parts.jpg


Okay, I'm not going to hijack Ryan's thread, but Ryan is directly responsible for that picture. :D

After I've made a little progress (I will take pictures along the way), and assuming I'm doing a reasonable job, I'll start a thread of my own. Then you guys can keep helping and prodding me along. ;)

Thanks for your confidence Ken, thanks for your material support and confidence Sean!, thanks to all posters who have offered advice and alternatives here, and Ryan thanks for such a great thread. This really is a fine thing you have going here and I hope you feel better soon. Take good care of yourself.
 
Good clean picture Mr. Dave. I hope you do continue to collect pictures & post them --- good or bad, they will serve as a learning tool for many. You can show your success's as well as your mistakes & how they were acchieved. This is definitely a teaching aid for all. Remember, "your focus is your reality !" Go for it ol hoss......................
 
Dave
Looks great so far. I have seen your work on straight knives and I must say Im a big fan. I think you will do just fine, plus there is a lot of help here, I know these great makers have been an incredible resource for me. Good Luck! Cant wait to see more pics.


Sean
 
Aaaahhh, back on this gentlemen, and thanks for the well wishes. Made it out of the quaranteen room and back to work today. Yesterday my in laws came to kidnap my little boy before he got sick, my wife has come down with the flu as well.

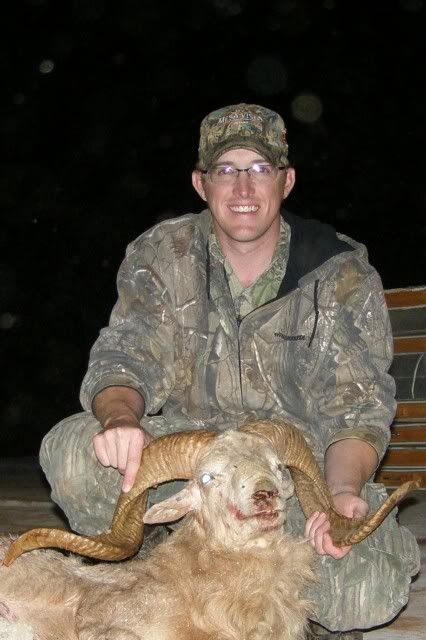
Here's a shot of my Texas Doll ram. A day or two before the good ole swine flu set in
goodcropwithsmile.jpg


Here's the king of the remote. Haven't got to hold the little turkey in a week, I went hunting for a couple of days then came down with the flu.
7months006.jpg


I just got off the phone with Mr. Hurst. I was telling him I'm in the process of cutting the second pearl scale and will hopefully be posting pictures once I get off work tomorrow. Fingers crossed I'm making progress on this thing this weekend. And as long as I've been down you've caught up right Dave?
 
Ryan welcome back! I'm sure glad you're over the hump. Thank goodness. Must have been the hippy vibes that did it. :)

And no man, what you see is as far as I've gotten. I need some tools which I haven't had the opportunity to order yet, and won't go any further until I get geared up a bit more. The other day I thought I collected all the stuff together to make a drop jig like Craig's. This morning I was looking for something else in my shop (couldn't find that, either) and realized that the dial indicator I was going to use was - the dial indicator box. So it turns out it's good I haven't sent my order to Travers yet as I'll be adding that to it. Sheesh, if I had all the stuff I've lost in my shop I could probably get someone else halfway set up. :rolleyes:

Anyway, Ryan take your time getting back into the day job/slip joint thing. No need to get tired and leave yourself open to relapse or pneumonia. Go easy. We're not going anywhere. :bud:
 
I think the docs made a mistake. You didn't have H1N1 swine flu, you had H1R1 Ram flu!

Good looking animal, and a great looking future knife maker. :D

Looking forward to seeing more of your work, Ryan. Take it easy getting back into the swing of it, though.

--nathan
 
I think the docs made a mistake. You didn't have H1N1 swine flu, you had H1R1 Ram flu!


--nathan

...well I did shoot a pig after the ram....:D

Thanks guys.

Well I have more bad news to report. I measured 500 times and cut the second scale too short. That's right I ruined a piece of black lip pearl at least for this knife. :eek:

I do have another set I'm working on roughing out for the other knife. I will post pictures of it while I hunt down another set for the first knife....:mad::mad::mad::mad:

Ah yes - the FUF. She's a constant visitor in my shop. I know what that's like. You will find another set of pearl for this knife, and the way these things work, it'll probably be nicer than the one you started with. Hang in there man.
 
Price?! What matters Price? Dude, when you're doing work like this the cost of materials is insignificant (except to your immediate cash flow of course, which we all recognize. :D). Ryan, I hope you're recovering well and when the new pearl arrives you're ready to get back into it. I'm probably boring you all to death but this is one of my favorite WIP ever. Certainly the most immediately applicable. This is just flat out fine.

Thank you.
 
Ok got a little more done after getting home tonight. I had another set of blacklip for the other knife but decided to use it on this knife, they are the same knife so no big deal. THe other set is being shipped.
Tonight I rough cut the pearl the same as before (well not the EXACT same, I didn't mess up this time lol). Then I spot welded the bolsters.
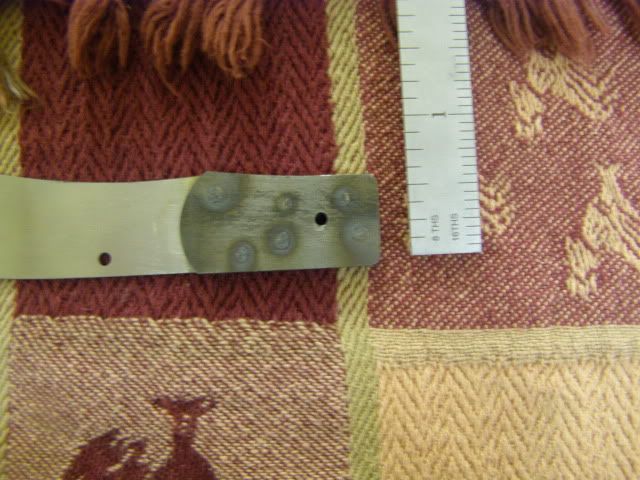
Before I spot welded I flat sanded everything up to 220 grit.
knives787.jpg

knives788.jpg

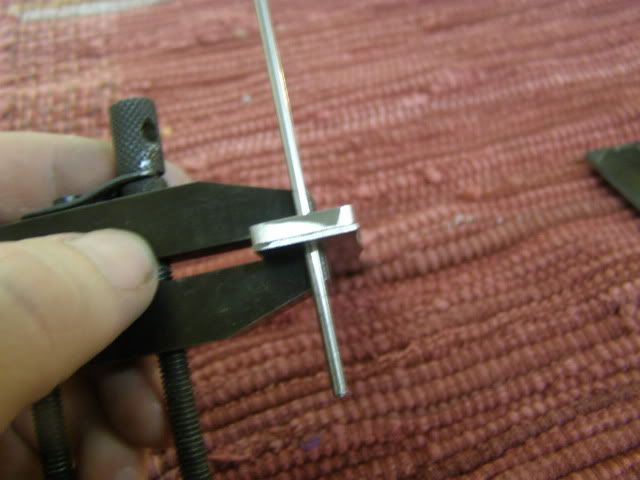
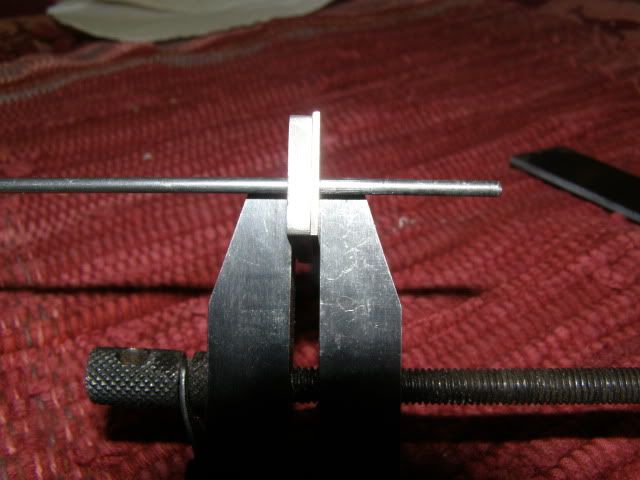
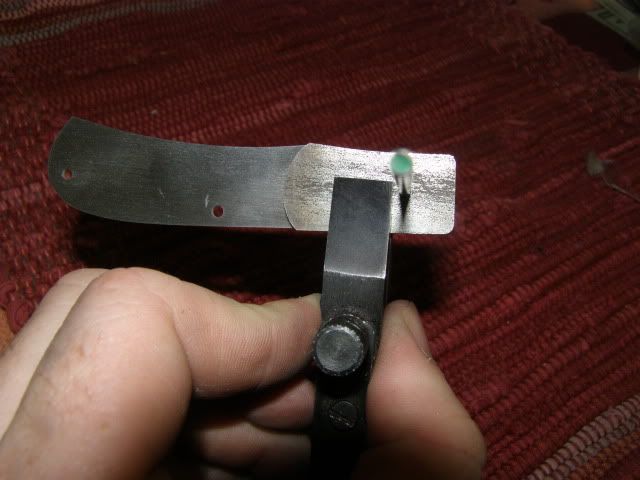
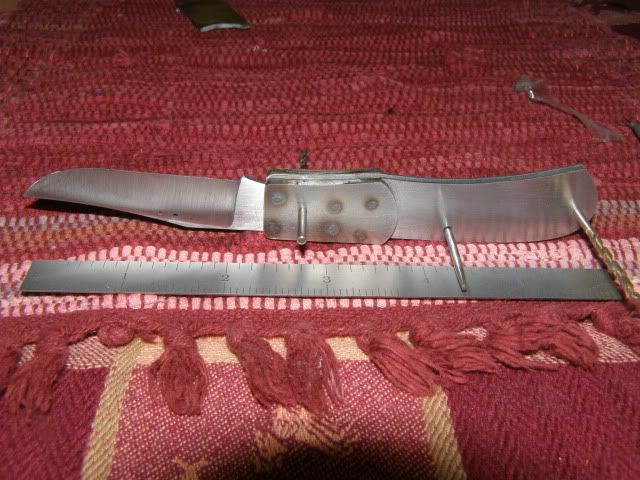
Next I used the clamps and pin stock to line everything up for where I wanted it spot welded.
knives789.jpg

knives791.jpg

knives792.jpg

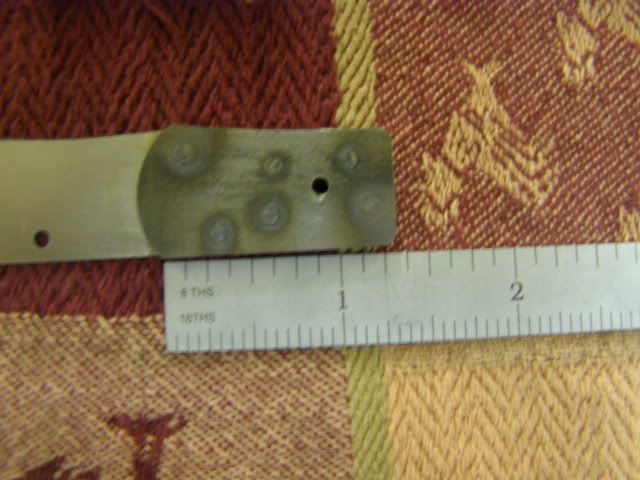
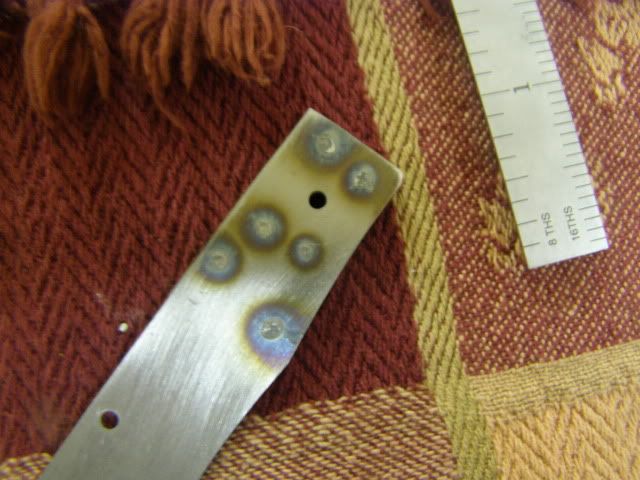
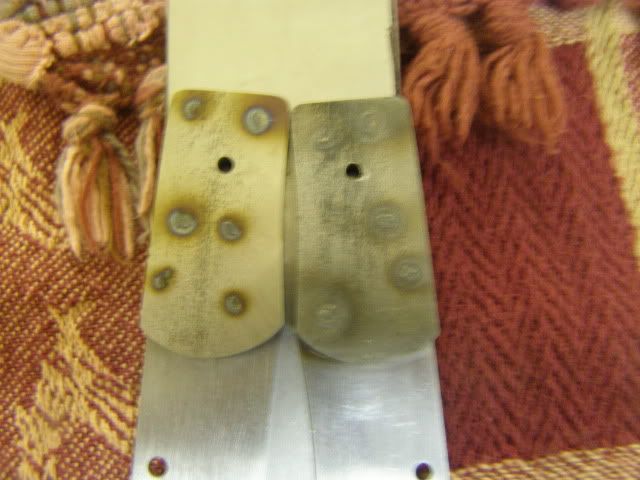
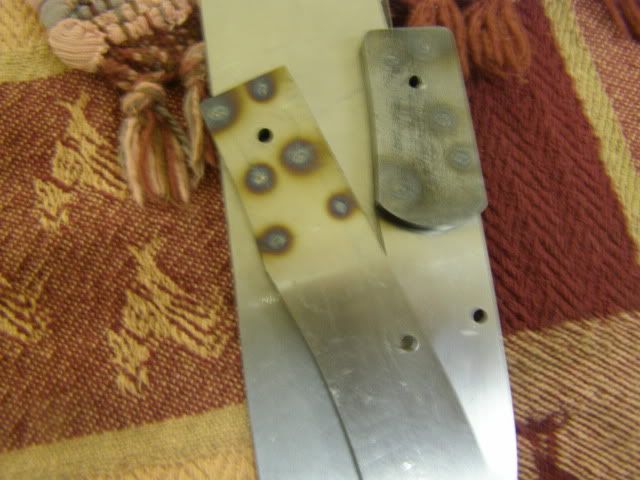
Next I spot welded. I've had to reshape my tips on the welder some, it was leaving huge divots. I made the bottom one flat and the top tip pointy and put that against the thin liner material. I still have a small divot, but nothing that's not removed by sanding. I counted to 2 then stopped welding. Seems to have done a good job.
knives796.jpg

knives799.jpg

knives800.jpg

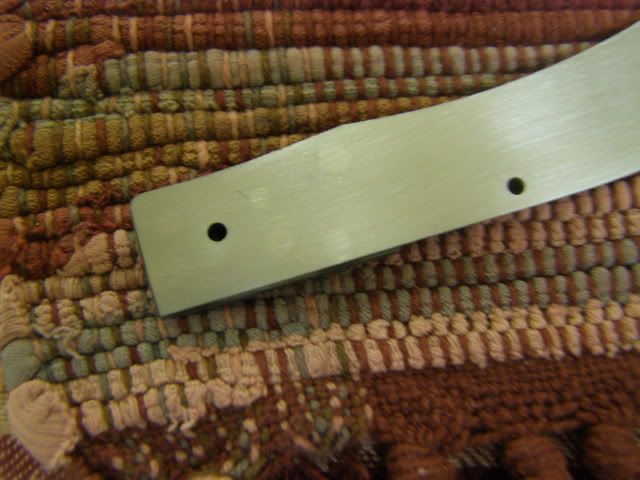
Next I flat sanded everything, you can still see the spot welds in the picture. I have been told to use a torch to heat to cherry red on 416 and this will help remove the hardness and spots. I haven't verified that yet so I'm doing some more research. Mr. Hurst just said to make sure I had pictures of where the spot welds were so that he would know where to expect them while engraving.
knives802.jpg

Got em both done up. Bolsters were left a hair oversize for final shaping.
knives805.jpg

knives807.jpg

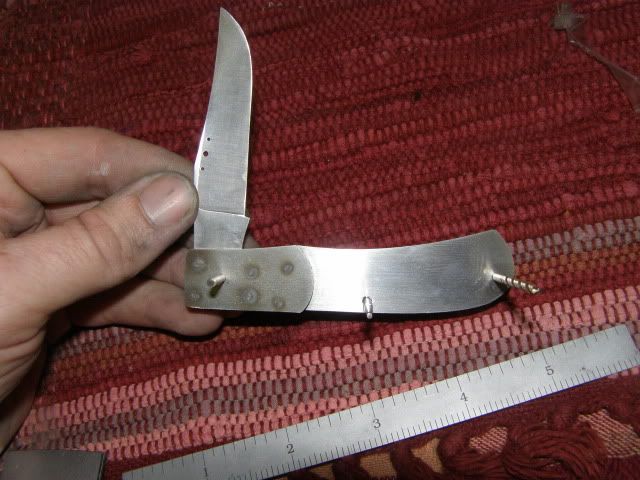
Put it all back together to make sure everything is still lining up.
knives809.jpg

knives810.jpg

Tomorrow I will show what I'm doing to get the pearl to fit the curve. It's a little tedious but I think it's going to work great.
 
Glad to see you feeling better Ryan. Looking great, I cant wait to see it done. I really like the pins instead of nail nick.

What do you think Dave, pretty fun hanging around Ryans shop huh?
 
Just a suggestion but if you bring those liners up to a dull red with a torch those dots and hard spots will disappear. It also makes the liner shine a bit more when polished.
 
Ryan,
Thanks for doing such a great job and investing the time to do this WIP ! I know this is probably crazy as I'm only working on knife #6 and probably lack some of the proper tools but I ordered a couple GLWJ slippie kits from Tracy to make as Christmas gifts.

I'm not expecting a T.A. , Bose, McDonald, or Bump quality final product but hey, no guts no glory, right.

Anyway your WIP is going to be a huge help in getting at least a functional knife for the first go around so thank you again.

-Josh

WOW! Im not close to being as good as those fellas, Thank you for the vote of confidence though. Ryan is doing a great job. I love to see updates to this post because I may learn something myself and well Slipjoints are cool. When I learned to make my first spotwelded bolstered liner, another maker(Wes Davis) told me to do the very thing I told Ryan. Good luck on your build and show us your final product!
 
:D
Just a suggestion but if you bring those liners up to a dull red with a torch those dots and hard spots will disappear. It also makes the liner shine a bit more when polished.

That's what I had thought I remembered reading. Thanks! I did as Rusty suggested and then flat sanded again and didnt see the spots, seems to have done the trick. No pics, after this July I'm trying to be a bit more carefull with flames and such......:p

Josh Dabney glad you are enjoying this. These little things are frustrating, but I think that's why I keep trying to make em :D

I quoted Mr. Hurst a couple of completion times and have had to renig on them, because a few steps slowed me down and life/work have kept me out of the shop more than anticipated. He's told me not worry engravers are always waiting on knifemakers lol.


Dave and Sean I'd offer you a cold beer, but i'm not sure I have any. That's being a bad host :eek:


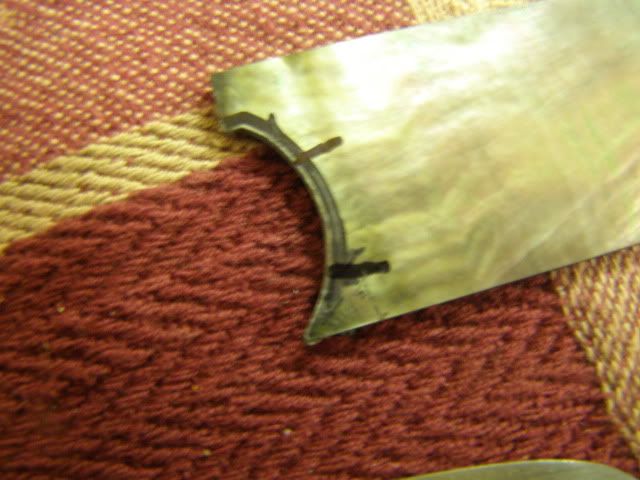
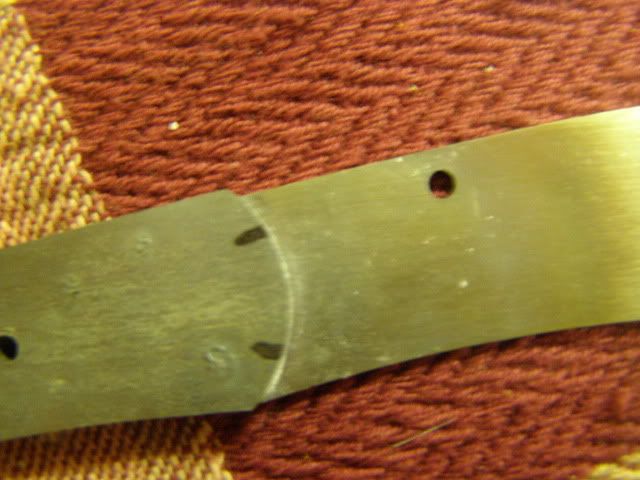
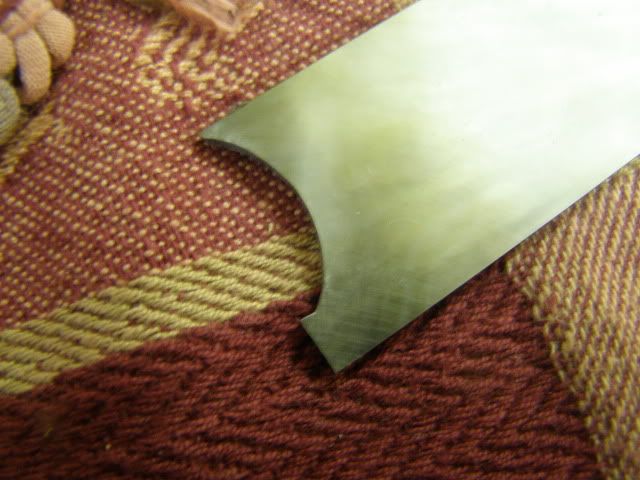
There's not a lot of pictures in this next set of the work I did tonight. what I'm doing now is getting the pearl to fit the curve of the bolster. It's slow and tedious, but it seems to be getting the results I wanted.
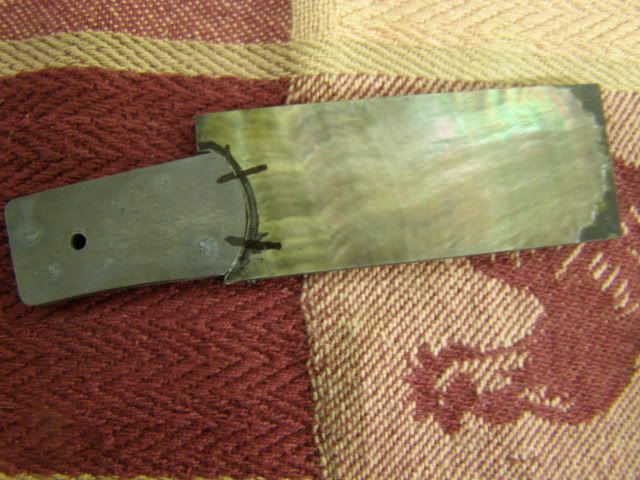
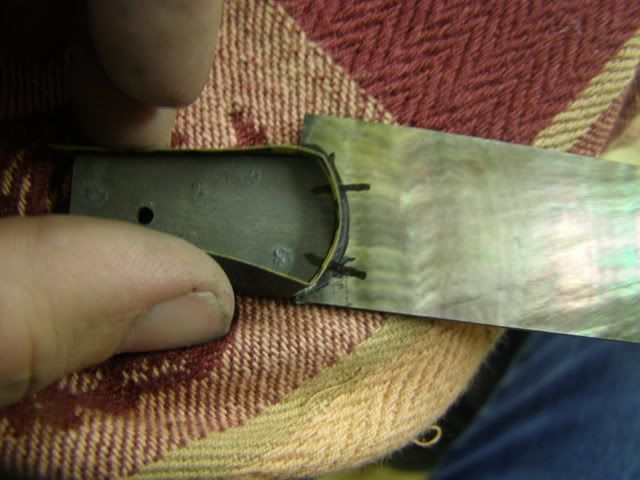
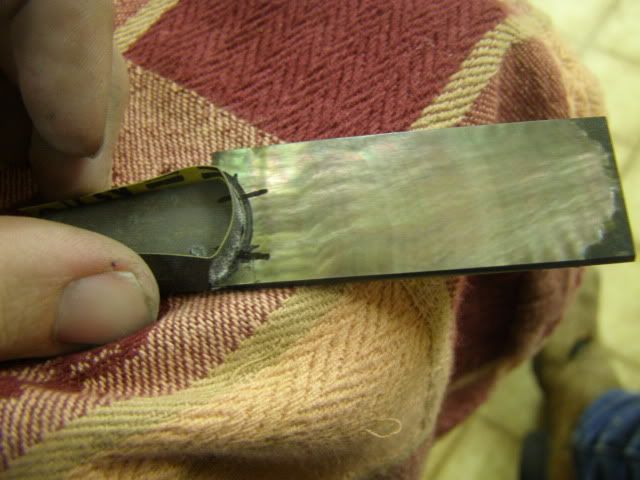
First off using the rough cut I fit the pearl to the handled and drew a couple of tick marks just to help me stay lined up. I marked from the bolster to the pearl.
knives811.jpg

knives813.jpg

knives814.jpg

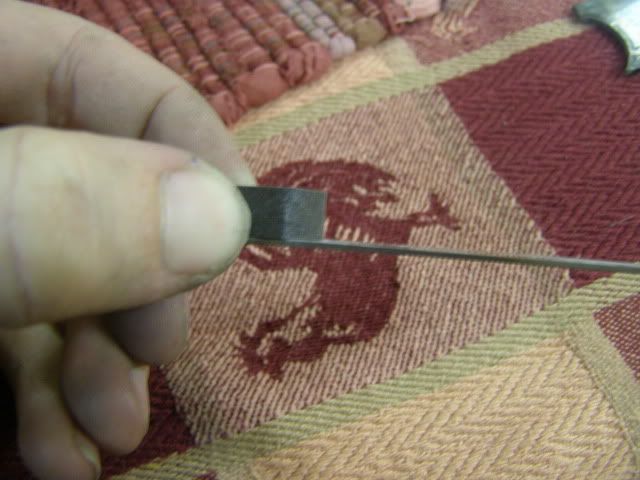
Up until this point all the rough cutting has been done by jewelers saw and needle files.
I kept placing it against the bolster and looking for the high spots. From there I would knock them down with the files. Here it is rough cut with files from the back side of the pearl.
knives812.jpg

Now to how I'm final fitting it. You notice I haven't cut anything else on the pearl. Gives me some wiggle room leaving the excess for now.
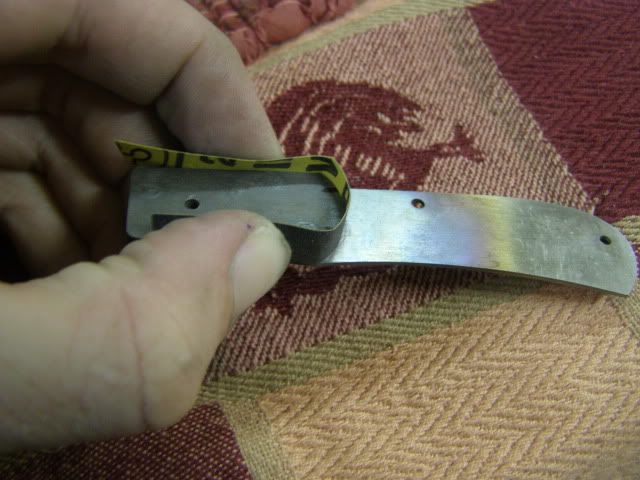
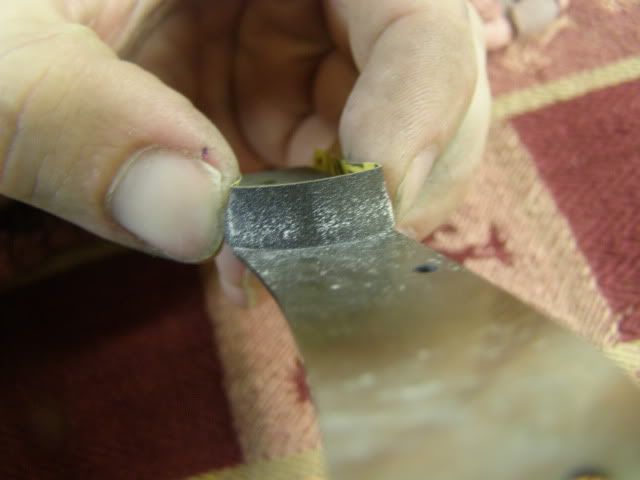
I started with 220 grit sandpaper and cut some very small strips and wrapped it around the bolster like so
knives816.jpg

knives815.jpg

My next step was to place the pearl on the liner, lining up the tick marks
knives818.jpg

From here I used one hand to hold the sandpaper on the bolster and the other hand to pick up the pearl and rub it against the sandpaper making sure the tick marks where lined up. I just kept doing this and switching out sandpaper when it was dirty. Like I said slow and tedious.
knives817.jpg


Here's a picture of the sandpaper, notice there's a spot in the middle that there is not much pearl dust. There's a slight dip in the pearl right there that I'm working on with 220 grit. I'm confident once I get the dip sanded out the other grits will go faster. I plan to take this up to 1000 grit. I'm just going to see what the fit is like as I go.
knives819.jpg

As I go up in grit I will pay attention more to the dust build up underneath the pearl and how everything is lining up EXACT. For now I'm considering the 220 grit a rough fit and trying to work the dip out. I also haven't run the pearl on my flat granite plate yet. It is pretty close to flat from Culpepper, so I was just waiting until I had gone up in a few grits on the curved part.
 
Last edited:
Back
Top