What's going on in your shop?

You'll love that Personalizer! I've been using my laser engraver to do my makers mark for a while now, and wouldn't you know it... I go to do a blade a few days ago and I don't have the right coating material. Busted out the old reliable Personalizer and bam... Done. So easy and works perfectly.
 
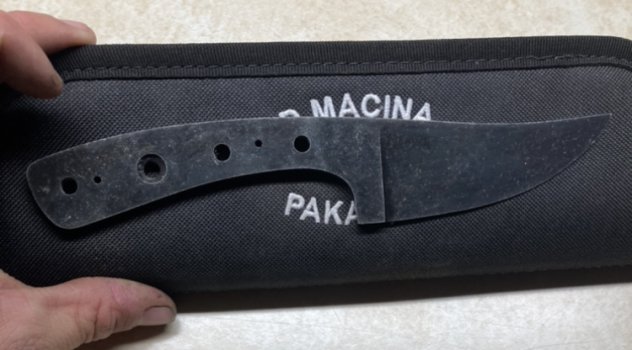
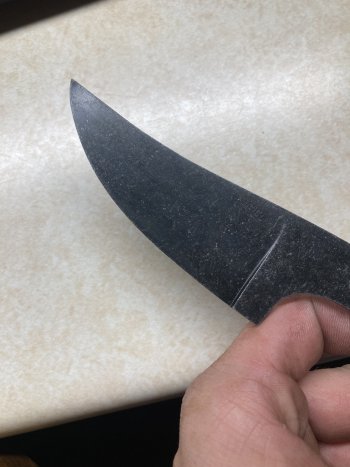
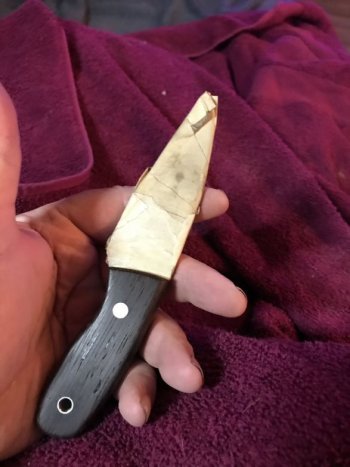
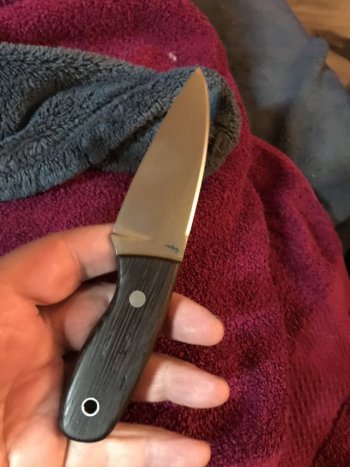
Just playing with ideas, made this little knife and probably make sheath with boot clip of some type. 1084 and wenge wood scale.
boot.jpg
boot1.jpg
boot2.jpg
 
Last edited:
This is a duplicate post from my thread in the "Automatics" sub forum on building an auto.

Say you have a pattern hand drawn on paper. If you have a printer with a scanner you can easily transfer that sketch to your steel. Even if your sketch is too big for the printer scanner, you can scan in parts of it and put together a composite to transfer.:

I saw a post by a knifemaker recently that also engraves. I wish I could recall who it was and credit him for the reminder but here it is.

Engravers use several methods to transfer a sketch to the work piece for engraving.

Below I have the printed out a pattern and cut out the blade and frame for transferring.

Using a clean piece of steel place your pattern, ink side down and rub it lightly with a rag soaked in acetone. The acetone wets the paper and ink and then with the mild rubbing transfers some of the ink to the steel. It is a durable transfer and this method can be used instead of gluing paper to the steel.

View attachment 76663

The technique is fairly easy. Hold down the paper as flat as possible and rub an acetone soaked rag or paper towel across the back wetting out the paper. It won't take much effort or time. If you rub too much it will smear. Usually one quick stroke is all that is needed. Carefully peel away the paper so it doesn't smear or wait until it is dry which takes just a few seconds.
View attachment 76664

One thing to consider is the pattern will appear backwards from the paper copy. In many cases this won't matter when it is a profile and through holes.
In engraving a backwards pattern is usually a problem so it is reversed in software first and then printed out for use as a transfer.

This doesn't work with all printers but it will work with most. Set your printer to print just black as colors and color composites do not transfer as well. Some printer ink just doesn't like this method but it takes just seconds to try it. The transfer can be removed easily with a swipe of acetone.

Many printers today can scan. If you have a hand drawn sketch, scan your sketch and print the scan. You can then transfer your hand sketch printout to your steel.
View attachment 76665
Awesome! Gonna try this technique on the next axe I do! Some of the Nordic/Celtic patterns get pretty intricate.

Was this done with a laser printer?
 
Awesome! Gonna try this technique on the next axe I do! Some of the Nordic/Celtic patterns get pretty intricate.

Was this done with a laser printer?
It was but some inkjet printers will work also. It just depends on the ink the printer uses.
 
I use a vinyl cutter/printer that I use to etch patterns on knives. Probably a little more time consuming but it doesn't come off!
 
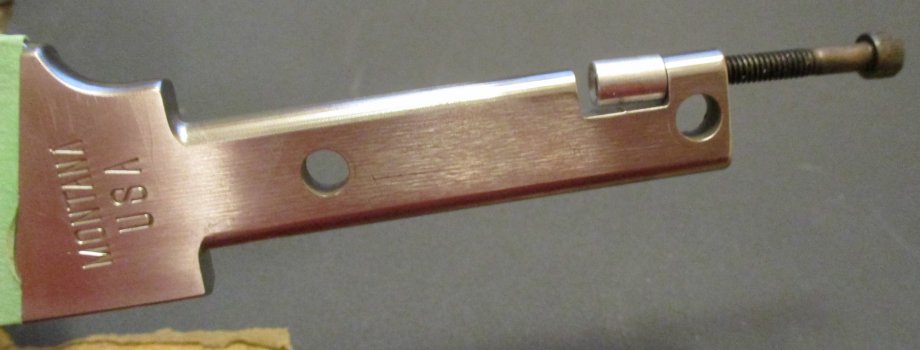
I've been working on a batch of "Short Bowies/ Long Hunters" (I still don't know what to call them.) They are hidden tang knives. I had been trying to tap the end of the A-2 tang (8-32) about 1/2 inch deep....and busted three taps. So, I switched to this retention method and then realized that I have to make some small "D" shaped inserts so I can tighten after adding epoxy the assembly...a round insert will just spin. I can make 13 inserts from a $15 piece of brass so apart from the time involved the material cost is low. I also moved the "Notch" .050 more away from the hole as it looked a bit narrow there. I think it will work well for drawing the assembly together for epoxy time...

IMG_0529.JPG
 
I've been working on a batch of "Short Bowies/ Long Hunters" (I still don't know what to call them.) They are hidden tang knives. I had been trying to tap the end of the A-2 tang (8-32) about 1/2 inch deep....and busted three taps. So, I switched to this retention method and then realized that I have to make some small "D" shaped inserts so I can tighten after adding epoxy the assembly...a round insert will just spin. I can make 13 inserts from a $15 piece of brass so apart from the time involved the material cost is low. I also moved the "Notch" .050 more away from the hole as it looked a bit narrow there. I think it will work well for drawing the assembly together for epoxy time...

View attachment 76722
Hi Ted.
Mini-Bowie ?
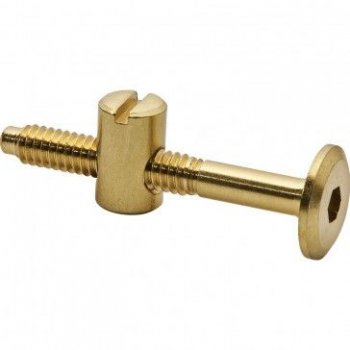
Could you use the rear hole with something like a barrel nut, similar to what is used in knockdown furniture, etc.? You could make it yourself and use a smaller diameter screw.
Or is the hole spoken for?
Scott
 
Hi Ted.
Mini-Bowie ?
Could you use the rear hole with something like a barrel nut, similar to what is used in knockdown furniture, etc.? You could make it yourself and use a smaller diameter screw.
Or is the hole spoken for?
Scott
a little D insert will assemble well and not too much unscheduled work. The flat on the D will keep it from spinning.

It is a 7" blade so not a mini. The reason I'm not quite sure what to call it is I lifted the point a bit over the where clip is on a traditional....which usually is right in the center of the knife. I love Bowies but think they are a bit lacking on the useful end of things. So I lifted the point gave it a bit more belly so you hopefully can cut food, skin game, and still scare street punks away when they pull a "knife" on you...lol. Just don't know if it is really a Bowie. I see more variety of knives called a "Bowie" than any other traditional knife...so the definition is loose. I have been calling it a "short Bowie" but may not stick with that...


section knife.jpg
 
a little D insert will assemble well and not too much unscheduled work. The flat on the D will keep it from spinning.

It is a 7" blade so not a mini. The reason I'm not quite sure what to call it is I lifted the point a bit over the where clip is on a traditional....which usually is right in the center of the knife. I love Bowies but think they are a bit lacking on the useful end of things. So I lifted the point gave it a bit more belly so you hopefully can cut food, skin game, and still scare street punks away when they pull a "knife" on you...lol. Just don't know if it is really a Bowie. I see more variety of knives called a "Bowie" than any other traditional knife...so the definition is loose. I have been calling it a "short Bowie" but may not stick with that...


View attachment 76730
1610137845334.jpeg
Just was thinking you could use something like this or similar and utilize the rear hole, unless there will be a pin in it.
 
Back
Top