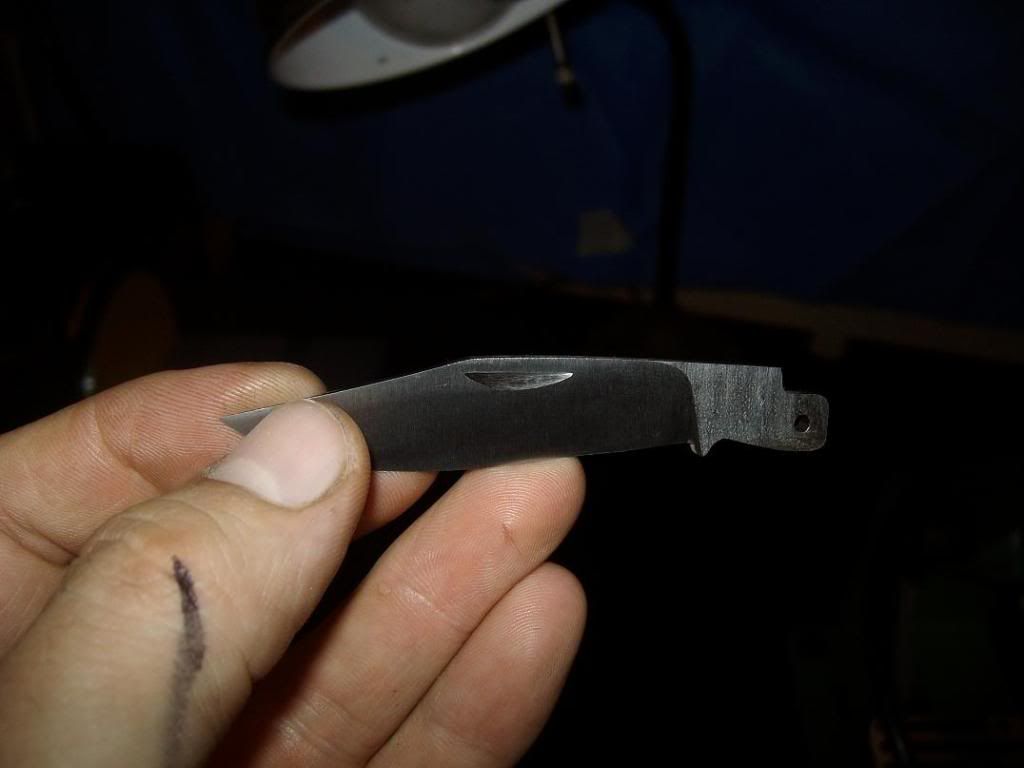
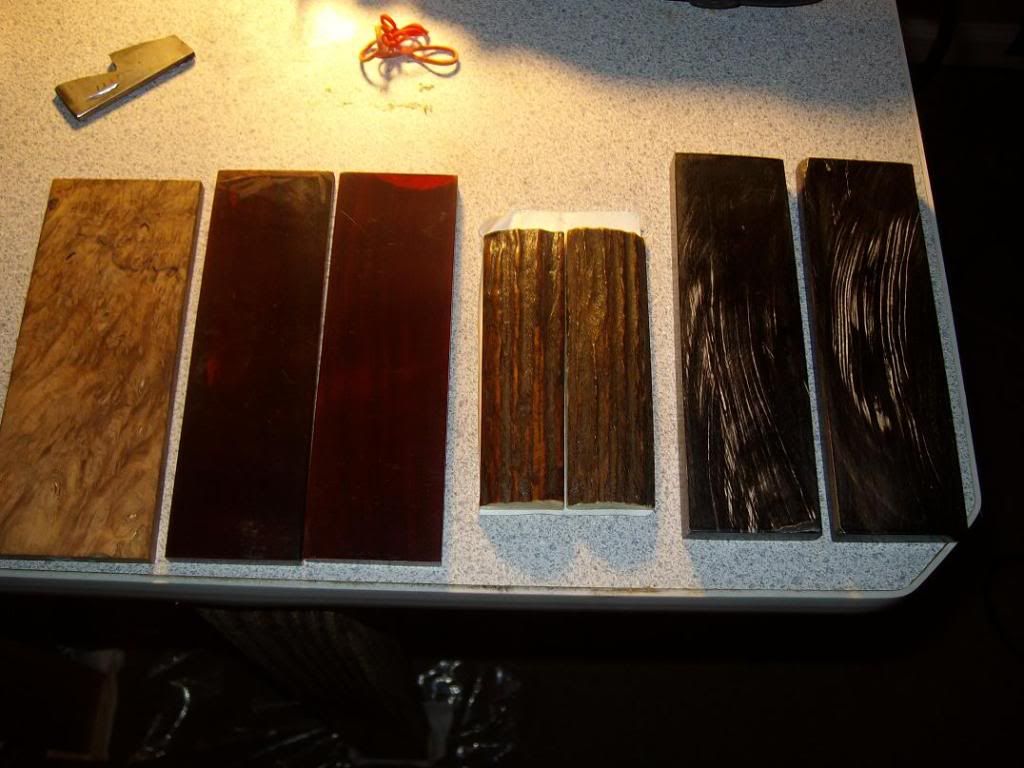
I have never even heard of using washers in a slipjoint, but hey, I didn't even know the construction of a slipjoint until a few weeks ago. Maybe some use them with some success. I may even try one like that in the future, just to experiment with it.
I didnt get a chance to mess with this last night because of a fire meeting. We also had a young boy drown on the river here in our fire district, and we were out for a little while searching for him.
However, tonight I'm back at it. I'm going to solder the bolsters to the liners tonight. I'm using some silver solder and stay clean flux that I got from Pop's. Thanks to Bruce for the recomendation on where to get the stuff.
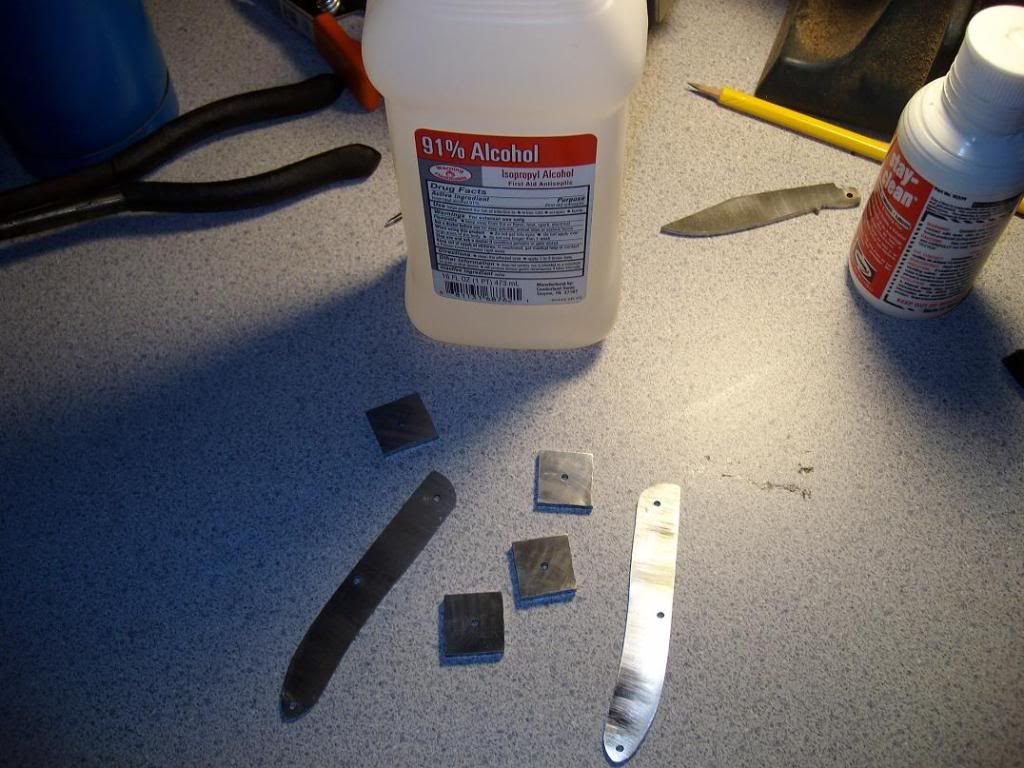
First I clean my liners and bolsters with alcohol. I don't know if this step is necessary, but it never hurts for the metals to be as clean as possible-
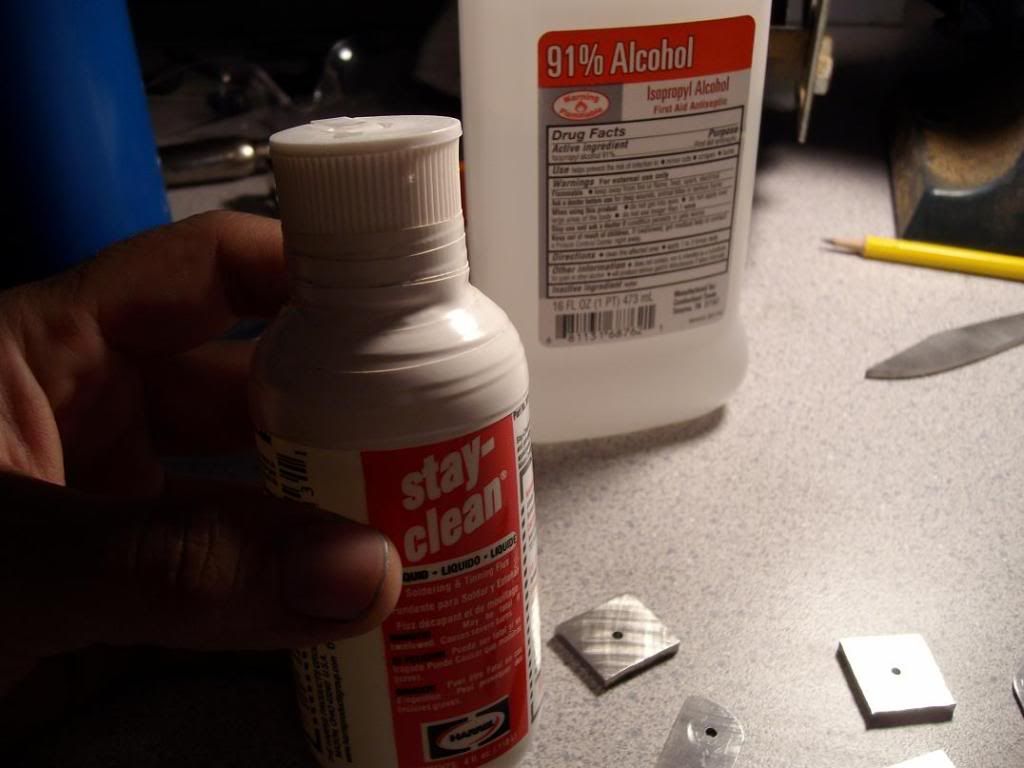
Let's start with this flux. I think I had a defective bottle and I had to tape up the lid because this thing was leaking everywhere. And, the stuff stinks and probably isn't to good for your skin and all that jazz. A little white electrical tape solved the problem-
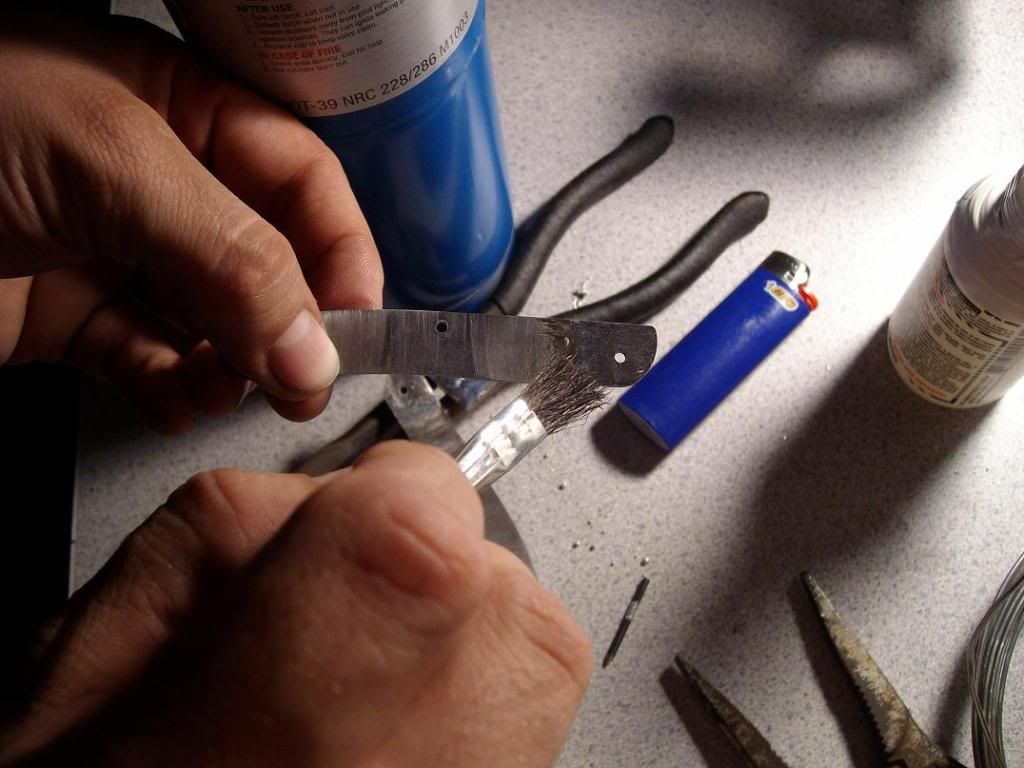
So, moving foward, we dab a small drop of flux on each individual peace. Stick the piece under the torch flame to heat the flux until just when you start to see it boil. Then quickly remove it and spread it around with the little flux brush. This takes a good bit of coordination, and I'll admt I repeatedly stuck the pieces up under the torch flame briefly to get the stuff sizling again so I could spread it around. You may have to add more. Trick is to completely cover the area with flux.
Now when you hold the liner up under the torch flame and have the solder in your other hand, it's kind of tricky to melt the solder with one hand and drop it on to the heated liner. A little practice and you'll be a natural.
You do the same with the solder as you did with the flux heat it a little under the flame until it starts to melt and spread it around with the brush until it covers all of the contact area. Just don't go back and forth to the torch flame so much that you start sticking the flux brush into the flame just like you do the pieces :bud:

You don't need gaps in the flux, you need a fully "tinned piece. Like this-
Once you have both pieces tinned, you need a 3/32 drill or a piece of the shank of one. I use the shanks and just grind the flutes off so I don't have to worry with those. Take a pencil and rub it all around the pin so as to fully coat it with lead. This is Bruce Bumps tip - I'm basicly following his WIP as I do mine. For some reason the solder, sure enough, does not stick to the lead on the drill, thus allowing you to remove it after the solder job is complete. Here we go-
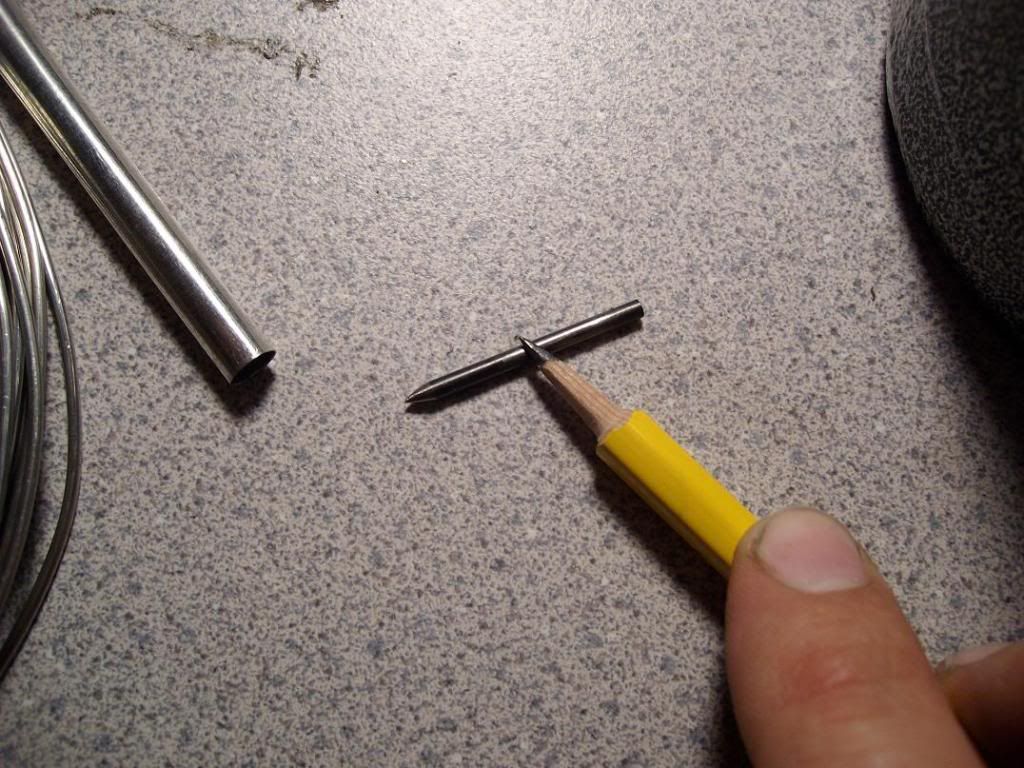
Stick the lead coated pin through both pieces (bolster and liner) and orientate them so that the edge you ground square and flat with the bottom is facing the area where the handle scale will be. Once you do this, clamp the two pieces with some really strong clamps. I used thes little metal clamps and also a needle nose vise grip plier as well. Just be sure that when you clamp, the piece is evenly held down. You don't want one side kicked up, because you risk it soldering permanently in that possition. You want everything to lay down flat against each other when you throw the torch to it. Like this-
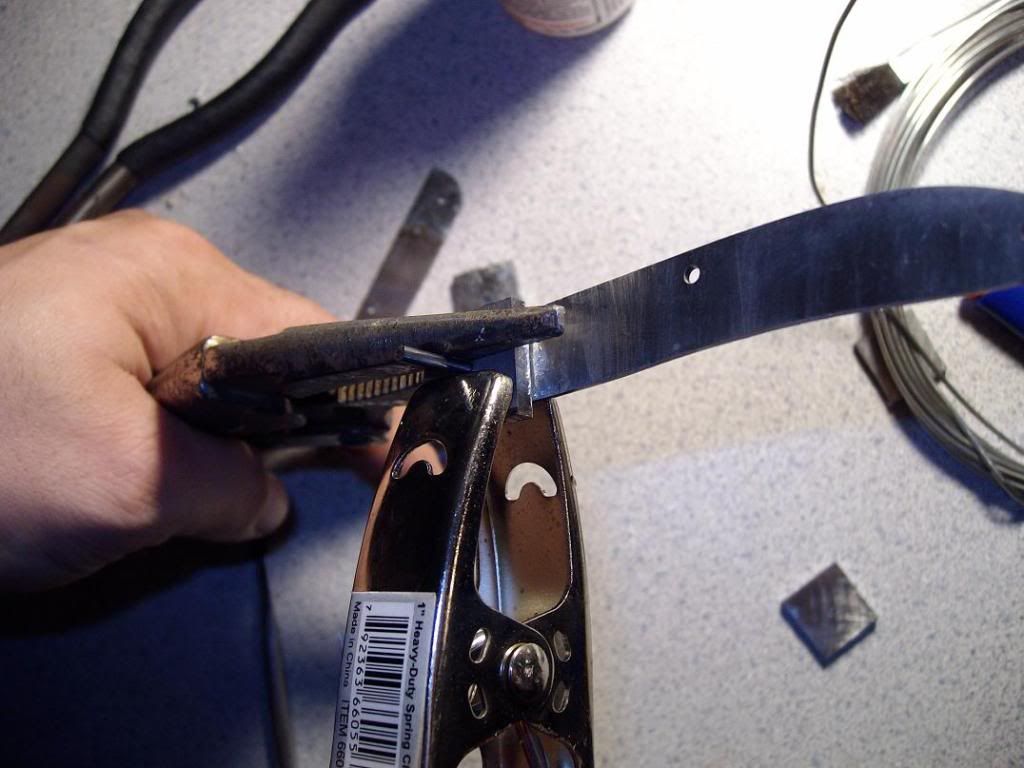
Now, drop some flux down on the cracks. You don't need a whole lot, and add heat. I found it easier to take the torch and hold it in my hand, and point it at the cracks and at the area in whole to be sure everything sealed and seated correctly. You will see the piece lay down, and it will almost appear to have no solder in between the liner and bolster. Once it does this, you're good to go. quickly remove the piece from heat and quench it in a cup of room temp water. It could be cold but the room temp will be fine. Remove the pin piece and repeat for the other bolsters. DO NOT remove your clamps until after you cool the piece. The metals will retain their heat you just applied, and if you remove the clamps the piece wil be swimming in molten solder and out of whack. I made this mistake here once. I just reclamped and made sure everything was still straight and it turned out fine. Don't do what I did lol.
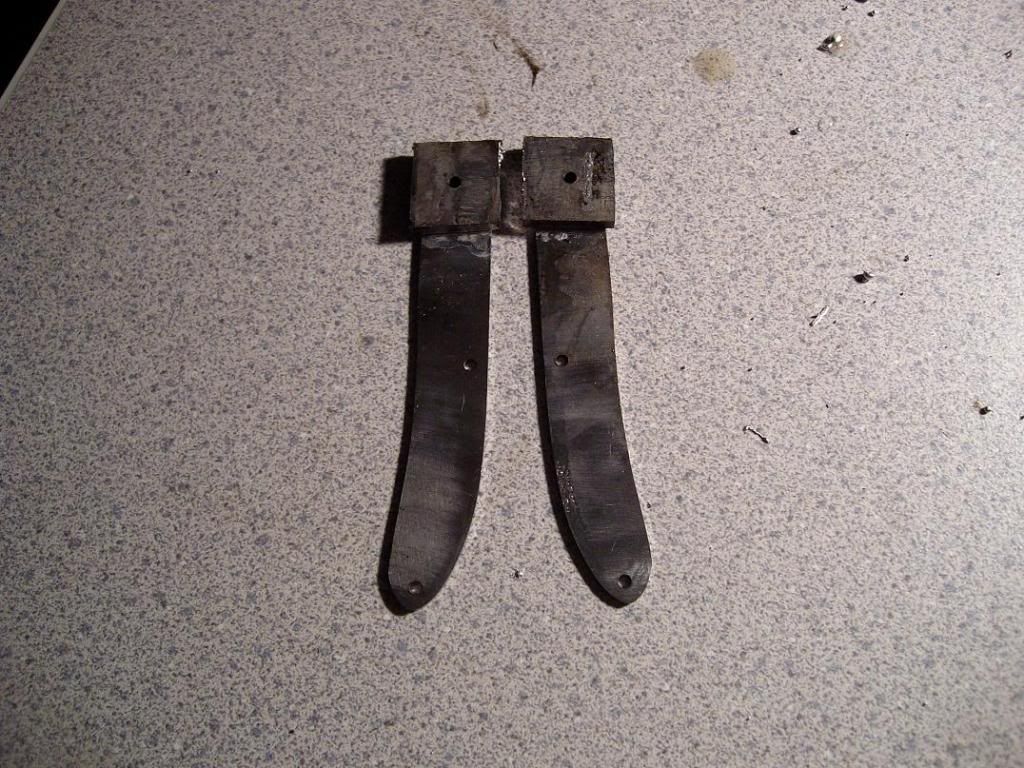
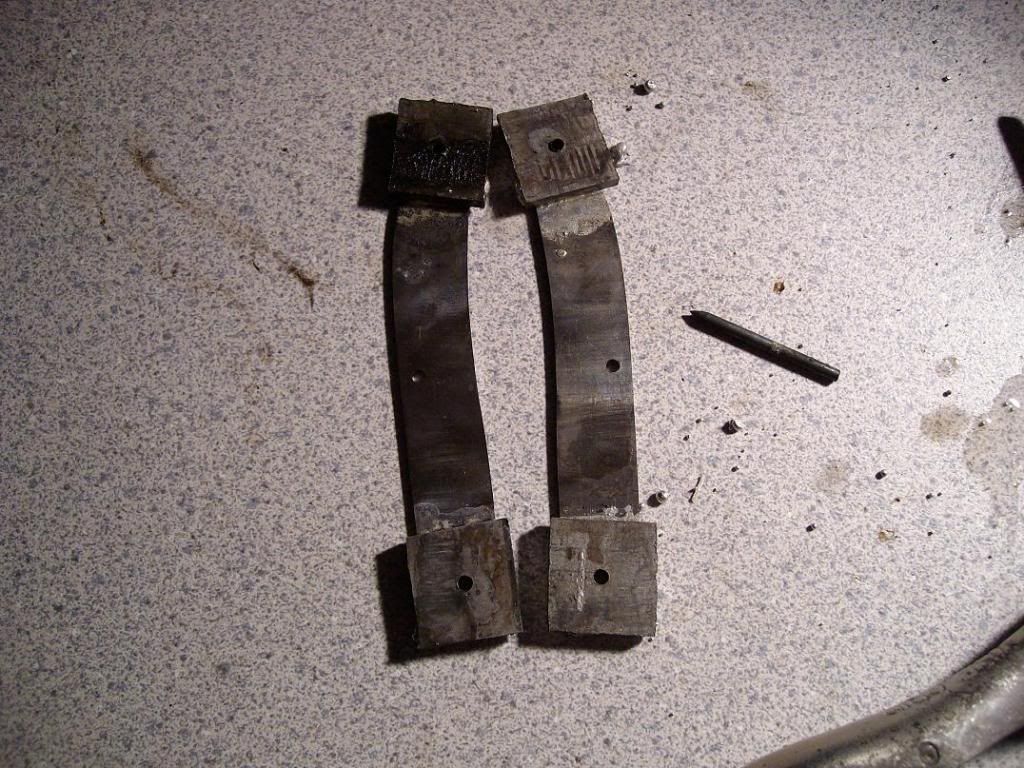
Now you have one set of ends done-
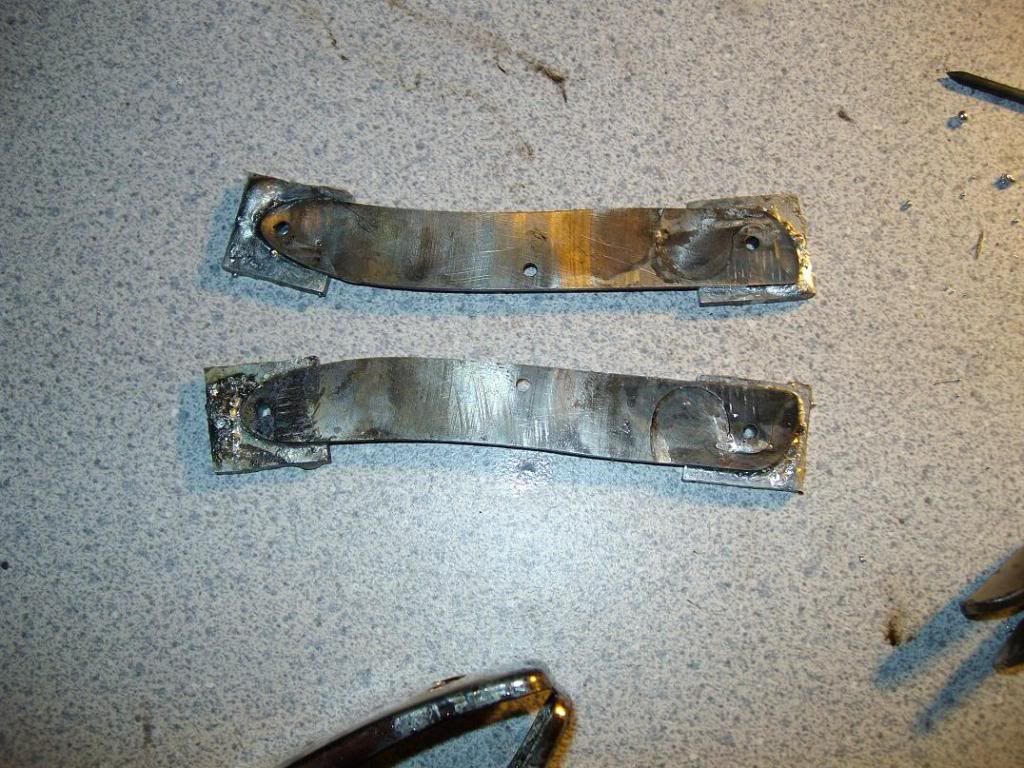
And then after you finish the other ends you are done with this part

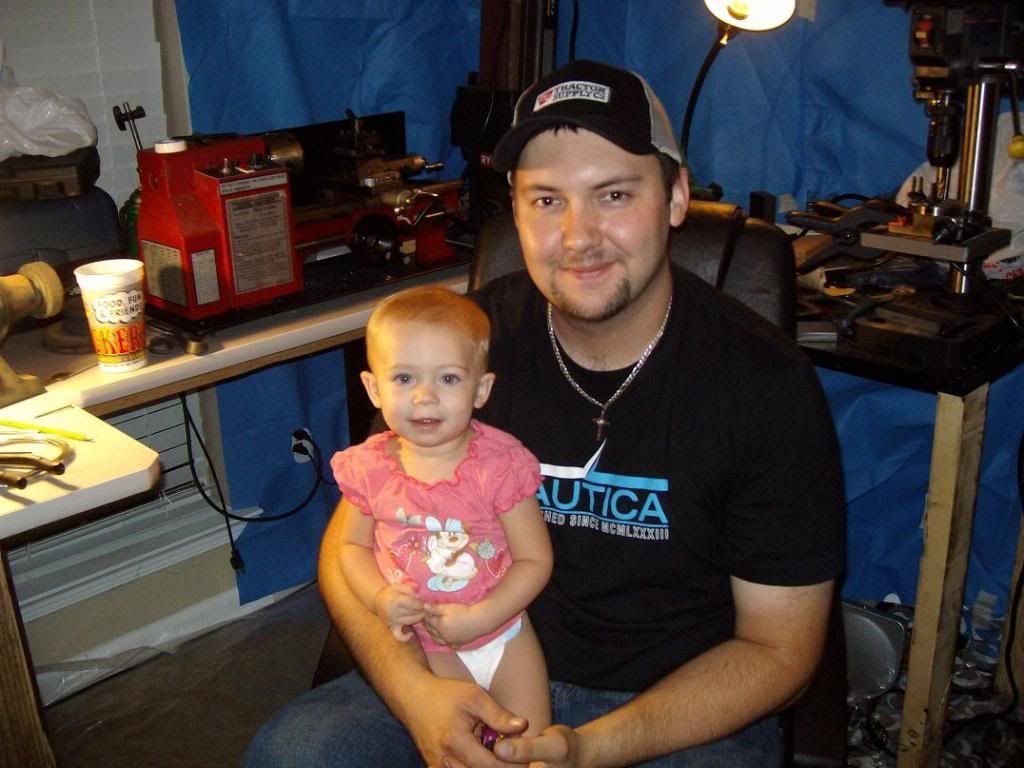
One of the most daunting tasks (it seemed this way before I did it) was easily accomplished in about an hour. When I got finished my little girl was still awake, and she helped me type this

Can't ever spend too much time with my baby girl

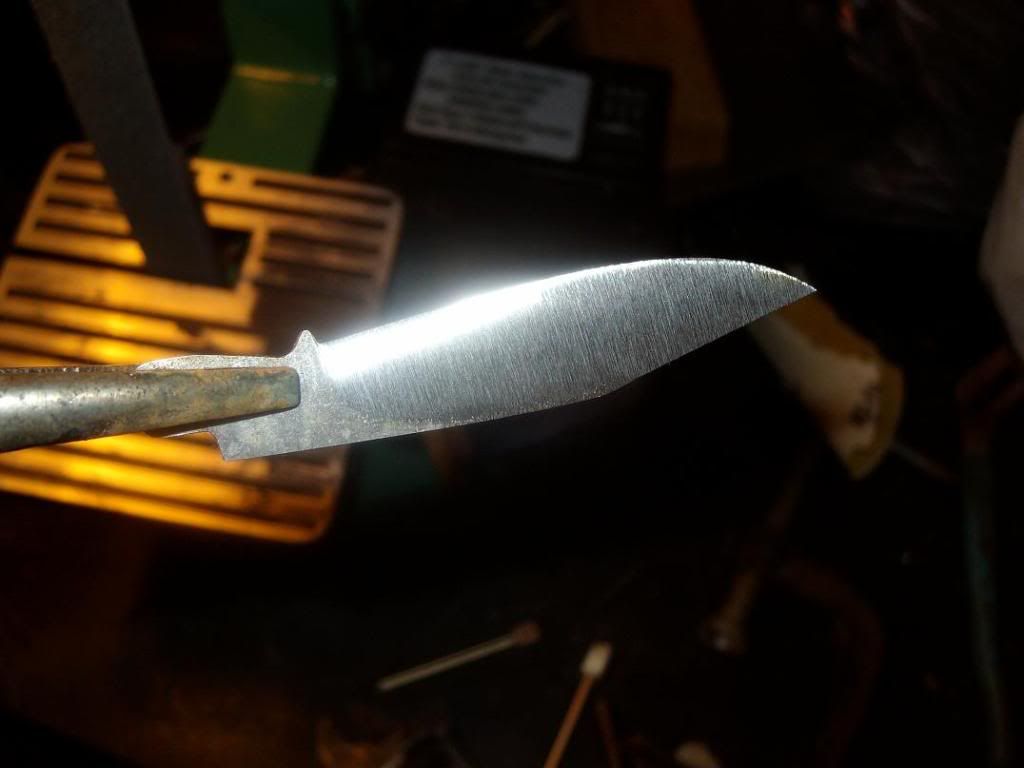
Stay tuned, we still have to grind the blade.
