First slip joint WIP

For me milling the liners works well because I can buy some precision ground steel and keep the spring and the tang the same thickness. If you use washers you either need to buy 2 thicknesses of steel or grind the tang thinner by the thickness of the 2 washers. Without a surface grinder it is almost impossible to keep that tang flat and parallel.

Alistair
 
I had forgot the liner lock kit supplied in the build off, had a back spacer with width to compensate for the washers.

Back to the drawing board.:eek:
 
I'm no pro, but I think the point is that it results in a more seemless product (i.e. no gaps, etc.). That isn't to say that you can't make an exceptional slip joint if you use washers. My interpretation is that it is easier to do so with milled/relieved liners.
 
I have never even heard of using washers in a slipjoint, but hey, I didn't even know the construction of a slipjoint until a few weeks ago. Maybe some use them with some success. I may even try one like that in the future, just to experiment with it.

I didnt get a chance to mess with this last night because of a fire meeting. We also had a young boy drown on the river here in our fire district, and we were out for a little while searching for him.

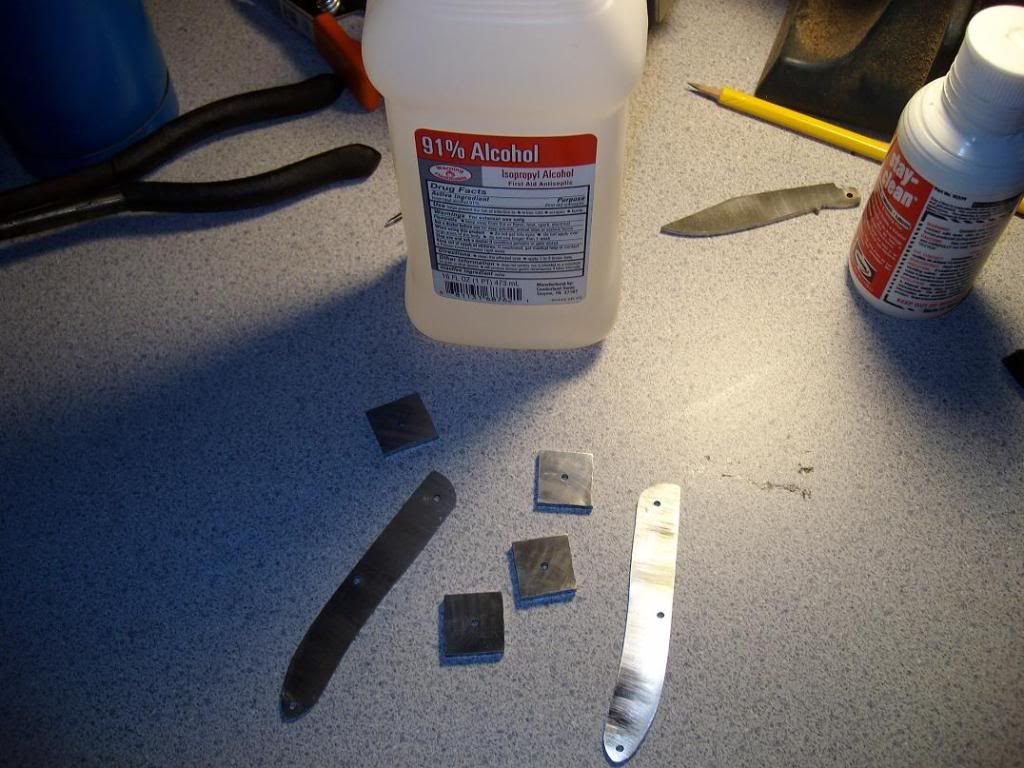
However, tonight I'm back at it. I'm going to solder the bolsters to the liners tonight. I'm using some silver solder and stay clean flux that I got from Pop's. Thanks to Bruce for the recomendation on where to get the stuff.

First I clean my liners and bolsters with alcohol. I don't know if this step is necessary, but it never hurts for the metals to be as clean as possible-
slipjoint52.jpg


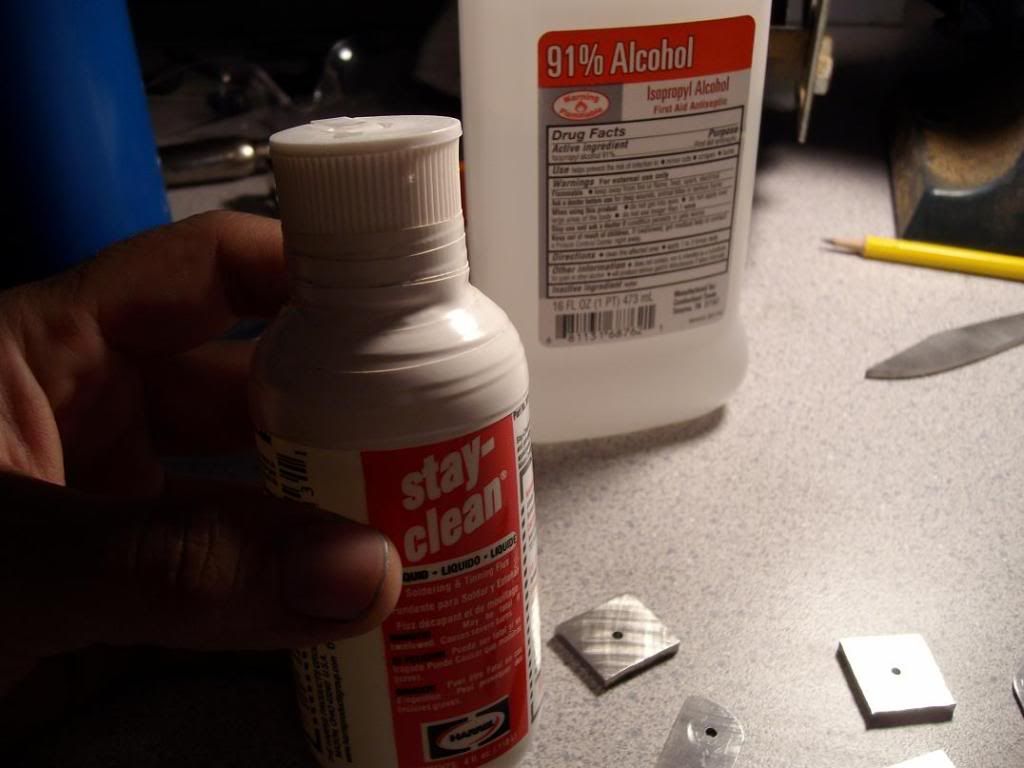
Let's start with this flux. I think I had a defective bottle and I had to tape up the lid because this thing was leaking everywhere. And, the stuff stinks and probably isn't to good for your skin and all that jazz. A little white electrical tape solved the problem-
slipjoint53.jpg


So, moving foward, we dab a small drop of flux on each individual peace. Stick the piece under the torch flame to heat the flux until just when you start to see it boil. Then quickly remove it and spread it around with the little flux brush. This takes a good bit of coordination, and I'll admt I repeatedly stuck the pieces up under the torch flame briefly to get the stuff sizling again so I could spread it around. You may have to add more. Trick is to completely cover the area with flux.

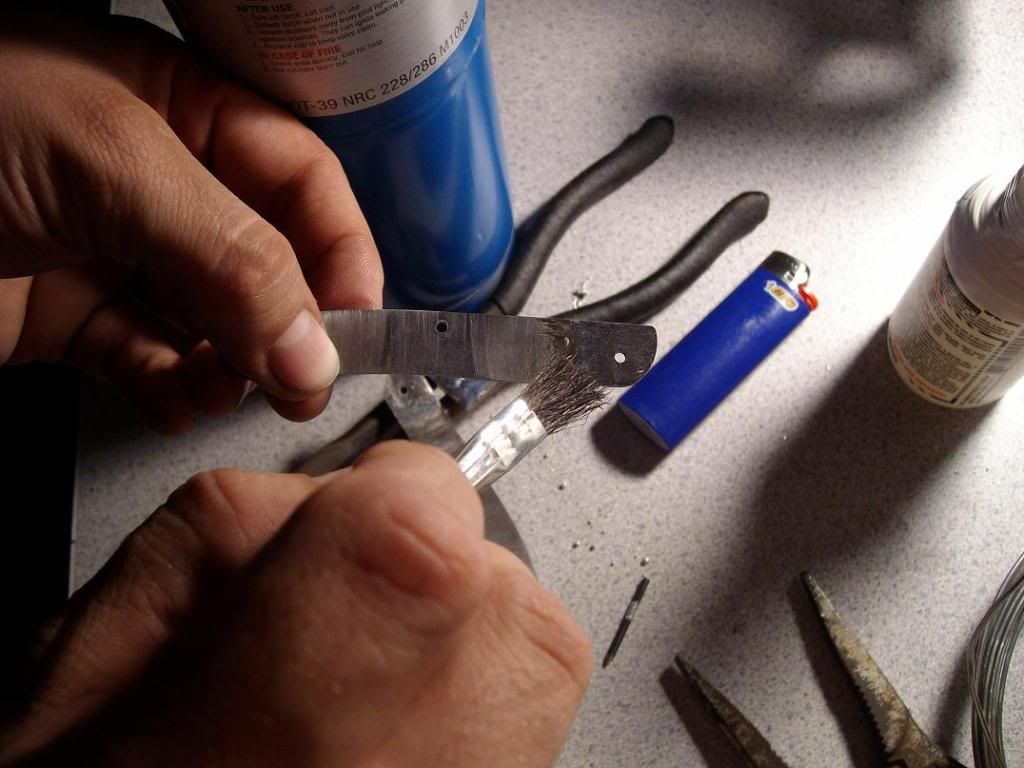
Now when you hold the liner up under the torch flame and have the solder in your other hand, it's kind of tricky to melt the solder with one hand and drop it on to the heated liner. A little practice and you'll be a natural.

You do the same with the solder as you did with the flux heat it a little under the flame until it starts to melt and spread it around with the brush until it covers all of the contact area. Just don't go back and forth to the torch flame so much that you start sticking the flux brush into the flame just like you do the pieces :bud::eek: 
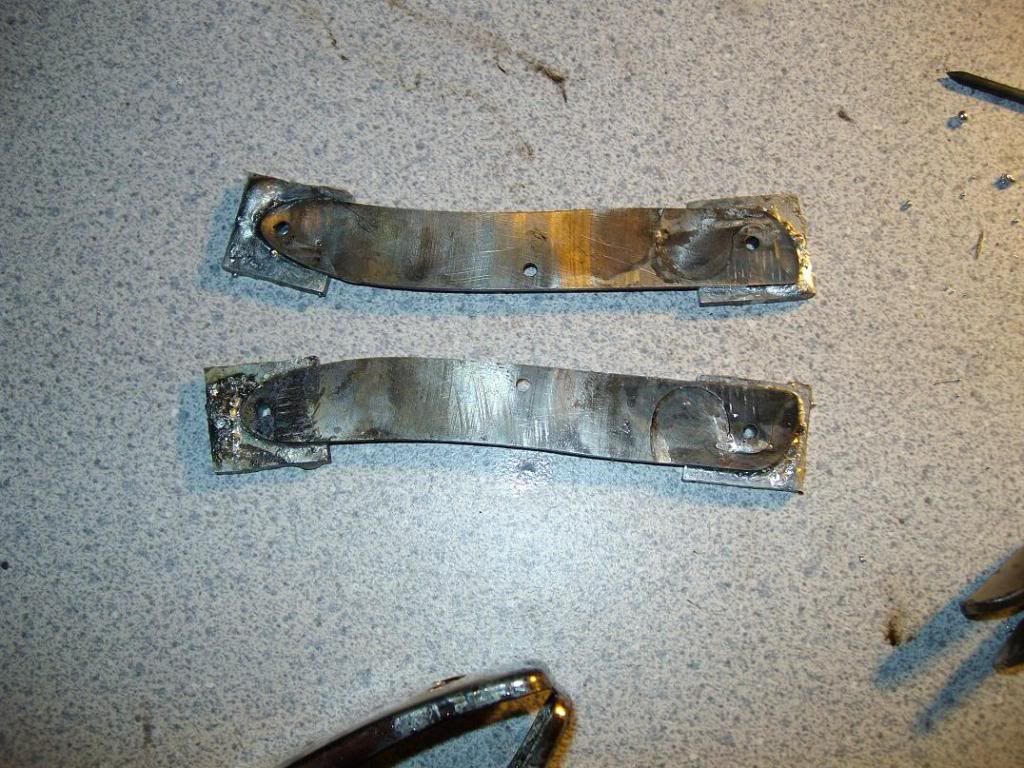
You don't need gaps in the flux, you need a fully "tinned piece. Like this-
slipjoint54.jpg


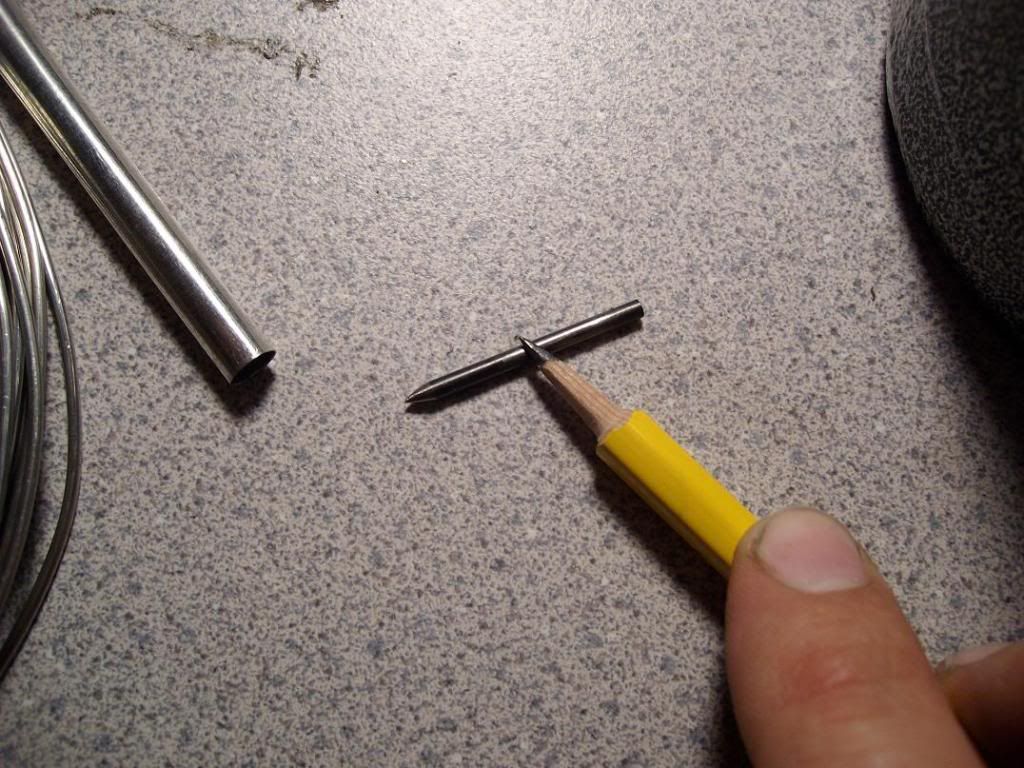
Once you have both pieces tinned, you need a 3/32 drill or a piece of the shank of one. I use the shanks and just grind the flutes off so I don't have to worry with those. Take a pencil and rub it all around the pin so as to fully coat it with lead. This is Bruce Bumps tip - I'm basicly following his WIP as I do mine. For some reason the solder, sure enough, does not stick to the lead on the drill, thus allowing you to remove it after the solder job is complete. Here we go-
slipjoint55.jpg


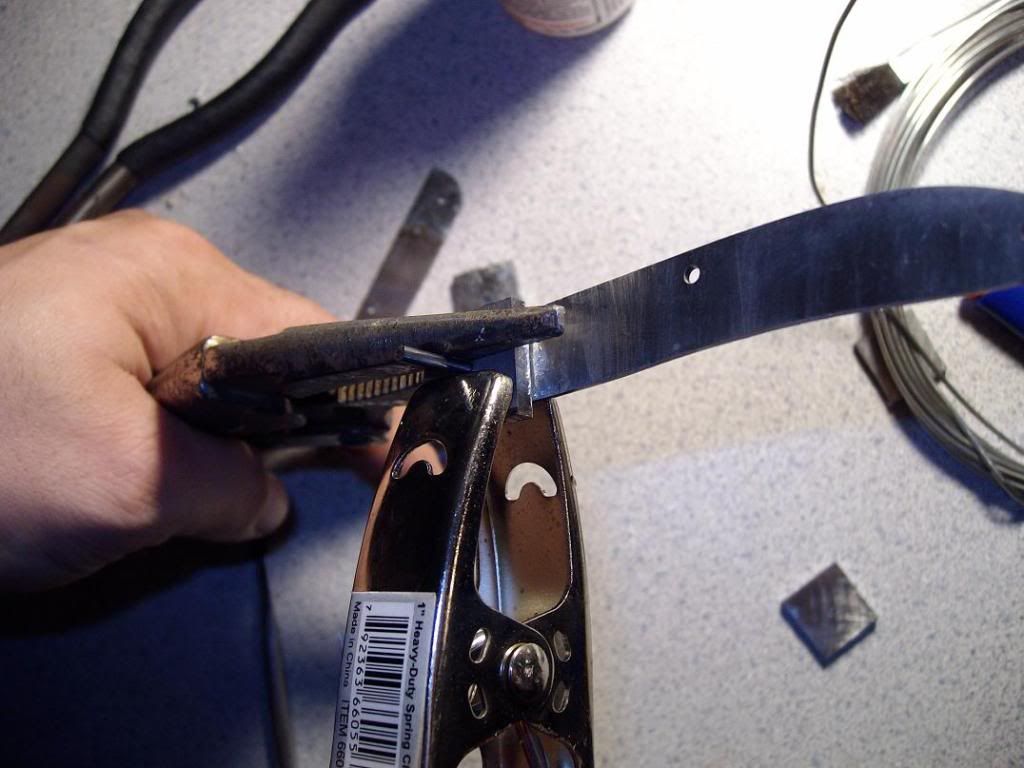
Stick the lead coated pin through both pieces (bolster and liner) and orientate them so that the edge you ground square and flat with the bottom is facing the area where the handle scale will be. Once you do this, clamp the two pieces with some really strong clamps. I used thes little metal clamps and also a needle nose vise grip plier as well. Just be sure that when you clamp, the piece is evenly held down. You don't want one side kicked up, because you risk it soldering permanently in that possition. You want everything to lay down flat against each other when you throw the torch to it. Like this-
slipjoint56.jpg


Now, drop some flux down on the cracks. You don't need a whole lot, and add heat. I found it easier to take the torch and hold it in my hand, and point it at the cracks and at the area in whole to be sure everything sealed and seated correctly. You will see the piece lay down, and it will almost appear to have no solder in between the liner and bolster. Once it does this, you're good to go. quickly remove the piece from heat and quench it in a cup of room temp water. It could be cold but the room temp will be fine. Remove the pin piece and repeat for the other bolsters. DO NOT remove your clamps until after you cool the piece. The metals will retain their heat you just applied, and if you remove the clamps the piece wil be swimming in molten solder and out of whack. I made this mistake here once. I just reclamped and made sure everything was still straight and it turned out fine. Don't do what I did lol.

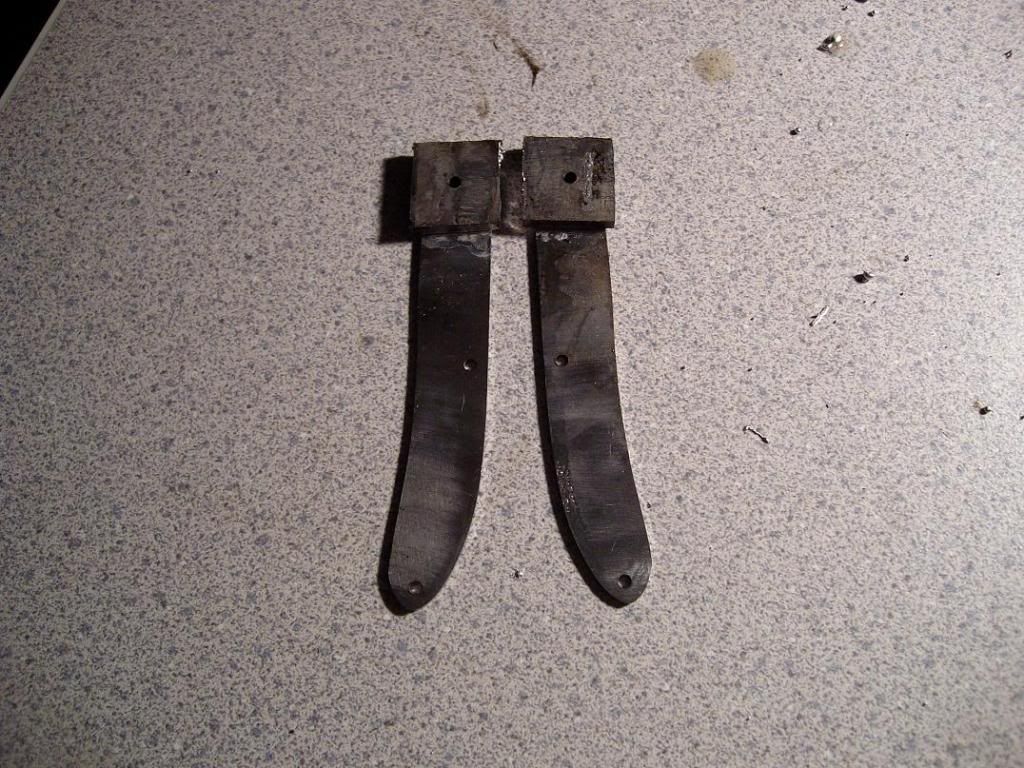
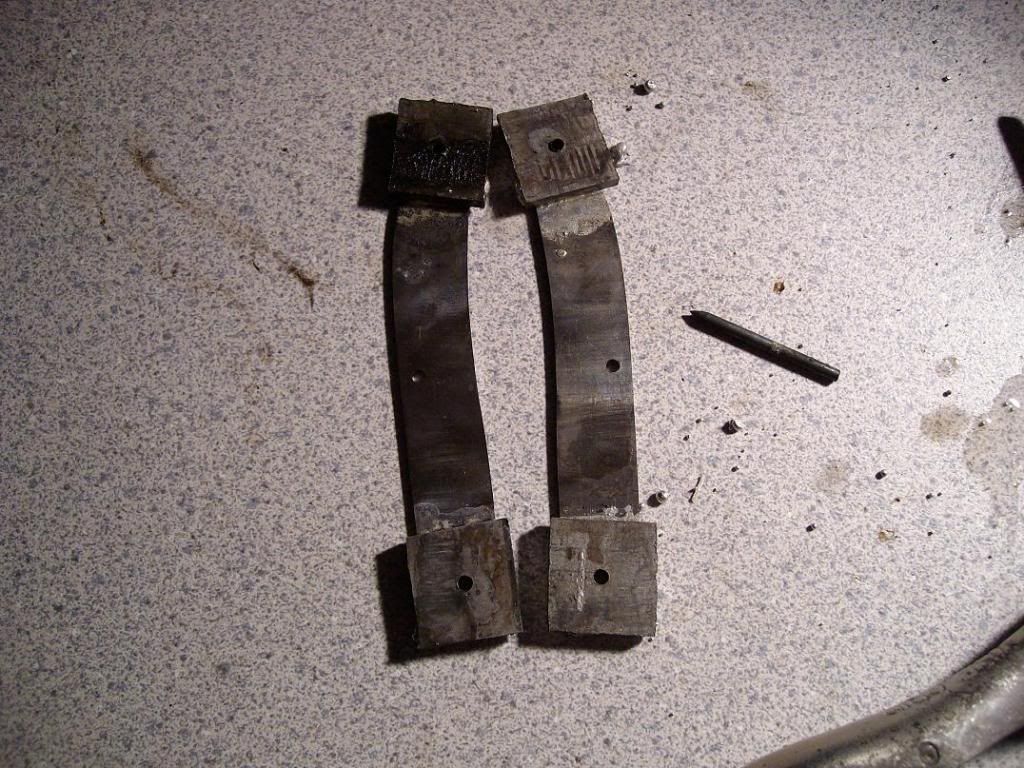
Now you have one set of ends done-
slipjoint57-1.jpg


And then after you finish the other ends you are done with this part ;)
slipjoint59.jpg

slipjoint60.jpg


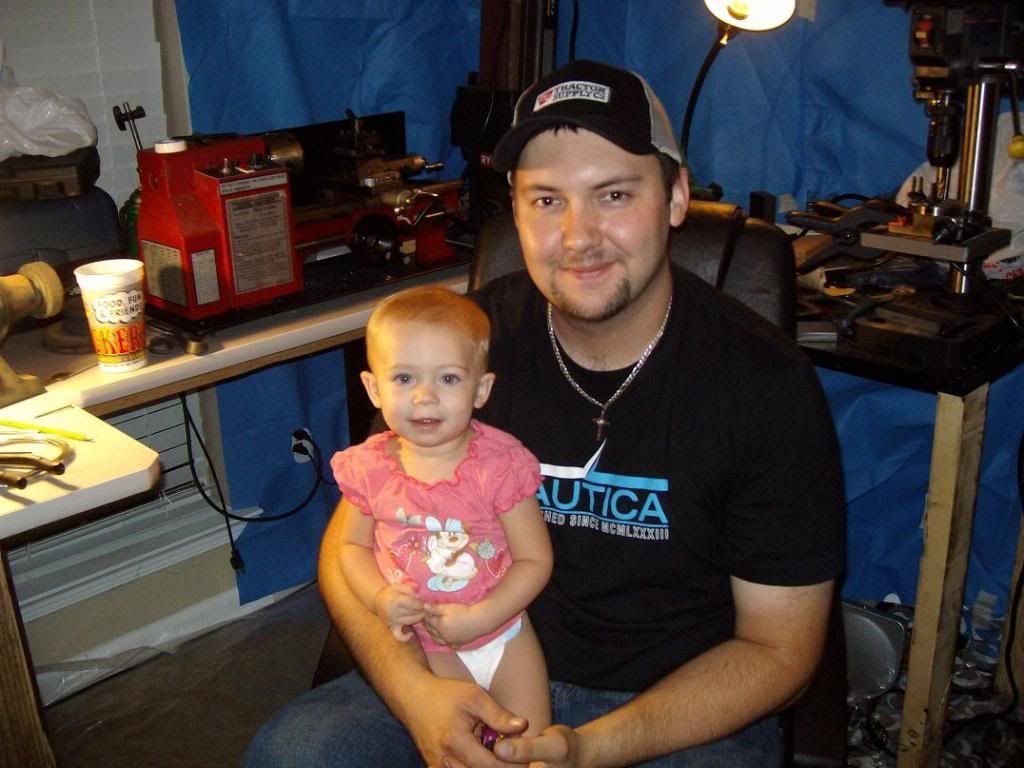
One of the most daunting tasks (it seemed this way before I did it) was easily accomplished in about an hour. When I got finished my little girl was still awake, and she helped me type this :)
slipjoint58.jpg


Can't ever spend too much time with my baby girl :)

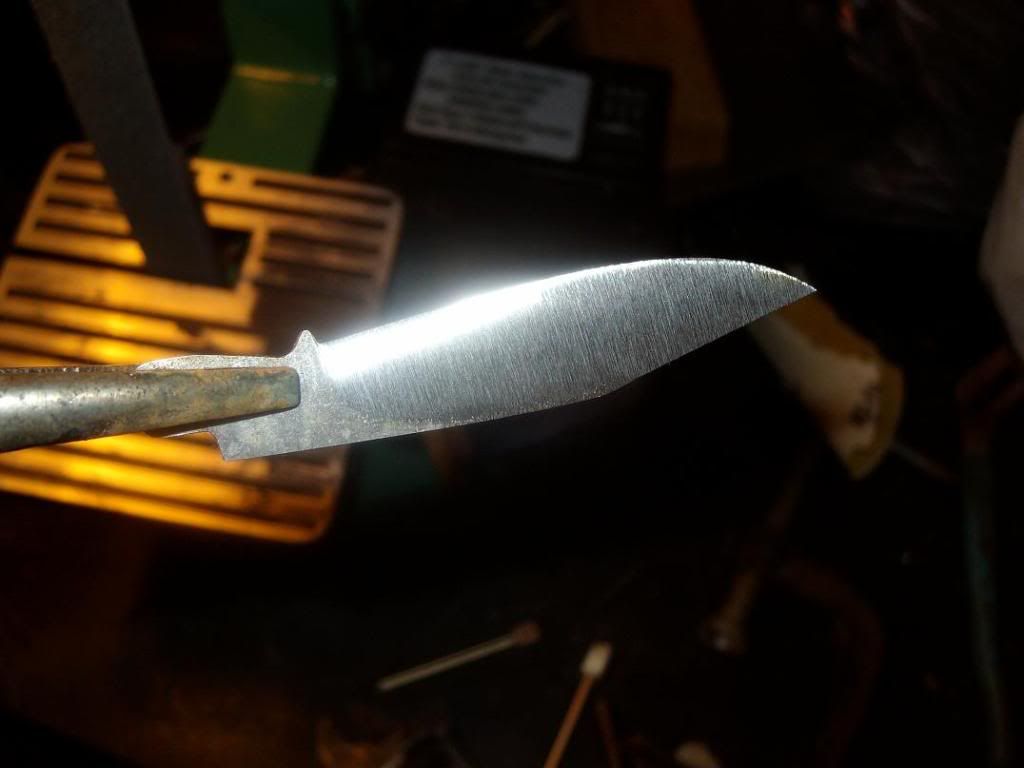
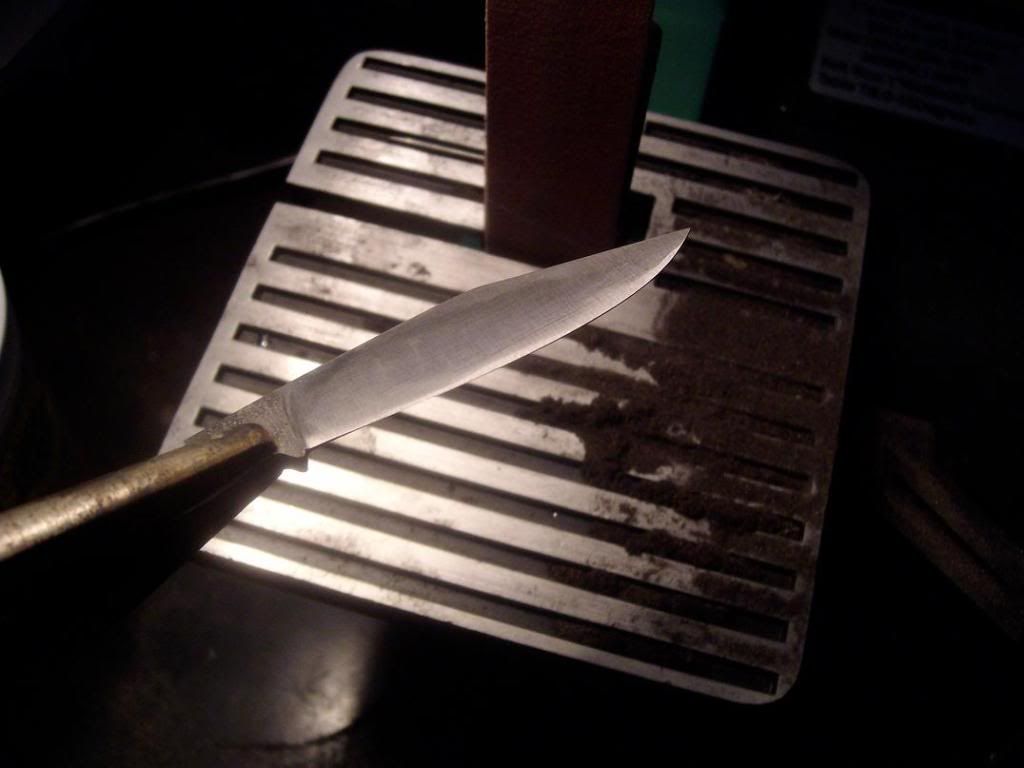
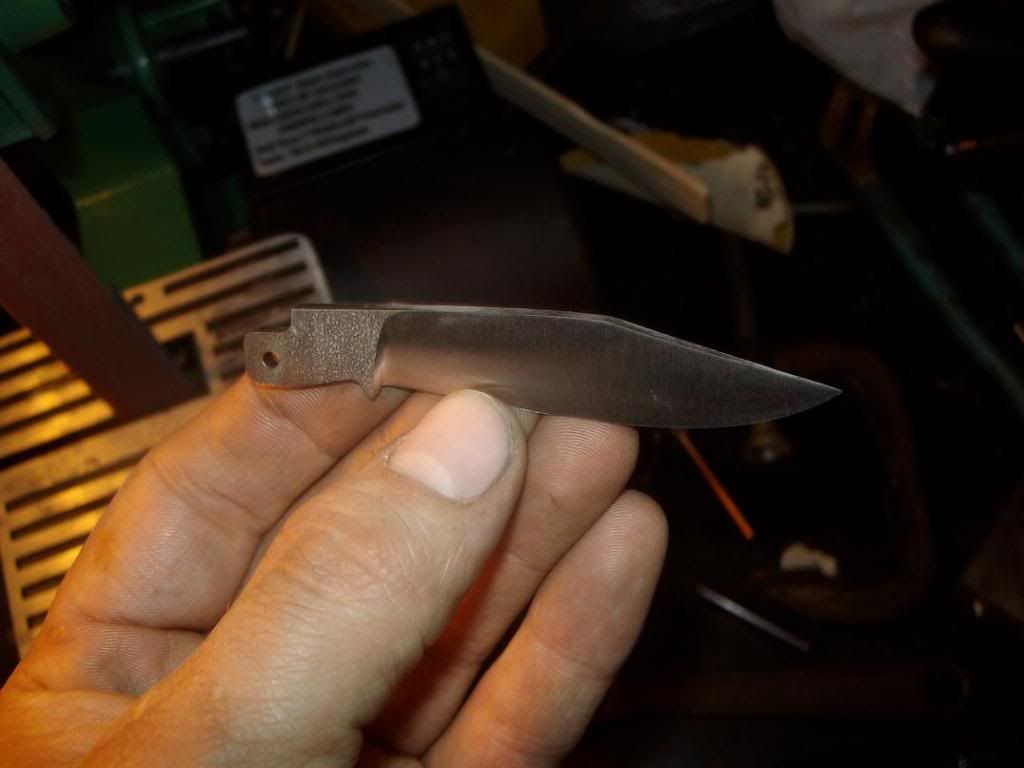
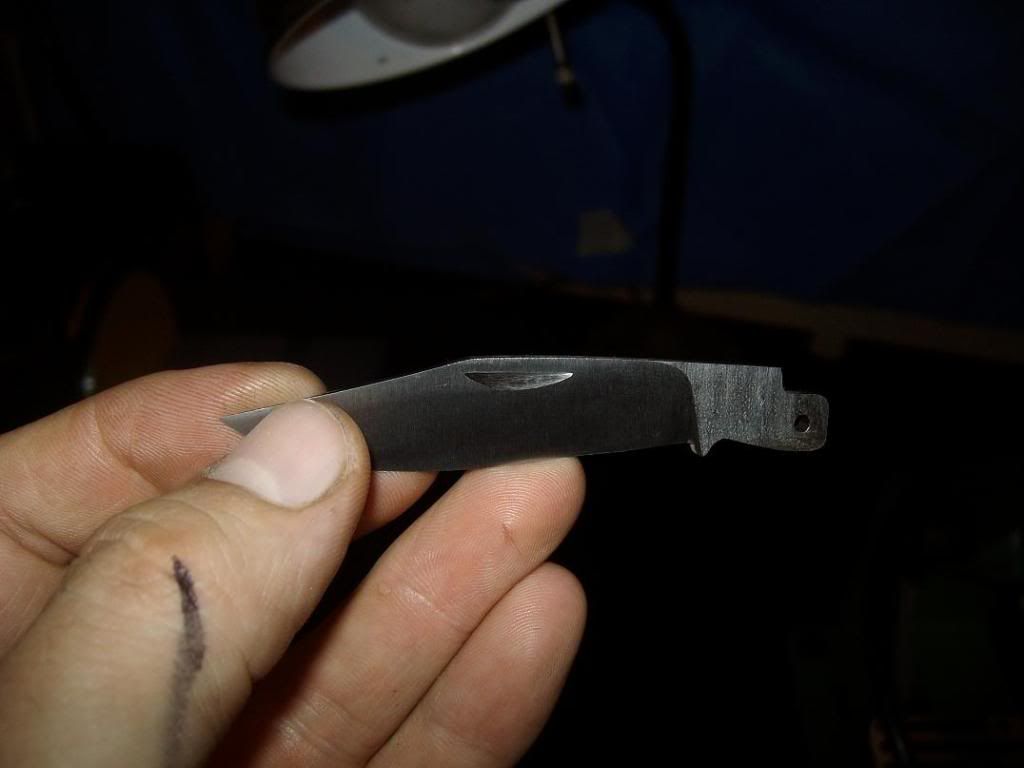
Stay tuned, we still have to grind the blade.
 
Last edited:
Ground the blade tonight. I used my little 1x30 to do a flat grind. I went from 80-120-320-400-600 grit. I could really tell how under-powered that little grinder is. It will do the trick though until I get my big one built. I have not heat treated the blade yet. I'm still tryng to decide if I want to do the little bronze spacer or not. I can't heat treat the blade and spring until I decide.

Here Are some pictures.
slipjoint61.jpg


slipjoint62.jpg


slipjoint63.jpg


slipjoint64.jpg


slipjoint65.jpg


slipjoint66.jpg


I'll finish it after it comes out of heat treat. I think it turned out pretty good for my first flat grind. I also think it may be slightly convex.
 
First grind? Is this your first knife too?
You're freak'n me out:eek:

I thought I had some mechanical ability, had to check my hands to make sure there was ONLY 2 thumbs.

Seriously though, I'm enjoying this thread and learning too.
 
First grind? Is this your first knife too?
You're freak'n me out:eek:

I thought I had some mechanical ability, had to check my hands to make sure there was ONLY 2 thumbs.

Seriously though, I'm enjoying this thread and learning too.

I'm glad you guys are getting something from this thread. I'm trying to point out all of my mistakes too, so that way people who are doing it for the first time will know what to watch out for.
 
Hi J

maybe this is a dumb question... do the liners have to be relieved in a round circle... or could you just do a sorta square .... i don't have a rotary table.. and i was thinking that maybe i could just do a square path... .. i don't think anyone really see's in there to tell how it was done ?

or is this a bad idea... :confused:

Greg

In his portion of "How to make a Multi-Blade Folding Knife" Eugene Shadley does something similar, so I think it is certainly acceptable. I think the intent of the relief is to keep the liners from scratching up the area above the choil where makers typically mark their blades. As such, the shape of the relief isn't extremely critical.
 
In his portion of "How to make a Multi-Blade Folding Knife" Eugene Shadley does something similar, so I think it is certainly acceptable. I think the intent of the relief is to keep the liners from scratching up the area above the choil where makers typically mark their blades. As such, the shape of the relief isn't extremely critical.

I don't see where it would hurt a thing. If all you have is a mill and you just want to make a square edged relief I think it will work fine. Like JC says, all this does is keep the liners from dragging on the area of the blade that is marked with the makers logo. I have a store bought slipjoint sitting right here that has brass liners which are not relieved. The blade is finished with 400 grit sandpaper at best, and there is a clear circular mark all the way around. It looks awful. This is what we are trying to prevent.

The only reason I bought a rotary table is because I can use it for many other tasks as well.
 
Last edited:
Looking good so far. Its cool to watch somebody make something that I had some influence in. Like a proud Papa.
 
Ok folks, Nail nick time. I thought about this and covered every possible option in my head of how I could do this, and decided on a dremel tool to use for it. I just had to find the right cuttof wheel or grinding stone. I stopped by Lowes today and picked up this cuttoff wheel kit-
slipjoint67.jpg


The only reason I bought this kit was because among all of the different cutoff wheels inside there were a few that caught my eye. I couldn't find this particular one anywhere in its own little container for sale. It is about 1.5" dia. and about 1/16" thick. the wheel is made out of some type of grinding stone material. I knew this would run truer than a regular fiber cutoff wheel. I was right, it turned really true.
slipjoint68.jpg


I first checked it out on a piece of scrap steel to get it orientated right and be sure that it was going to work. You have to hold the dremel tool down really close and you have to have a very firm grip on both the tool and the blade. the slightest slip could be a disaster, so be careful if you use this method. If you are uncomfortable with it, do it until you become comfortable on some scrap. You don't want to mess up a blade after it has come this far.
slipjoint69.jpg


I marked the nick like I wanted it with a sharpie, but somehow I lost the picture of that. I turned the tool on and created the nick. It only took about 3 minutes. I think I went a little deeper than I intended, but It looks really good for a first attempt. I do want to try to do it with a surface grinder wheel like Bruce Bump, and I would also like to try a fly cutter. I will do both of those eventually. So here we go-
slipjoint70.jpg


And now since we are this far along in the build, I'm going to ask you guys for some help. I have four choices here for handle material. I want to use what you guys think would be a good choice for this knife. Right to left, we have Eucalyptus wood from Australia, Red Buffalo horn, sambar stag, and black buffalo horn with white streaks. I haven't worked with any of them except for the eucalyptus, but I'm sure there won't be too much of a learning curve for the others. I'm not gonna move forward until we get a couple of votes for a certain handle material, so yall help me out ;)

slipjoint71.jpg
 
Back
Top