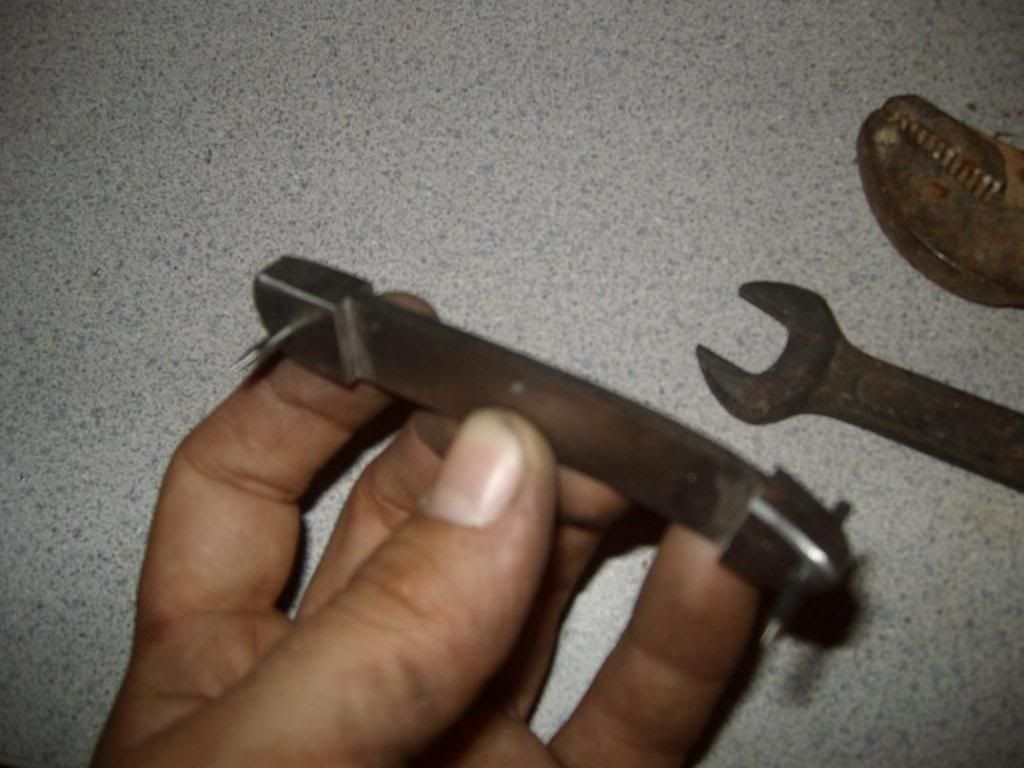
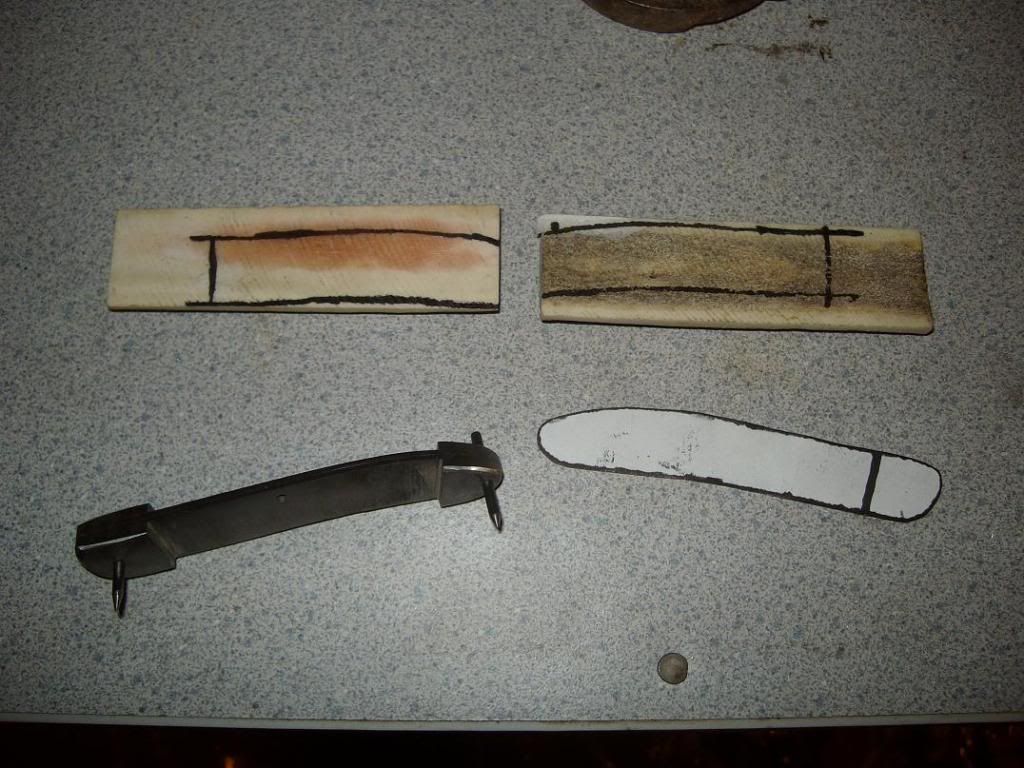
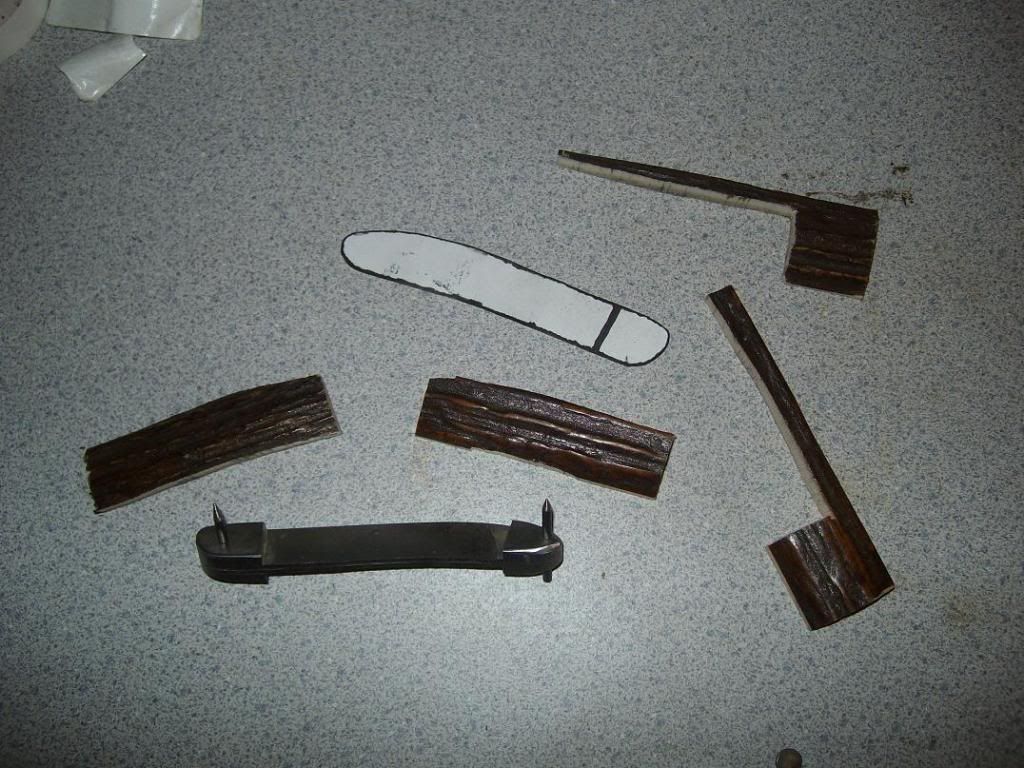
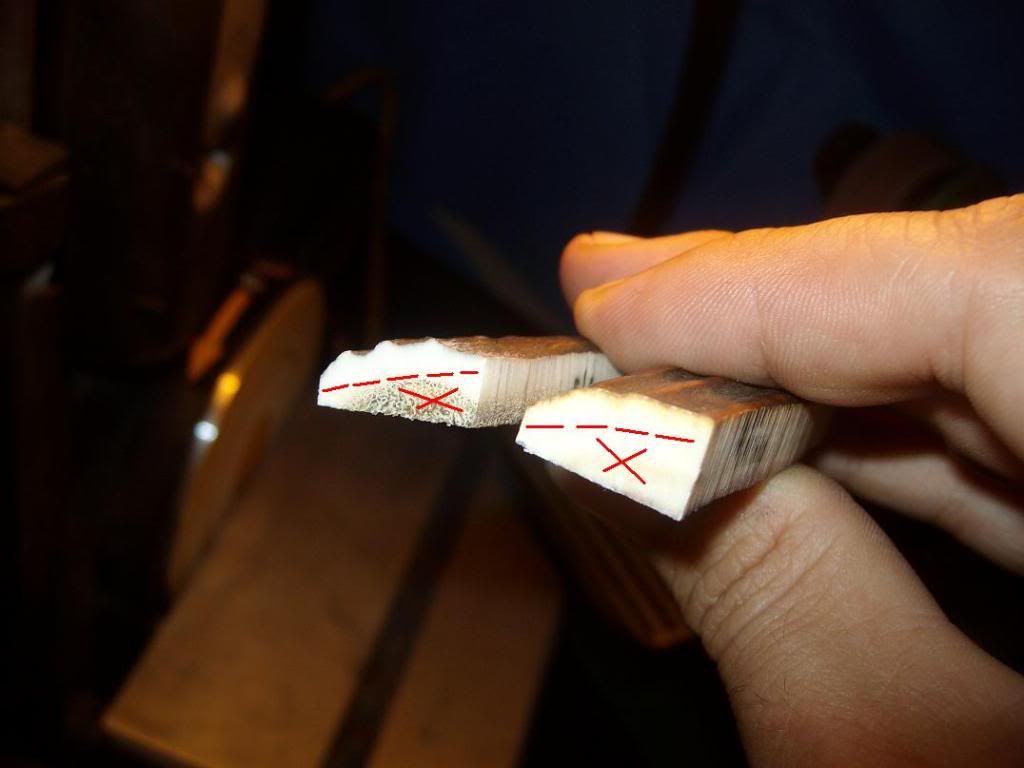
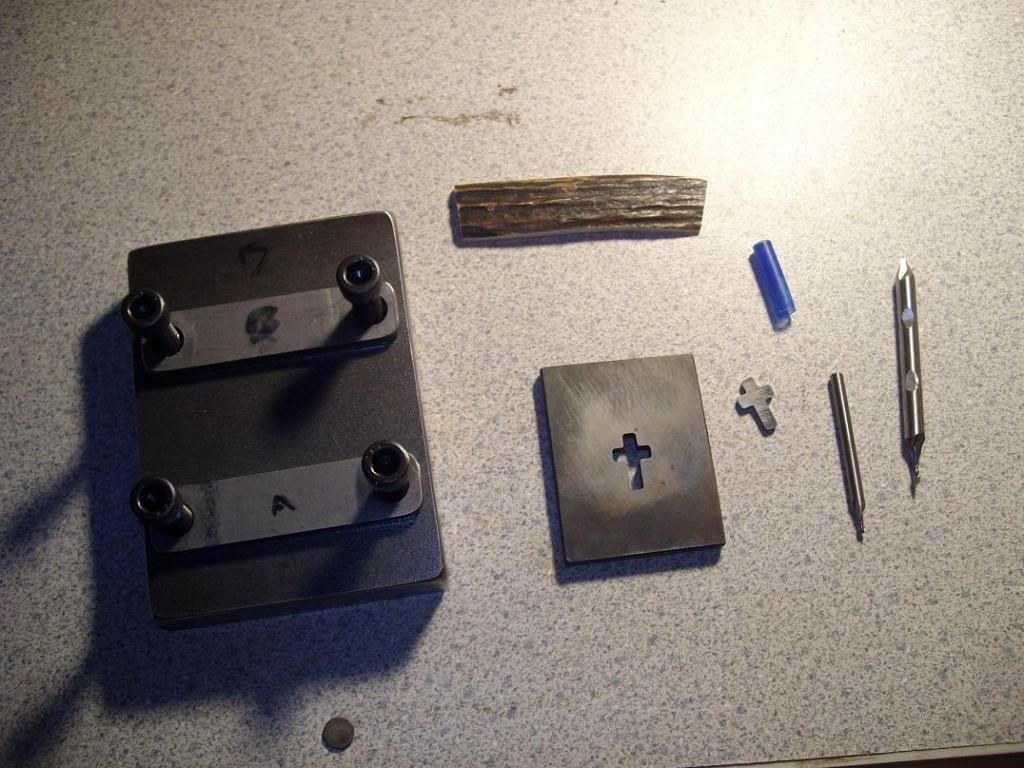
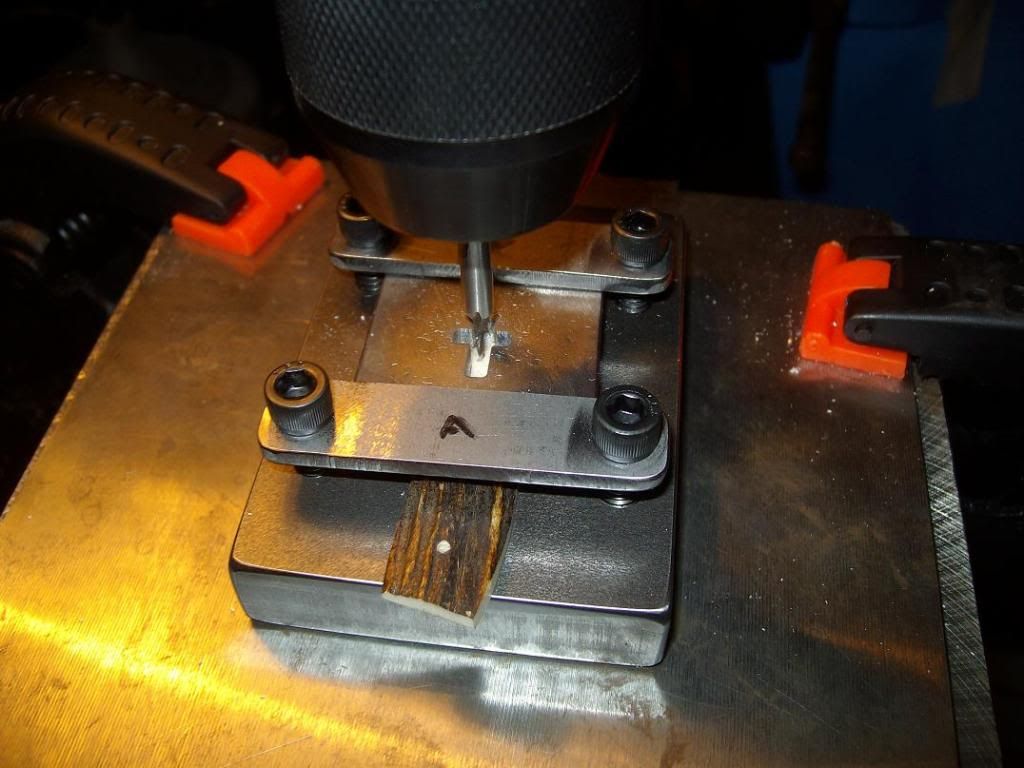
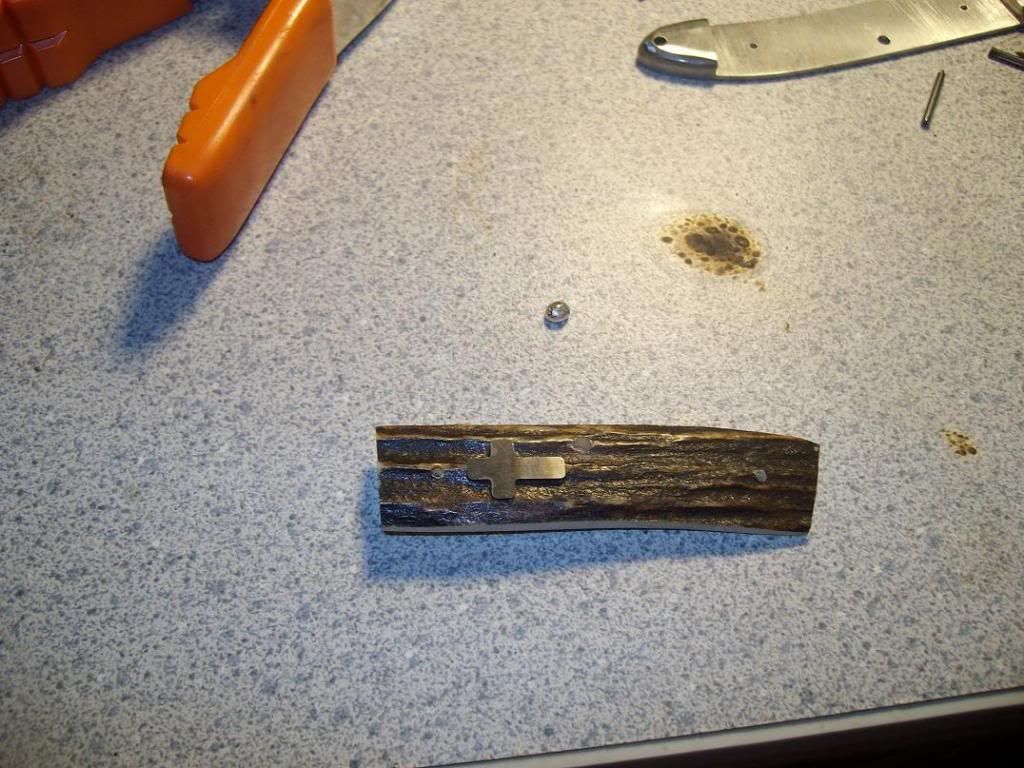
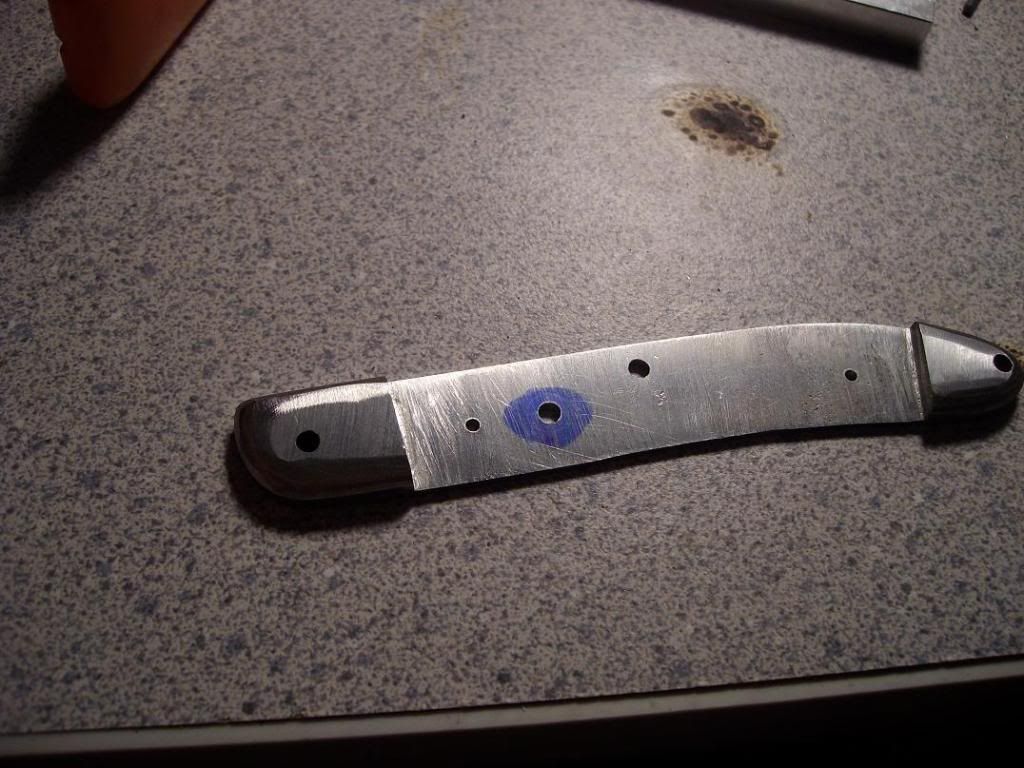
Ok guys, a day off of work today and I got alot done. I started to put the shield in the liner and realized I had forgotten to make a fixture to hold the liner while it is being cut. I got the idea from Bruce Brump's thread and built one similar to that. So, once I got that done I laid everything out to get ready and do it. Here we have the liner, the negative plate, the shield, two 1/16" endmills and the fixture. If you look really close, you can see that one of the endmills is double end, and one end has been broken off. That's what happens when the speeds and feeds figures you use are a little fast in a cnc.-
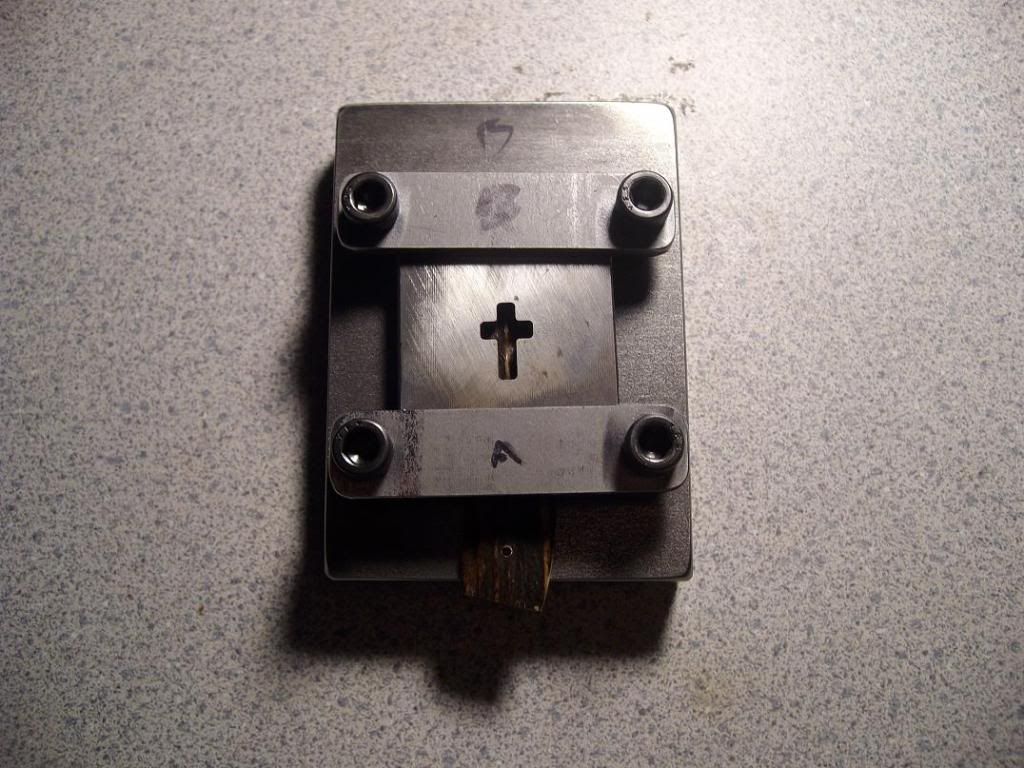
Here it is bolted in. Be careful not to tighen the bolts too tight. This stag material seems pretty forgiving, but I'm sure that there are some handle materials that may be a little brittle. I can't imagine doing this with mother of pearl or something like that. Here we are ready to cut-
Spin the endmill as fast as you can go. An endmill this small needs to be spinning really fast and you don't need alot of pressure to cut- Slow and easy. soft material will cut fine, so you don't need to be in any hurry. Here we are cutting-
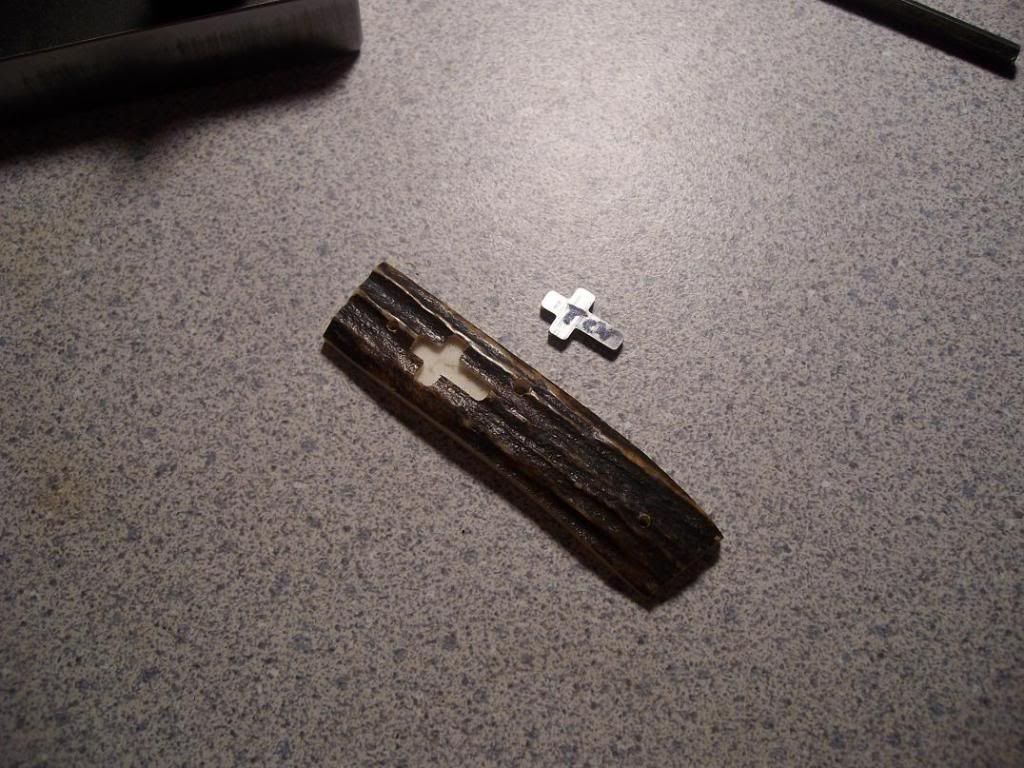
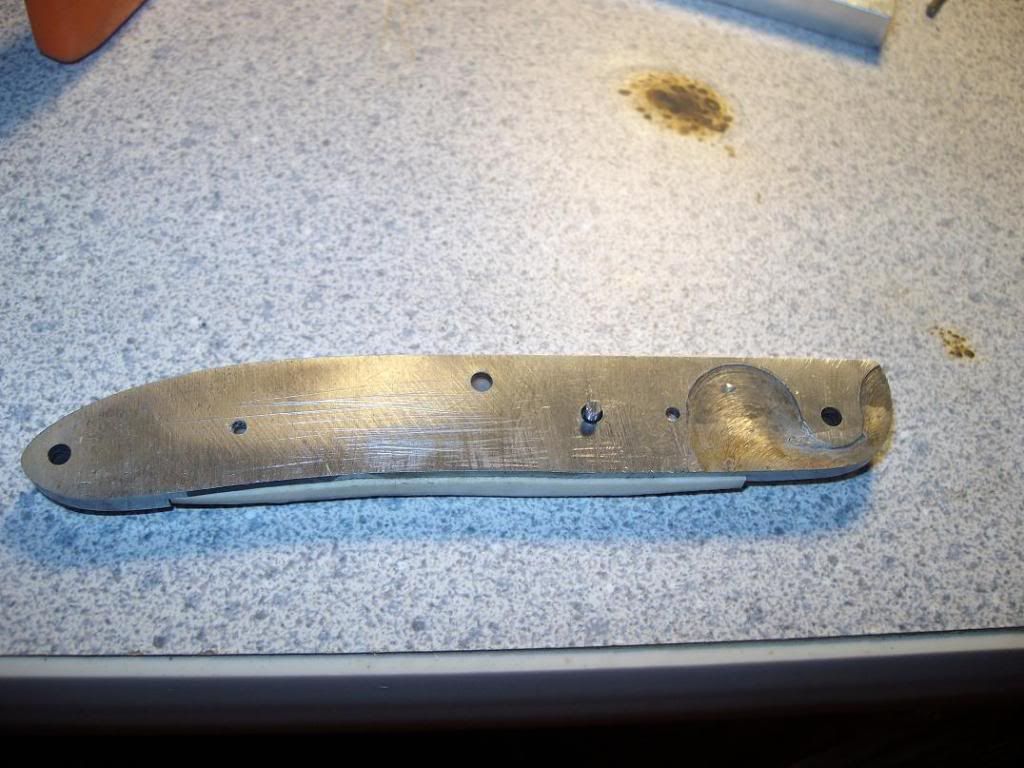
And finished-
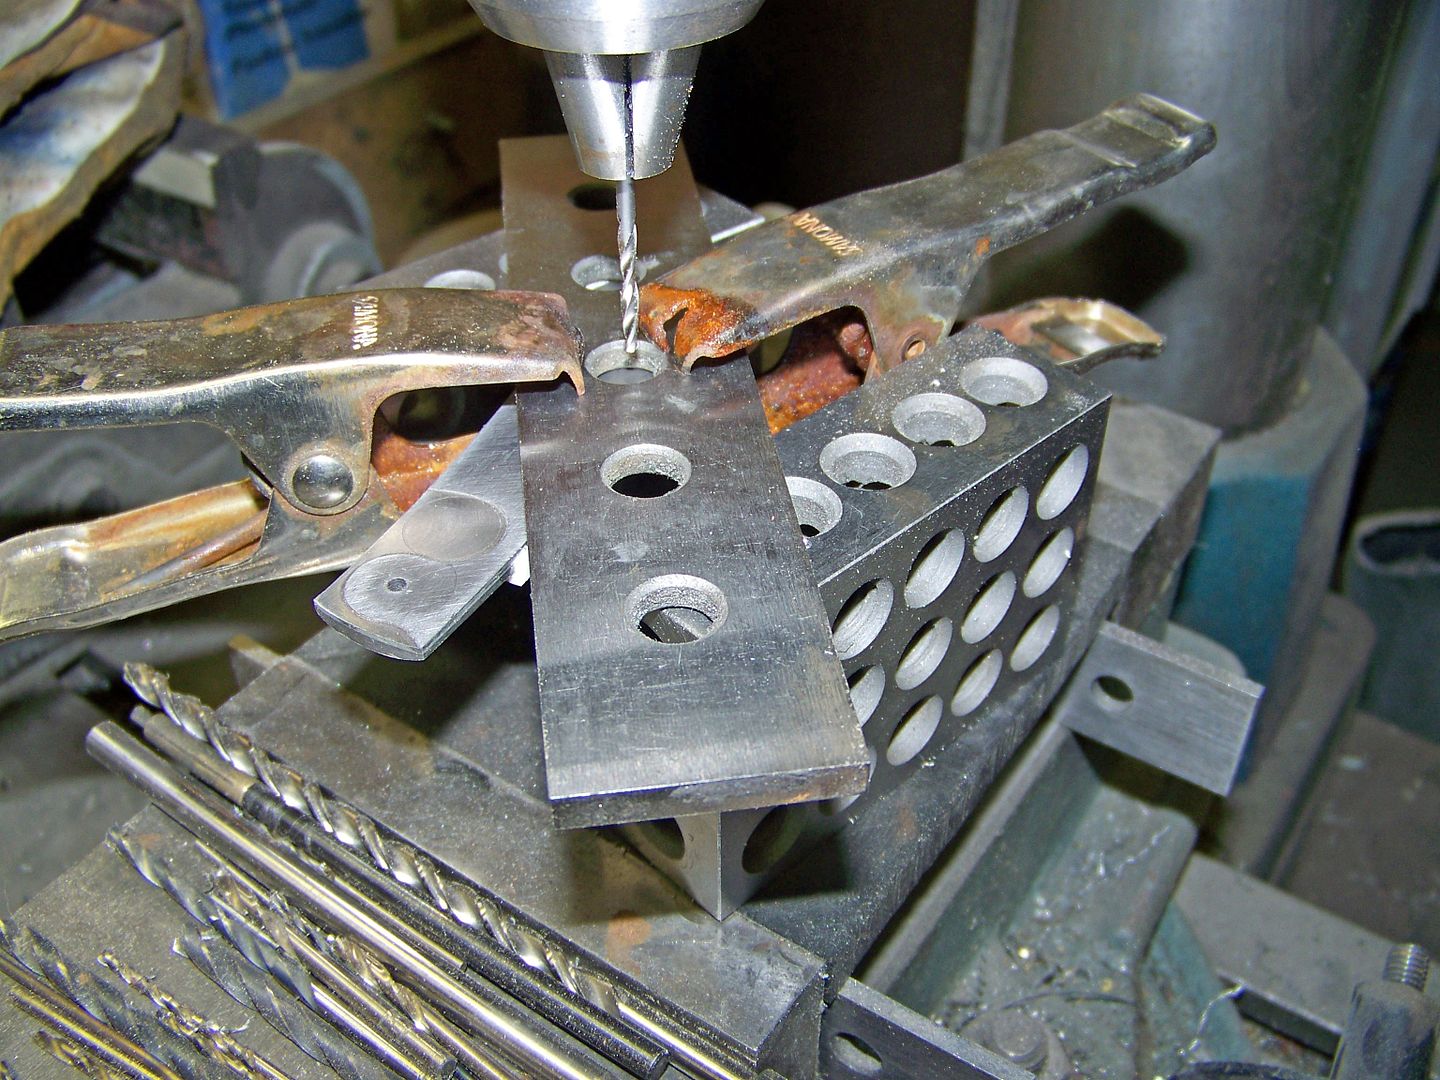
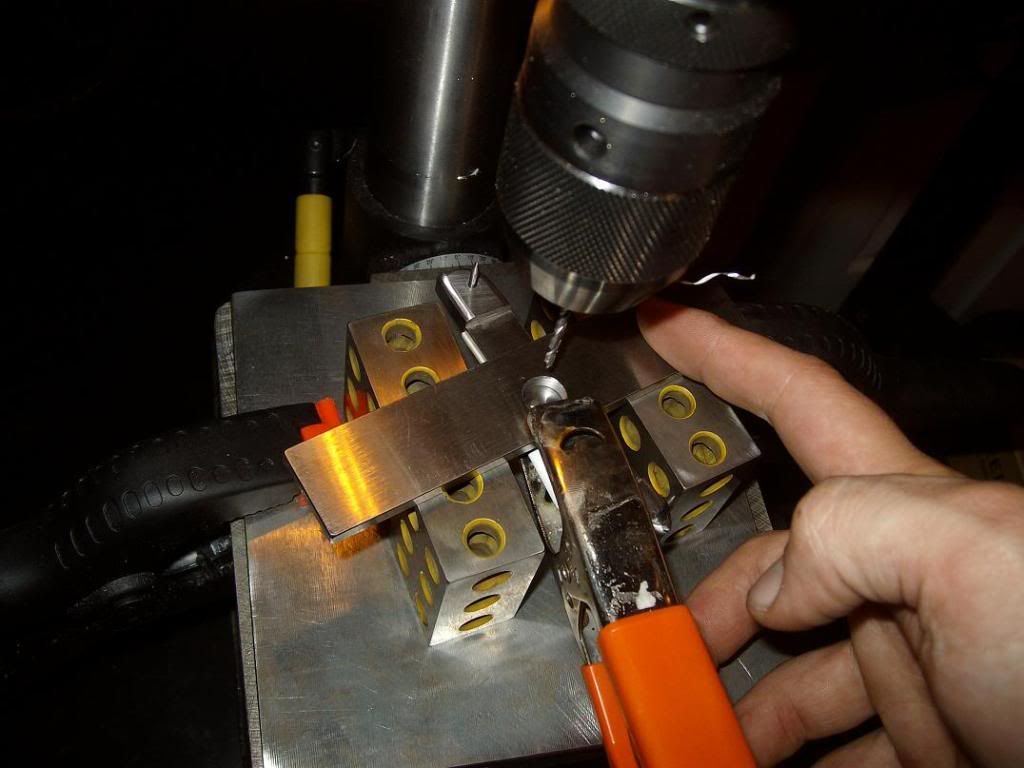
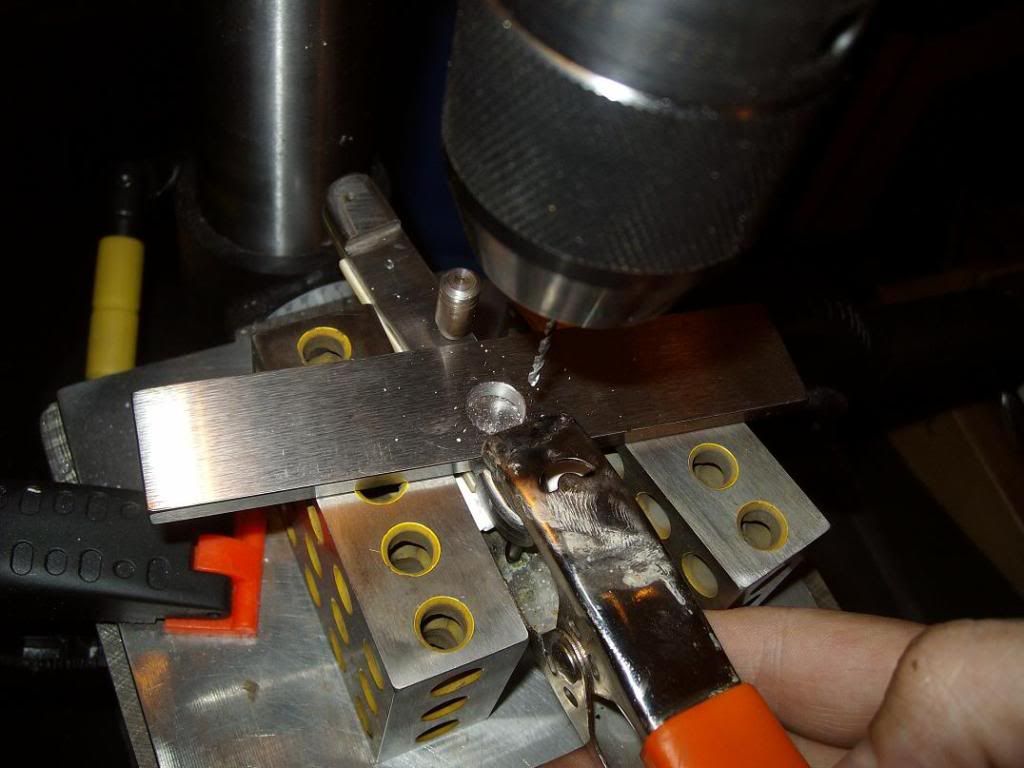
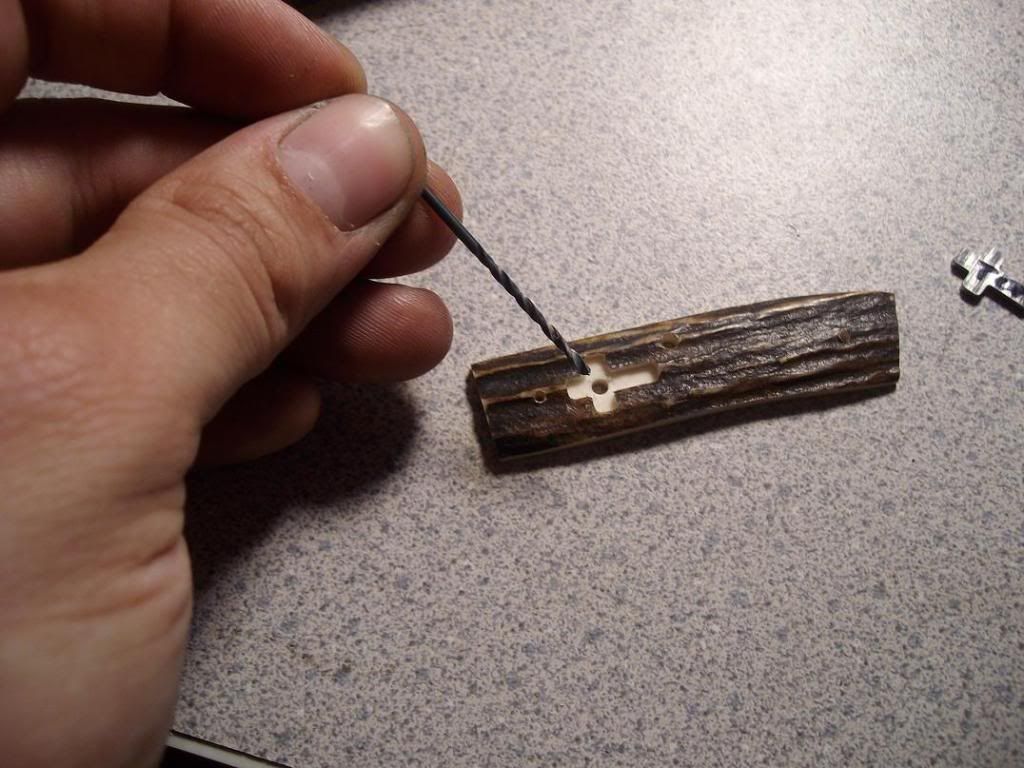
A small hole needs to be drilled in the center of this pocket for the shield pin. I chose to go with a 3/32" because I knew that the 1/16" pin on the back of the cross may not be in the exact center. This way you will have a little room for error-
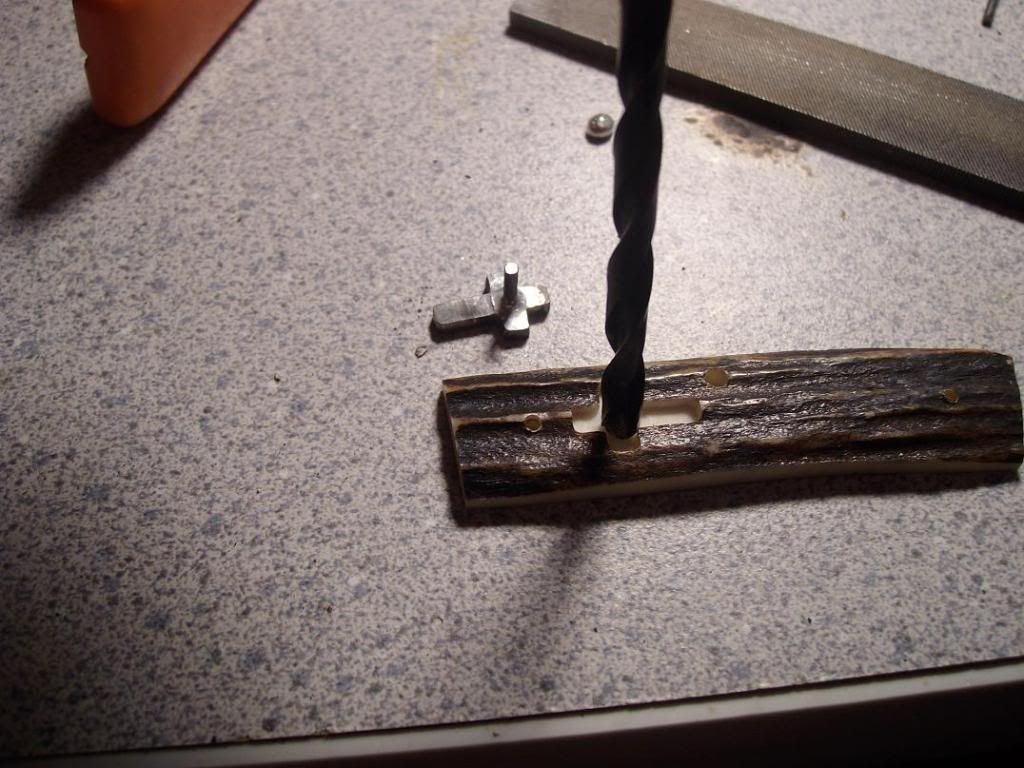
Take a larger drill (I used a 3/16") and twist it by hand on the hole you created earlier with the 3/32". Later we will solder a pin to the back of the shield. This will relieve the scale so that the swelled area of solder around the pin on the back of the shield will have clearance. You want the shield to sit down in the liner flush, not stop because something is keeping it from seating

-
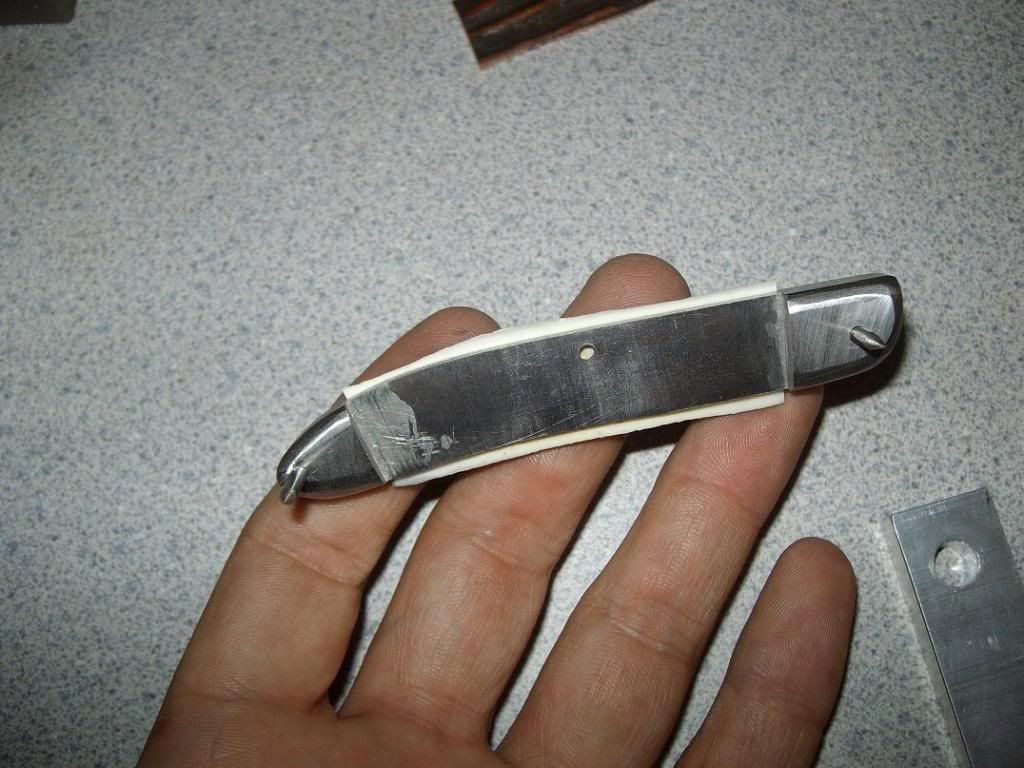
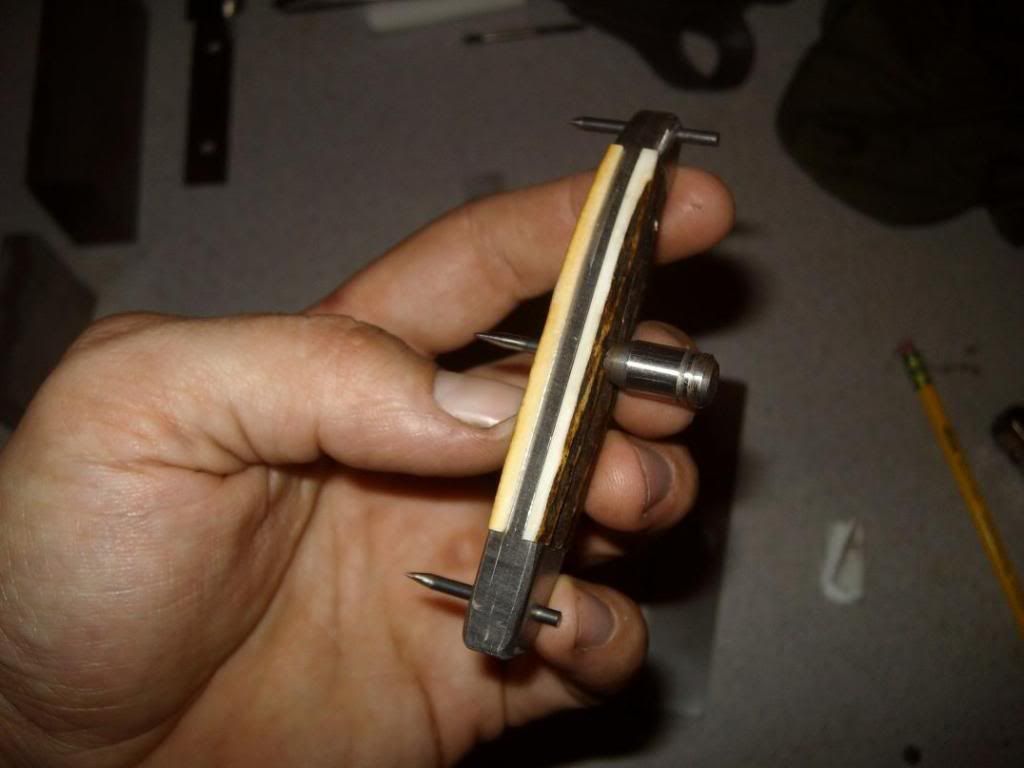
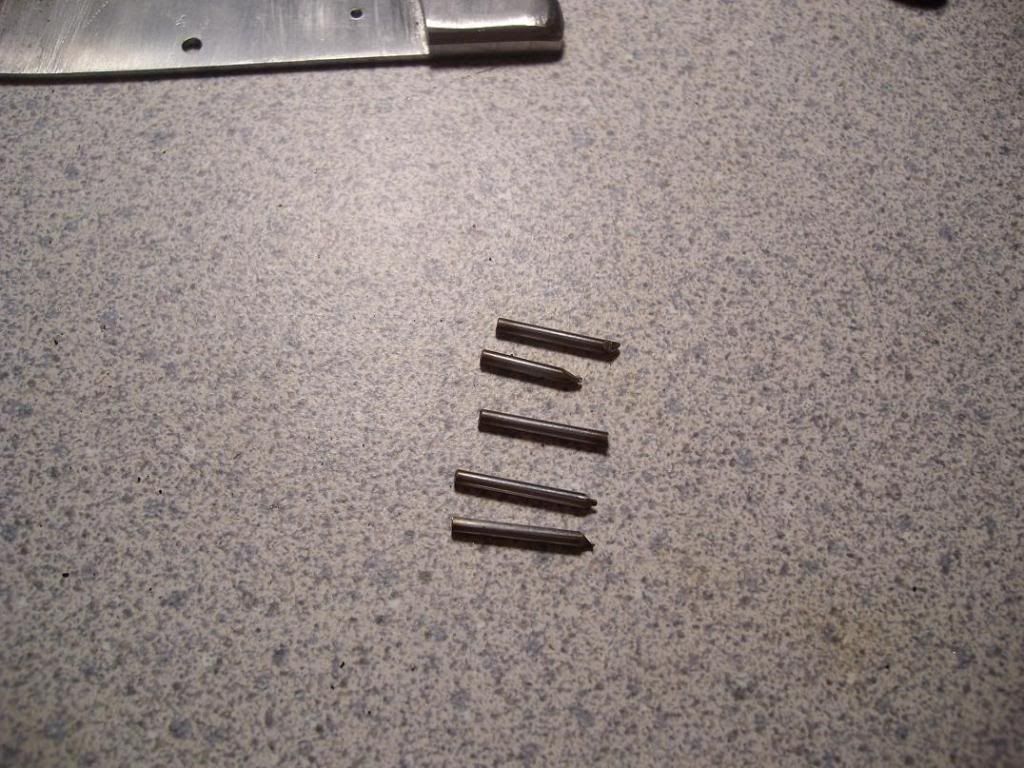
Here I cut 5 small 1/16th 410SS pins. I squared off one end of each. One is soldered to the back of the shield, the others are for each end of the scales-
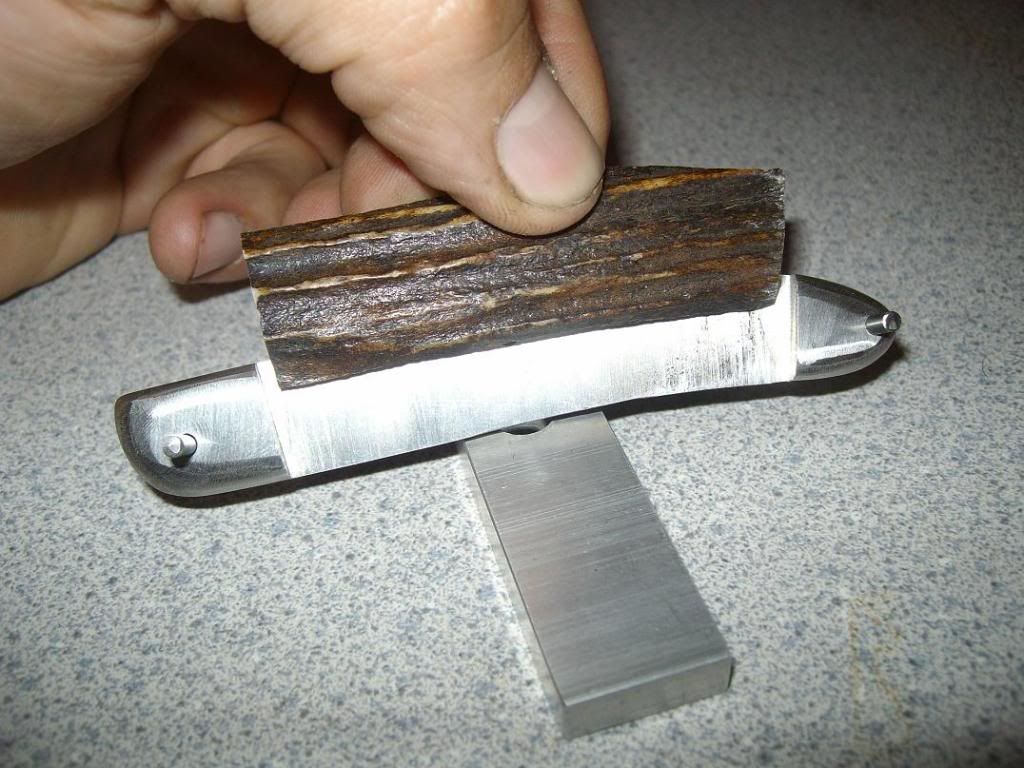
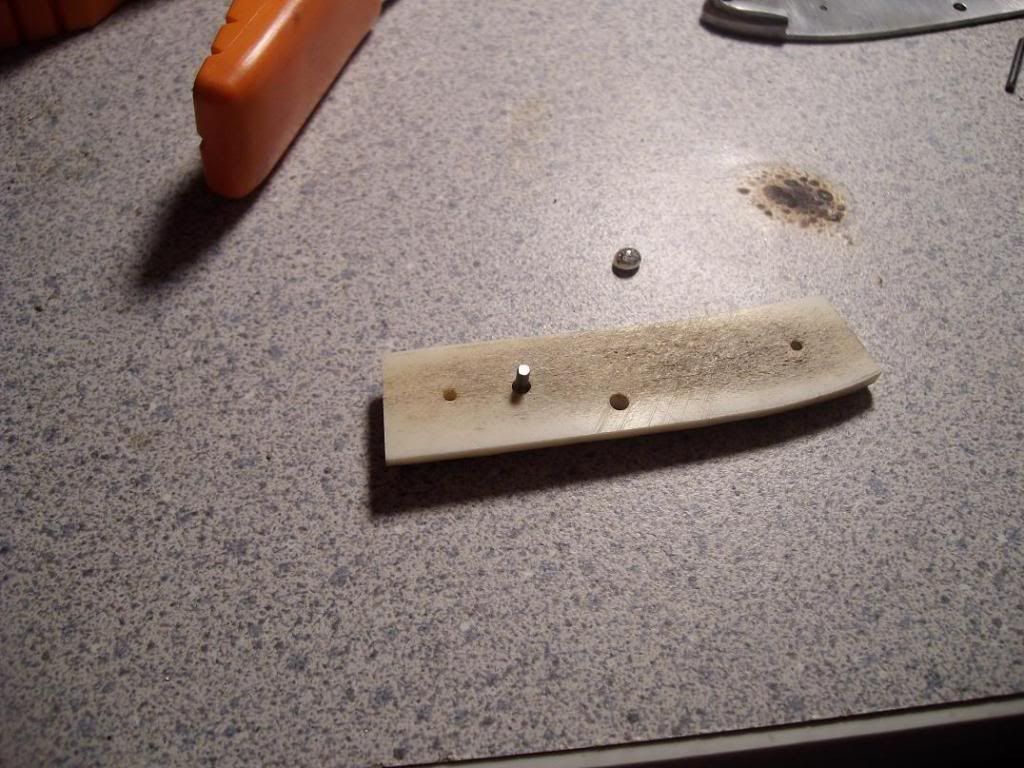
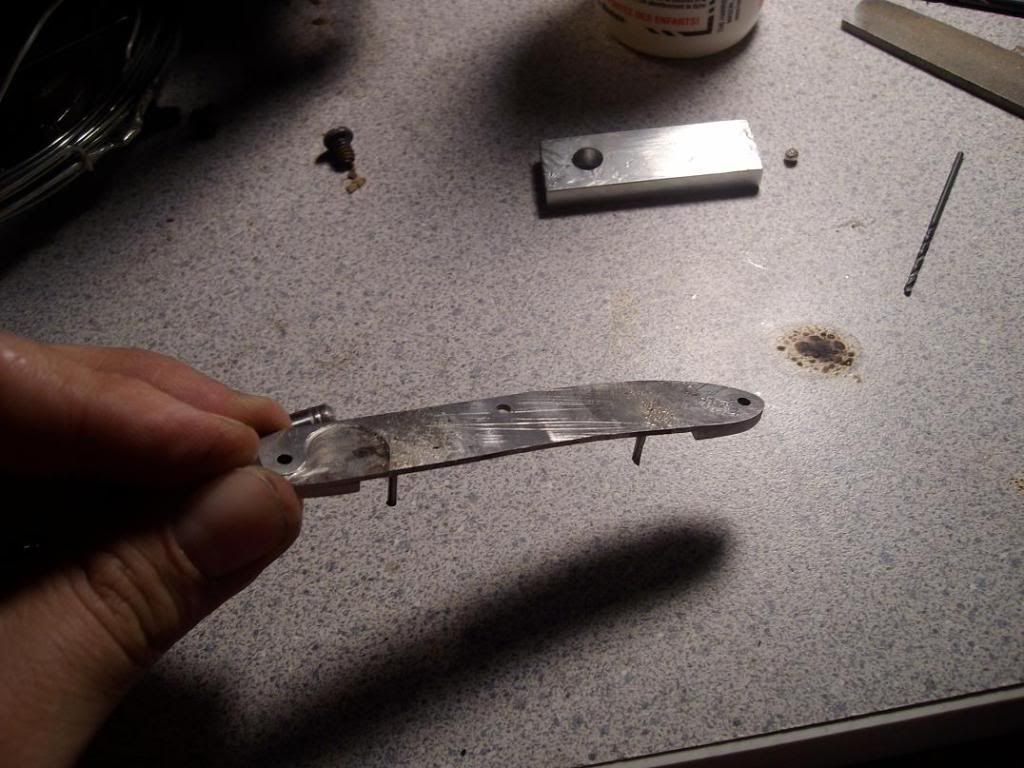
Here is the shield seated in the scale. The next pic is the pin protruding through the back-
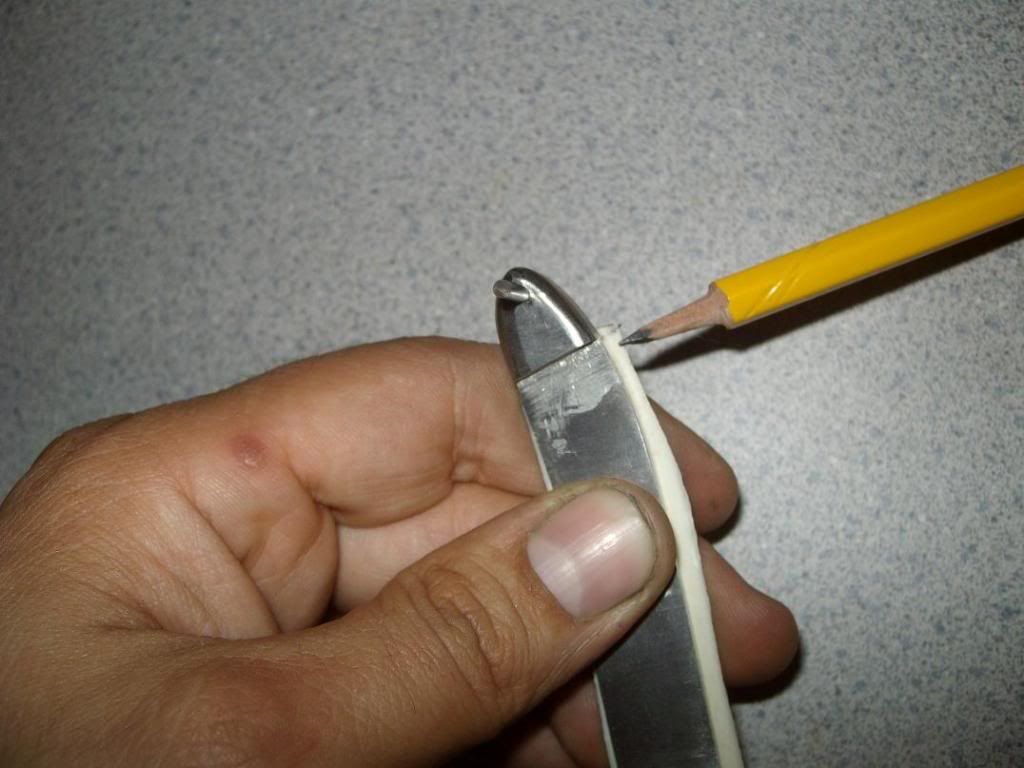
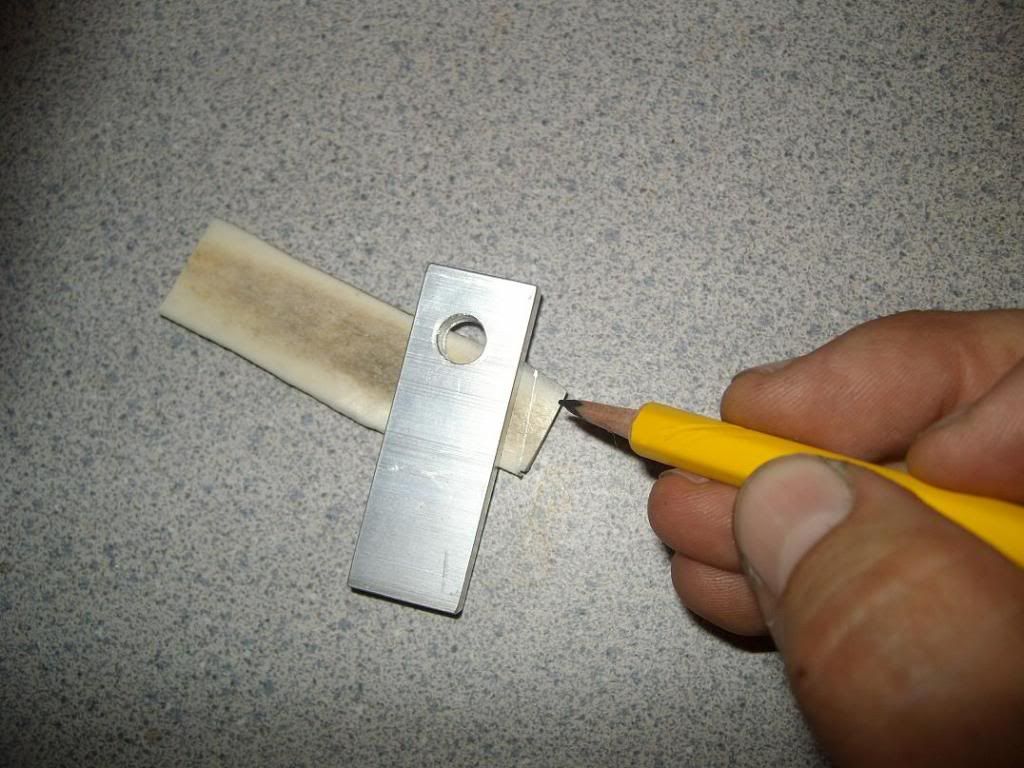
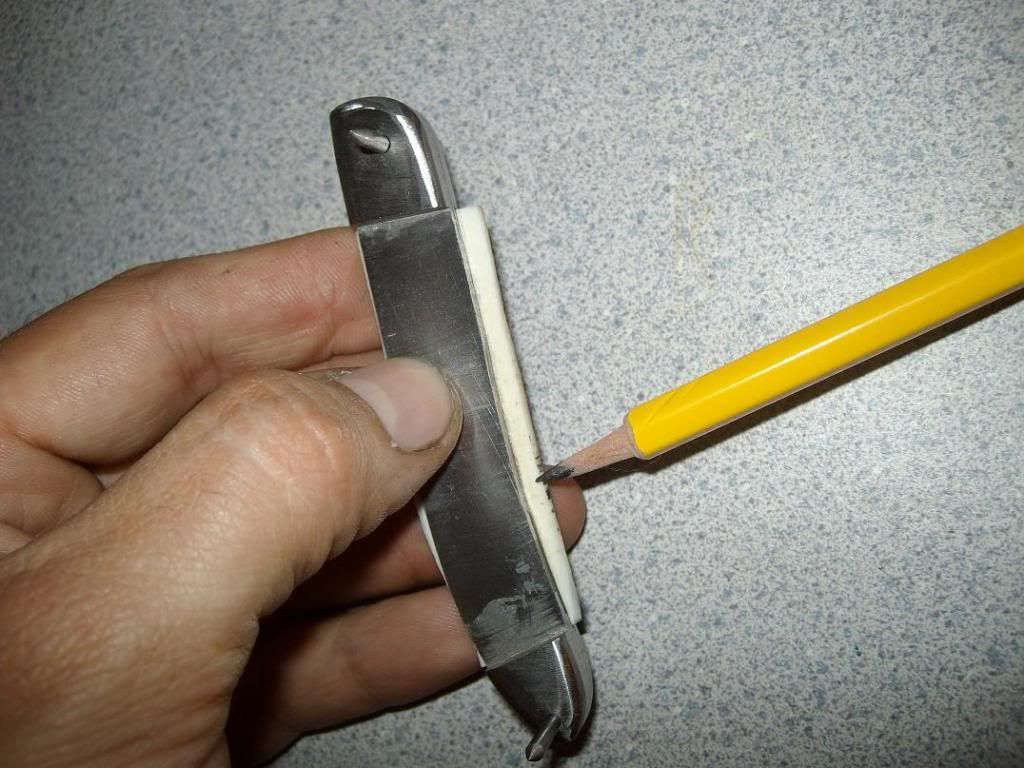
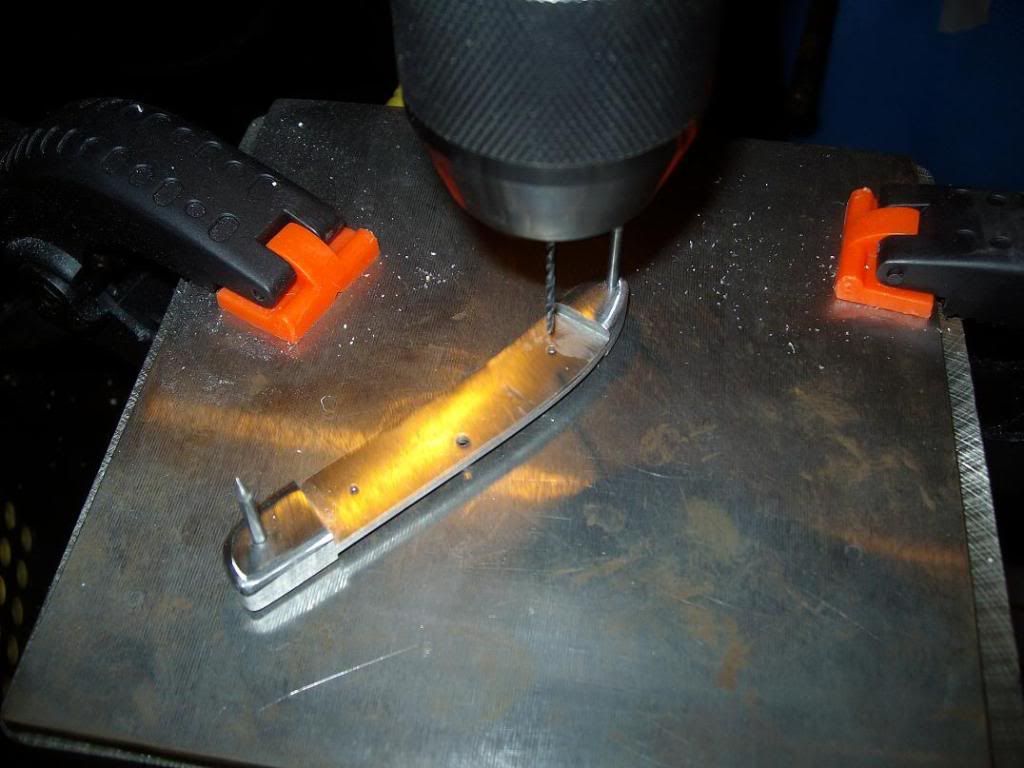
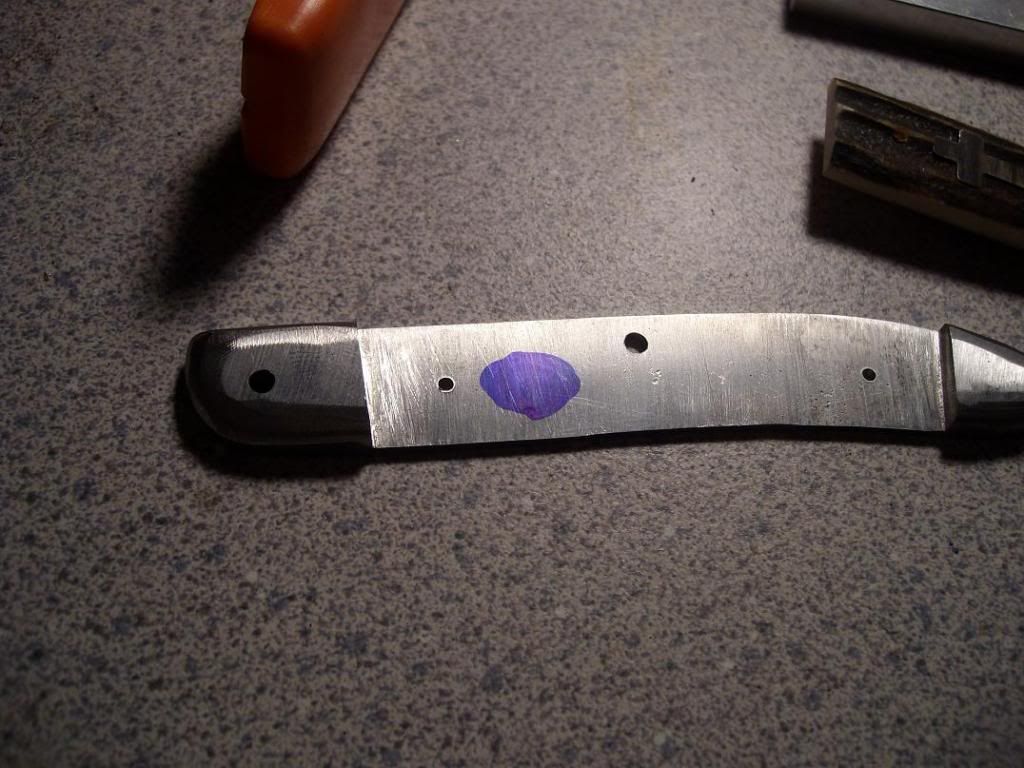
Next you need to mark the liner and drill a hole here for the shield pin. I used a 3/32 here too, just in case-
In this picture you can see the shield pin coming through the liner in the hole we just drilled-
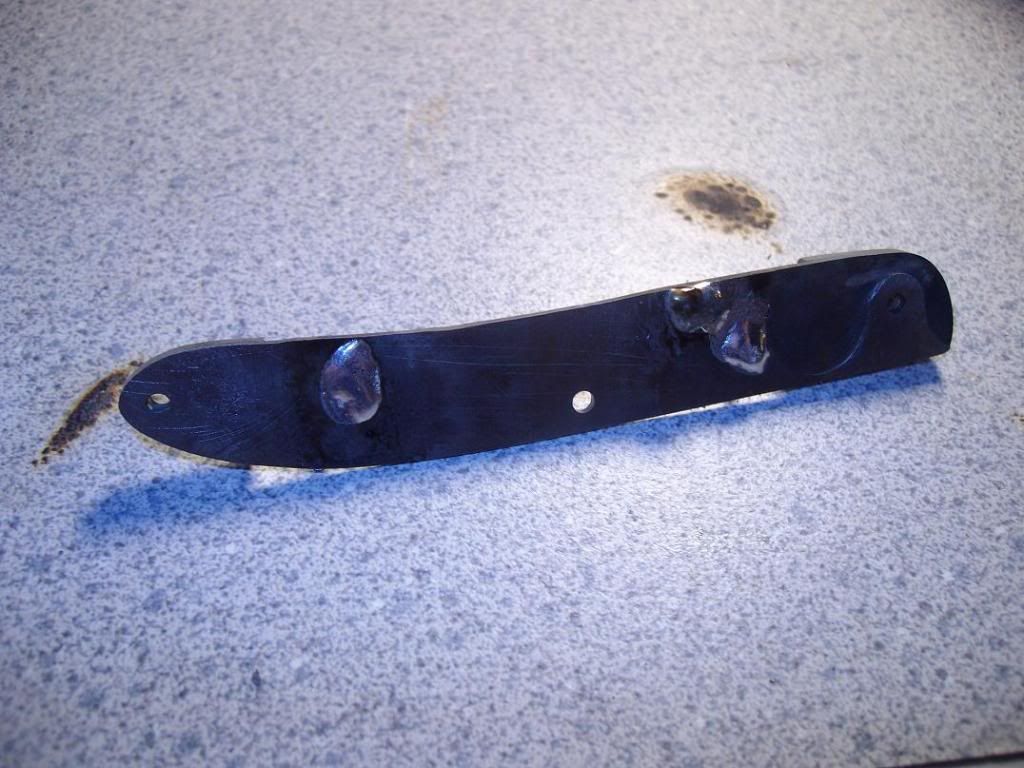
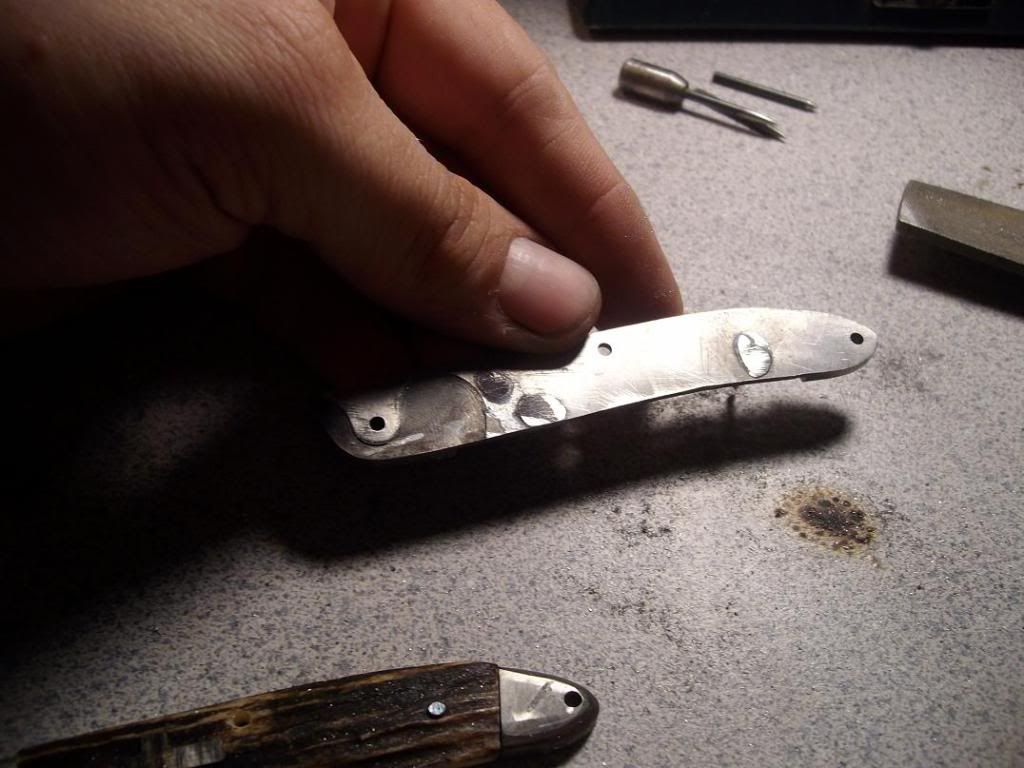
I soldered the back of the pin to the liner. I'm not sure if the other makers do this, but it was all I could come up with to secure this thing. It was very hard to do this because not only are the scales sensitive to heat, more importantly the bolsters are. just the right amount of heat will melt their solder bond and turn them loose. Be careful where you put the heat.
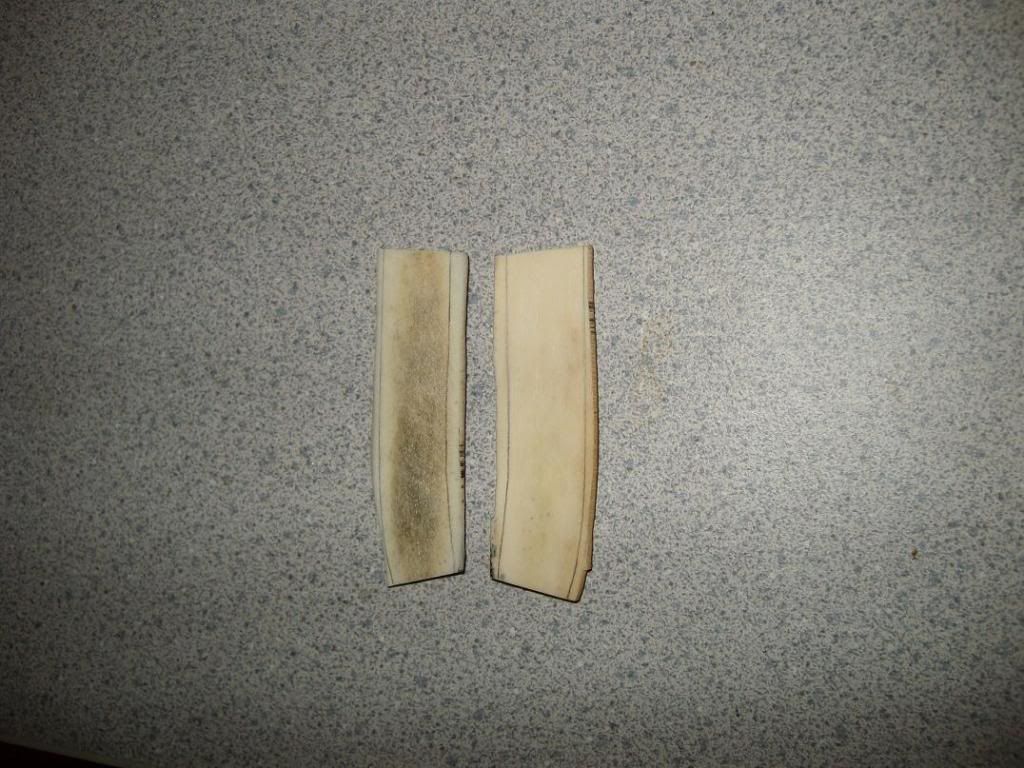
I also chose to solder my scale pins to the liners. do this step first, before you put the liners on, that way the heat will not affect the scales. After everything is cooled you can slide the scales down over the pins. The only one that remains to be soldered in the end is the shield pin. Again, be careful with the heat. I also super glued the scales to the liners-
Soldering the pins to the liners -
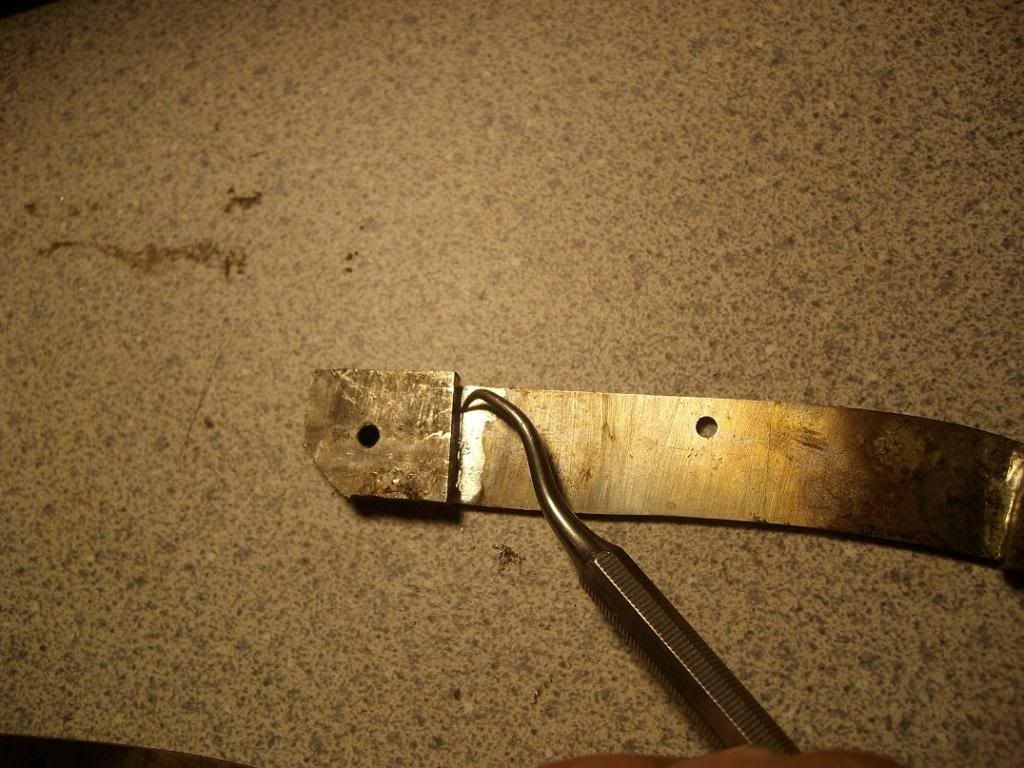
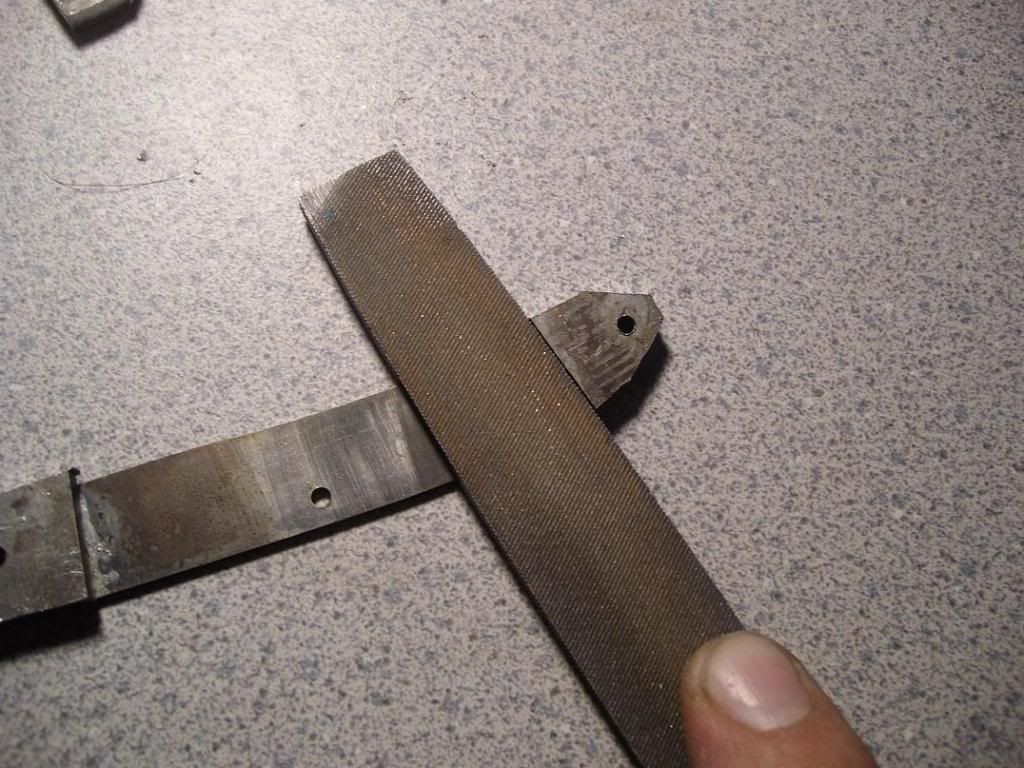
In this picture you can see that the pins have been soldered and I have started to file off the solder to bring the liner back flat. The solder will fill the minute voids between the pins and the liner-
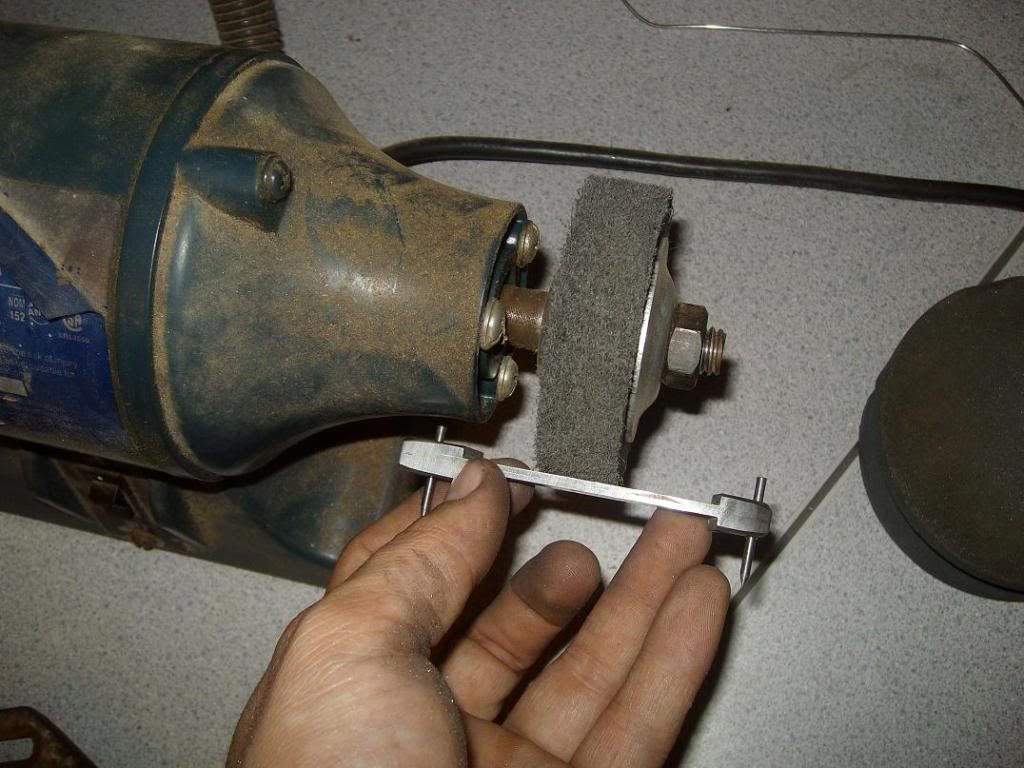
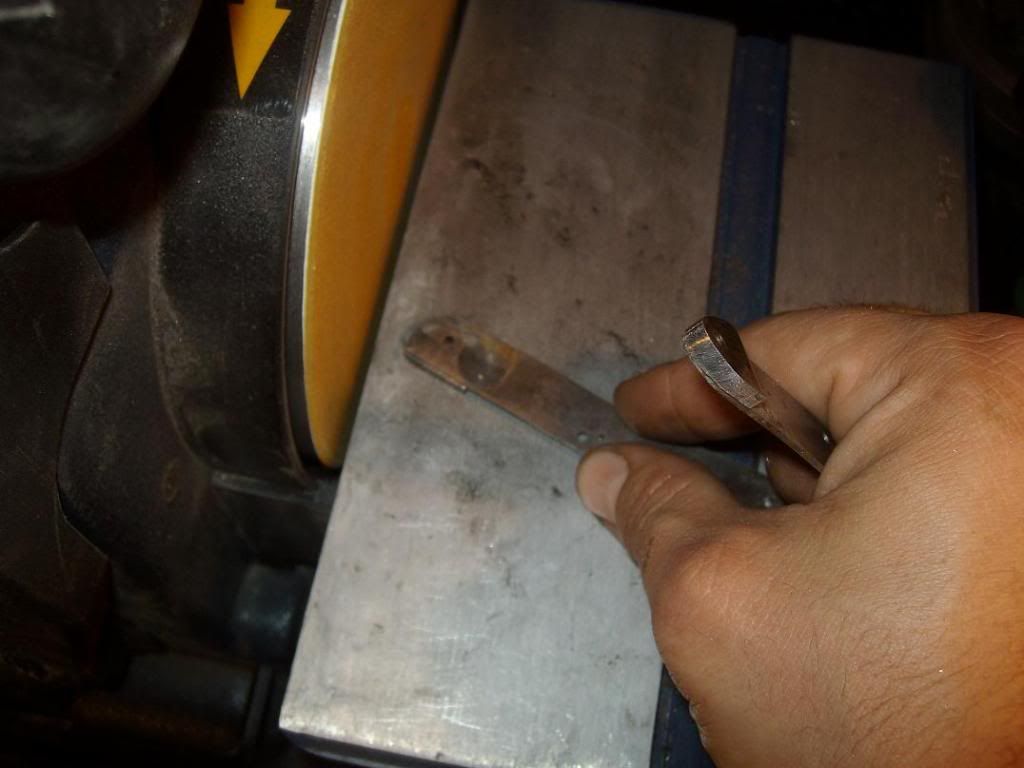
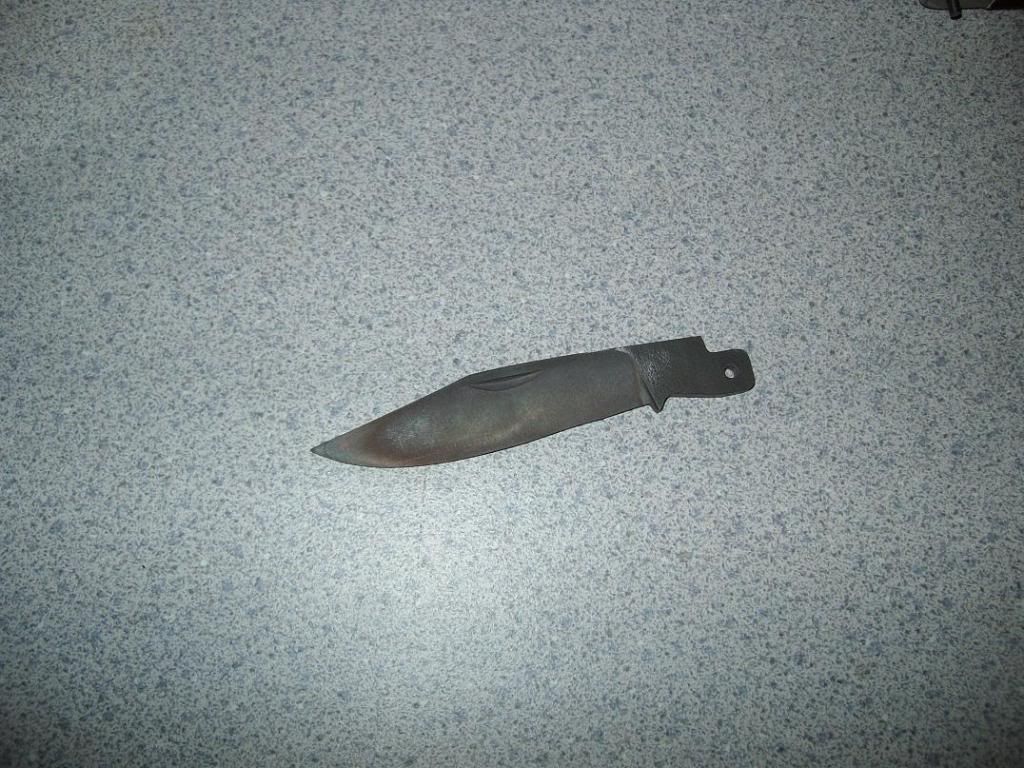
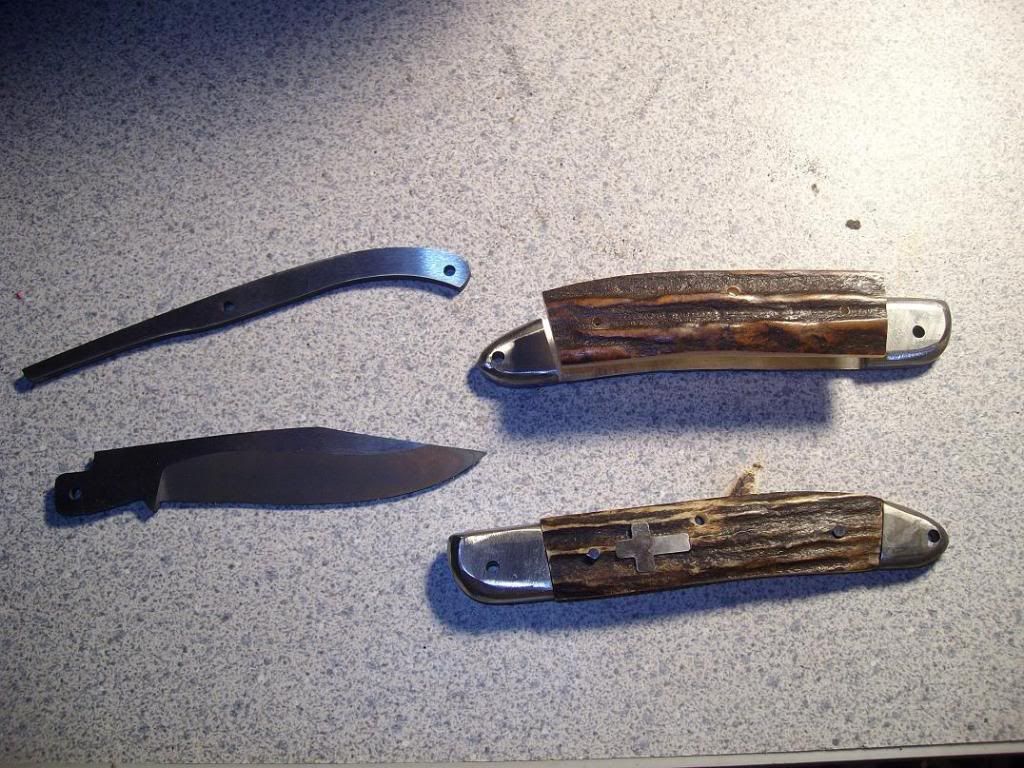
Here I'm placing the other scale on. Also in the picture is the spring and blade, which have now been surface ground. I brought them both down to .096" thick. That's a hair over 3/32". You can also see how i will have to do some finish grinding on the blade, to get it to the way it will look finished.
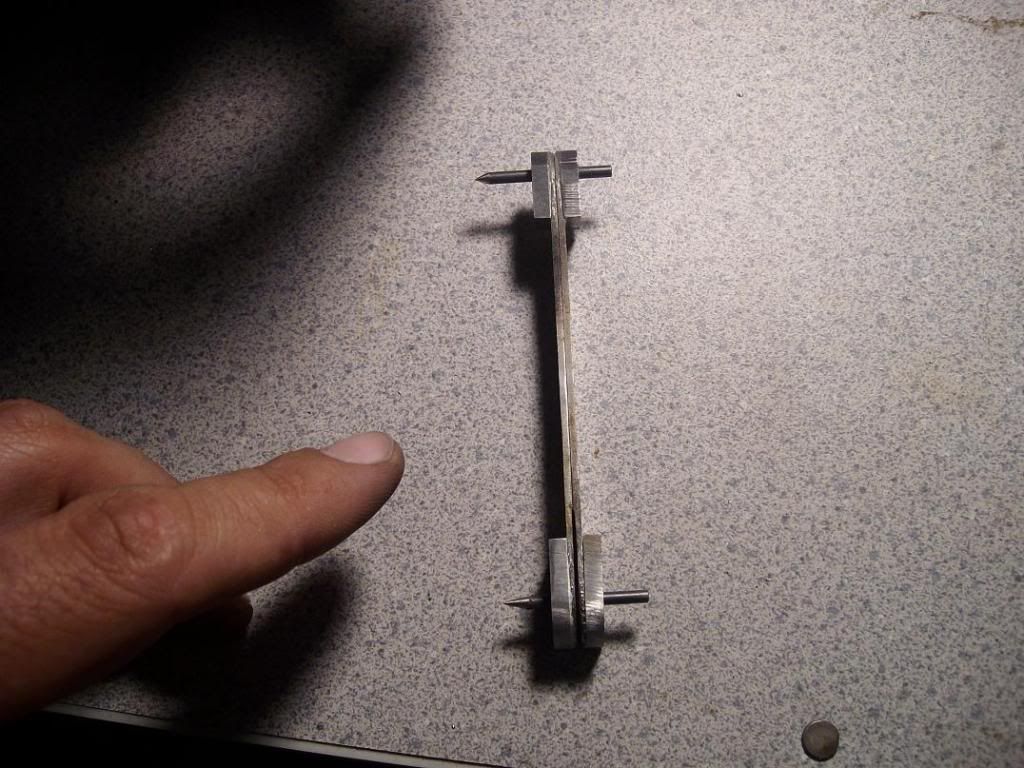
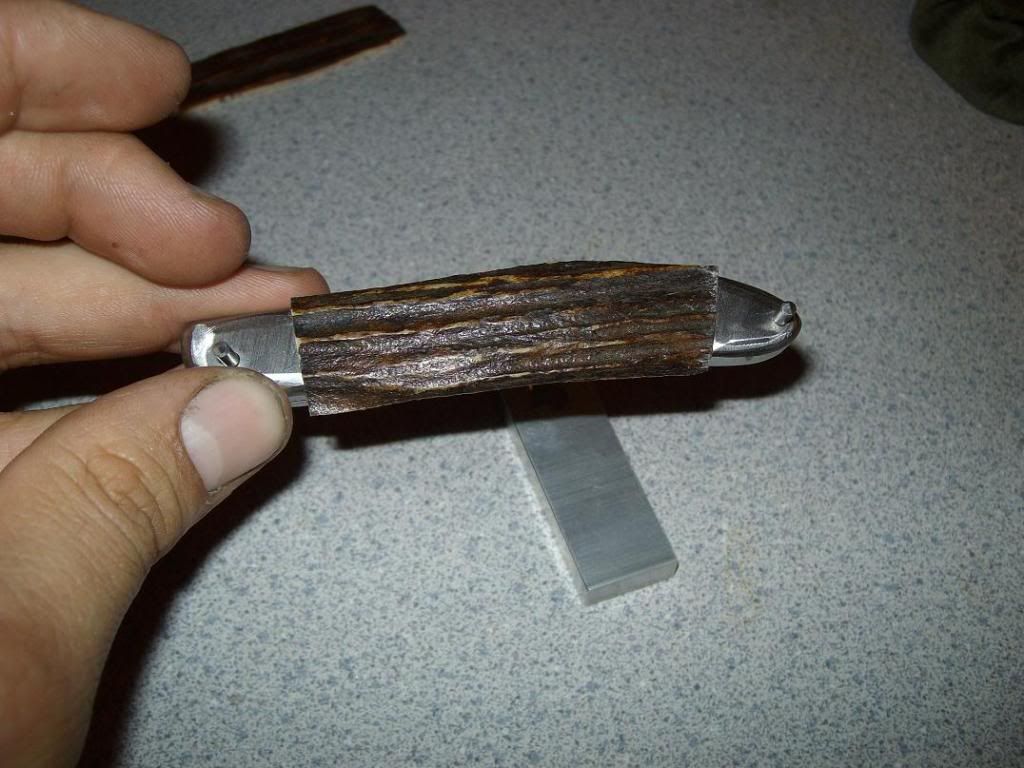
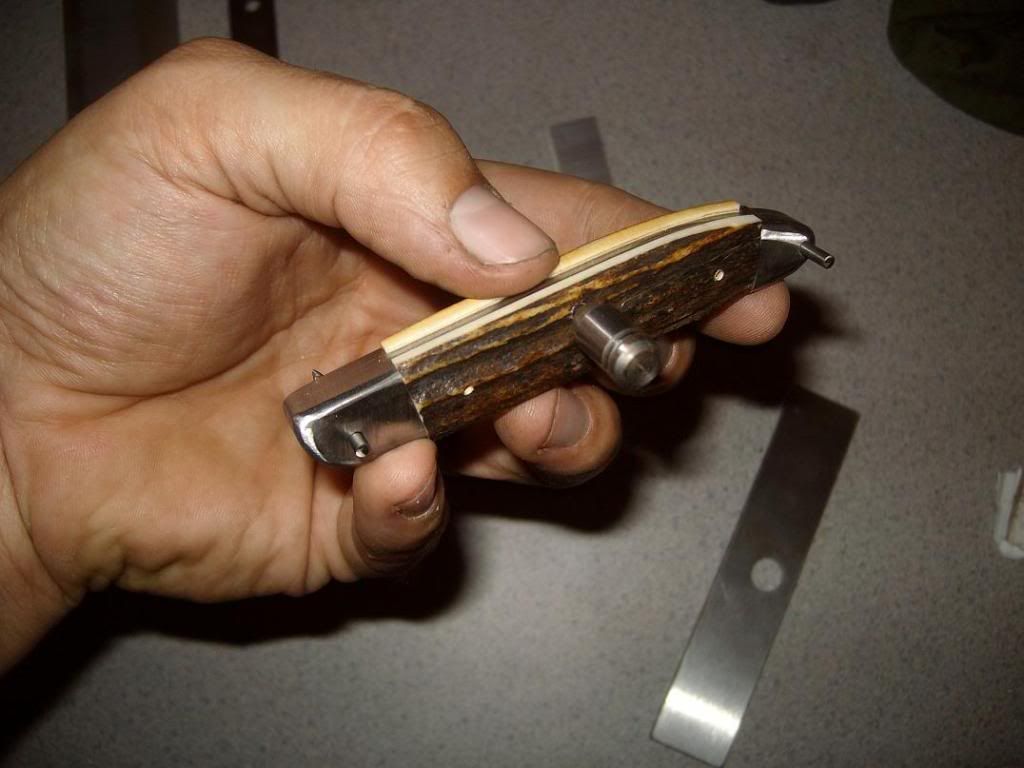
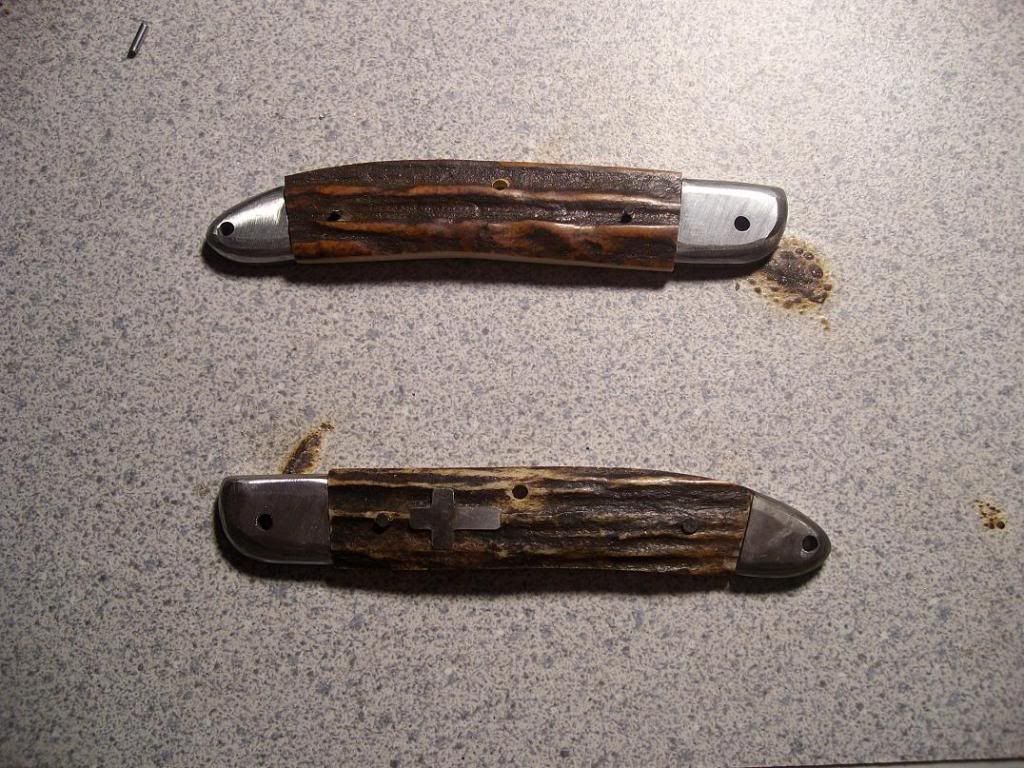
and here are the fnished handle assemblies-
On the homestretch now folks. All I have to do is etch my name on the blade and pin it together. A little final sanding and this thing will be finished. I should be able to work on it some this week, and maybe get through with it.

