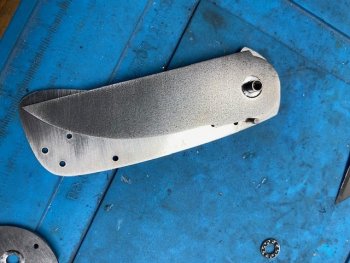
What's going on in your shop?

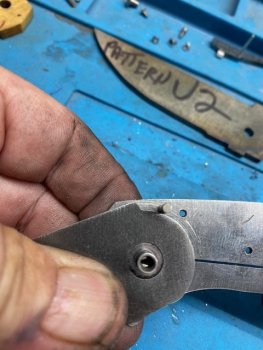
Setting the stop pin locations on a blade for a liner lock.


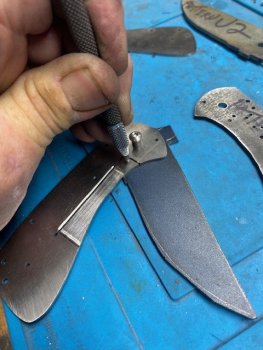
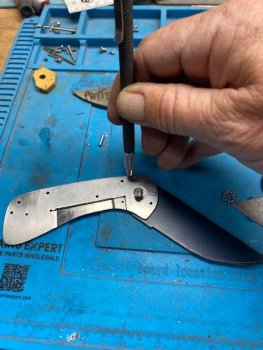
First I will scribe an arc showing where the detent ball will travel on the blade. I don't want the detent to slip off the blade and back on again when opening or closing and that can happen if you aren't paying attention and grind clearance for your stop pins a little too far.

I put blade on a pivot with the lock side. Rotate the blade with a scribe through the detent hole. Easy.

IMG_1970.jpg
IMG_1971.jpg

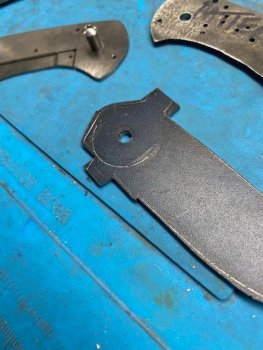
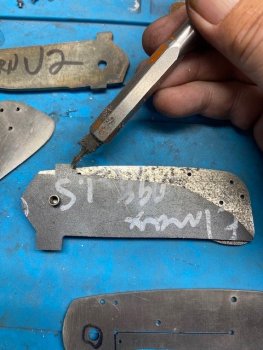
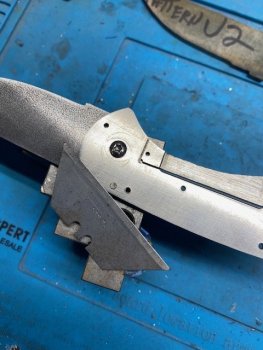
I have a 3/32" drill bit in the stop pin hole. The tab on the top and bottom of the blade is where the stops will be and are there only for drilling so my drill bit doesn't slide off the blade. These are ground away in after I drill. I am using a 3/32" stop pin. I used to use 1/8" stop pins but moved to 3/32" to get the extra room, especially on hidden stop pins. I think it's more than big enough for this size folder.
IMG_1967.jpg

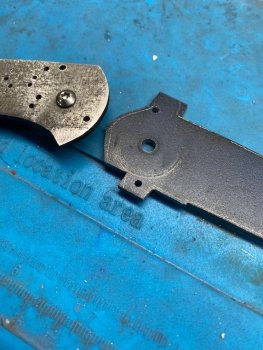
You can see the stop pin hole here.
IMG_1966.jpg

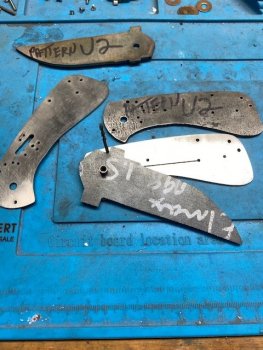
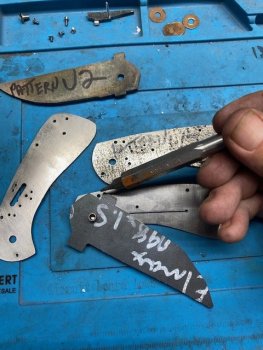
I make a hardened steel pattern for every folder and this is one of the main reasons I do. I used to drill through the liner to locate holes but found I kept distorting the liner holes and creating fit issues. With the drill pattern vise gripped to the blade in the open and closed position, I drill through the hardened pattern and it will fit perfectly to the liner and my stop pin hole in the liner is still in good shape.
IMG_1968.jpg

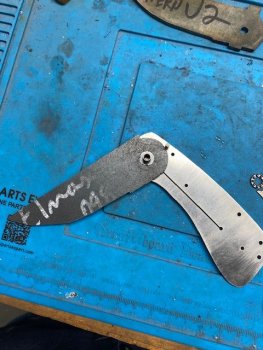
Here is the drilled and scribed blade. I will grind back the tabs to almost flush and round off the back of the blade to clear the stop pin when opening or closing. The scribe line from the detent will make sure I don't grind back too far.
IMG_1972.jpg
 
Now I am scribing an arc for the stop pin. I will rough profile to this line and then bring it in with the liner and stop pin checking for fit. I want it to just clear. I also want it to look nice when the folder is closed.


IMG_1973.jpg

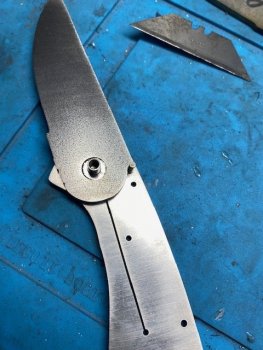
It swivels all the way around with no interefence now. The top stop on the blade has a little hook. This will grab your finger and give it a good pinch if you don't smooth it out.
IMG_1975.jpg

Better. This will use bearings so I have counterbored both the blade and the liners each .020". This leaves a .023" gap on either side of the blade and that is about where I shoot for with bearings.
IMG_1977.jpg

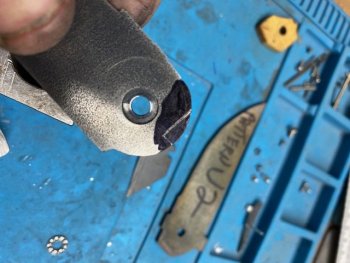
Now to mark the blade lock face. With the stop pin in place, I scrape a mark with a razor blade.
IMG_1978.jpg

A little black sharpie helps the mark stand out.
IMG_1980.jpg

Open at the stop.
IMG_1982.jpg


Closed at the stop. It is closed a hair more than I wanted but I'll live with it. The tip of the blade runs nearly to the very edge of the liner. Once I get further along, I will run my finger along this to see if it could cut me. If it does, I will push the tip in just a bit. See how the liner hides the stop on top of the blade. I don't like this part of the blade exposed when closed. Most other guys don't either so you see kind of the same liner shape here on most customs.
IMG_1983.jpg
 
Been having more "good" days than bad lately, so I've finally got to work on something I've wanted to for a while. Those who've know/followed me for a while will recognize the term "Split Personality"...... so here's and update on the design.


After posting the video.... I realized it didn't do the knife justice....so here are some still images.....


In order to work in my shop I was up at 5 AM this morning to avoid the heat and the humidity! Heat is normal around here but not the humidity. 57% humidity though it dropped later.
So I got a few things accomplished today including getting my small wheel attachment setup. Also started working on a couple chef knives.
HNX9PJk.jpg
 
so first, beautiful grinder! ;)
Second, you will love the small wheel. Watch heat buildup on them. they can get so hot the seals leak and the grease leaks out and the bearings fail. The good news is bearings are cheap and easy to replace. We do it routinely in our shop as they see lot of use.


In order to work in my shop I was up at 5 AM this morning to avoid the heat and the humidity! Heat is normal around here but not the humidity. 57% humidity though it dropped later.
So I got a few things accomplished today including getting my small wheel attachment setup. Also started working on a couple chef knives.
HNX9PJk.jpg
 
Back
Top