You are using an out of date browser. It may not display this or other websites correctly.
You should upgrade or use an alternative browser.
You should upgrade or use an alternative browser.
What's going on in your shop?
- Thread starter Justin Presson
- Start date
Sean Jones
Well-Known Member
Since my wife's various illnesses we've hardly used our trailer at all. So I've moved my leather work out to the trailer. Our cats make it almost impossible to do leather work in the house. And the garage where my shop is, is simply too dirty and dusty. Thus the trailer.
My wife says this is my next move in my plan to take over the world. First the garage, now the trailer


My wife says this is my next move in my plan to take over the world. First the garage, now the trailer


mike miller
KNIFE MAKER
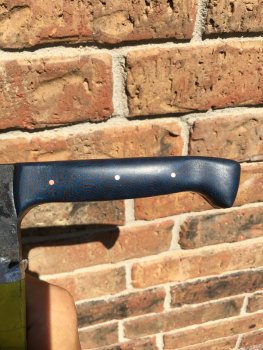
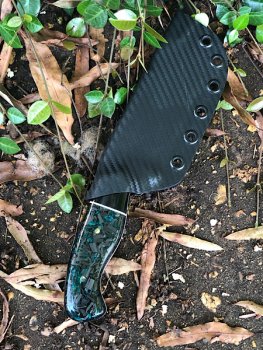
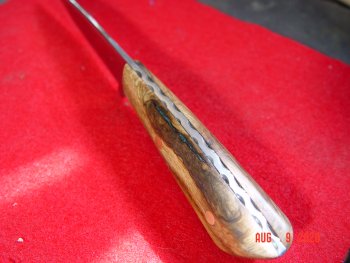
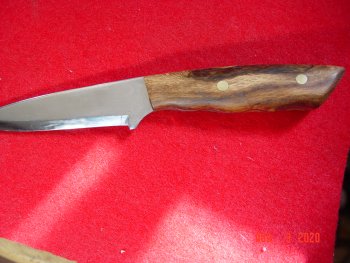
That is 3/32 154cm. Sometimes wish it was a little thinner.Looks great Mike! I’m waiting on some steel to make my first filet knife. What steel did you use?
mike miller
KNIFE MAKER
Maybe you won't have to put everything up now.Since my wife's various illnesses we've hardly used our trailer at all. So I've moved my leather work out to the trailer. Our cats make it almost impossible to do leather work in the house. And the garage where my shop is, is simply too dirty and dusty. Thus the trailer.
My wife says this is my next move in my plan to take over the world. First the garage, now the trailer


mike miller
KNIFE MAKER
Sean Jones
Well-Known Member
Exactly. My leather work has been kind of scattered all over. So every time I needed to do leather work I'd have to gather it all up. Now it's all in one placeMaybe you won't have to put everything up now.
Randy Lucius
Well-Known Member
Heikki
KNIFE MAKER
Bruce McLeish
Well-Known Member
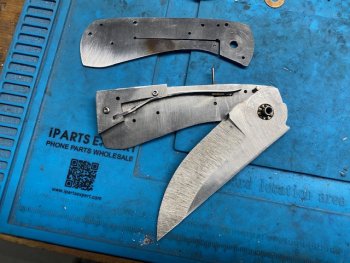
still trying to crack the code on a dual action.
I finally stopped messing with the round piano wire. It flexed sideways when pushing over the sear pin leaving it hanging or not engaging.
I had high hopes for the piano wire as that would have saved me a lot of time heat treating and testing traditional flat springs.
I was hoping to avoid making a flat spring with all that goes with that. Oh well.
so... I made a flat spring to fit up. I think it will work better and more consistently. I am using 8670 which is pretty tough and hopefully will handle the flexing better than a high carbon spring like 1095. We'll see.
I'll make several variations and get them into heat treat.
I also need to make another sear pin switch to minimize side play.
I feel like I am making progress but it's slow and tedious.
Here it is in the charged position.

John Wilson
Well-Known Member
Sean Jones
Well-Known Member
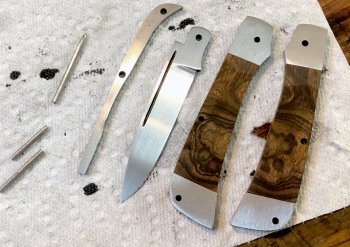
Very nice! What's the wood you are using?More folders. This is the third one in a series of eight.
bladegrinder
Well-Known Member
Awesome looking folder build there John !
John Wilson
Well-Known Member
Very nice! What's the wood you are using?
I am making all eight with Desert Ironwood Burl. I got a great deal from Deane (Old Knife) recently, here on the forum, and I'm super happy with it.
John Wilson
Well-Known Member
Awesome looking folder build there John !
Thanks Steve! The bolsters are only at 220 grit. After I peen the pins I'll shine those up to a nice satin.
Randy Lucius
Well-Known Member
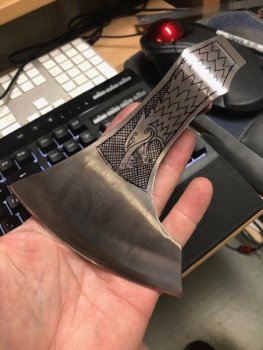
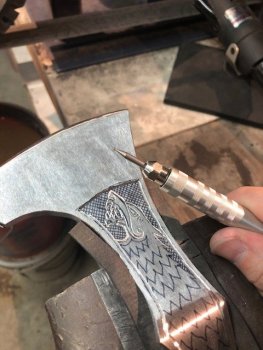
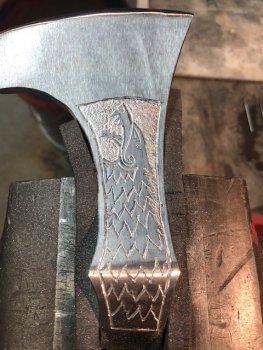
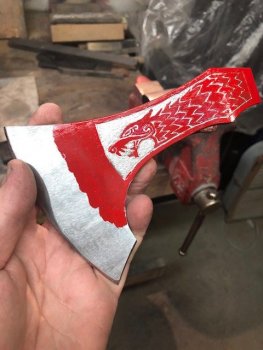
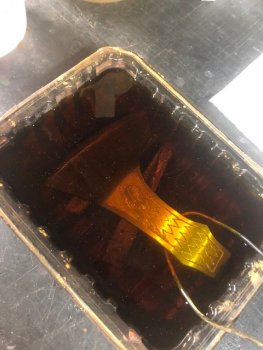
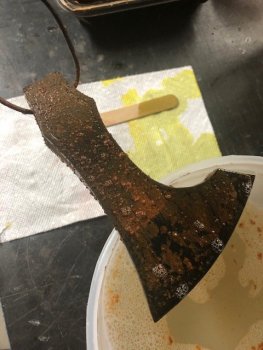
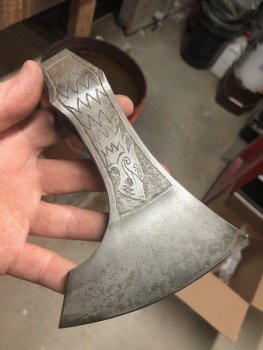
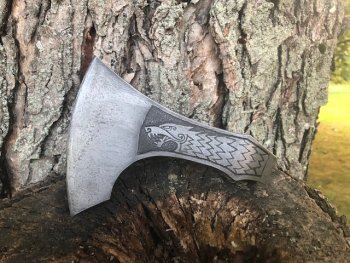
I was in Harbor Freight yesterday and almost bought the fireman's ax to give this a try but I have some orders to get out so no time to play. Yours is looking awesome!!This is the "antiquing" finish I learned from John Cohea's video. Ferric chloride followed by a dip in bleach. Repeat as necessary. I thought it needed to be a bit darker, so I touched it up with some Super Blue. Now I have to wait for a bandsaw blade to show up so I can start the handle work.
View attachment 74303View attachment 74304View attachment 74305View attachment 74306
Heikki
KNIFE MAKER
Make sure you get the hatchet when you do. The eye is a better shape proportionally IMHO for adding a handle.I was in Harbor Freight yesterday and almost bought the fireman's ax to give this a try but I have some orders to get out so no time to play. Yours is looking awesome!!
Randy Lucius
Well-Known Member
Sorry. The hatchet was what I was looking at not the Ax. Might have to go back by there today.Make sure you get the hatchet when you do. The eye is a better shape proportionally IMHO for adding a handle.
Chris Railey
Well-Known Member
I think I may have to try this as well. If you do not mind, would open another thread and explain how you did the wolf thingy, that is really cool.This is the "antiquing" finish I learned from John Cohea's video. Ferric chloride followed by a dip in bleach. Repeat as necessary. I thought it needed to be a bit darker, so I touched it up with some Super Blue. Now I have to wait for a bandsaw blade to show up so I can start the handle work.
View attachment 74303View attachment 74304View attachment 74305View attachment 74306

