Bruce Bump
Forum Owner-Moderator
Thanks much guys. I'm enjoying these threads too. I really think it makes me a better maker to post my day on here.
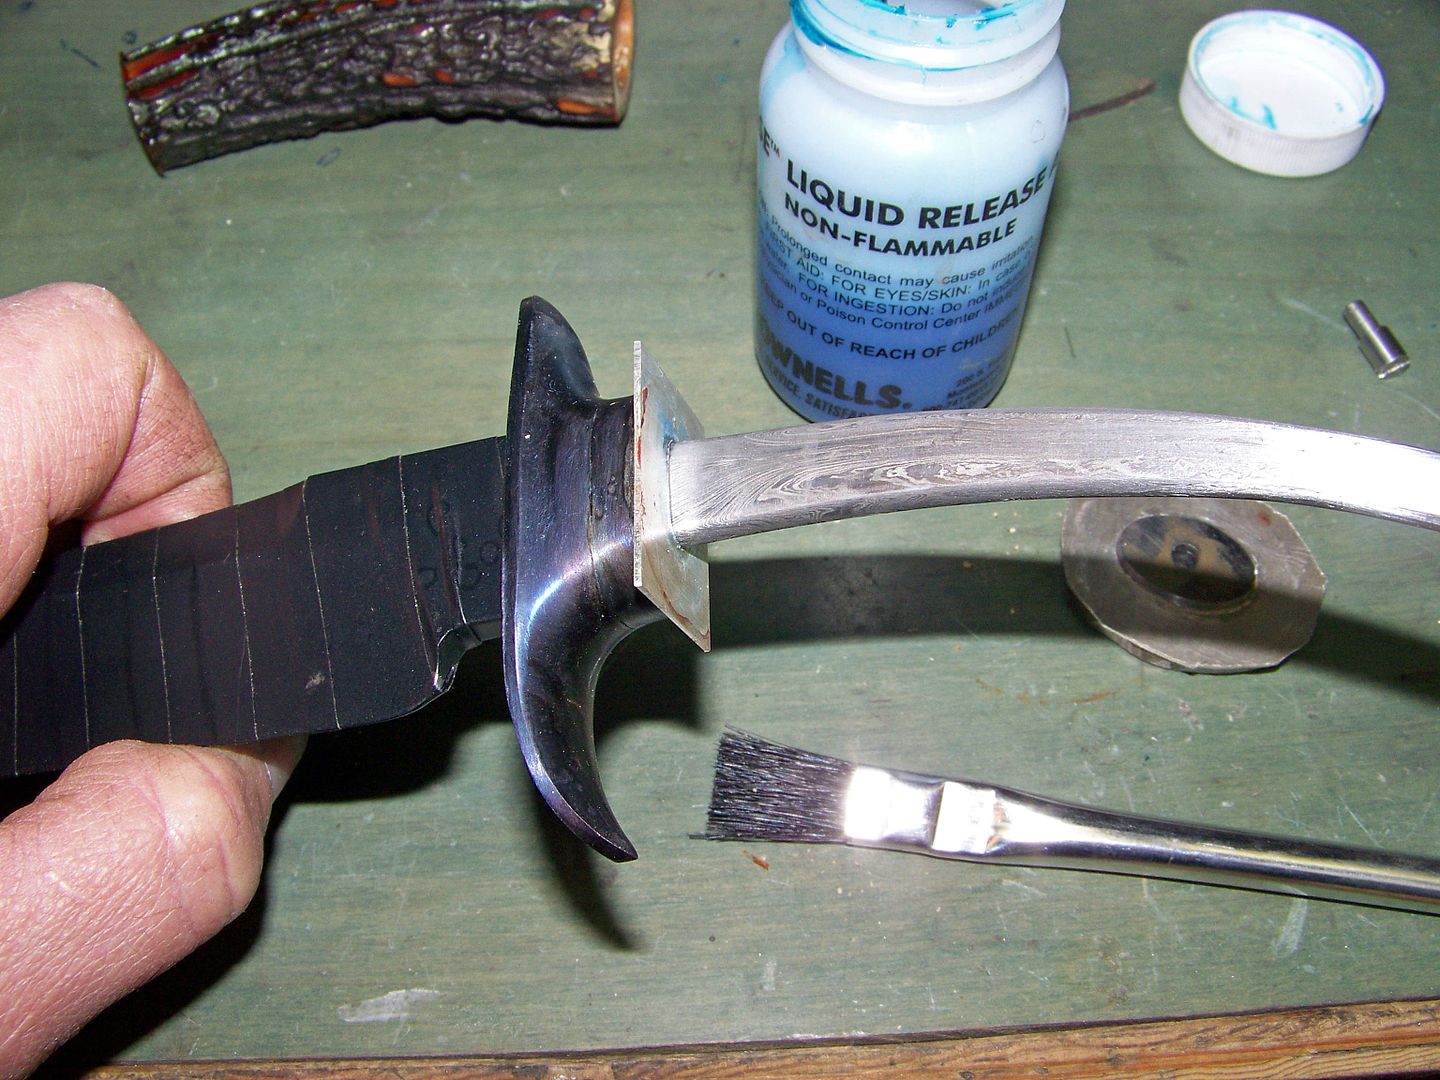
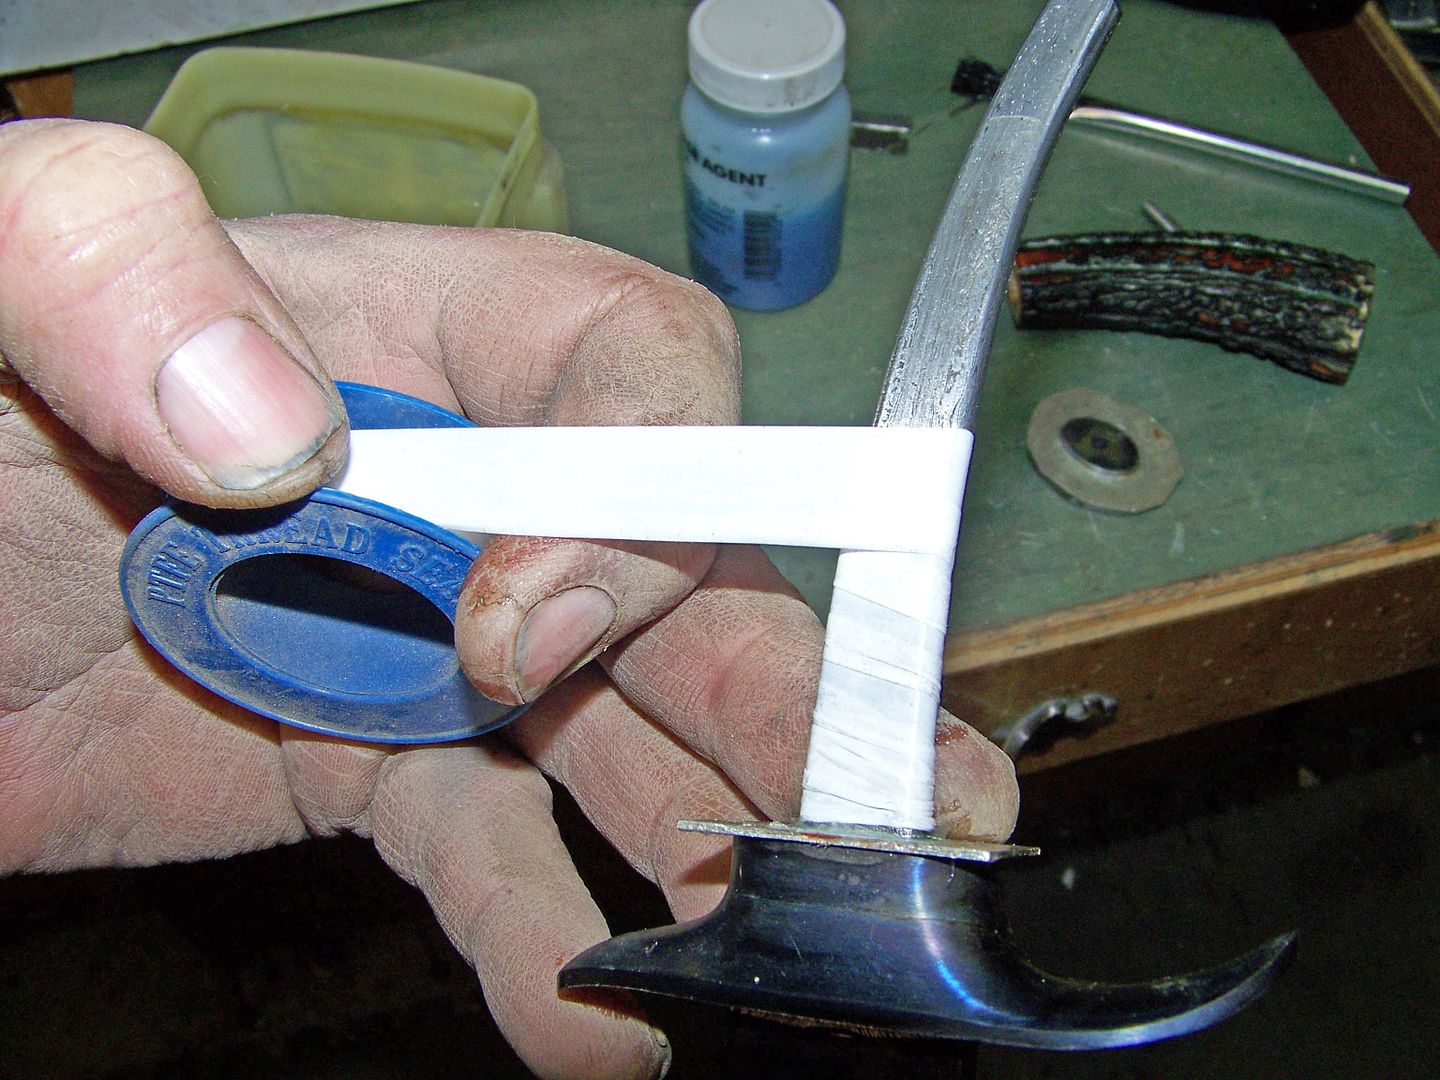
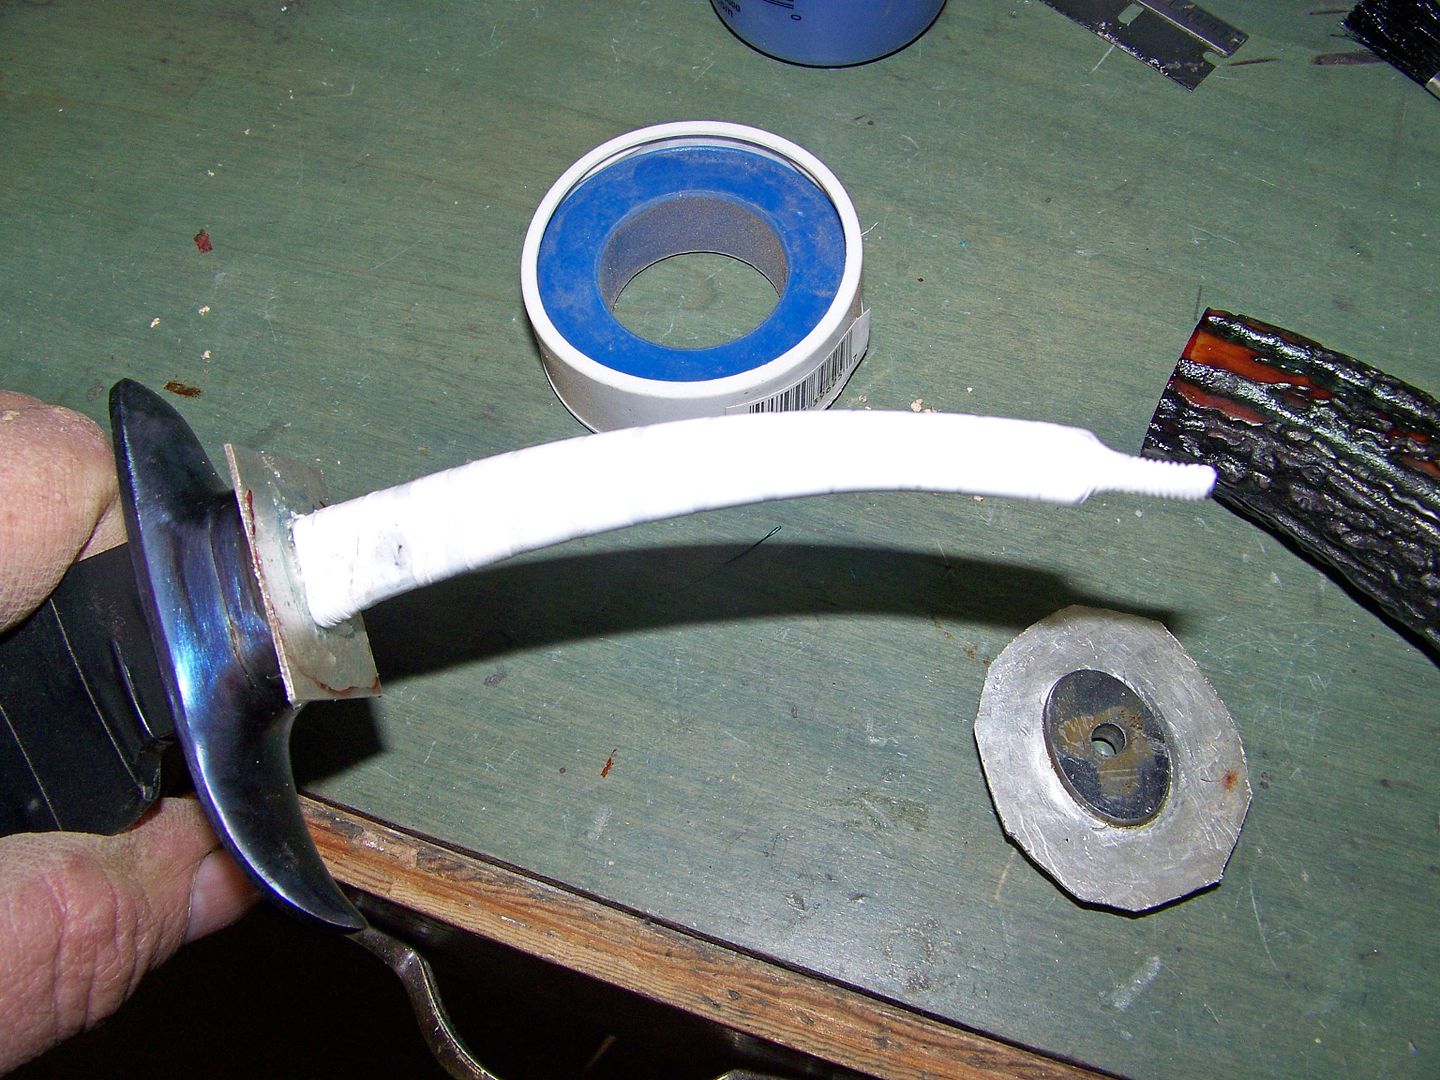
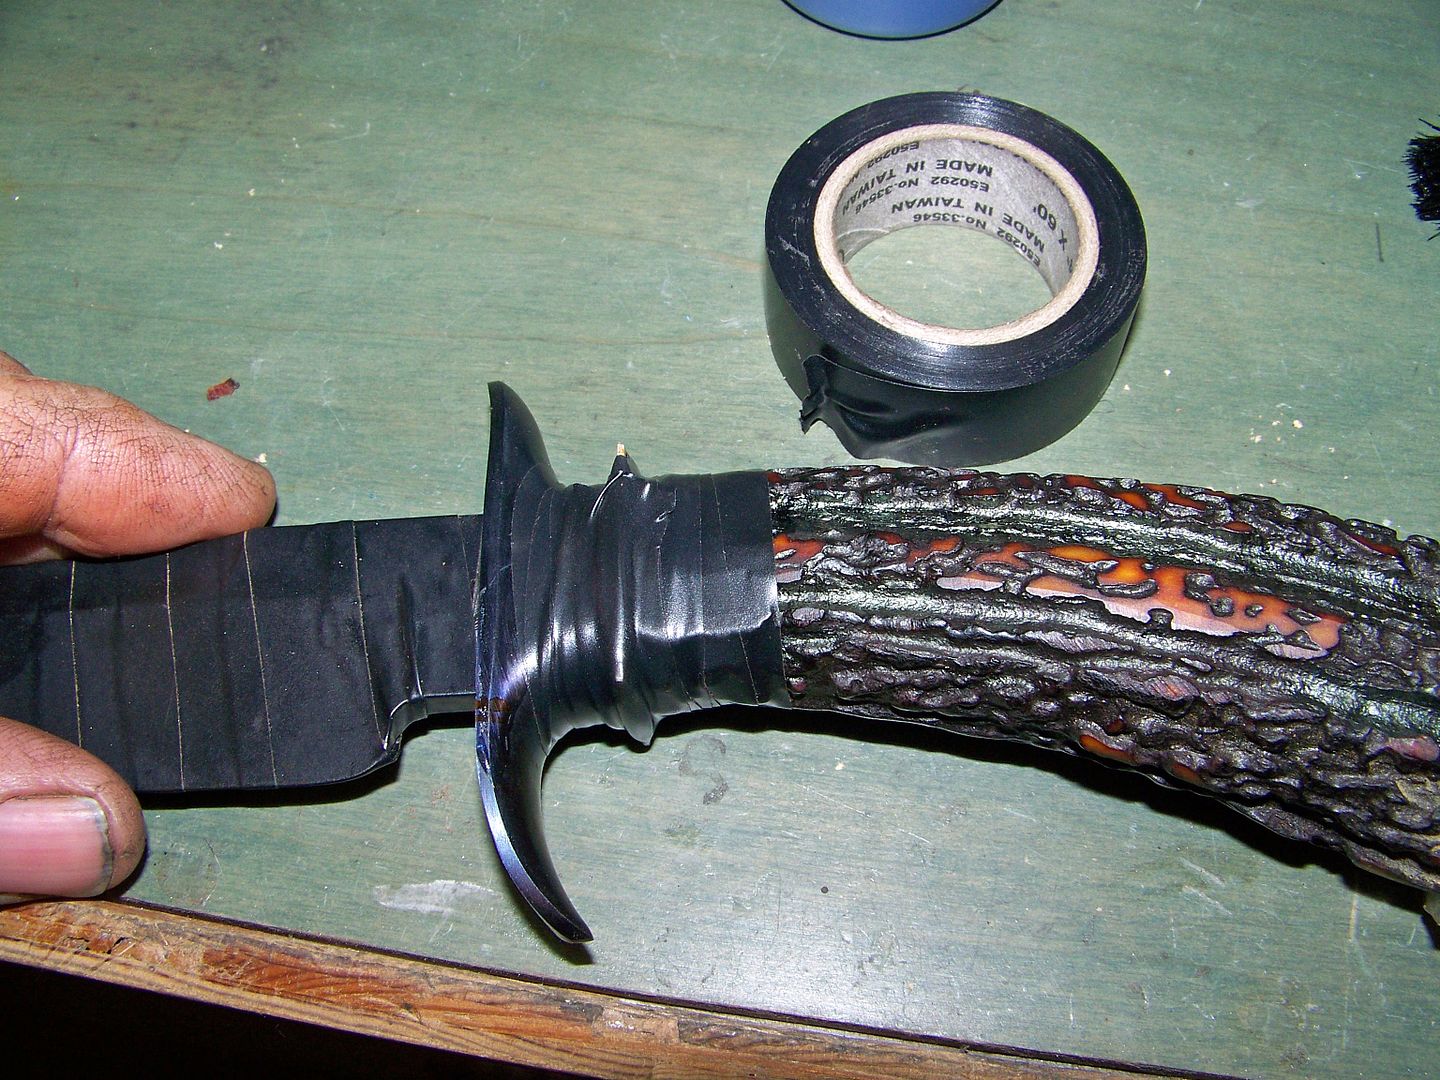

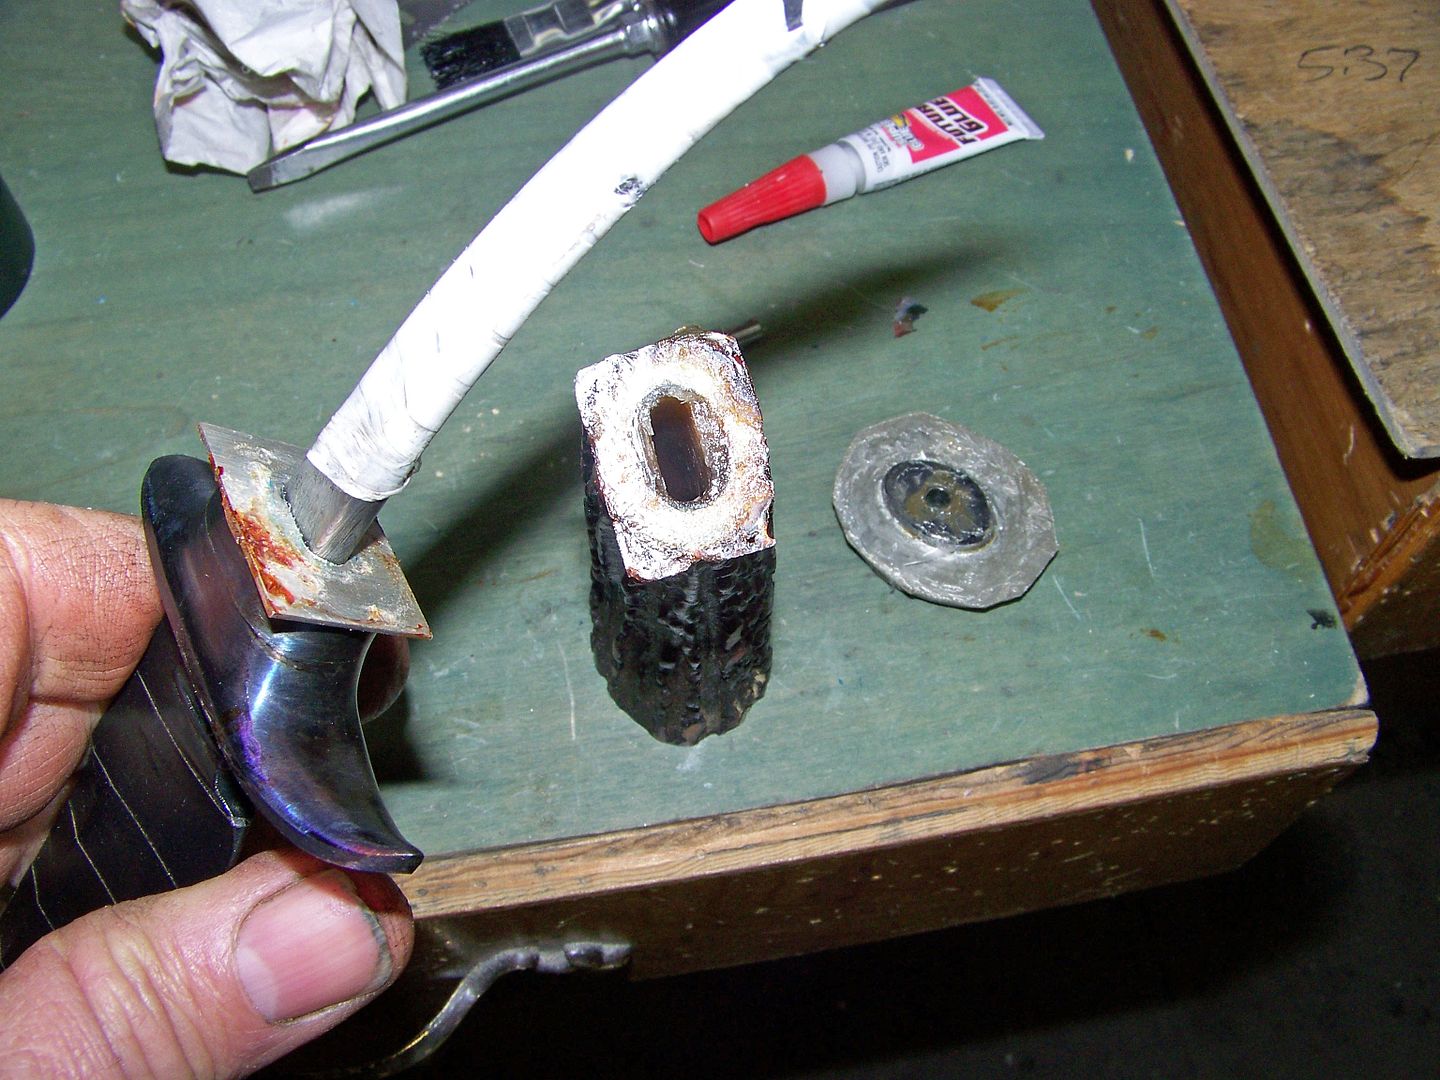

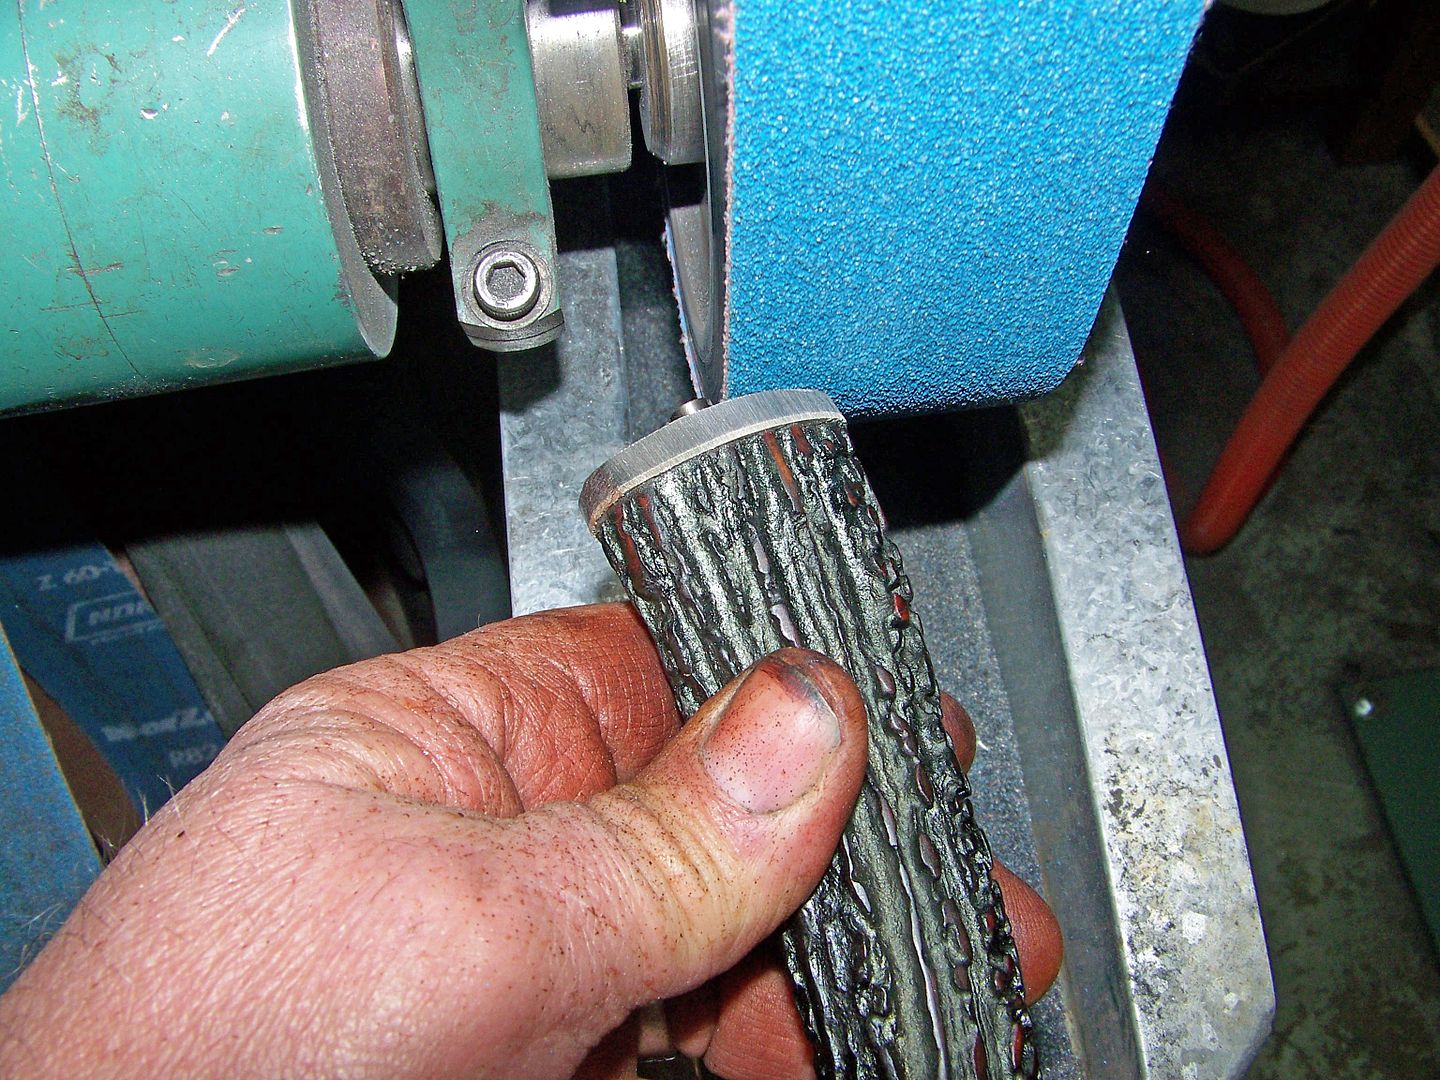
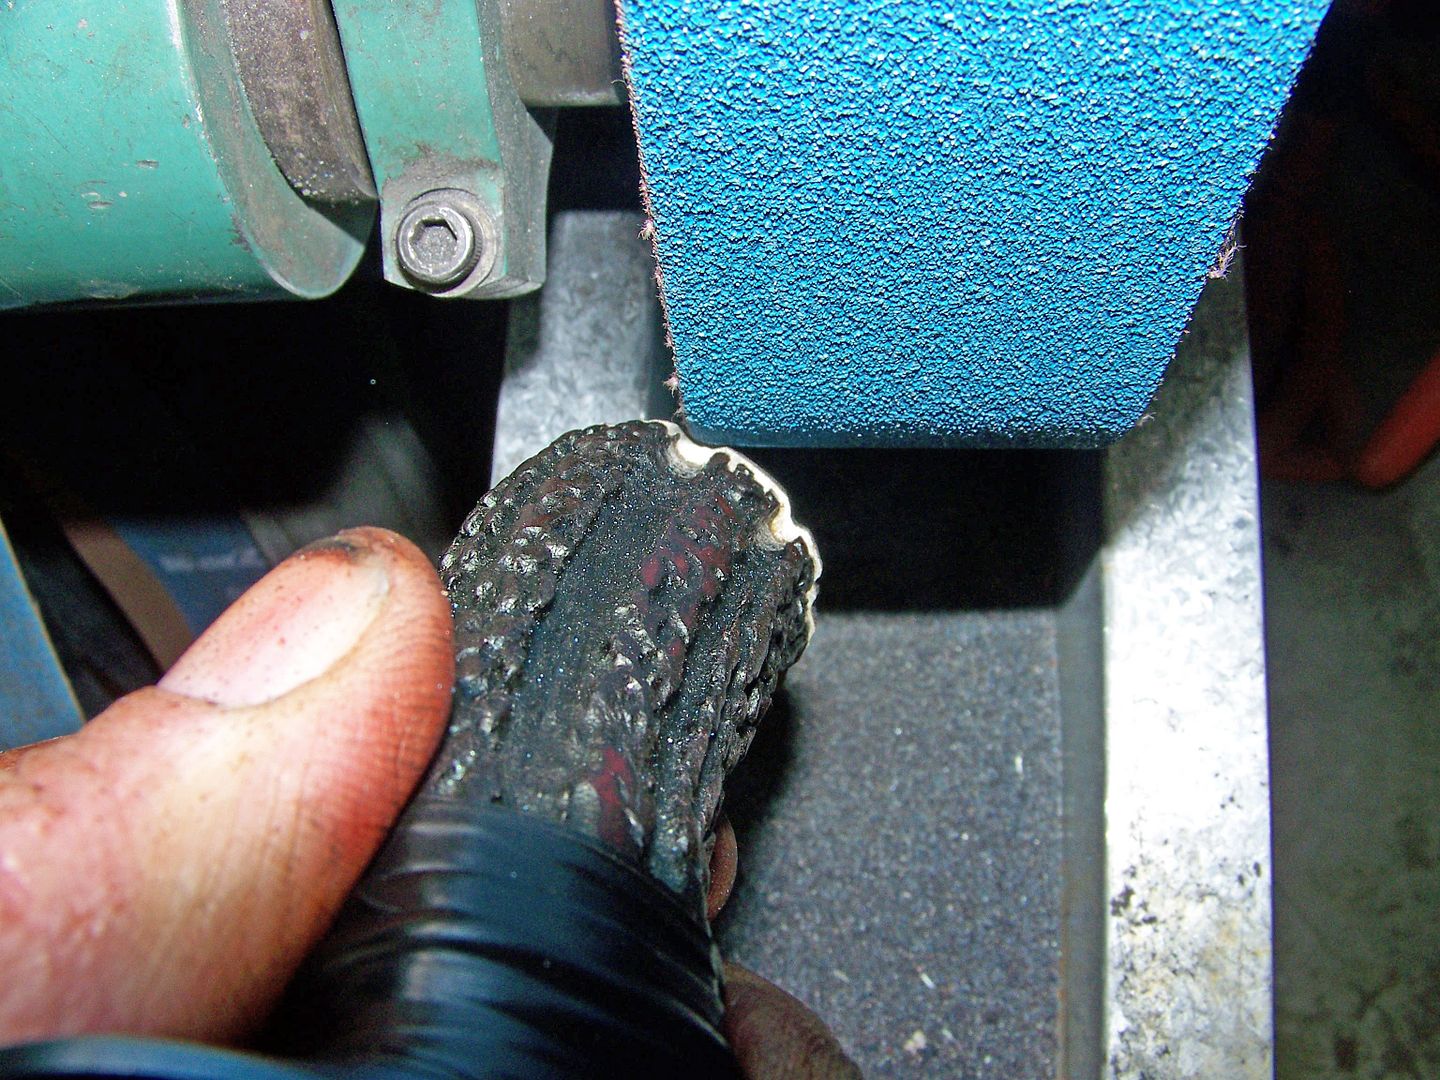
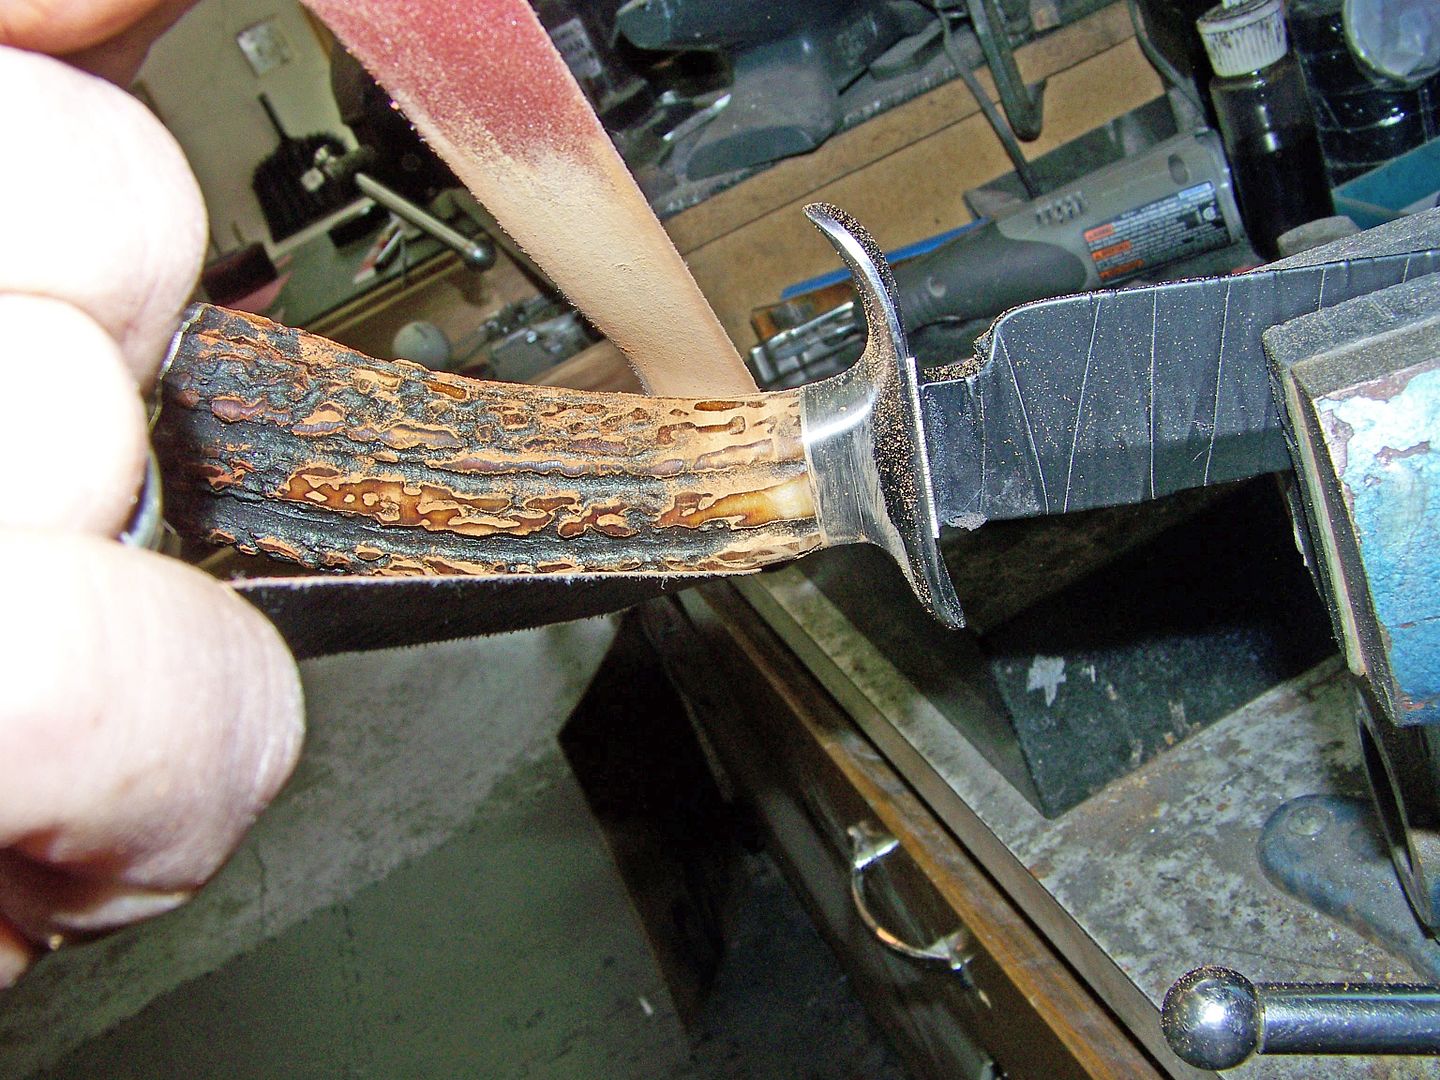
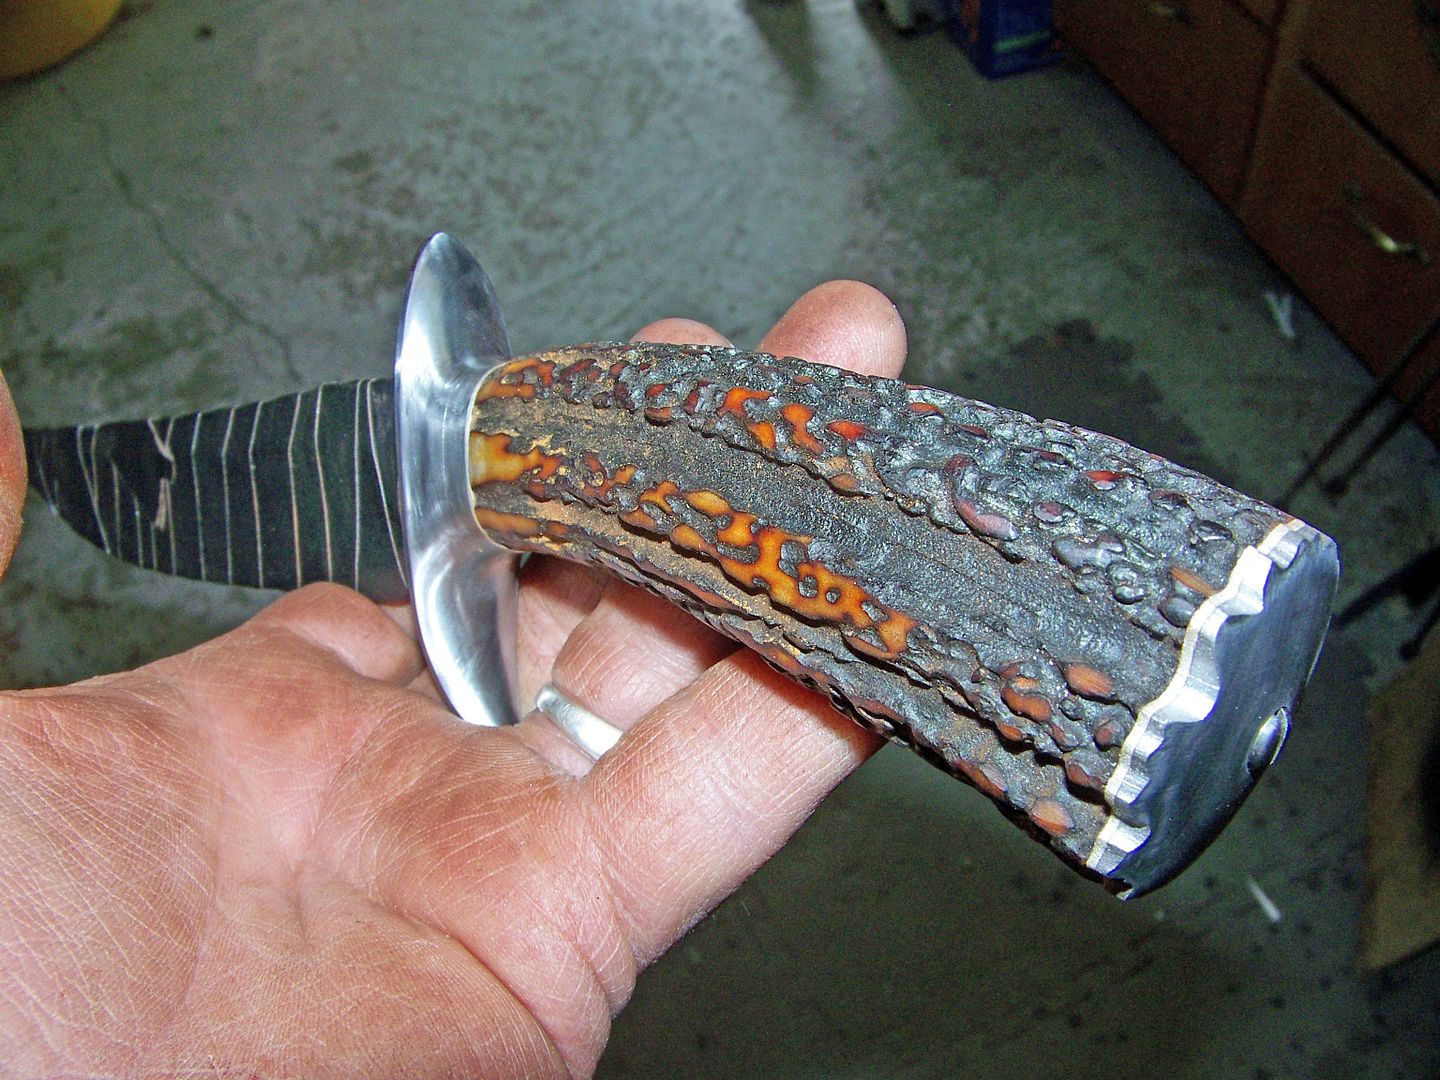
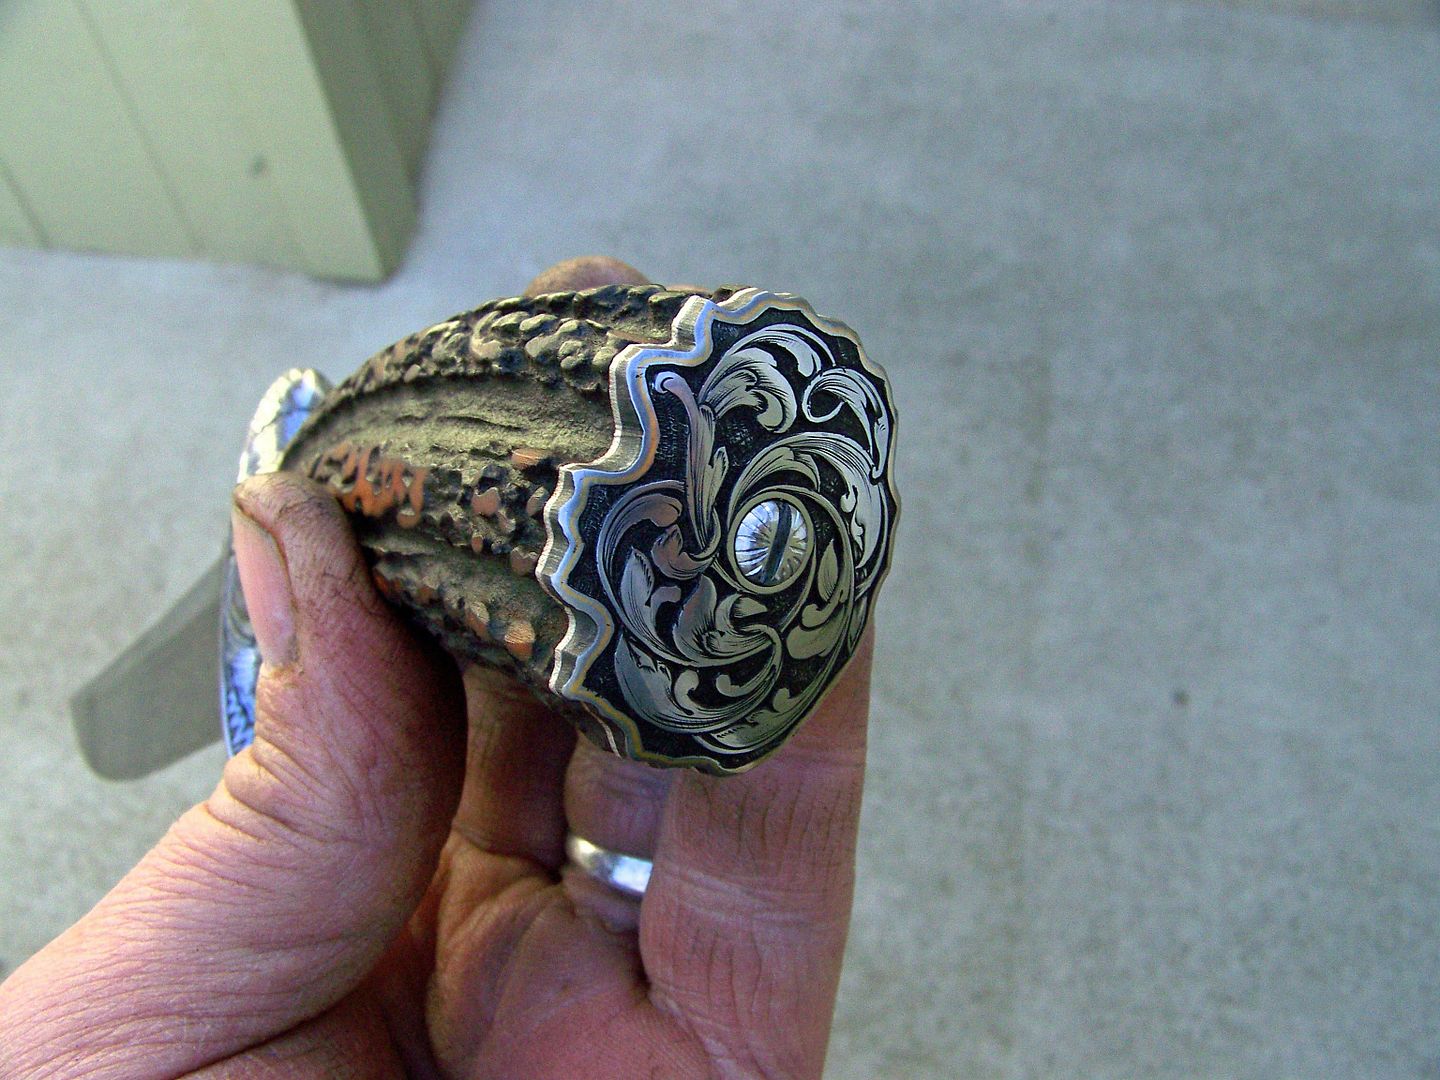
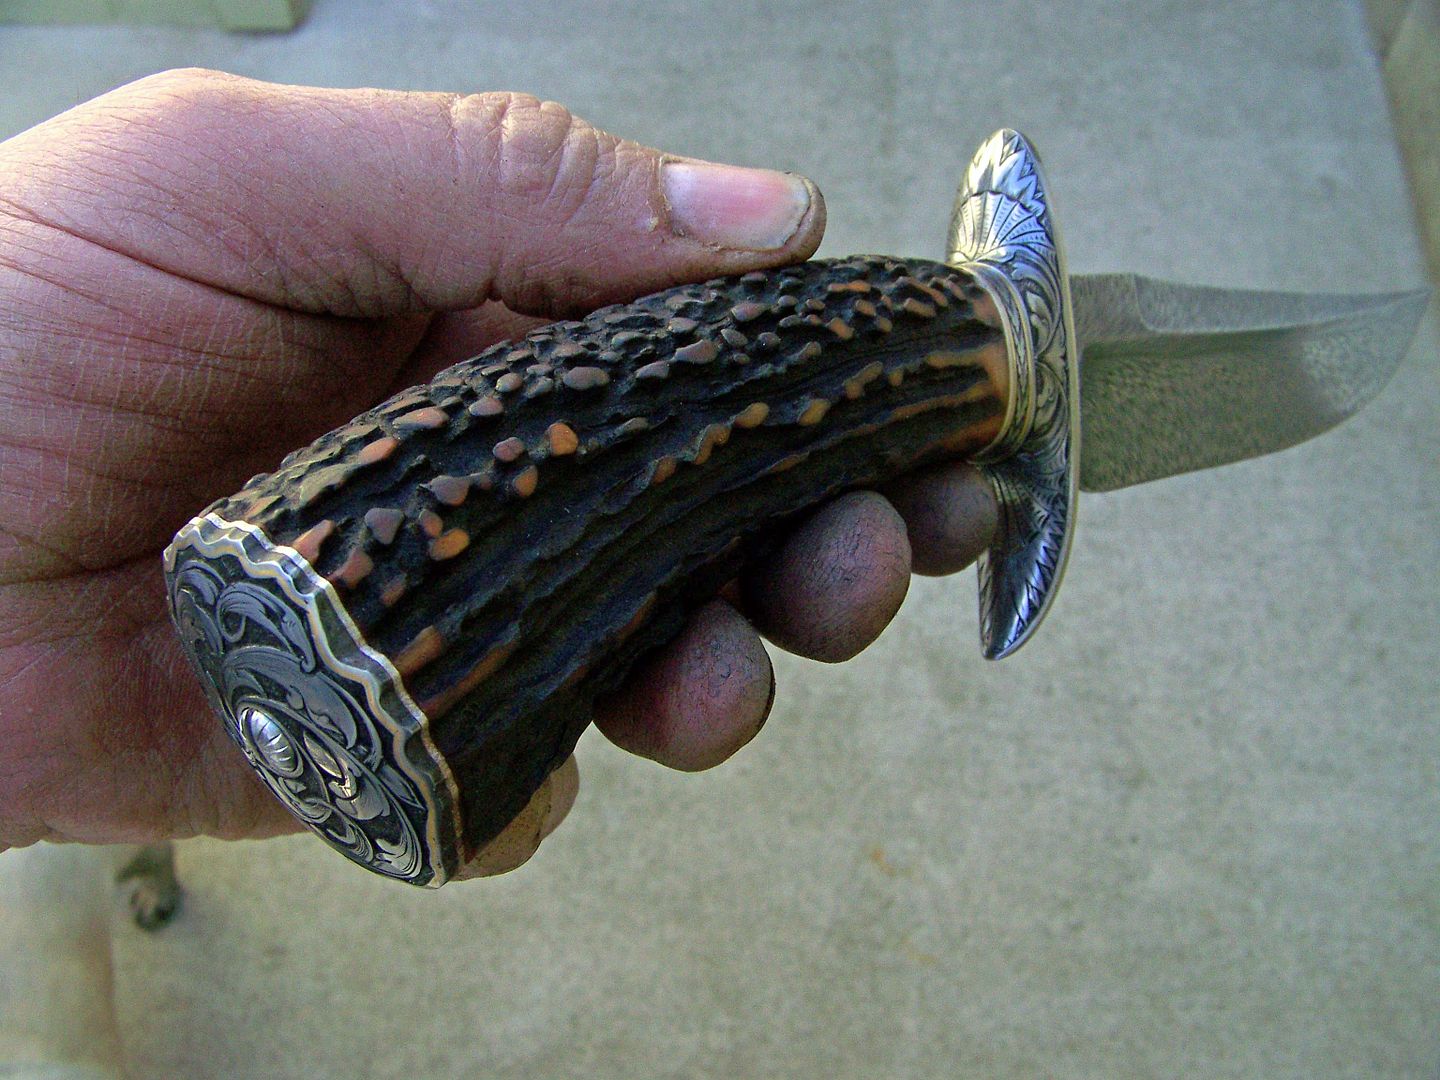
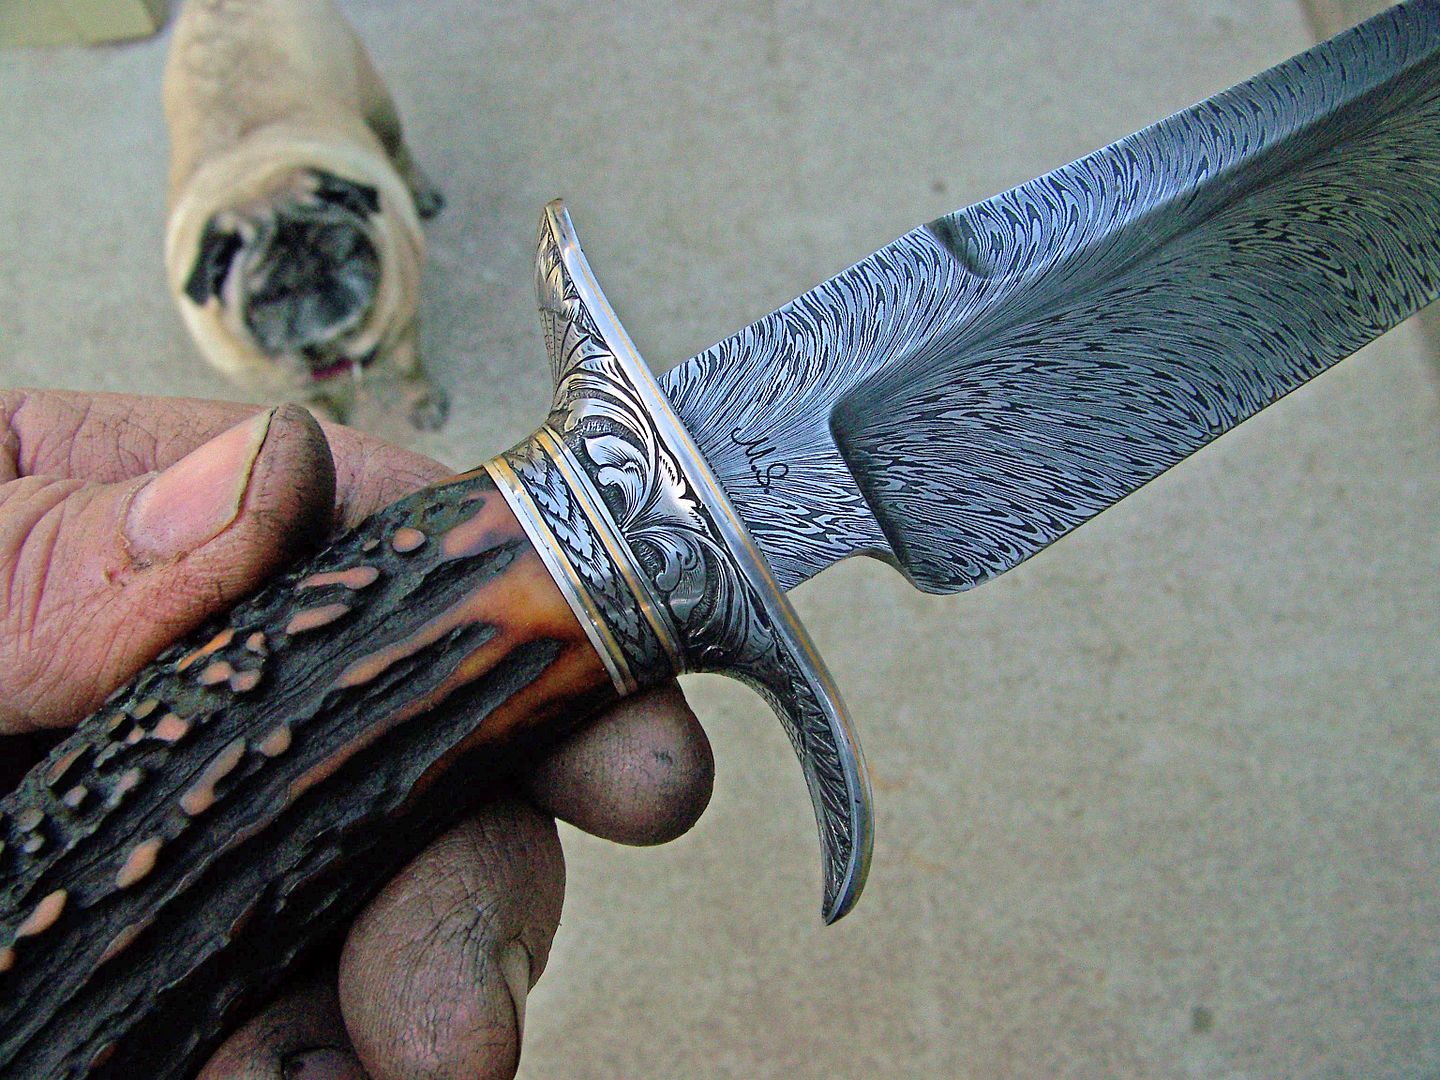
I have this one packaged up and shipping out to Ken Hurst today for his magic touch. Its nice to have a take down model like this because I'm not sending Ken the blade but just the parts to be engraved.
Bruce, Could you please limit the number of pages on these wip's. I need to get out to the shop and not be on this machine all day. You truly are a Master! See you in Eugene.
 You're a good one to talk. I only have a handful of threads so far, You have a boat load!
Hey I saved up $15. See ya in Eugene.2thumbs
I may raise my price up to 20 bucks this year. You know about inflation. 2thumbs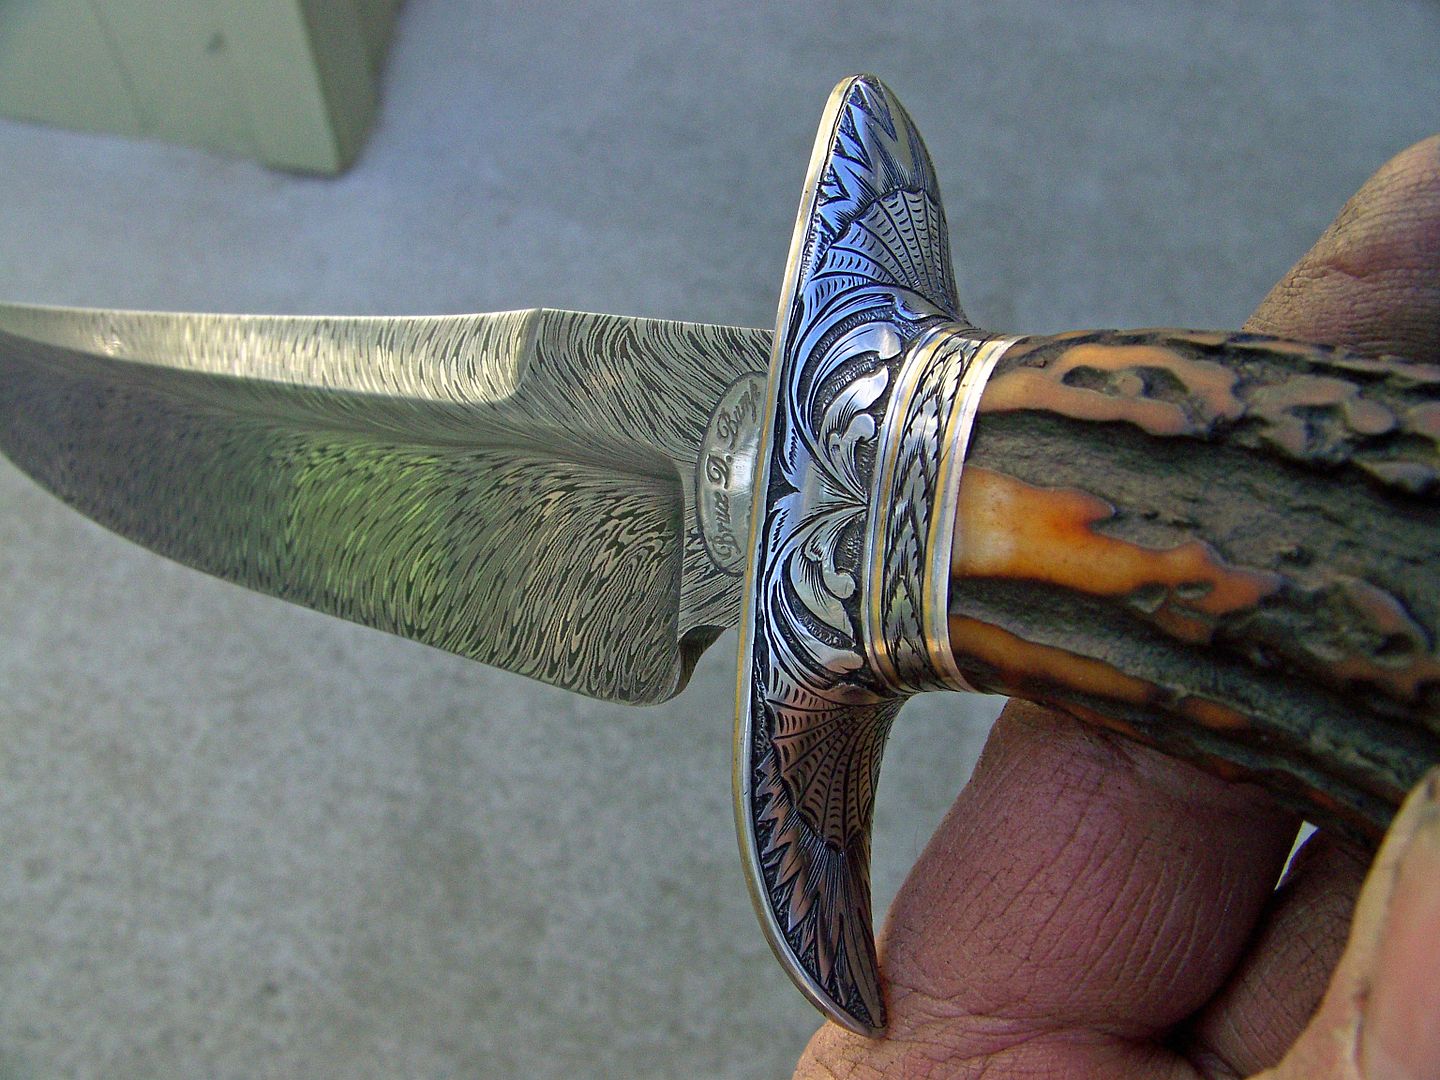
Very cool Bruce.
You should sell permits just to look at it.
Steve