Step By Step Handle Tutorial

Meridian Blades

Moderator - Knife Maker
I moved this over from my forum.......

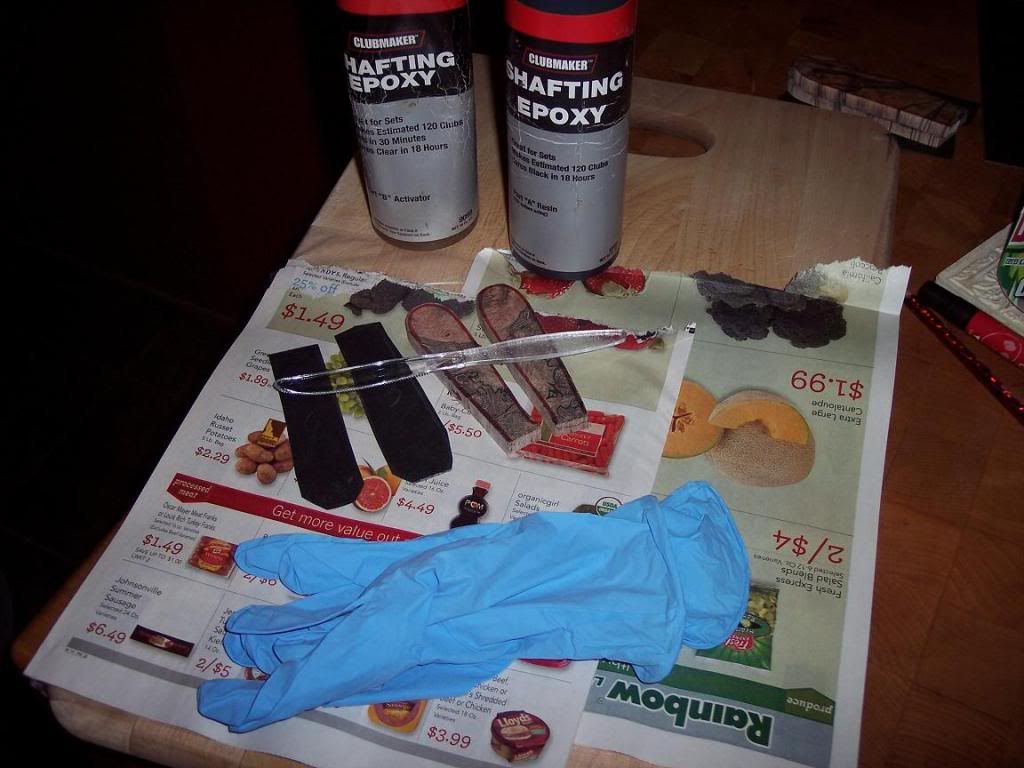
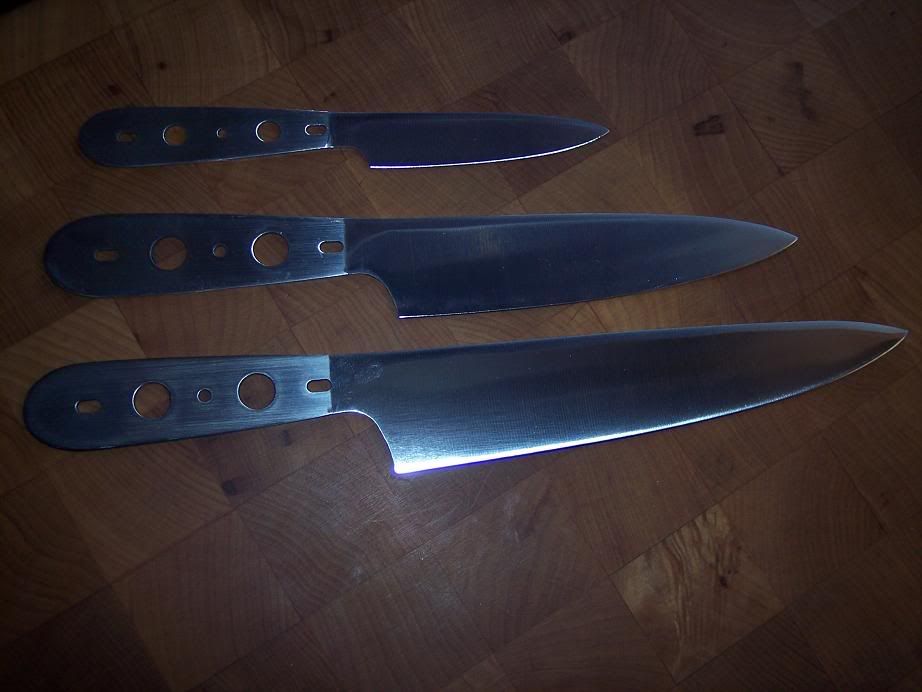
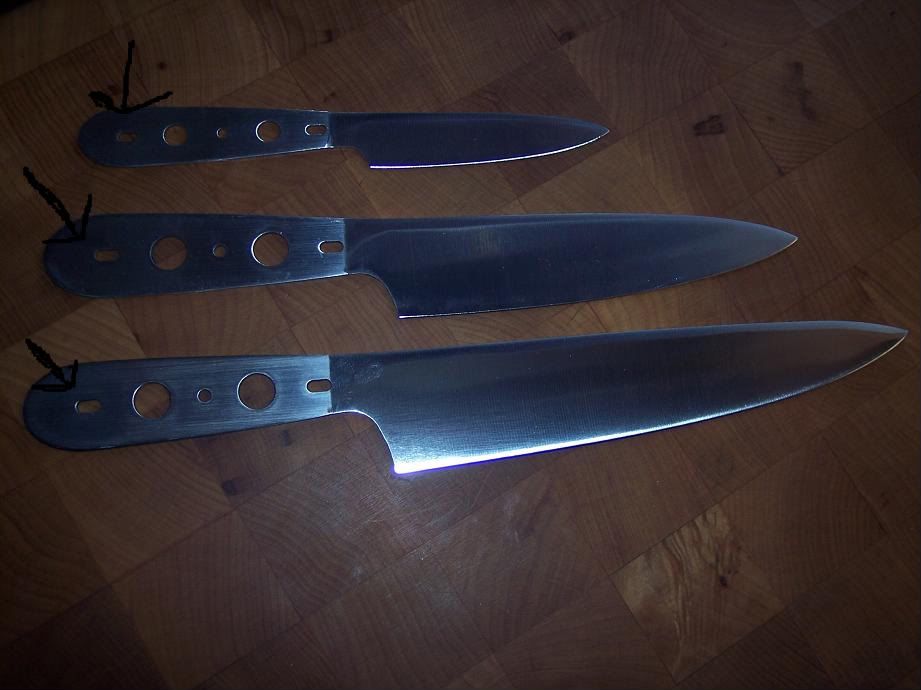
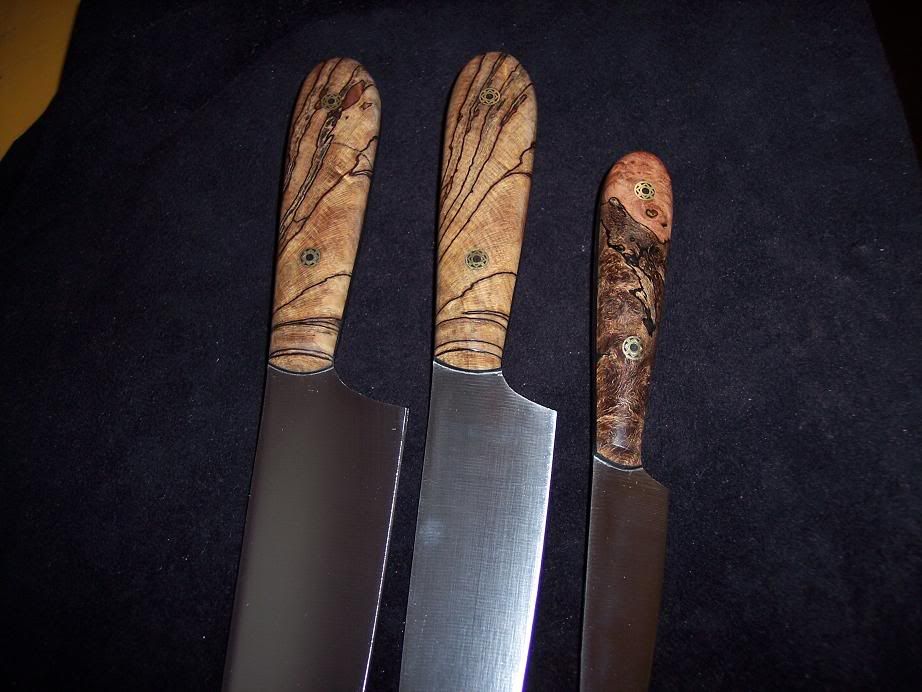
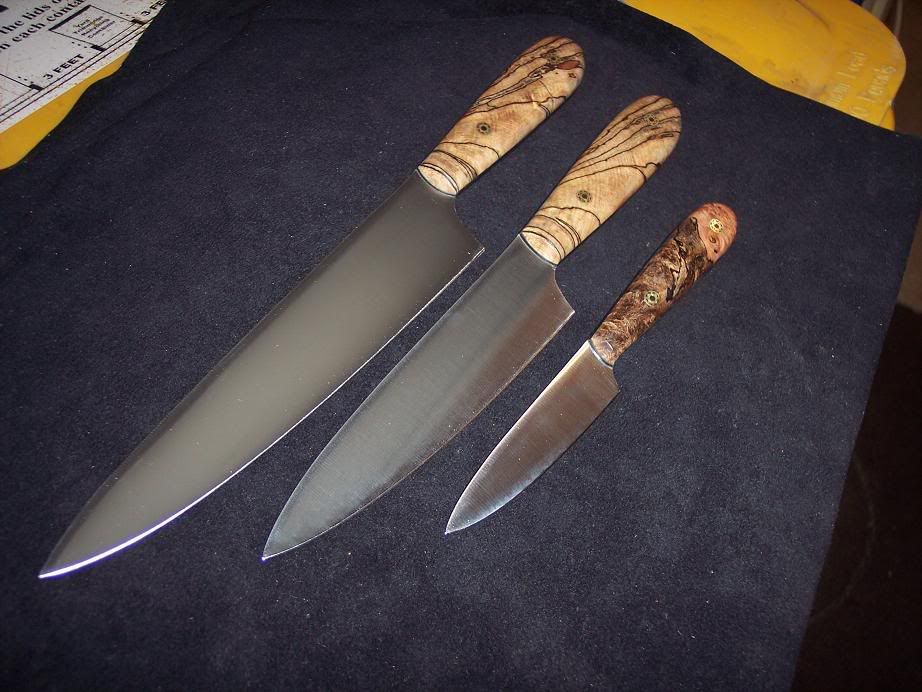
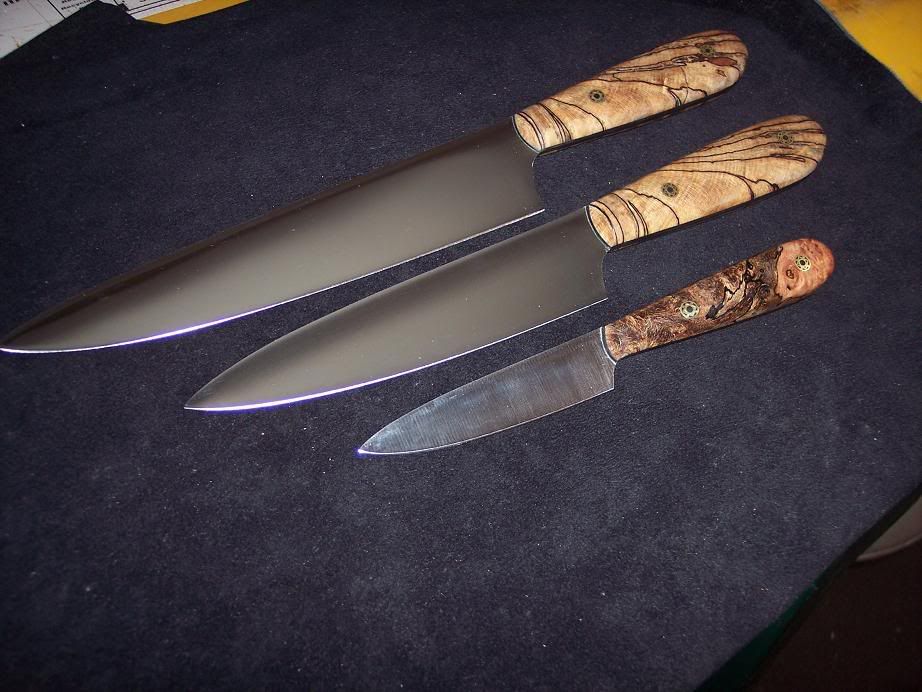
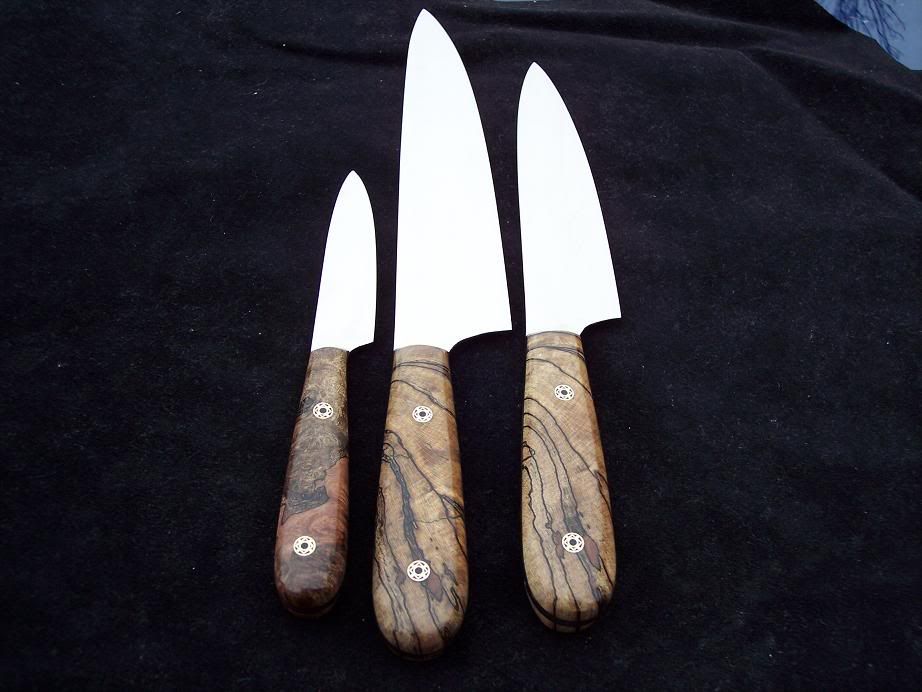
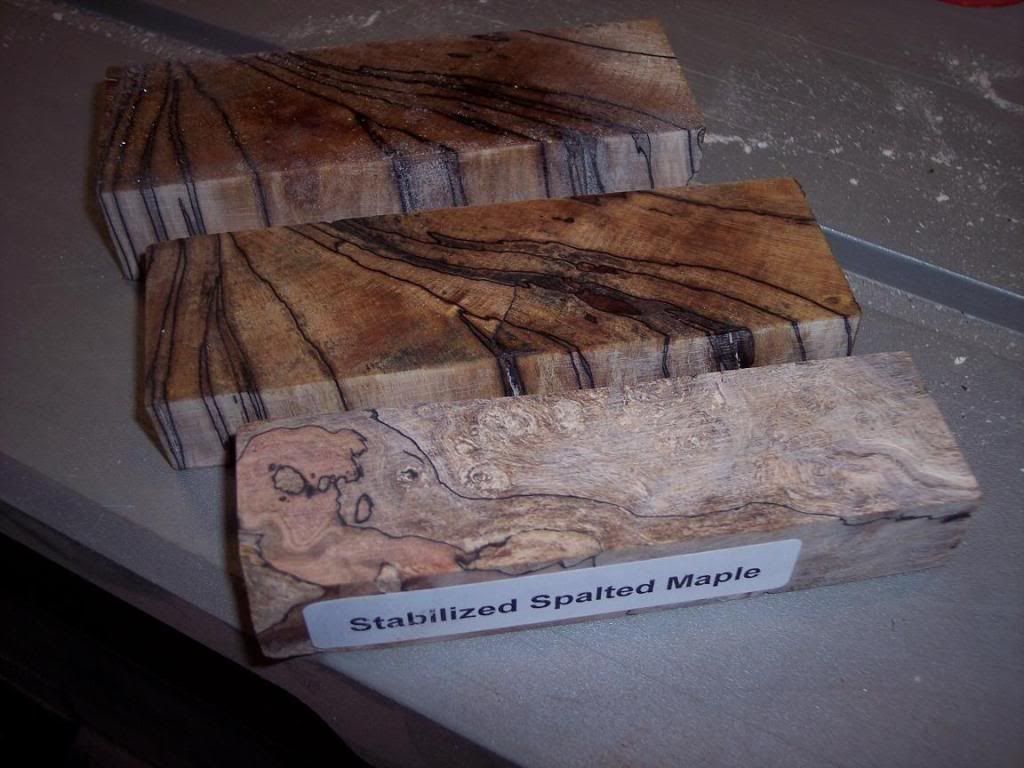
This a WIP I am doing on some Kitchen Blades. I am only doing the handles. The customers picked out some stabilized black line spalted maple.

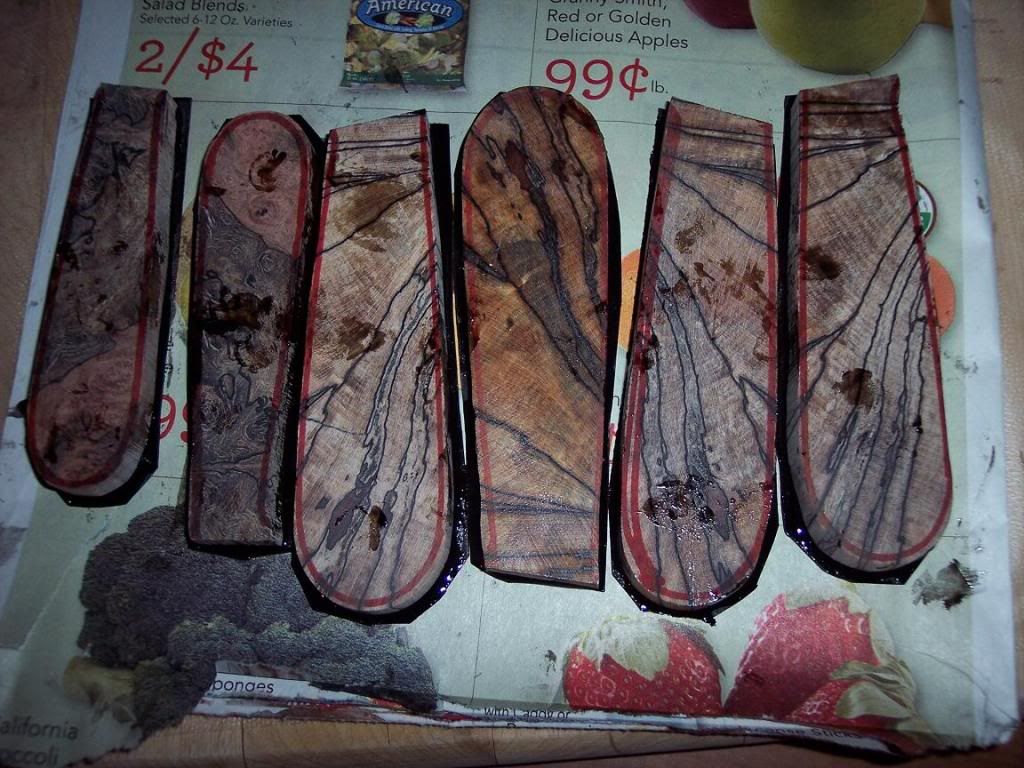
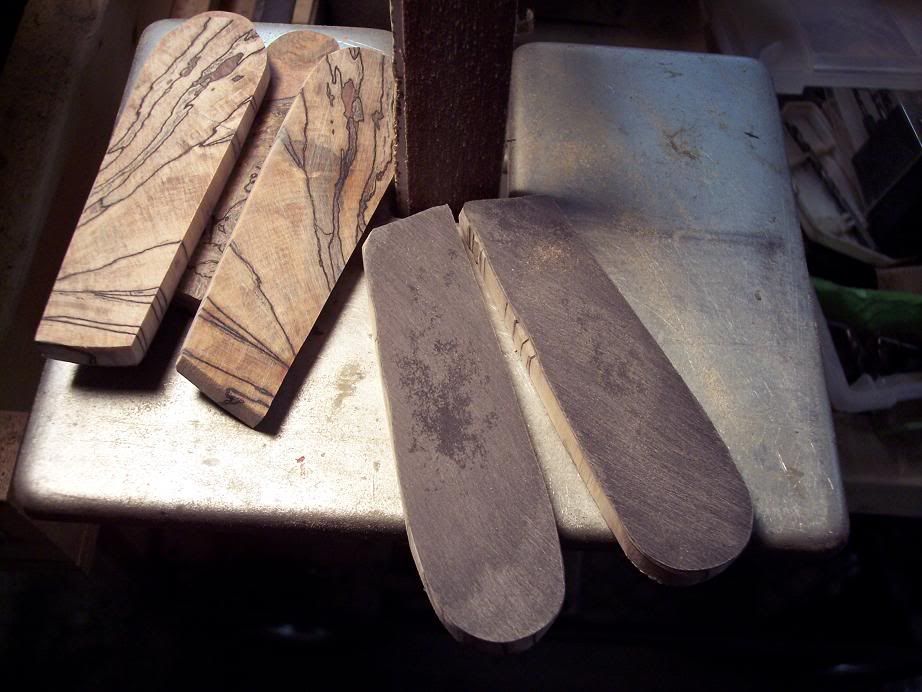
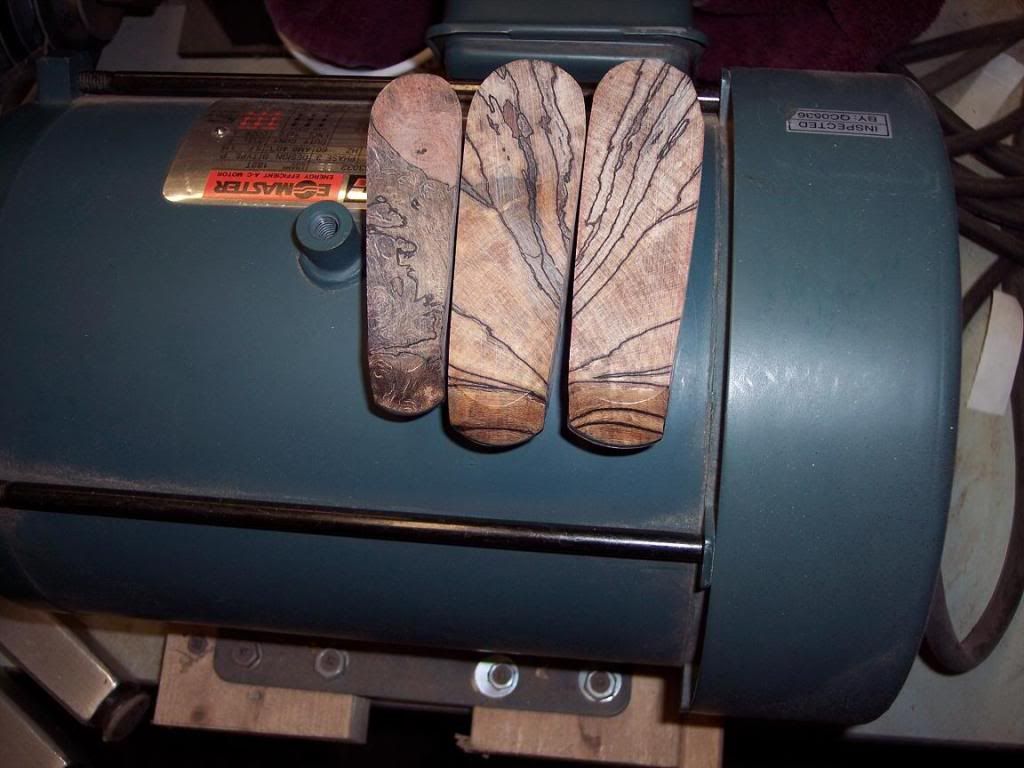
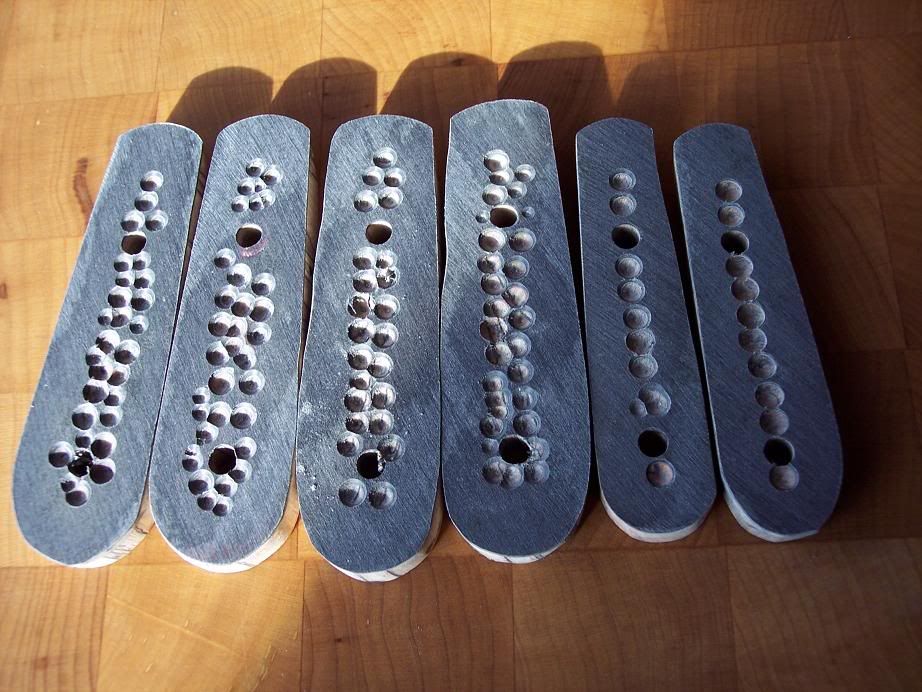
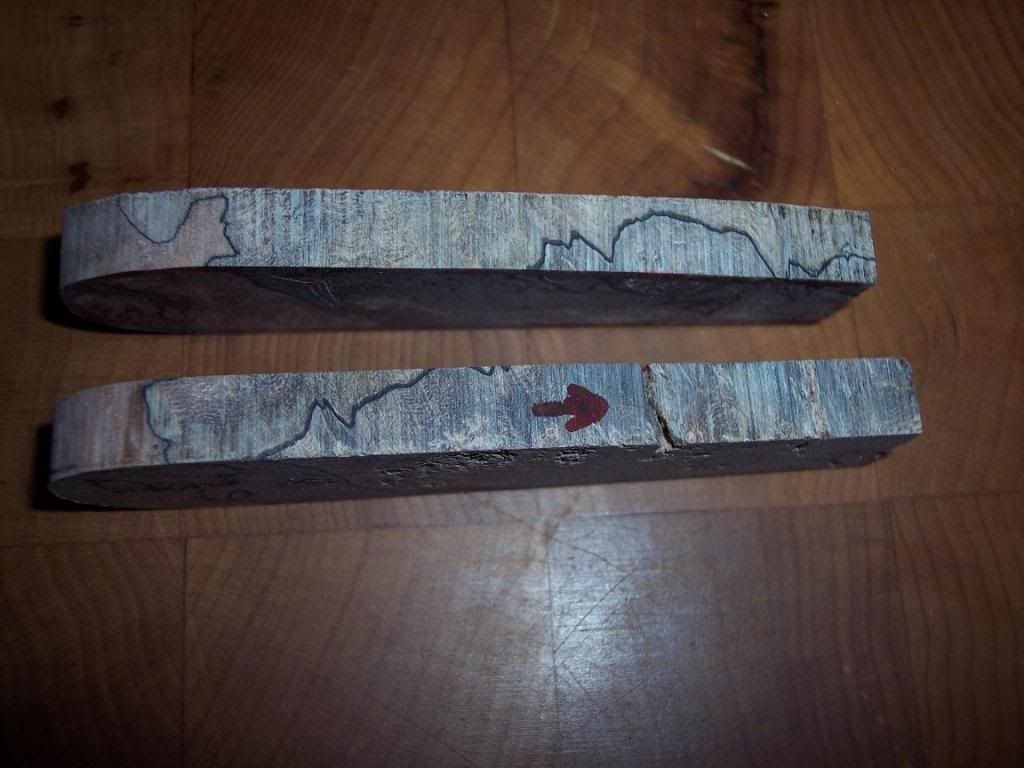
Here are the blocks that were selected. I picked 2 end grain blocks for the bigger blades, in trying to keep with the same spalting pattern. The little paring blade required something a little fancier with some burl and lighter coloring. Note...These blocks have all been dried, sanded, and sent down to WSSI for stabilizing last year.

ARWIP002.jpg


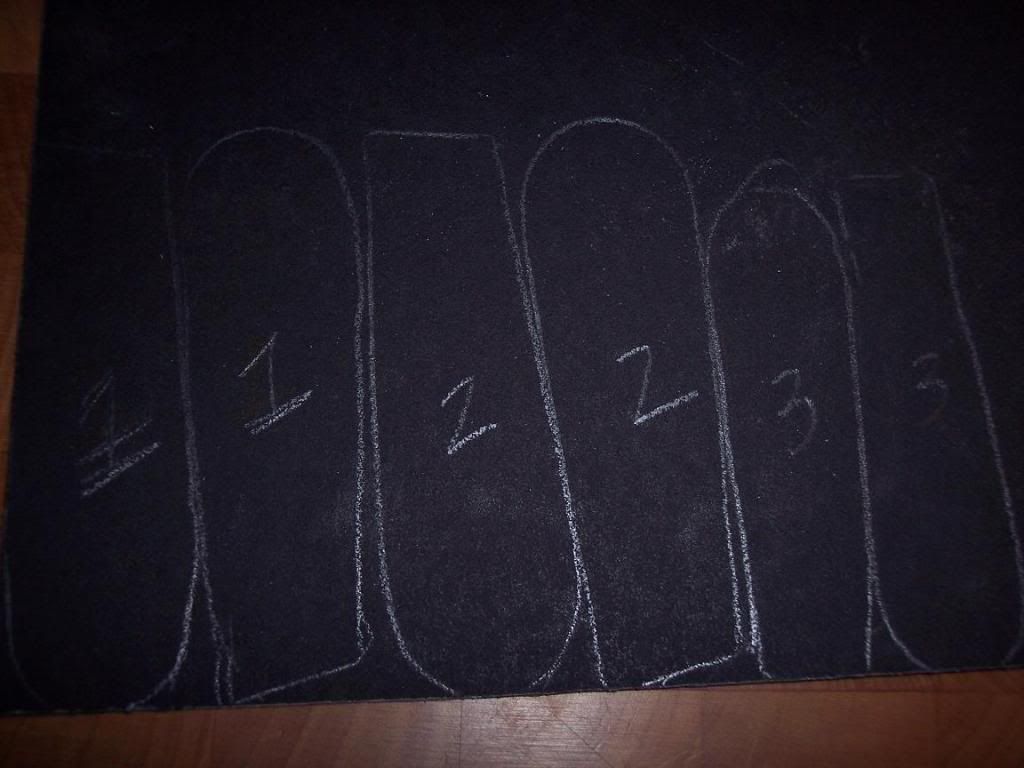
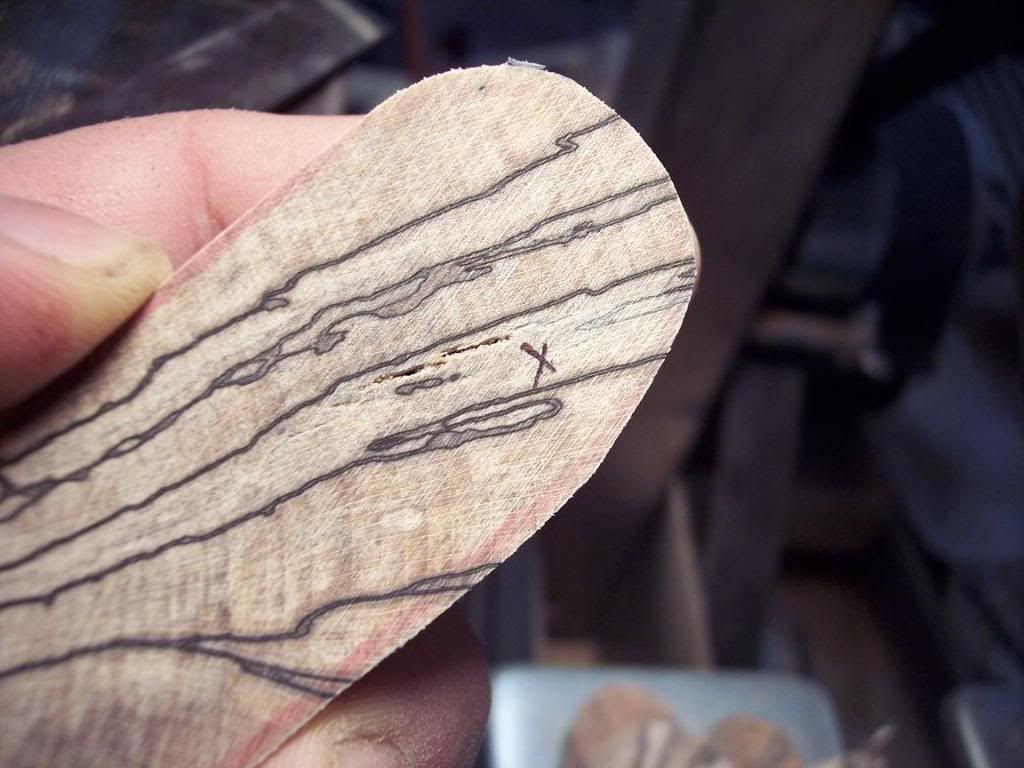
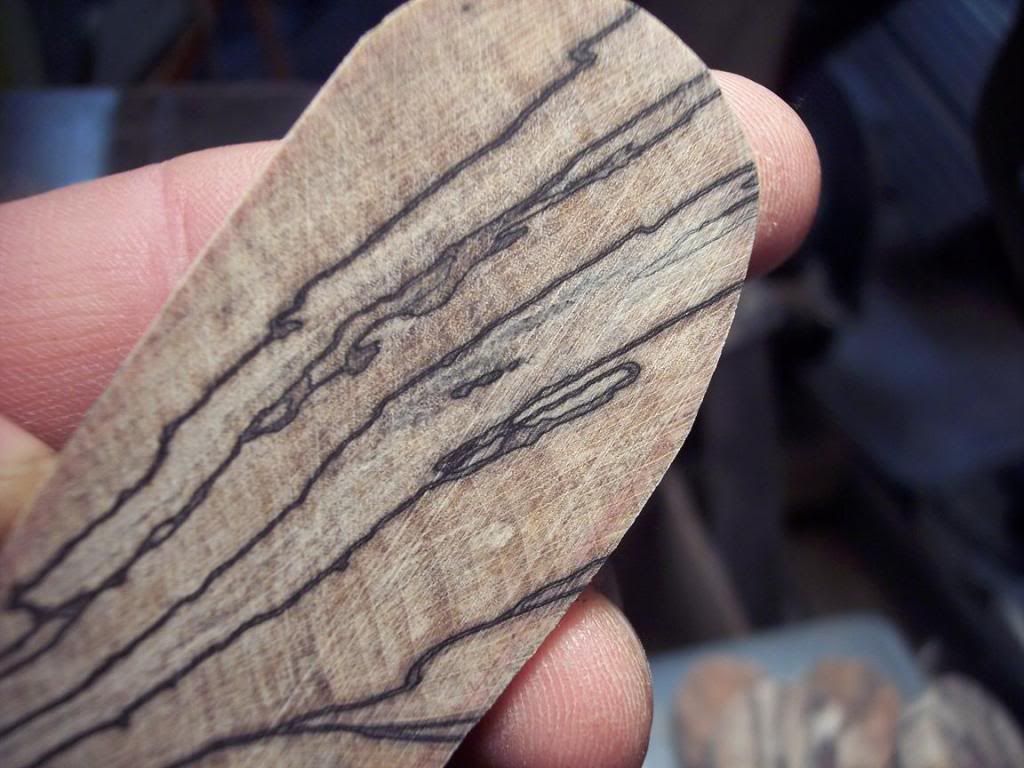
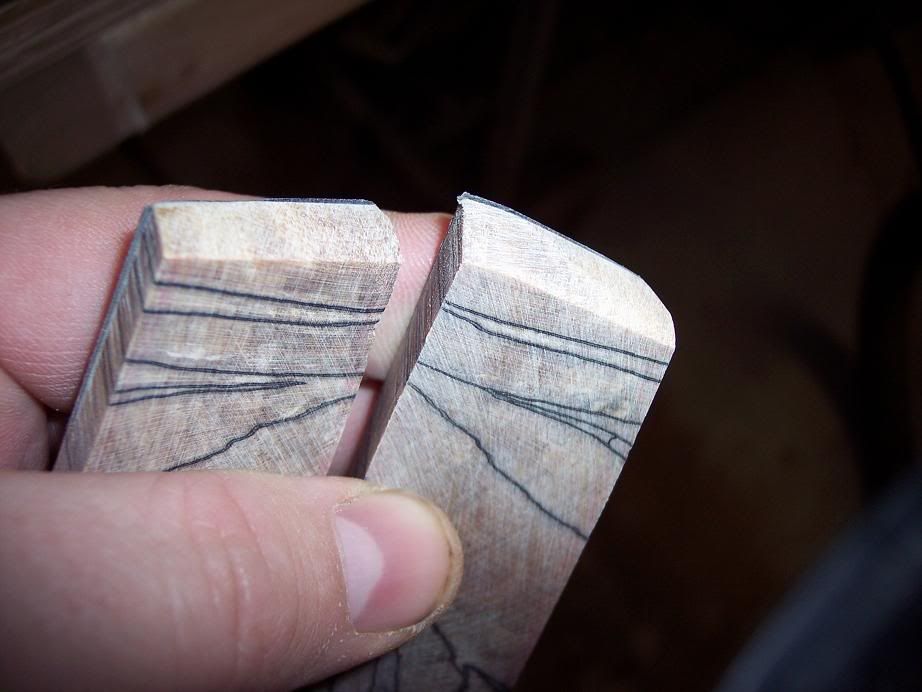
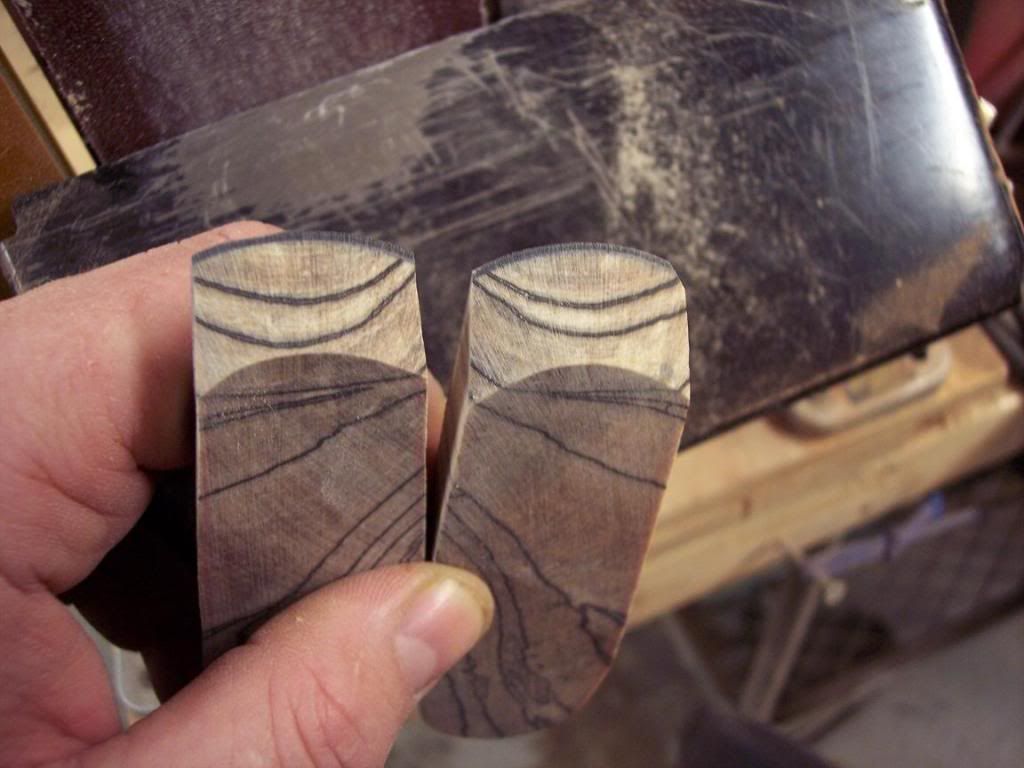
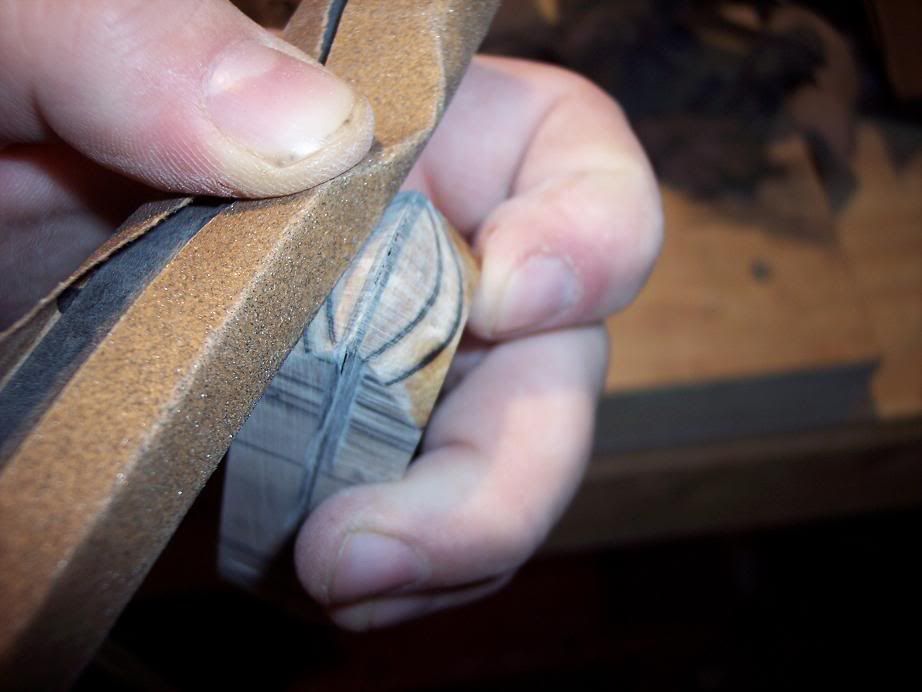
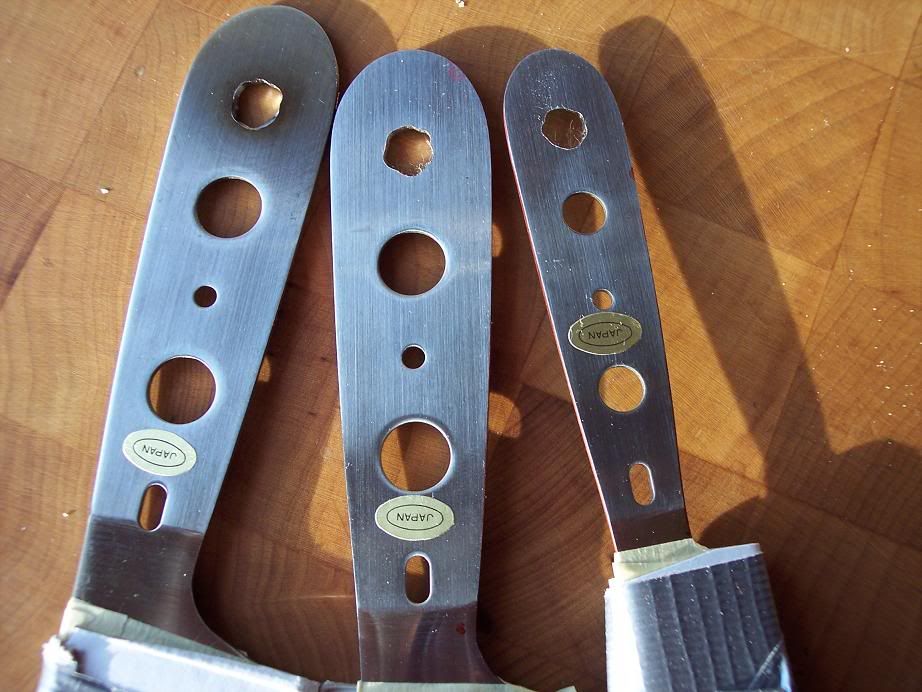
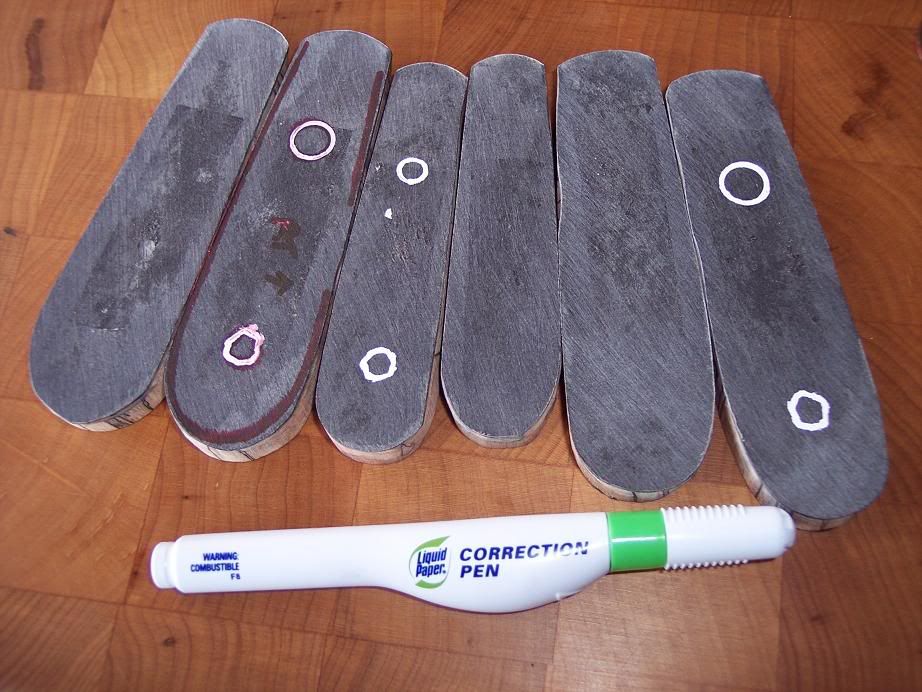
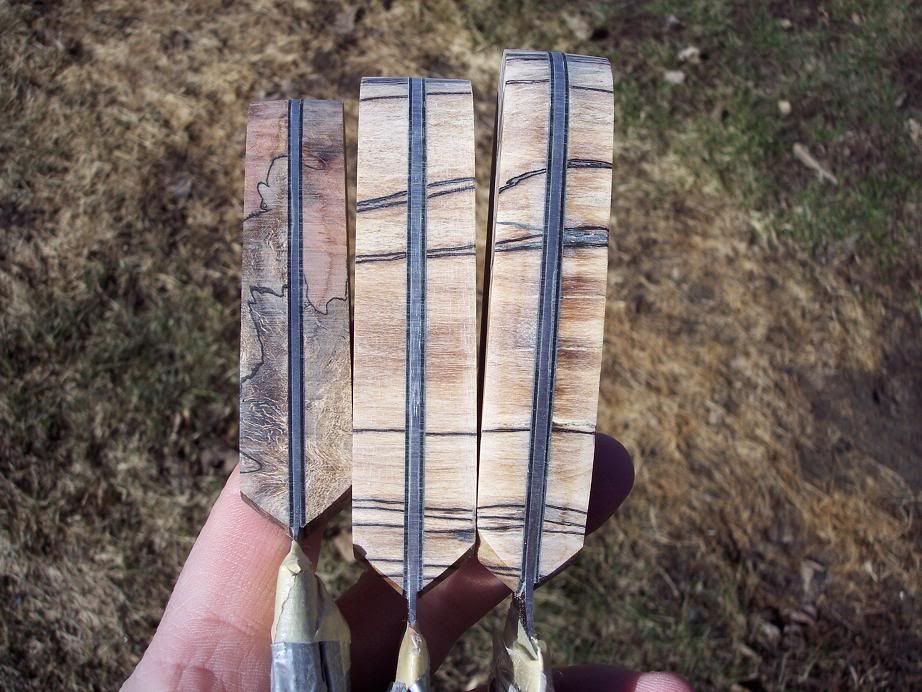
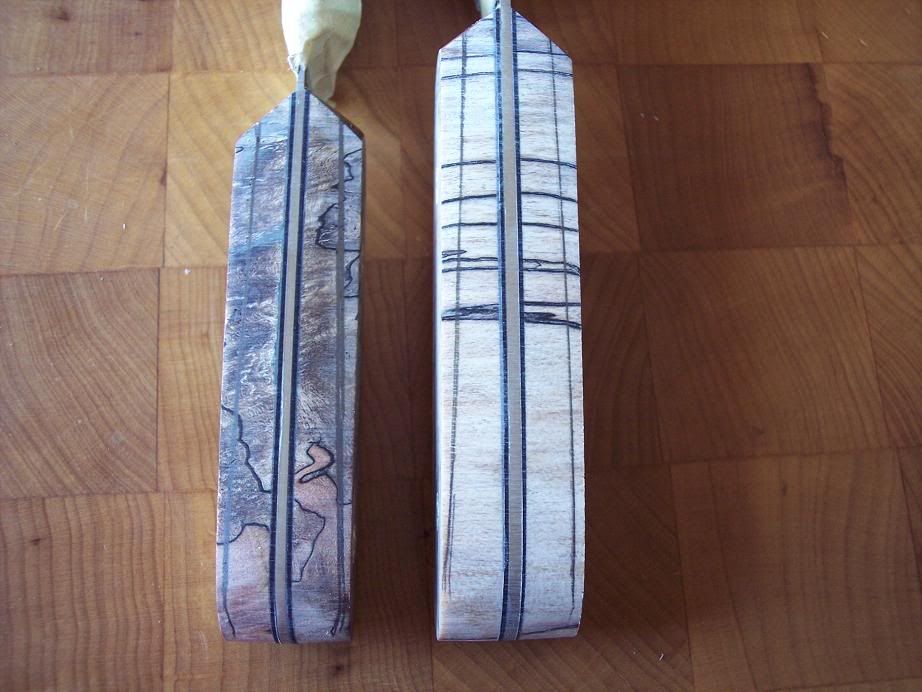
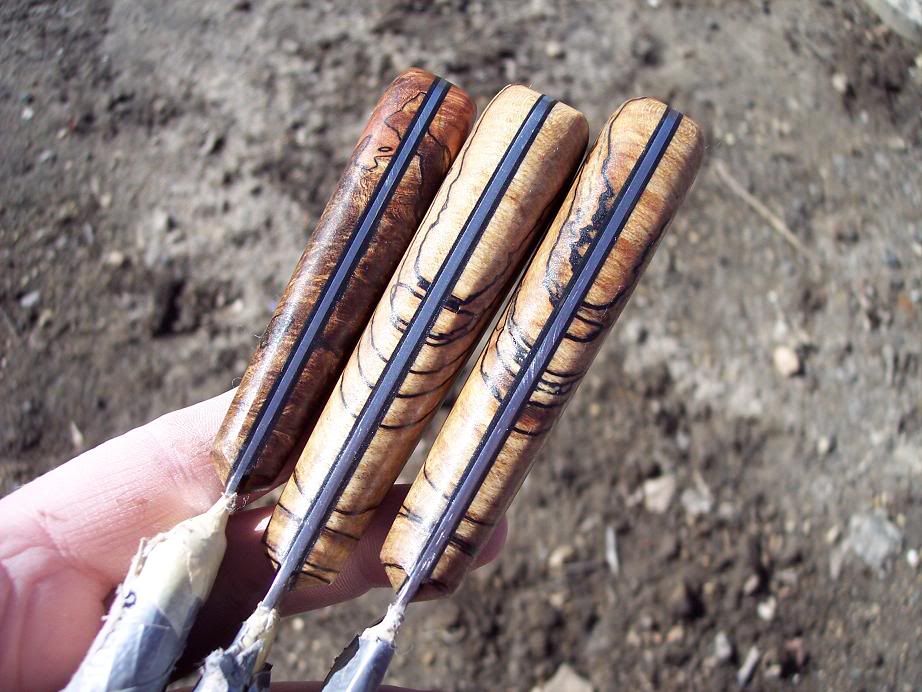
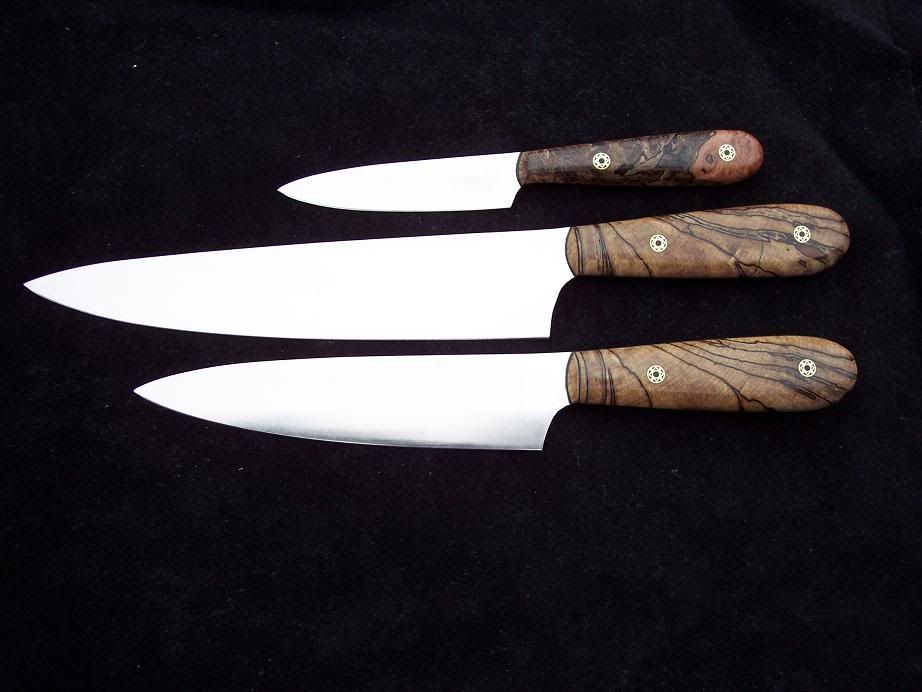
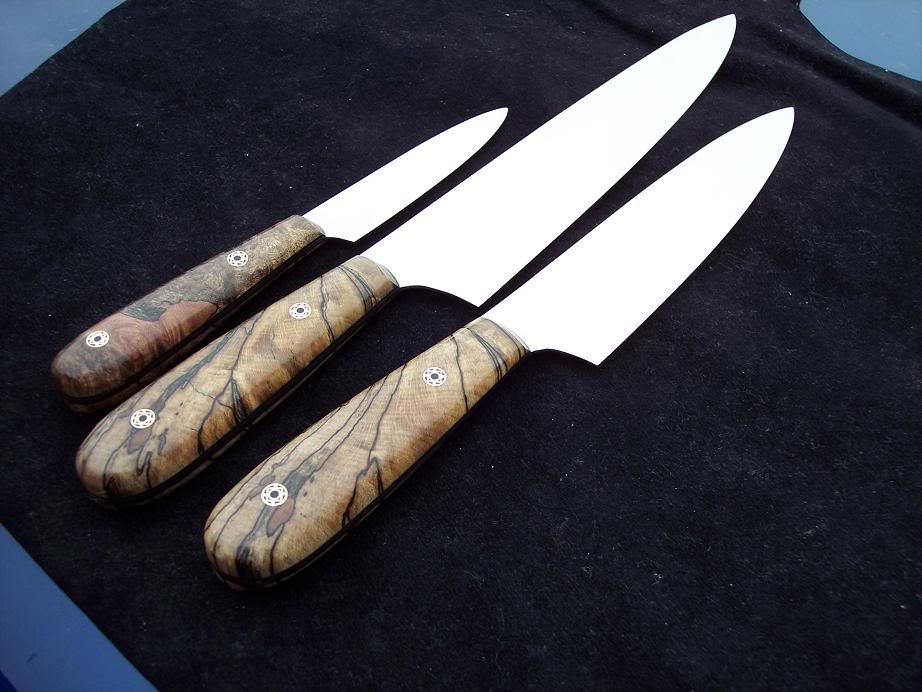
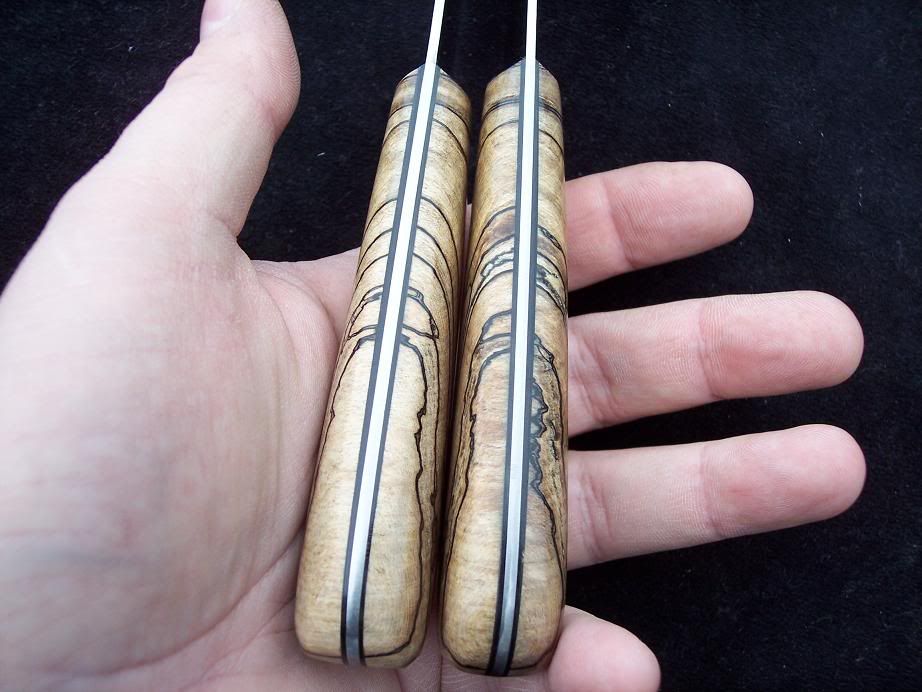
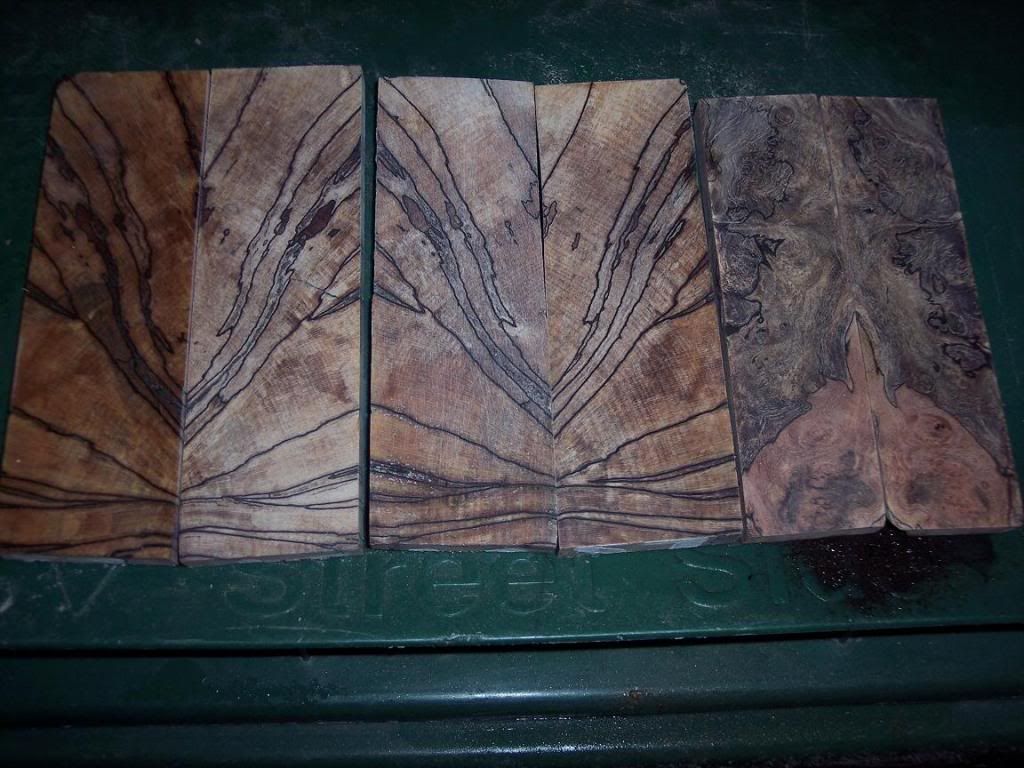
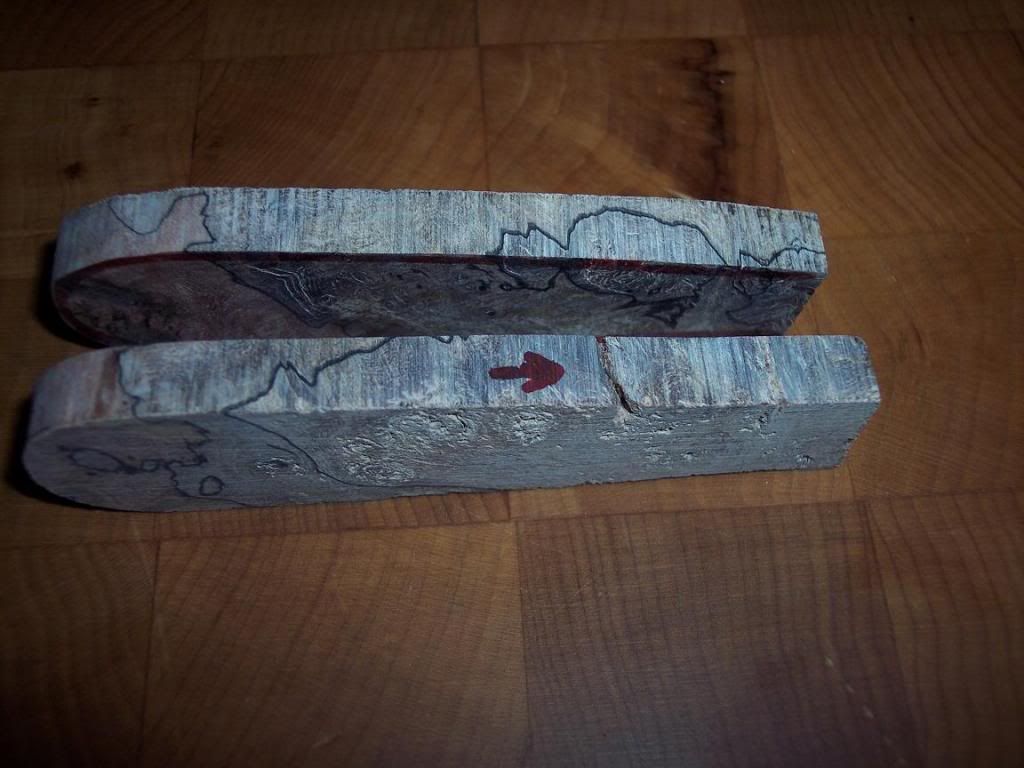
The next step was to bookmatch these blocks into scales, and decide how I wanted the spalting to appear on the handles. This was kind of tricky since I wanted to capture the best of the spalting, so I ended up slanting the blade as I traced it on the scale. I used a medium tip type marker to trace the outline of the blade in red. Since these are end grain blocks there is some cracking and so I will be generous with the epoxy.

ARWIP004.jpg

ARWIP008.jpg


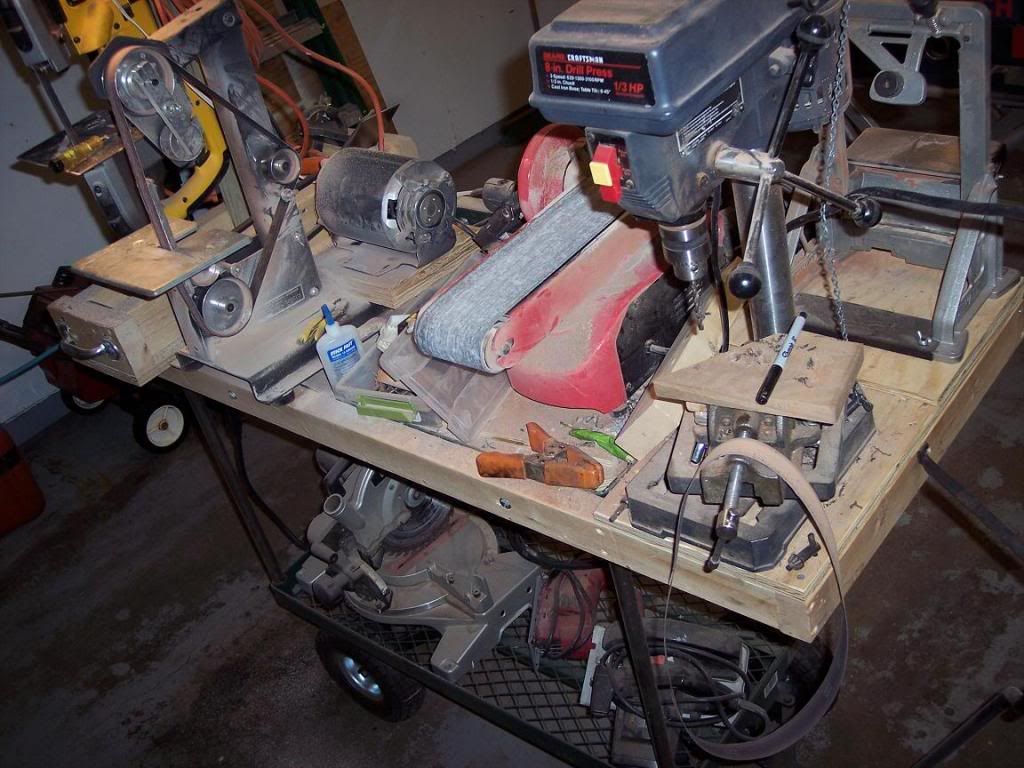
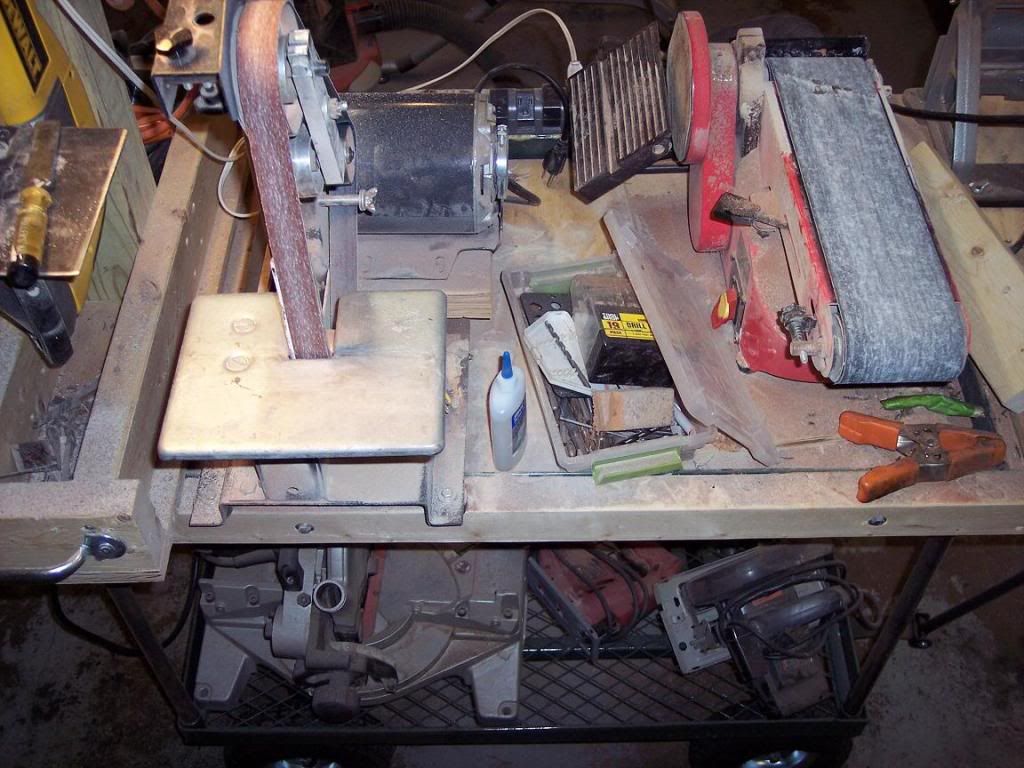
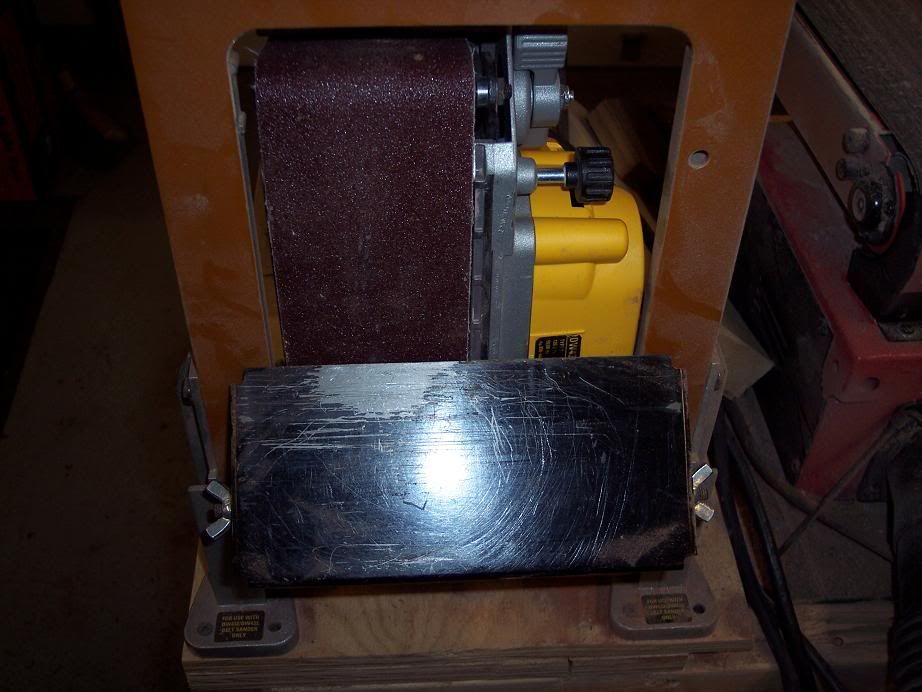
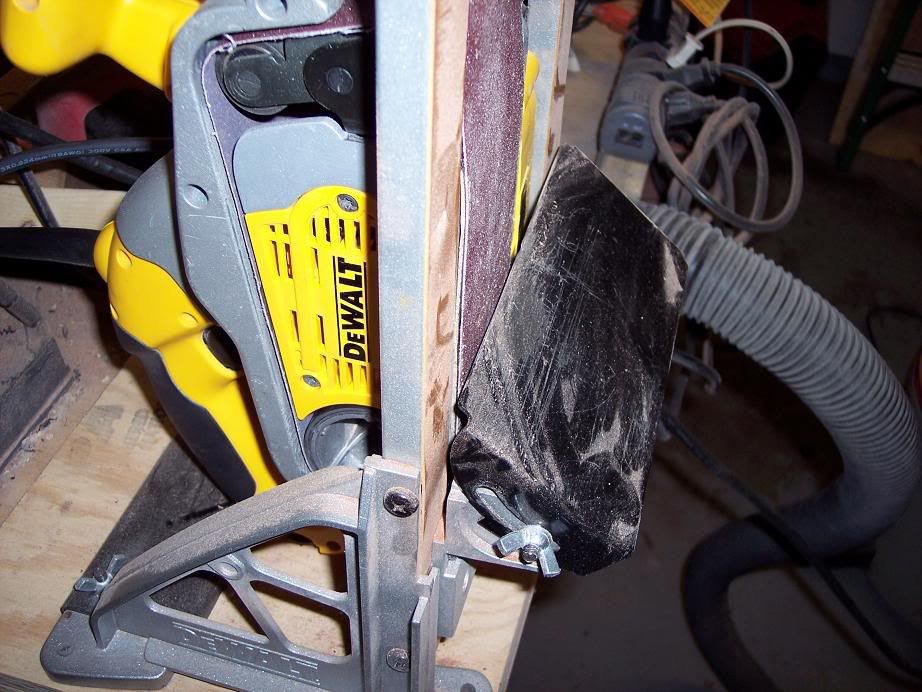
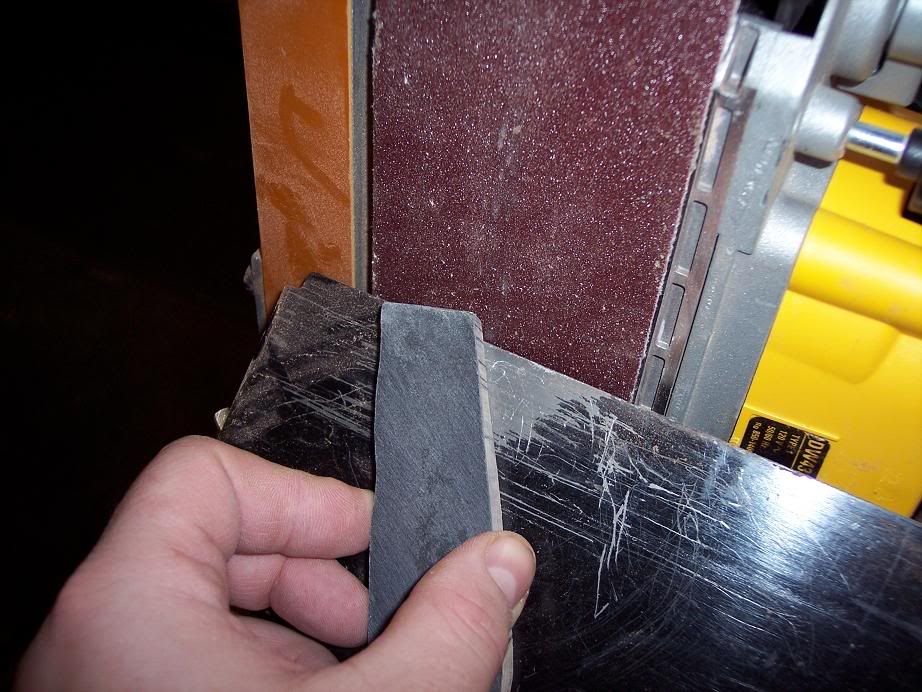
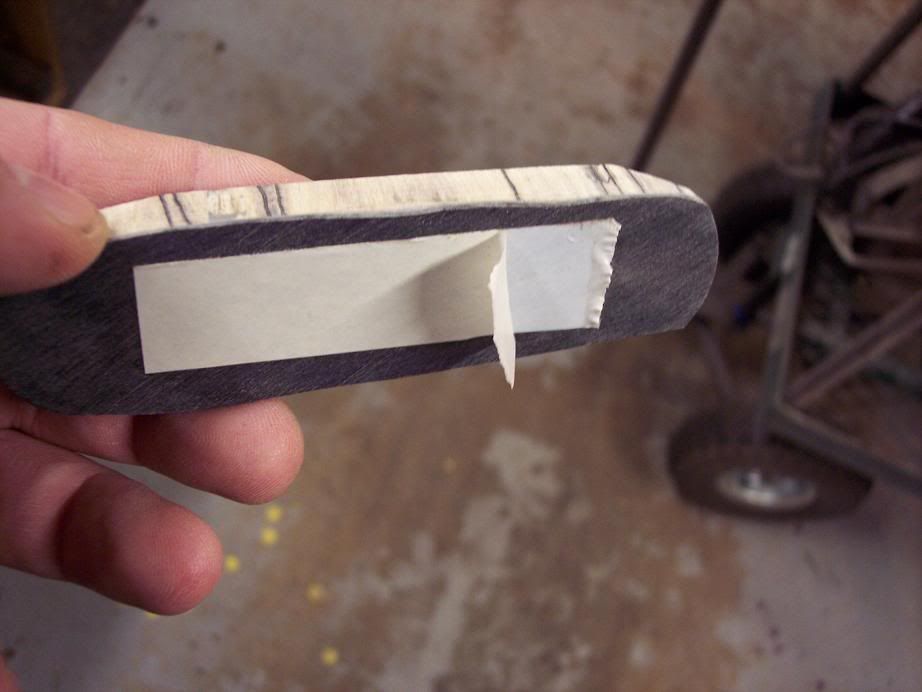
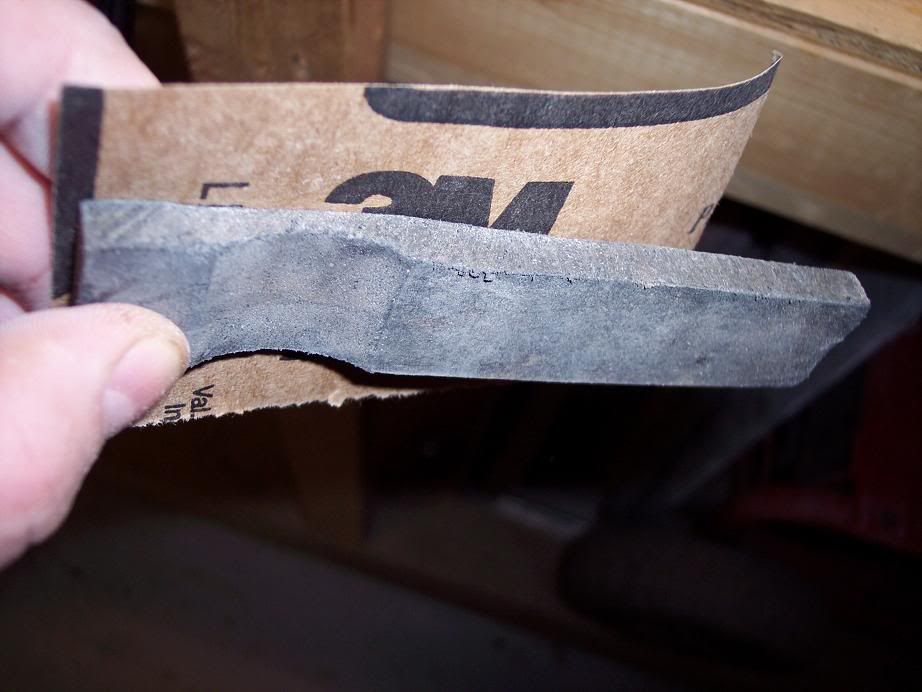
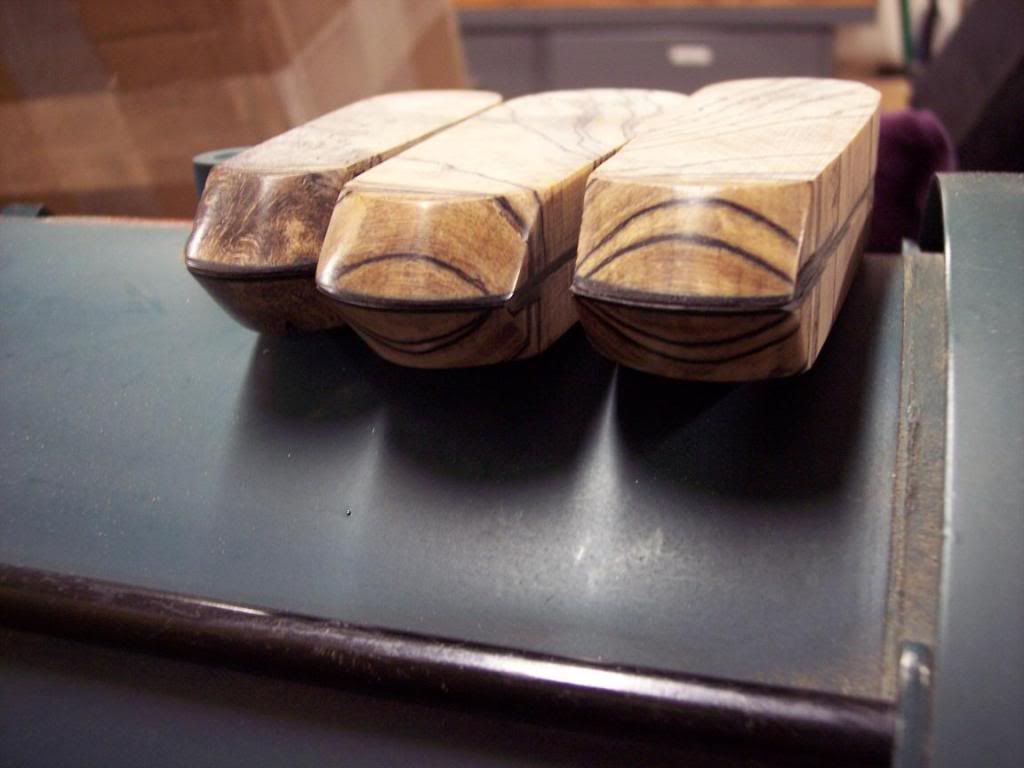
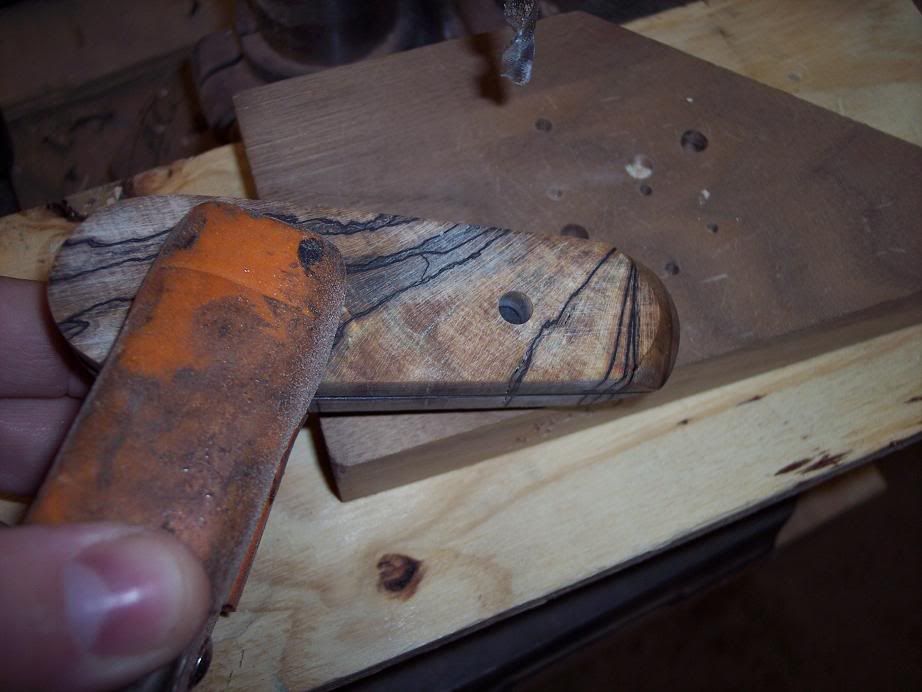
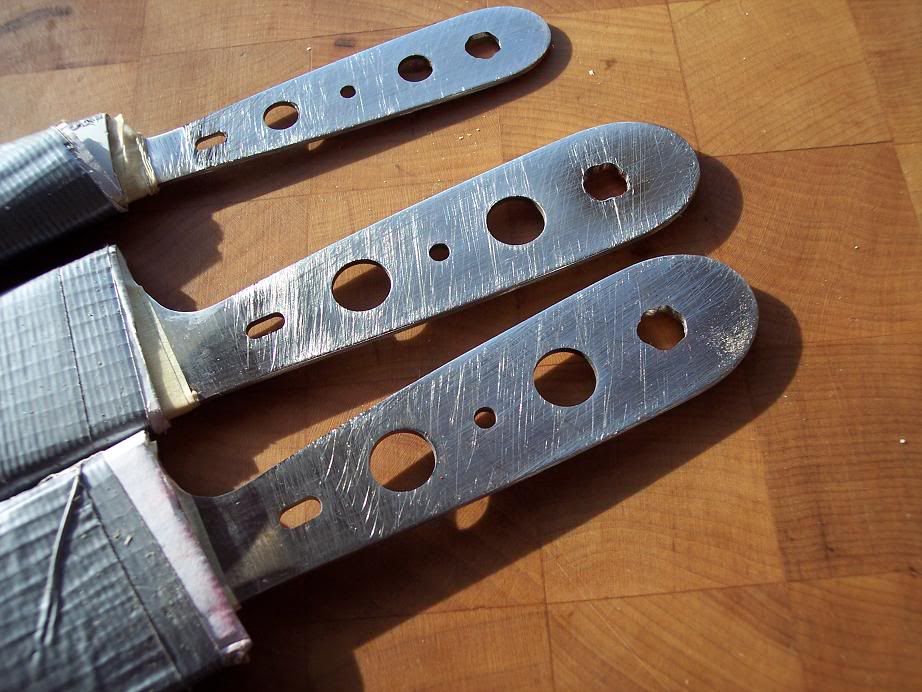
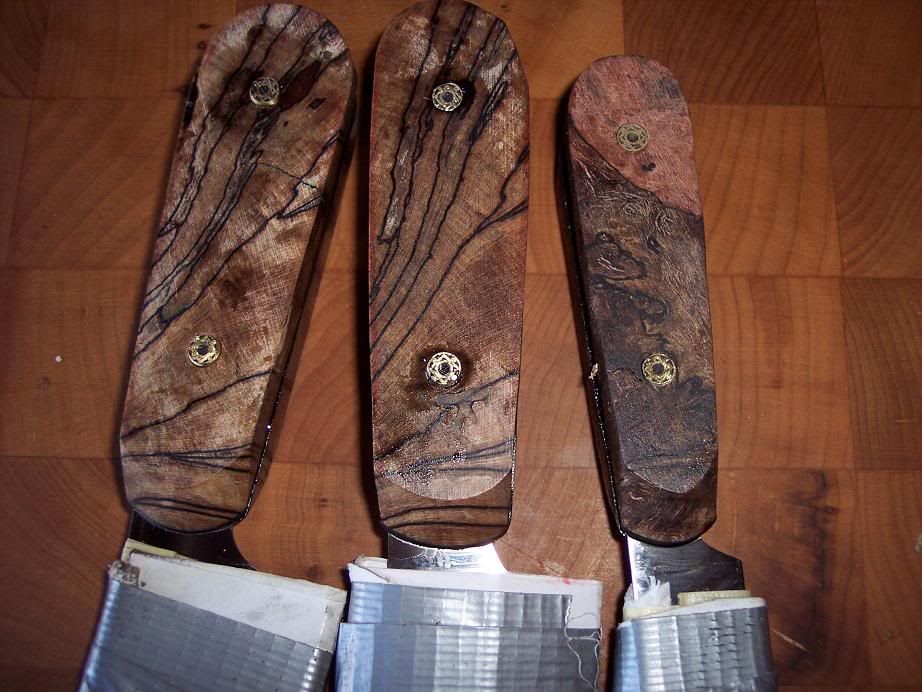
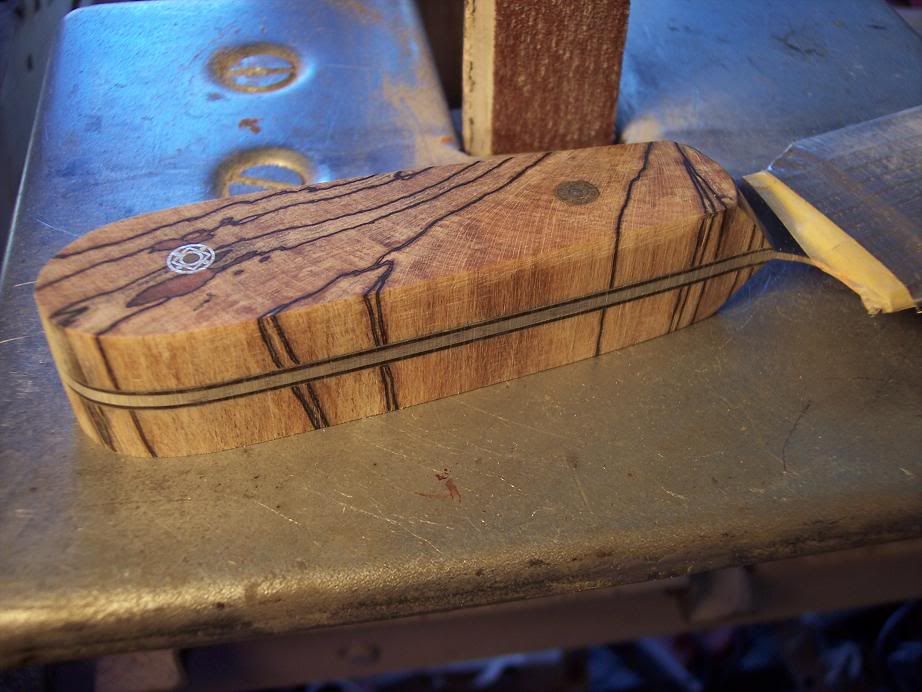
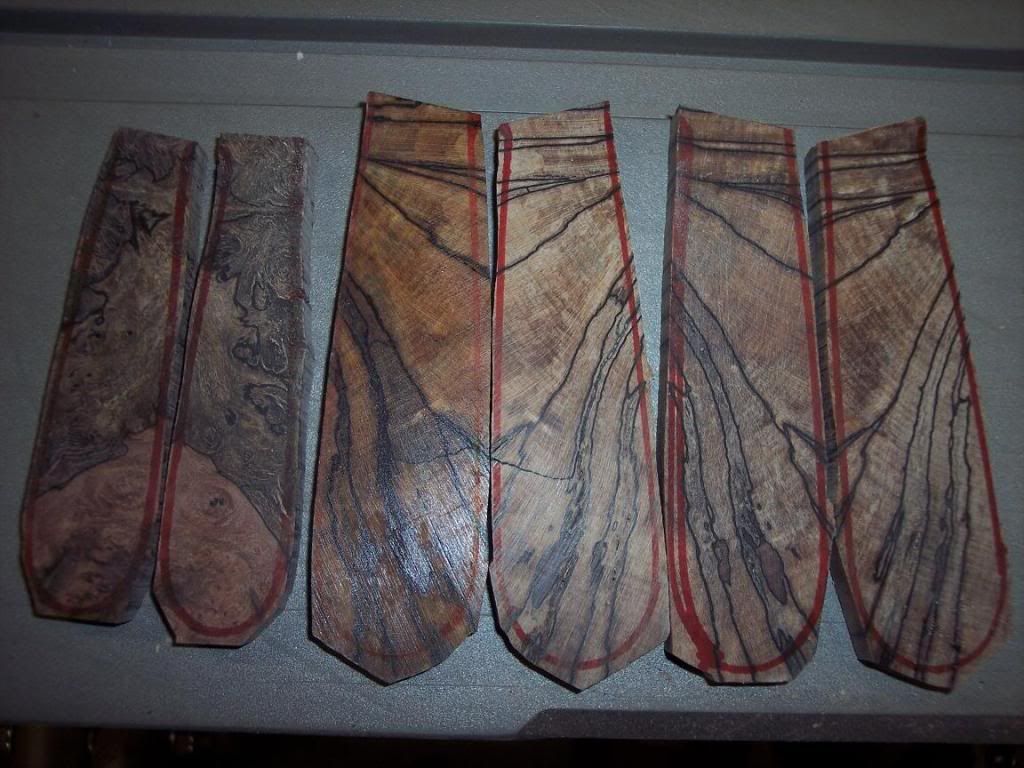
Here you can see the blades cut out, and I left a little room around the red lines. I then sanded cleaned up the scales a little on the 1 x 42, and made sure they were flat for liners on the 4 x 36 sander.

ARWIP011.jpg


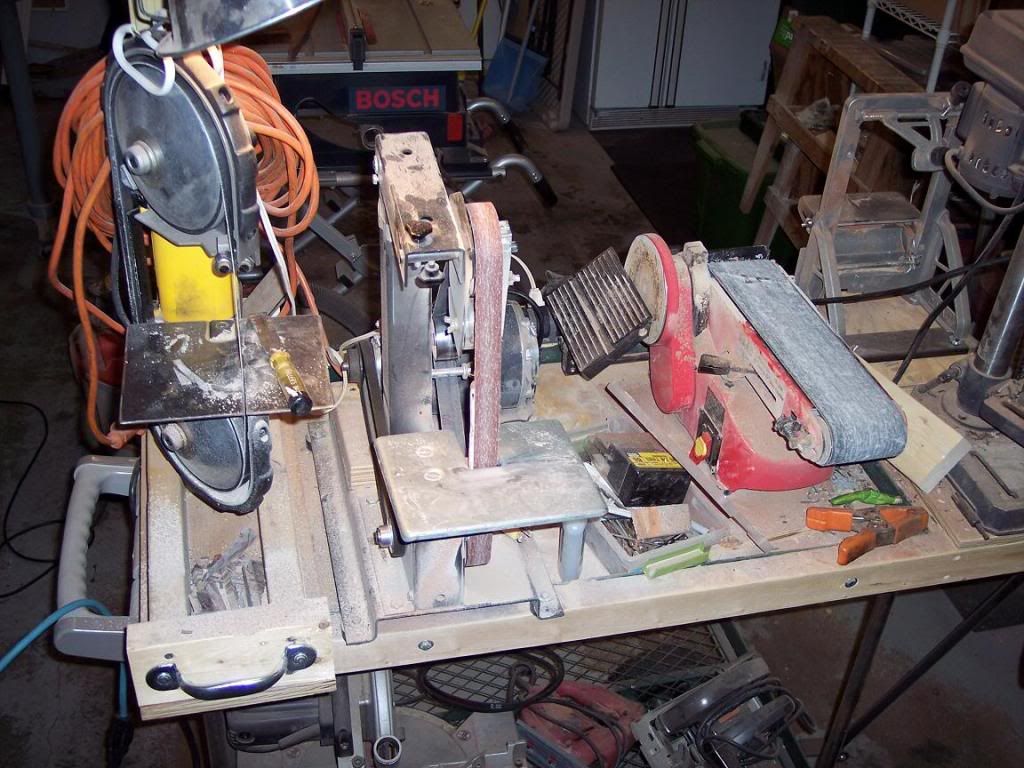
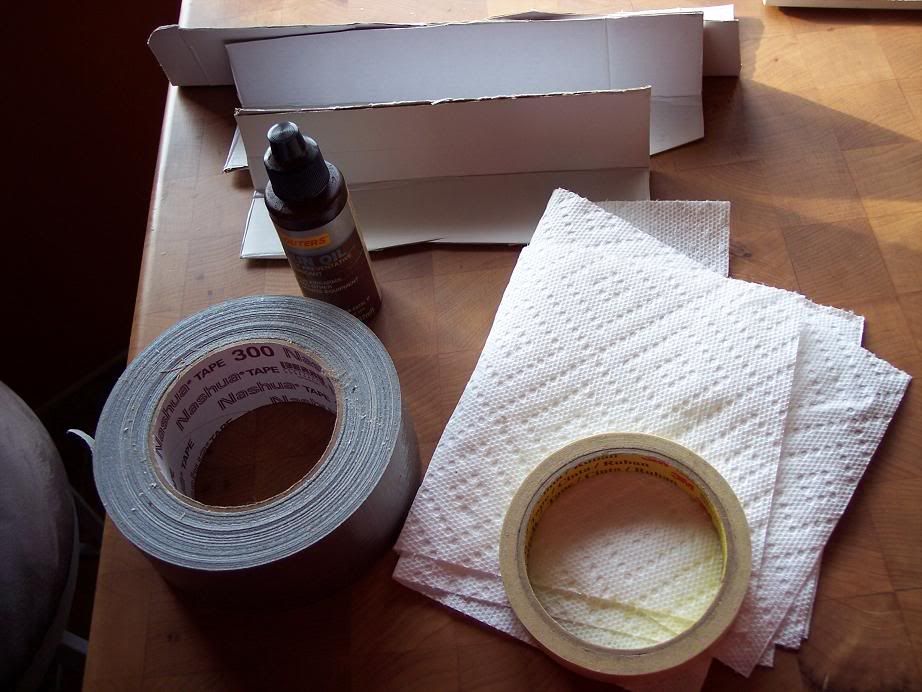
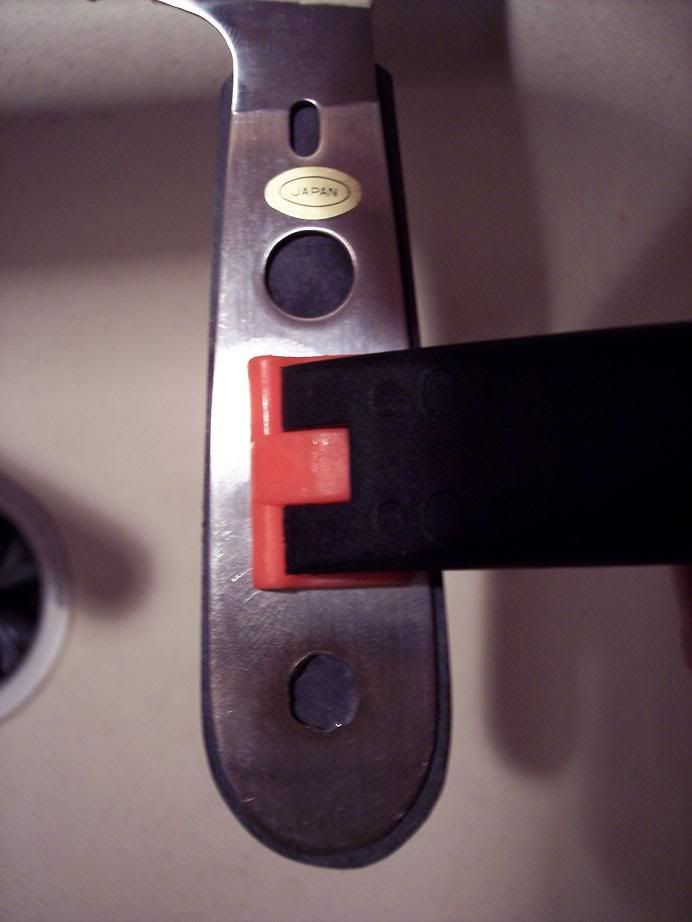
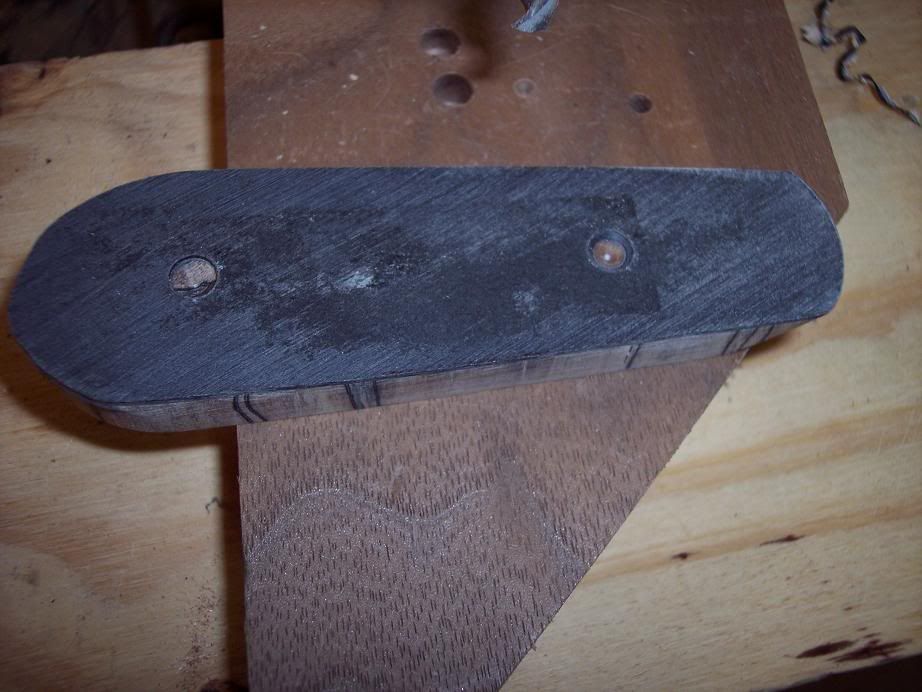
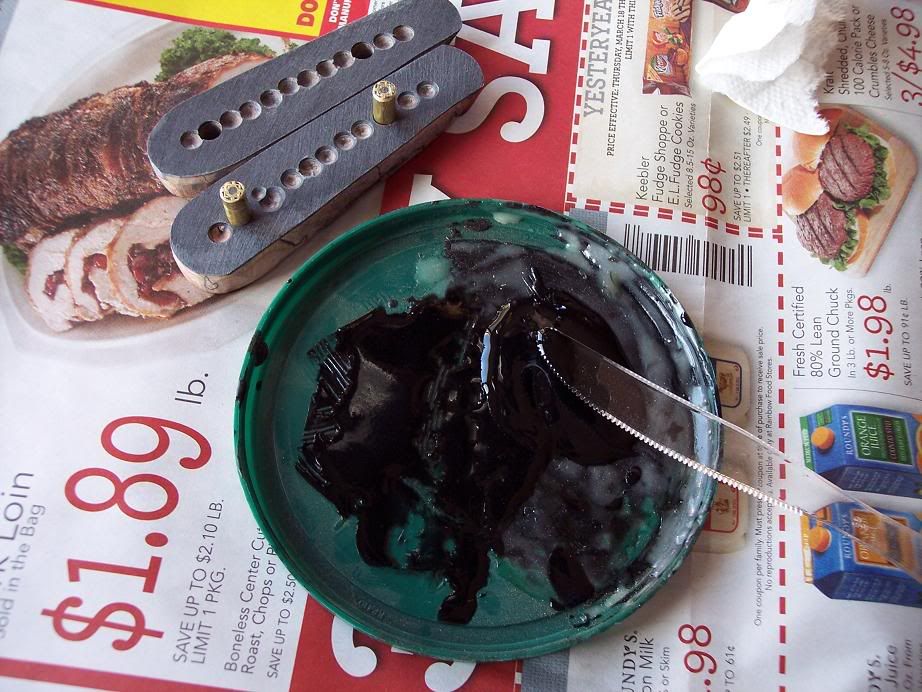
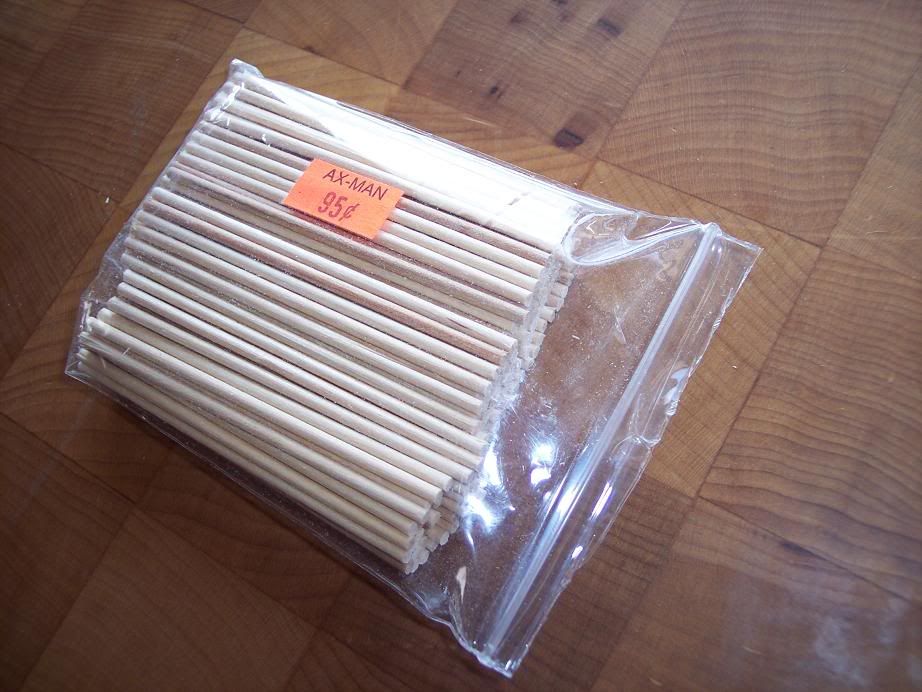
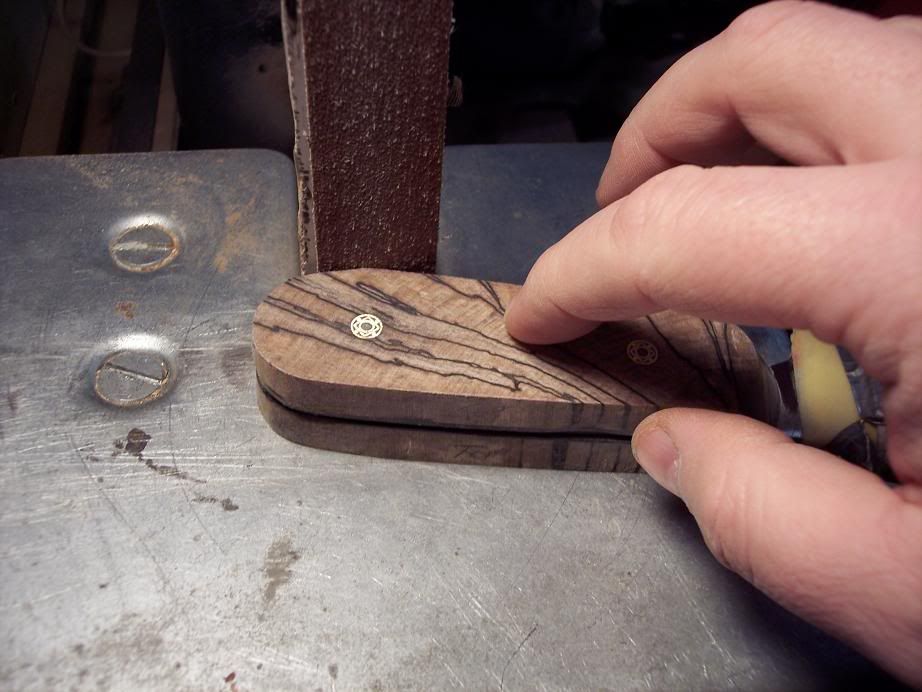
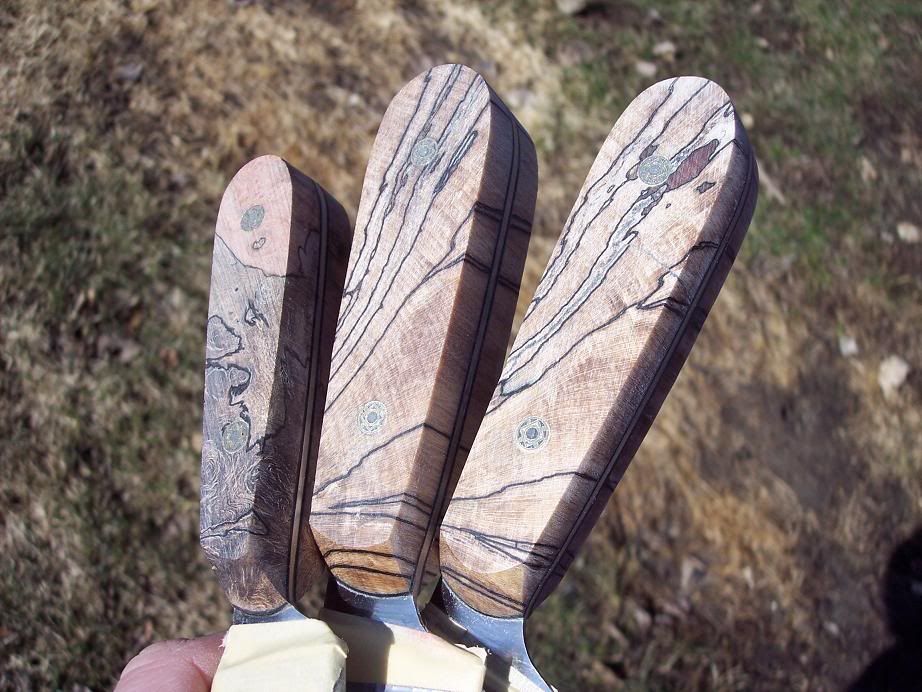
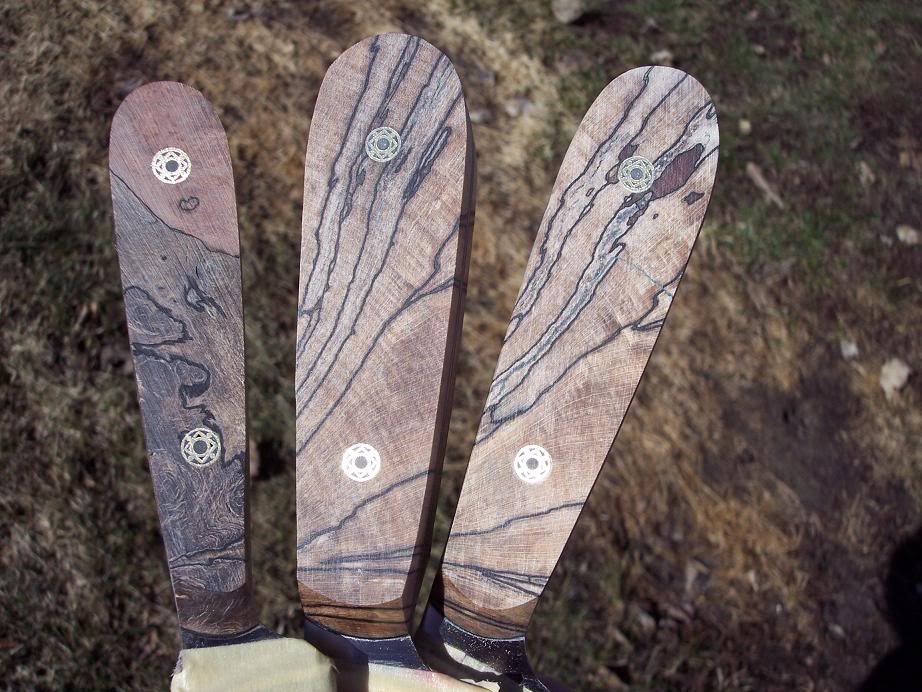
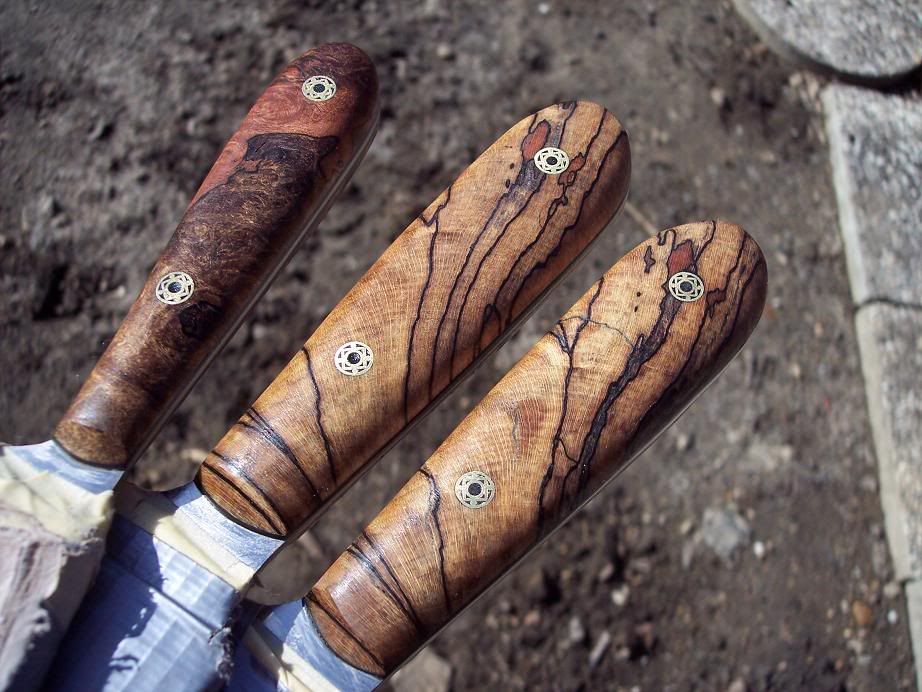
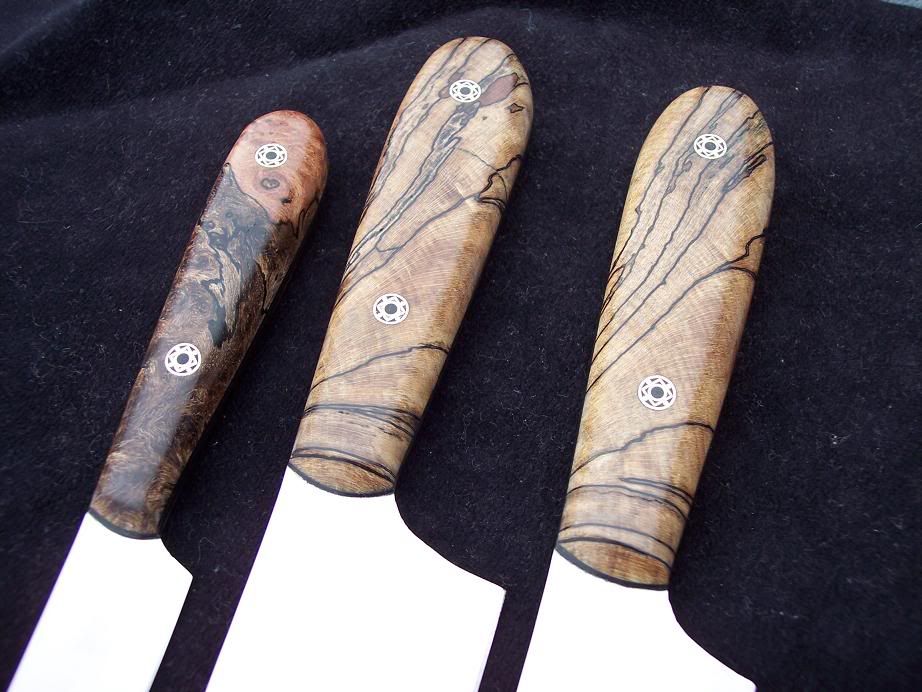
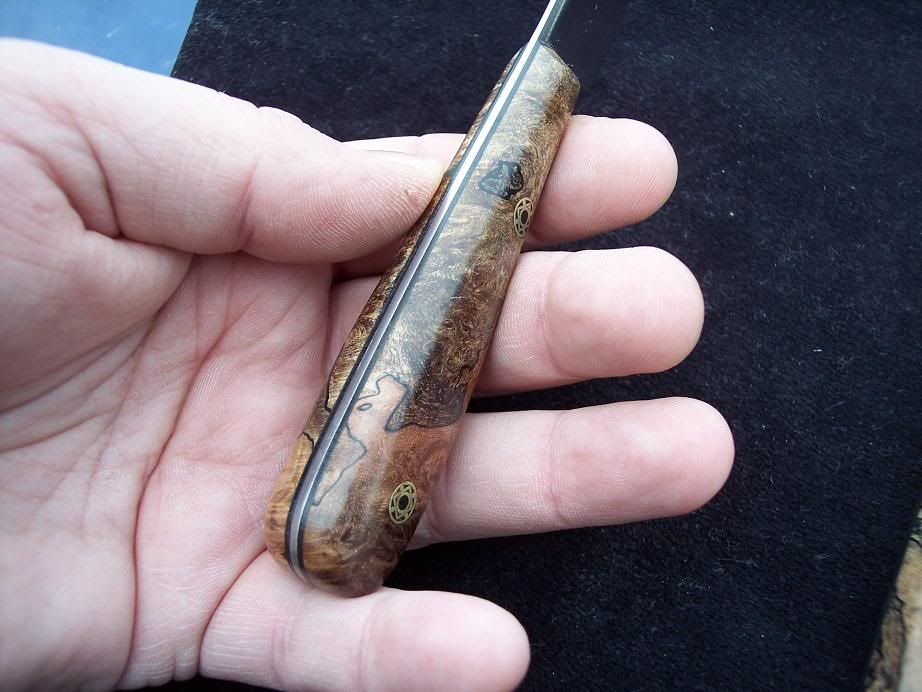
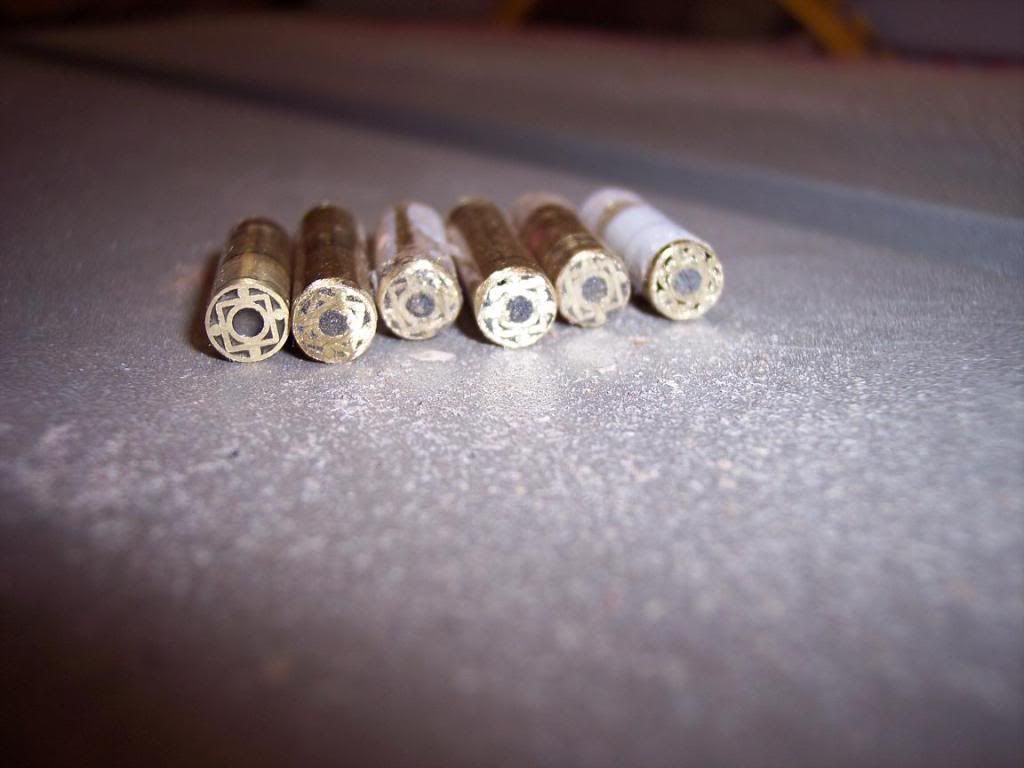
I then cut some mosaic pins on the metal bandsaw, and tried to get them somewhat the same size..... These are nice mosaics from John, with black epoxy centers.

ARWIP005.jpg

ARWIP007.jpg


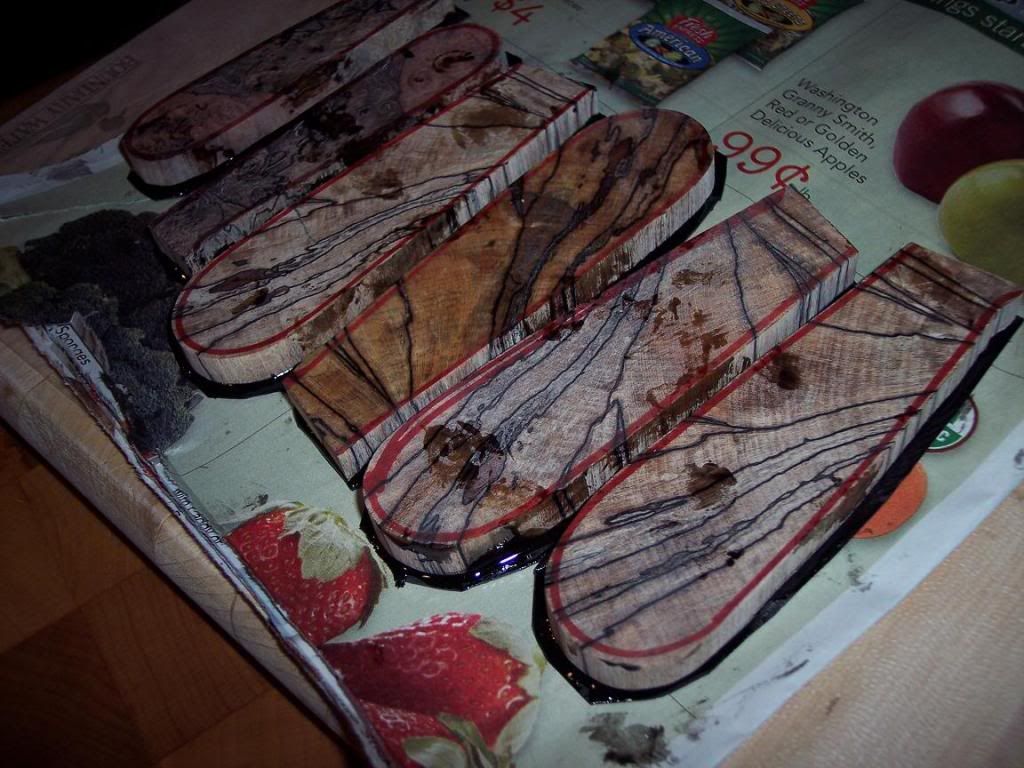
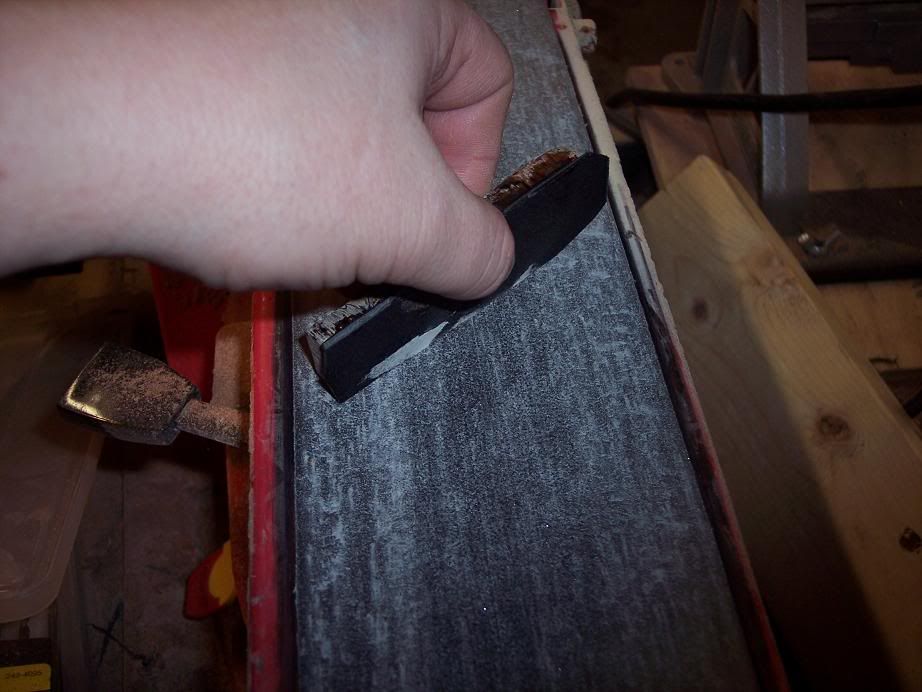
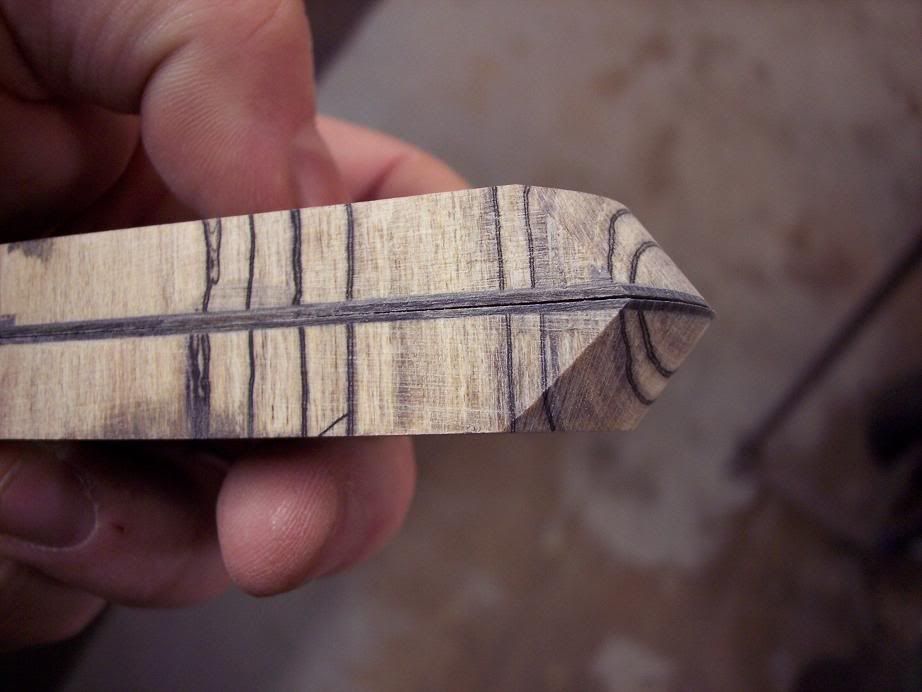
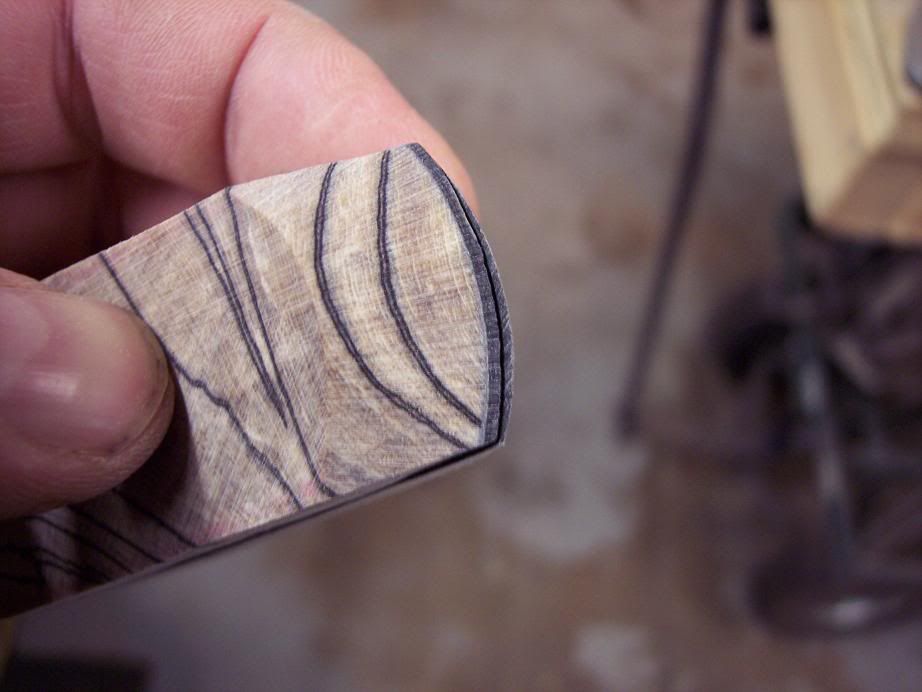
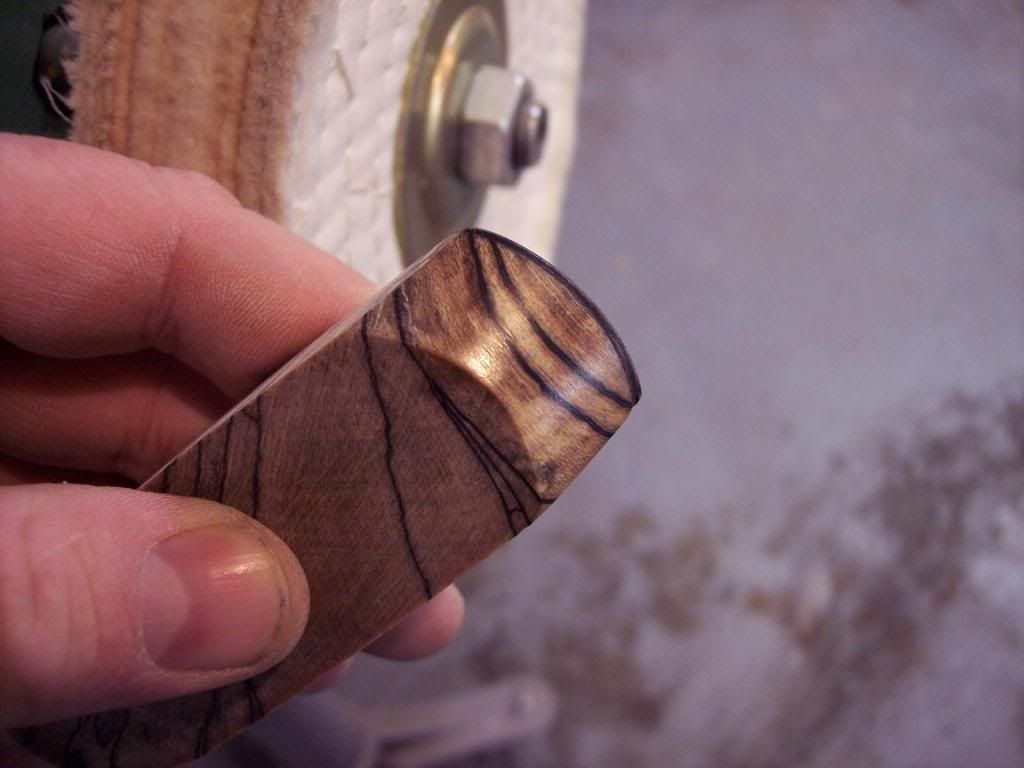
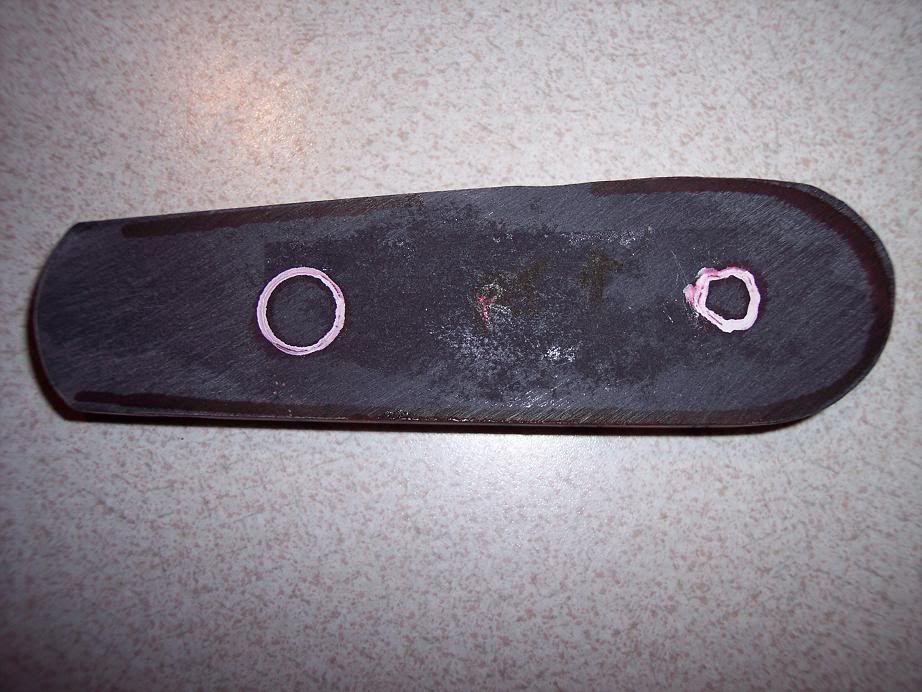
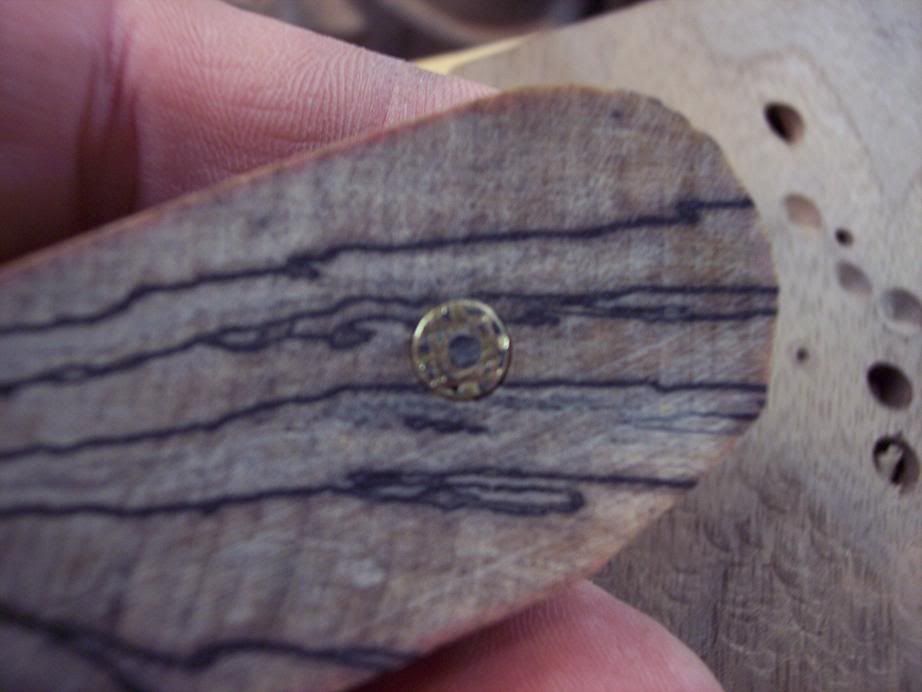
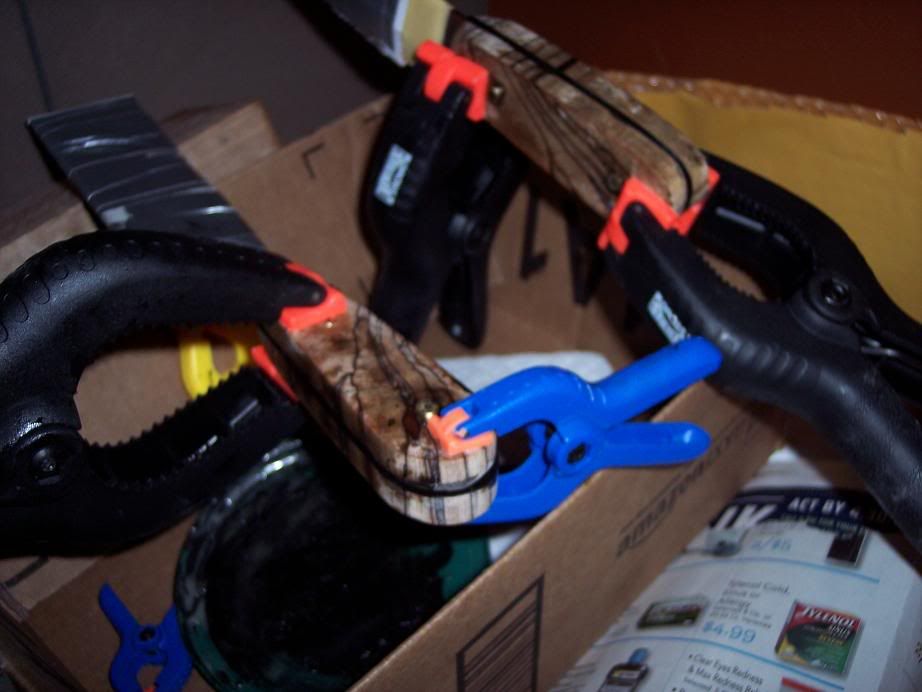
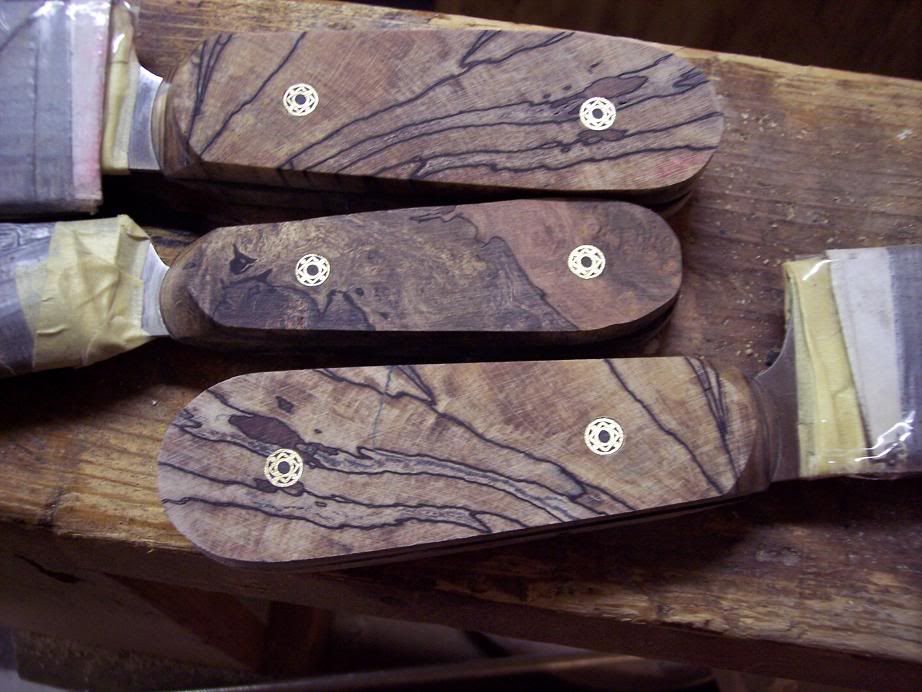
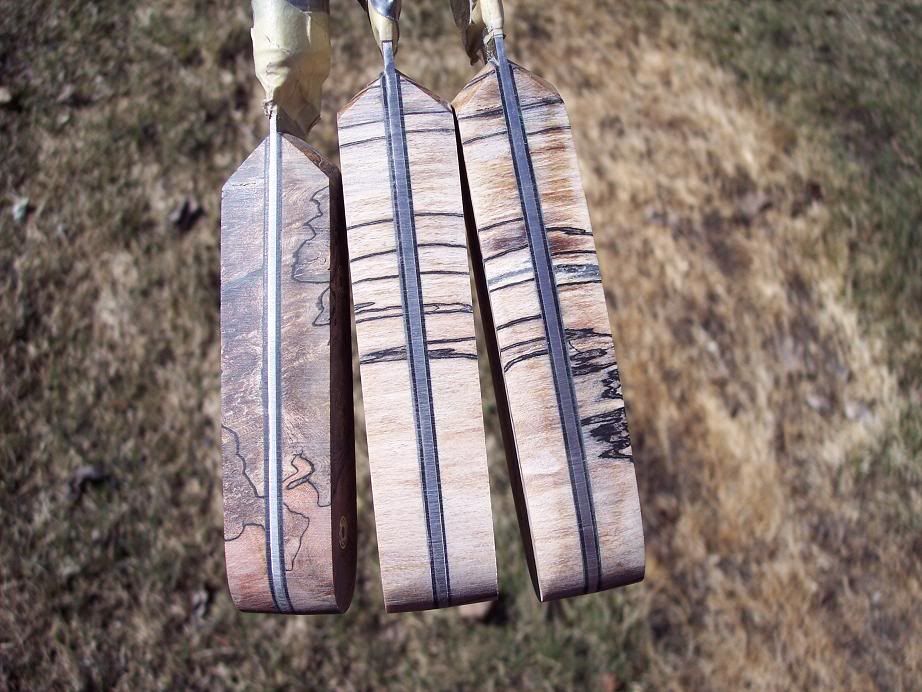
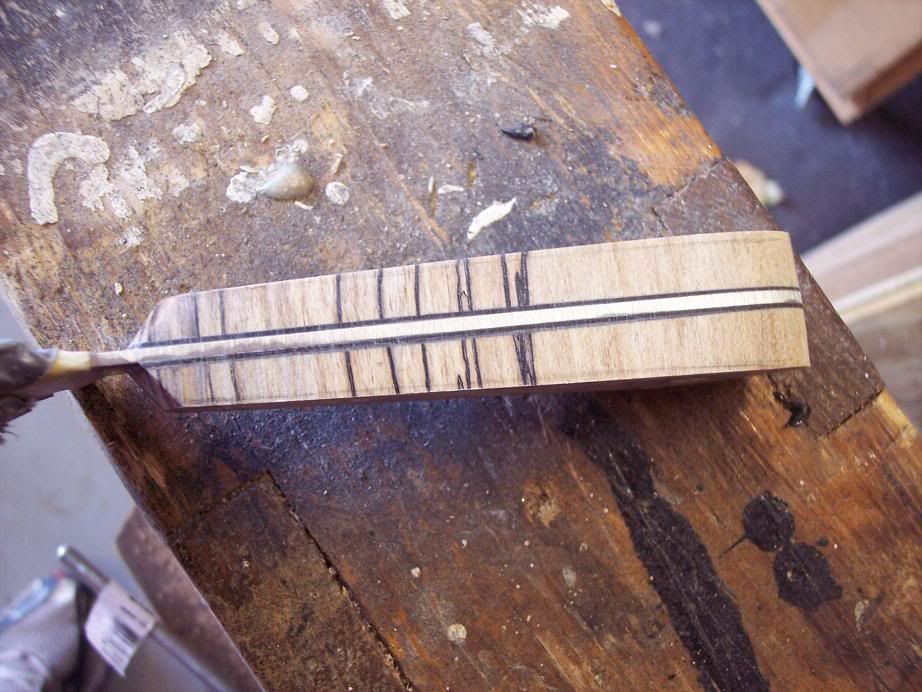
Here you can see the cracking that sometimes occurs in spalted burls and soft material as its stabilized. I will need to fill this in with black epoxy at some point. Not a huge deal, but important to fix.

ARWIP012.jpg

ARWIP013.jpg
 
Last edited:
The next step is to trace out your liner material in pencil, and cut it out with a scissors. I like to label the scales by number, and the liners so I know which is left / right, top, in order to try and keep things organized. I picked some nice black liner material from Tracy at USAKnifemaker.com I got some in various thicknesses, but can't say enough about his great service and fast shipping.

ARWIP014.jpg


After these were cut out I got out the eopxy supplies. I like the golf epoxy long set that comes in black. I like to use the nitrile gloves from HF, and buy them by the box. I use a plastic knife for spreading the epoxy on the liners and scales. The teeth on the plastic knife has a trowel effect leaving little lines of epoxy which gives you just the right amount you want. I do this on both the liners and the scales. Then I lay the scales on top of the liners and add a little weight. This helps in getting a solid glue up, without squeezing out too much epoxy. This will then sit over night......


ARWIP015.jpg

ARWIP016.jpg

ARWIP017.jpg
 
So the next part of the process is to clean up the scales that were glued up overnight. I have a cart that has some tools on it that I use for sanding. This is where I will be cleaning the scales up. I like this set up because I can roll the entire cart outside, and blow it off with the air hose. Pics are below.

cart.jpg

cart2.jpg

cart3.jpg


The next step is to bring the liners even with the scales and make sure the front and back are flat. I use the 4 x 36 sander for that, and it eats the liner up pretty fast. You need to use a light touch and not eat into the scales too far or you will need to start all over !!!


cleanup.jpg

scalesclean.jpg


When the scales are cleaned up and ready to go you should look them over and see if there is any cracks or things that can be touched up now. I have a crack in one of my scales so I will fix that with some CA (superglue) I like Med thickness.

Crack is marked with an X

crack.jpg


Put a little CA and lightly sand on the sander, to allow the CA and dust to fill the crack, and now the crack is gone.

CA.jpg

crackgone.jpg
 
The next thing we need to do is shape, sand and finish the bolster area or front of the scales. This needs to be done now, because you won't be able to sand that area without scratching the blade once the scales are attached. For this process I like to use my dewalt belt sander that is in an upright stand and has an adjustable work rest. I can get a good angle and lock the rest in place so all my scales are the same. I recently had my sander in the shop and the repair guys complained and said they thought I was sanding bricks with it. I guess thats from all the white powder of the stabilized scales.....

Scales were kept long in the front so they could be shaped.

longbolsters.jpg


Over to the belt sander...

dewalt2.jpg

dewaltangle.jpg

dewalt3.jpg


You can now see that the front of the scales have been rounded off at an angle. I did each scale individually and will match them up in just a minute. In order to get them matching up I use double faced carpet tape to tape them together temporarily. Line them up as close as possible, and in this case its easier cuz you have the lines to go by as a guide.

bolsterangled.jpg

tape.jpg

lined2.jpg

linedup.jpg


You can now go back to the belt sander with a very light touch and make the scales identical in the front. You can also do this by hand sanding as well if your nervous about taking off too much.....
 
The next thing you need to do is hand sand the front the scales to a high grit level like 800-1000, and then buff. Stabilized scales need to be taken to a higher level of sanding versus raw wood. Once thats done tho buffing is really all that is needed to get a nice shine. I use a piece of rubber for a lot my hand sanding on scales and steel. I will hand sand these and then buff until I am satisfied with how they look.

rubber.jpg


rubber2.jpg


rubber3.jpg


I have a buffer on a stand, but you can buy attachments for cheap for your drill press and use that to buff as well. Be careful on the buffer it spins very fast and will pull stuff out your hands very quickly before you know it and whip it across the room.... Buffing at the bottom of the wheel is best.

buffer.jpg

buffer2.jpg

buffer3.jpg

buffer4.jpg

buffer5.jpg
 
Protecting the blades comes next.....

Heres what we are looking at..... 6" and 8" chef blades and a paring blade. These are AUS - 8 stainless, ground, heat treated, and ready for handles and reasonably priced.

aaronblade001.jpg
 
For those of you interested in the cart. Heres a pic, and description with the link. I built a little wood platform on the top to attach stuff, and beefed up the support poles to make it taller.


Distribute up to 350 lbs of payload between two high-capacity steel grate shelves and enjoy the convenience of complete mobility! This ruggedly-constructed cart places a wealth of items within easy reach on its top shelf, while the lower shelf provides an excellent storage location for spares. Large 10" x 3 1/2" pneumatic lug wheels roll easily over a wide variety of surfaces. Includes a pivoting tube-steel steering handle. 38"L x 20"W x 32"H. Approximate shipping weight 70 lbs

From Amazon....
 
Last edited:
So the next thing you need to do is protect your blades from scratches and you from your blades. This seems like a tedious step but it helps in making sure that you don't have to spend 10 hours hand sanding scratches out of your blade. It also protects you from an already sharp blank in this case.

So the materials I use are easy lift tape (cuban tape). My wife hates when I use it for blades cuz its expensive and she uses it for picture framing, but I try to convince her Im only using a little a bit....... You also need papertowels, a little oil, thin cardboard and some duct tape.

materials1.jpg


Start with the oil and put a little oil on and smear it over the blade careful not to go to close to the handle or your tape won't stick. These are stainless blades but I do the oil for all blades and that helps to keep things protected from moisture collecting under the paper towel. You can get rust quickly on your carbon blades just from bringing them in from a cold shop to a warm house. So I get in the habit of using a little oil....

oil2.jpg


Then wrap your blades in paper towel and tape with the yellow tape near the handle only barely letting the tape get onto the blade.

towel3.jpg


Then wrap in the folded over cardboard and then duct tape it all together.....

wrapped4.jpg

wrapped5.jpg


One of many downfalls of using blanks is that you don't get to choose where the holes go in the handle for pin placement. In this case the big holes which are big enough for my pins are too close together. So I need to make that small hole near the butt of the handle bigger. Tried the cobalt drill bit and the hardened steel laughed at me, so I need to get out the dremel with the tungsten cutter bit, and that widened the holes for me.

carbide6.jpg


Original blanks and you can see the rear rectangle shaped pin holes (marked with the arrows) which aren't big enough for my mosaic pins right now......

aaronblade001-1.jpg


Here you can see them widened after I used the cutter. Not pretty, but it got the job done.
hole7.jpg
 
The next step in this process is to mark where the holes are and to outline the blade tang again on the liner this time. A clamp helps to hold the blade in place as you trace the holes and the blade handle.

mark1.jpg

mark2.jpg

mark3.jpg


The next step is to drill your holes for your pins thru the mark scale. Always double check your drill bit size in a scrap piece of wood... Then you need to clamp the scales together making sure the front is lined up, and drill thru the holes you just made and into the other scale just a bit to mark it. Then you will drill completely thru the scale making a nice clean hole. The pins will be tight so you need to PATIENTLY and slowly use a needle file to clean the pin holes until the pin slides thru the hole, but is still snug. Check your fit....

mark4.jpg

hole1.jpg

hole2.jpg

pinfit.jpg


The next thing I do is makes some dimples on the back of each scale for the epoxy to go. I think this is well worth the effort. Stay away from the edges.....

dimples.jpg

eopxyready.jpg


You also want to scuff up the handles and remove the sticker on the tang, and then wide the scale liners and tang off with acetone prior to glue up.

roughtang.jpg


Here you have one side of the scales with pins in and they have been turned to match each other, and your now ready for epoxy. Again I use the plastic butter knife to trowel on the epoxy filling the dimples and then clamping the scales in place.

eopxying.jpg

clamped.jpg


The last thing I do is use these little sticks with some papertowel soaked in acetone to clean up the epoxy that squeezed out in front by the finished bolster area. These I picked up at Ax man surplus...great store for surplus junk.

sticks.jpg
 
Last edited:
Thanks for your comments guys I appreciate it.

The saga continues.......Hope this isn't getting too long. :D

So heres where we left off. The scales have been epoxied onto the blades and clamped over night. The pic below shows them after the clamps have been taken off.

1unclamped.jpg


The next step is to cut off any nubs of the pins sticking out on the bandsaw, and then grind the pins flat. Remember those pins will get hot fast when your grinding them down.......Before I do any grinding I put on my mask to keep from breathing any of the bad stuff. The wood has chemicals in it and you don't want that stuff in your lungs. I keep my mask in a freezer bag to keep the filters cleaner and last longer.

1aMask.jpg


Heres the pins ground down flush with the scales....

2inssanded.jpg


The next step is to bring the scales themselves down flush with the tang of the blade. I use my 1 x 42 to do that. Use a light touch once you get close, because you don't want to be grinding into the tang. The other thing you can do is use the slack part of the belt (above the platen) to very lightly clean it up, once your close to having it completely flush.

3flushtang.jpg


4flushtang.jpg


Heres some various shots once everything is flush. Heres a shot from the bottom.

7bottom.jpg


And from the top....

8top.jpg


And heres a couple from the sides...

5outside.jpg


6outside.jpg


The next thing you want to do is taper the scales from the back to the front, and shape them to get rid of the blocky look and feel. Lot of this stuff is personal preference so you can certainly shape and contour as you see fit. The soda bottle contouring is popular. I will probably just keep it simple with these and round the edges and taper them. Thats coming next....
 
So I tapered the handles down. First I drew a line, which of course wasn't even on both sides, You have to eyeball it anyways to make sure both sides are even, but at least it gives you a little idea how your doing.

1.jpg


2.jpg


The rest of this I didnt really get pics of but basically you round the edges and then use the slack part of the belt to just round the handles as you like and try and keep them looking the same. These are now roughly shaped and you can begin your hand sanding. Heres a few shots of how they are coming along after the 80 grit on the 1 x 42.


Quite a bit of sanding and filling to go.....Might need to mix a little bit of black epoxy up to help with some of the cracks :D

5.jpg


4.jpg


3.jpg
 
Beautiful handles, Larry, and thanks for the WIP. Question - do you use anything to seal the exposed edges of the spacers? Kitchen knives are subject to a lot of washing.
 
Denton I don't specifically.....and I have heard others who have had issues with the liners swelling. After reading about that awhile ago, I soaked some liner material and it didnt seem to absorb water, it acted like plastic almost, or impregnated resin paper. (my solution to everything lately involves soaking in water :p)

I may switch over to G-10 or micarta just to be safe....:D
 
Back
Top