Kevin Zito
KNIFE MAKER
And I’m excited to see how to do it. I could also see myself using it too.
Looks good! What kind of steel you using?

Dude this is awesome!On to the gut hook.
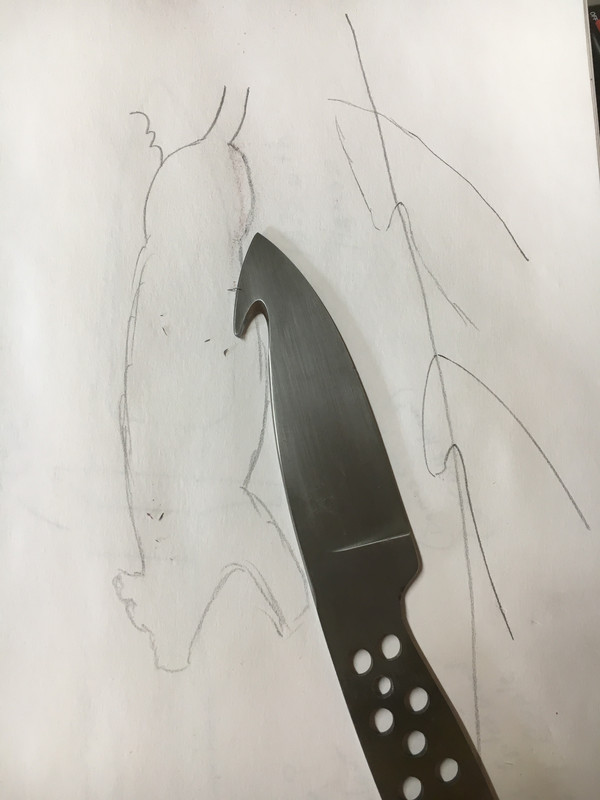
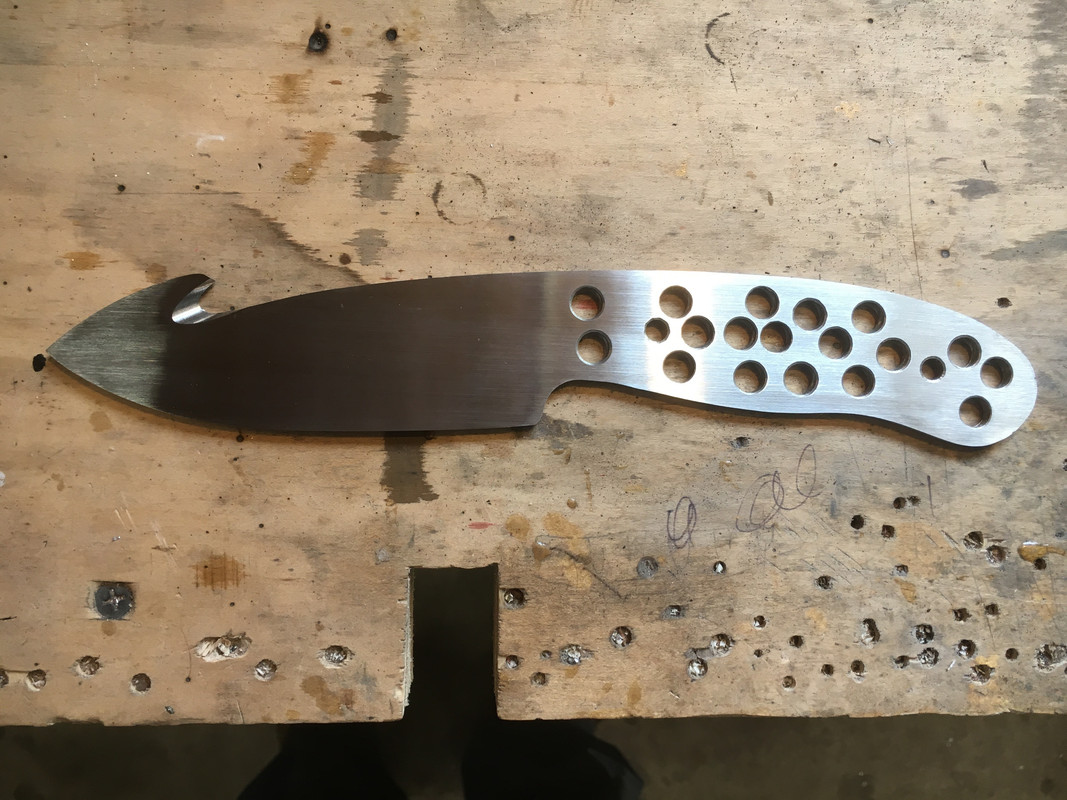
First, a little on design of the gut hook. The main thing is to design it in a place on the knife so that the point of the knife can't poke the insides while using it. This usually means having the gut hook as close the the end of the knife as possible. I see a lot of new designs with the gut hook 2" - 3" from the point and at an angle that will put the point 1" - 2" inside the animal when using the gut hook. Promise not to laugh at this drawing, I'm not an artist. This shows a little of what I described.
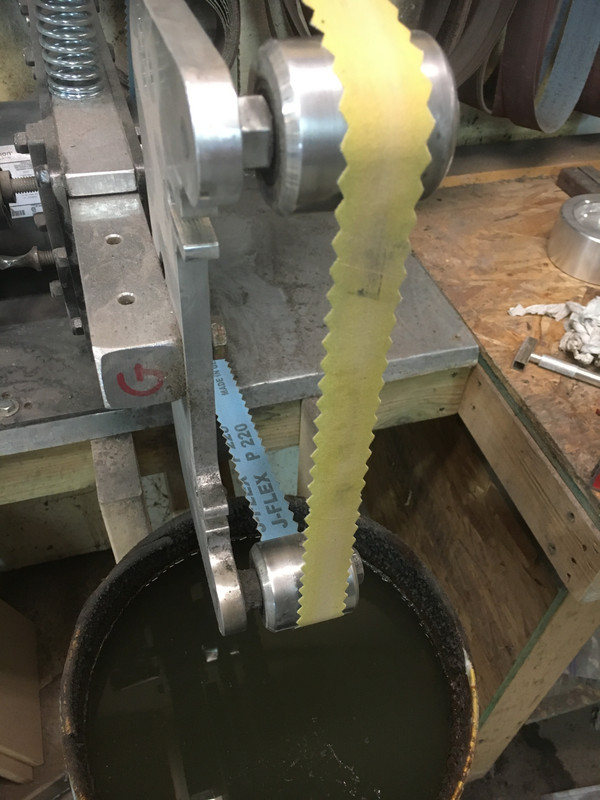
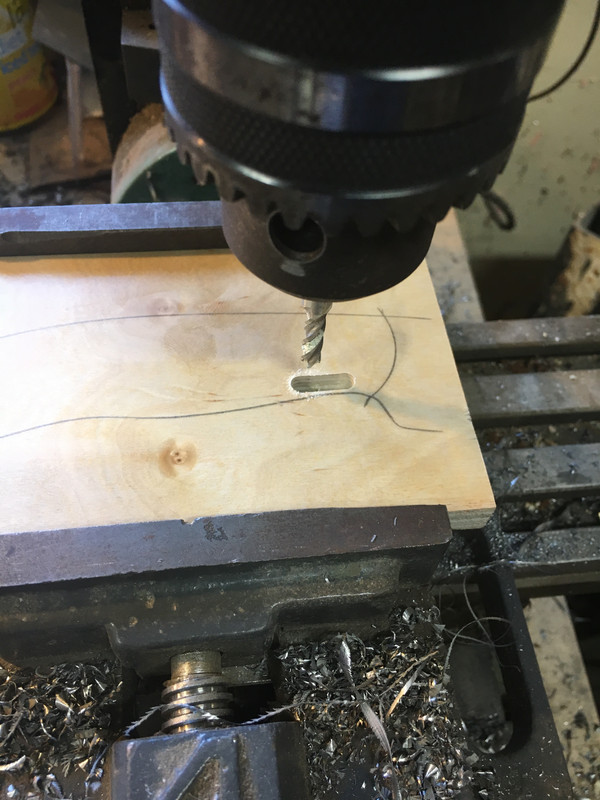
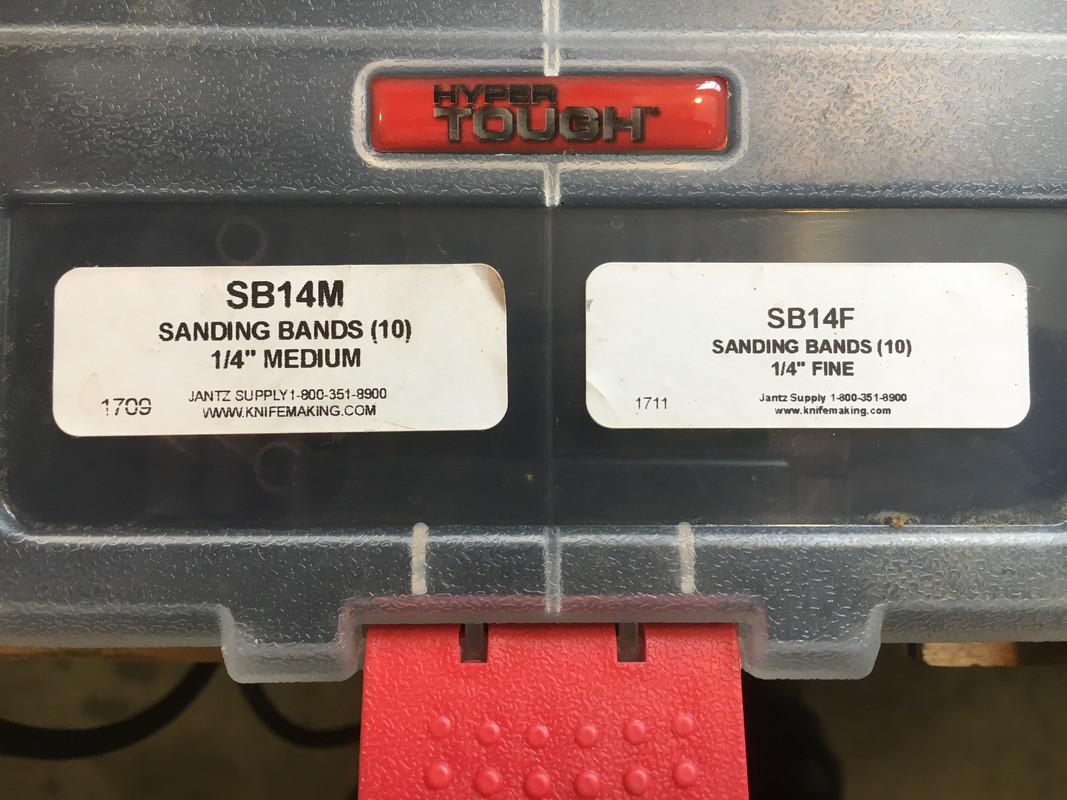
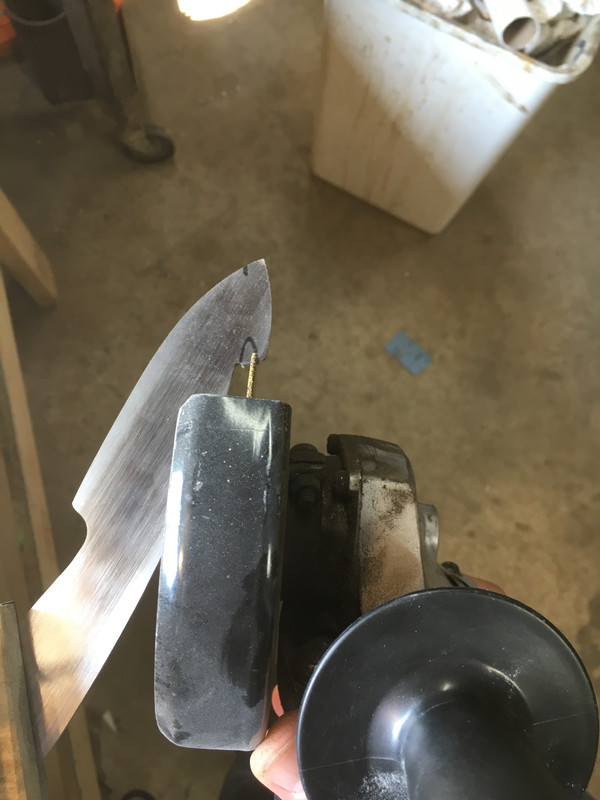
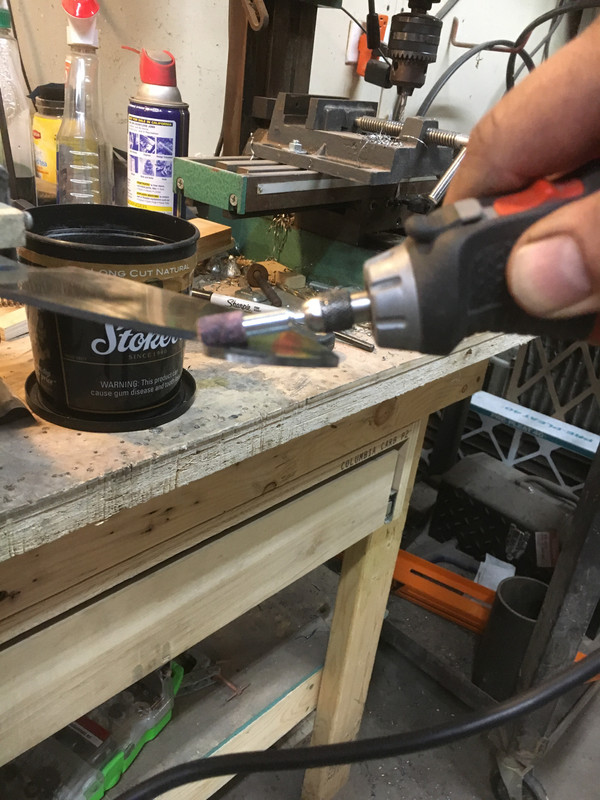
Here are the tools I use to cut the gut hook in. A cheap dremel type tool and 1/4" drum sanders for it and 4 1/2" angle grinder with a cutting wheel. I use a medium grit drum to rough them in after the angle grinder and a fine grit after heat treat to finish it up. I have tried the drum sanders from Walmart and they don't hold up. The rubber drum gets hot and distorts. These from Jantz last a long time.
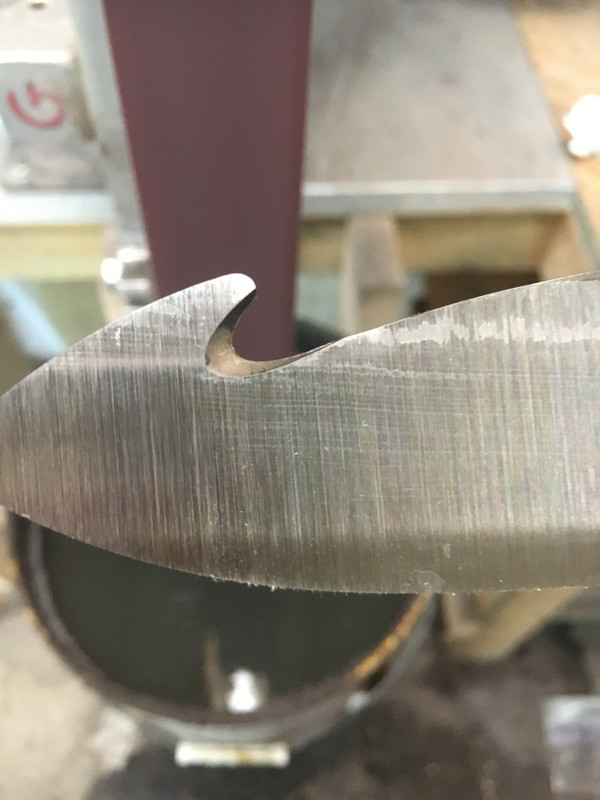
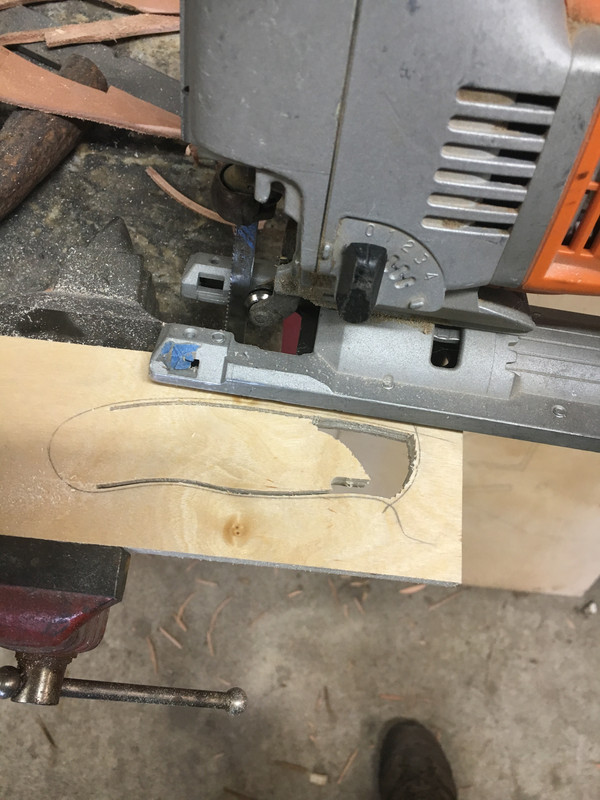
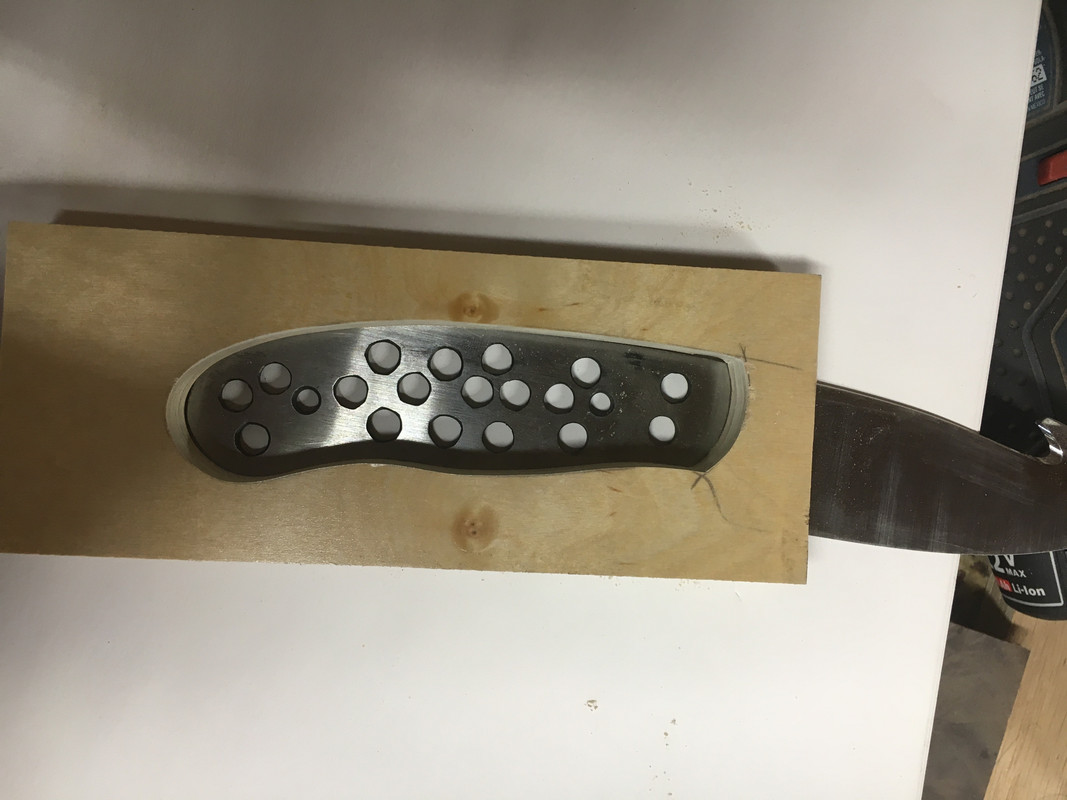
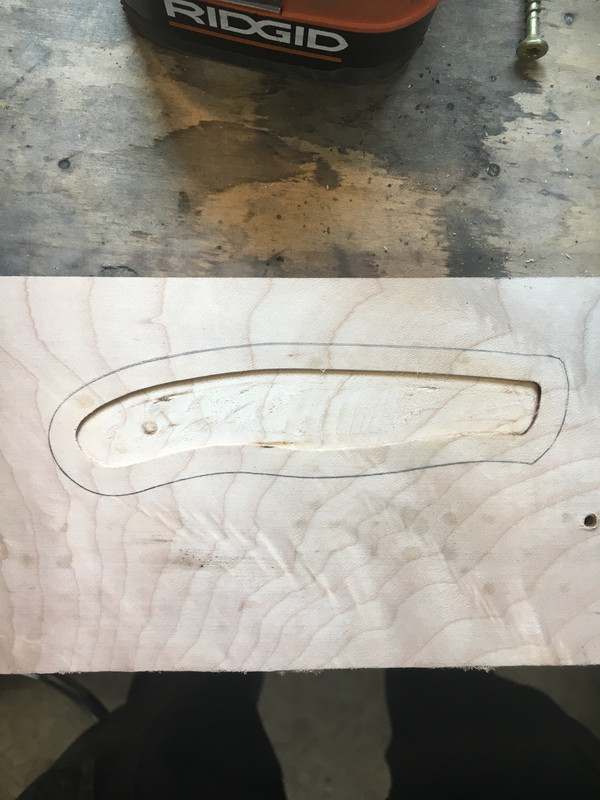
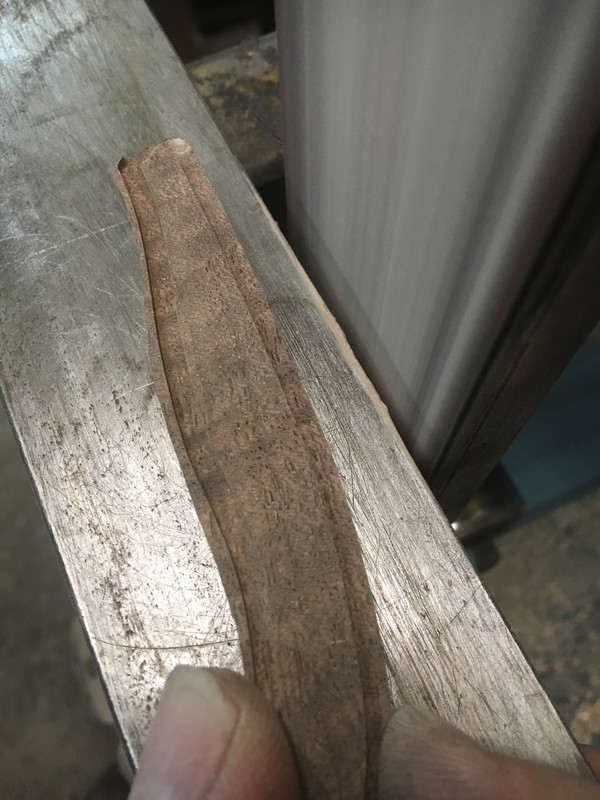
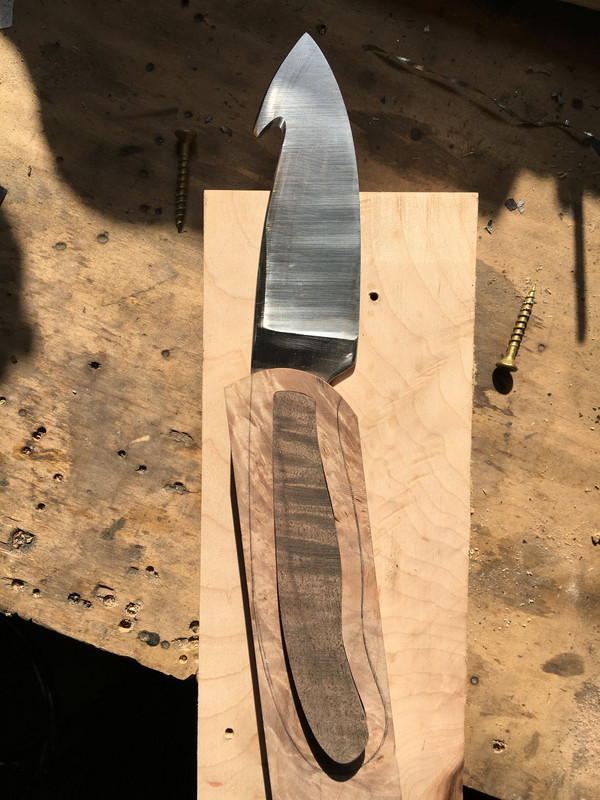
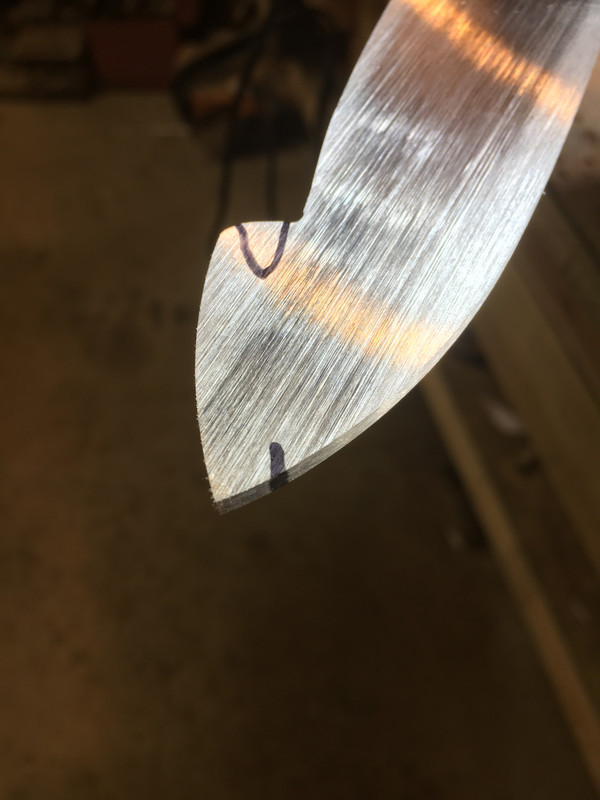
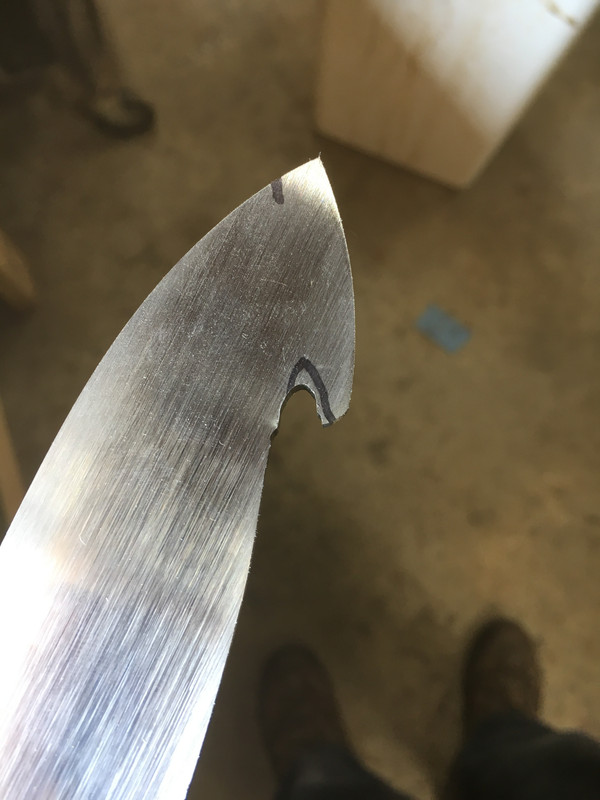
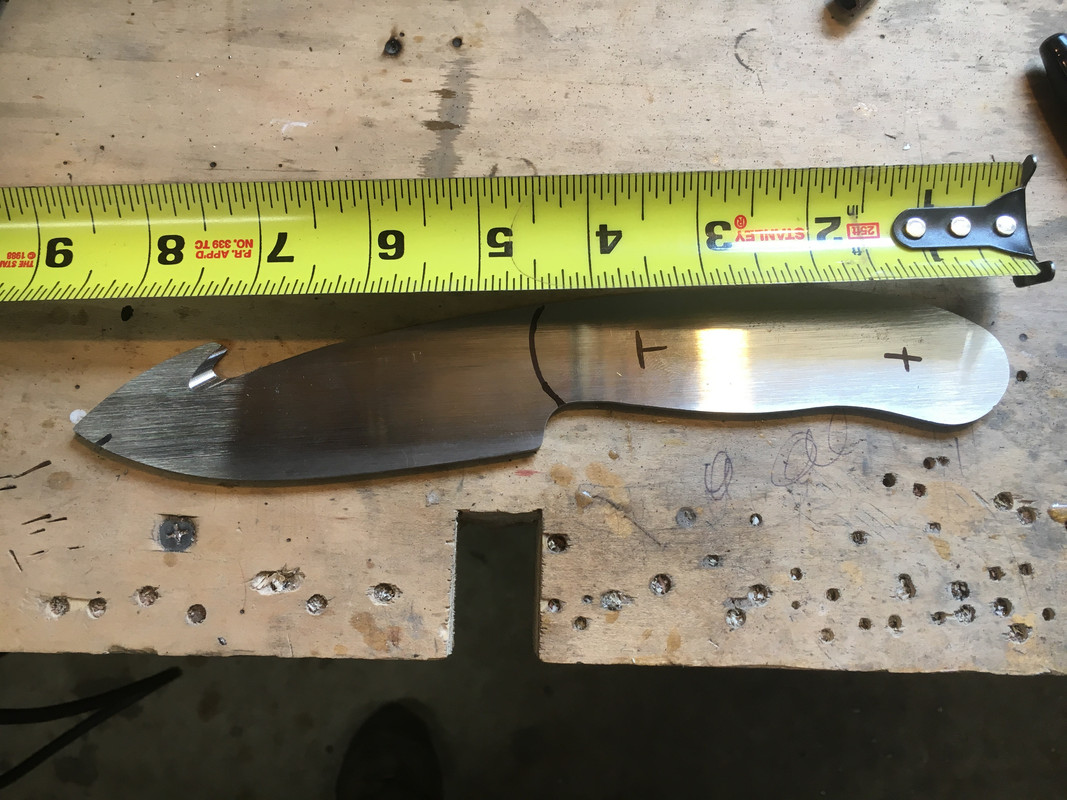
I grind the gut hook in a line parallel with the spine of the point of the knife. Here it is drawn on the knife.
It is easier to keep both sides in line if you mark a spot on the knife to line the grinder up with.
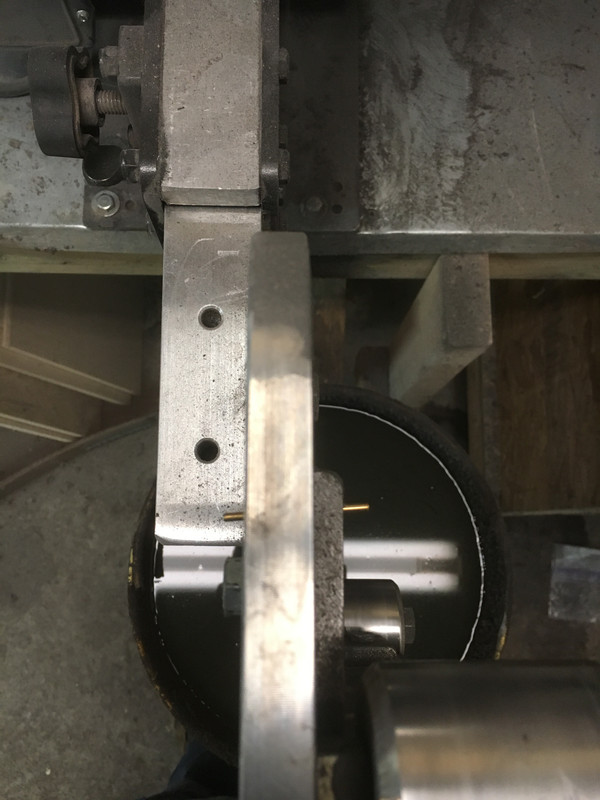
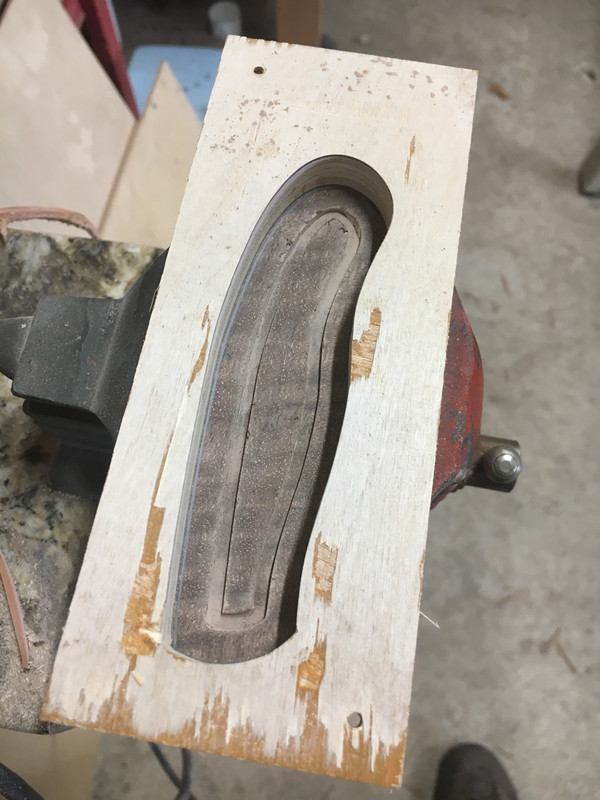
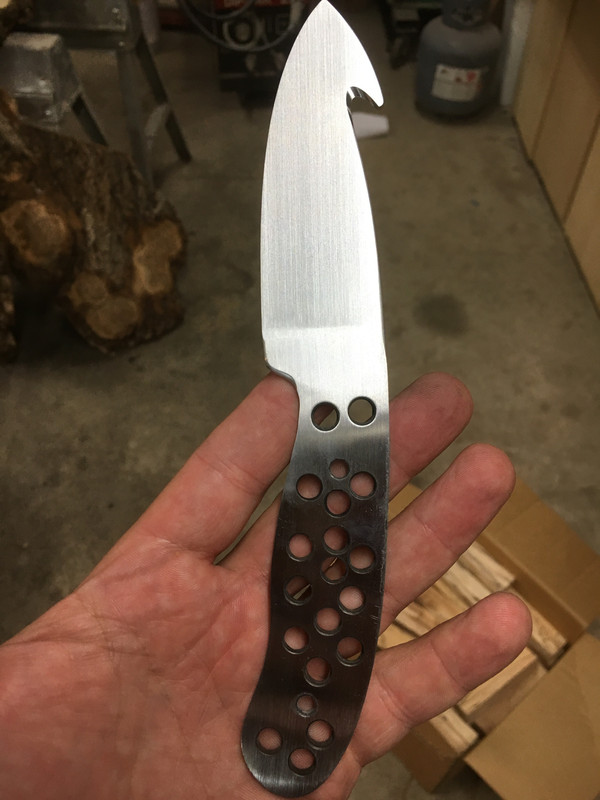
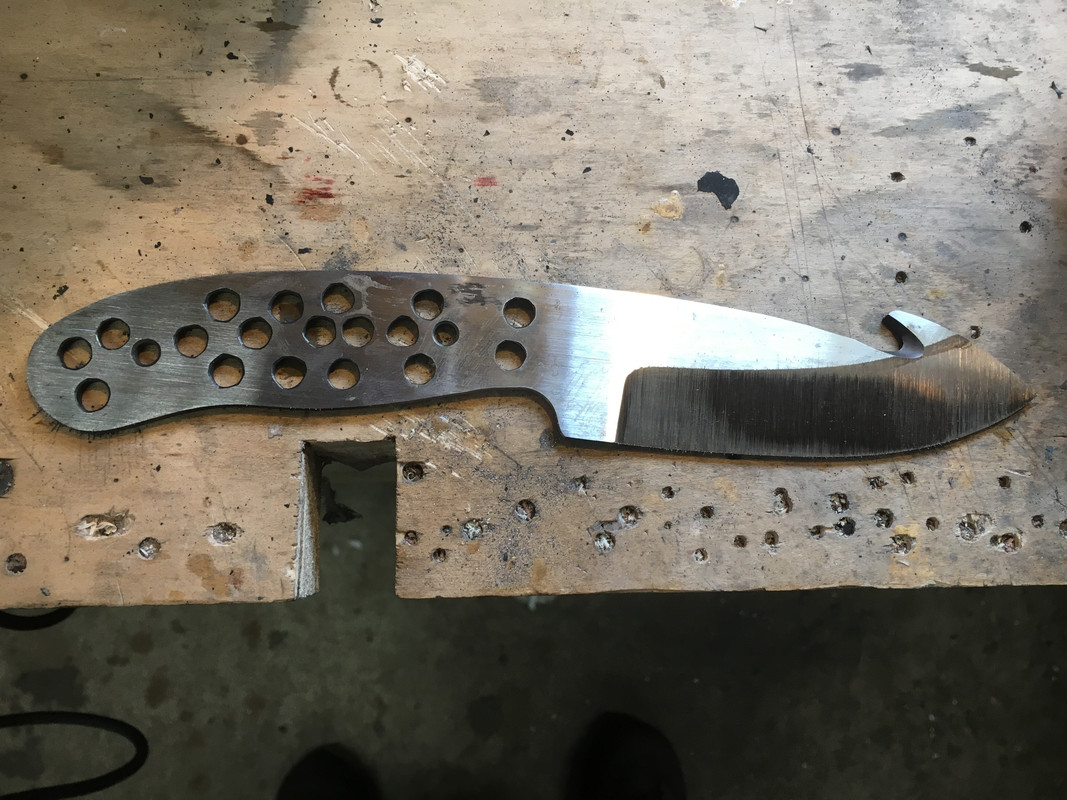
On the the grinding. First, I grind the rough shape with the angle grinder and cutting wheel.
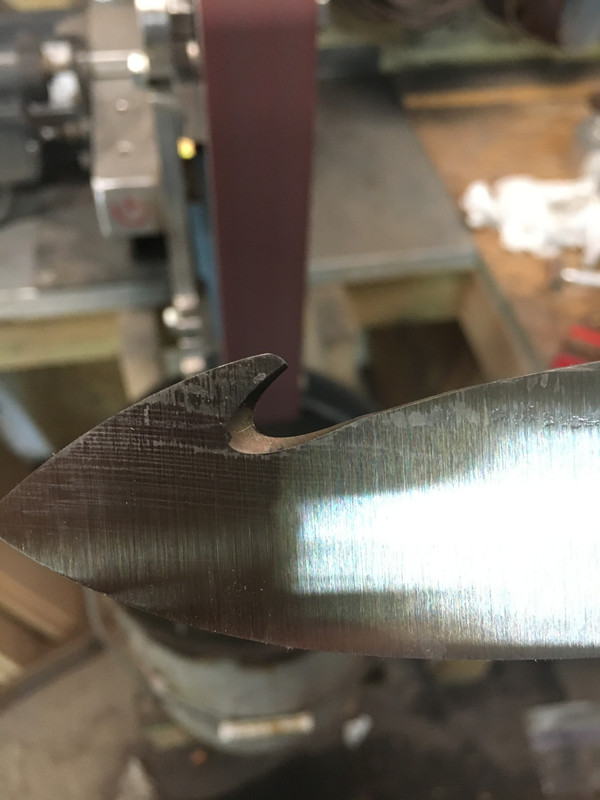
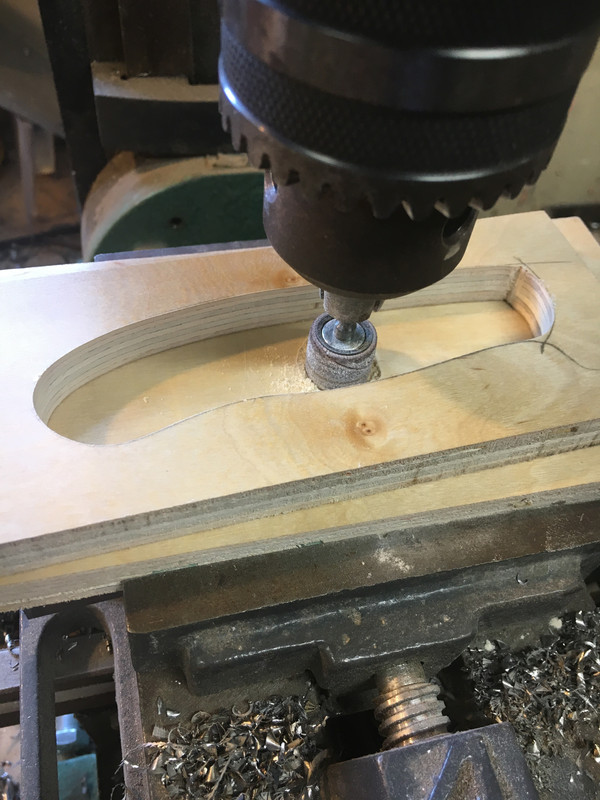
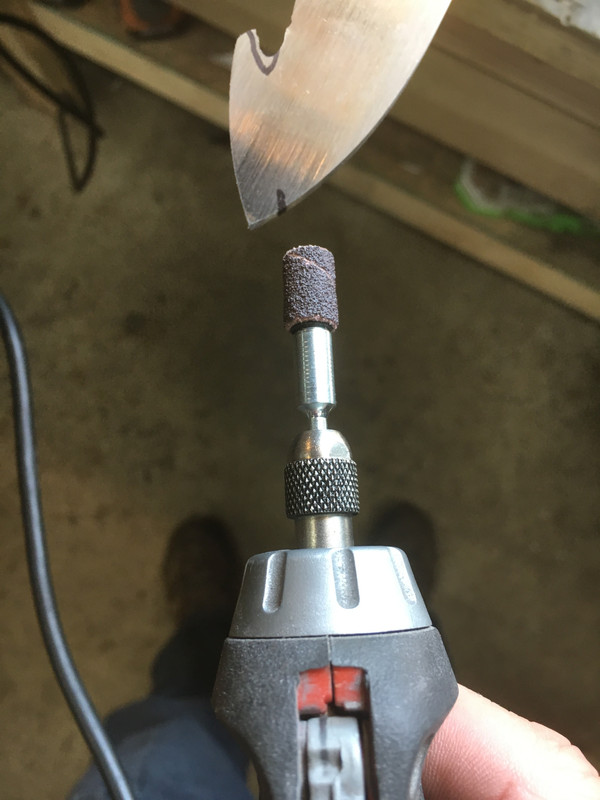
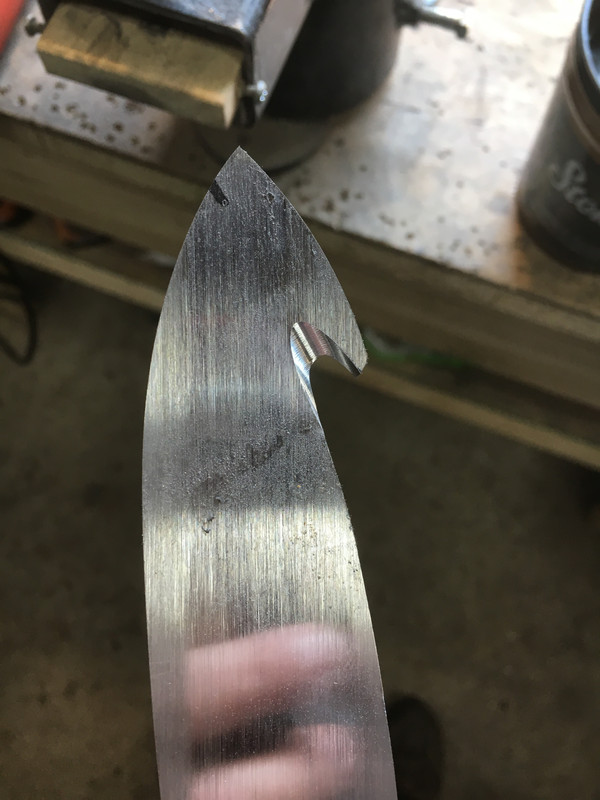
Next, I use the drum sander to grind each side. I grind one side 1/2 way then the other side. It's important to check as you go to make sure you keep the cutting edge of the hook centered.
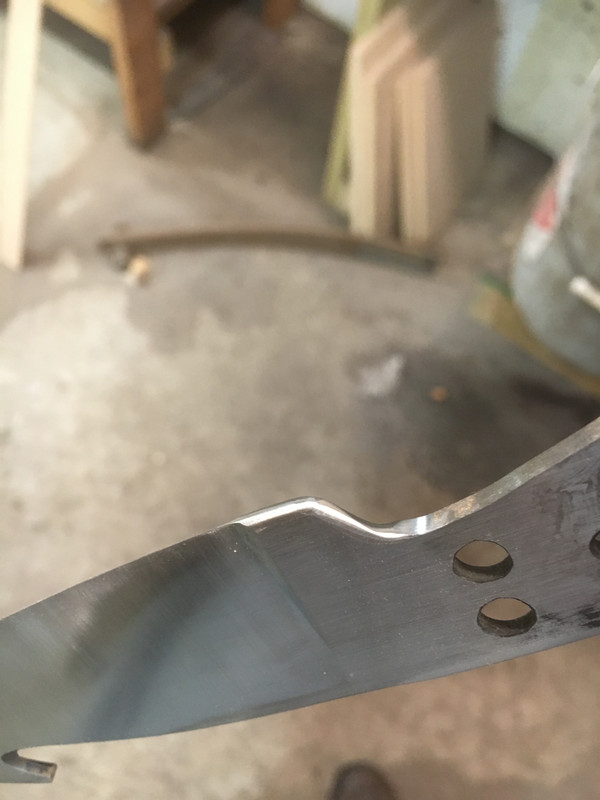
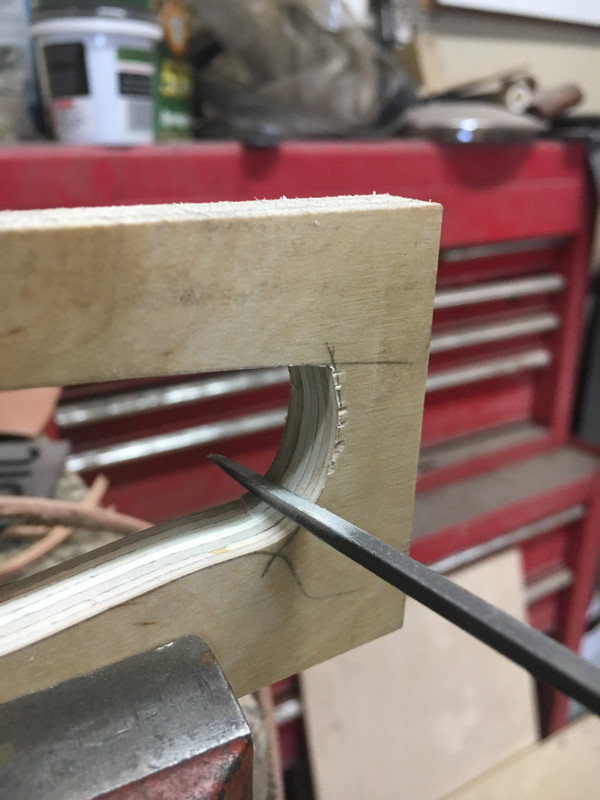
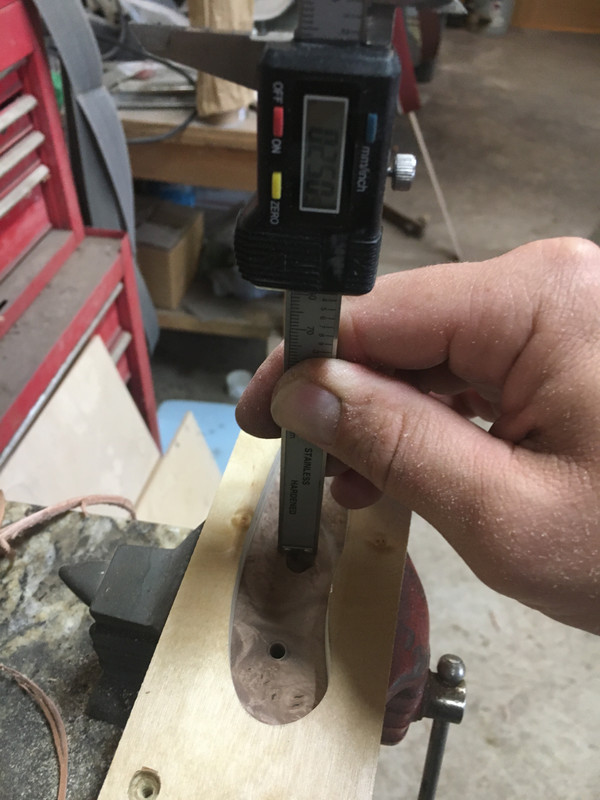
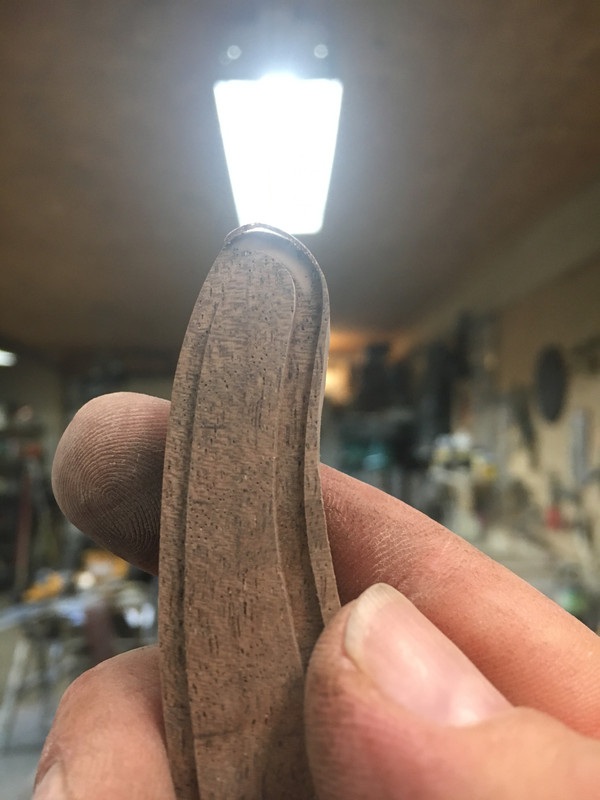
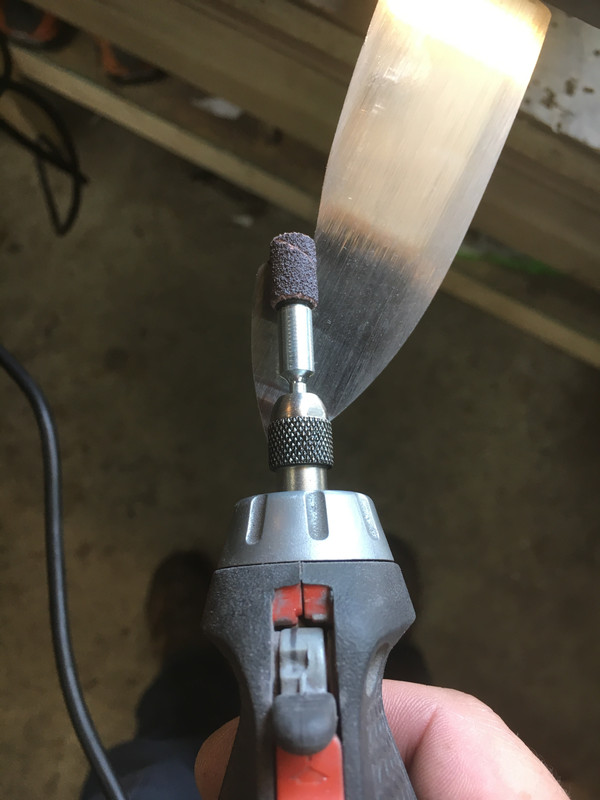
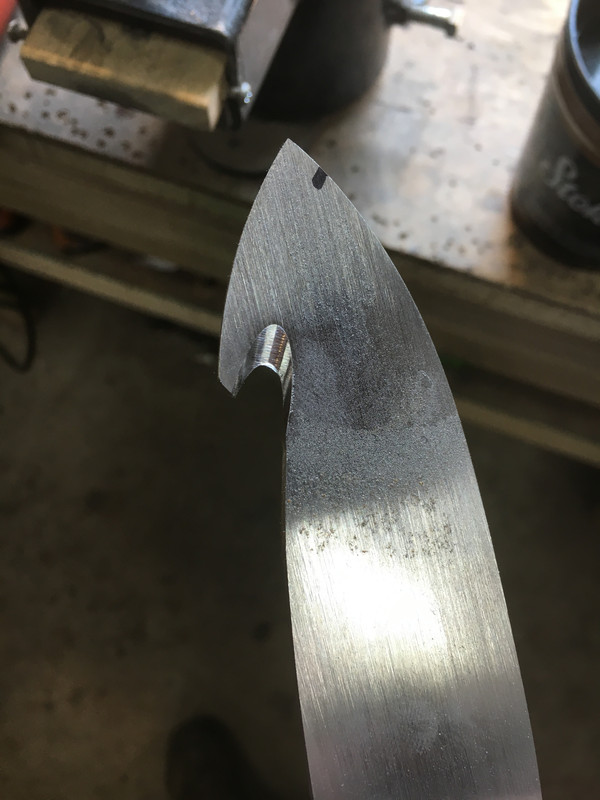
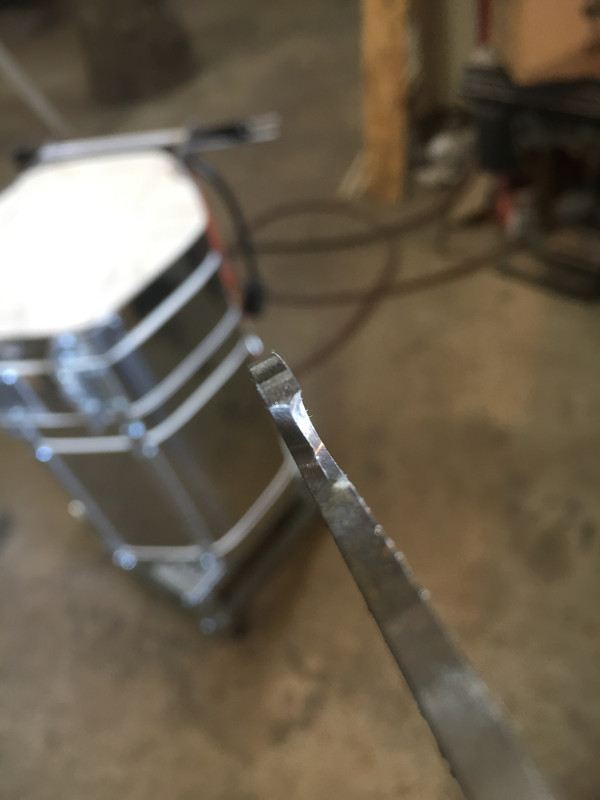
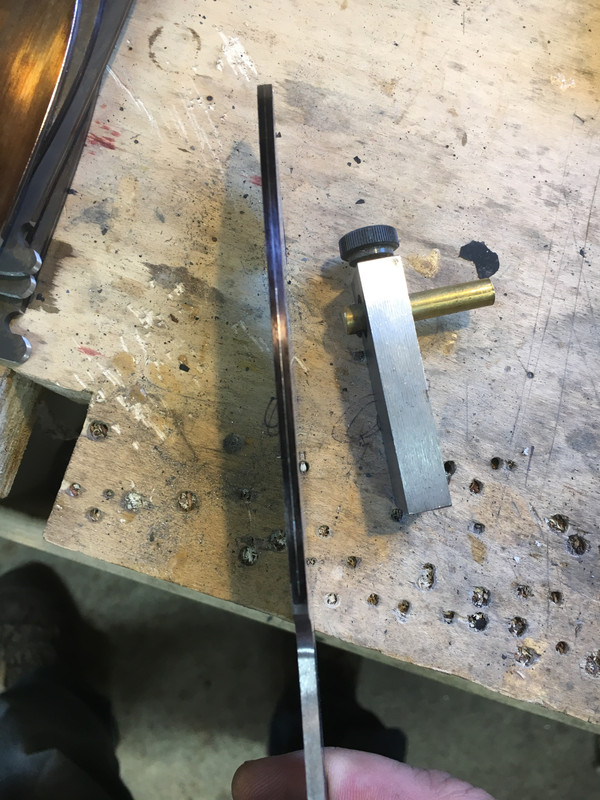
Here is a picture of the angle I grind the hook at.
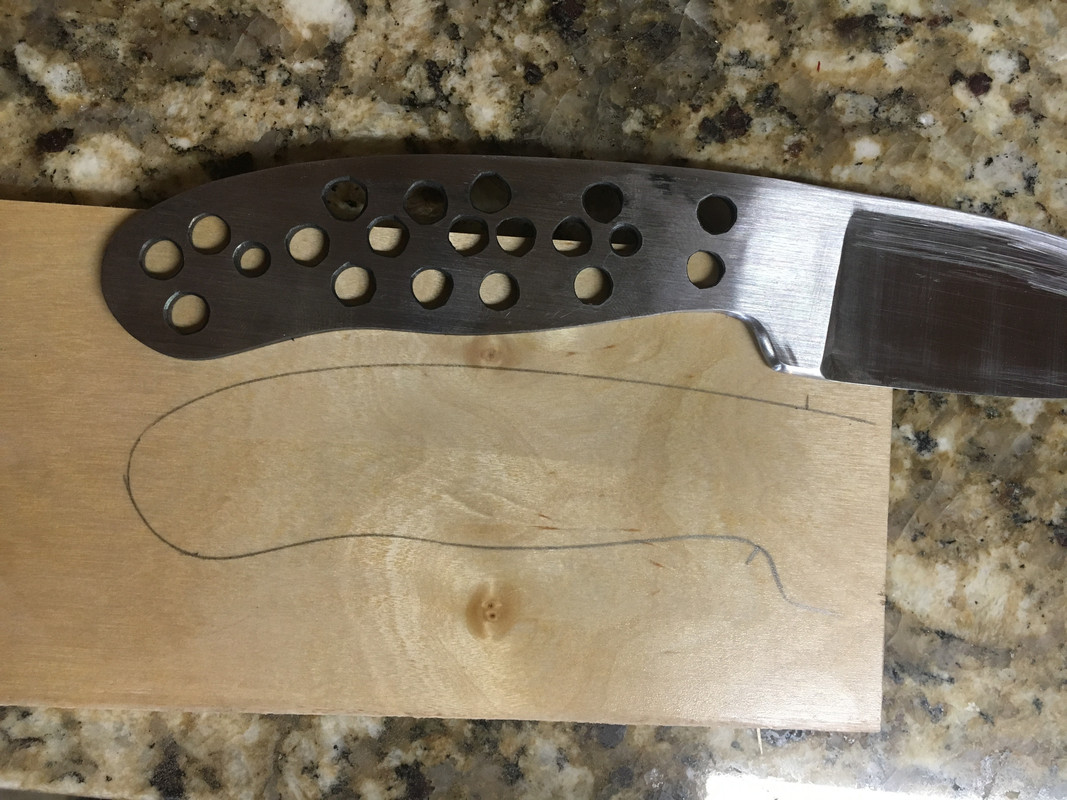
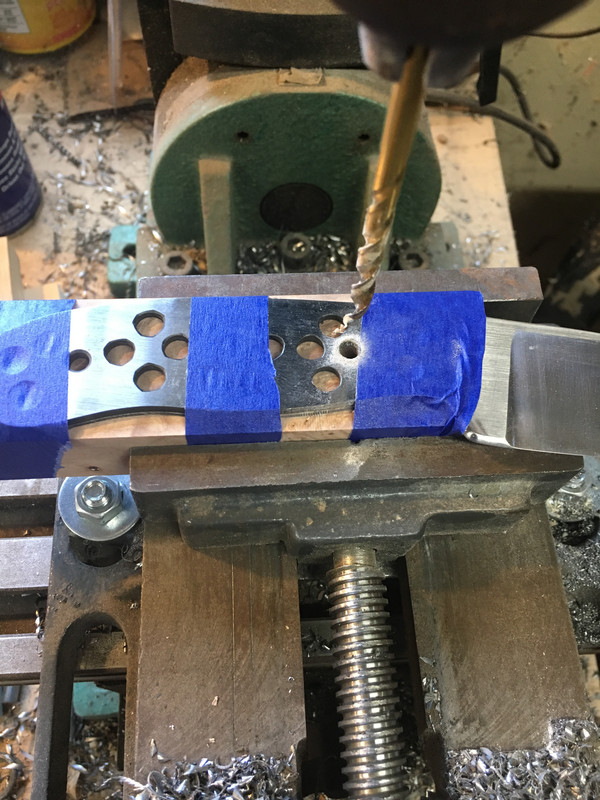
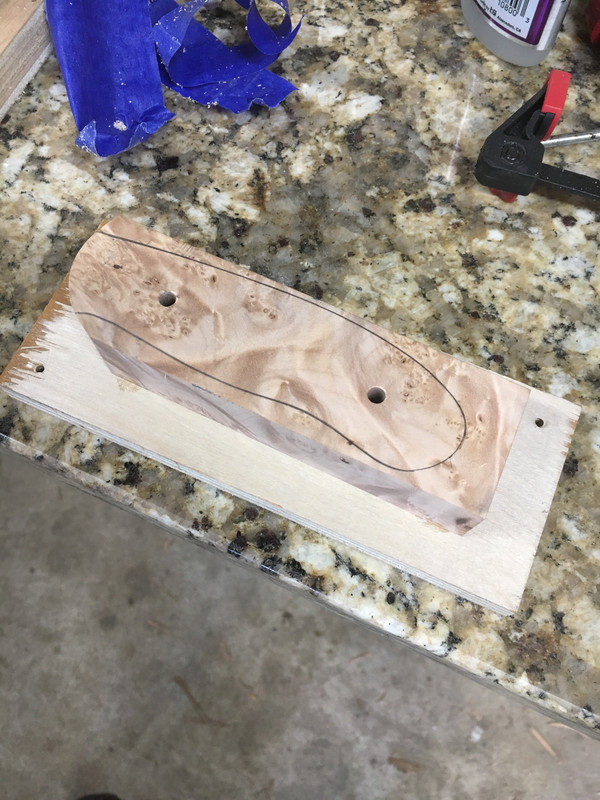
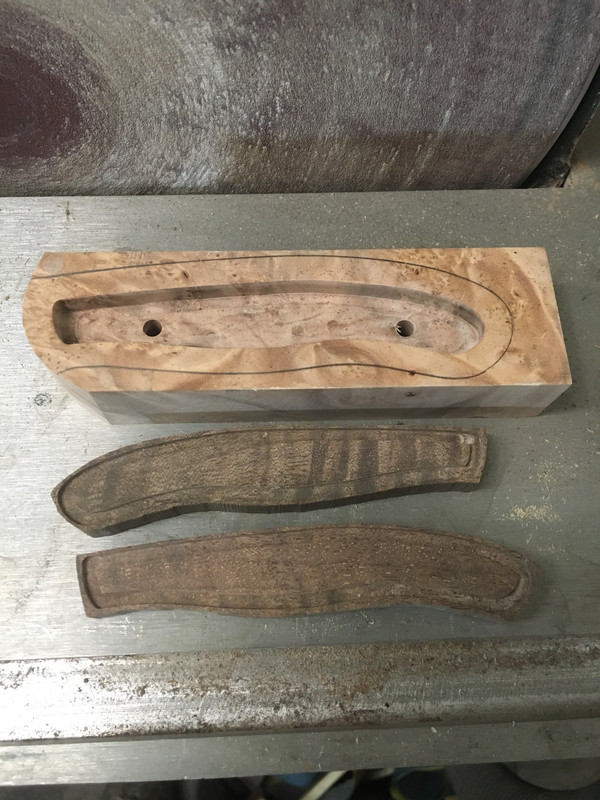
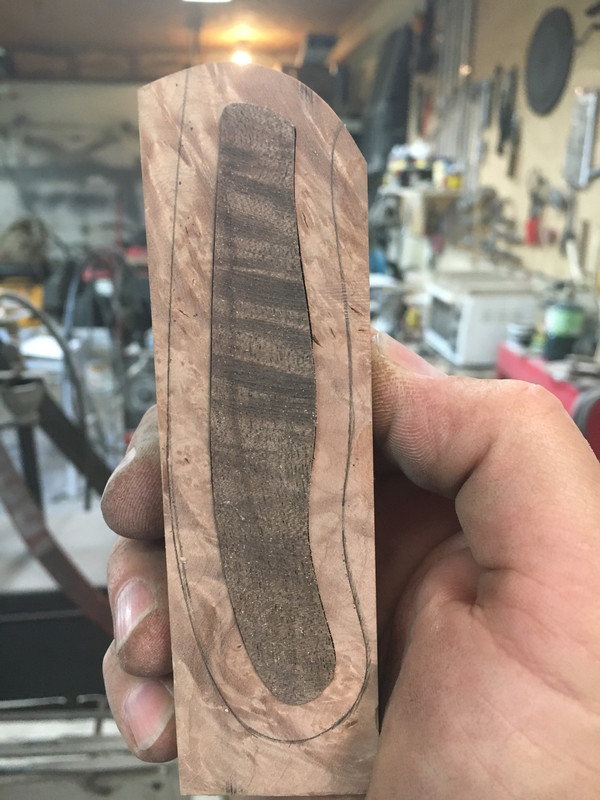
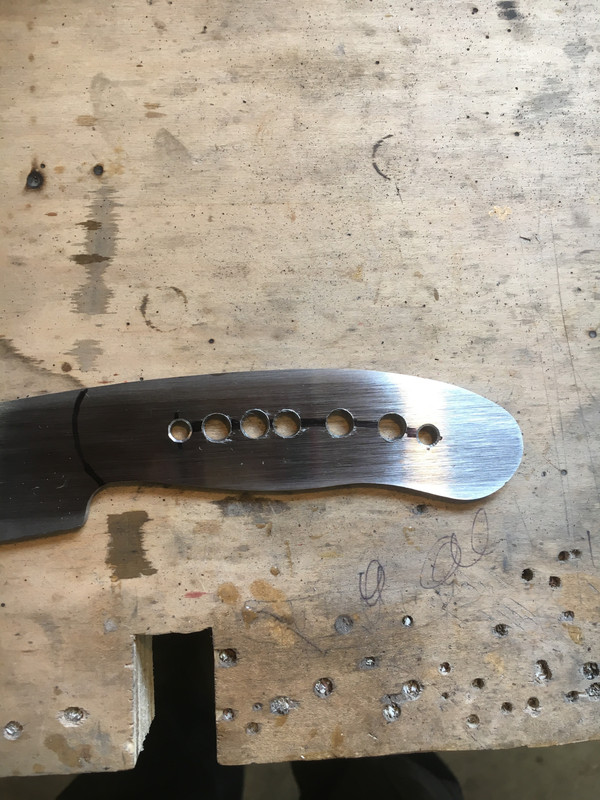
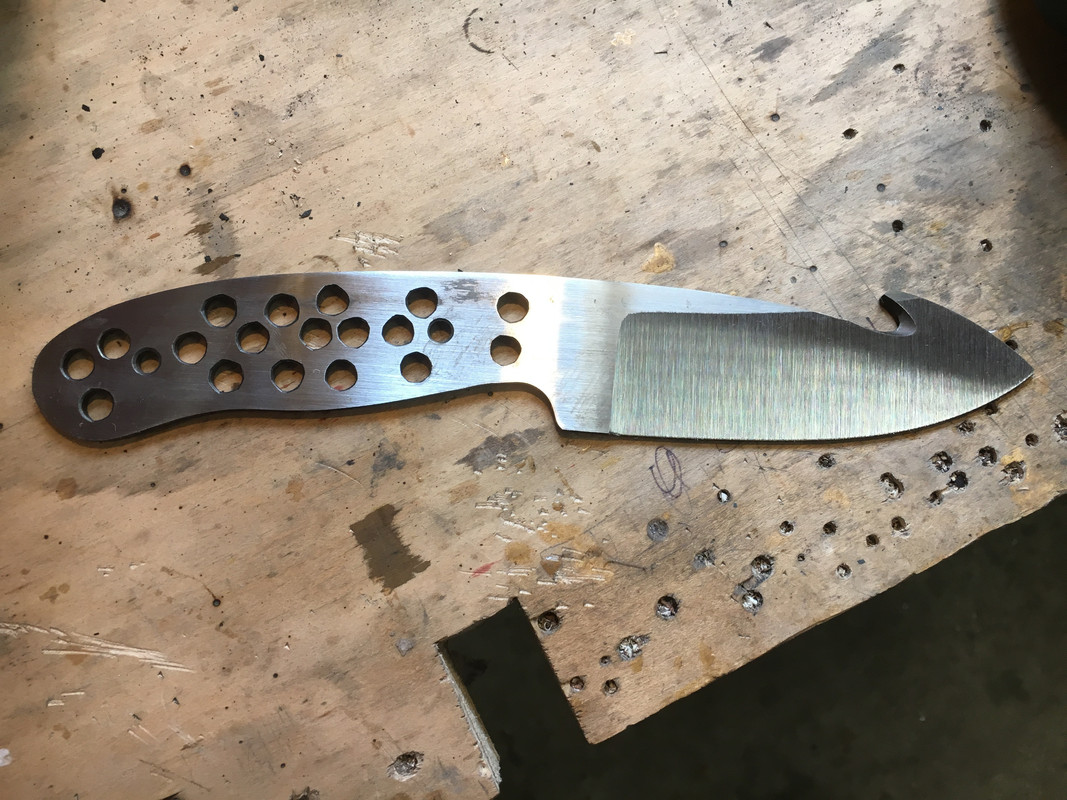
With the gut hook ground in, I layout where I want the corby bolts.
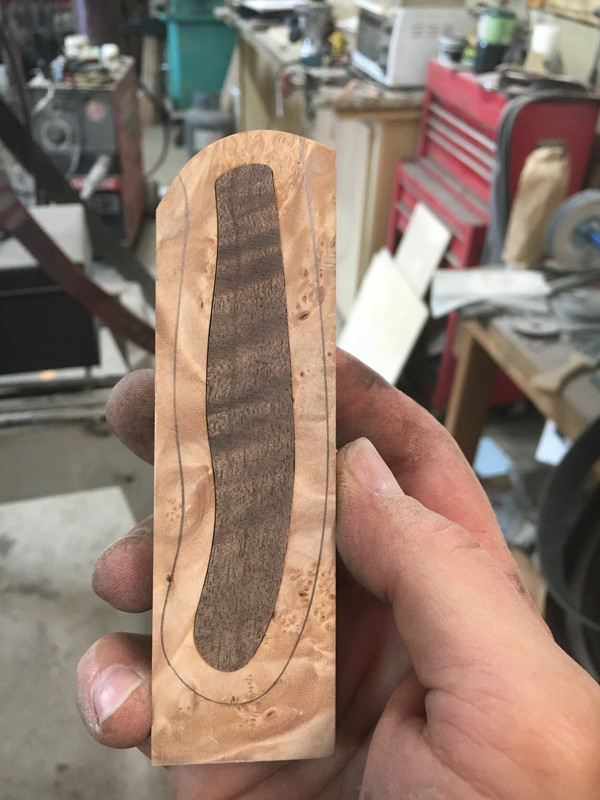
Here I have the corby holes drilled and a line of holes that will allow epoxy to flow between the checkered inlay pieces.
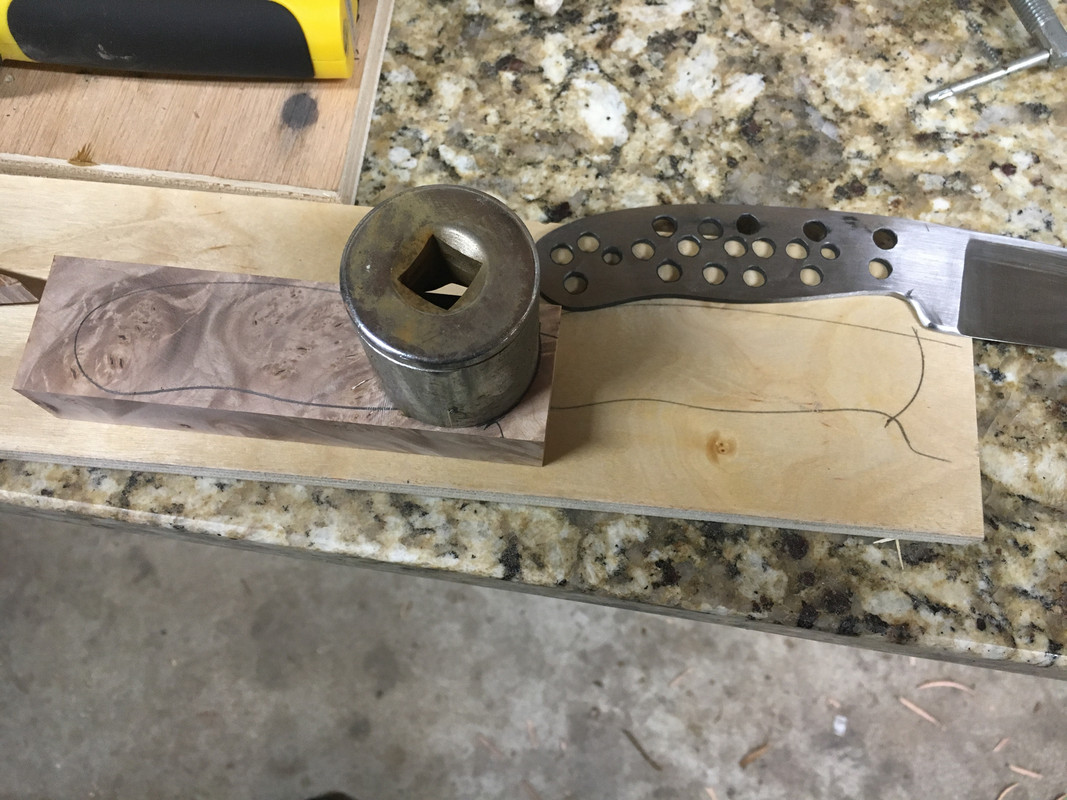
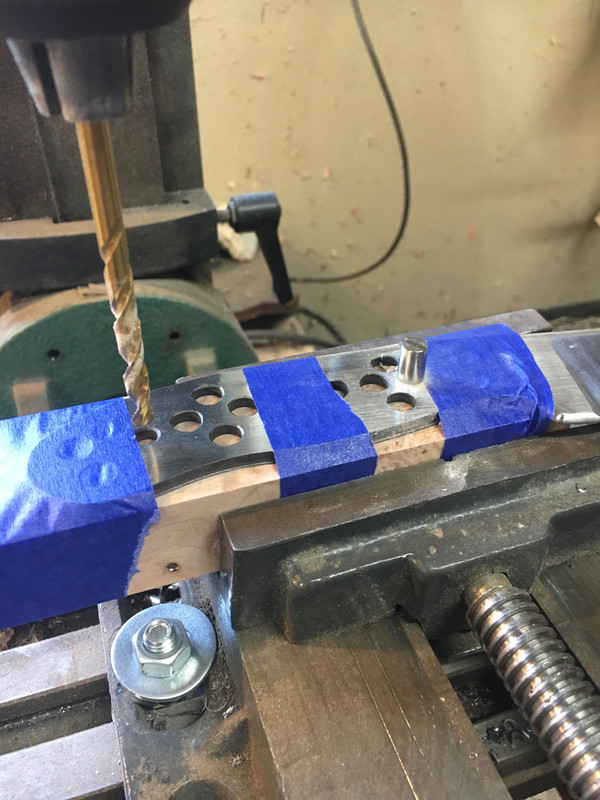
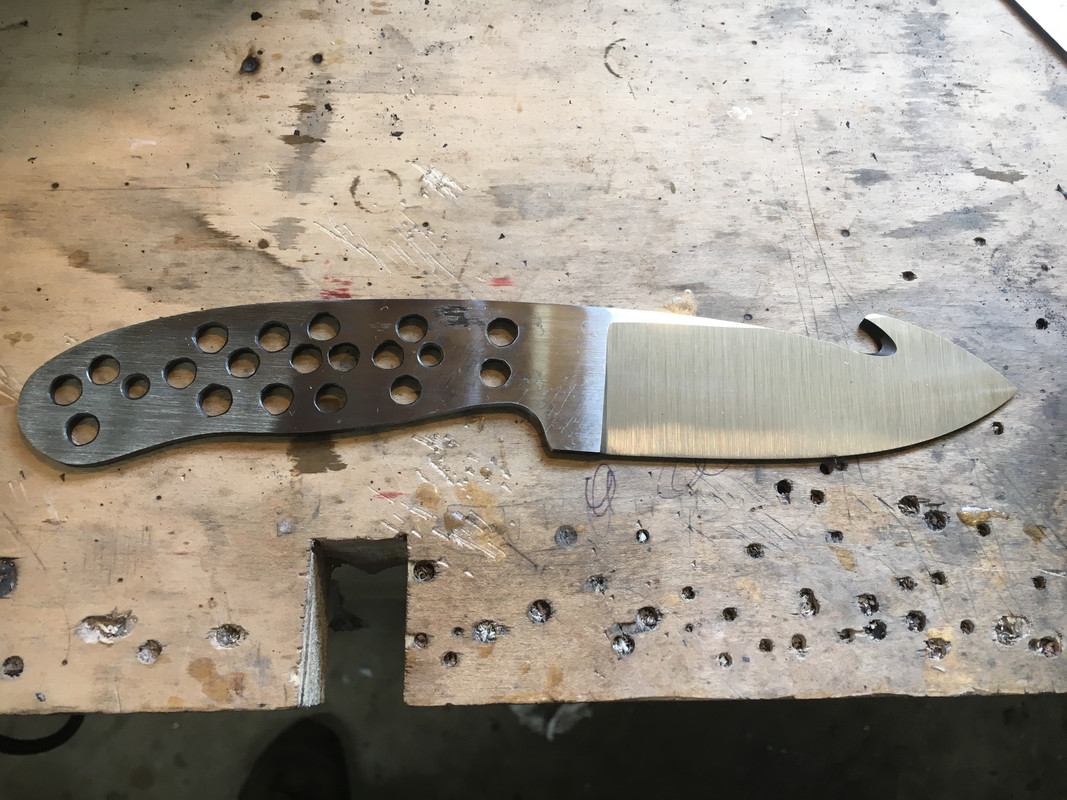
Next I drill more epoxy holes for the main handle.
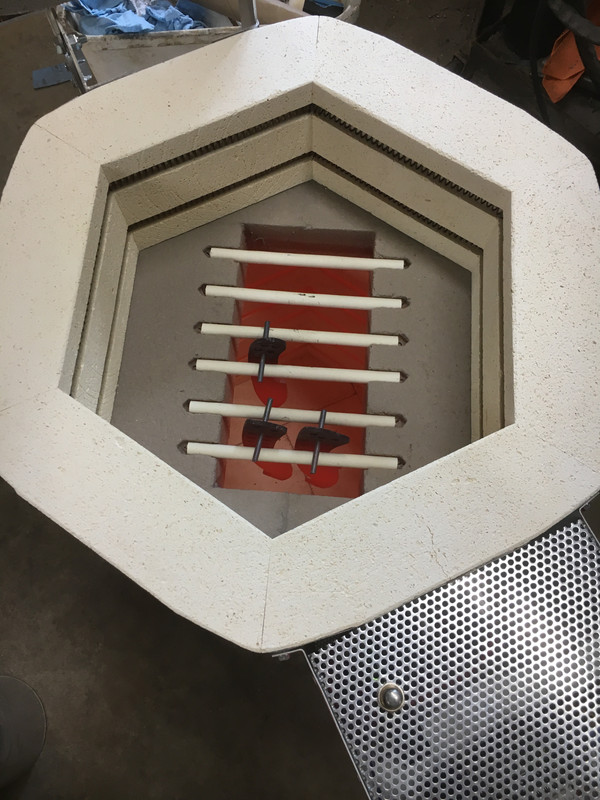
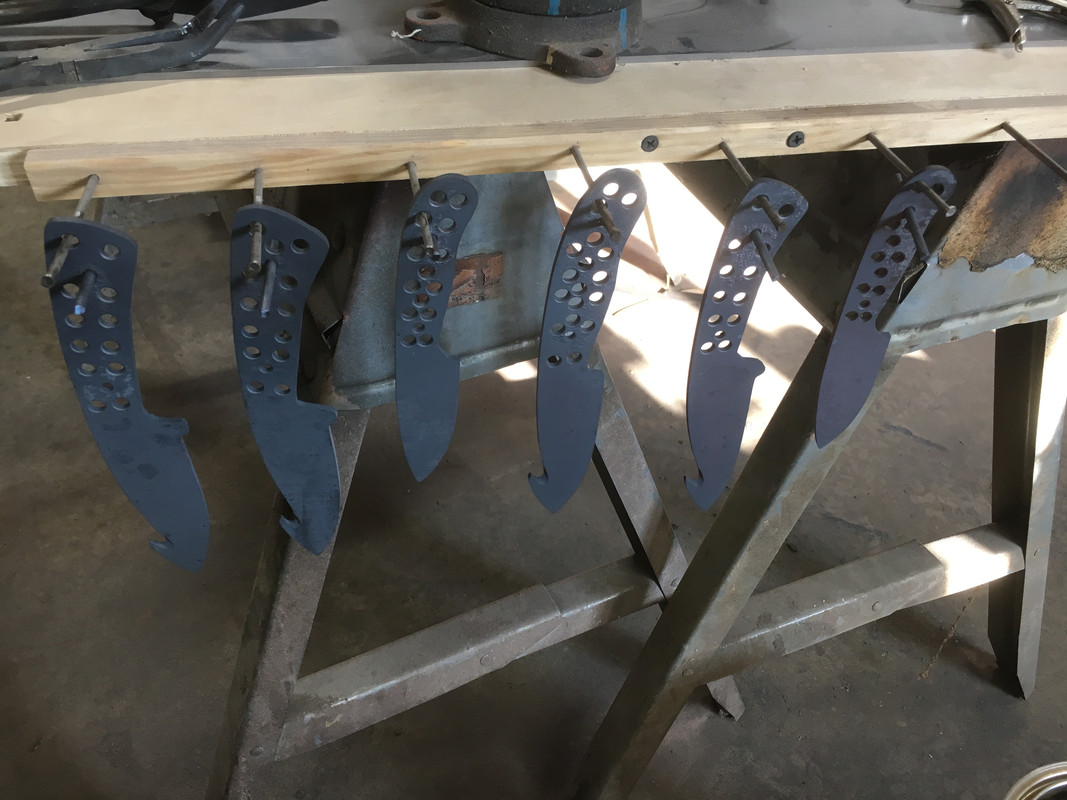
Now on to normalizing, grain refinement and heat treating.
I do all my grinding after heat treating, so I will start on that tomorrow. If anyone has questions on the process of the gut hook, ask away.
Lol... I have four unfinished gut hook knives laying around here because I couldn’t get it together. I think I can maybe finish a couple of them now. Great posts and a good looking knife to boot!You're talking about my art work, right?")
Yes...The gut hook is amazing! It has such clean lines.You're talking about my art work, right?