Gene Kimmi
KNIFE MAKER
Daniel,
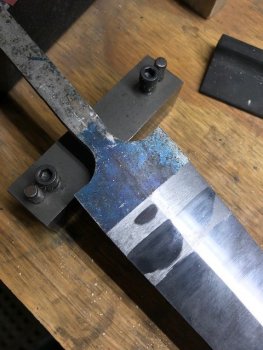
This is the second time I've clayed this blade. On the first quench, it developed a crack and the hamon was a failure, so I figured I'd try it again as the blade is ruined. My experience with hamons is limited to 3 at this point, but I've had the opposite experience with them. When I've used furnace cement, the hamon is almost exactly where I've put the clay. On the first round with this blade, I used satanite and I had a hamon that only covered about a 1/4" of the spine in a straight line. It was clayed very similar the the picture of it now.
This is the second time I've clayed this blade. On the first quench, it developed a crack and the hamon was a failure, so I figured I'd try it again as the blade is ruined. My experience with hamons is limited to 3 at this point, but I've had the opposite experience with them. When I've used furnace cement, the hamon is almost exactly where I've put the clay. On the first round with this blade, I used satanite and I had a hamon that only covered about a 1/4" of the spine in a straight line. It was clayed very similar the the picture of it now.


")