Bruce Bump
Forum Owner-Moderator
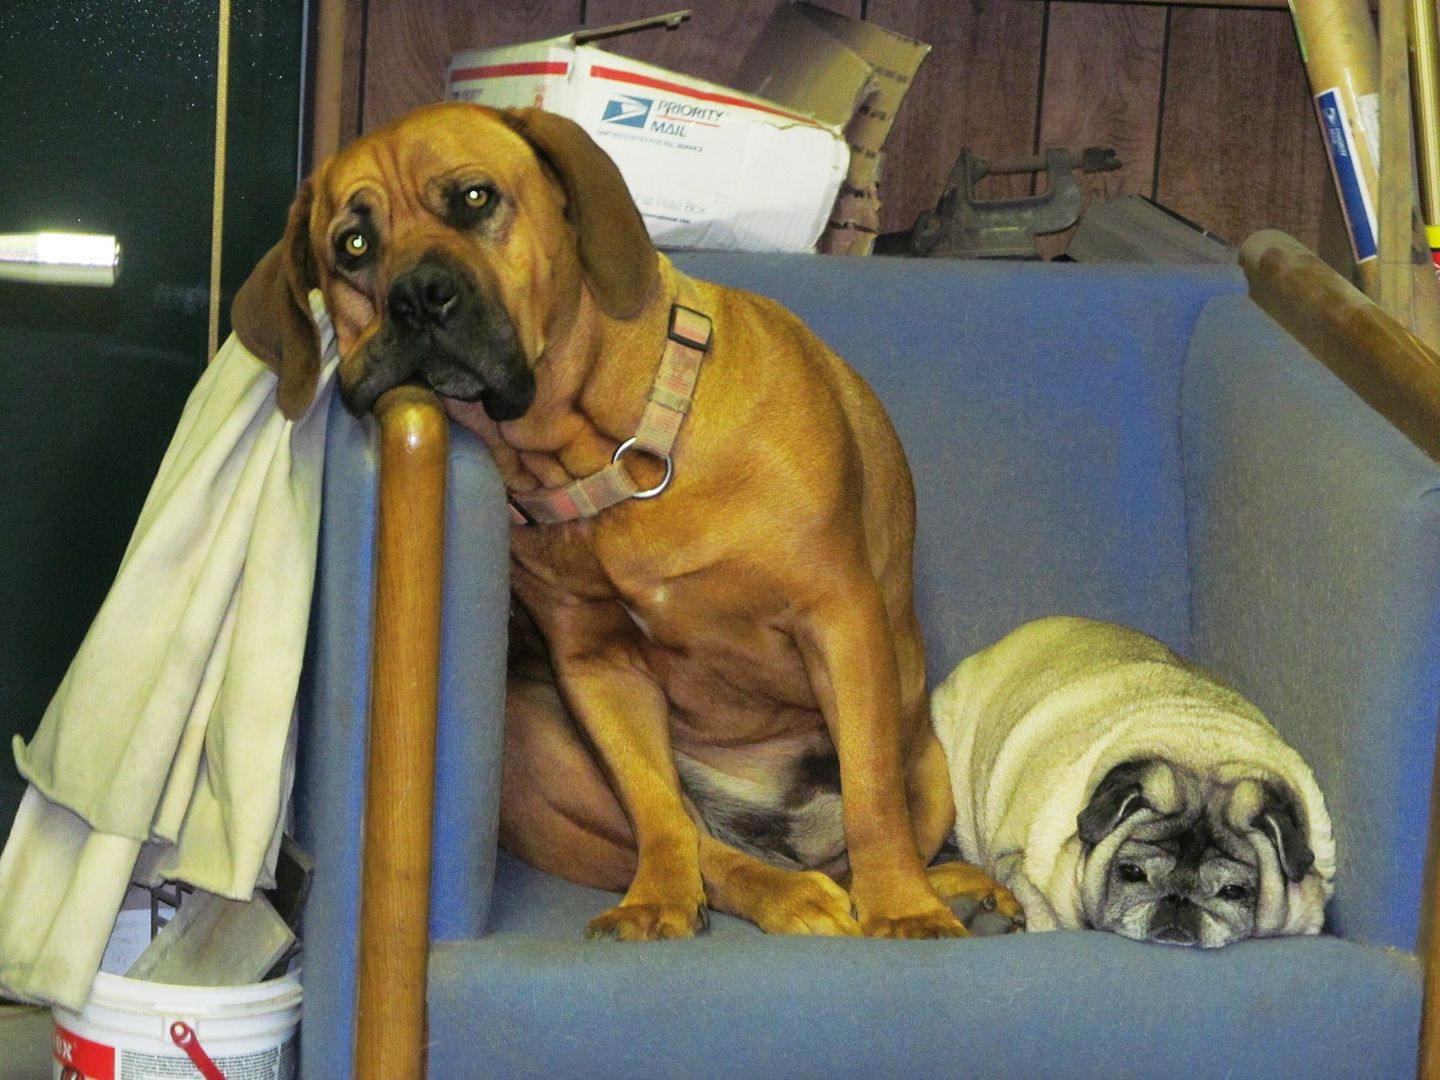
I've been looking for a love seat so we can all sit down in the shop.
Sounds like age discrimination to me.
Hope they don't "kick us off the couch" anytime soon.
The floor is a cold and lonely place my friend.


")