You are using an out of date browser. It may not display this or other websites correctly.
You should upgrade or use an alternative browser.
You should upgrade or use an alternative browser.
Matchlock Axe/Pistol
- Thread starter Bruce Bump
- Start date
Frank Hunter
Well-Known Member
You're onto something there, Bruce. I'll start offering a "sand it yourself" option, pack of paper and a block strapped to a buffer, with my stuff too and let you know if it's well received...there's sure a lot of real honest elbow grease in this sort of art. Still, beautiful work!
McClellan Made Blades
Well-Known Member
Bruce,
That is some of, if not the sickest, sweetest Walnut Burl I have ever seen! Absolutely GORGEOUS! And that finish? Once that is buffed out,(I'm assuming that was the "wet look"), and I'm supposing that with that finish being Tung oil, you would apply it in several coats, until the wood quits absorbing it, unless it's different with the Urethane's and the "other secret ingredients", will you have to do several coats? I keep going back to the one picture, it is AMAZING! The depth of that wood and the way the finish is bringing it out, this is going to be awesome! Now I gotta call Brownells! It's gotta work well on just about any wood that can absorb it, at least a little bit of it, and with the added Urethane, should make for a tough protective finish. Nice find and Thanks for sharing it....BTW, if you have any scraps of that wood, throw me a bone Brada, just put an invoice in the box with it and I'll work out the financing with you later! Rex
That is some of, if not the sickest, sweetest Walnut Burl I have ever seen! Absolutely GORGEOUS! And that finish? Once that is buffed out,(I'm assuming that was the "wet look"), and I'm supposing that with that finish being Tung oil, you would apply it in several coats, until the wood quits absorbing it, unless it's different with the Urethane's and the "other secret ingredients", will you have to do several coats? I keep going back to the one picture, it is AMAZING! The depth of that wood and the way the finish is bringing it out, this is going to be awesome! Now I gotta call Brownells! It's gotta work well on just about any wood that can absorb it, at least a little bit of it, and with the added Urethane, should make for a tough protective finish. Nice find and Thanks for sharing it....BTW, if you have any scraps of that wood, throw me a bone Brada, just put an invoice in the box with it and I'll work out the financing with you later! Rex
Bruce Bump
Forum Owner-Moderator
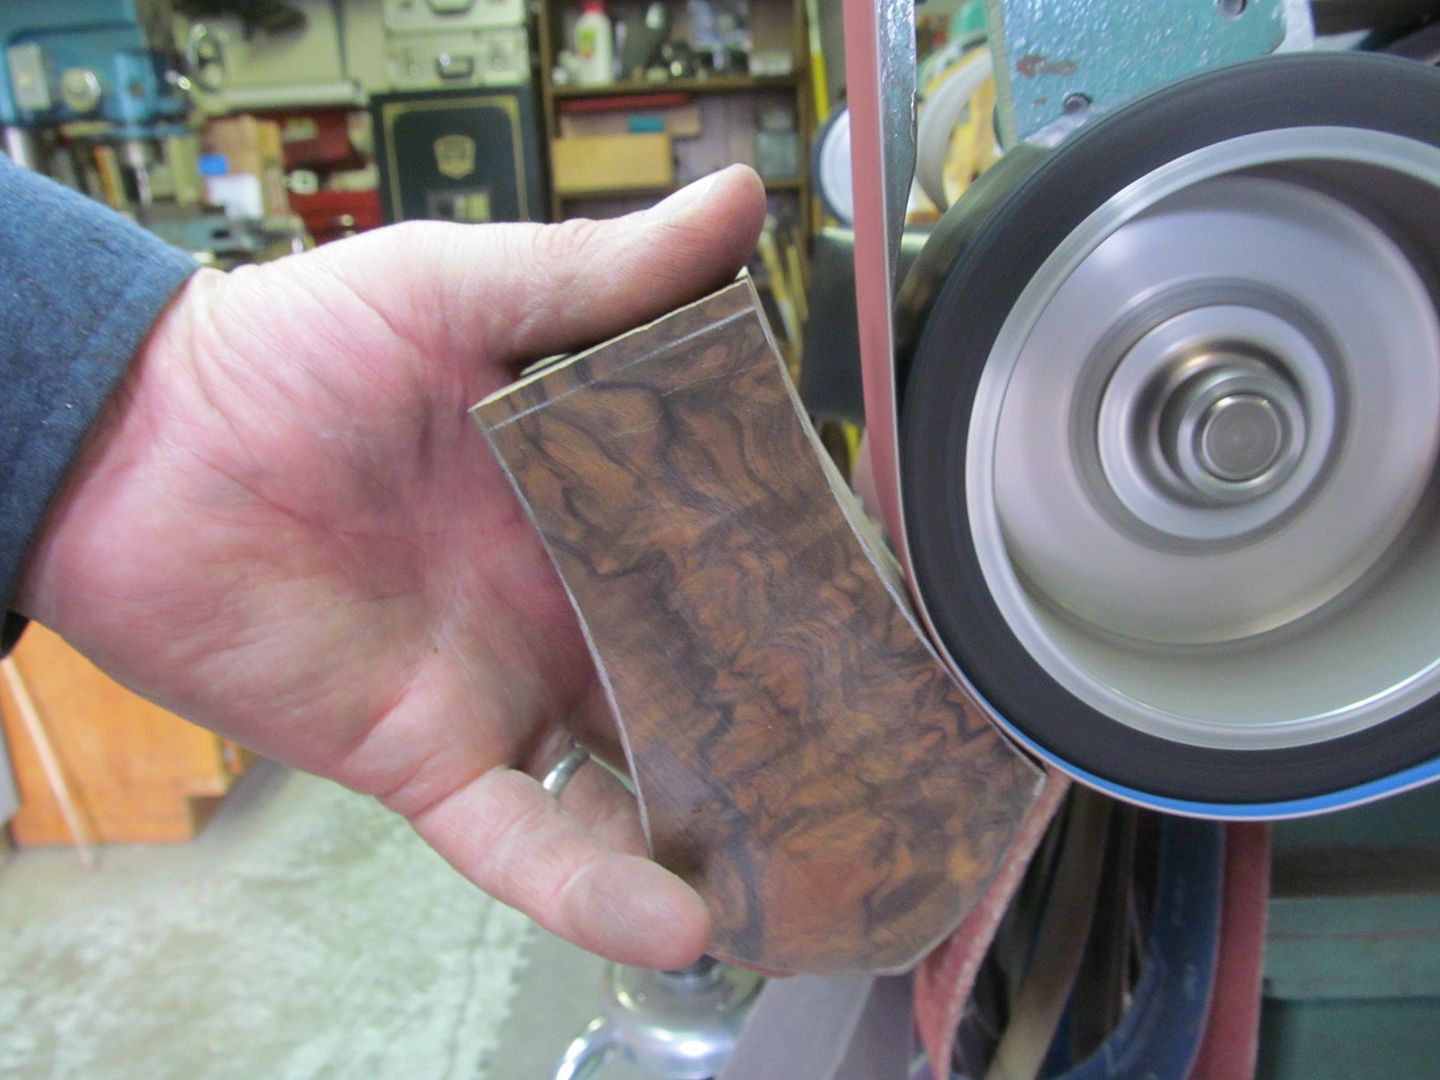
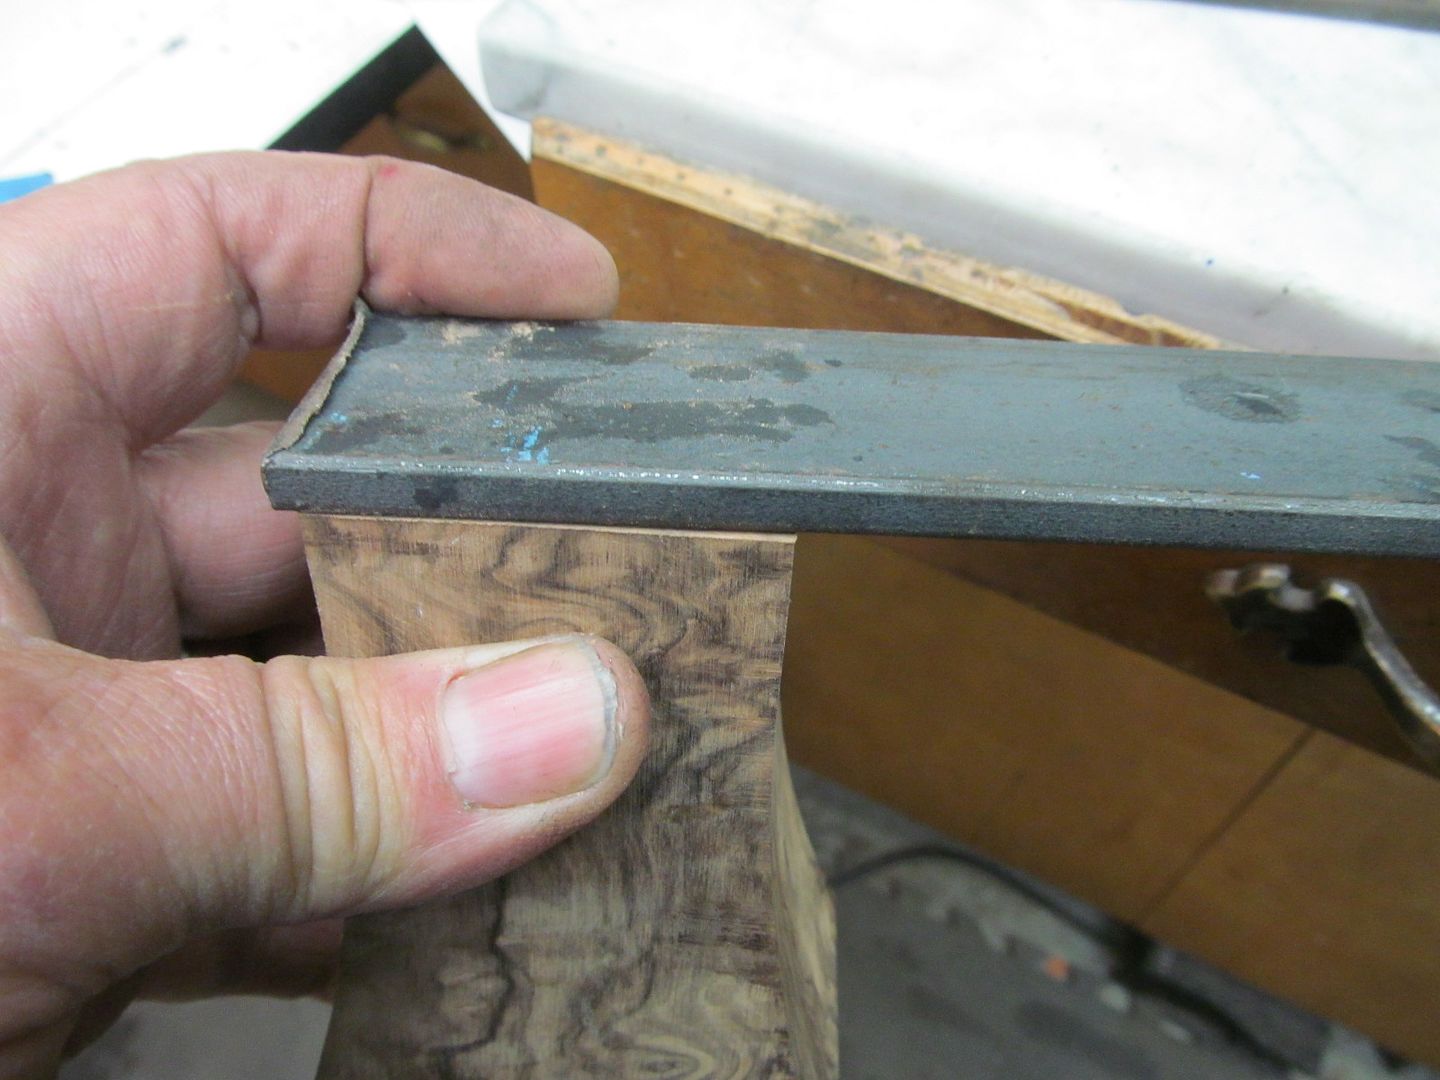
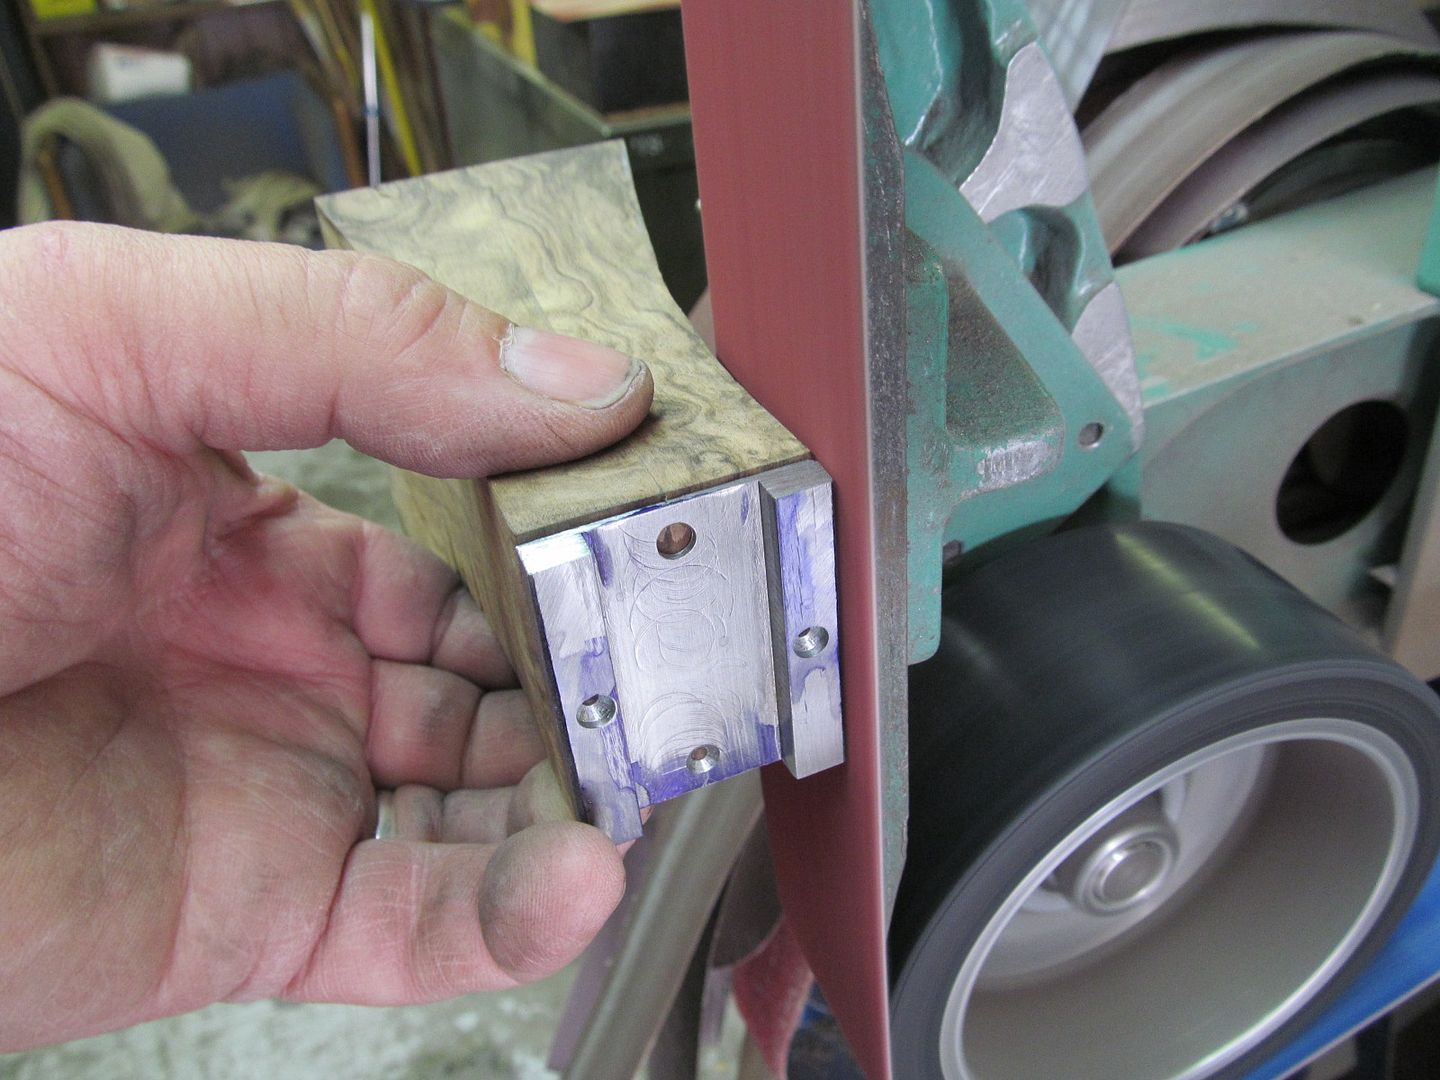
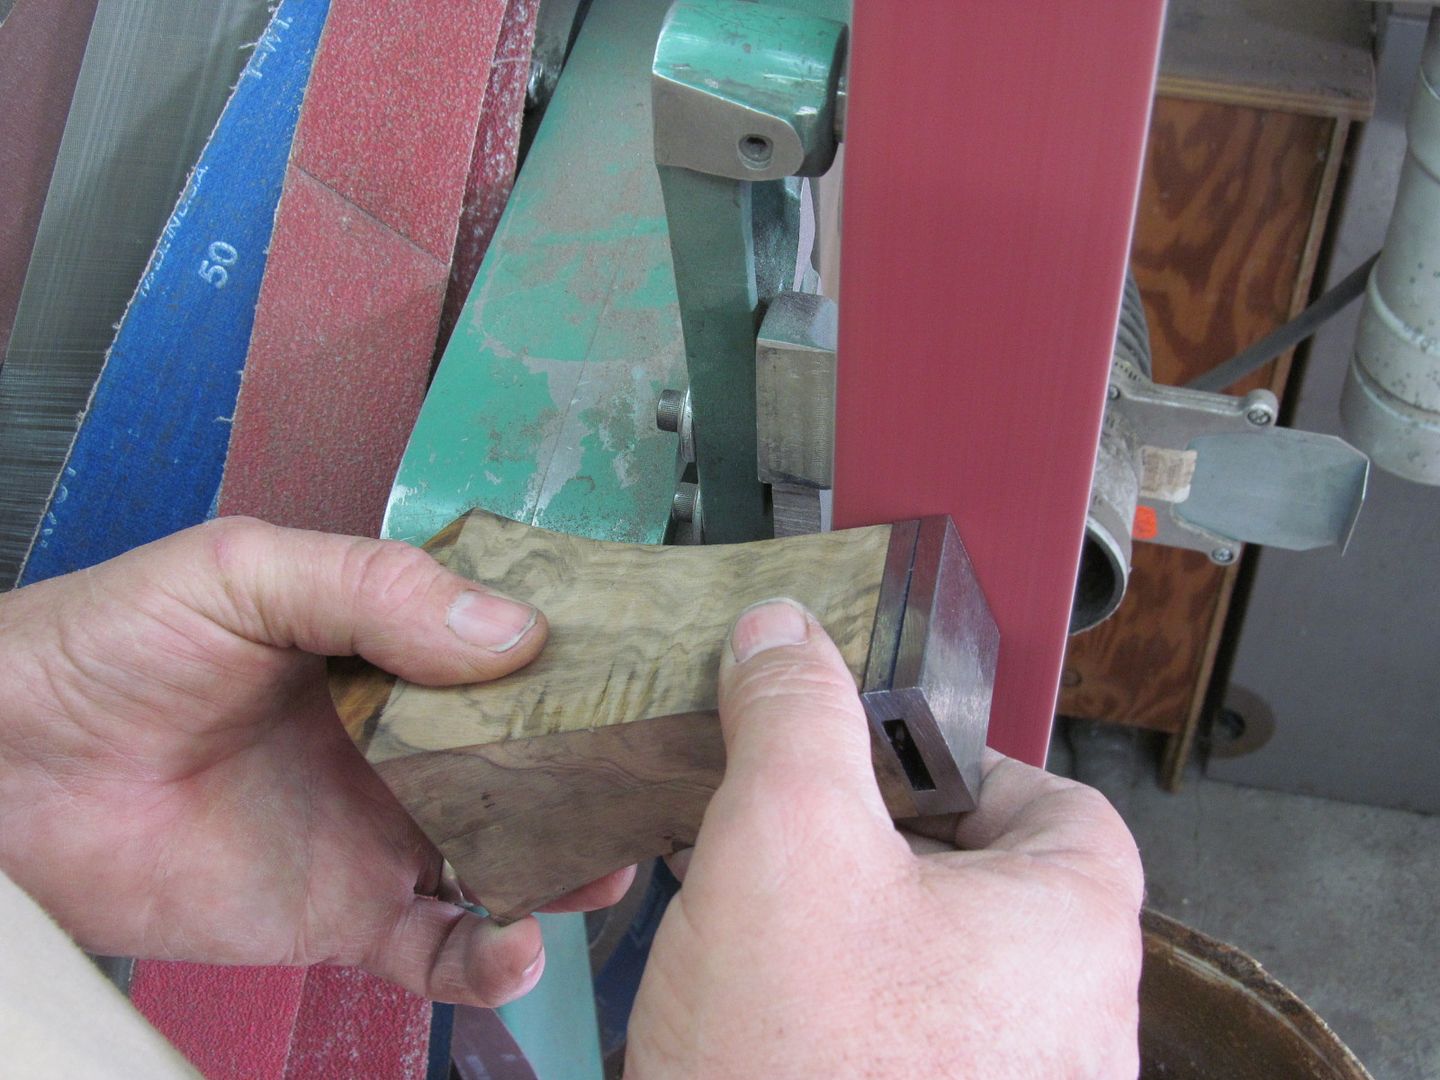
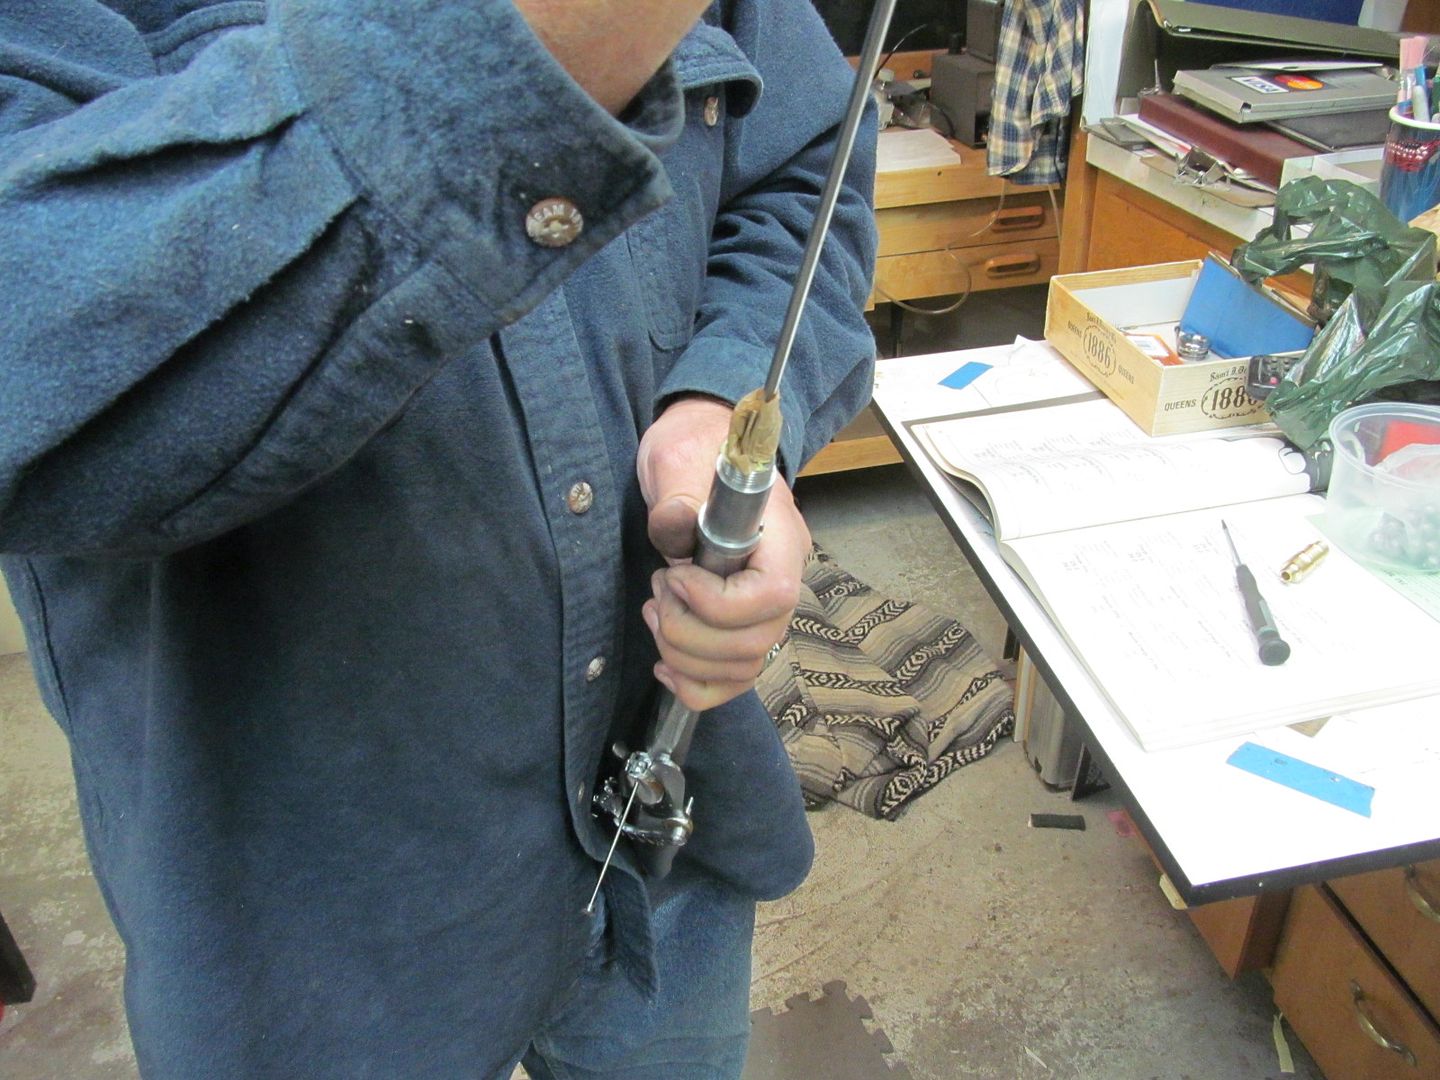
On to the powder flask while I'm putting coats of tung oil on the wooden stock.
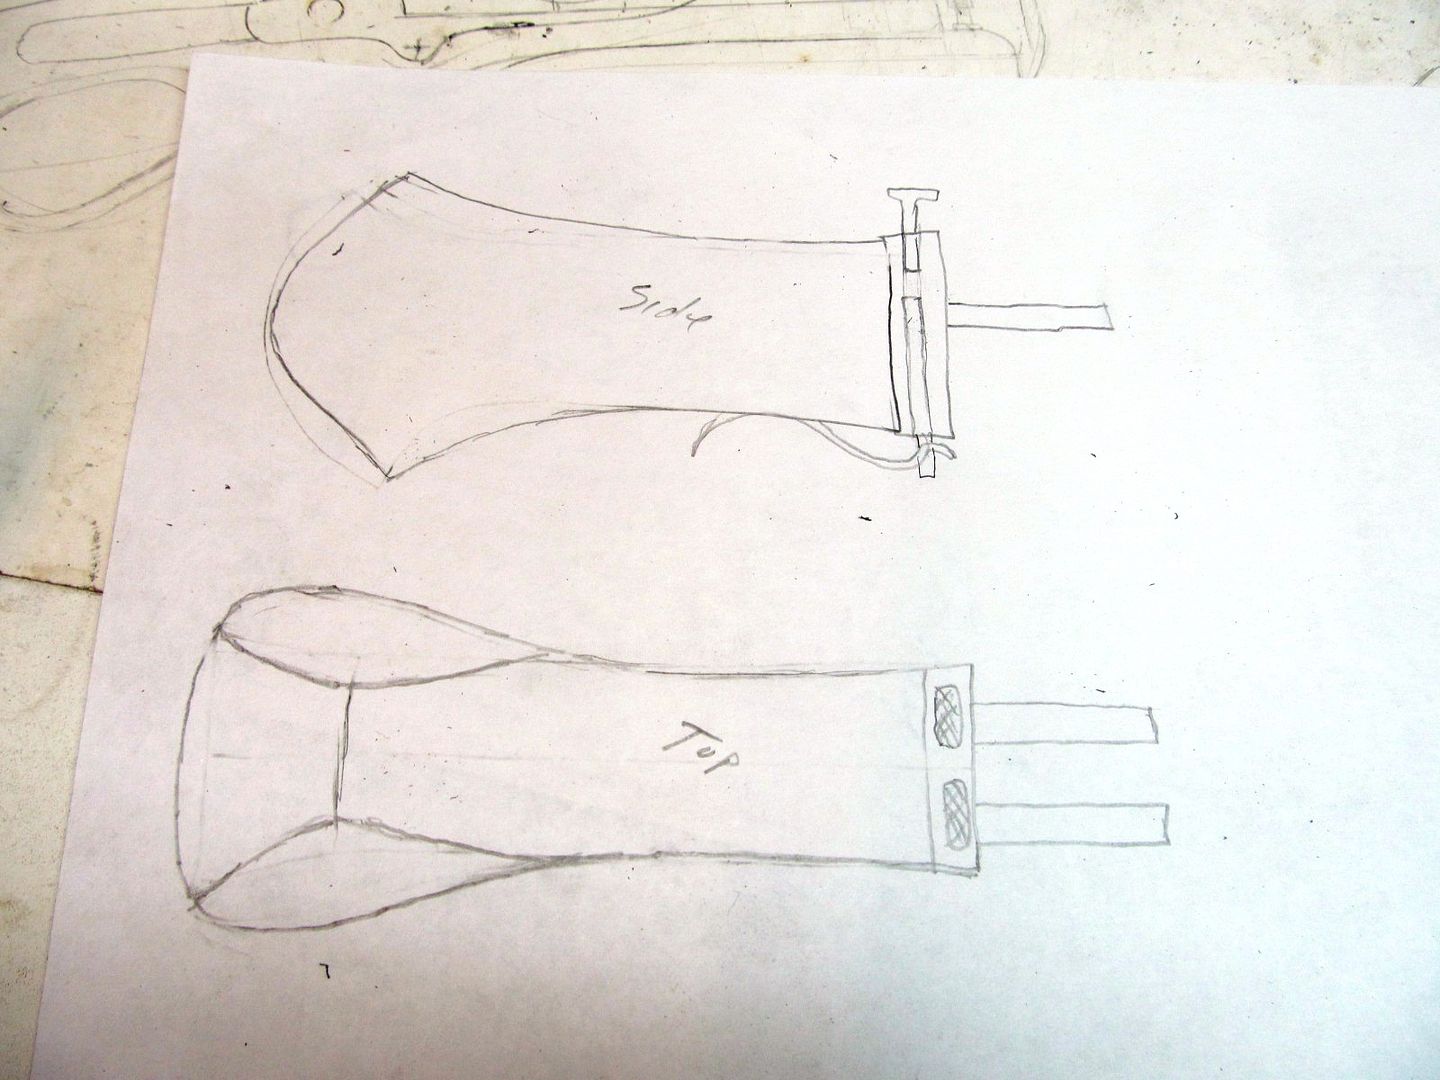
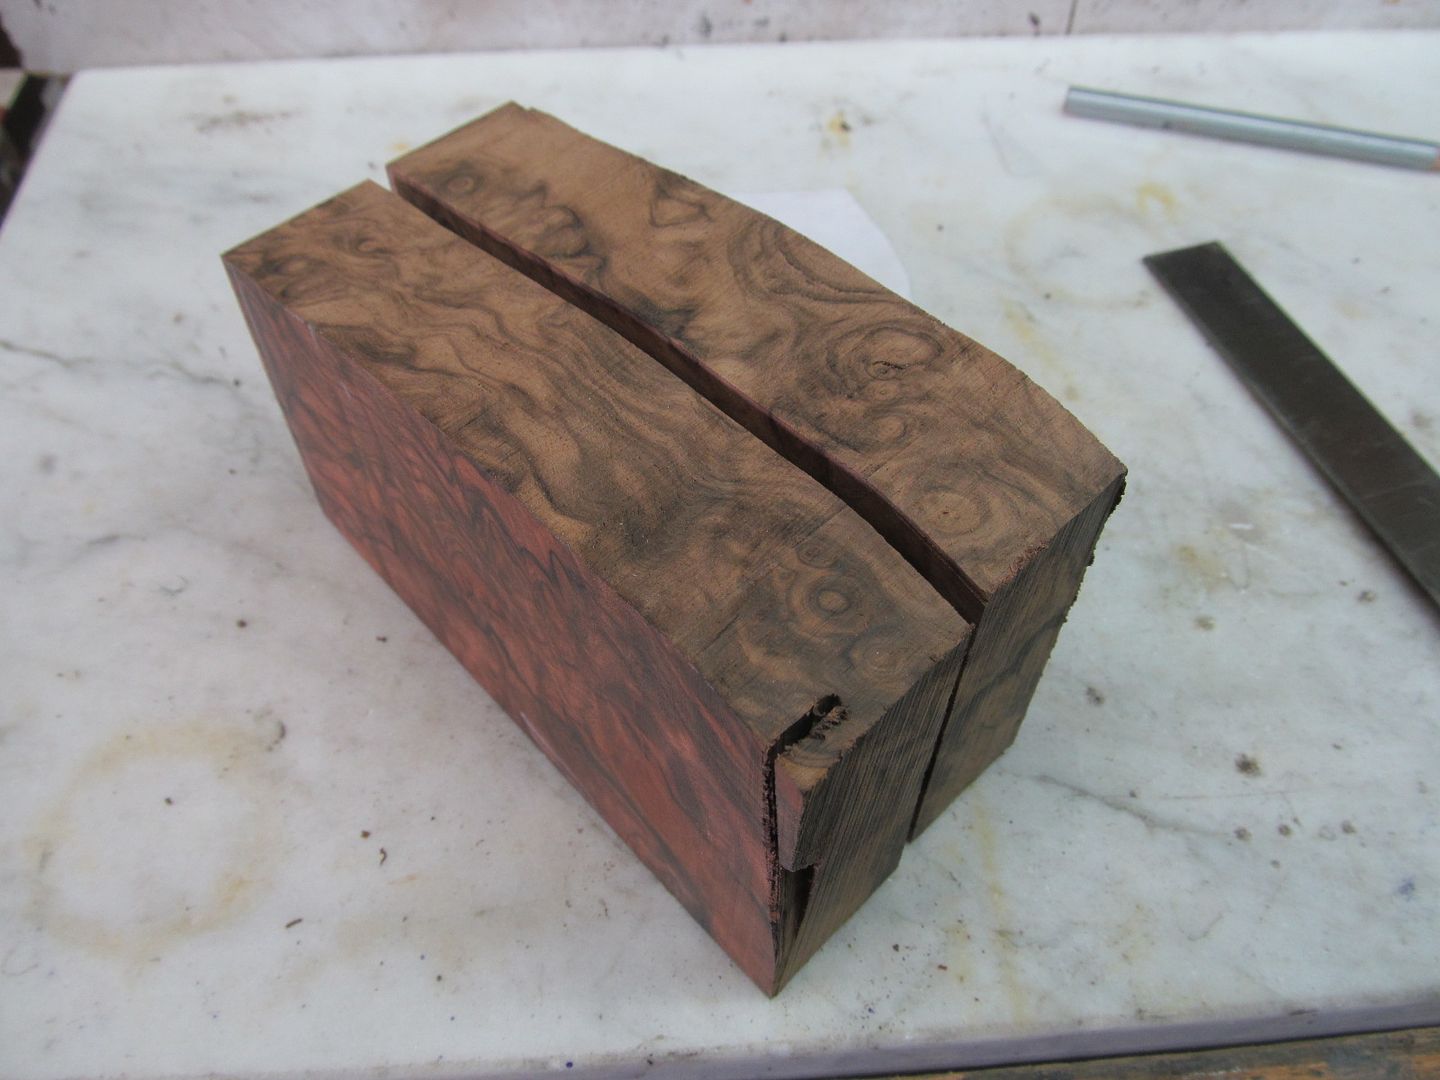
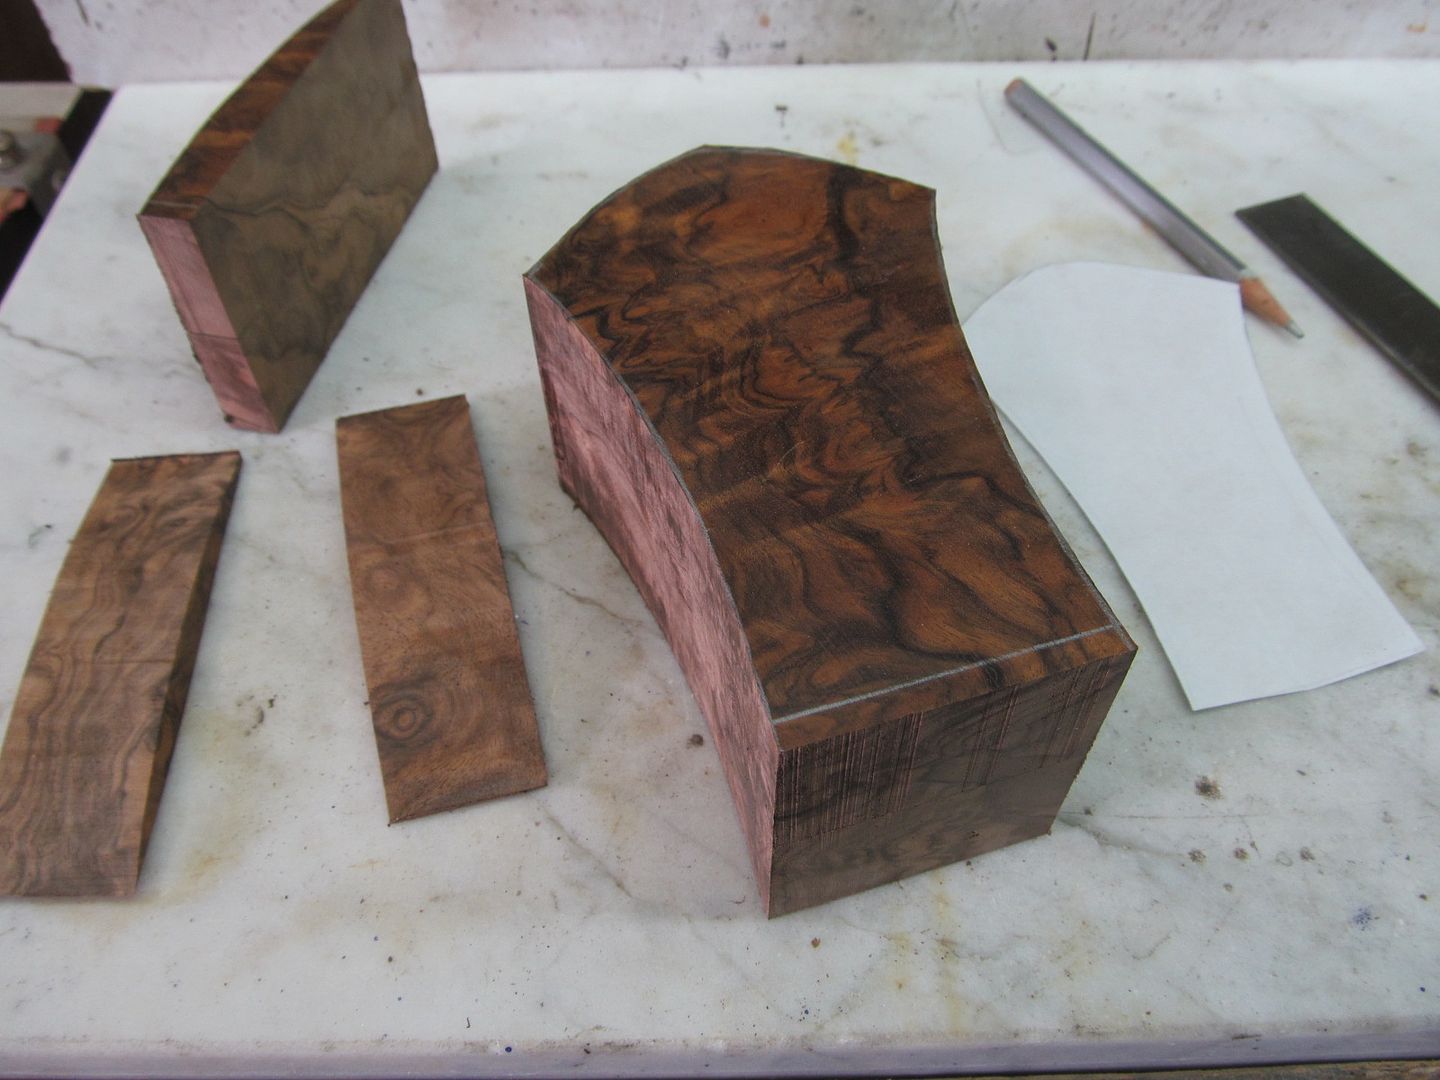
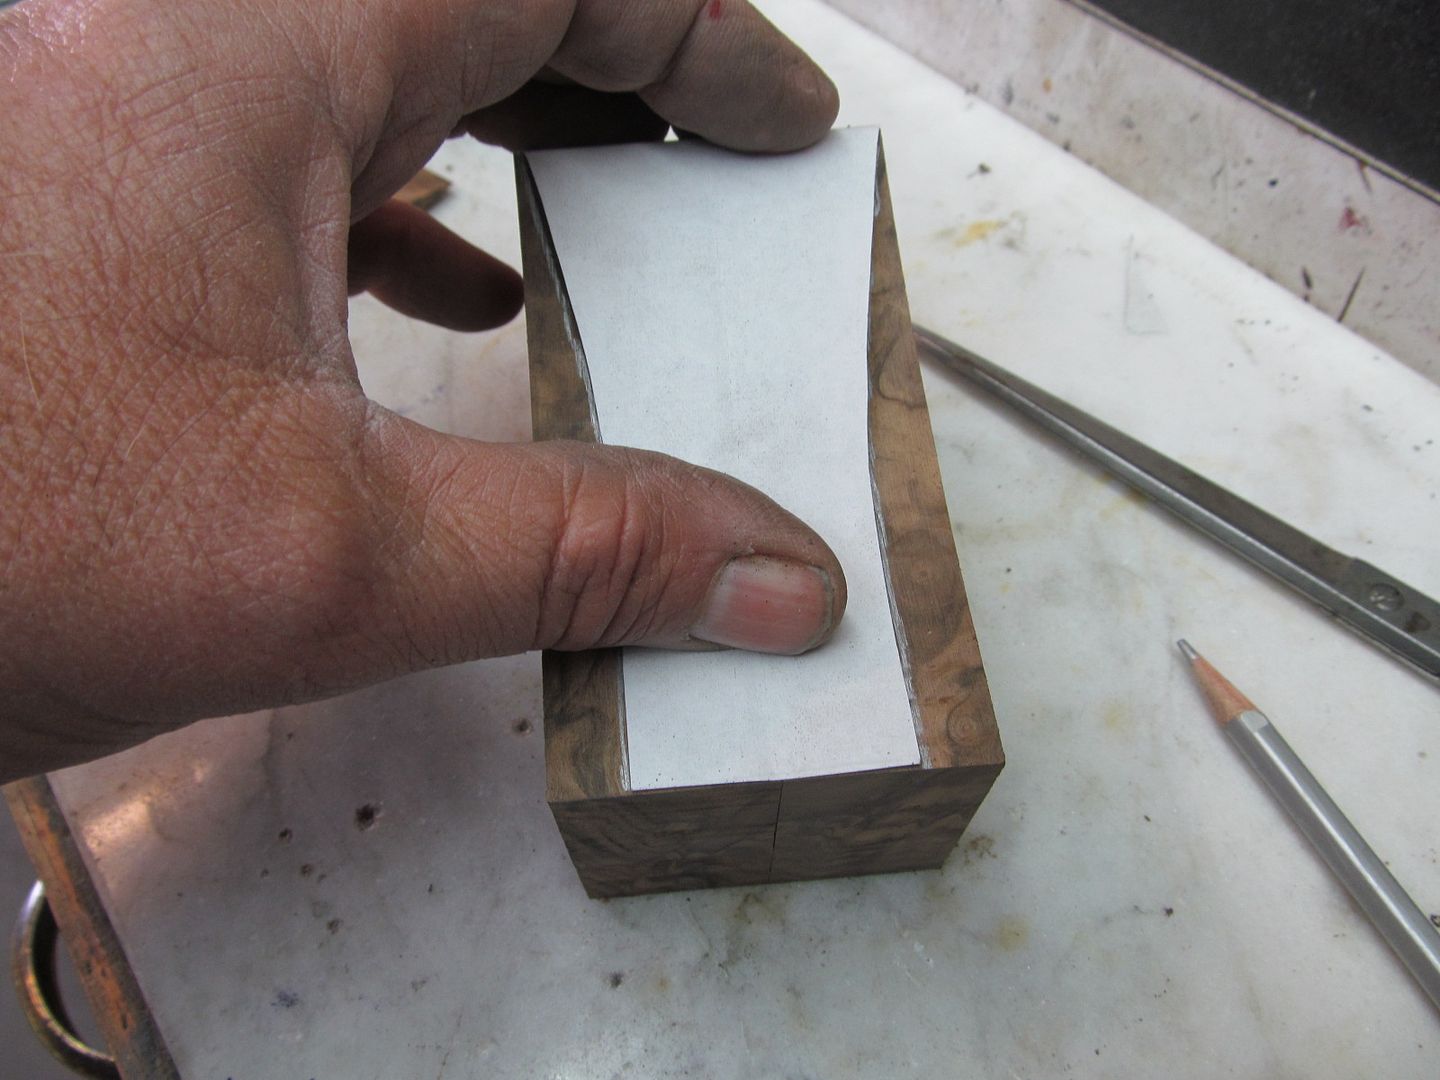
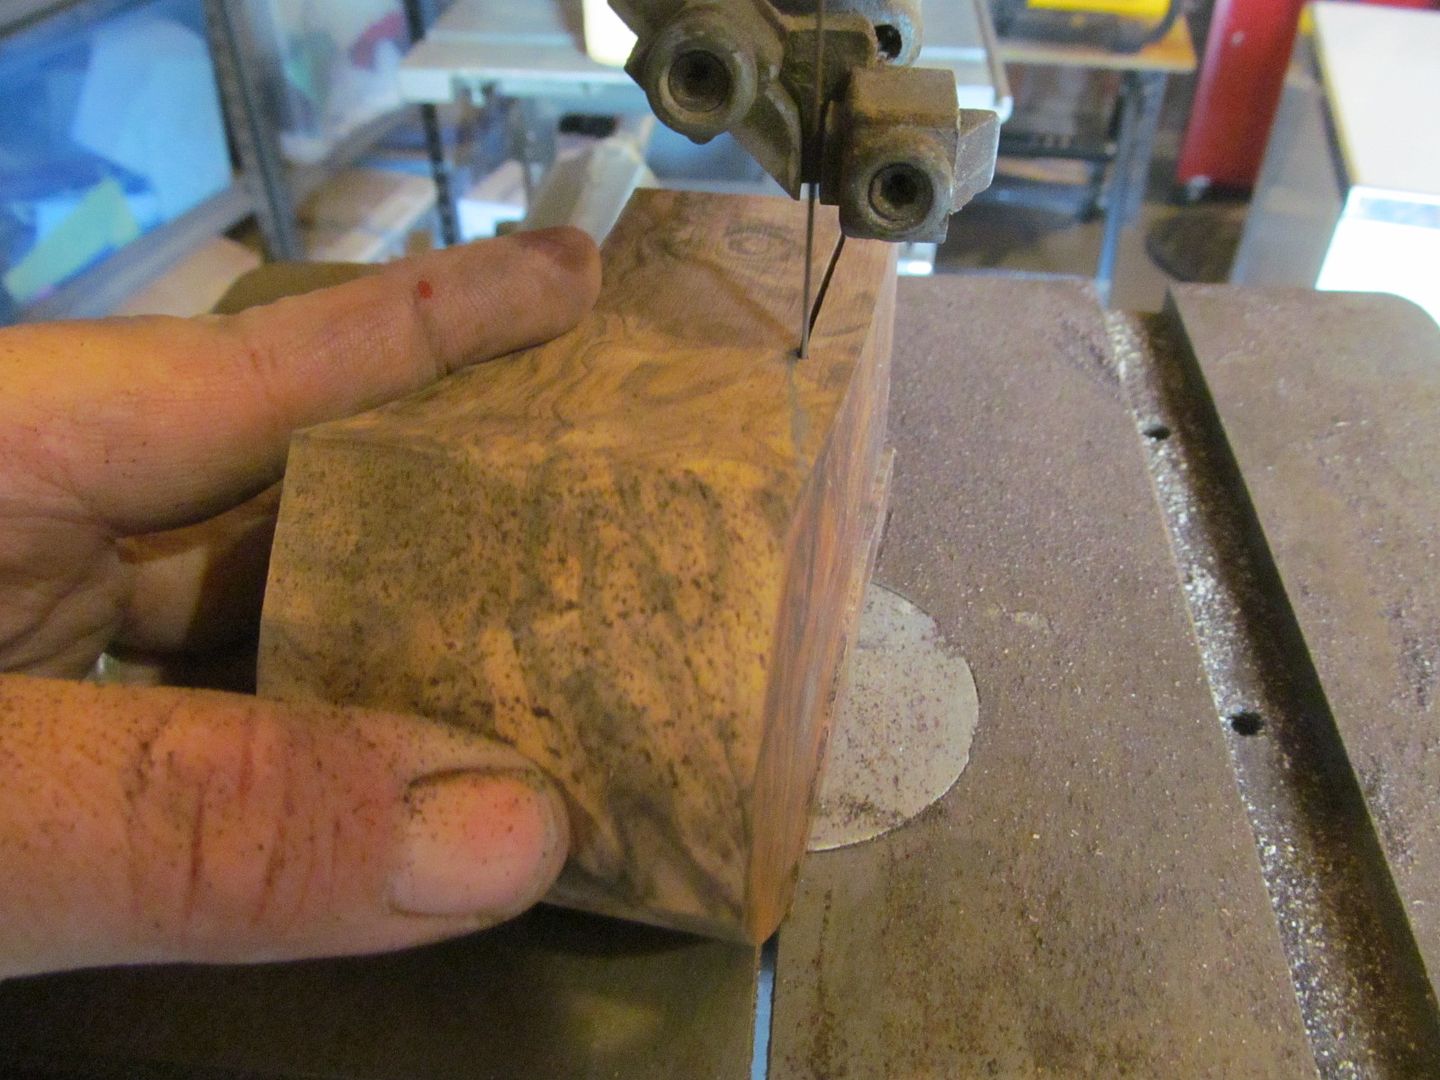
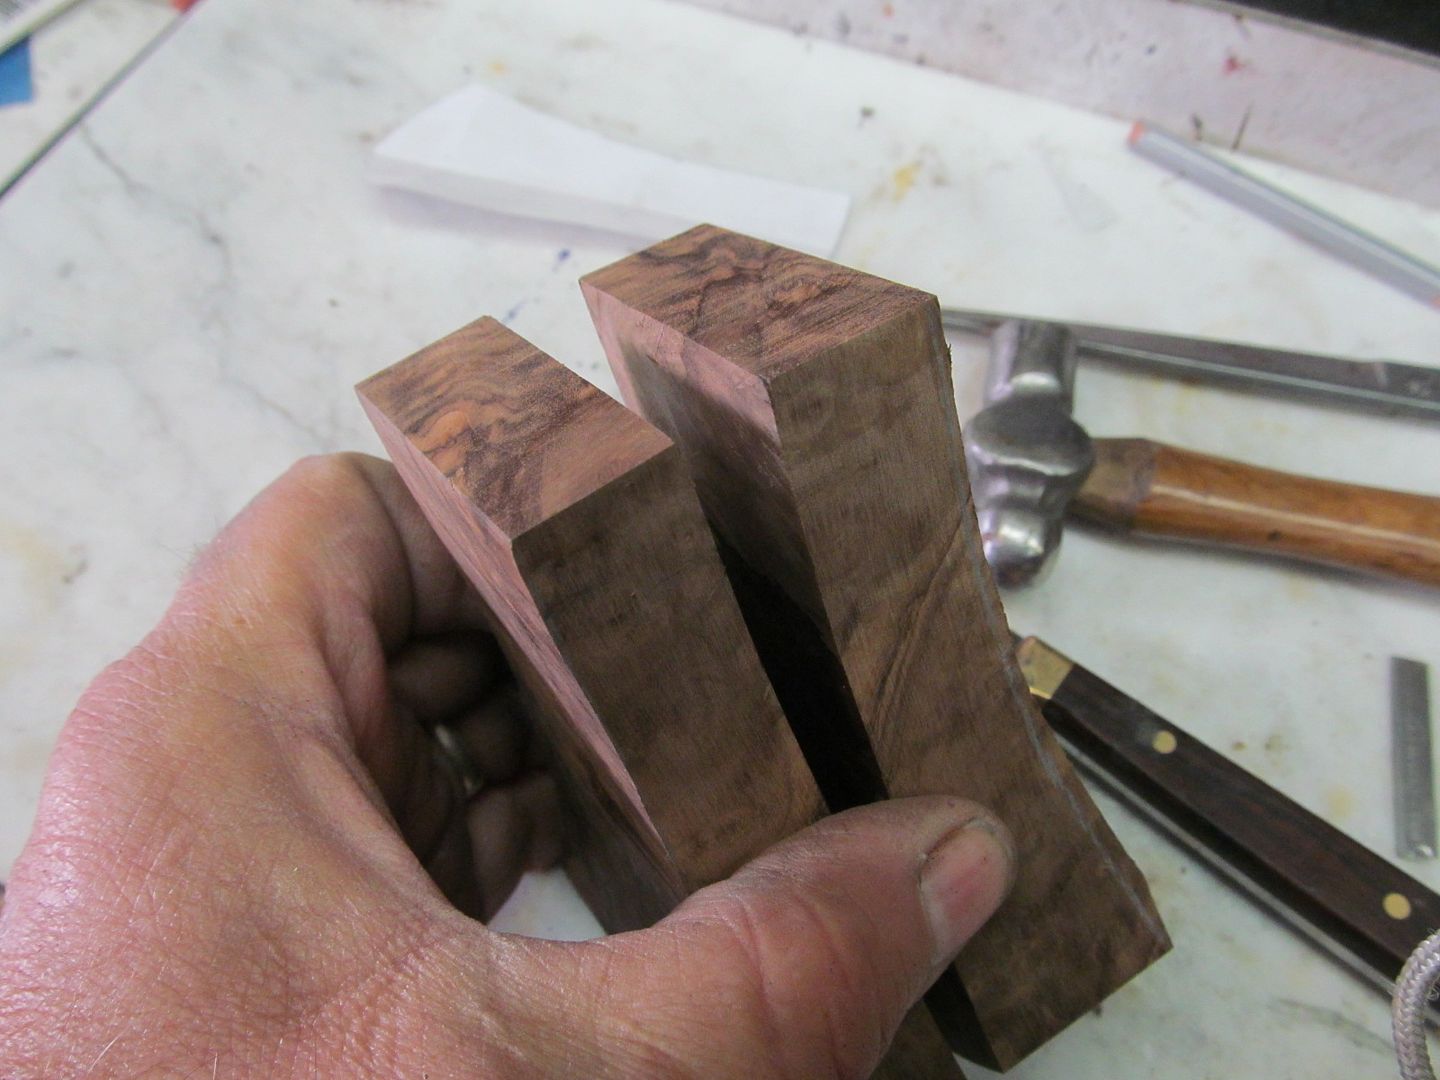
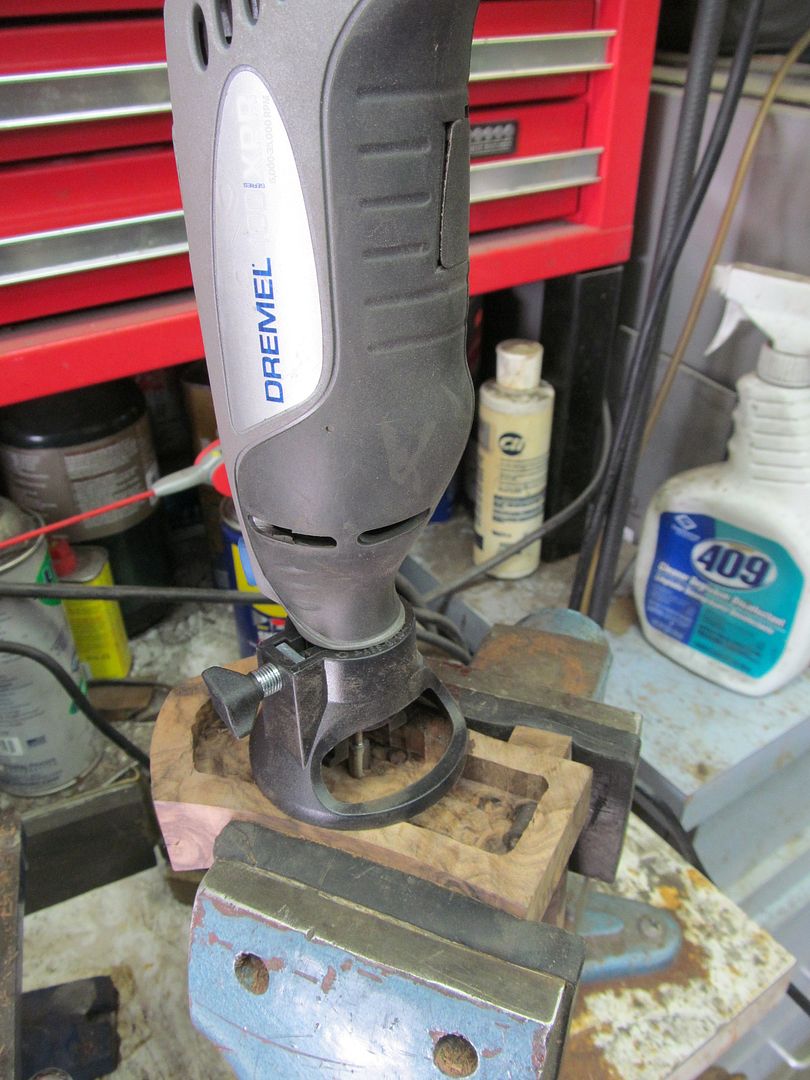
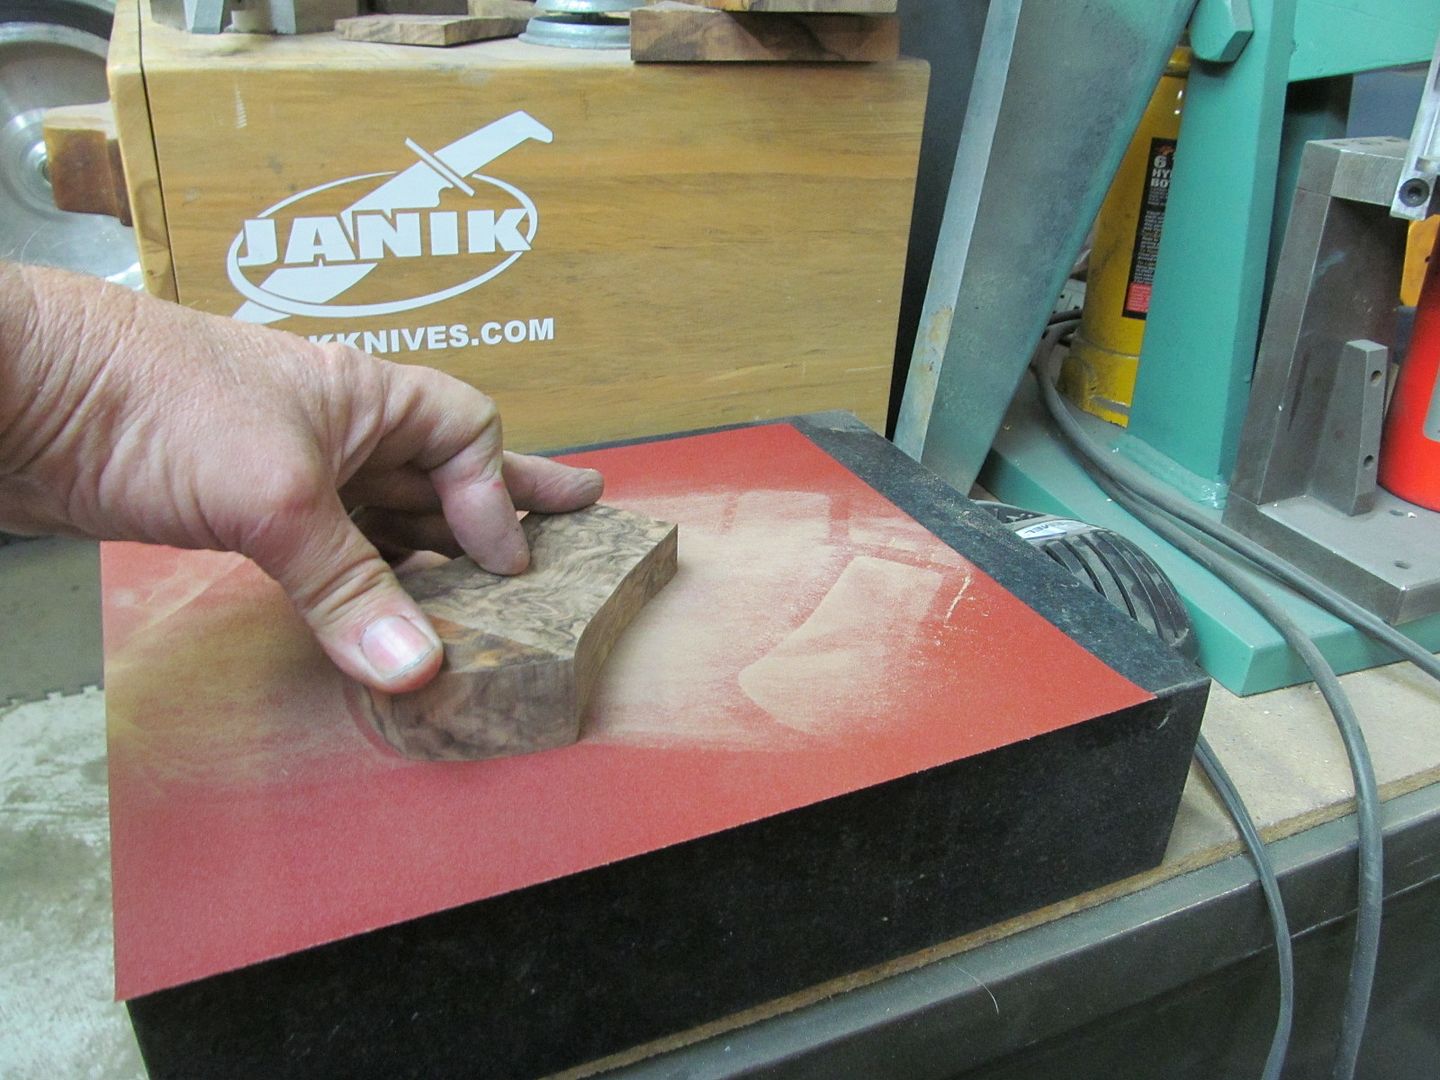
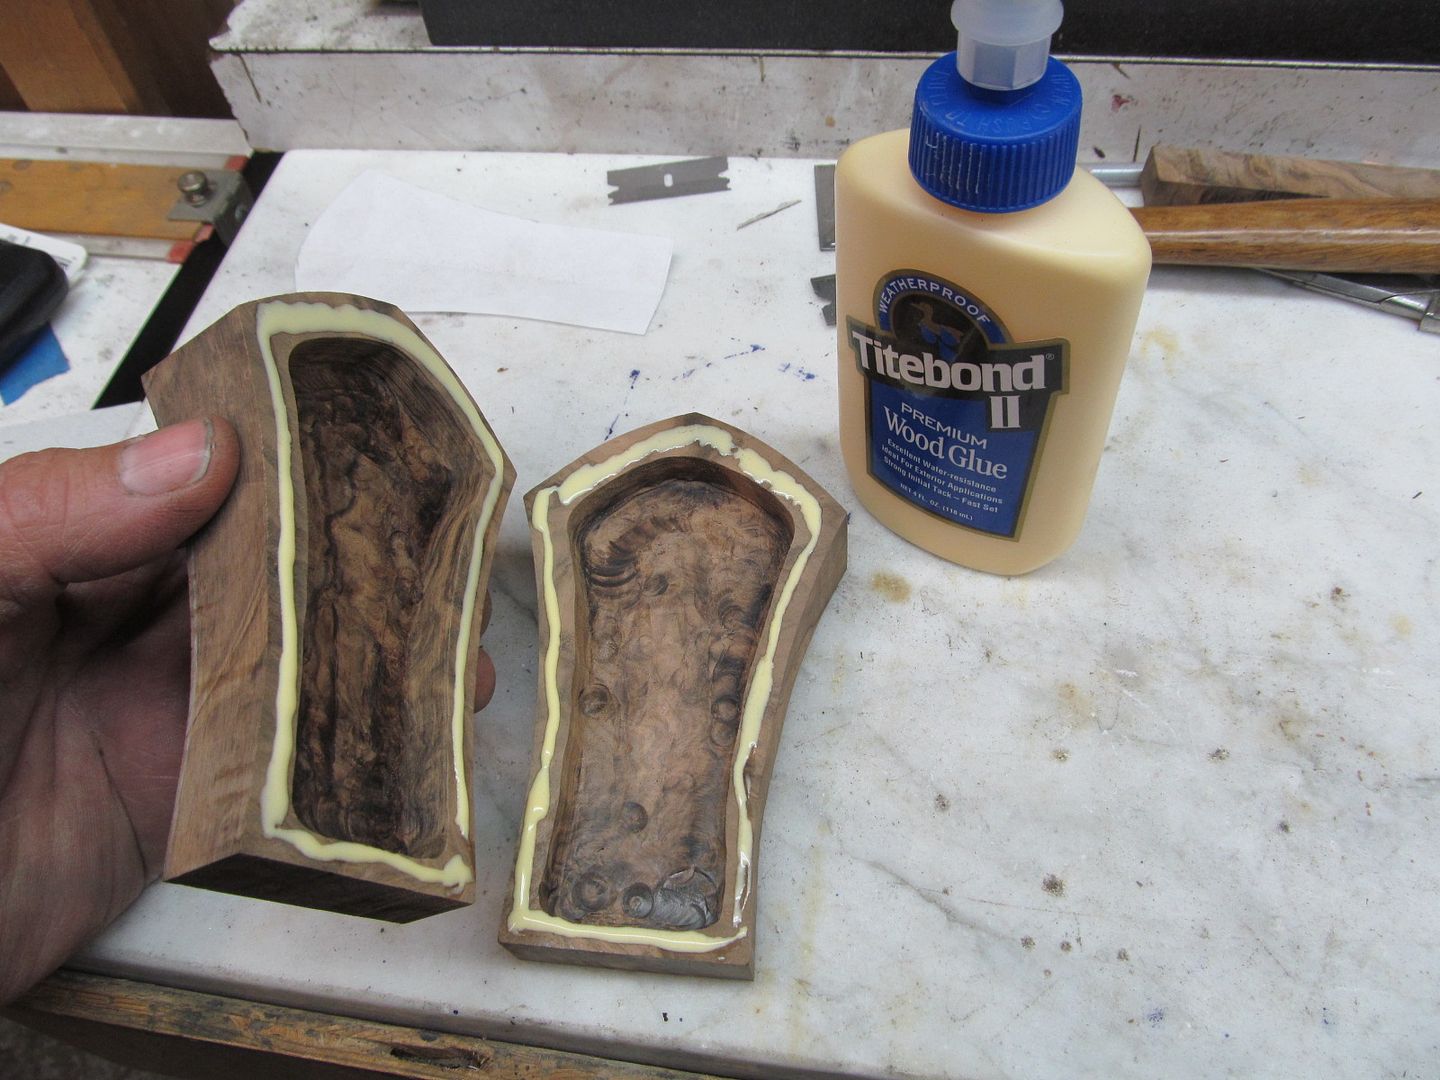
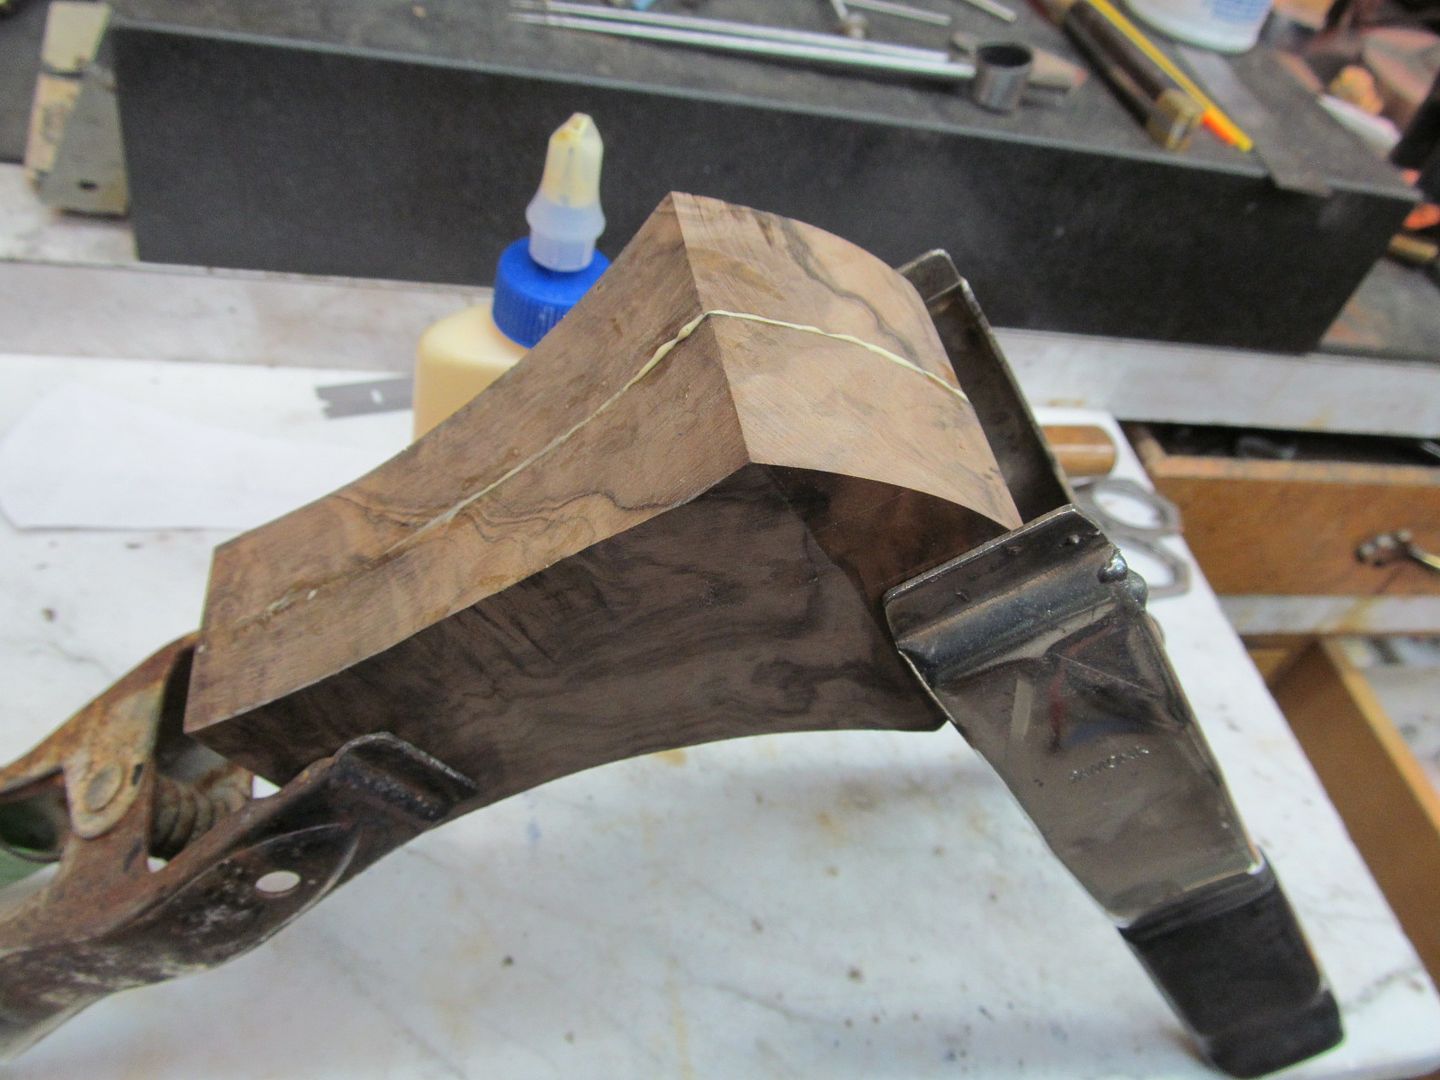
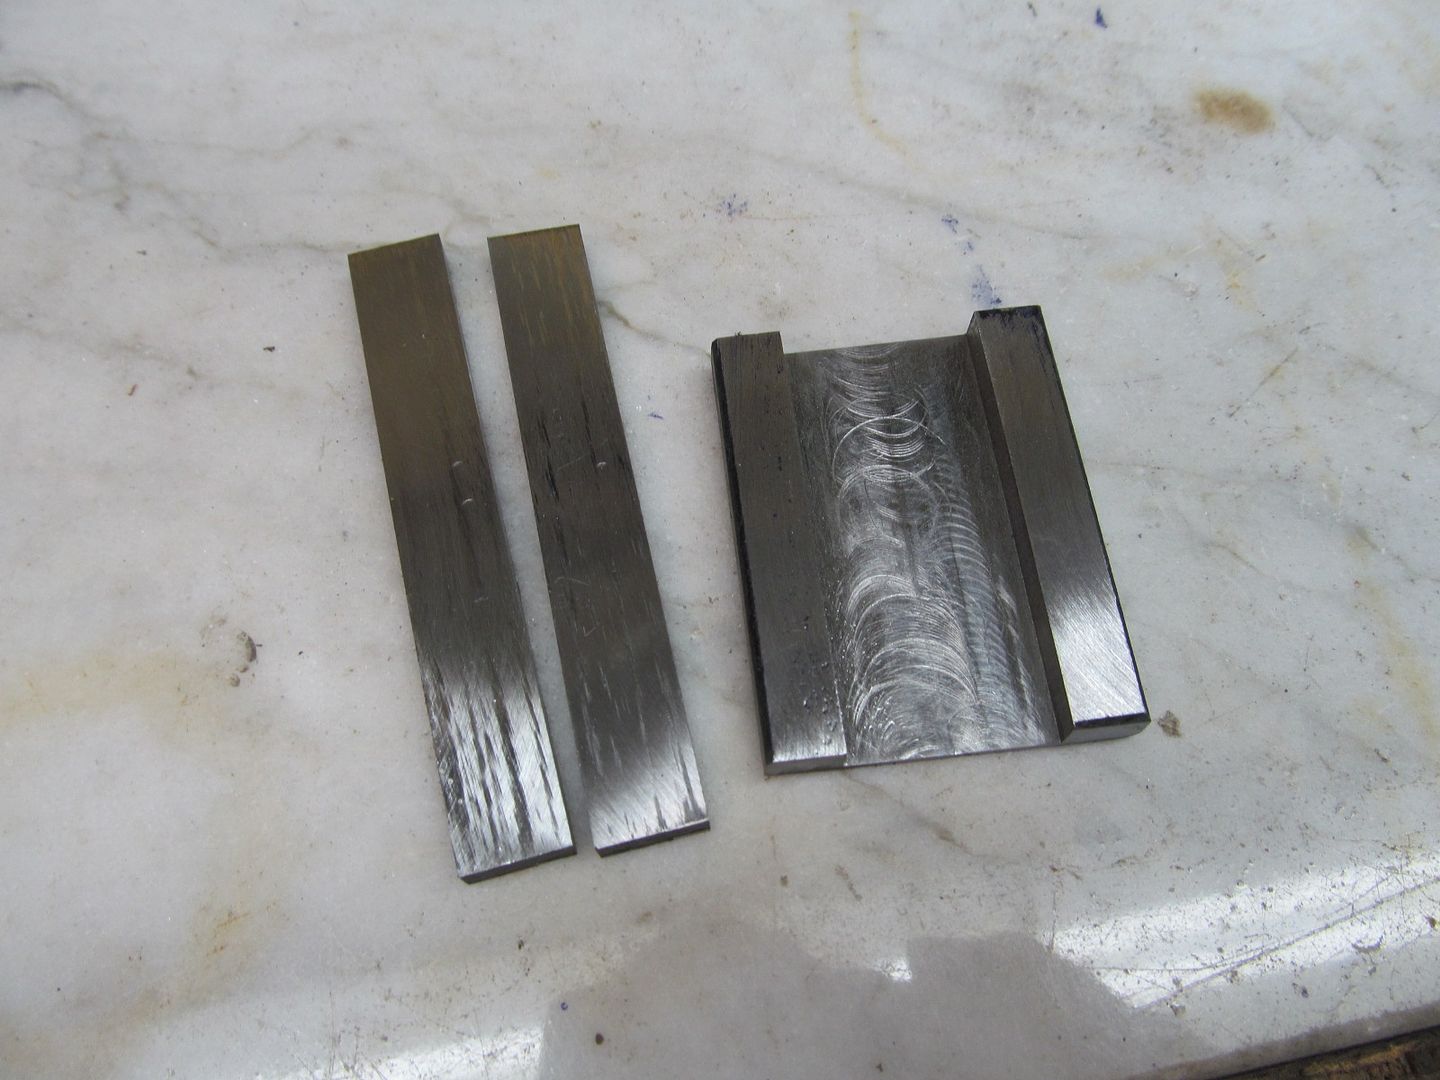
This flask will have two nipples, one for the main charge and a smaller one for the primer box. Its made of the same Turkish Walnut and cut right down the center on Kayes new table saw. Both halves were routed out with a dremel router attachment sanded flat and then glued back together.
With two nipples I will need two sliding doors that work independently from each other, each with a return spring. Both share the same black powder as opposed to a flintlock ignition that has a coarse powder for the charge and a much finer granule powder for the primer box. I think this will fire fine with the same powder size for both.
ddavelarsen
Well-Known Member
So much fun! Naturally I've been so caught up in the gun that I hadn't thought about the accessories that will go with it. I think this might be the first time you've shown making the powder flask, and I'm totally psyched to see how you make the sliding doors and nipples work. Bruce, you just blow me away. I love this stuff. ")
rhinoknives
Well-Known Member
Bruce,
The Horseman's Hatchet keeps getting better every picture!
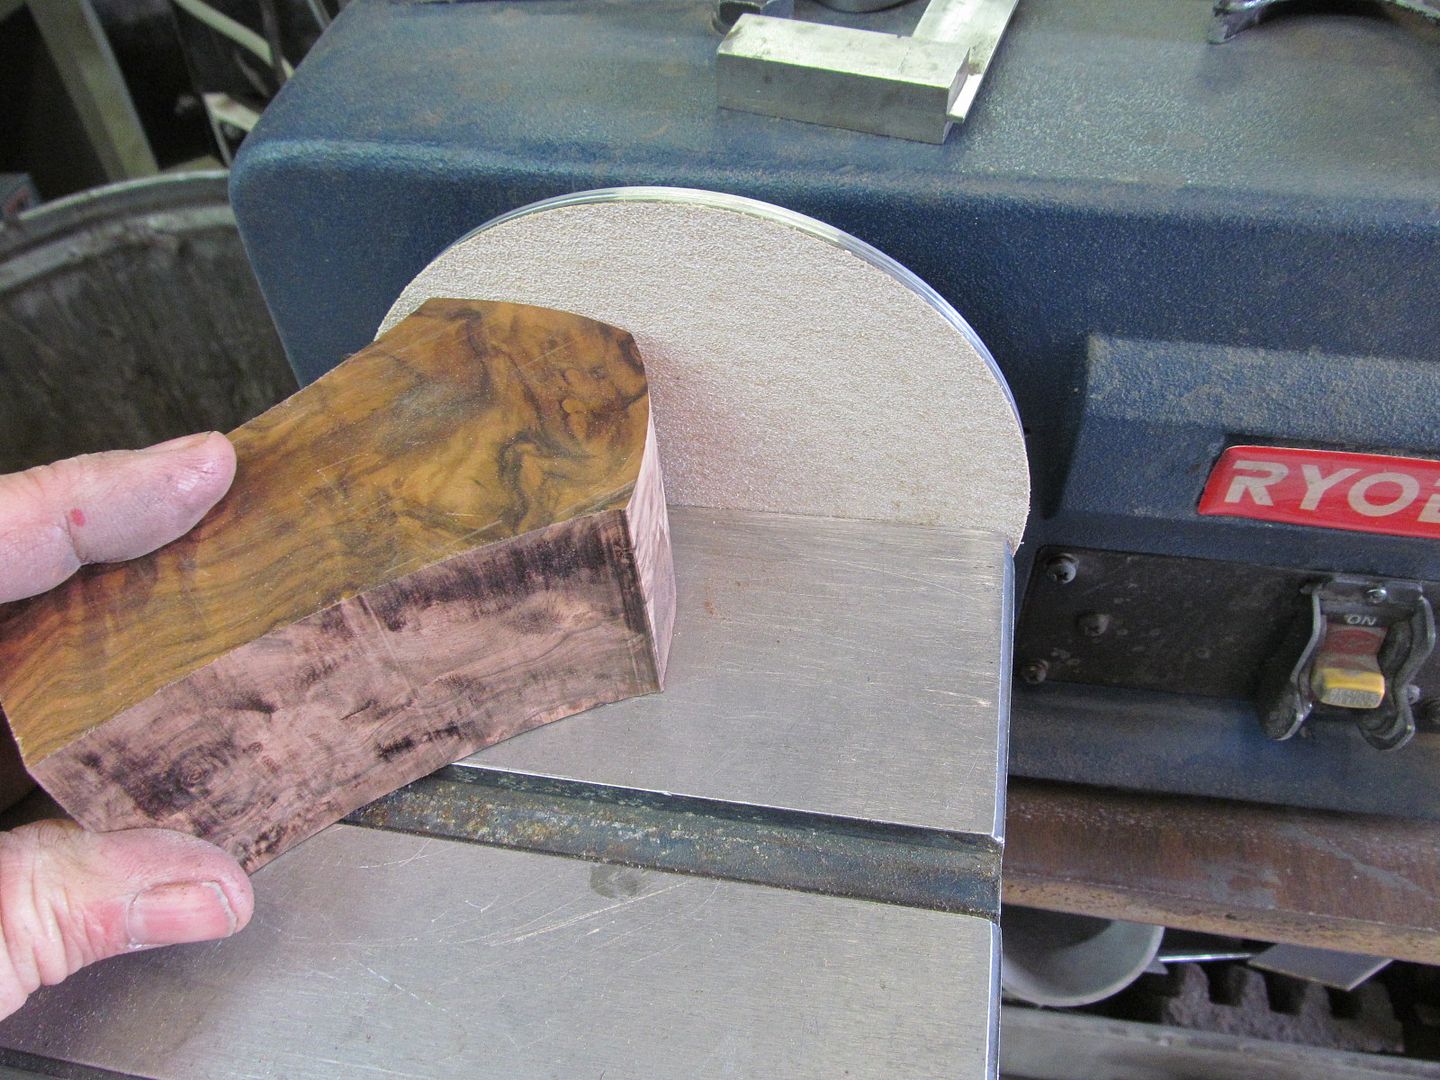
I noticed what appears to be older Norton stiff backed red sanding paper in 400 grit? I loved that stuff and haven't seen it in over 10 years.
The start of the flask looks great too. i know you said you were going to go with a single Powder for this beauty but I have something I would like to share with those that may be new to Black Powder weapons.
Just buy the F, FF or FFF that you want for the main charge and then crush some of it up with two spoons to make your FFFF for the primer charge. Works great!
Laurence
www.rhinoknives.com
The Horseman's Hatchet keeps getting better every picture!
I noticed what appears to be older Norton stiff backed red sanding paper in 400 grit? I loved that stuff and haven't seen it in over 10 years.
The start of the flask looks great too. i know you said you were going to go with a single Powder for this beauty but I have something I would like to share with those that may be new to Black Powder weapons.
Just buy the F, FF or FFF that you want for the main charge and then crush some of it up with two spoons to make your FFFF for the primer charge. Works great!
Laurence
www.rhinoknives.com
Last edited:
Drew Riley
Well-Known Member
Can't wait to see this one finished.... AMAZING!!
Bruce Bump
Forum Owner-Moderator
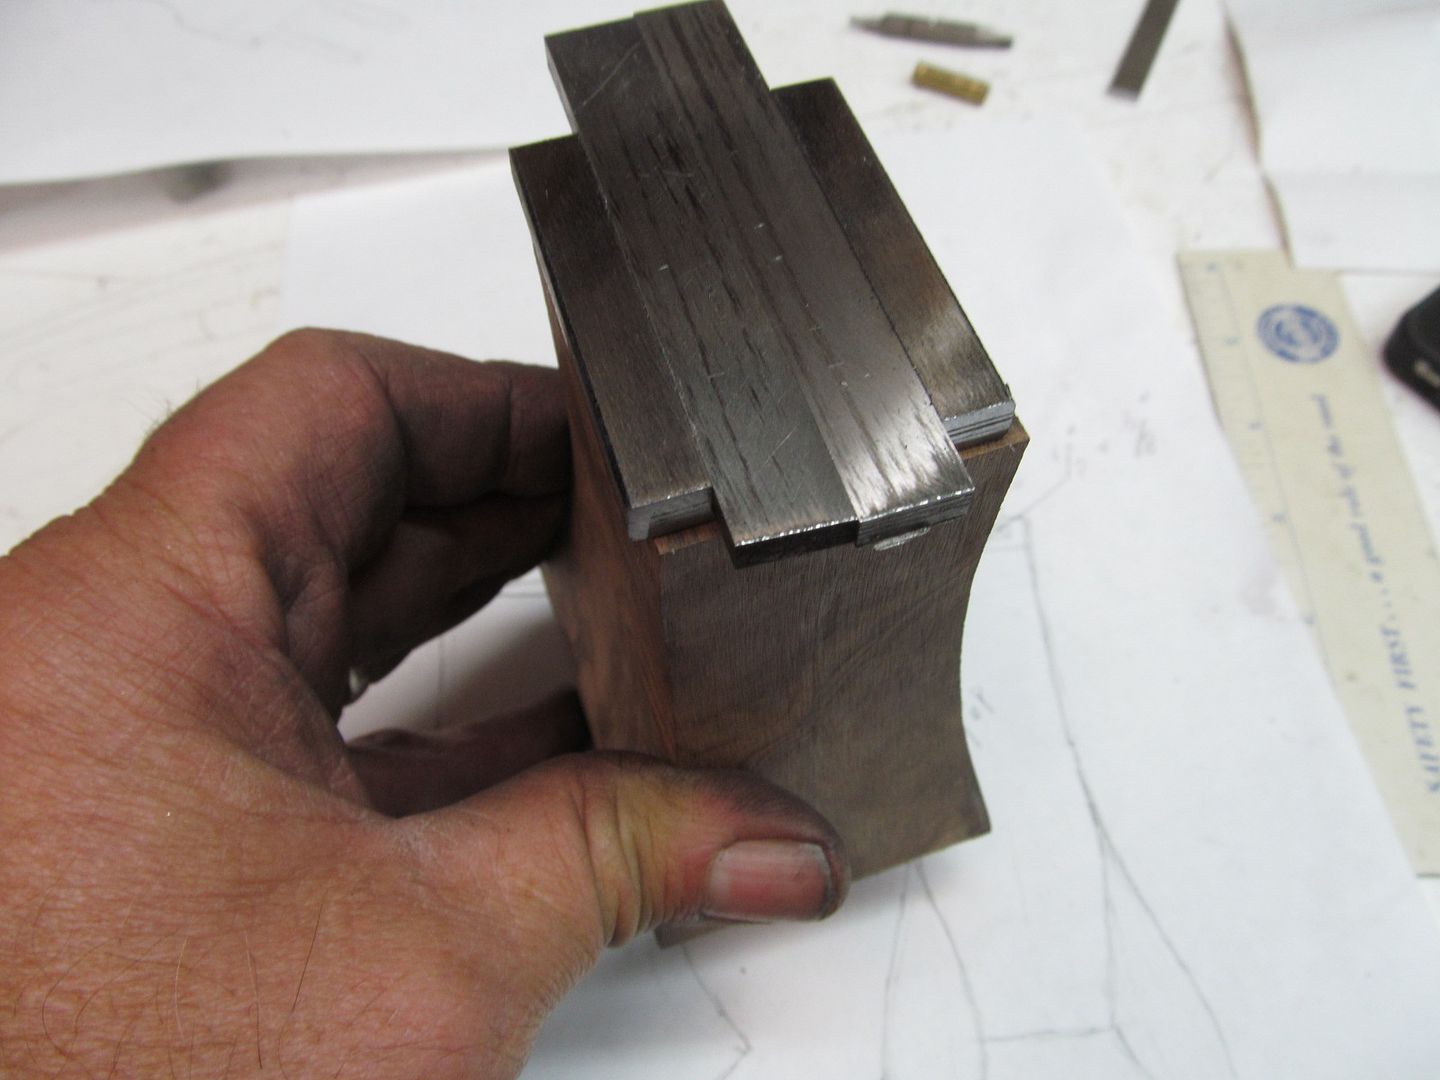
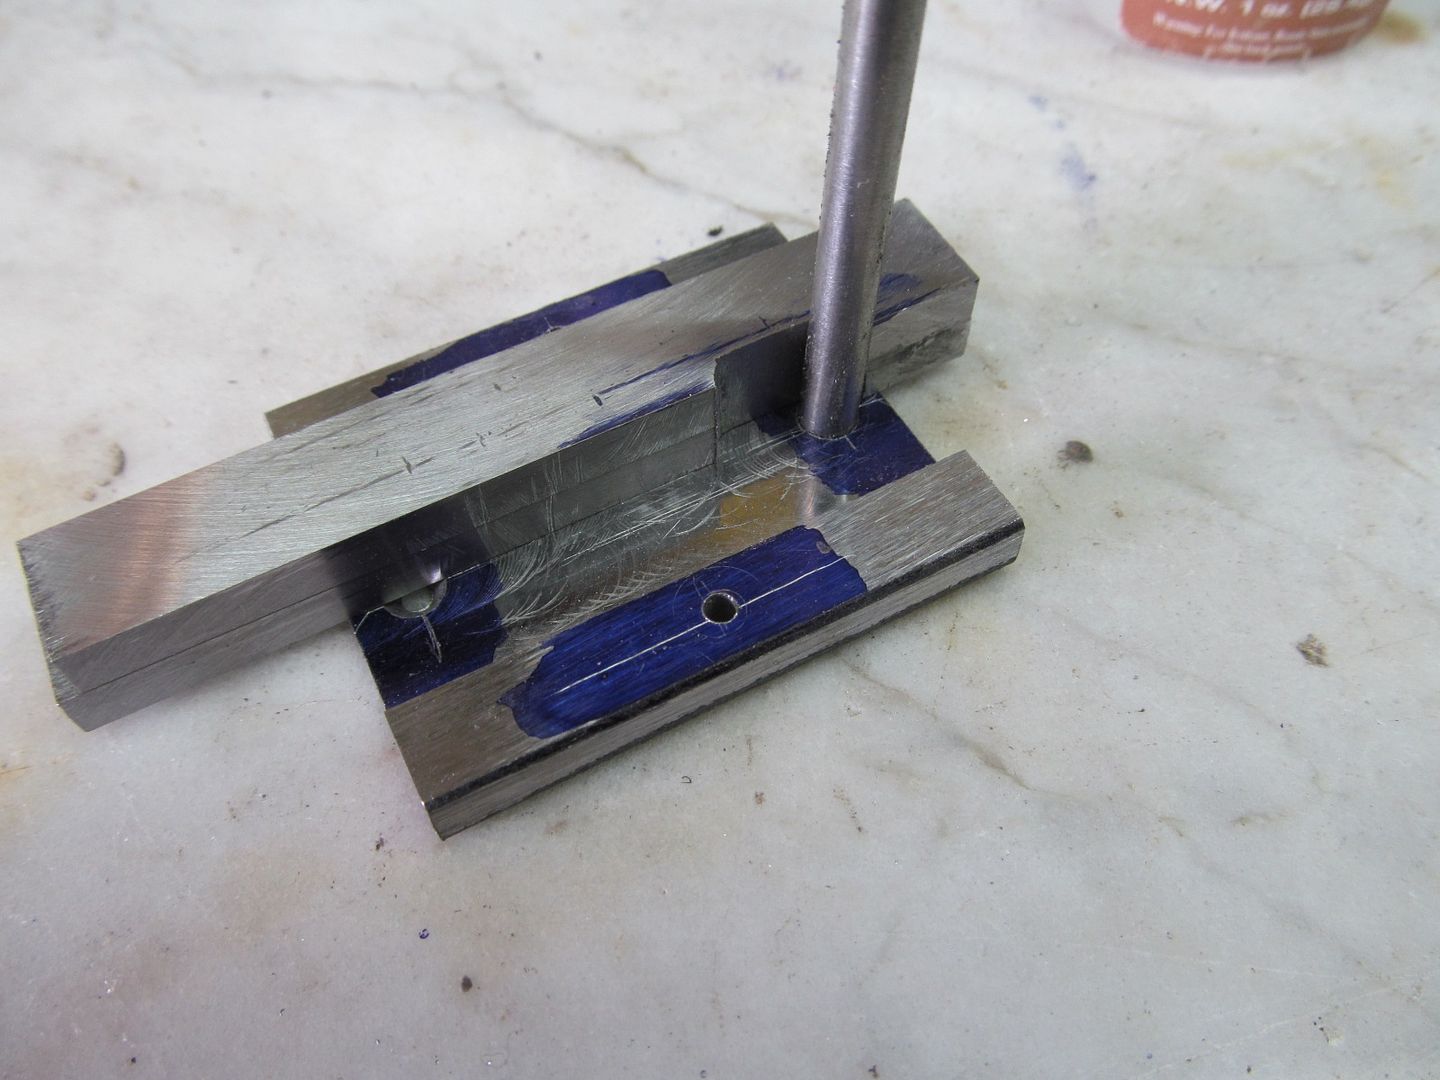
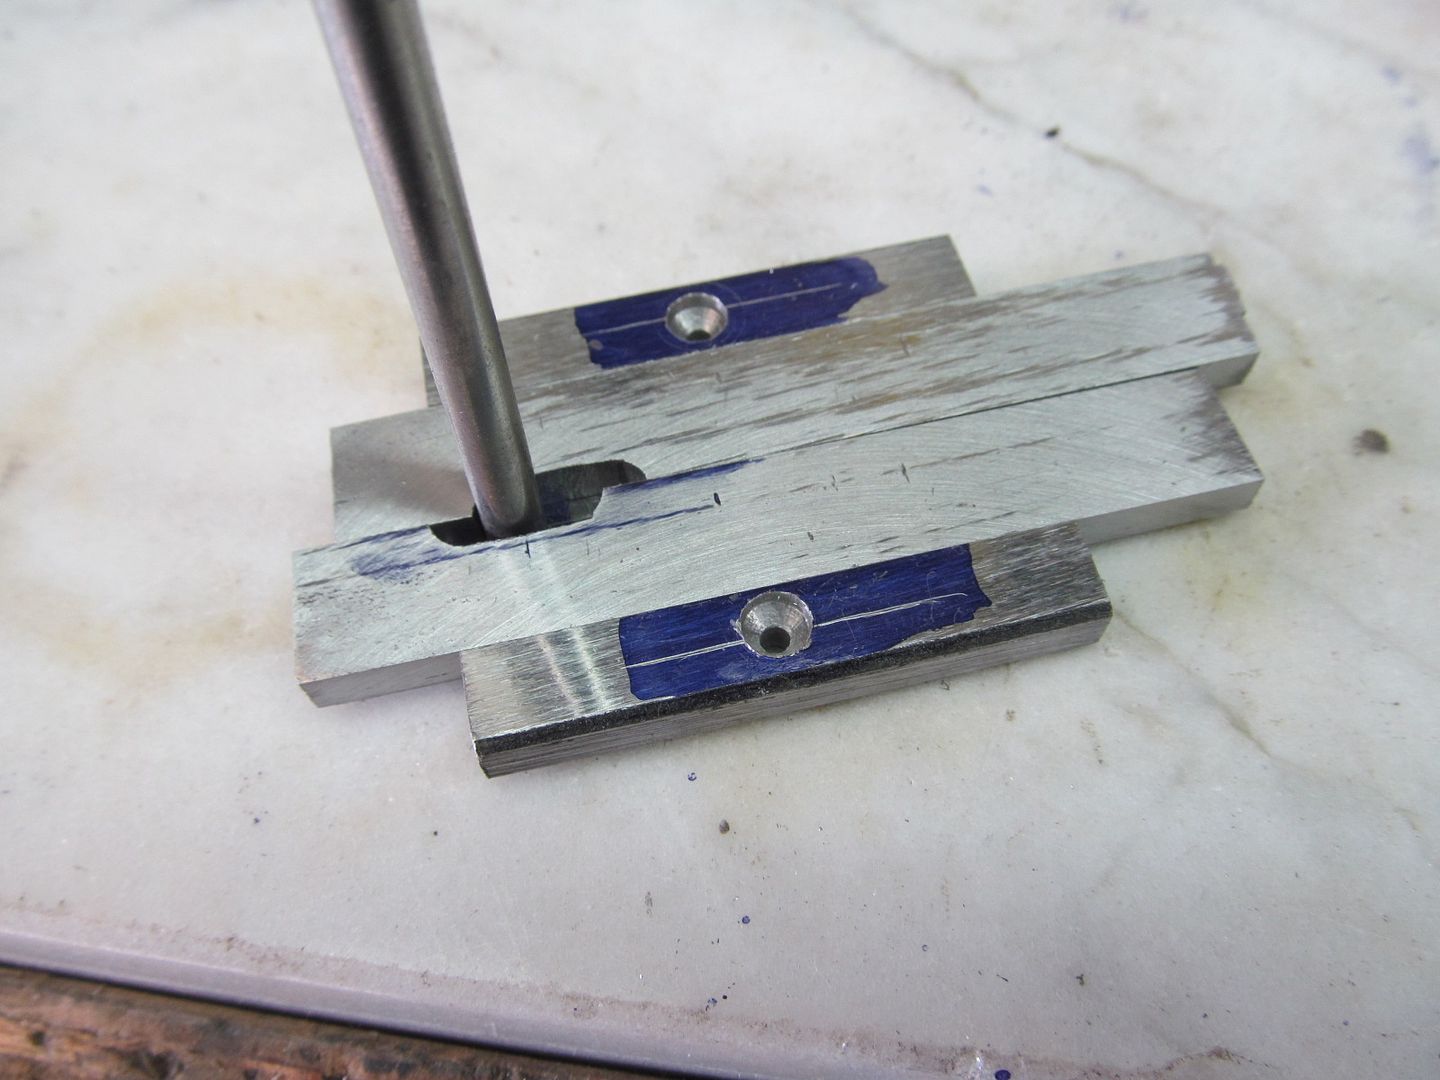
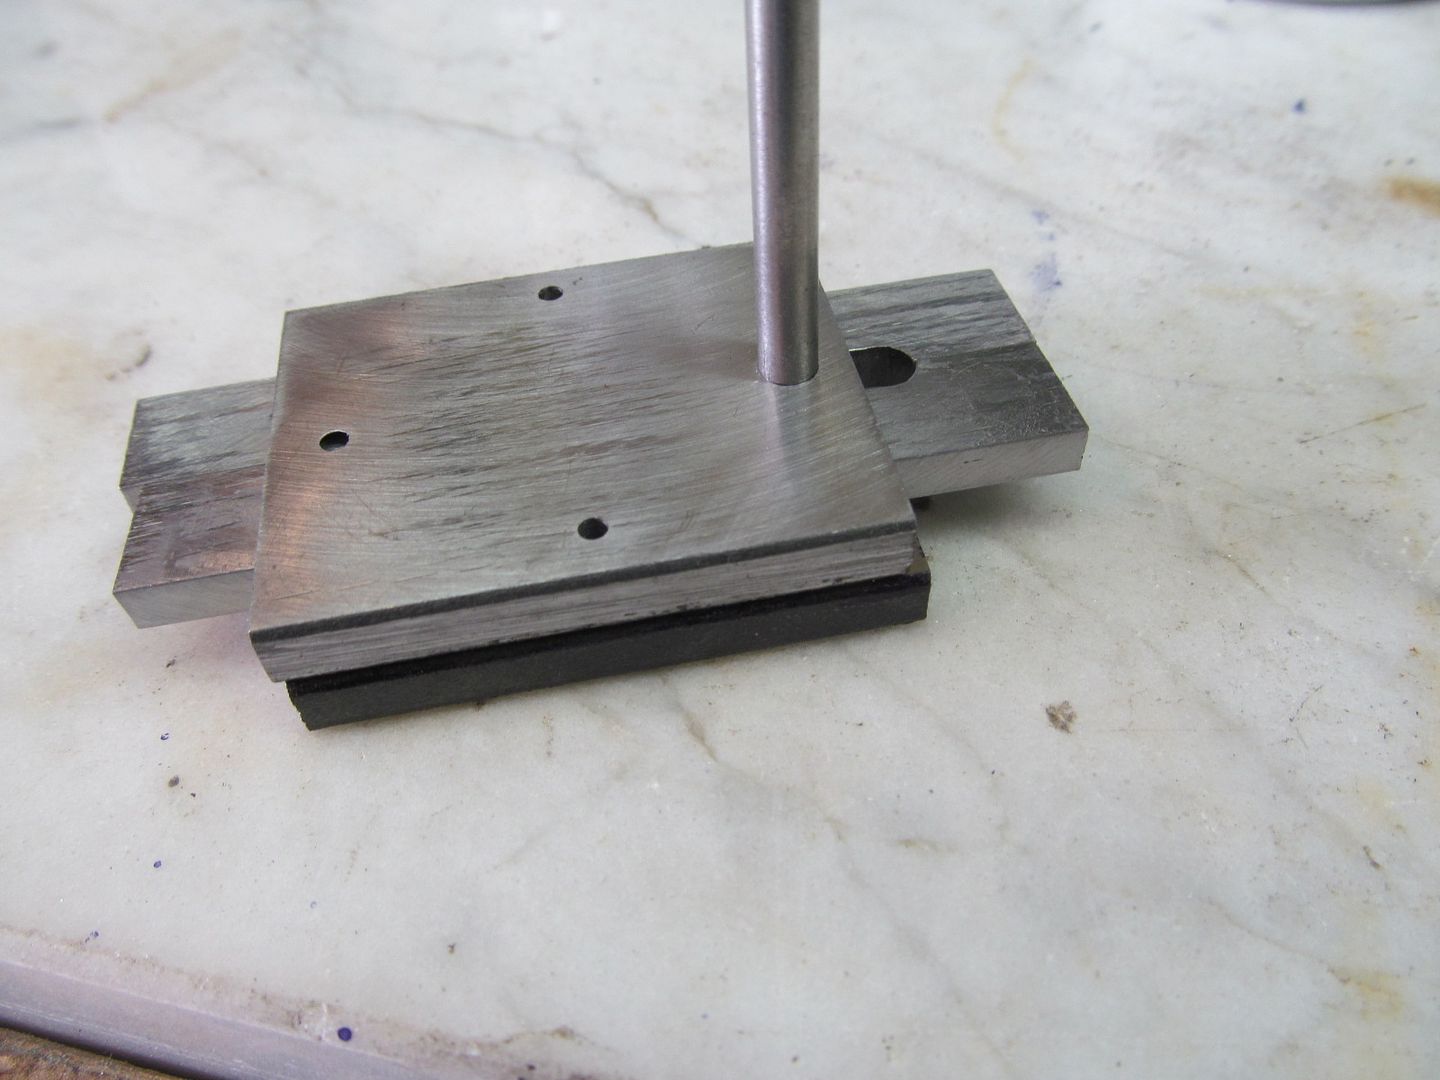
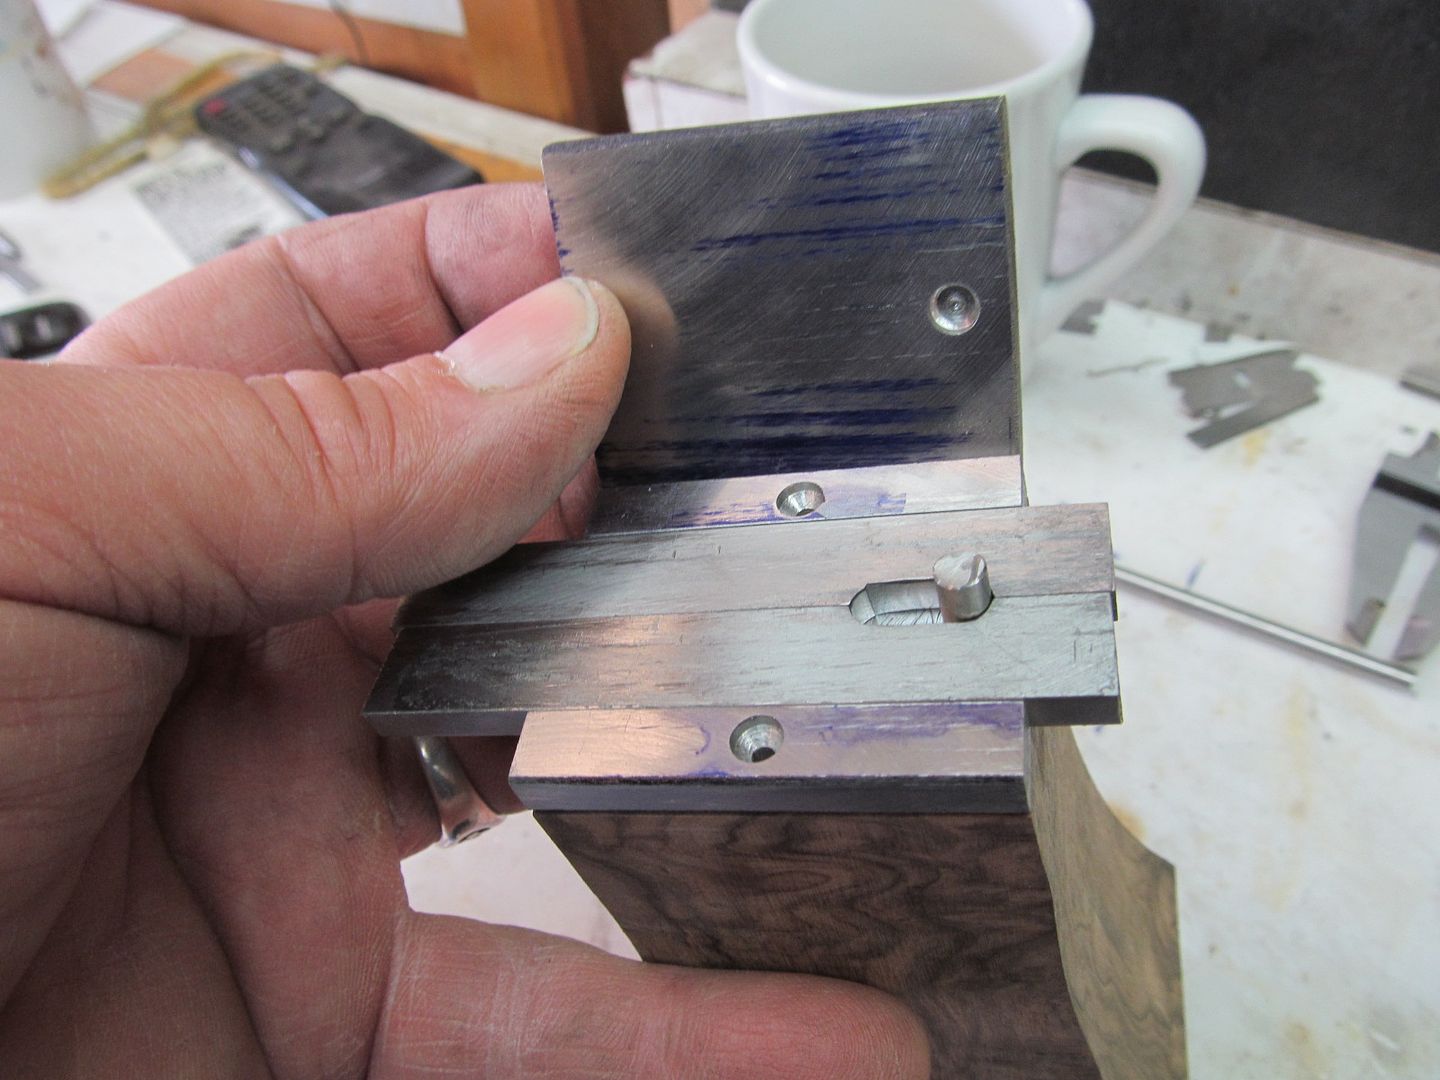
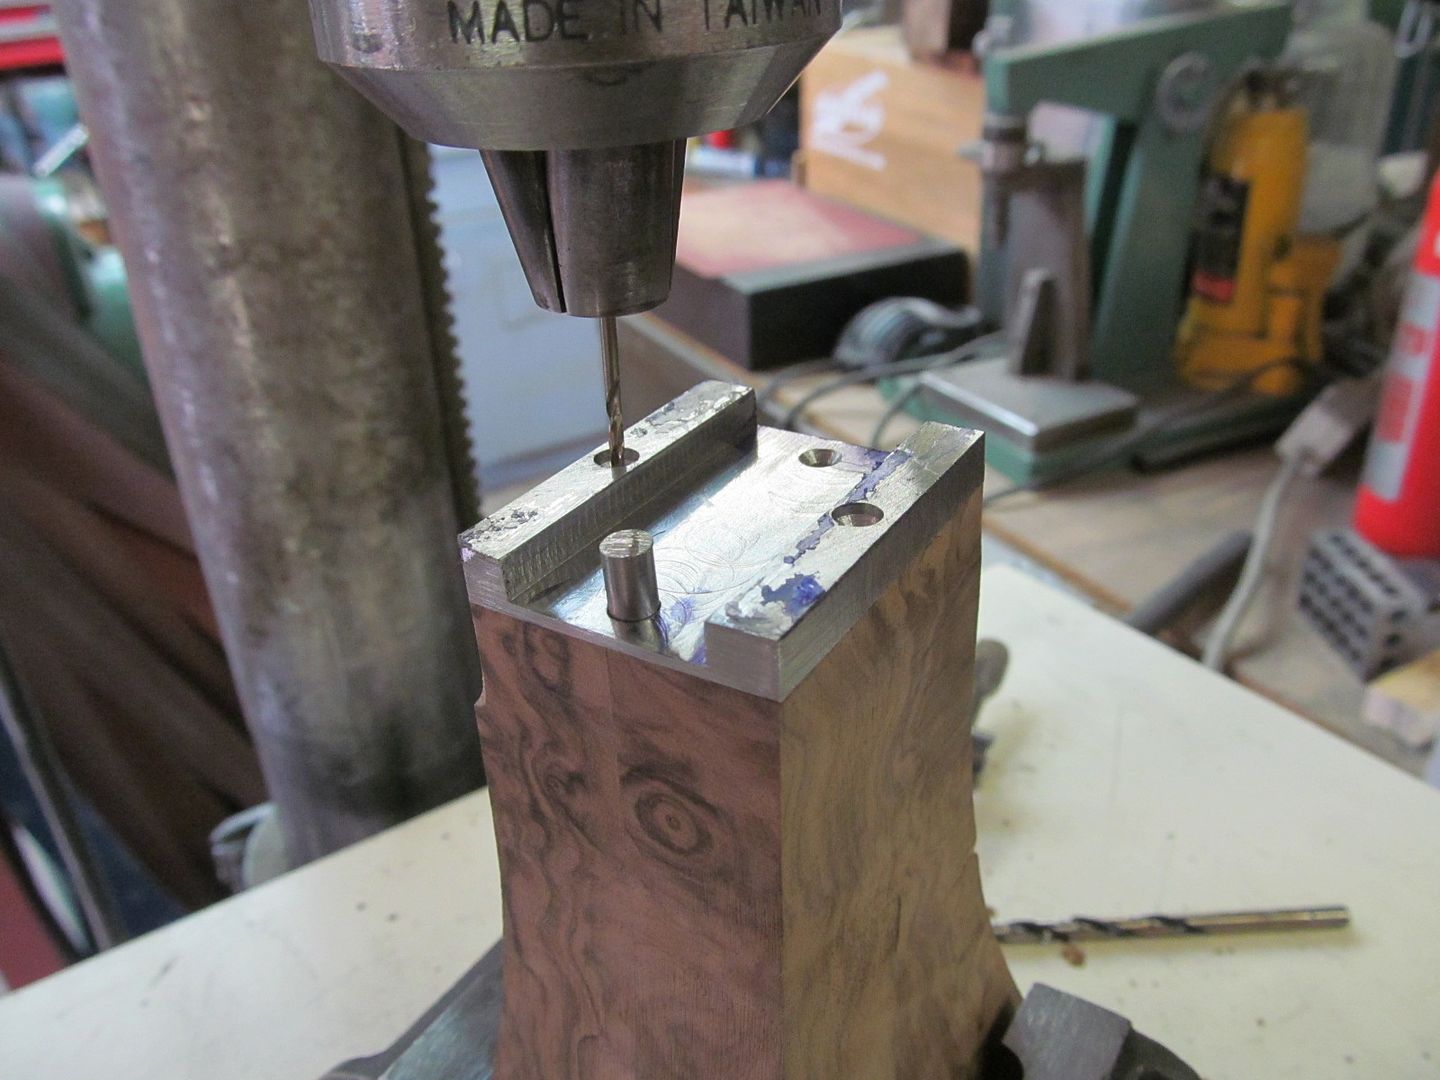
I drilled the base plate and mounted it on the wood flask with three 2-56 counter-sunk torx screws. I only use torx screws where they cant be seen because they dont look authenic. Torx is a great invention and I'm sure the firearms pioneers would have used them too if they were able to make em. Thats what happened with the old guns, many of them fell apart because the screws failed.
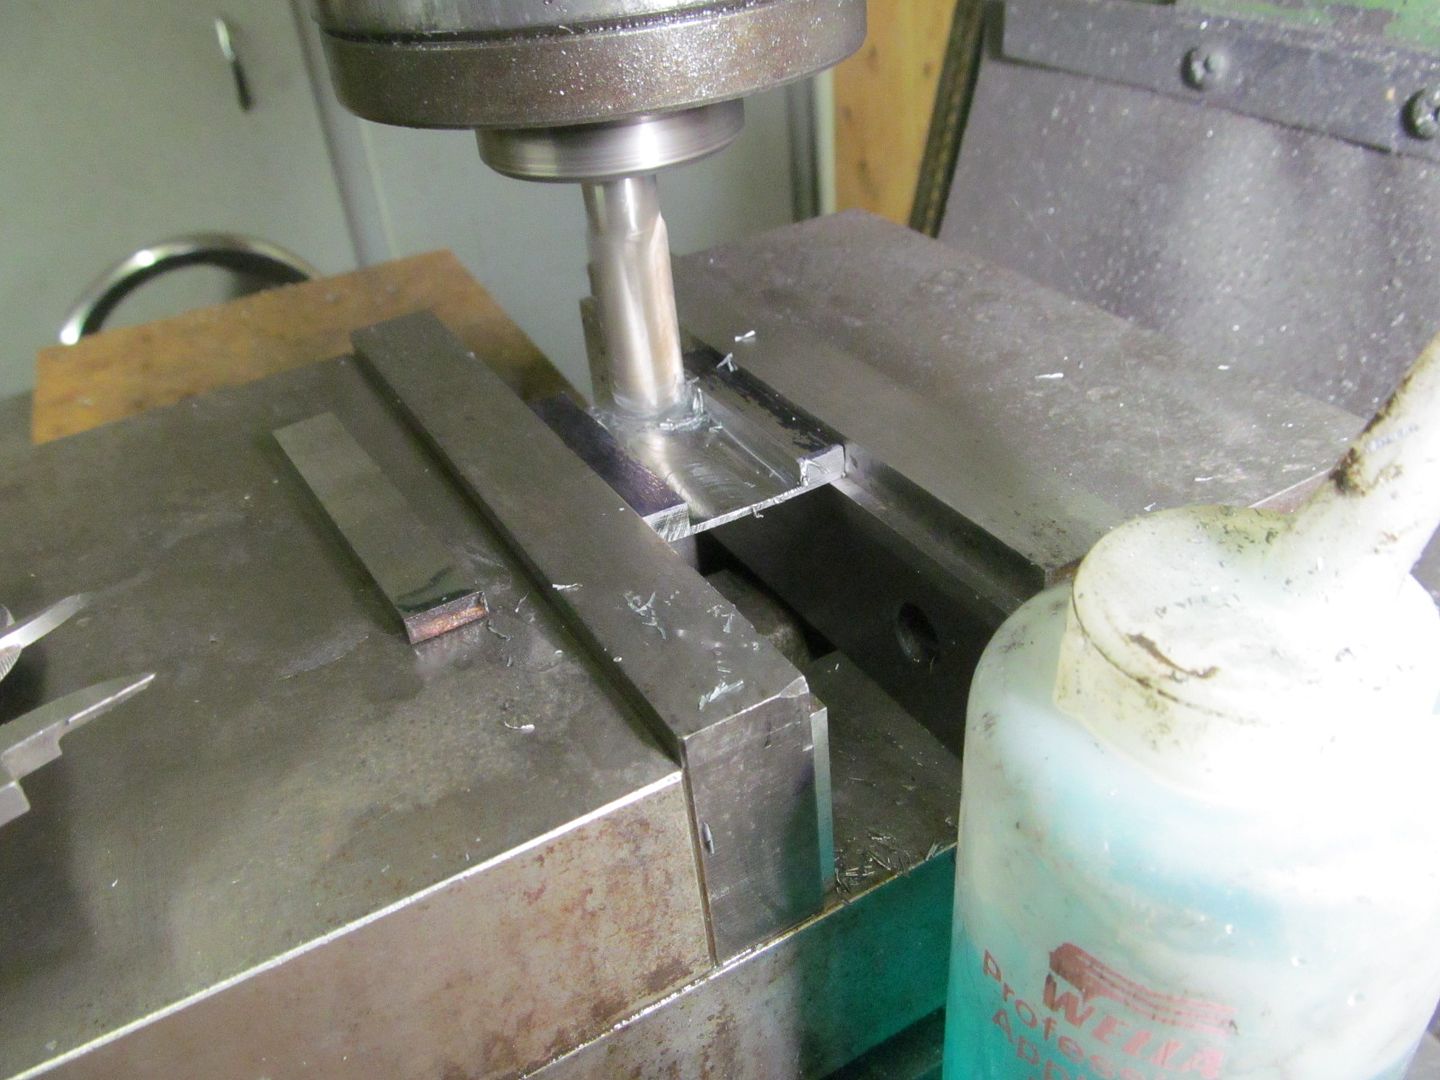
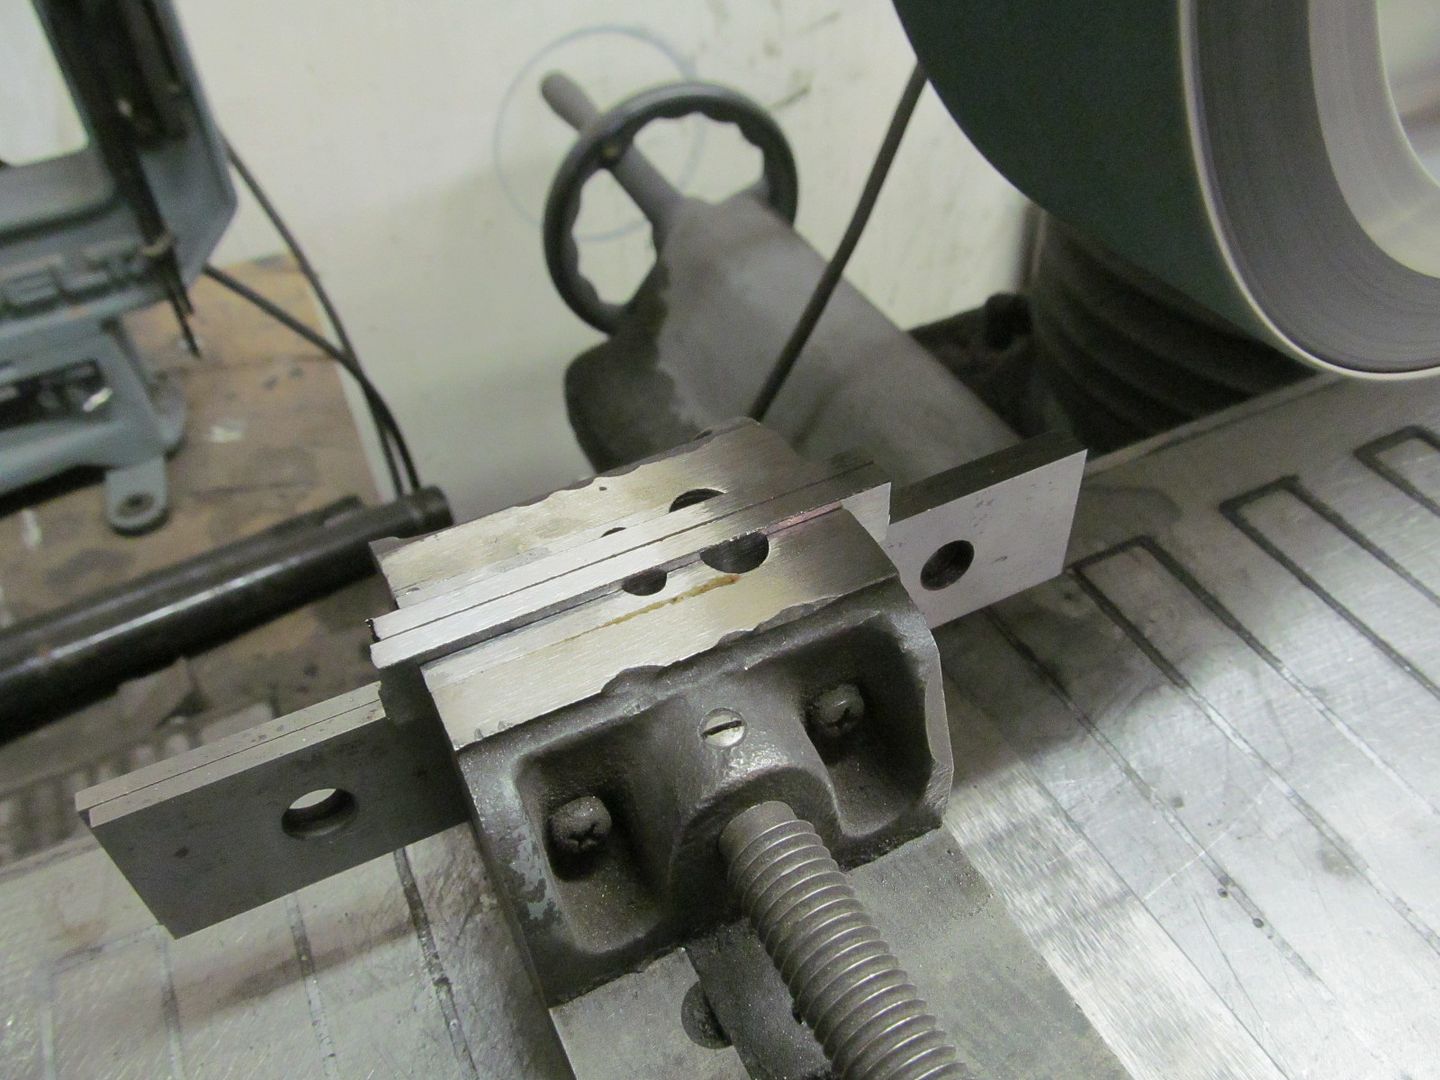
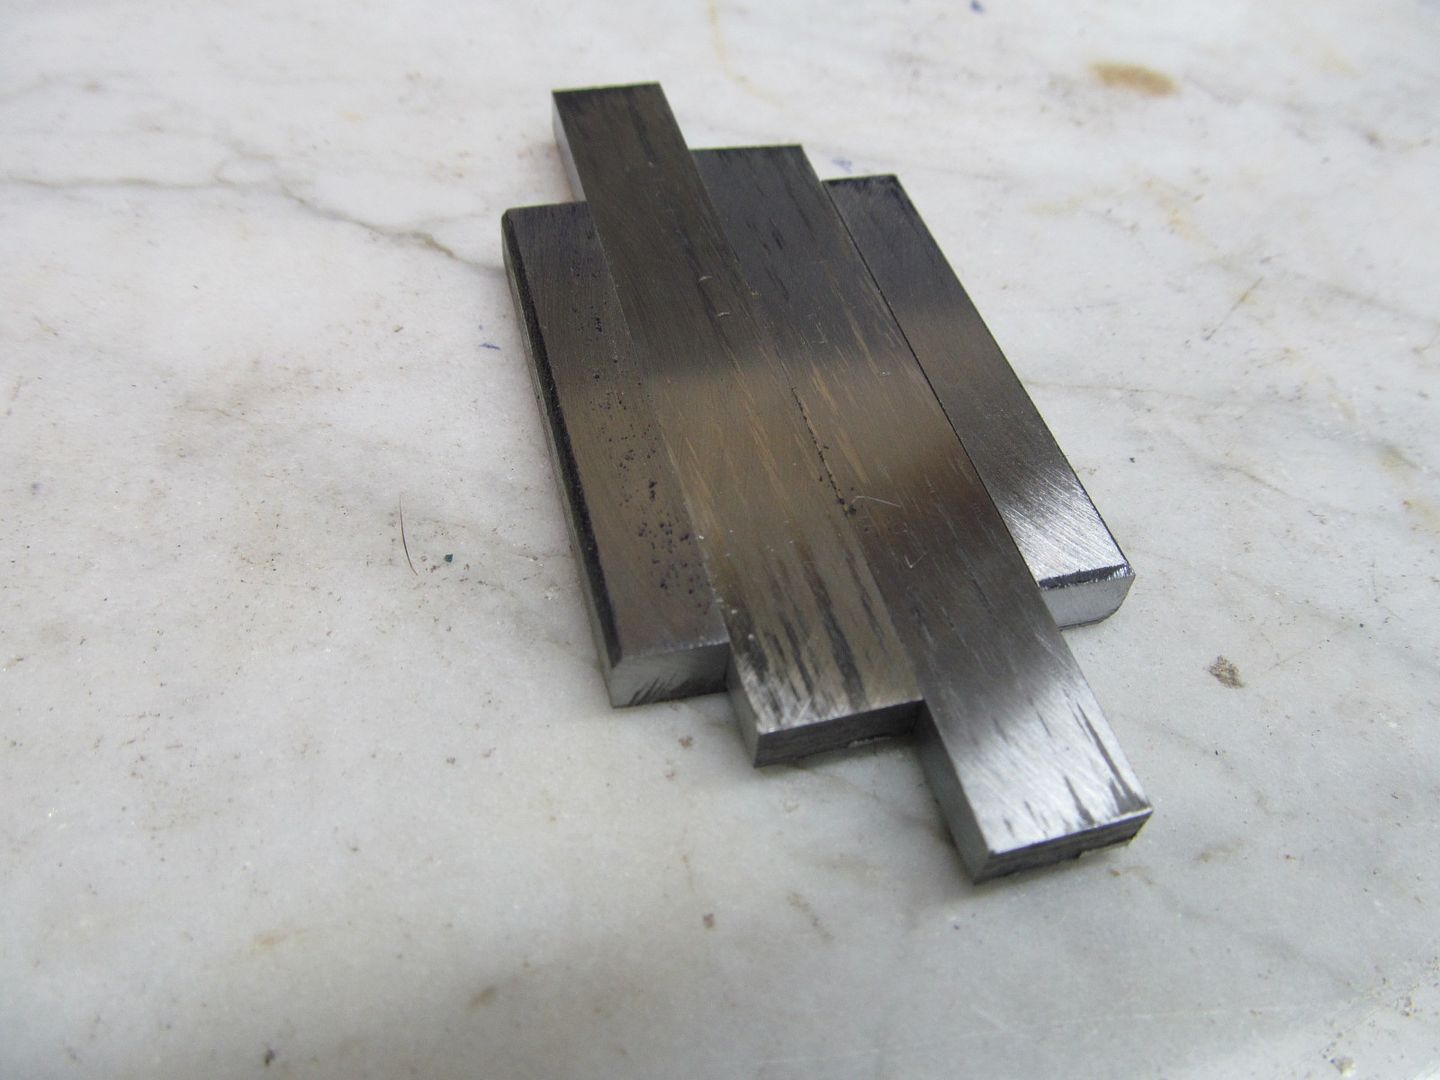
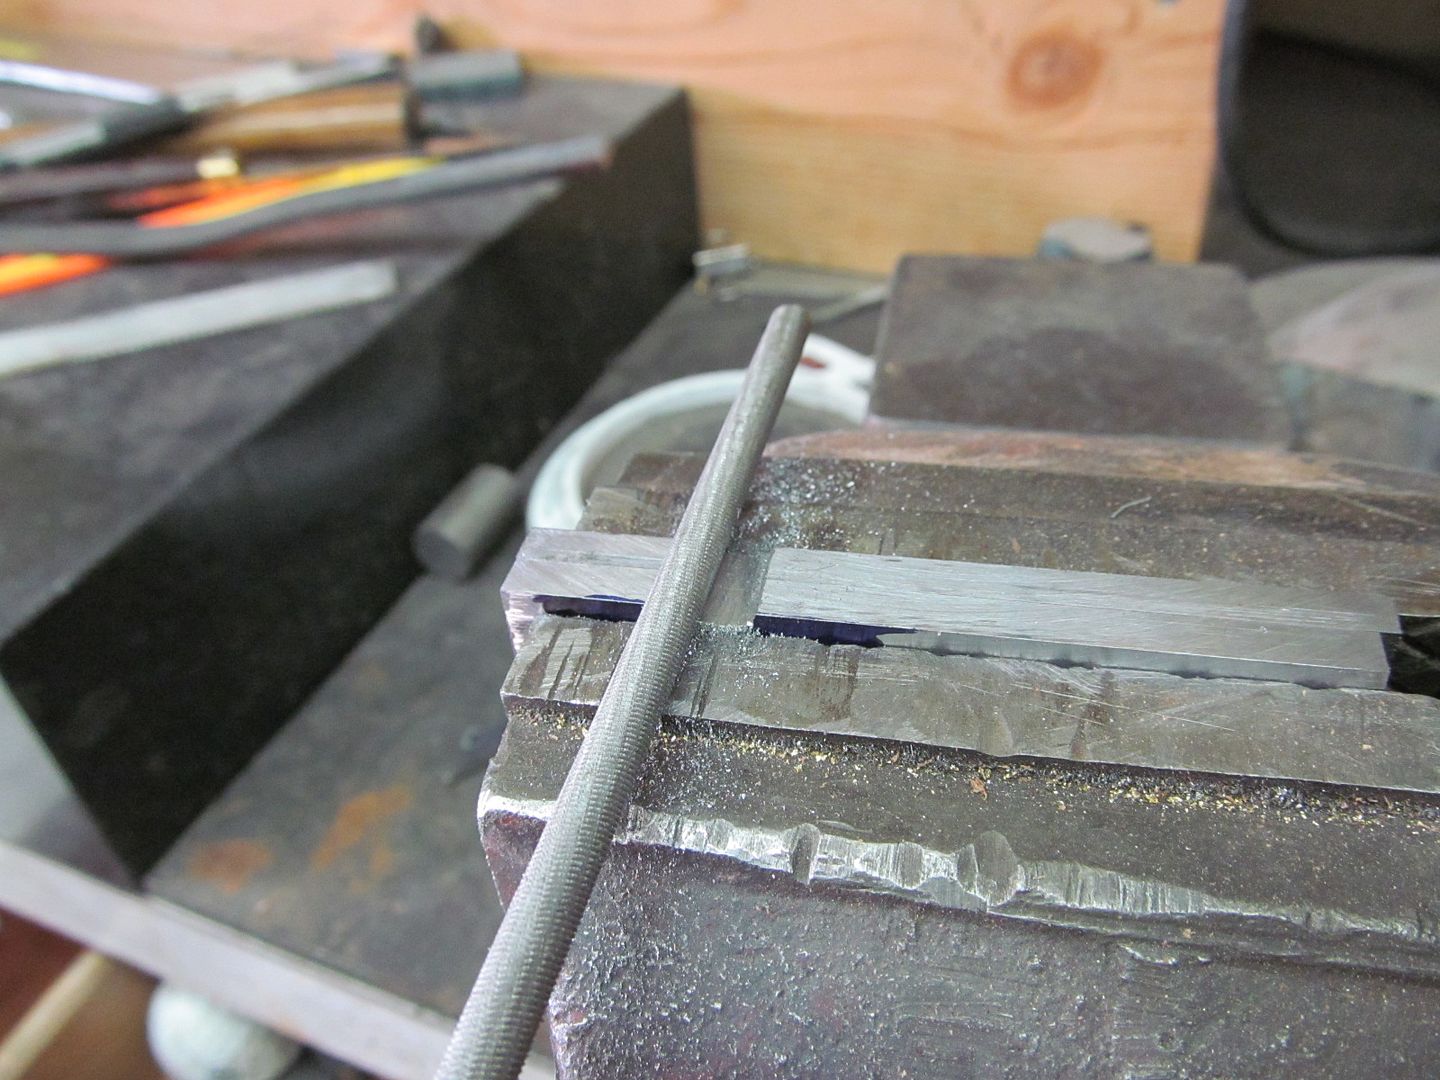
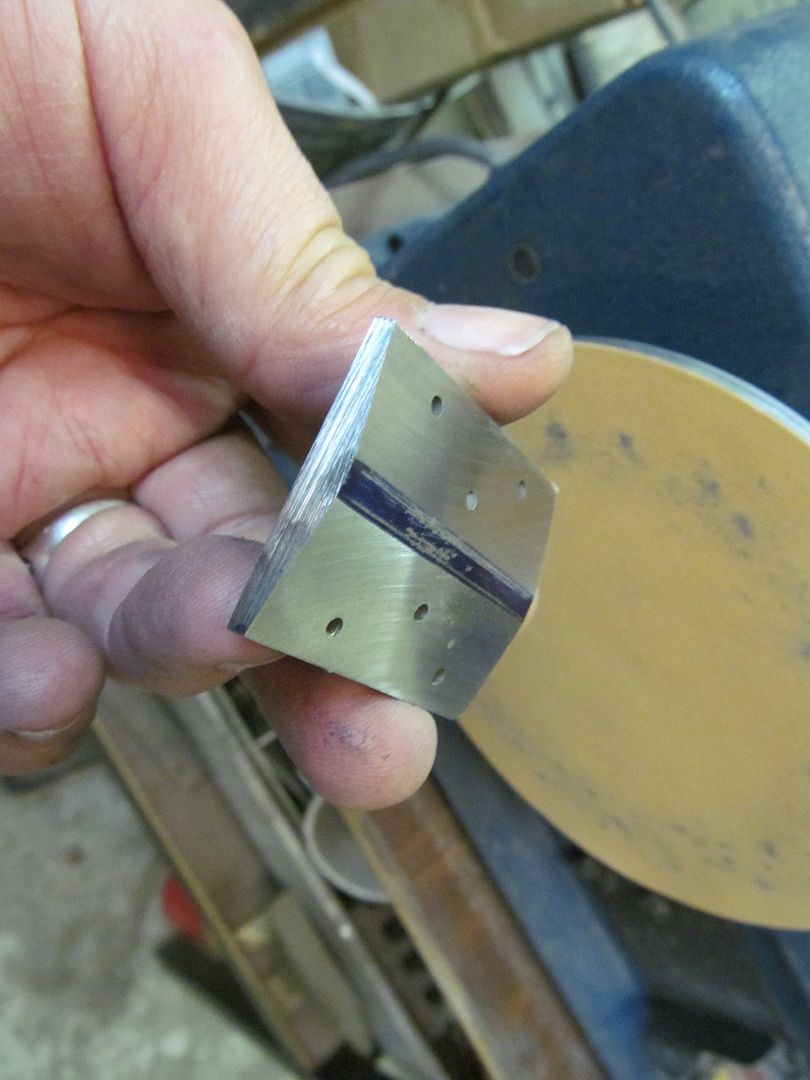
The sliding gates are hand filed to only travel to the "open" and "shut" stopping against the 3/16" pin. I made a top plate and drilled 4 mounting holes for it. They will screw to the base plate. The gate pieces are about .005" shy so they will slide when the assembly is screwed tightly together.
Next I need to buy or make a pair of nipples for the exact load weight of primer and charge black powder and screw them to the top plate. The gates will be drilled to the size of the inside diameter of the nipples.
rhinoknives
Well-Known Member
Next I need to buy or make a pair of nipples for the exact load weight of primer and charge black powder and screw them to the top plate. The gates will be drilled to the size of the inside diameter of the nipples.
]
Bruce,
You have made so much of this built from stock materials that I think making the nipples etc would be perfect!
Laurence
www.rhinoknives.com
Bruce Bump
Forum Owner-Moderator
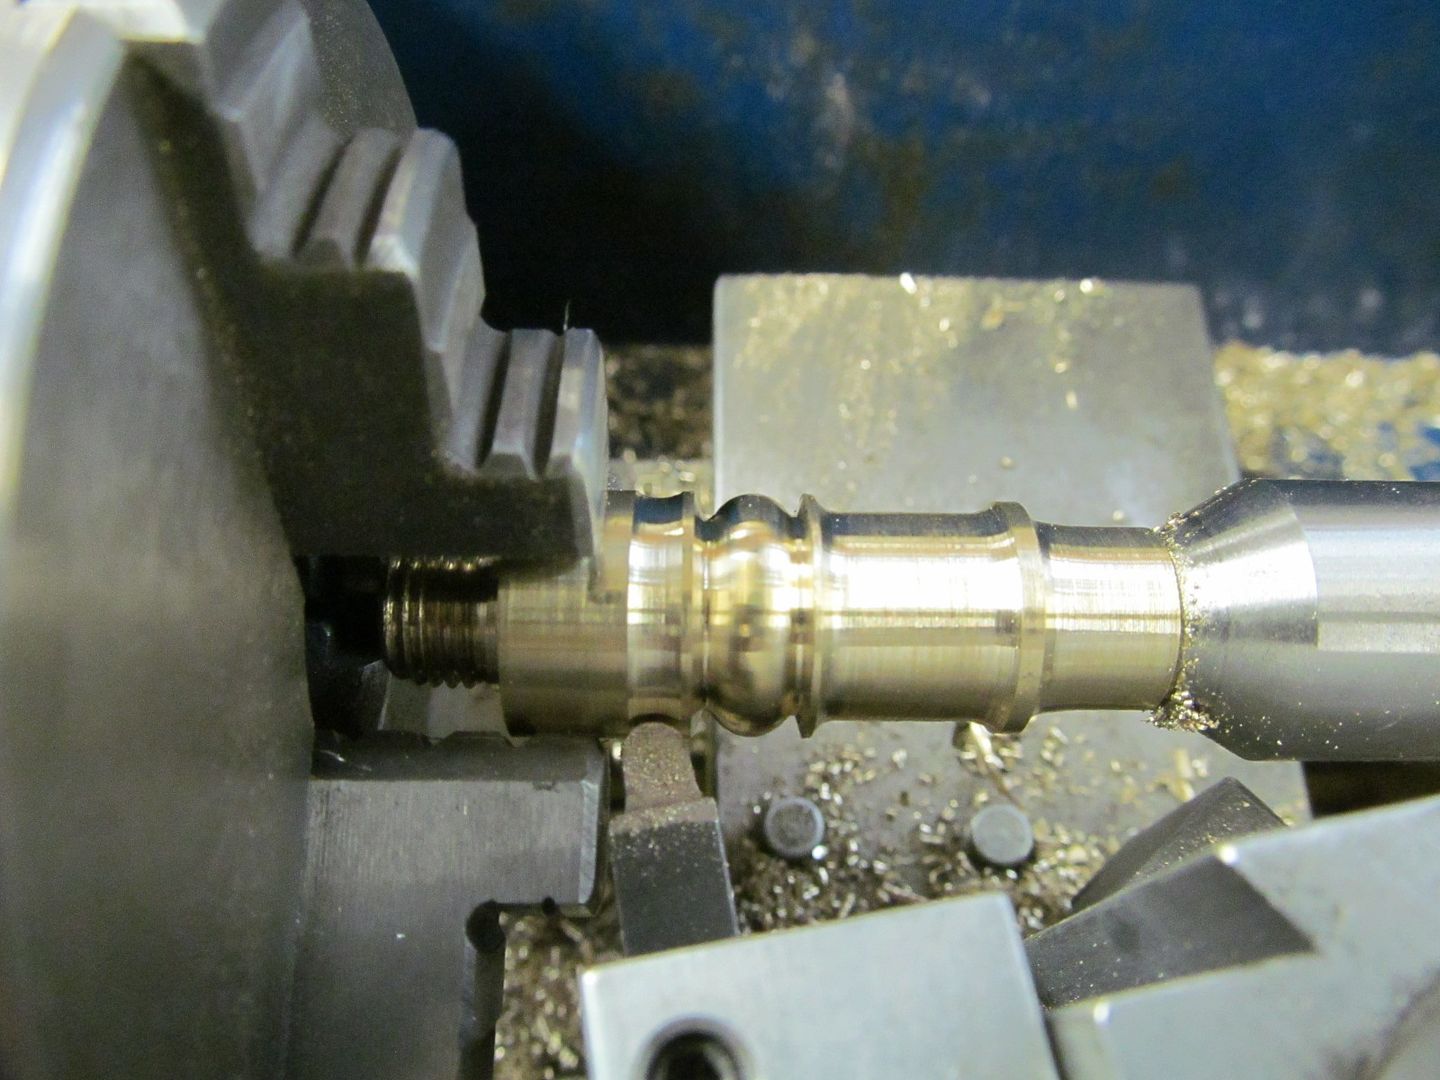
Yea, You may be right. Threading is the hard part but I can turn them on my lathe and add some fancy rings too.
Bruce,
You have made so much of this built from stock materials that I think making the nipples etc would be perfect!
Laurence
www.rhinoknives.com
rhinoknives
Well-Known Member
Yea, You may be right. Threading is the hard part but I can turn them on my lathe and add some fancy rings too.
The added fancy rings would top this off so nicely, instead of having the obvious store bought nipples from the powder flask kits that are made in Spain & India.
You are almost finished!
Laurence
www.rhinoknives.com
ddavelarsen
Well-Known Member
I hate to say it Bruce, but I think Laurence is right. Bruce-made nipples are the way to go on this piece. Personally that would be far beyond my imagining, but for you it'll just be an everyday bit of work. I like the idea of adding decoration to them too. How will you determine the size of the powder charge? Diameter of the nipple? You can see that I know nothing about black powder, so I'm just asking my dumb questions in hopes of learning something more.
Drew Riley
Well-Known Member
Bruce, I think everyone agrees:
WE WANT TO SEE YOUR NIPPLES.
WE WANT TO SEE YOUR NIPPLES.
Bruce Bump
Forum Owner-Moderator
Its nice to know somebody wants to see them.
OK I'll accept this challenge. I had a vision on what they will look like already. One obstacle I think I'll have is they are too close together but if I angle the top plate they will gain some clearance and be easier to use.
Still need to look in my book for the weight of the main charge. I have a re-loading scale to measure the amount and shorten an oversize nipple to that volume. Pretty simple really. Stay tuned because thats coming. I havent even proofed the barrel yet so this is coming sooner than you think. Monday I should be doing that. I hope it doesnt blow up.
Bruce, I think everyone agrees:
WE WANT TO SEE YOUR NIPPLES.
Last edited:
rhinoknives
Well-Known Member
Bruce,Its nice to know somebody wants to see them.
OK I'll accept this challenge. I had a vision on what they will look like already. One obstacle I think I'll have is they are too close together but if I angle the top plate they will gain some clearance and be easier to use.
So you have been dreaming about your nipples? :biggrin: And they are too close together?
Don't worry, We won't tell your wife a thing!
Yes! We all want to see them! On the flask I mean.
Laurence
www.rhinoknives.com
Last edited by a moderator:
Bruce Bump
Forum Owner-Moderator
almost finished, one is bigger than the other.
Bruce,
So you have been dreaming about your nipples? :biggrin: And they are to close together?
Don't worry, We won't tell your wife a thing!
Yes! We all want to see them! On the flask I mean.
Laurence
www.rhinoknives.com
BRad704
Well-Known Member
almost finished, one is bigger than the other.
:s12137:
Bruce Bump
Forum Owner-Moderator
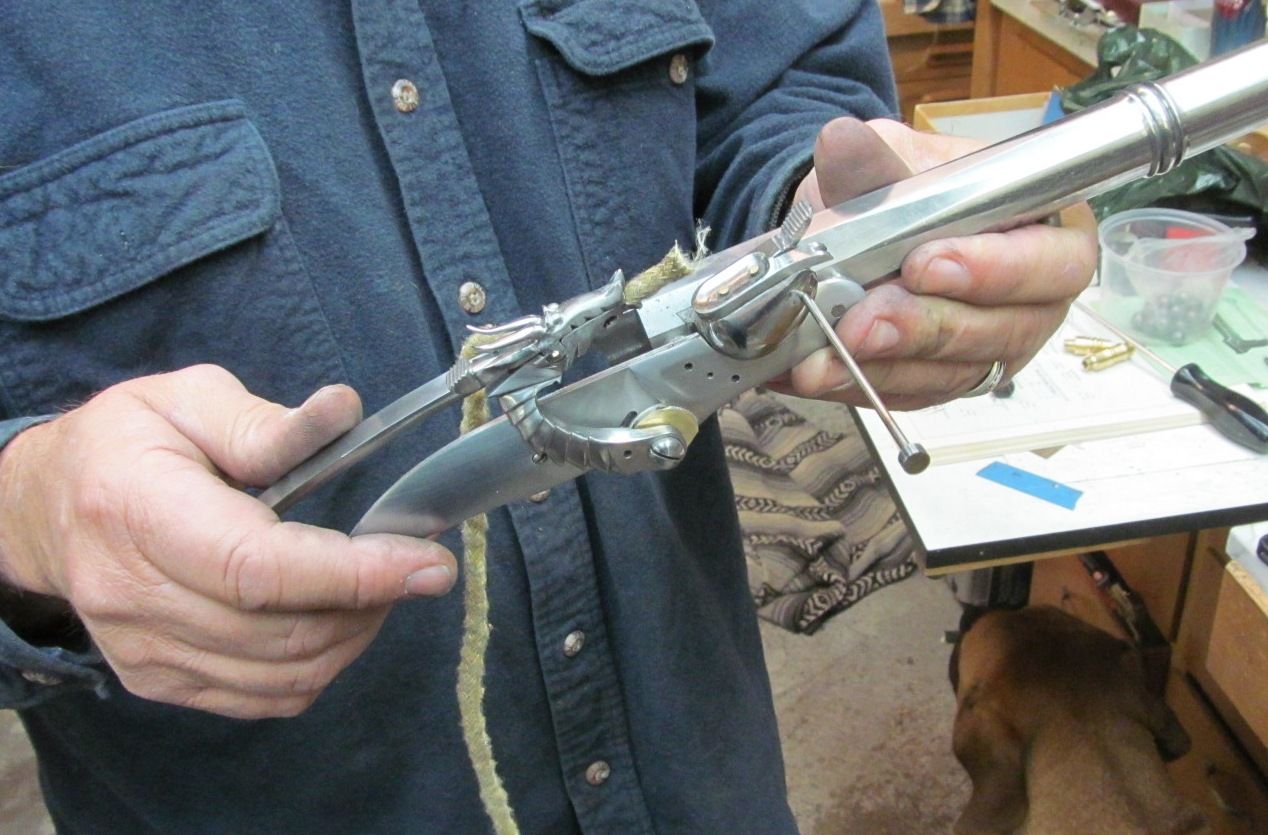
Ok here ya go.
I am almost ready to apply the finish on the wood flask after todays shaping and sanding. I also need to figure out the gate springs.
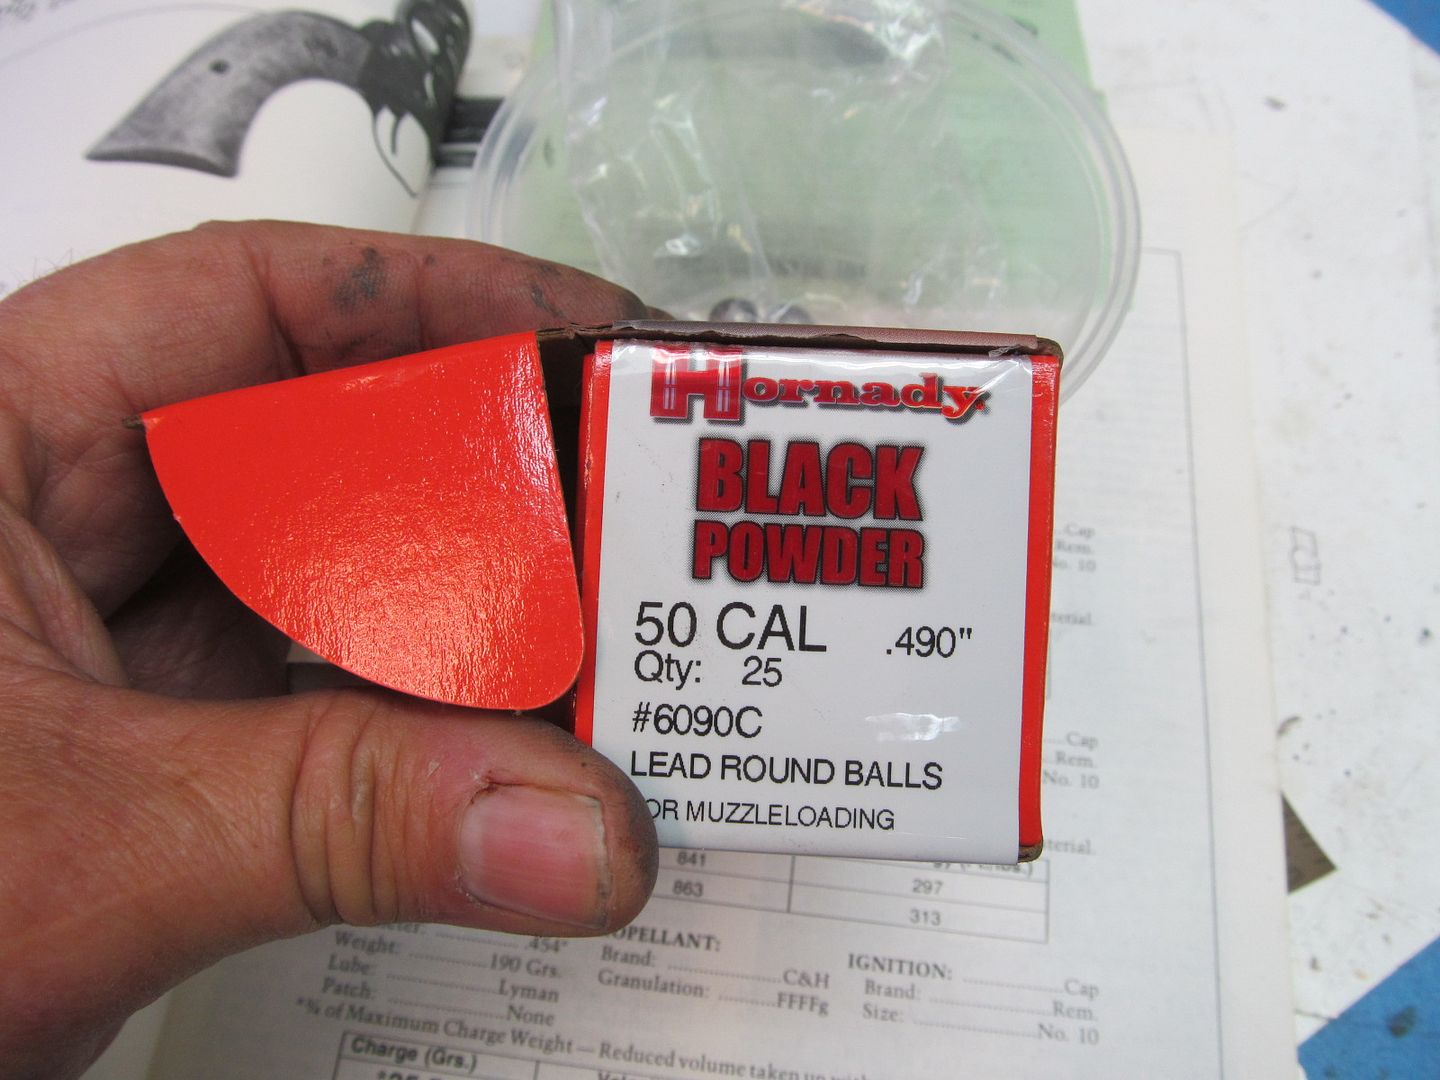
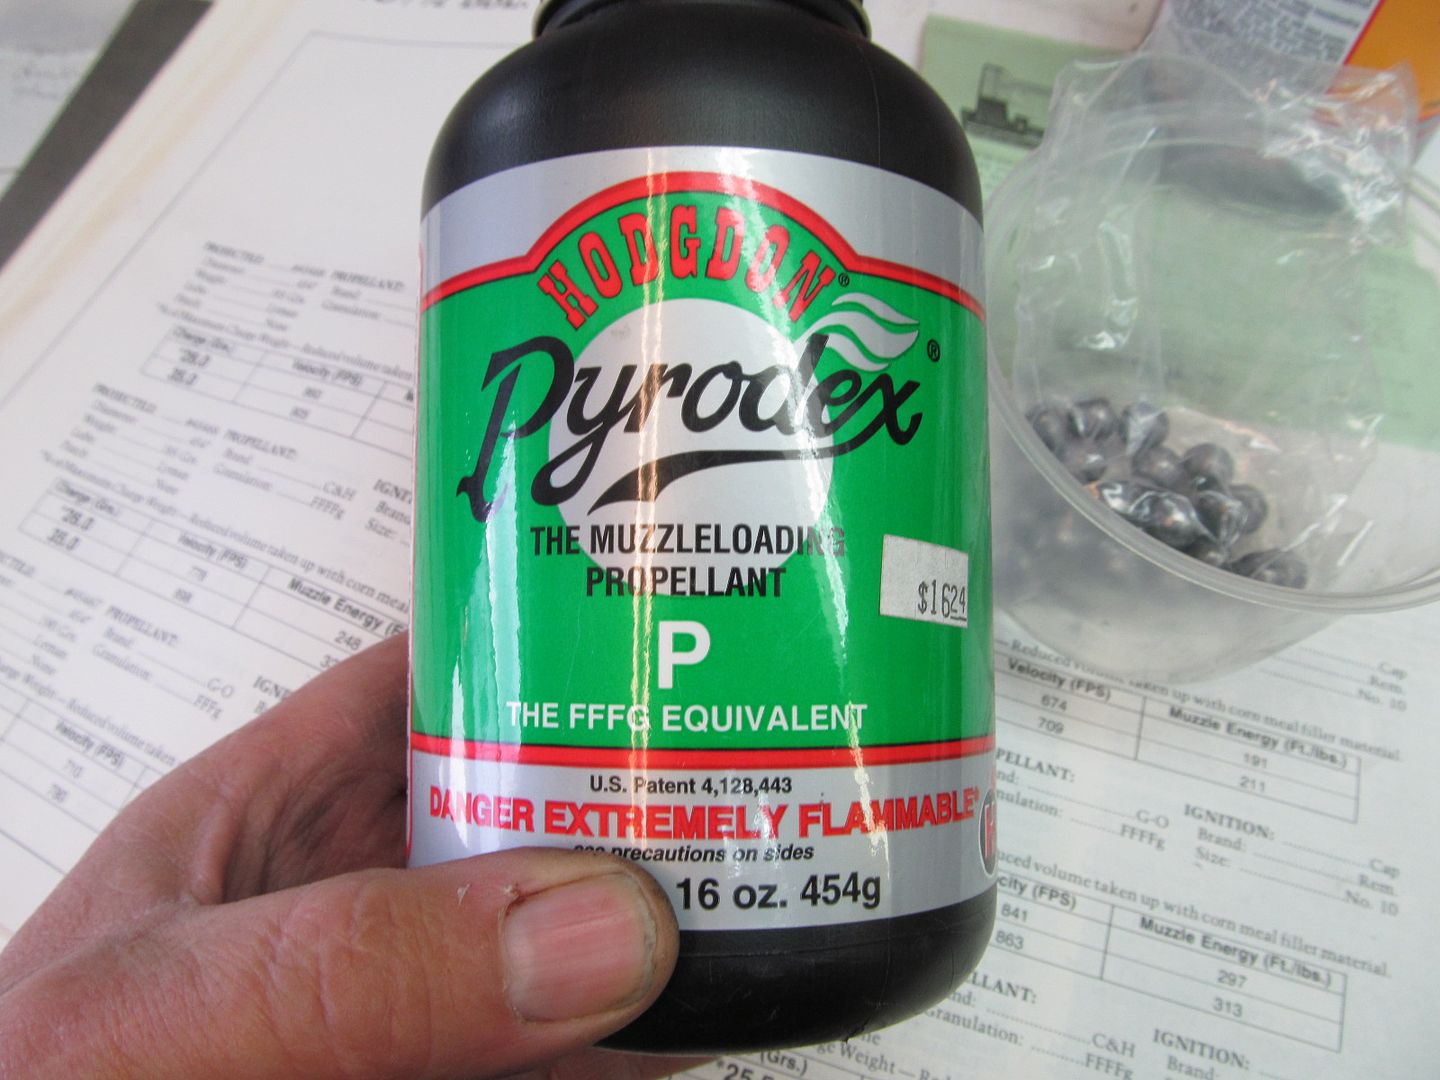
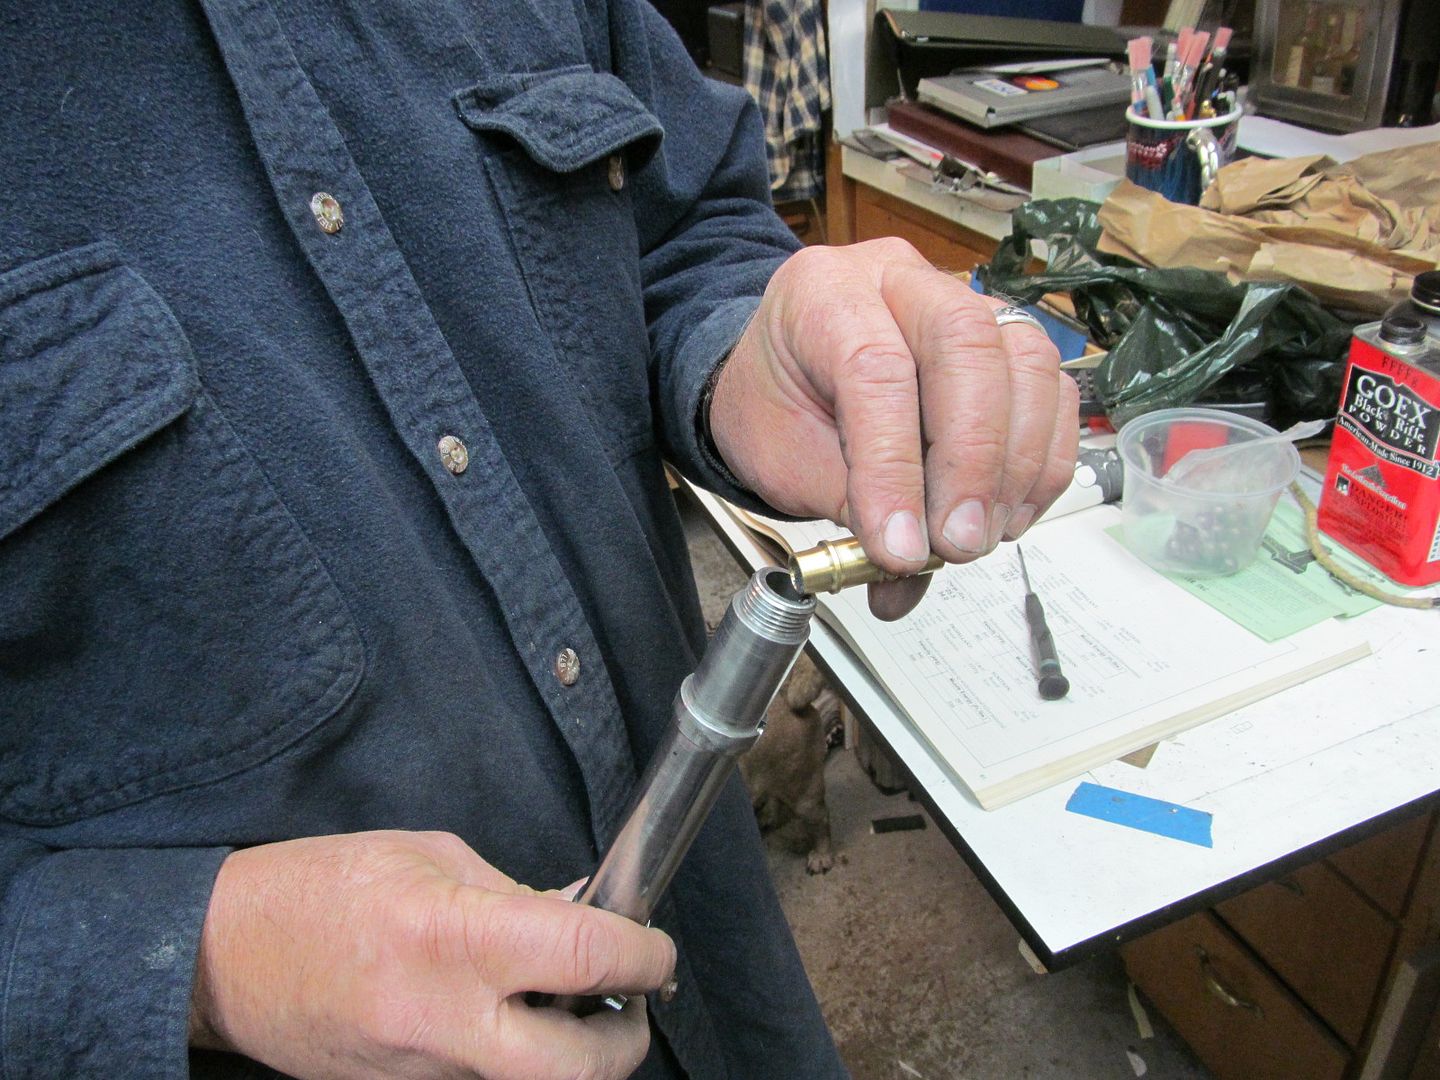
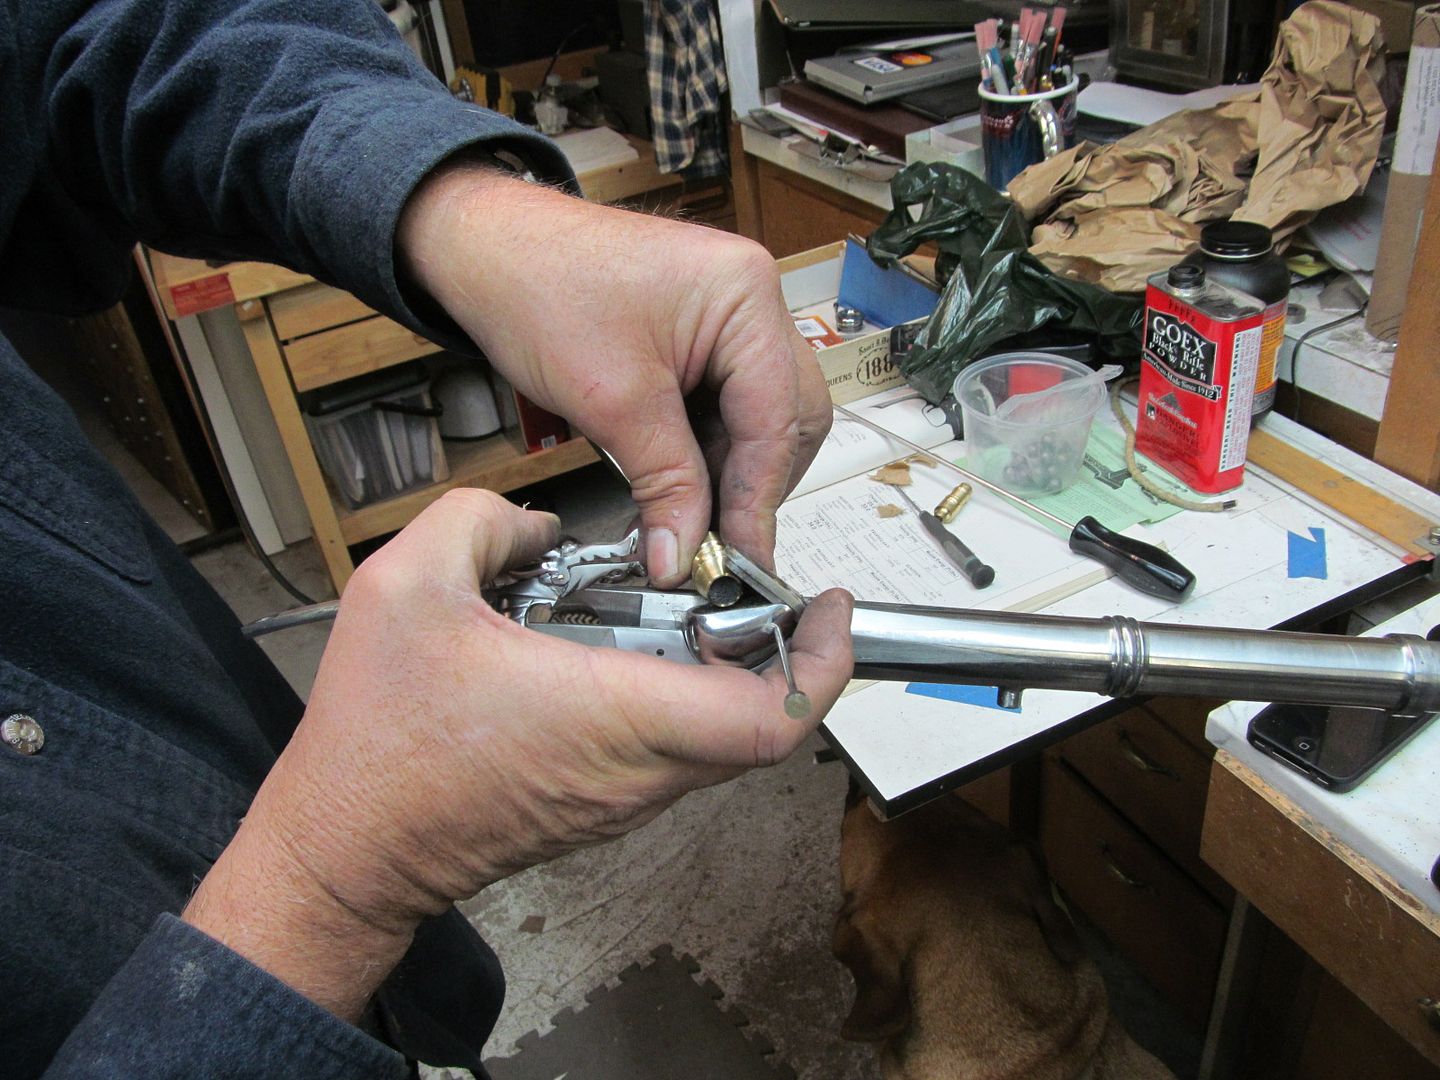
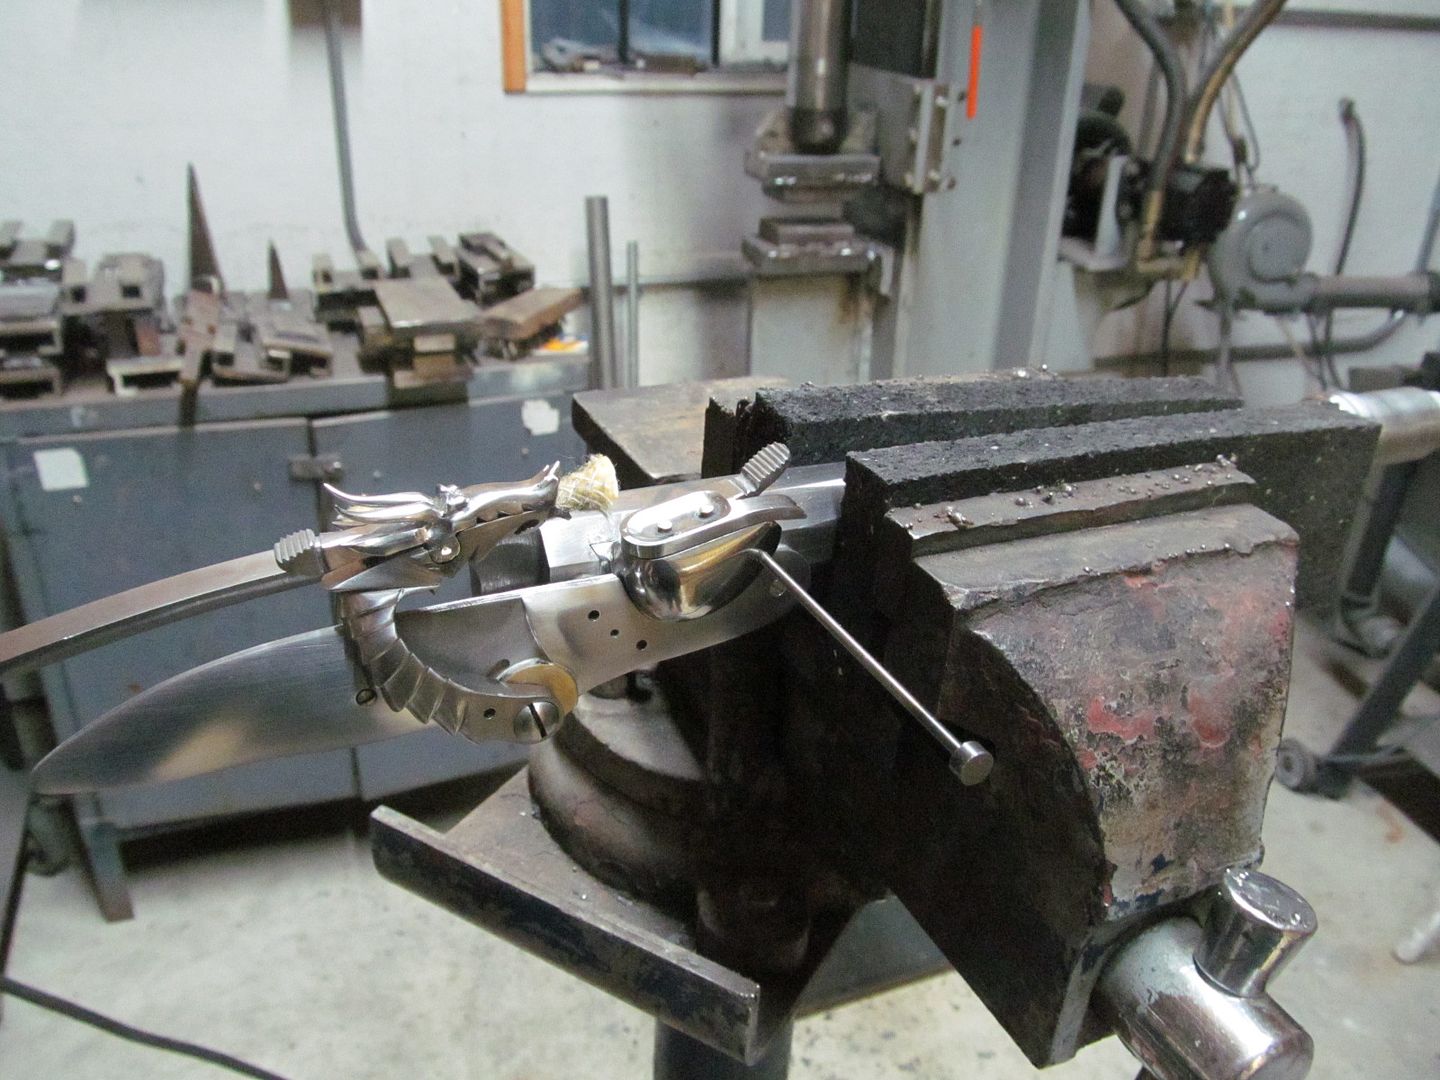
Oh, I loaded and fired it for the first time too. To make sure the flash transferred from the flash pan to the main charge I just loaded the barrel with the recommended amount of powder (35 grains of Pyrodex) and tamped down a patch with brown paper instead of a lead ball. That way if the main charge didnt go off I could easily unload the barrel. The flash pan (primer box) got 15 grains of Pyrodex. I took it in the welding room and clamped the barrel in soft jaws in the vice and light the slow match, opened the primer lid and rotated the dragons head and slow match into the primer powder. There was nothing, in fact the powder appeared to extinguish the slow match. Pretty disappointing but when I lifted the match back out it sparkled and let out a huge flash of burning powder that transferred from the match to the priming powder and with a slight delay set off the main charge. WoW! It worked.
The slow match I used may have been old and not hot enough. I soaked it in Salt Peter and let it dry back in 2005. I ordered 12 feet of new slow match from Dixie Gun Works. Hopefully that will solve the problem of weak ignition.
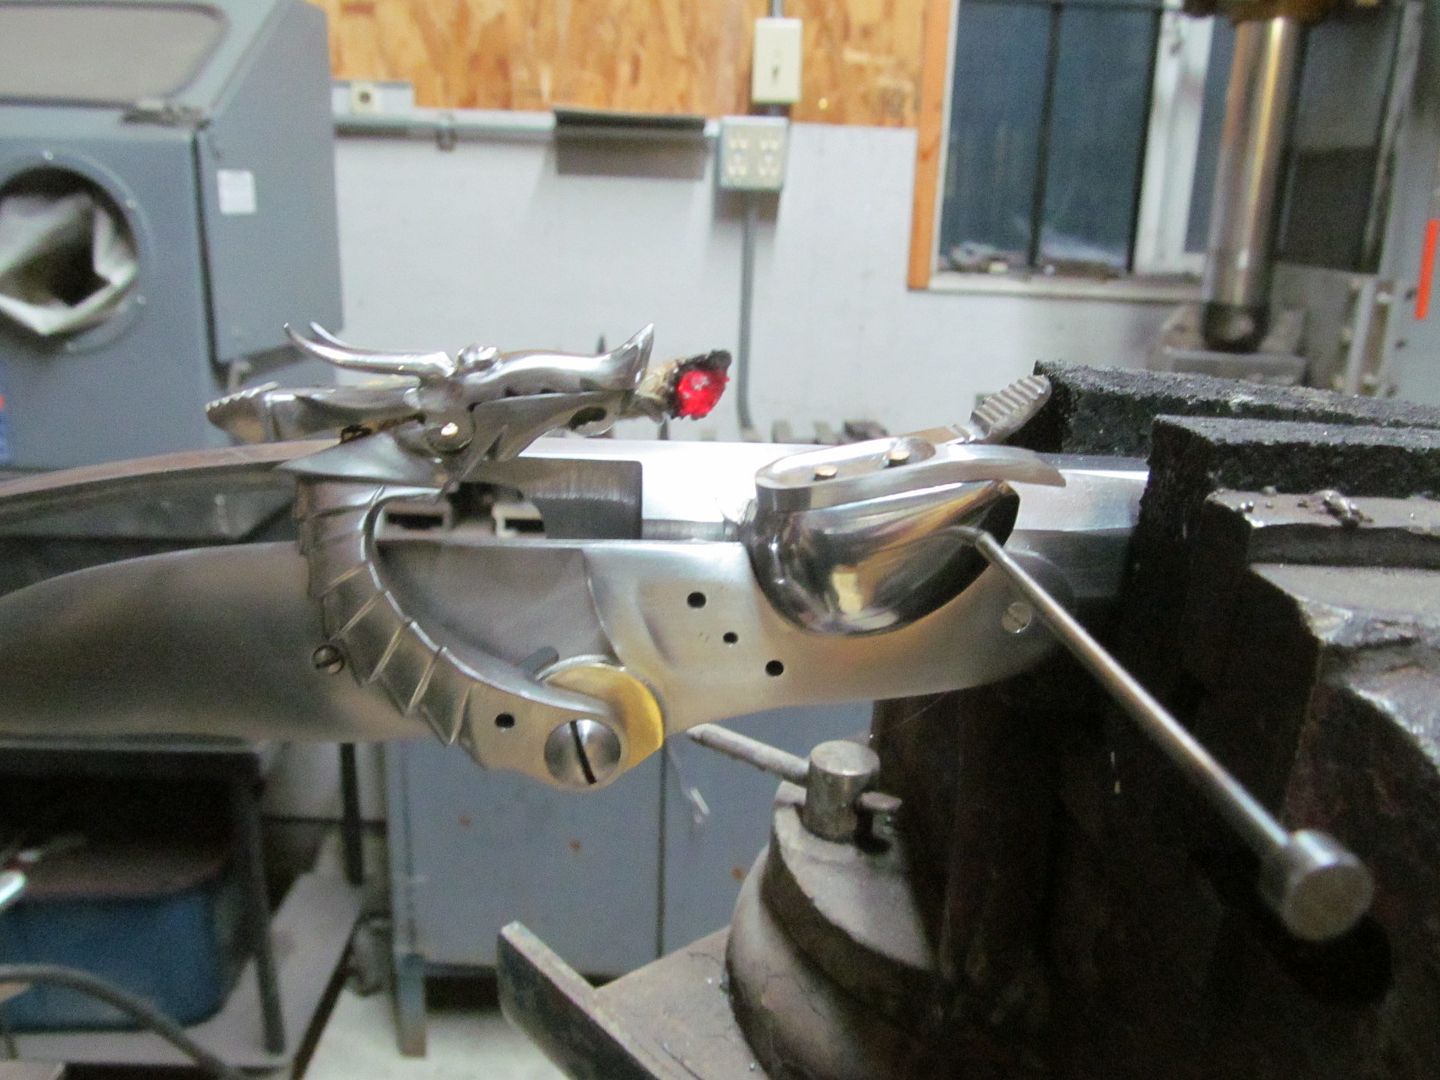
The picture below is a very low budget film. Click on it
I am almost ready to apply the finish on the wood flask after todays shaping and sanding. I also need to figure out the gate springs.
Oh, I loaded and fired it for the first time too. To make sure the flash transferred from the flash pan to the main charge I just loaded the barrel with the recommended amount of powder (35 grains of Pyrodex) and tamped down a patch with brown paper instead of a lead ball. That way if the main charge didnt go off I could easily unload the barrel. The flash pan (primer box) got 15 grains of Pyrodex. I took it in the welding room and clamped the barrel in soft jaws in the vice and light the slow match, opened the primer lid and rotated the dragons head and slow match into the primer powder. There was nothing, in fact the powder appeared to extinguish the slow match. Pretty disappointing but when I lifted the match back out it sparkled and let out a huge flash of burning powder that transferred from the match to the priming powder and with a slight delay set off the main charge. WoW! It worked.
The slow match I used may have been old and not hot enough. I soaked it in Salt Peter and let it dry back in 2005. I ordered 12 feet of new slow match from Dixie Gun Works. Hopefully that will solve the problem of weak ignition.
The picture below is a very low budget film. Click on it
Last edited: