maxcutter03
Well-Known Member
Two piece bolster assembly on full tang knives the way I was taught and the way that I do it.
I start by prepping my blade. I do tapered tangs so you will get to see how I do that. Most of these pictures are recent but I will have to dip into some of my older stash to present some things. Some of these pictures will be very large as I didn’t have a chance to shrink them down.
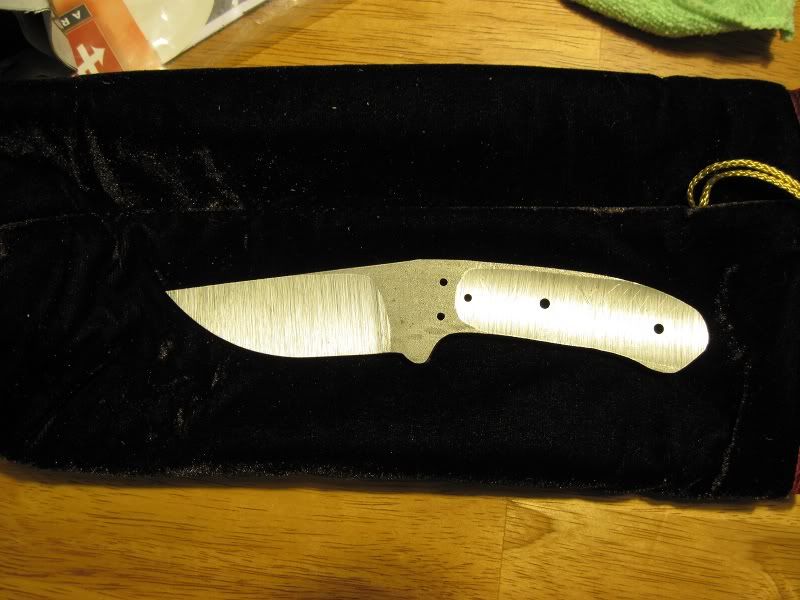
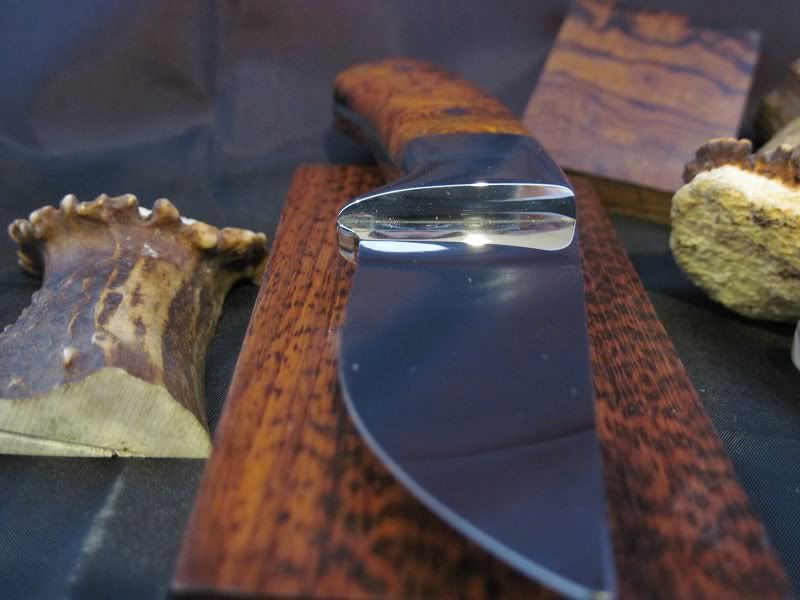
When I get my blade back from heat treat (HT) I will finish my hollow grind to my desired finish……usually mirror finish.
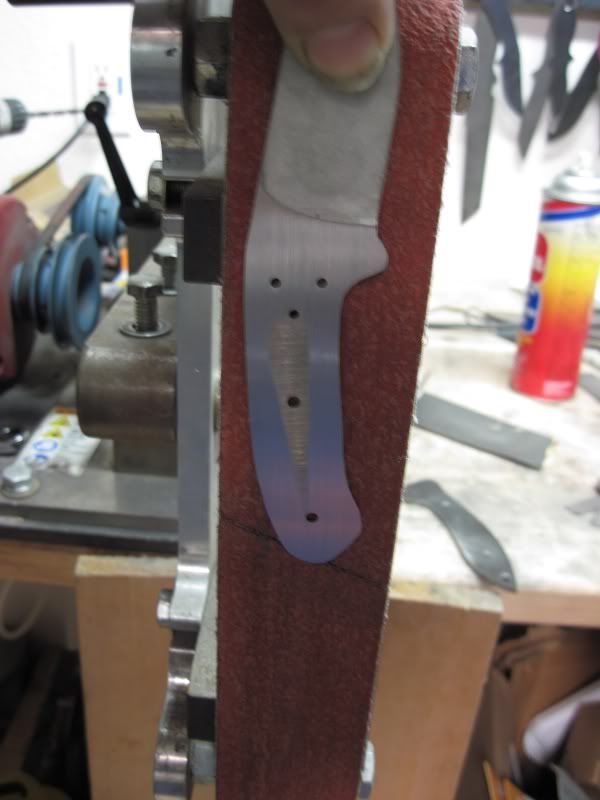
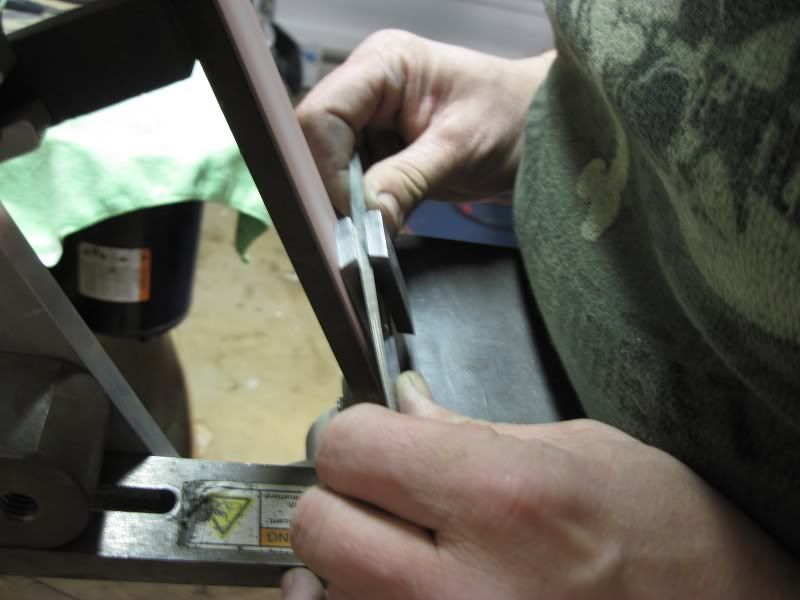
Using my flat platen on my KMG I taper my tang. Notice the tape on the hollow grind.....Tape is out friend to ward off scratches on our finish.

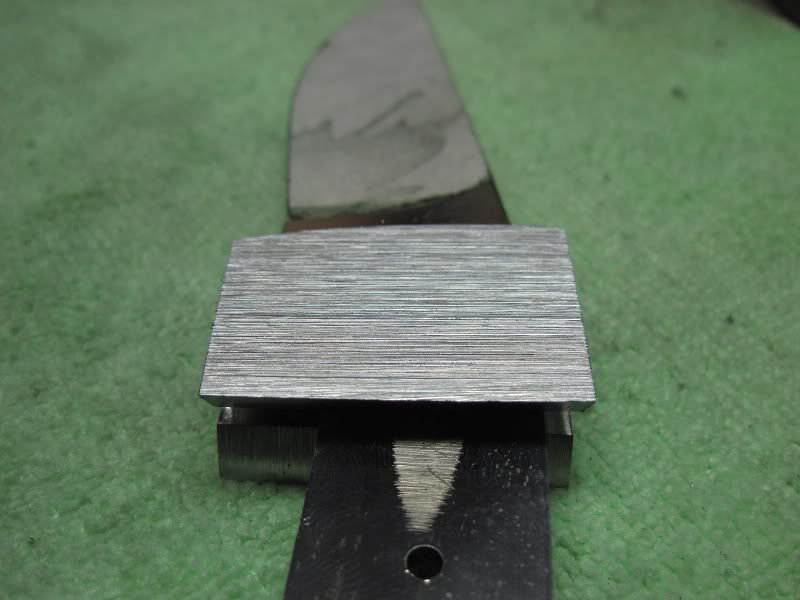
With my horizontal mount 9” disk I make sure the tang is as flat as I can get it. Then I will lap it on my surface plate and bring the ricaso area to a polish.
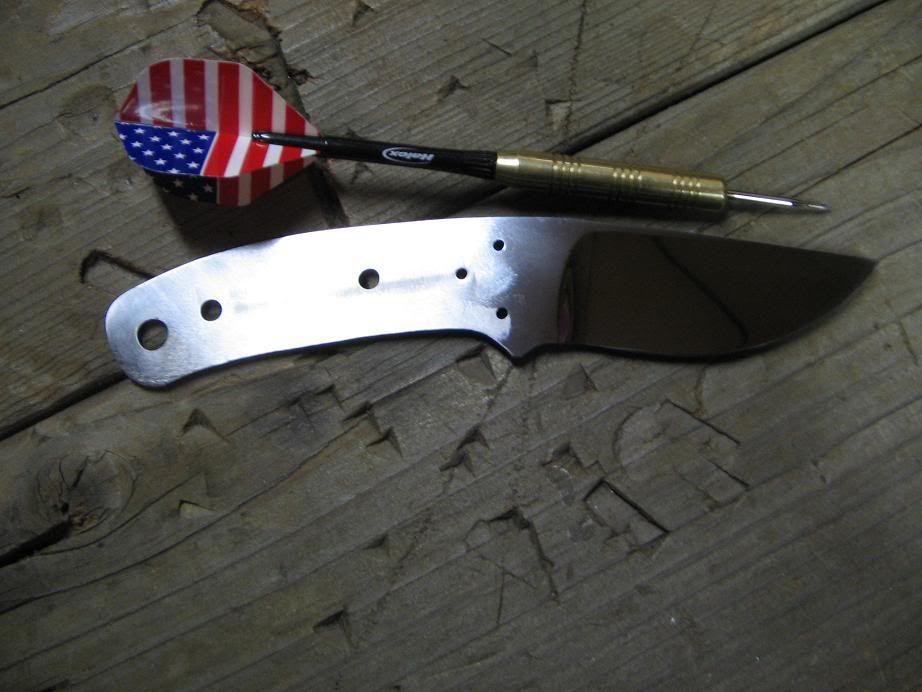
Now I will mark the area where the bolster will rest with a sharpie and measure how long to cut the stock.
Once I cut them out and get them flat on my 9” wheel. Just a quick explanation on how I get my stuff flat. I have a toggle light switch on my flat grinder motor which works like a foot switch. I set the piece to be ground on the disk, then, with my hip I turn on the grinder. This will assure I am flat on the disk and no oh @@#$ grinds.

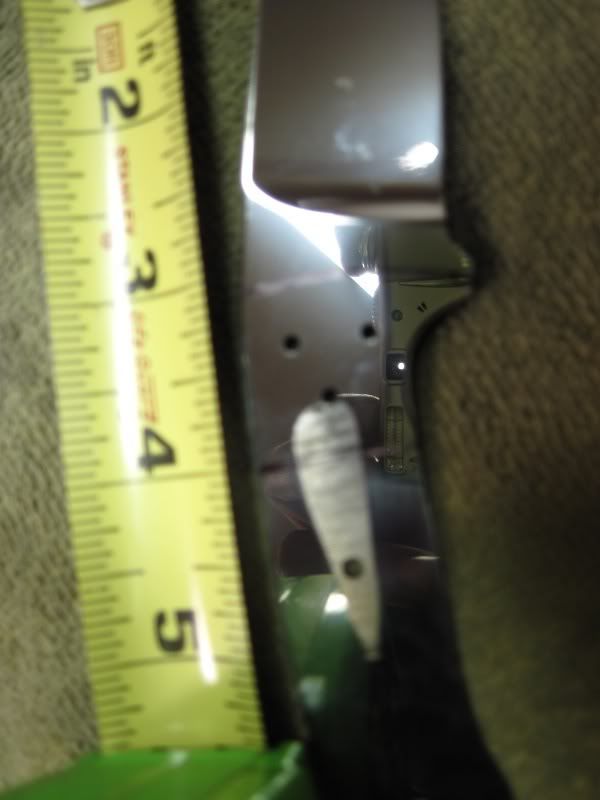
When the pieces are flat to my liking I drill my holes for my pins. No they are not glued together. They are flat enough that a drop of water will stick them together.
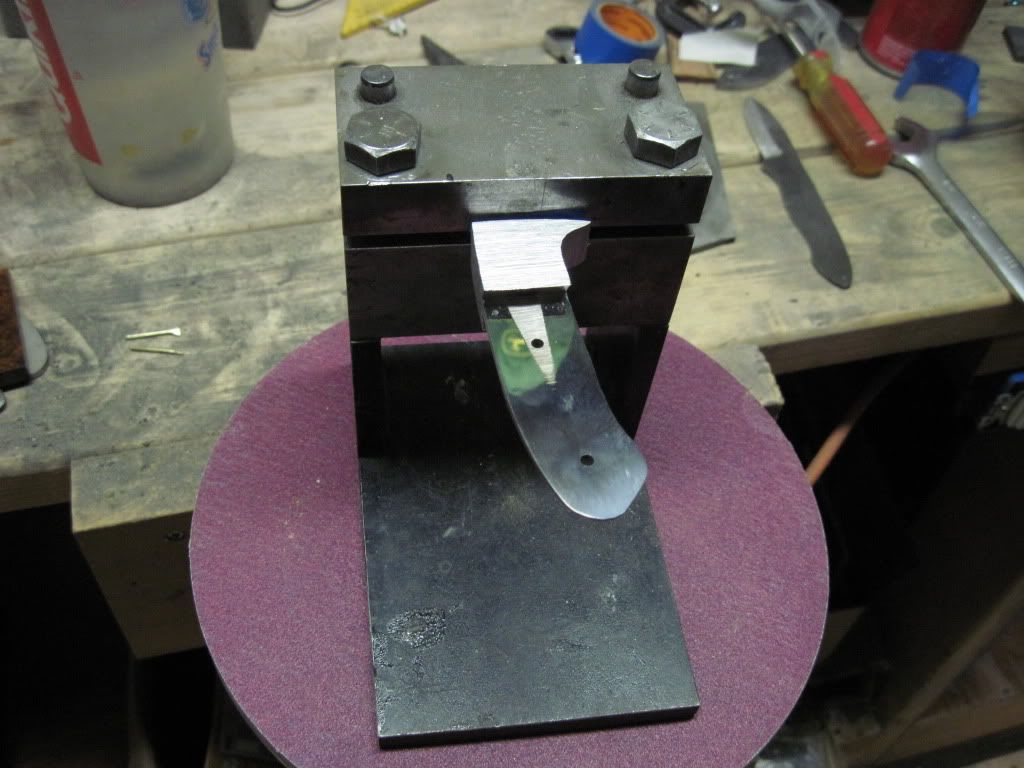
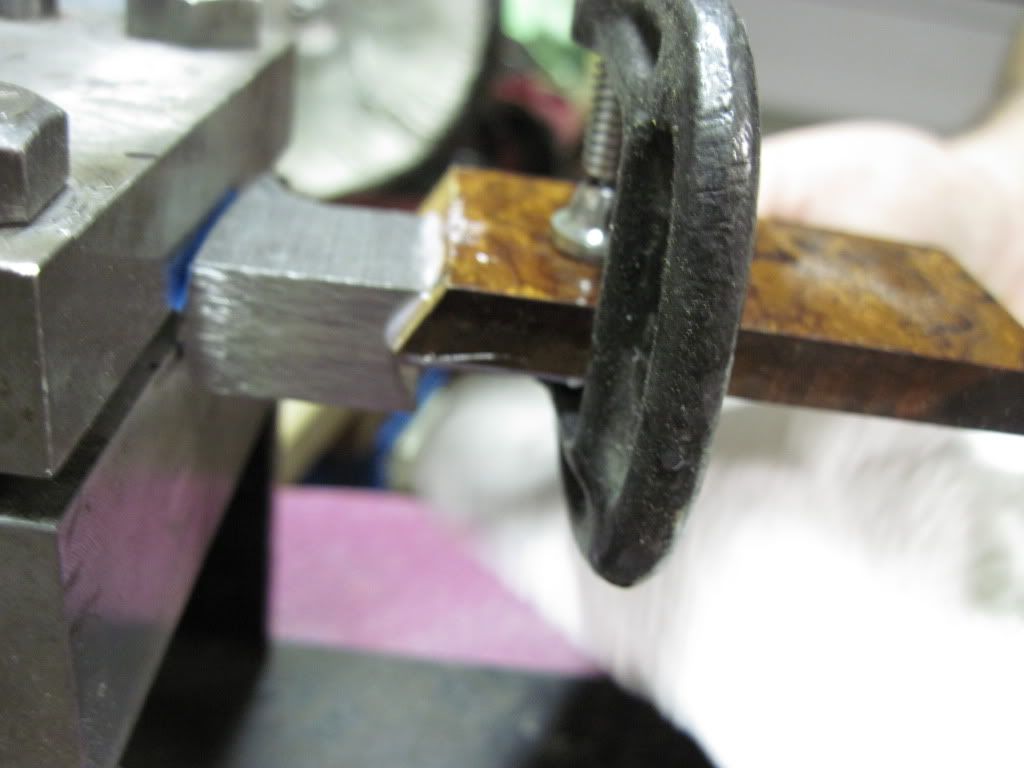
I am working with tapered tangs so I have to have something to hold the knife’s center line horizontal. Thus this clamp that I had made my a machinist.
One at a time I get the bolster aligned to the blade and get my holes done. I use 3/32” pin stock and drill with a #41 drill bit. This makes for a really tight hole. I don’t taper my holes. With the proper crush from a press or preening, the pin will expand all the way to the tang. Due to a small case of dumb a$$, I had to grind and drill one off. I cut the pin stock .250 or ¼” longer than the total measurement of the thickness of the bolster material and the tang.
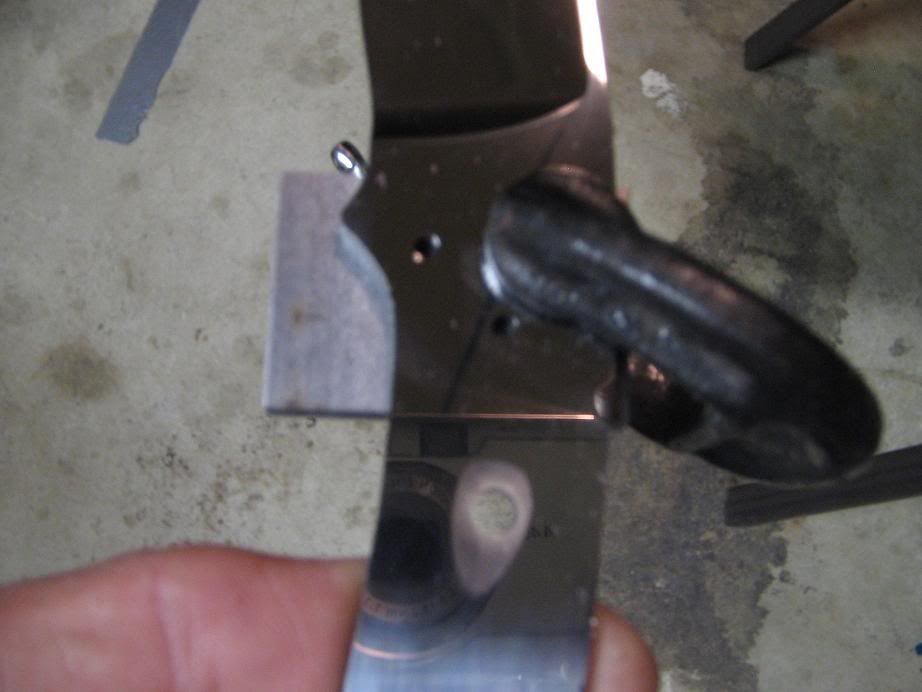
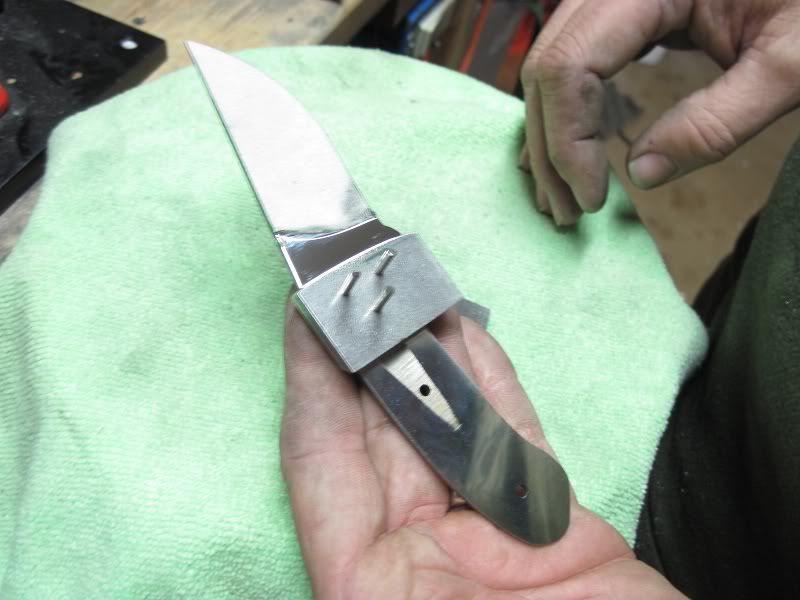
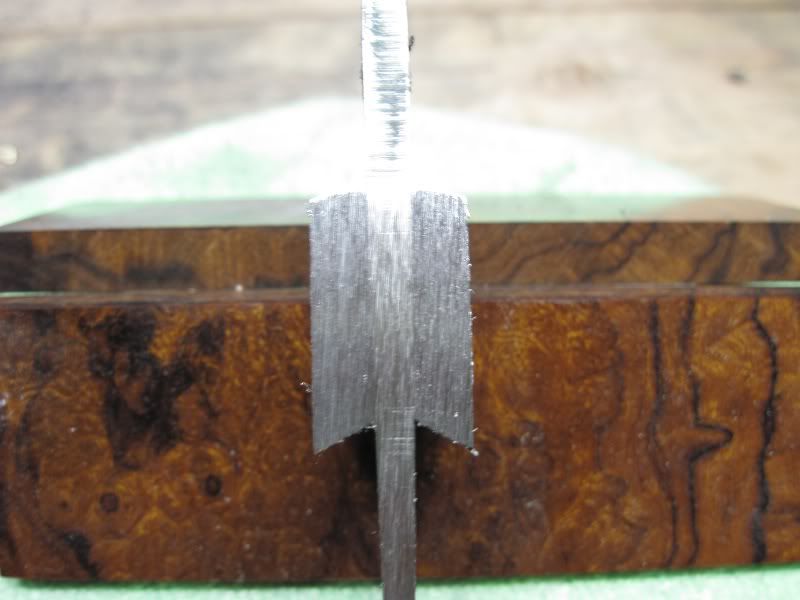
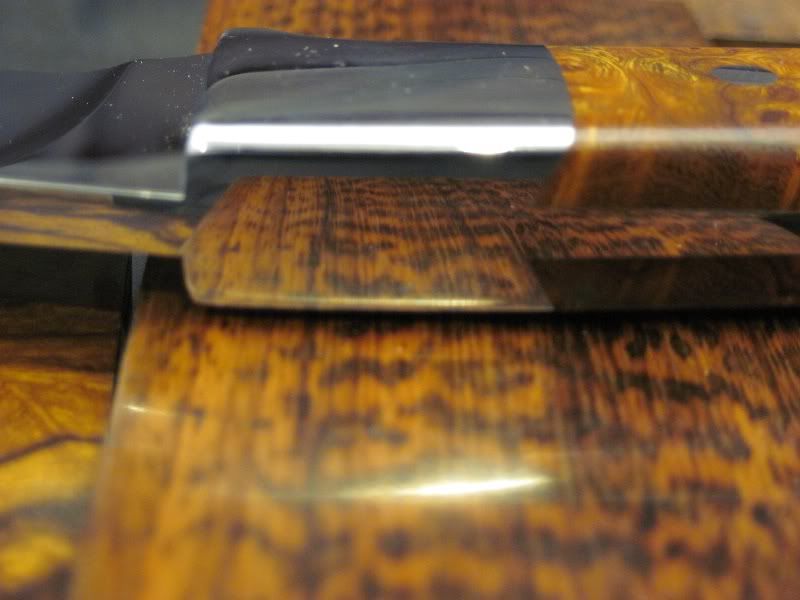
Now that the holes are drilled I can get on to shaping the leading edge of the bolster and setting my dove tails. Putting the pins into the holes I mock attach the bolsters to the blade and mark the shape of the bolster’s leading edge. I take it to the grinder and shape it and take it to polished finish. Because once it is on………..This is where my moment of short term dumb a$$came into play.…..you can’t work it to a finish without messing up the blade.
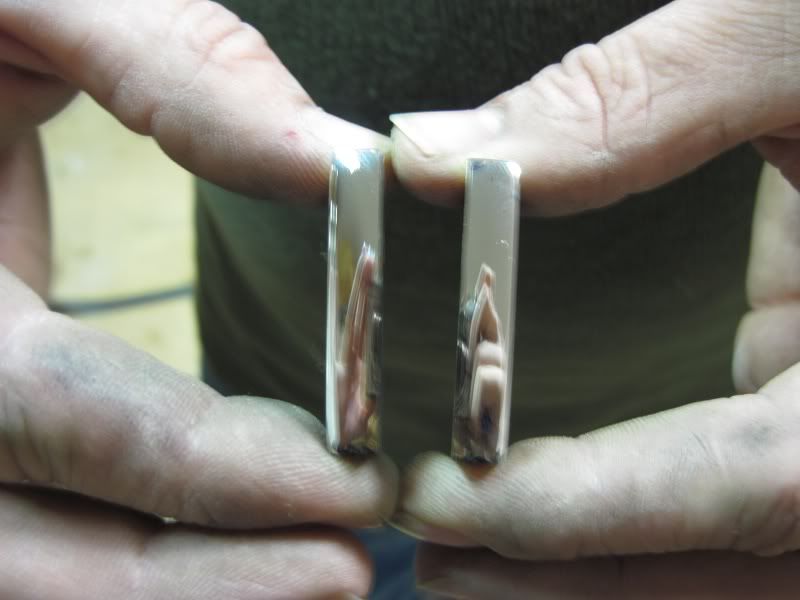
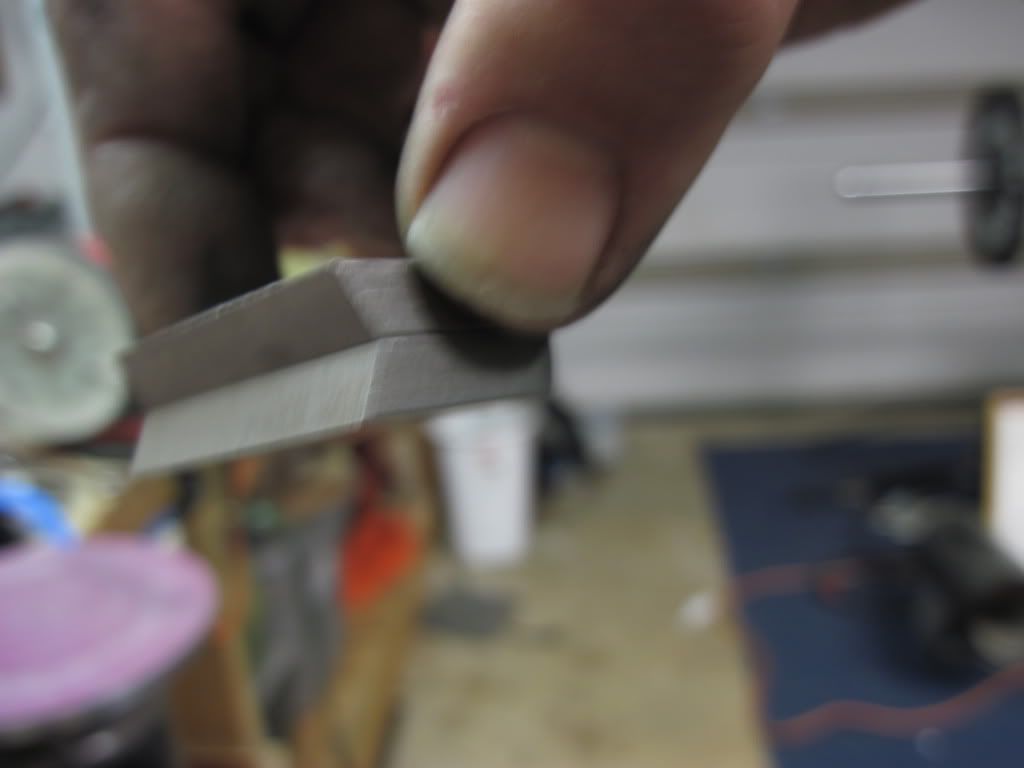
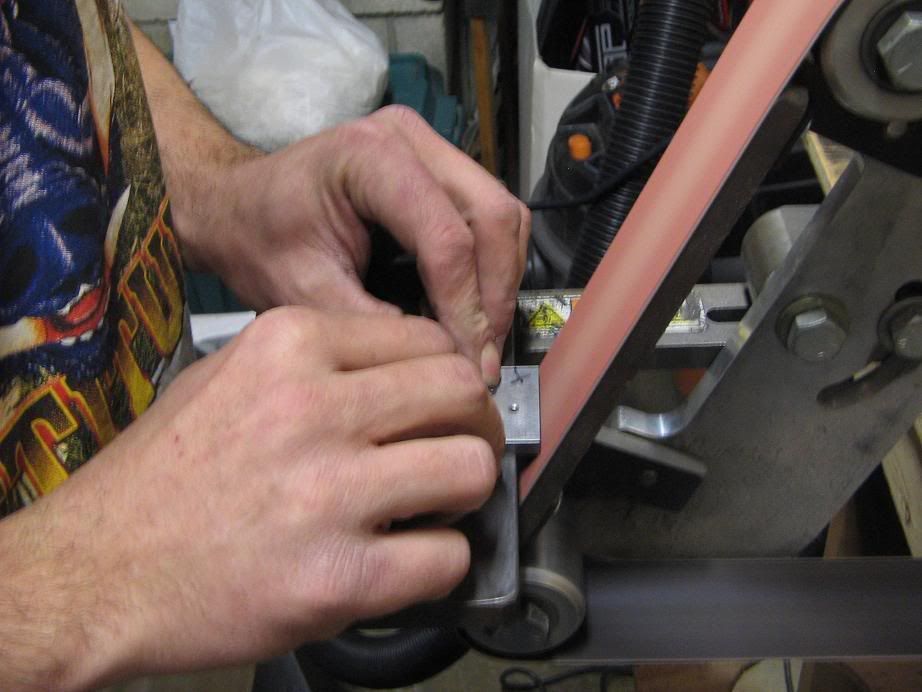
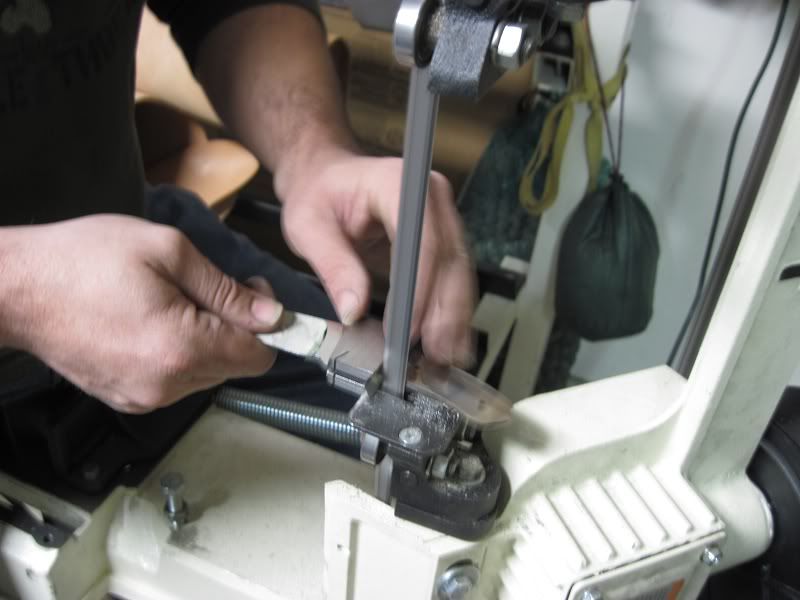
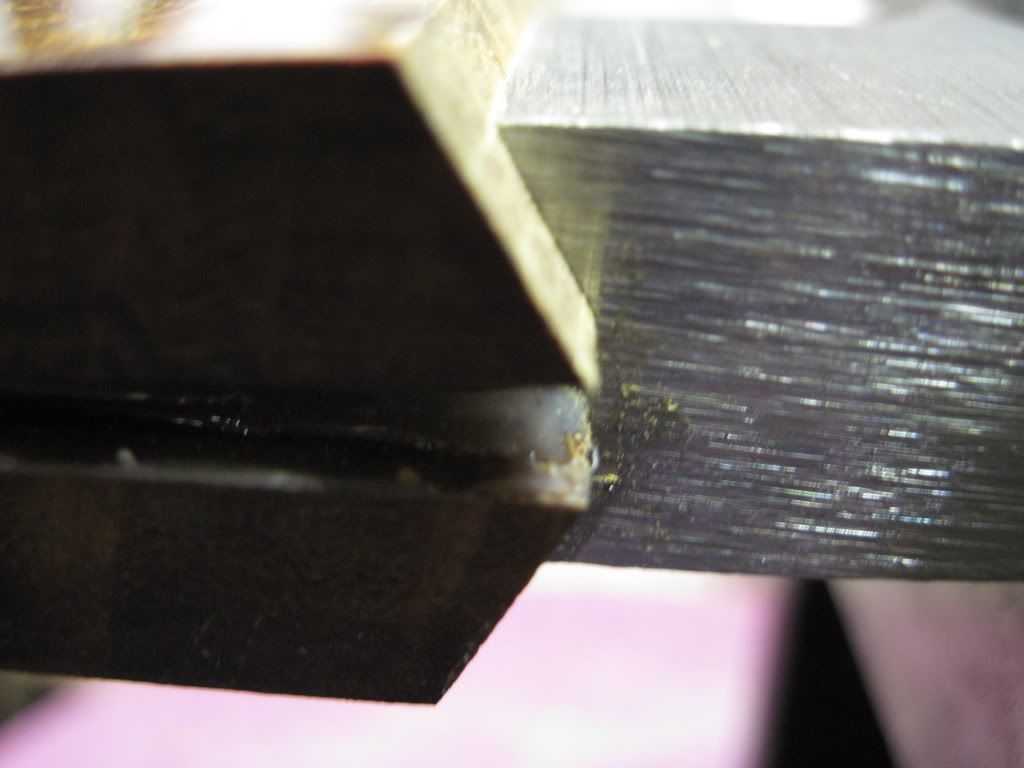
In this picture I am grinding the dove tails into the bolster using my flat platen….I have since bought me a vertical grinder with a rest that can be set at an angle. This makes for a better fit and ease of dove tailing.
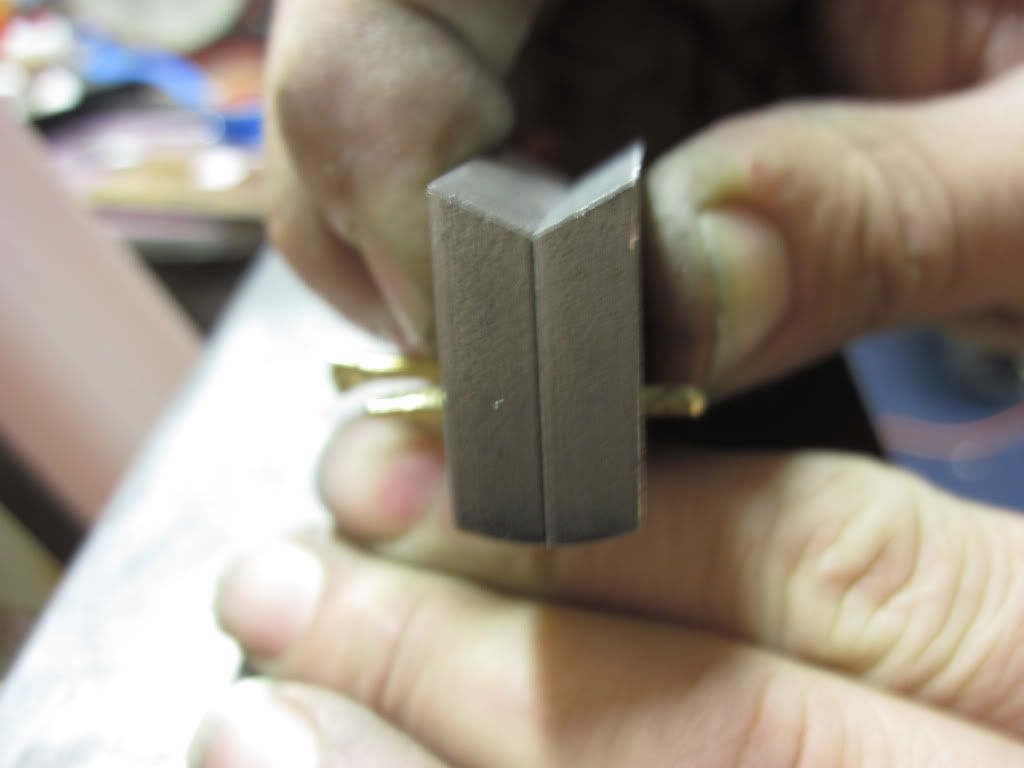
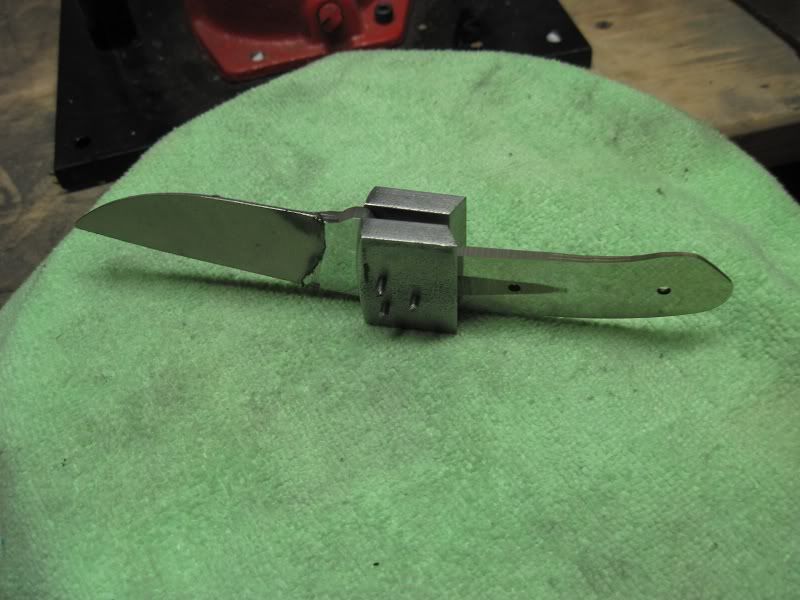
You will have to mock fit the bolsters together to make sure your tails are even. Grind as necessary to make sure that you don’t have offset tails. Now we are ready to attach.
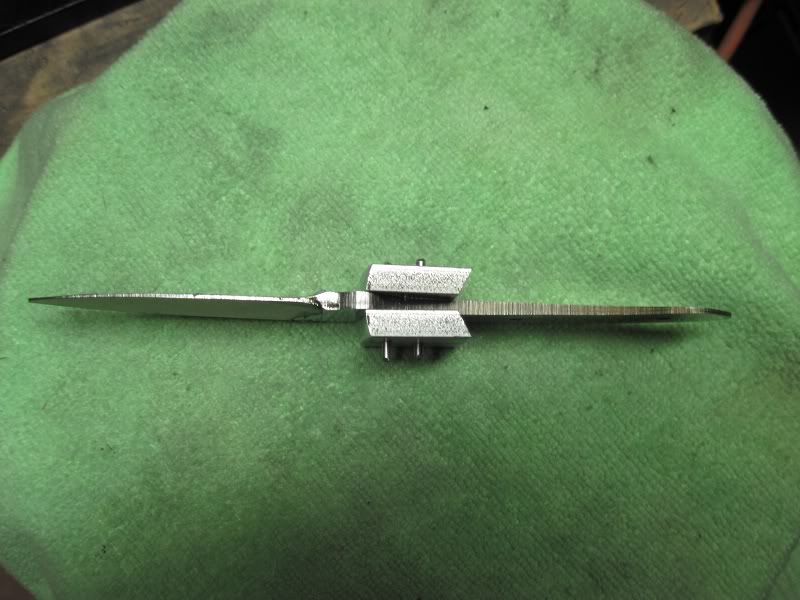
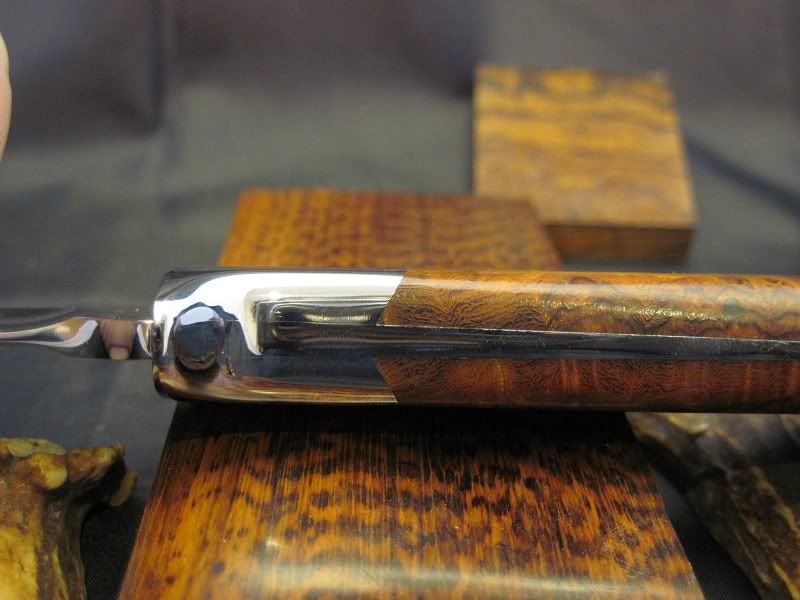
With my press….well before the press I peened with a hammer….I compress the pins evenly into place, making them seem to weld themselves into place.
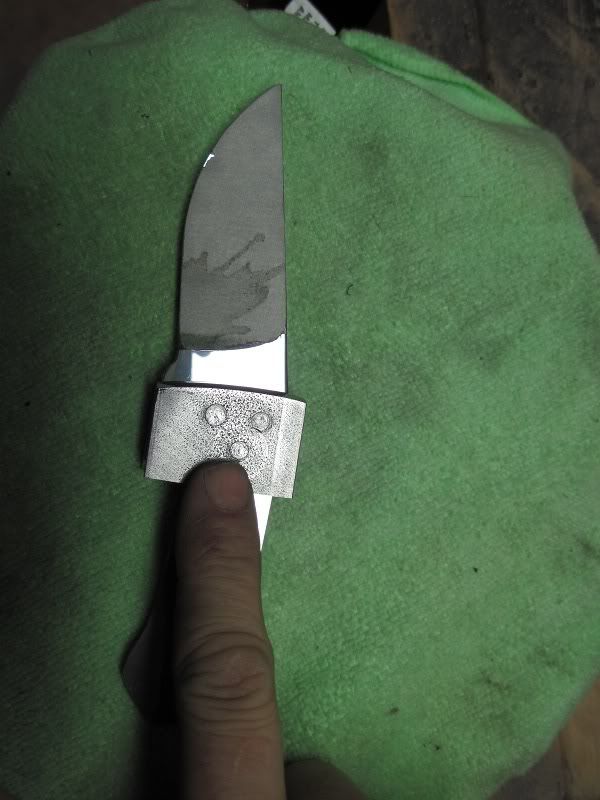
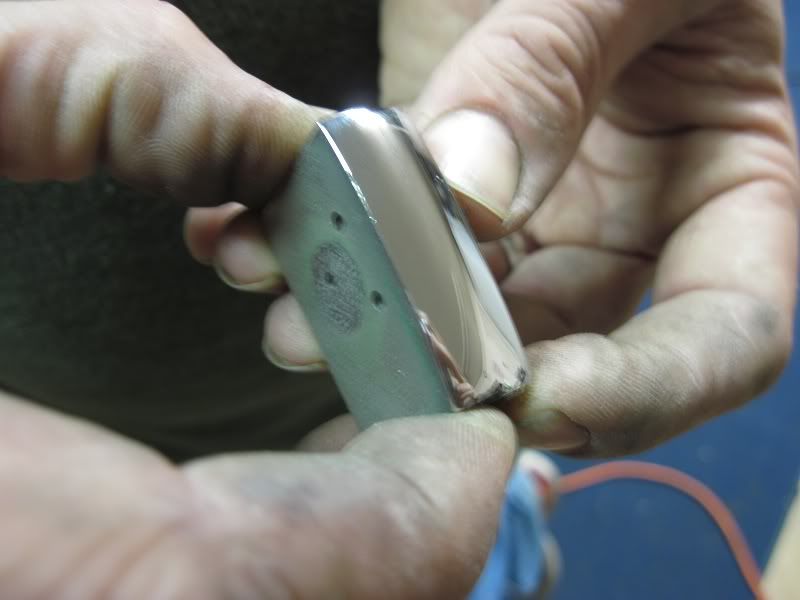
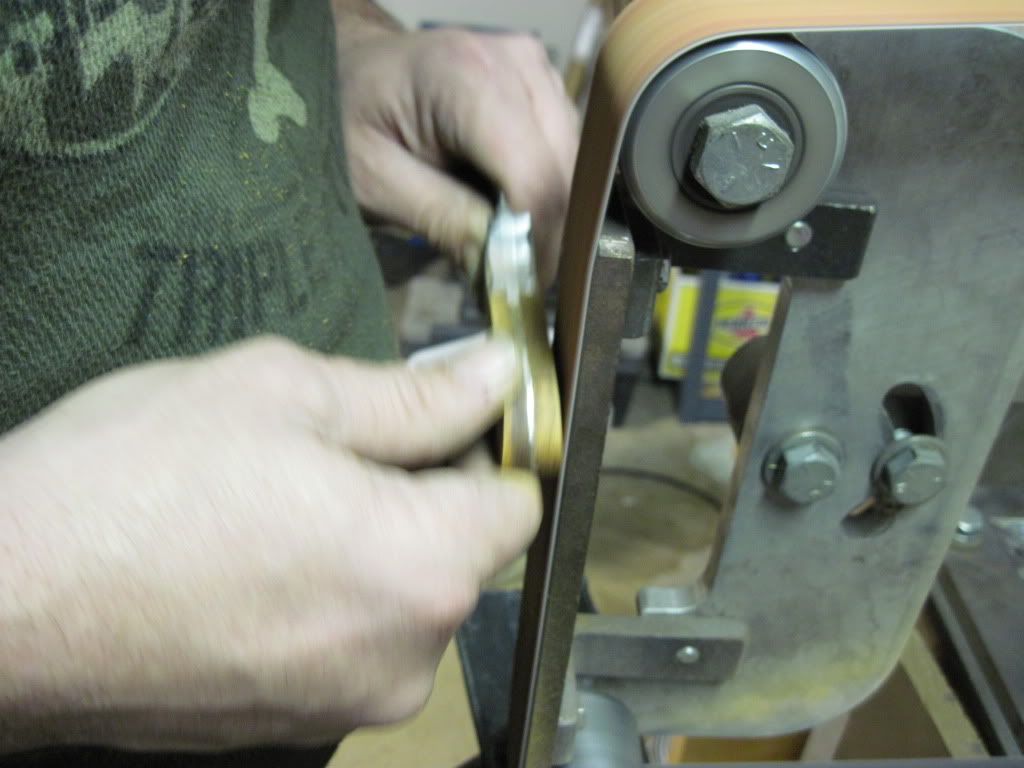
Then I grind the bolster to get it ready for finish.
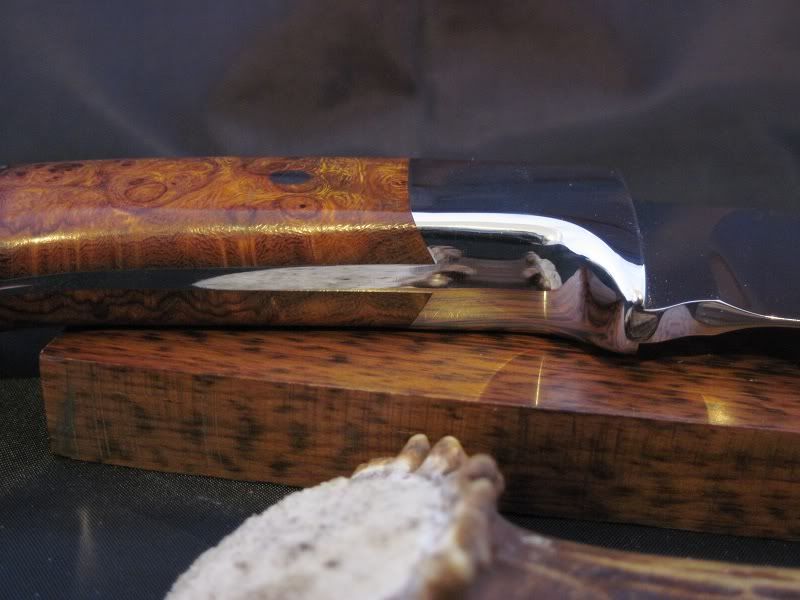
Then I take it over to my band saw and cut off the excess and then grind the rest off with my grinder.

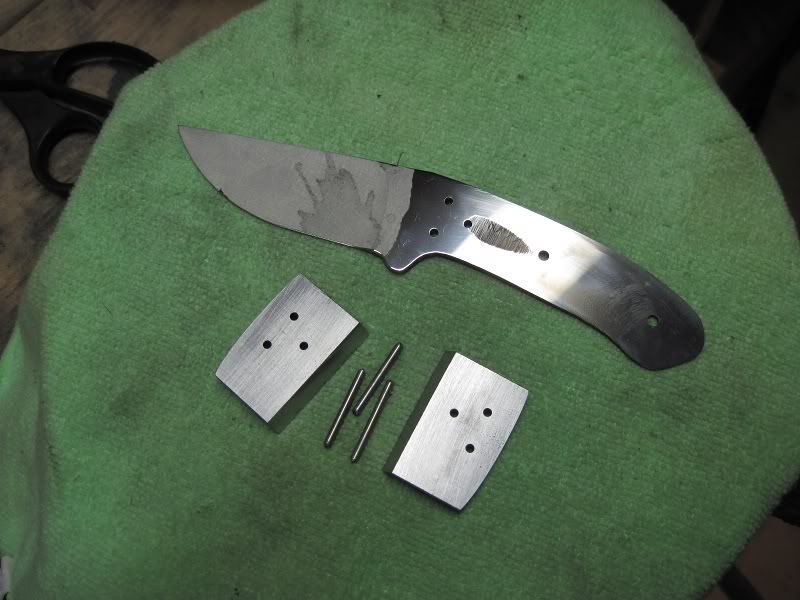
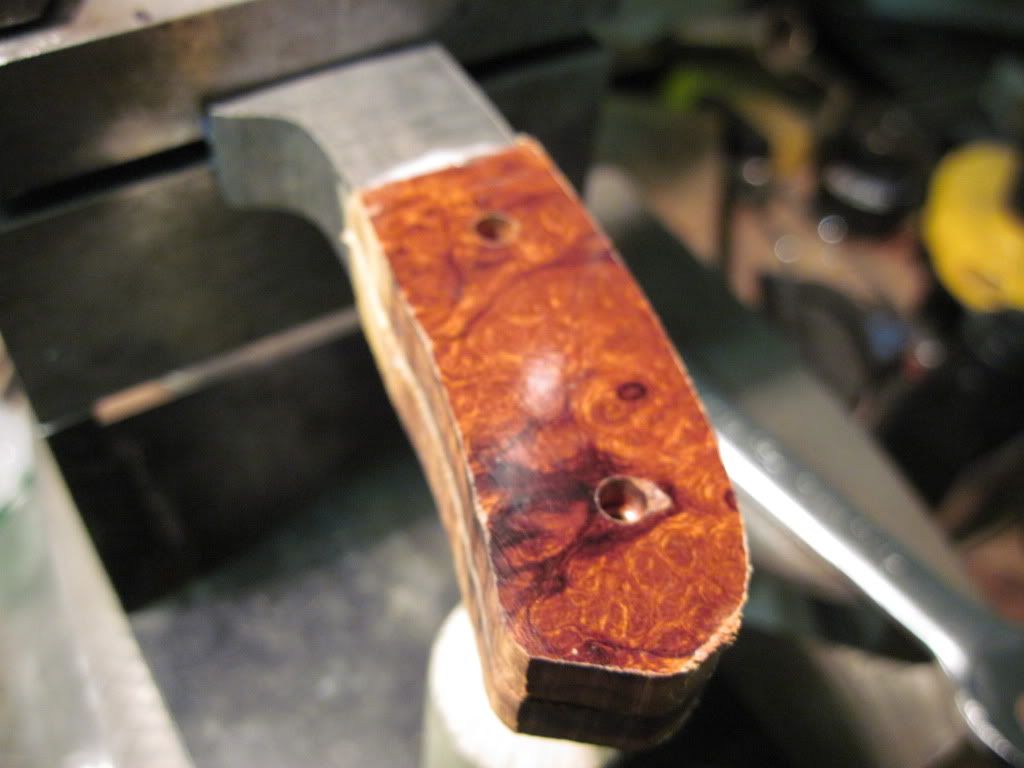
I clamp the knife back into the clamp and attach my handle material. I grind my tails into my wood, then glue them into place one at a time. Drilling the holes for my bolts after each gluing.
Once the glue is set and the holes are drilled and the bolts glued and tight, its time to start shaping. I bring everything to a shiny finish.
Hope this was able to help someone.
I start by prepping my blade. I do tapered tangs so you will get to see how I do that. Most of these pictures are recent but I will have to dip into some of my older stash to present some things. Some of these pictures will be very large as I didn’t have a chance to shrink them down.
When I get my blade back from heat treat (HT) I will finish my hollow grind to my desired finish……usually mirror finish.
Using my flat platen on my KMG I taper my tang. Notice the tape on the hollow grind.....Tape is out friend to ward off scratches on our finish.
With my horizontal mount 9” disk I make sure the tang is as flat as I can get it. Then I will lap it on my surface plate and bring the ricaso area to a polish.
Now I will mark the area where the bolster will rest with a sharpie and measure how long to cut the stock.
Once I cut them out and get them flat on my 9” wheel. Just a quick explanation on how I get my stuff flat. I have a toggle light switch on my flat grinder motor which works like a foot switch. I set the piece to be ground on the disk, then, with my hip I turn on the grinder. This will assure I am flat on the disk and no oh @@#$ grinds.
When the pieces are flat to my liking I drill my holes for my pins. No they are not glued together. They are flat enough that a drop of water will stick them together.
I am working with tapered tangs so I have to have something to hold the knife’s center line horizontal. Thus this clamp that I had made my a machinist.
One at a time I get the bolster aligned to the blade and get my holes done. I use 3/32” pin stock and drill with a #41 drill bit. This makes for a really tight hole. I don’t taper my holes. With the proper crush from a press or preening, the pin will expand all the way to the tang. Due to a small case of dumb a$$, I had to grind and drill one off. I cut the pin stock .250 or ¼” longer than the total measurement of the thickness of the bolster material and the tang.
Now that the holes are drilled I can get on to shaping the leading edge of the bolster and setting my dove tails. Putting the pins into the holes I mock attach the bolsters to the blade and mark the shape of the bolster’s leading edge. I take it to the grinder and shape it and take it to polished finish. Because once it is on………..This is where my moment of short term dumb a$$came into play.…..you can’t work it to a finish without messing up the blade.
In this picture I am grinding the dove tails into the bolster using my flat platen….I have since bought me a vertical grinder with a rest that can be set at an angle. This makes for a better fit and ease of dove tailing.
You will have to mock fit the bolsters together to make sure your tails are even. Grind as necessary to make sure that you don’t have offset tails. Now we are ready to attach.
With my press….well before the press I peened with a hammer….I compress the pins evenly into place, making them seem to weld themselves into place.
Then I grind the bolster to get it ready for finish.
Then I take it over to my band saw and cut off the excess and then grind the rest off with my grinder.
I clamp the knife back into the clamp and attach my handle material. I grind my tails into my wood, then glue them into place one at a time. Drilling the holes for my bolts after each gluing.
Once the glue is set and the holes are drilled and the bolts glued and tight, its time to start shaping. I bring everything to a shiny finish.
Hope this was able to help someone.
") Thanks for the pics!
Thanks for the pics!