Ernie Swanson
SASSY PINK LUUNCHBOX KNIFE MAKER
All I can say is.......................WOW
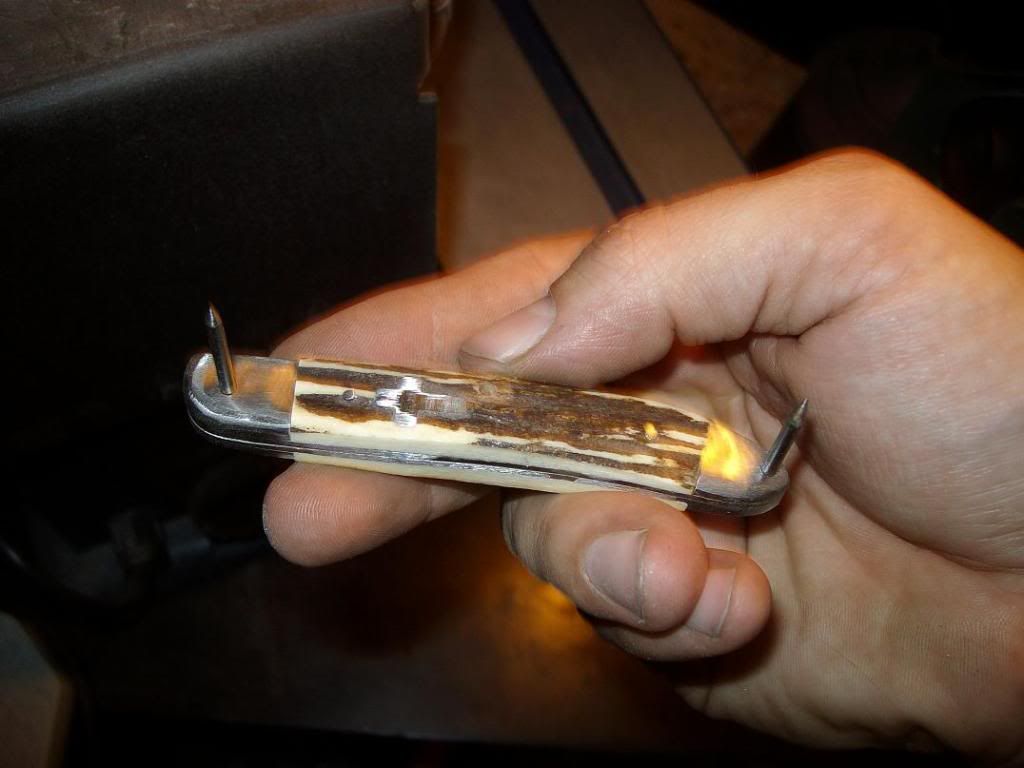
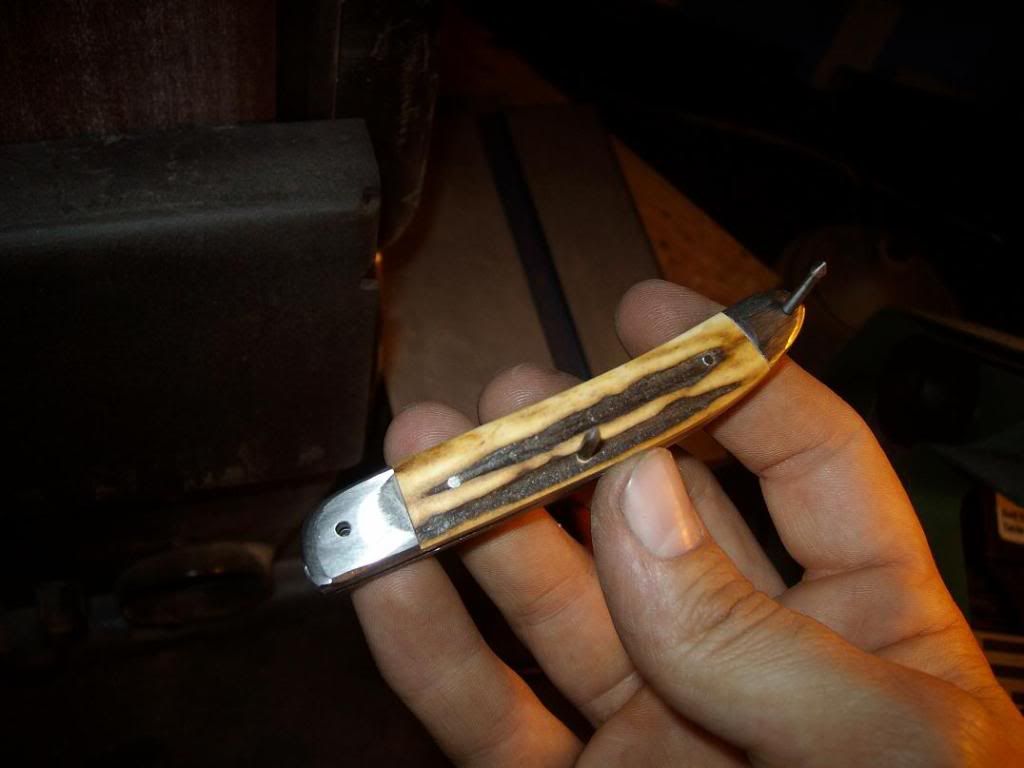
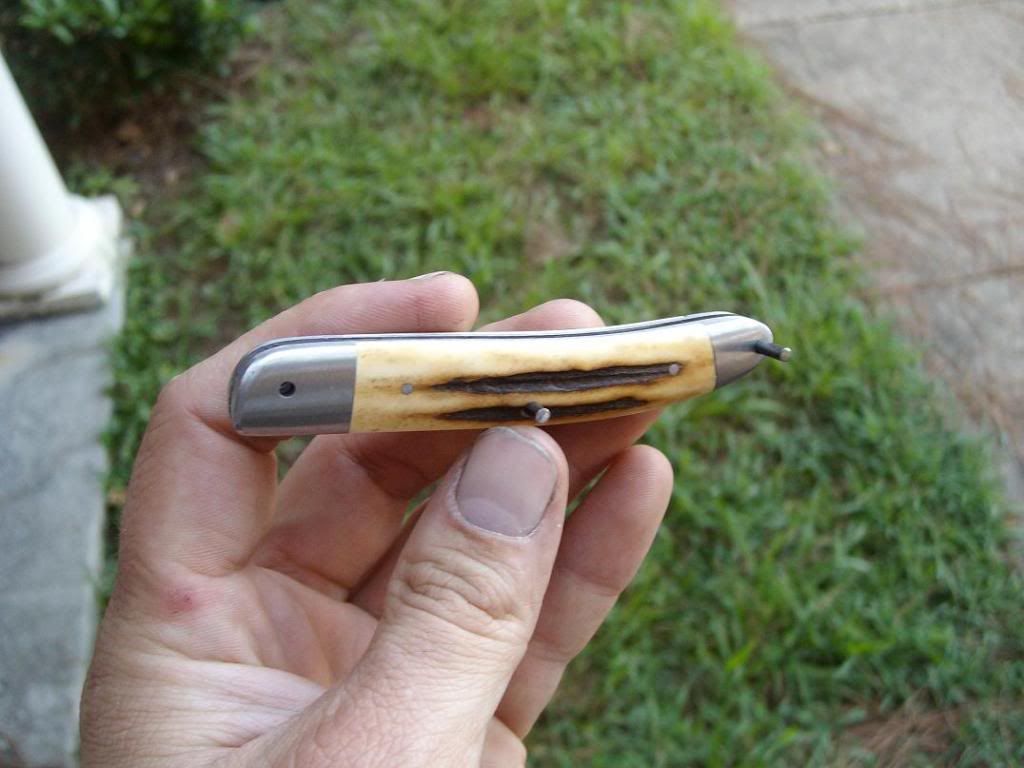
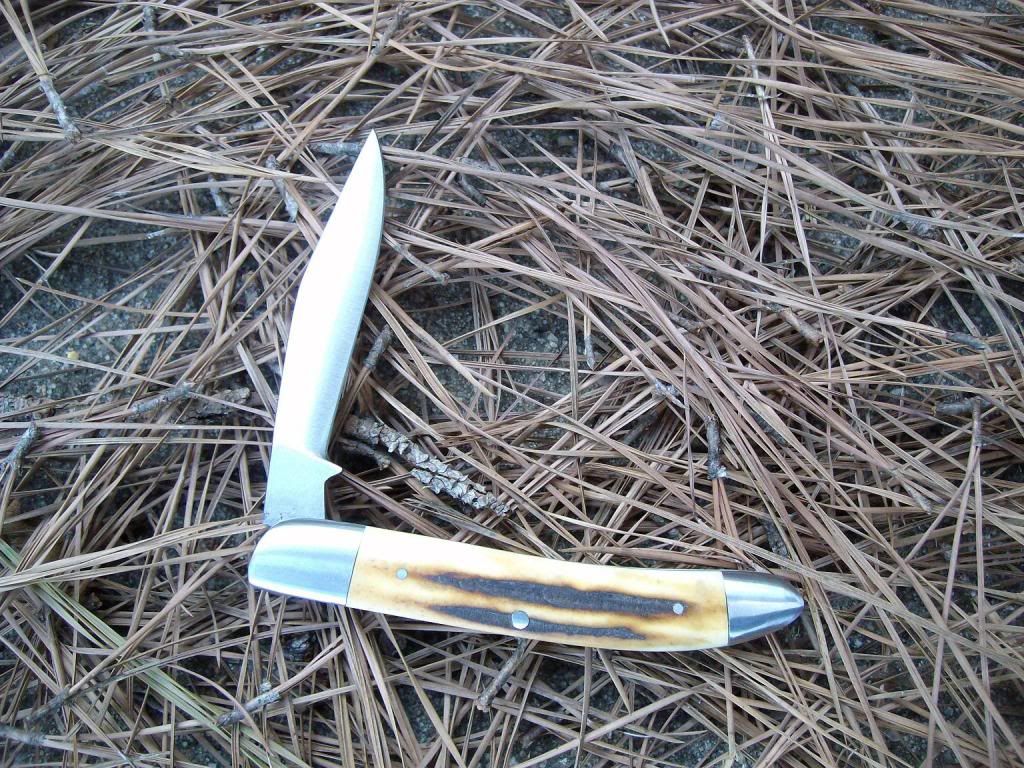
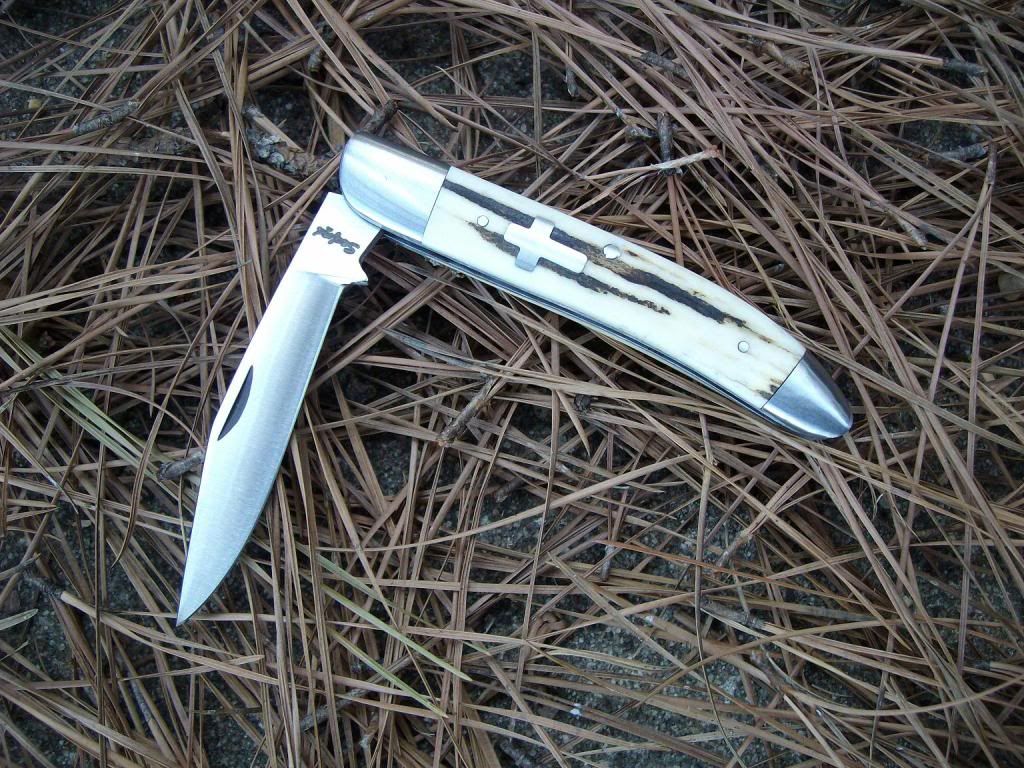
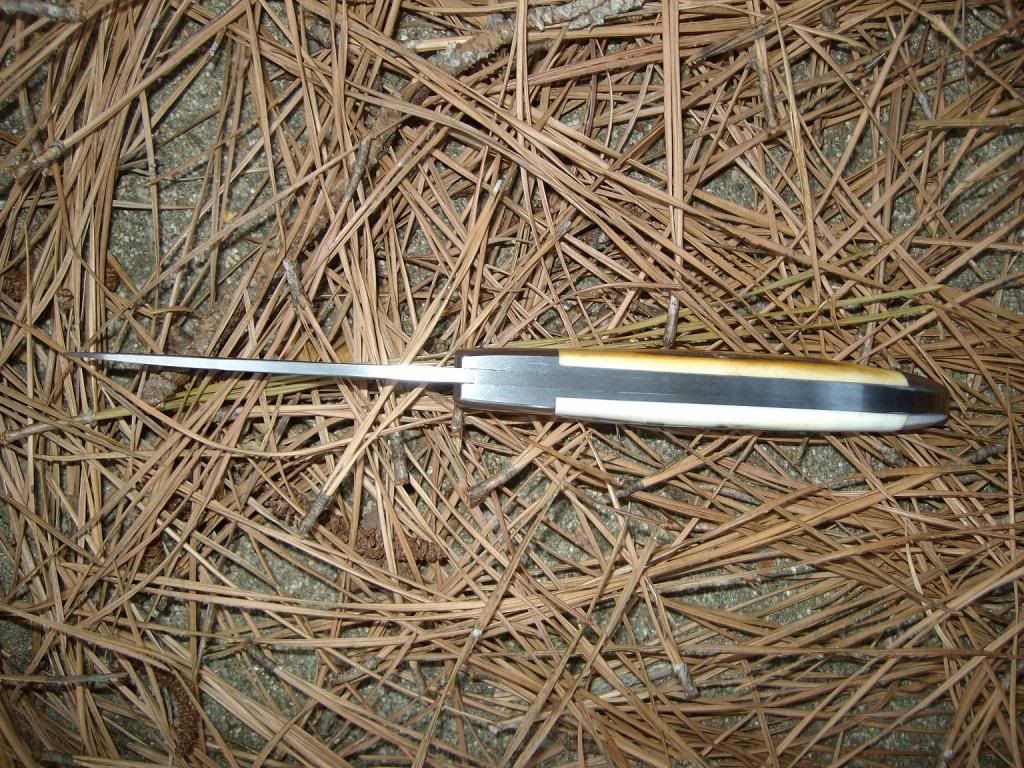
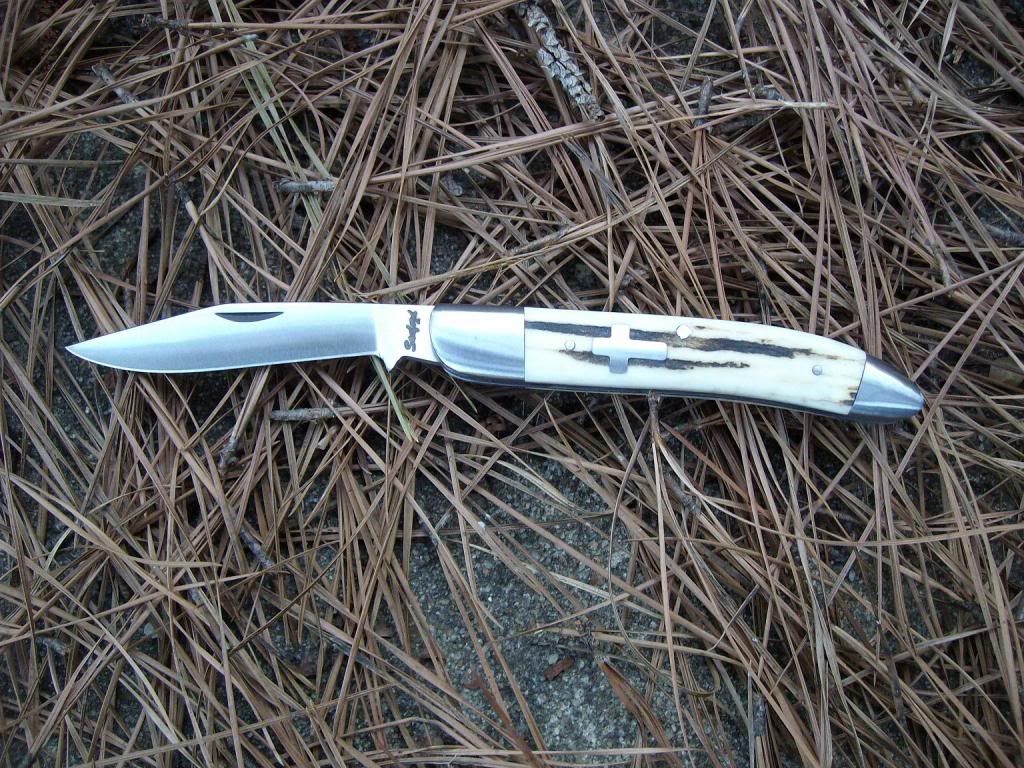
") Check this out - - I can't help but hide my emotion. Everything is falling into place, and I still can't believe I have almost pulled this off. I etched the blade last night and today I got some sanding done. All there is left to do is pin this thing together and polish it up. The better thing to have done would have been to thin the scales a little more than I did, then so much wouldn't have come off the surface trying to work them into a blend with everything else.
Check this out - - I can't help but hide my emotion. Everything is falling into place, and I still can't believe I have almost pulled this off. I etched the blade last night and today I got some sanding done. All there is left to do is pin this thing together and polish it up. The better thing to have done would have been to thin the scales a little more than I did, then so much wouldn't have come off the surface trying to work them into a blend with everything else.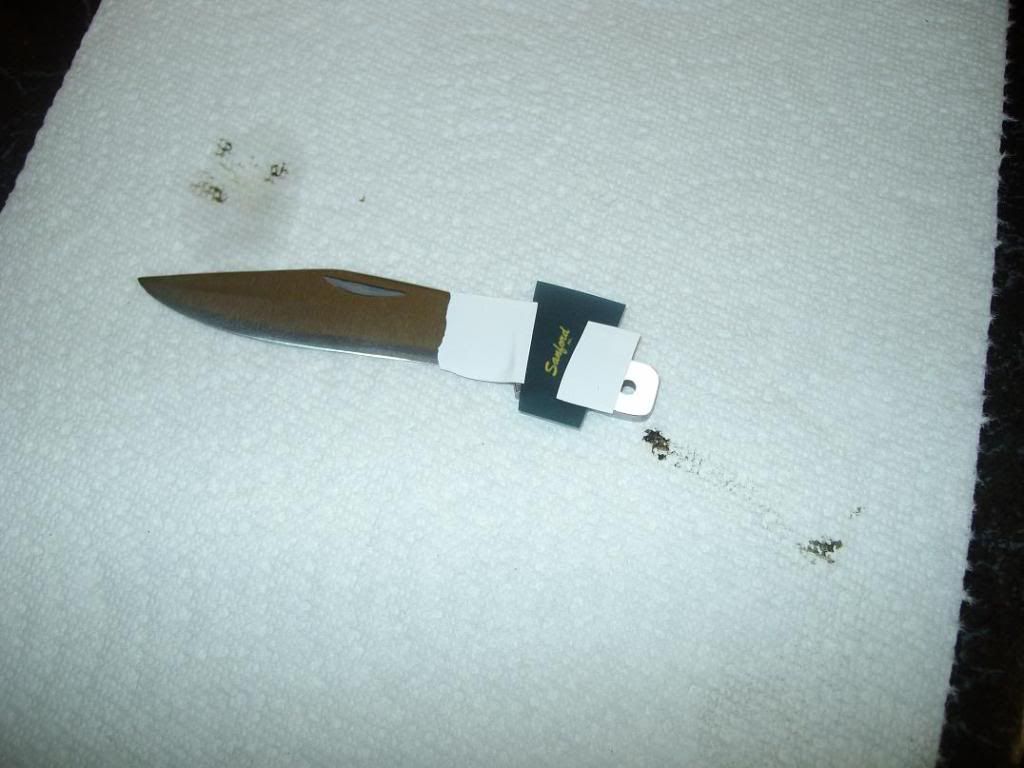
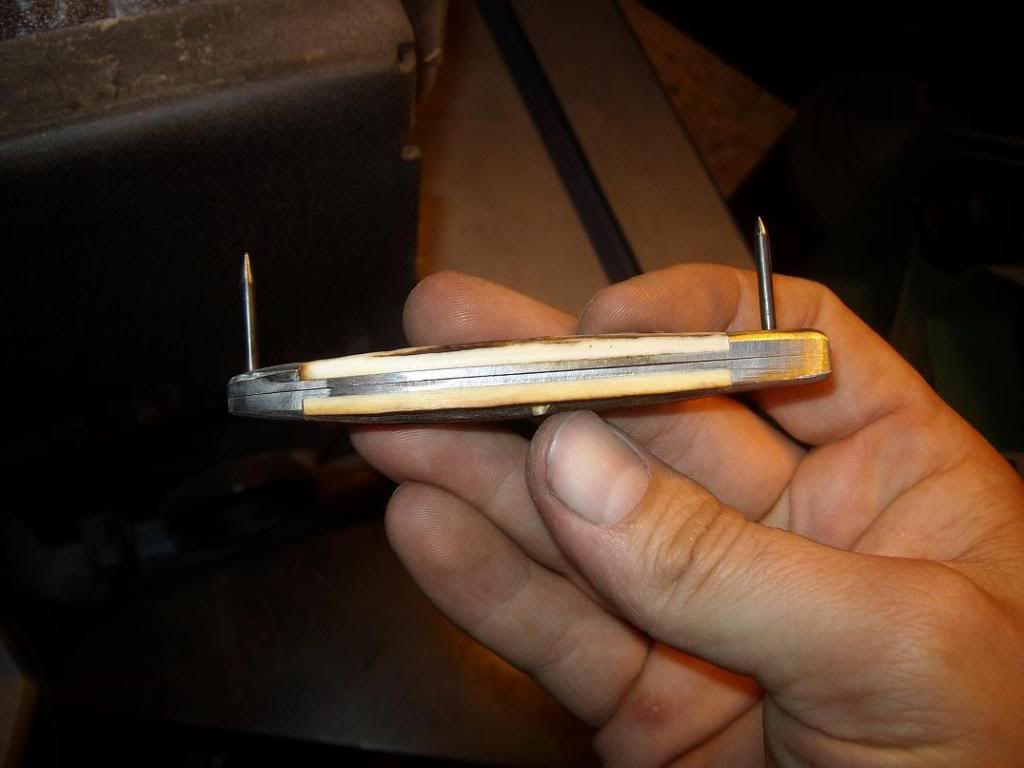

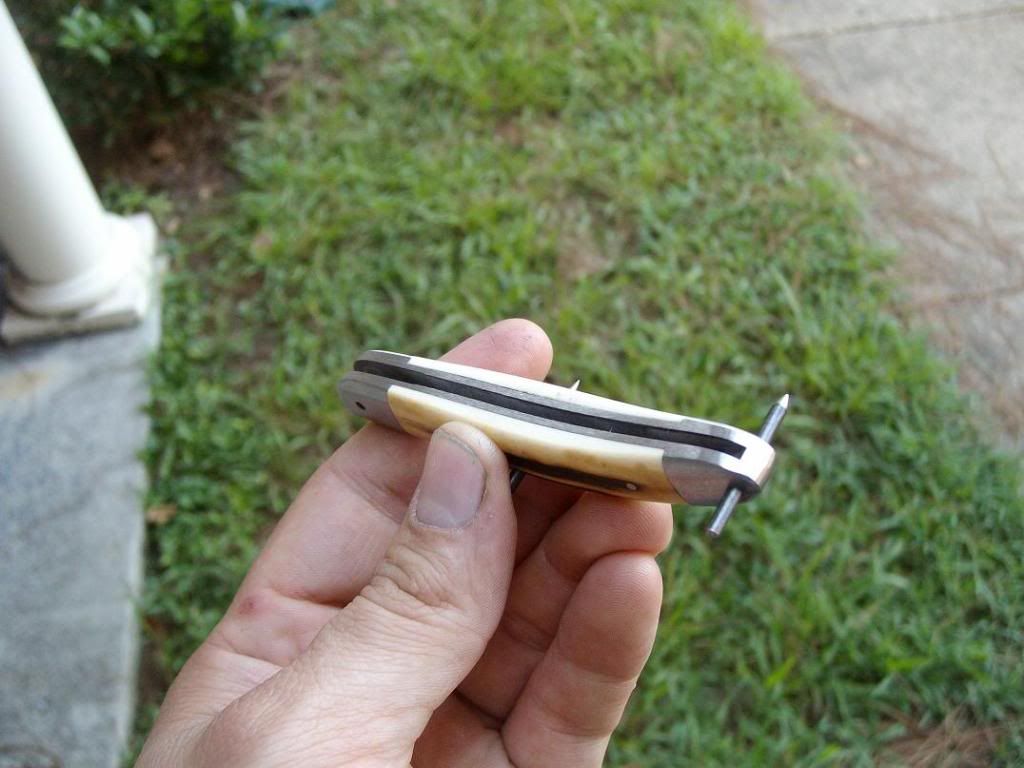
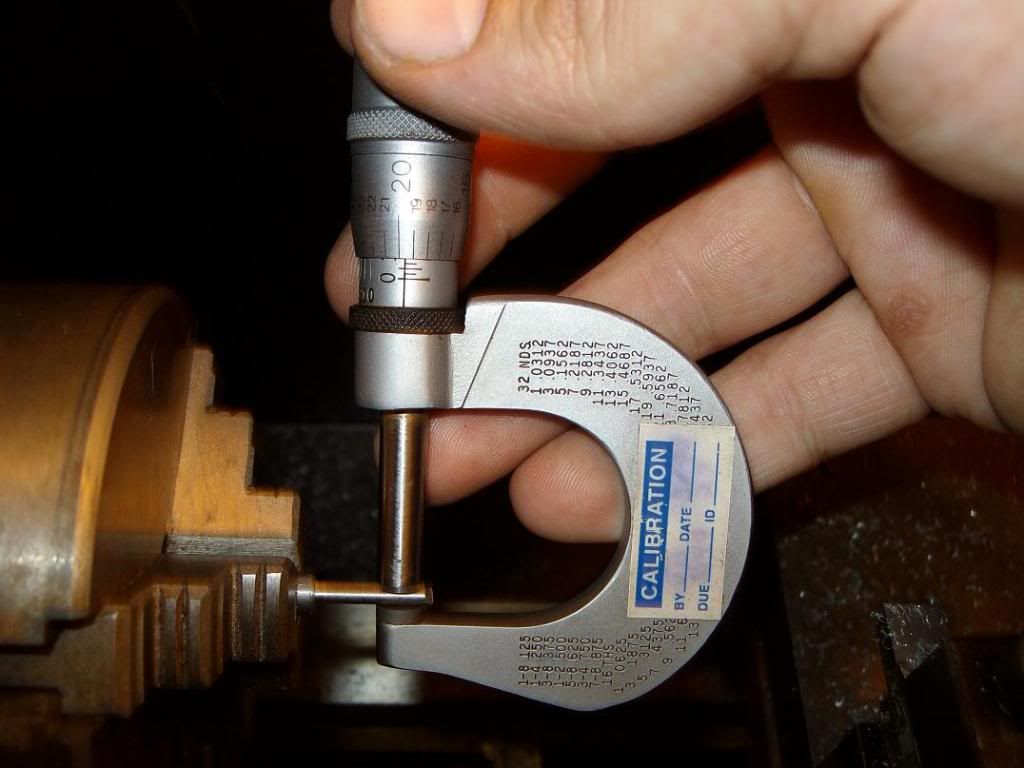
Do you have a .010" gap between liner and blade? Could you introduce a lapping compound to loosen it up?
I'm no expert, so take this as such. I think the intent with the bushing is that the pin will swell to some degree during peening. This will prevent the bushing from spinning on the pin; however, I do not believe the pin will swell sufficiently to cause the bushing to swell such that it binds the blade. Again, I'm no expert, but that is my understanding based on reading Eugene Shadley's book and every slip joint WIP/tutorial I can find. I'll double check Shadley's book when I get home tonight as I cannot recall offhand whether or not he used bushings.
I seem to recall reading a remedy for the issue you're having and I think I remember what the solution was as well. Let me confirm this before you use it, but I think I read that some makers, when experiencing the tightness you have here, will very lightly twist the blade orthogonal to the pivot to loosen it ever-so-slightly. Again, I'd like to confirm my information first though so you don't do anything disastrous based on misinformation from me. Intuitively, it seems like a bad idea to me, so again, let me try to substantiate this before you try it. If anyone can confirm/disprove what I've written here, please do so, you certainly won't hurt my feelings.
I have seen some makers spinning heads onto their pins, but cannot recall whether or not that was limited to the handle pins. We do similar processes here at work and it seems much more controllable/repeatable than peening.
Sorry for muddying the waters so-to-speak with regards to using bushings. My intent was to discuss how using bushings might help avoid the tightness you are experiencing. I see now that I inadvertently implied that you are using one, which I knew wasn't the case. Again, sorry for the confusion. I think your aluminum wedge method makes more sense than twisting the blade and might yield better results. The other nice thing about a bushing is that by leaving it 0.001" taller than the blade thickness, you built-in relief to prevent the liners from binding the blade.
I would avoid lapping compound in a finished pivot. Even with an ultrasonic cleaner I don't think you'd ever get all of the compound out. As you said, over the years this would result in a sloppy pivot.
- I knew you understood, I was just clarifying that for anyone who may be confused. I was just going on about how I feel about the situation and what can be done to remedy it.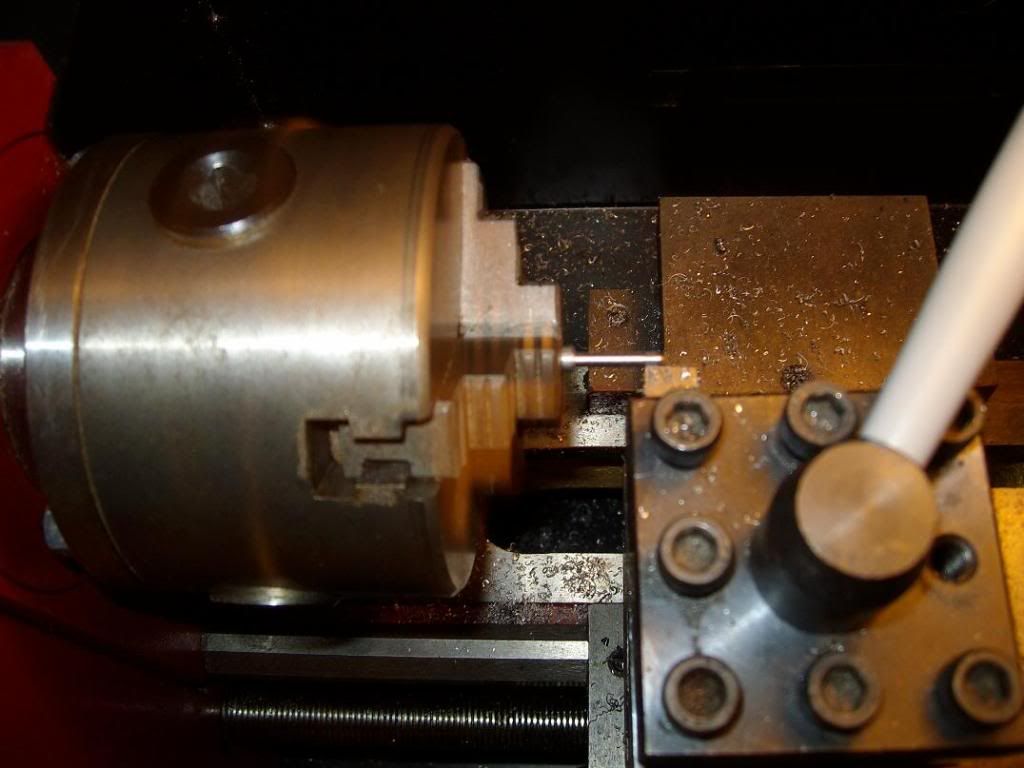


Very good. Are you hooked?