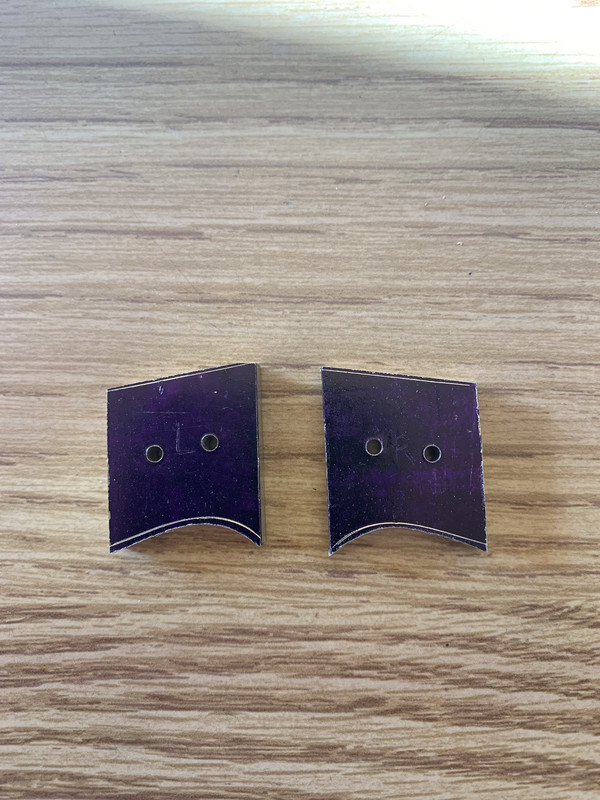
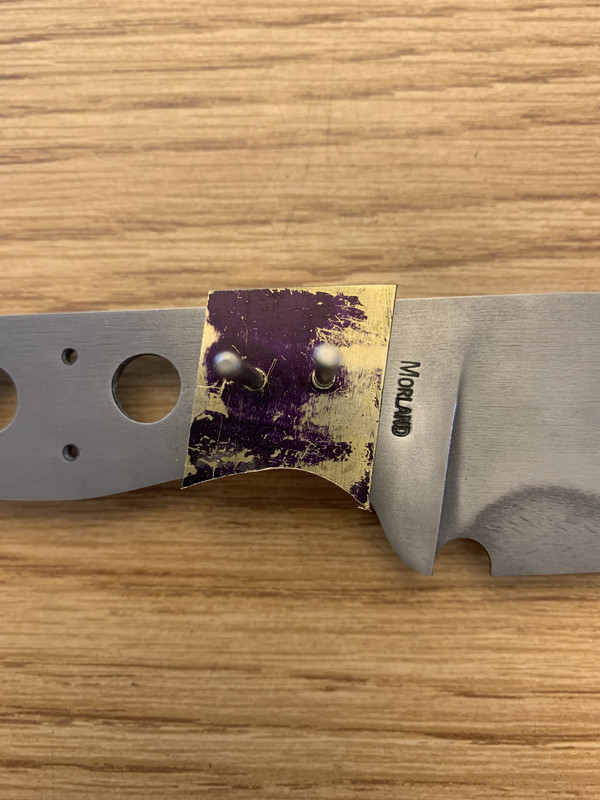
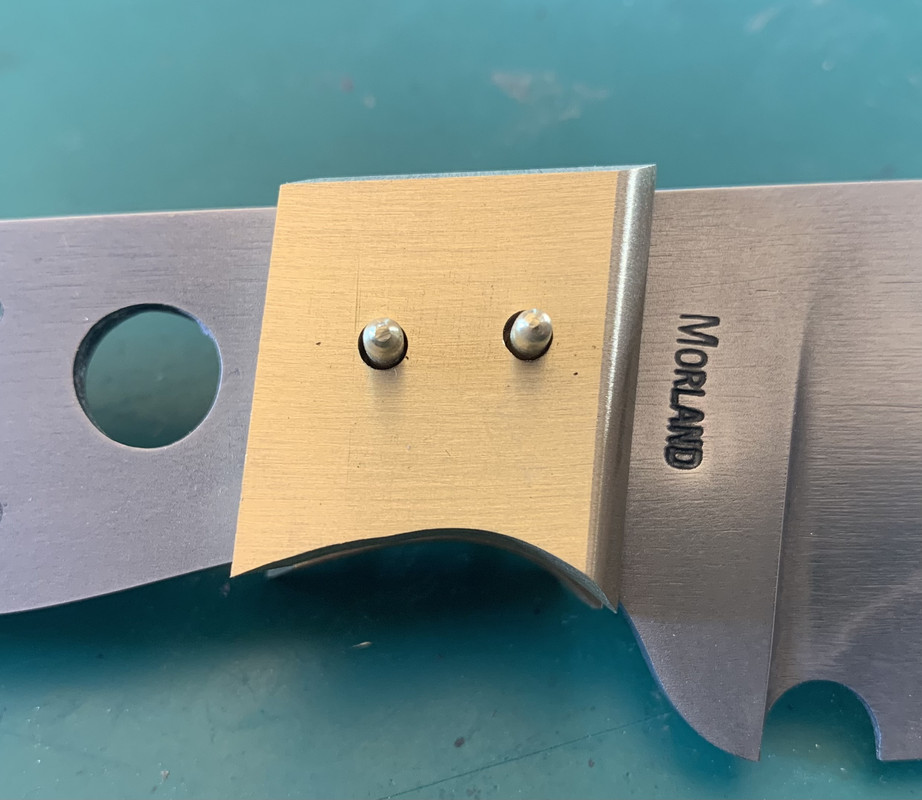
Dennis Morland
KNIFE MAKER
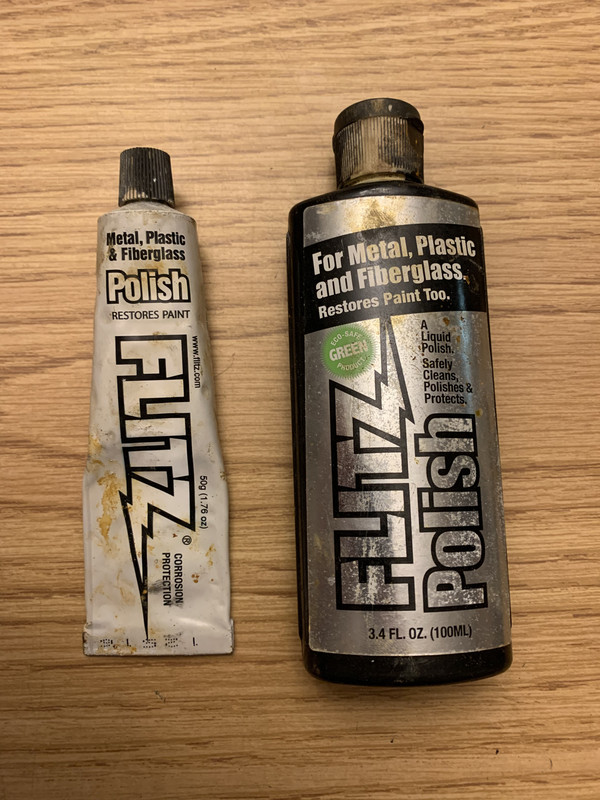
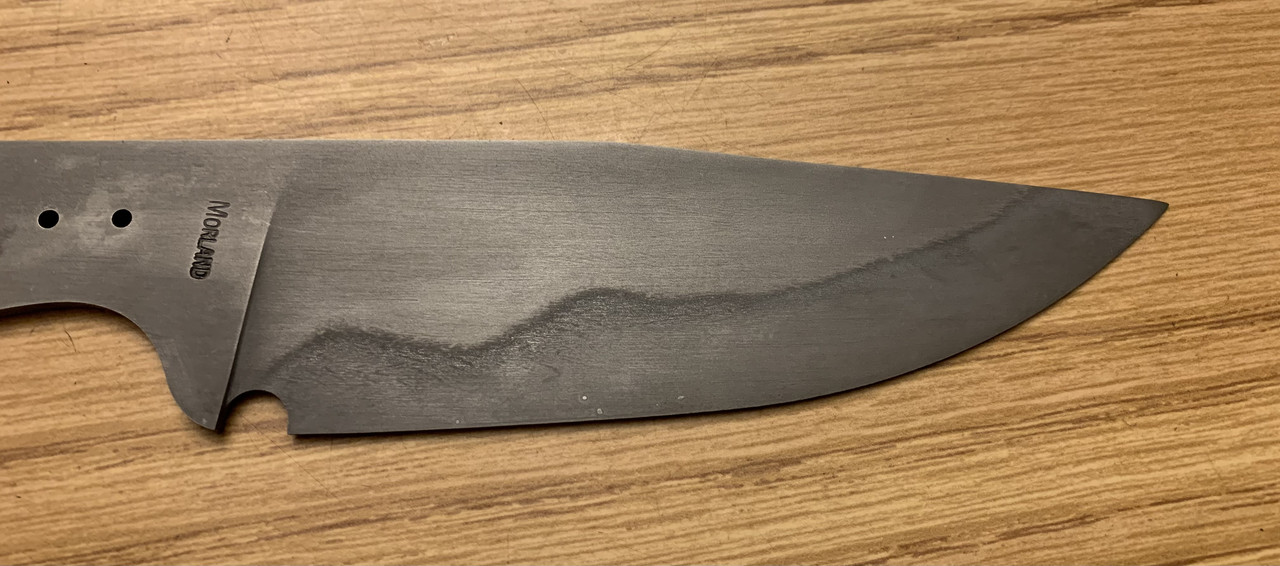
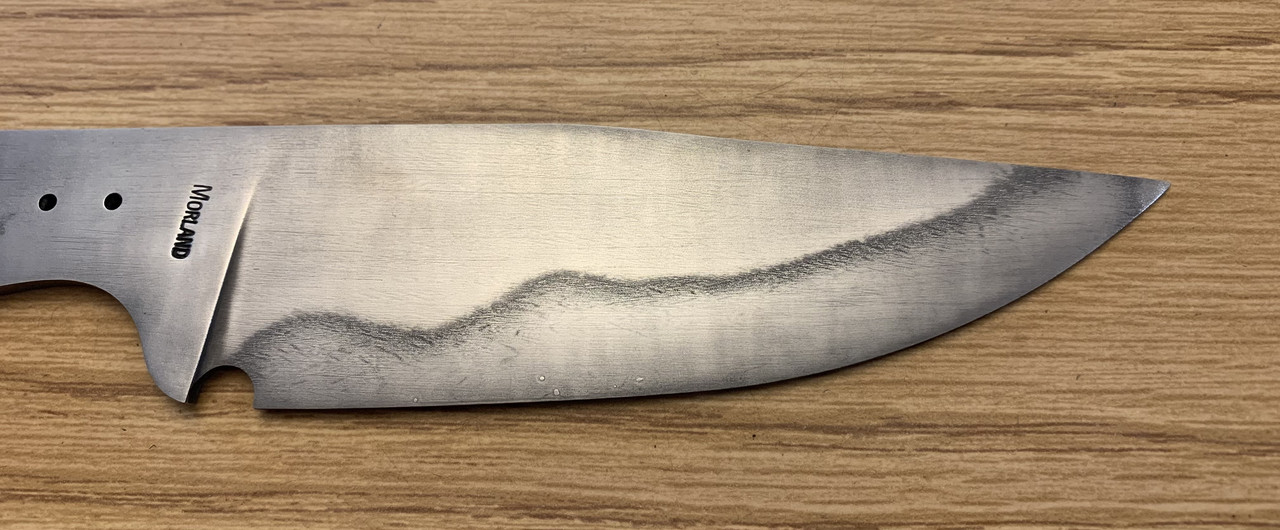
I took John’s advice and hit the grinder. I cleaned off all the decarb. I then hand sanded the crap out of the blade. Then into the etch for 3 rounds at 10 minutes each.
This is why I like the KITH. I learned something today. Grind the decarb off before giving up on the hamon. I will polish and the blade should get even nicer.

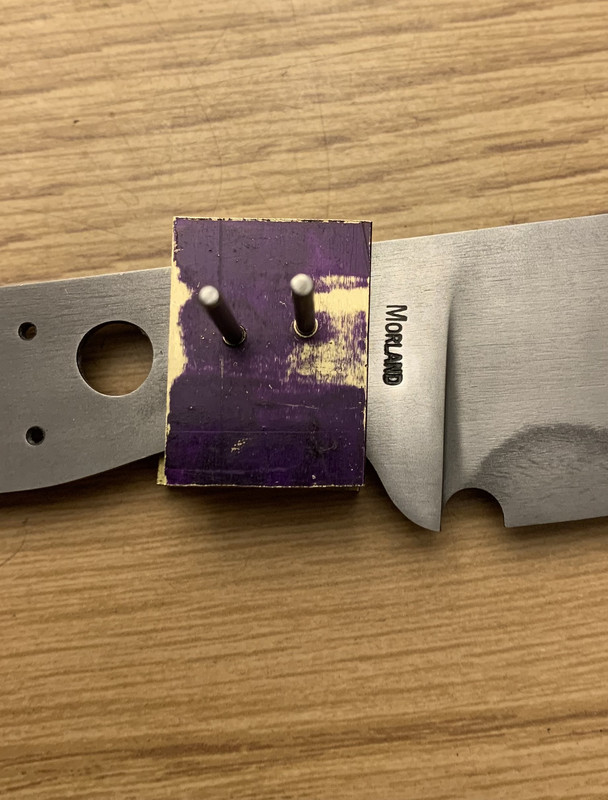
Flip side.

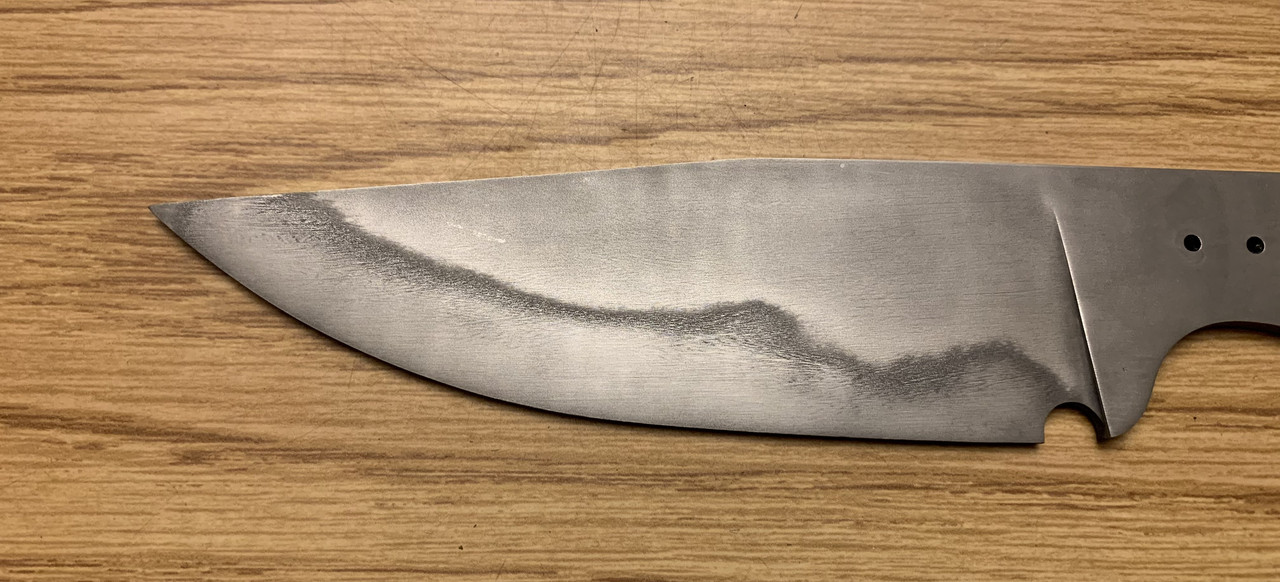
This is why I like the KITH. I learned something today. Grind the decarb off before giving up on the hamon. I will polish and the blade should get even nicer.
Flip side.