Checkered Inlay

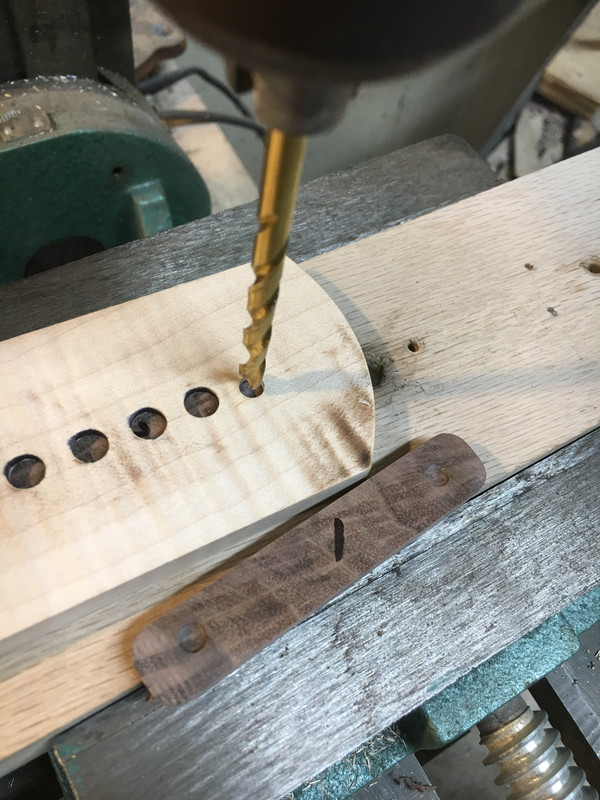
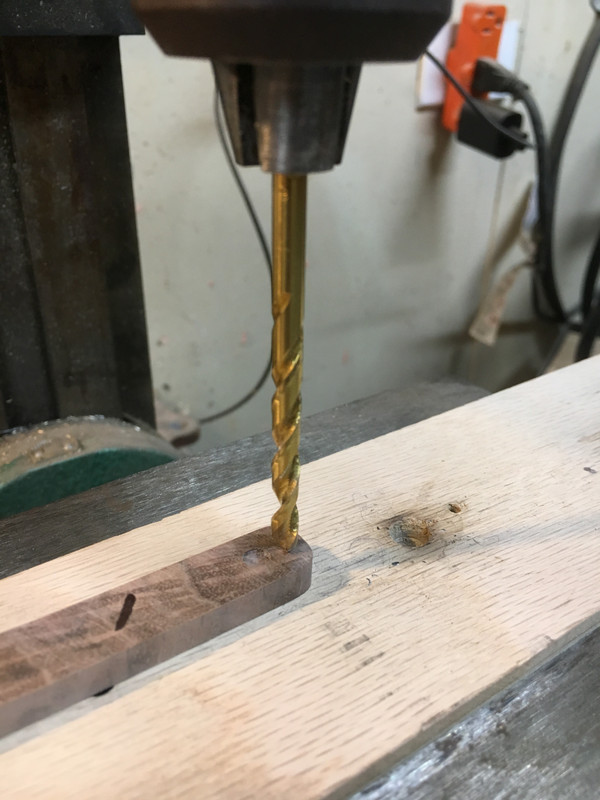
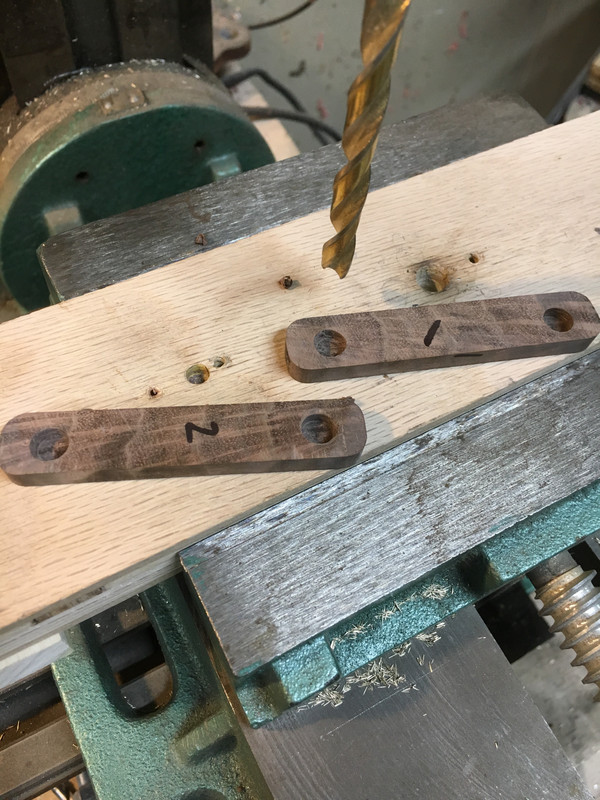
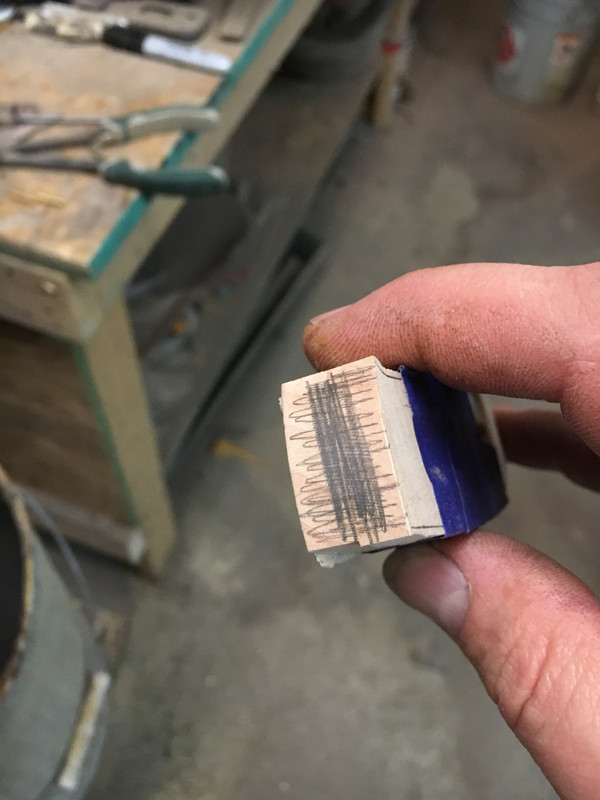
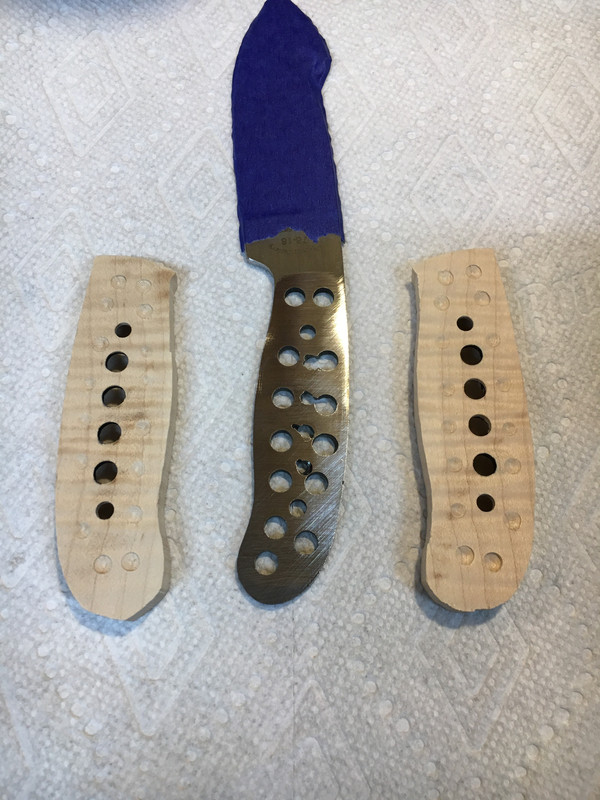
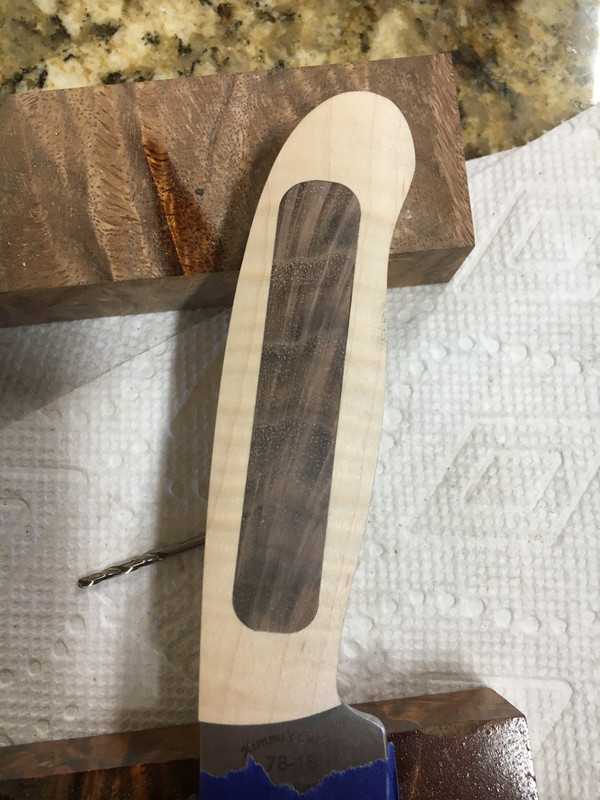
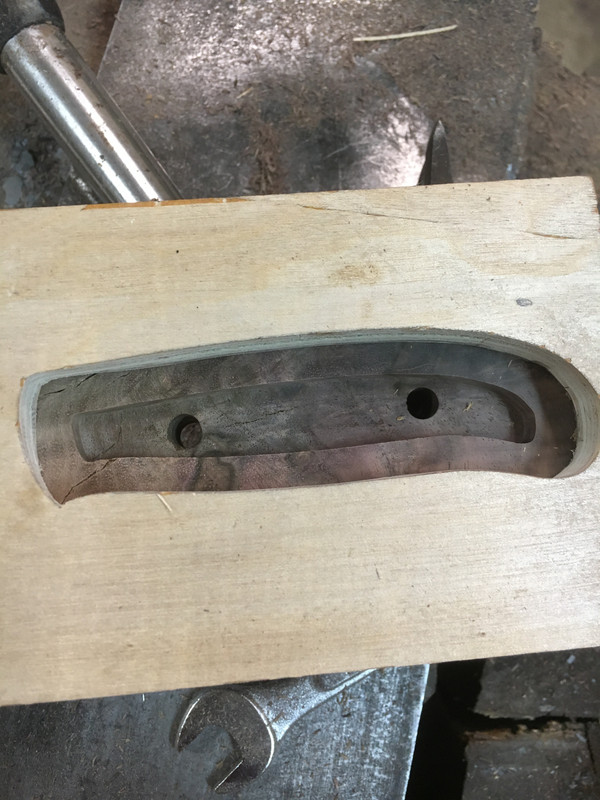
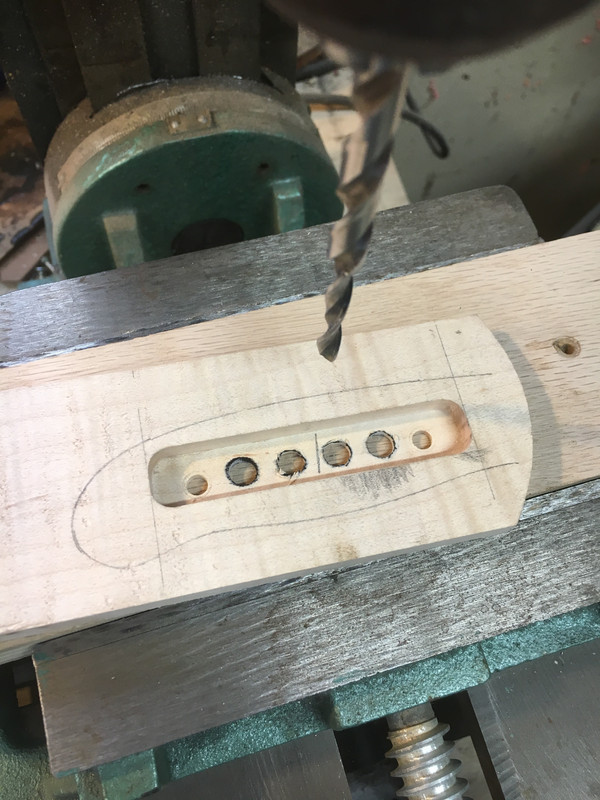
Back at it. Next I wanted to drill holes through the blade so epoxy will connect the inlays. I have a bunch of holes in the blade but they didn't line up with where I need them. I marked the blade where the holes need to be.


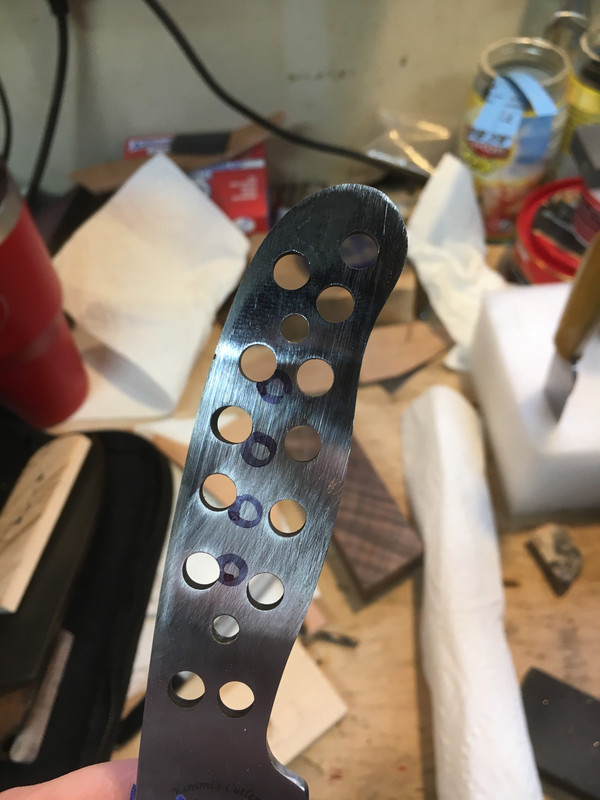
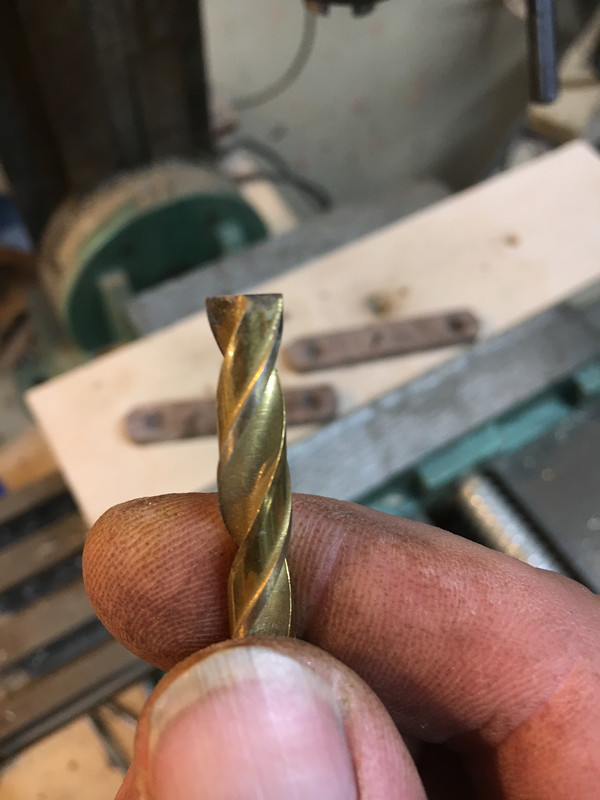
Unfortunately, the blade is too hard to drill. So I went to the alternative, the hot drill.


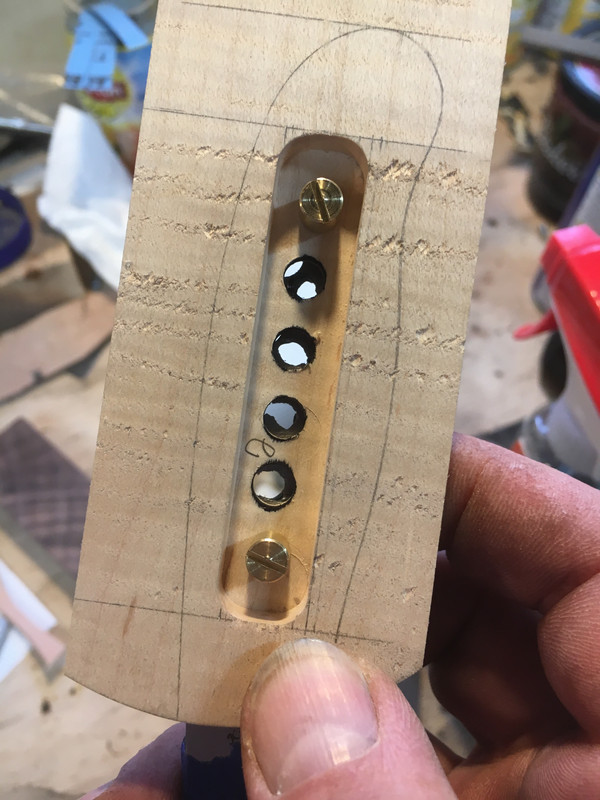
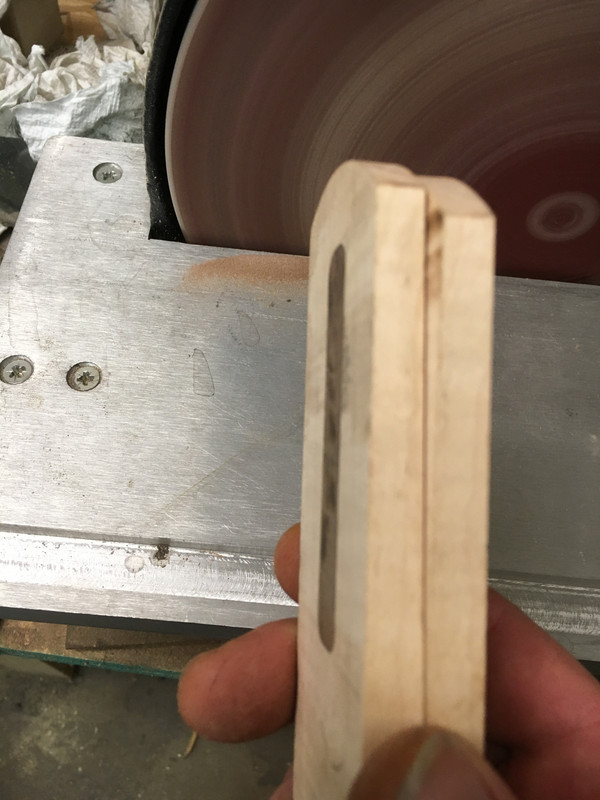
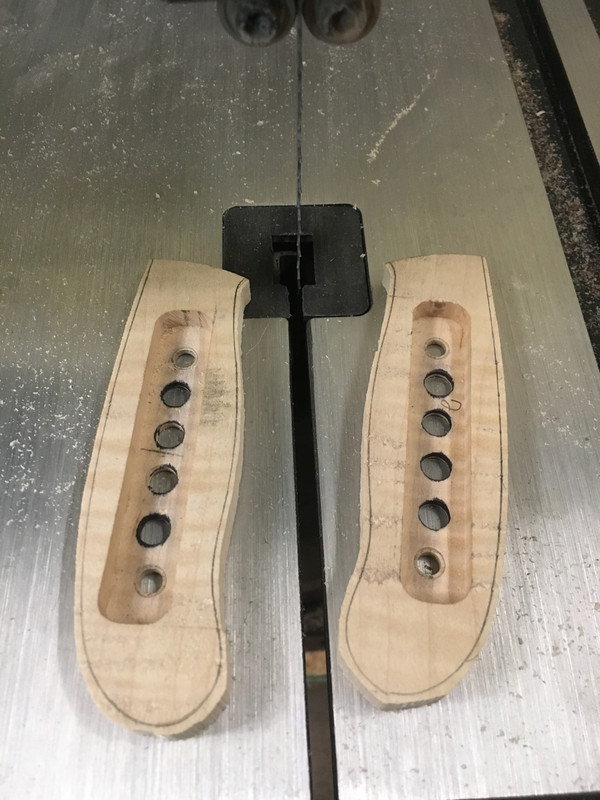
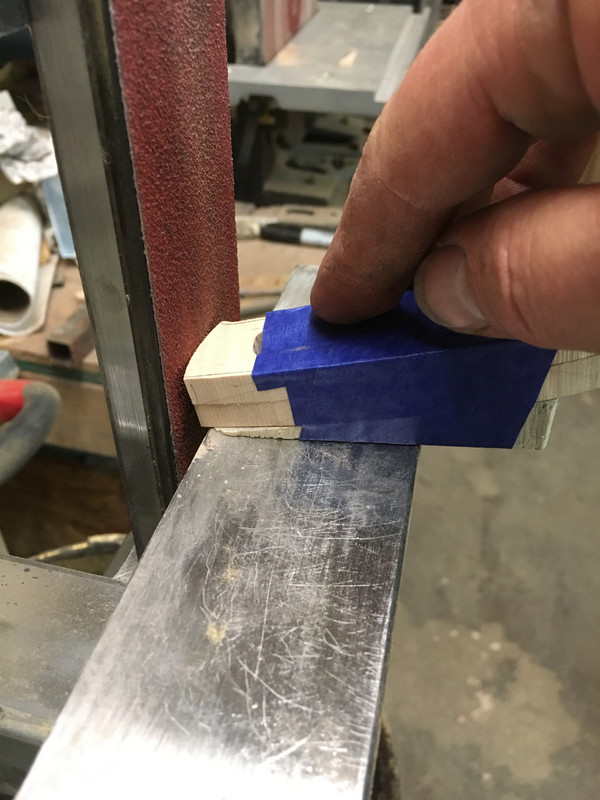
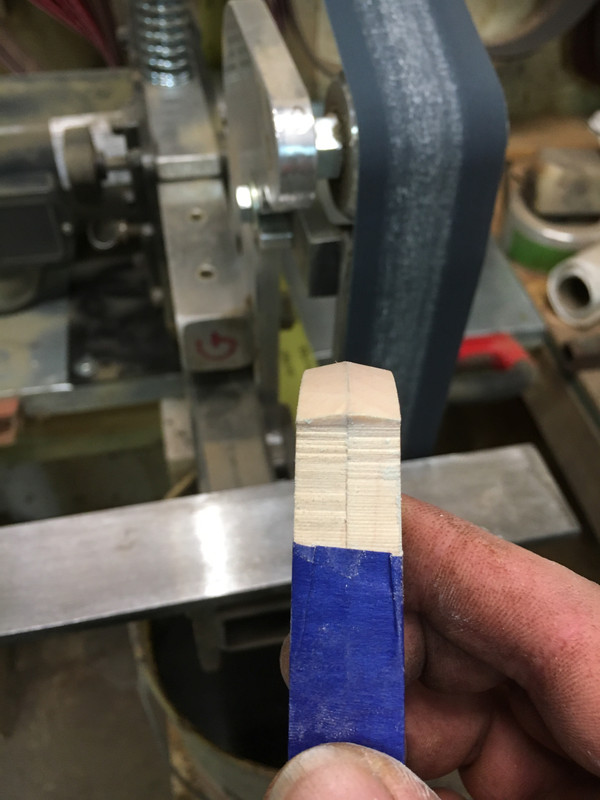
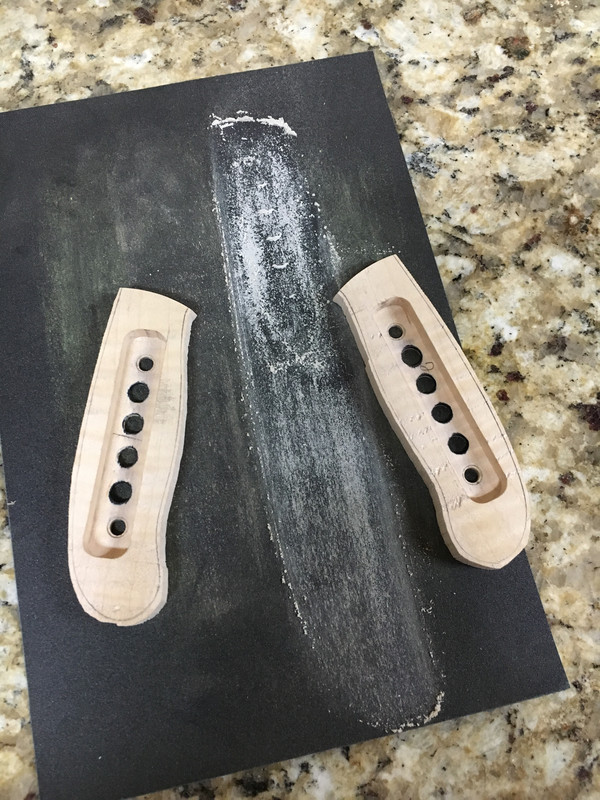
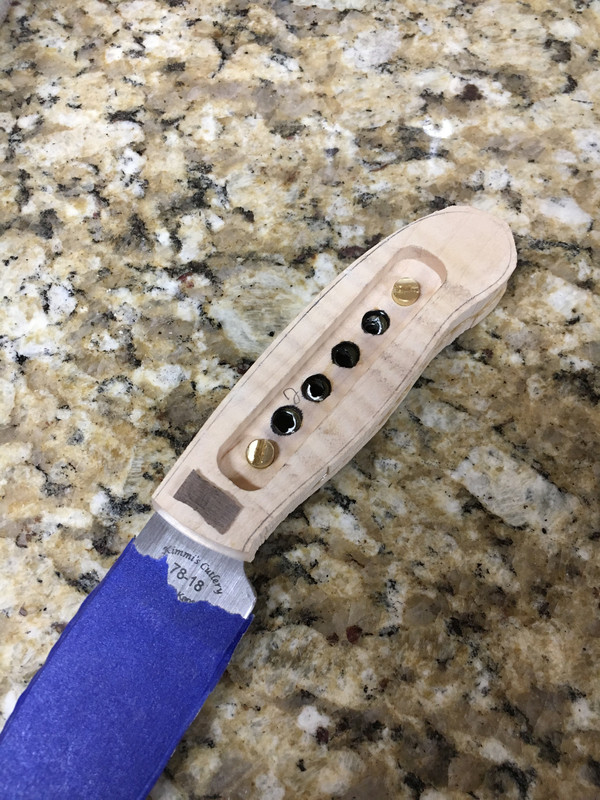
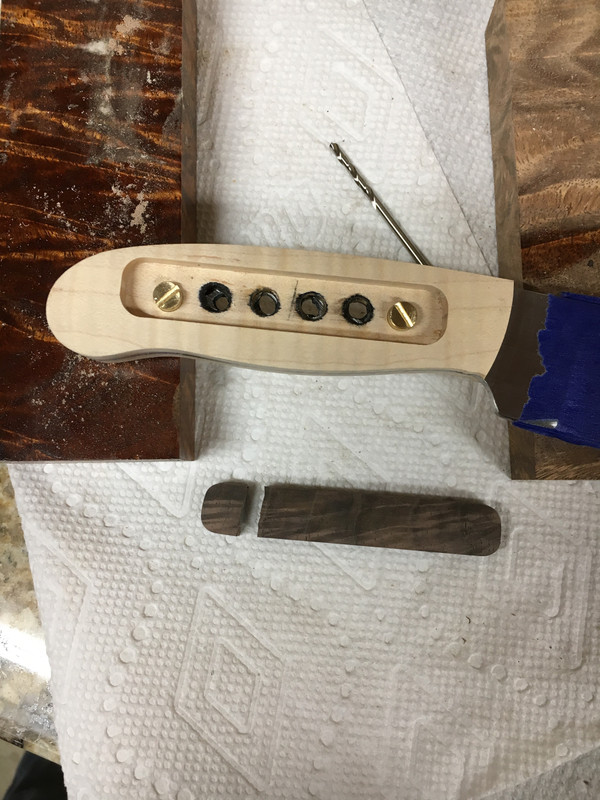
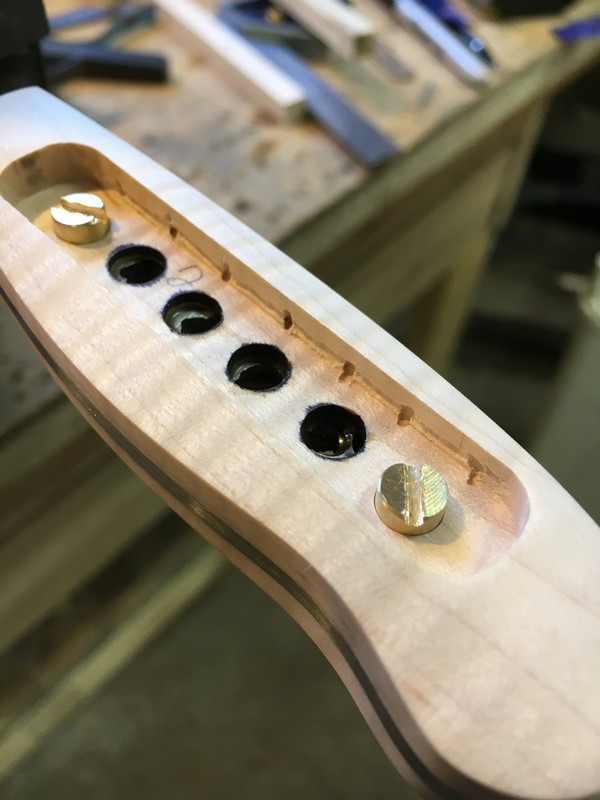
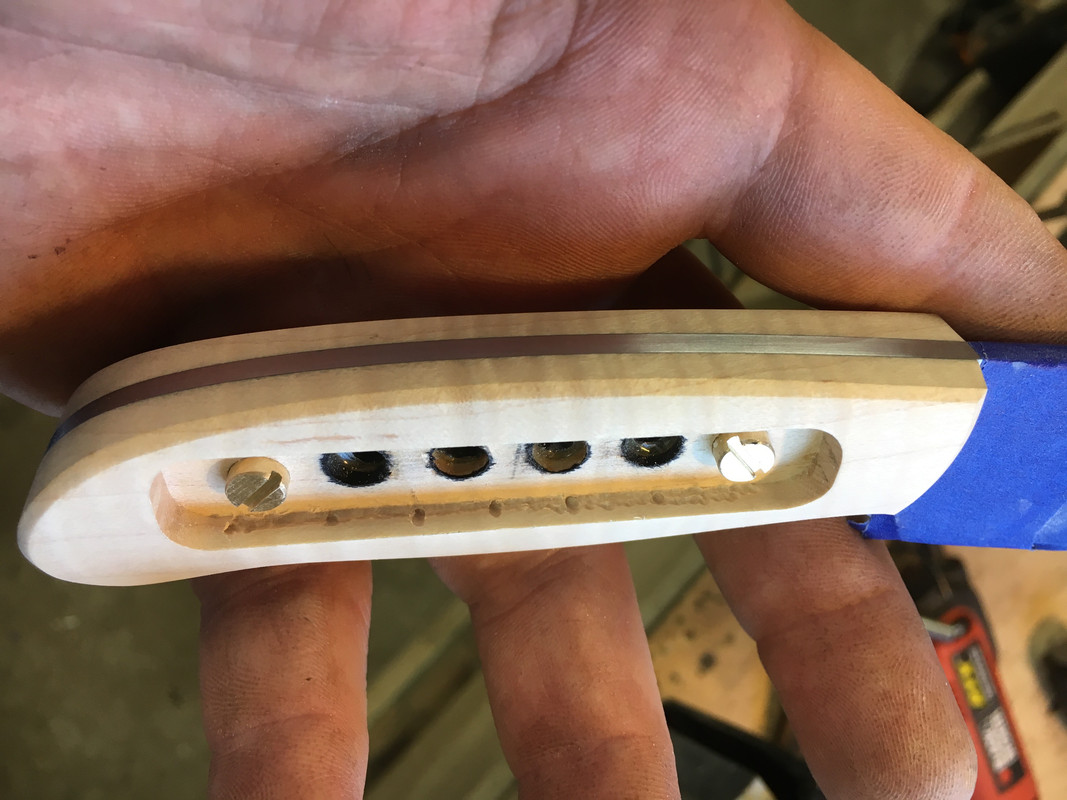
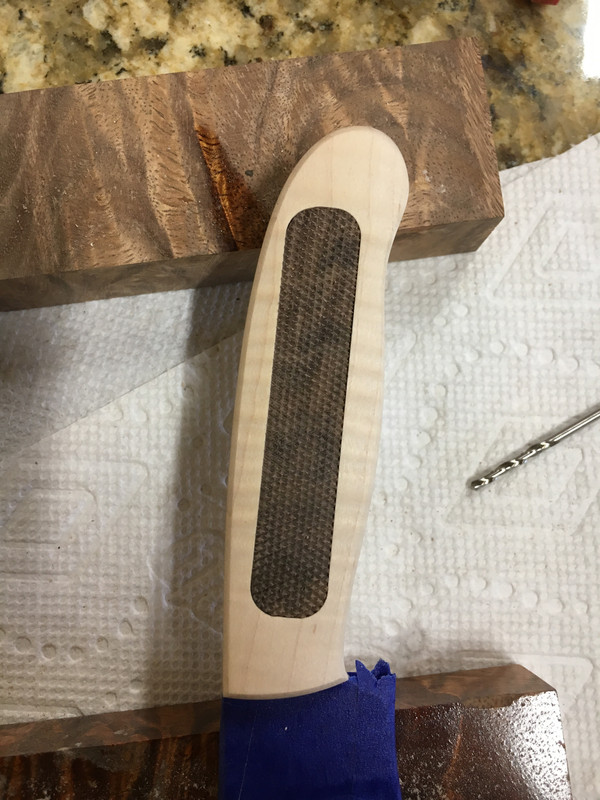
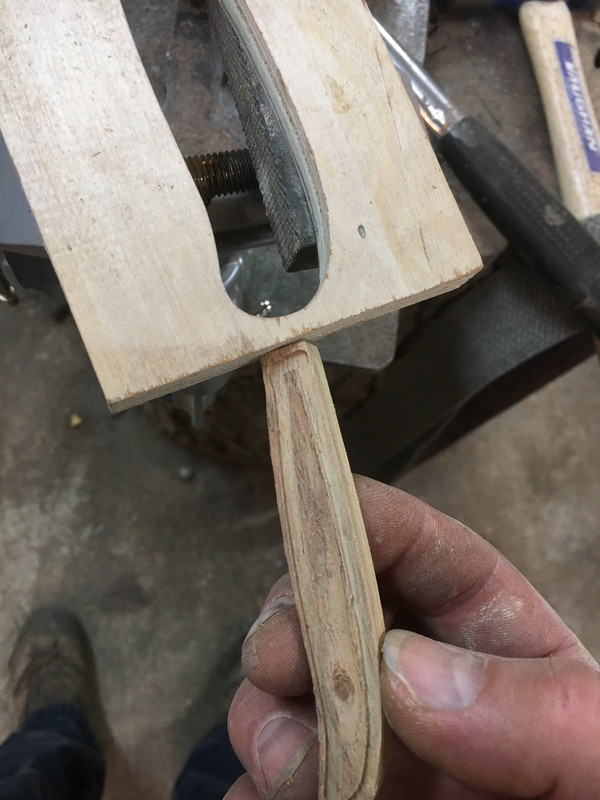
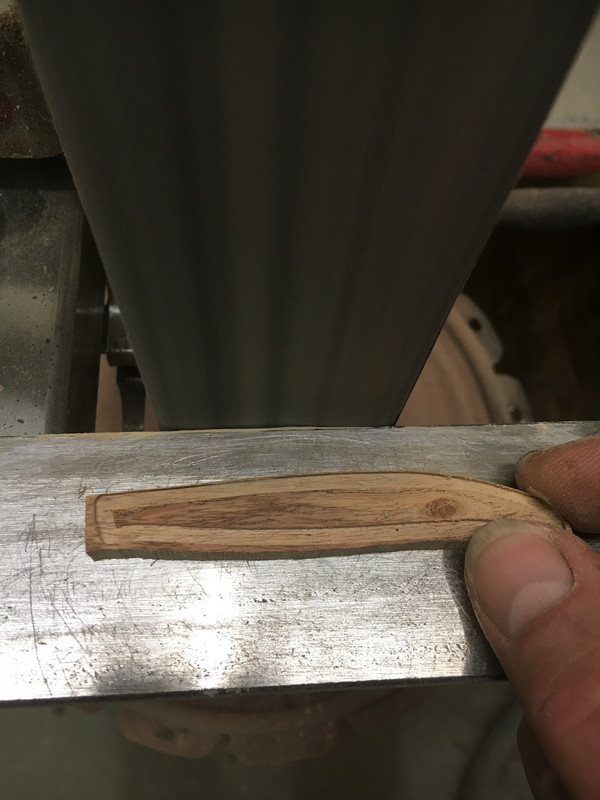
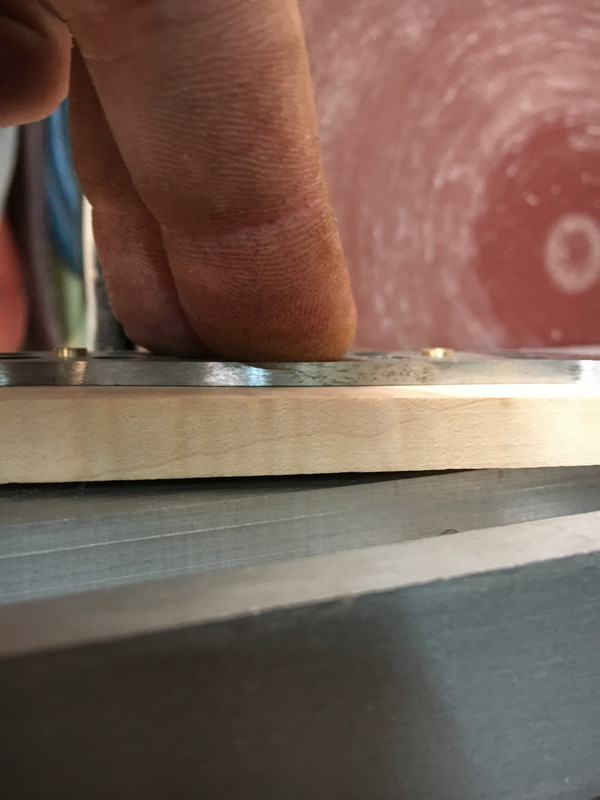
Flattening the back of the scales on the disc sander was next, followed by countersinking for the corby bolts.


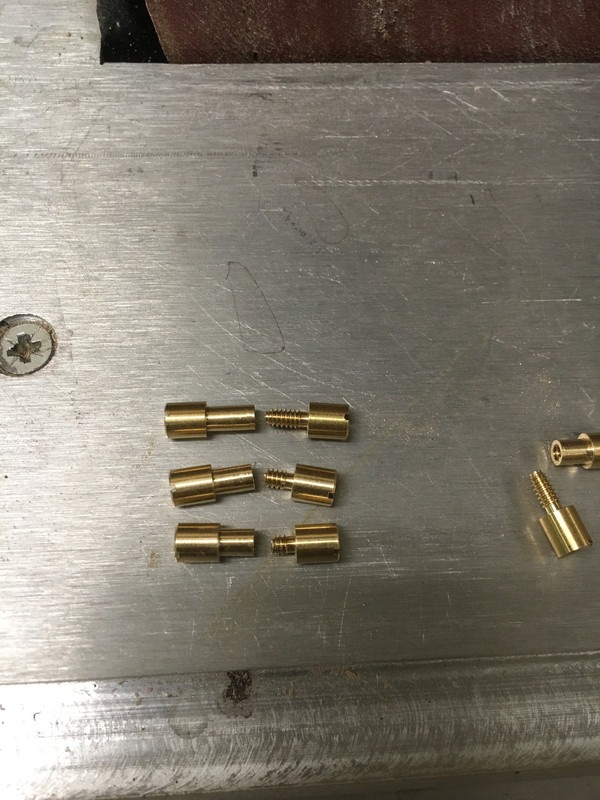
As I posted earlier, the thickness of the scales under the inlay is fairly thin. Too thin for the colby bolts to work as they are.

I ground them down on the disc sander to fit. I left just enough for them to reach into the 2nd scale.
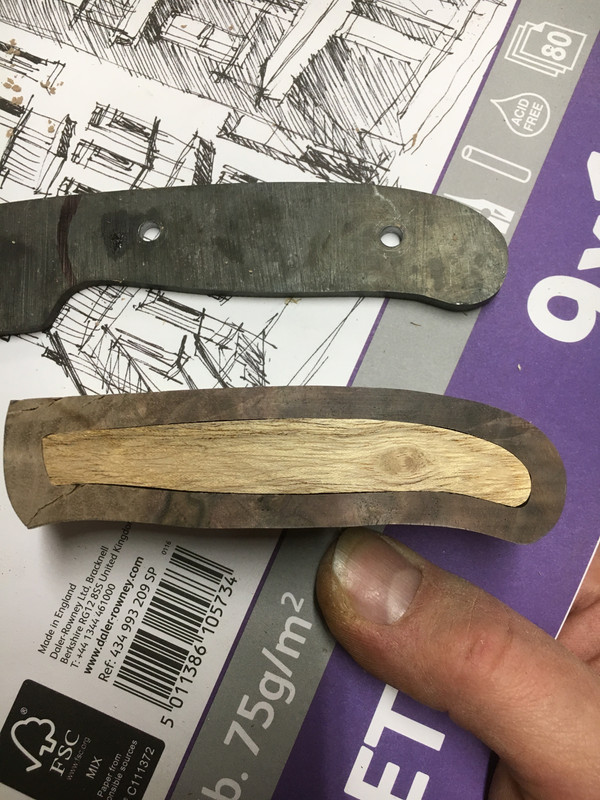
Here they are with a non shortened one. Don't mind the one to the side, we're going to call it an experimental one.


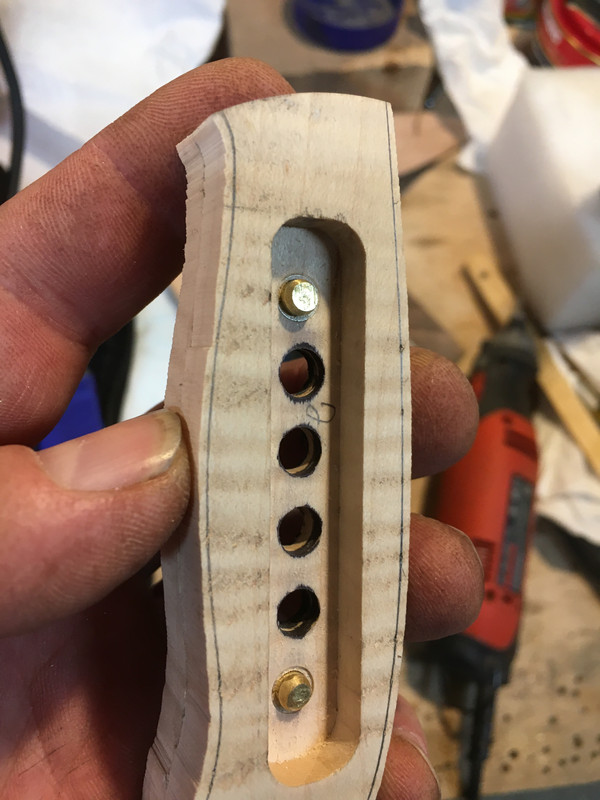
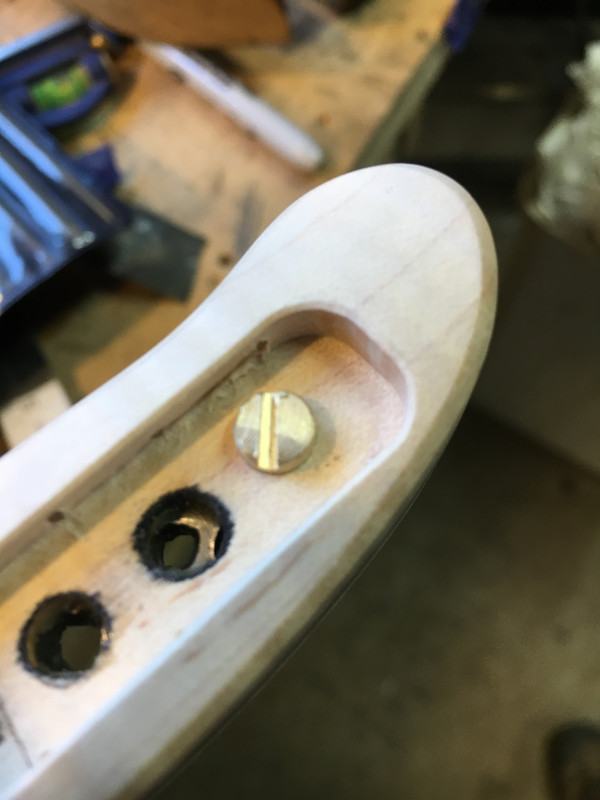
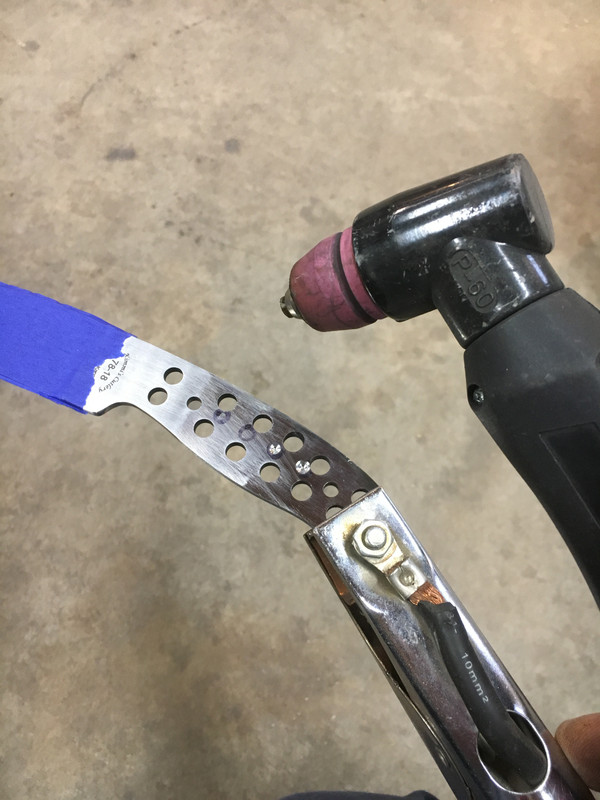
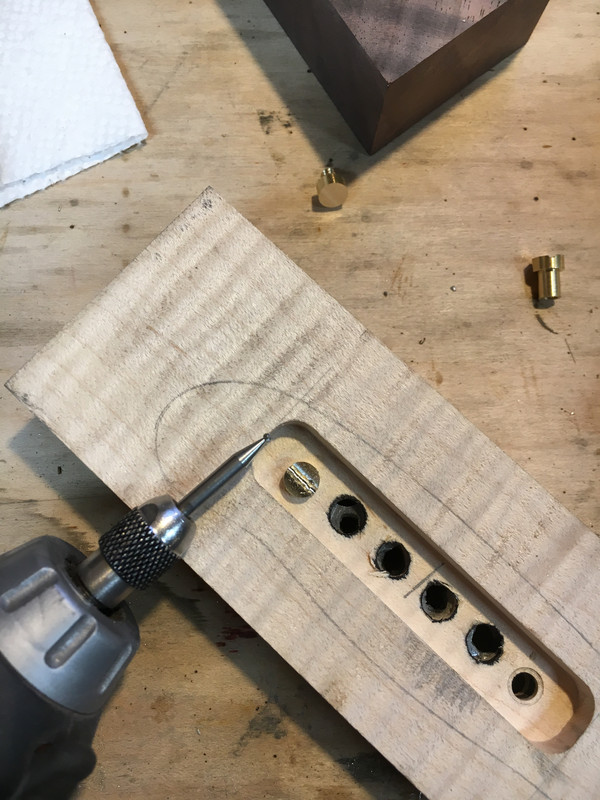
Next I milled the head of the corbys down so they will be recessed inside the inlay.

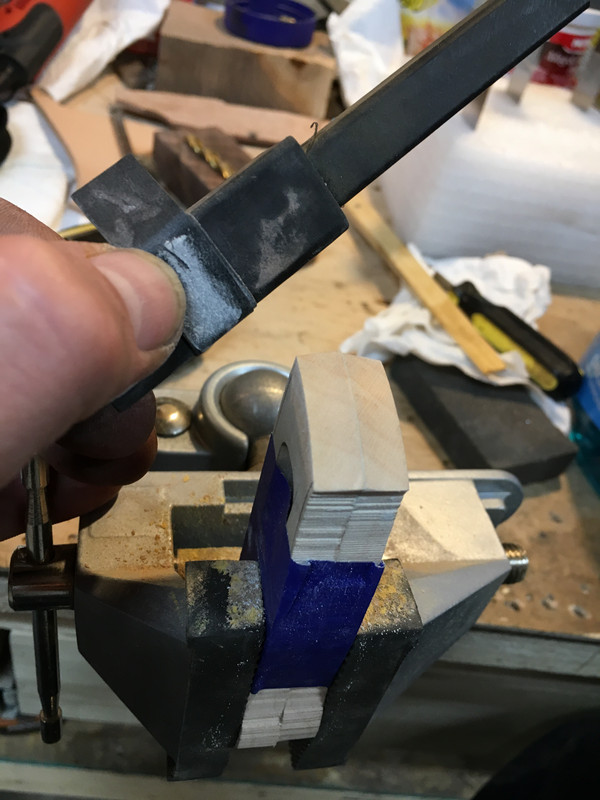
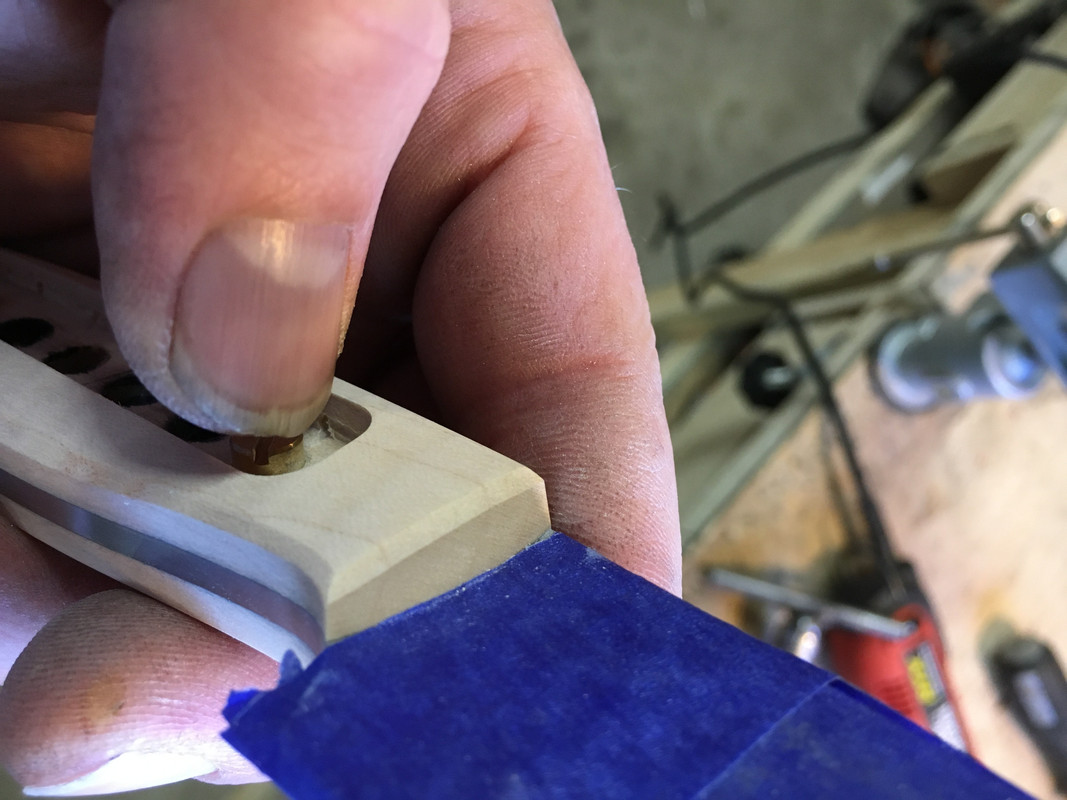
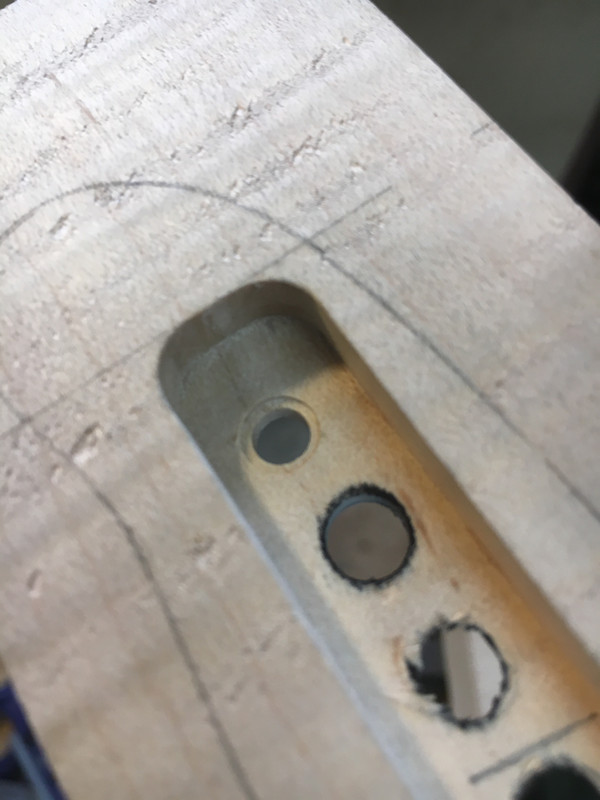
I then used a small burr on a rotary tool to cut a slot so I could remove the corbys.

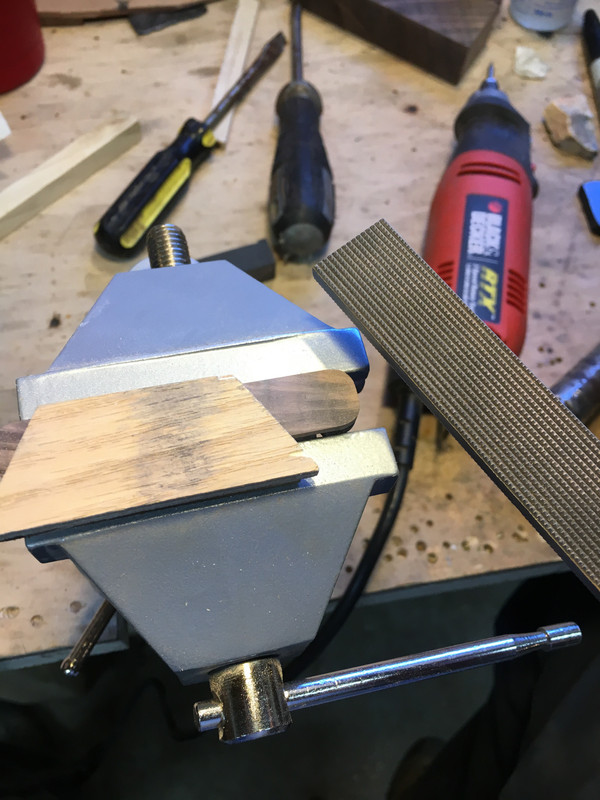
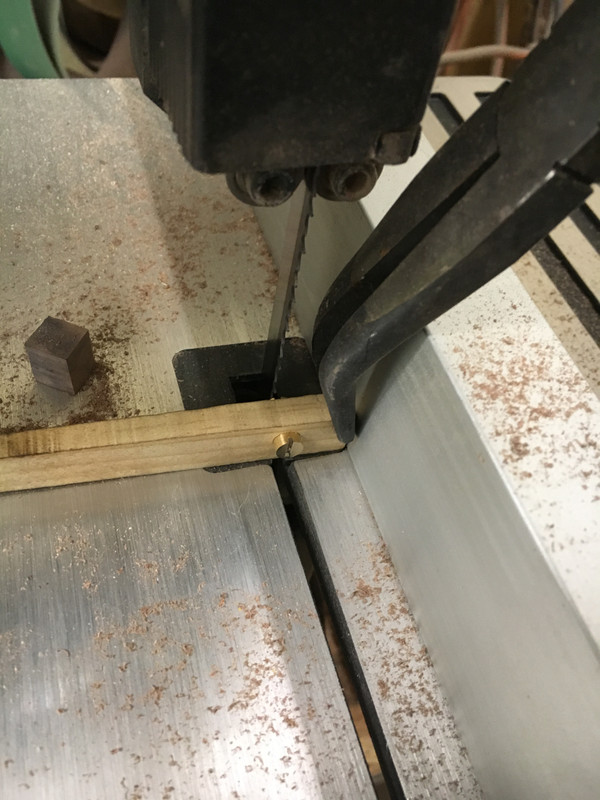
This let me remove them, but I wanted a better slot to be able to tighten them up when I epoxy the scales on. I drilled a hole in a shim and put the corby bolt on it.

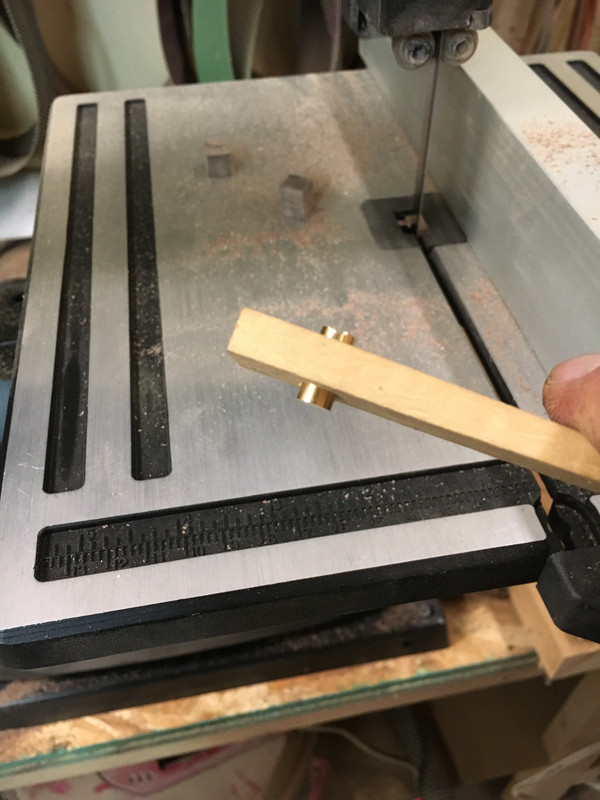
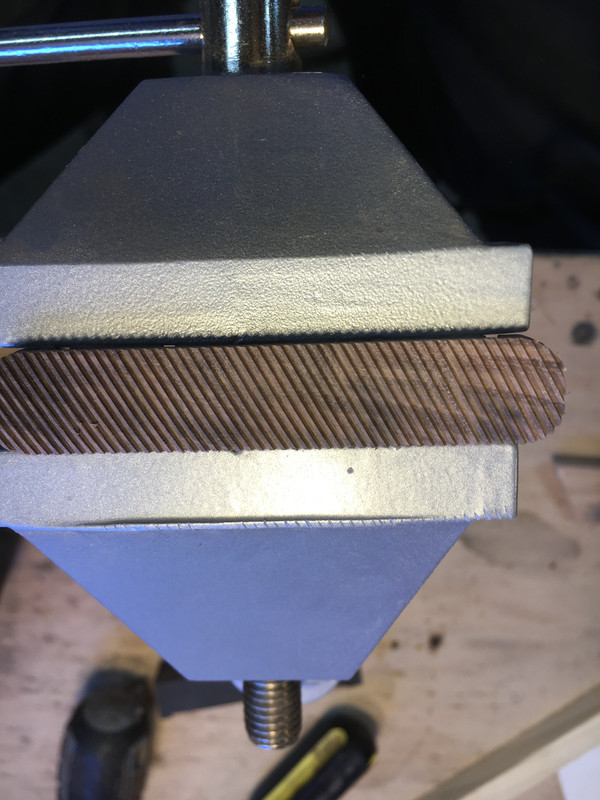
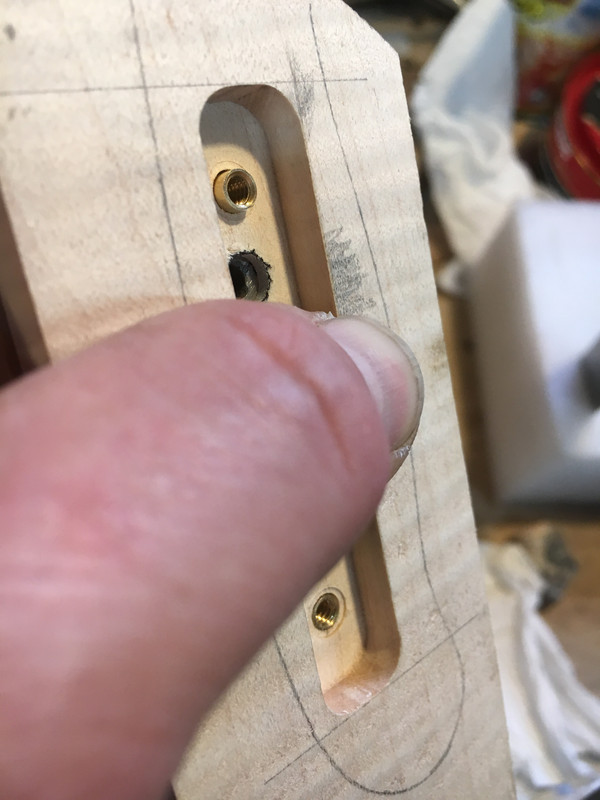
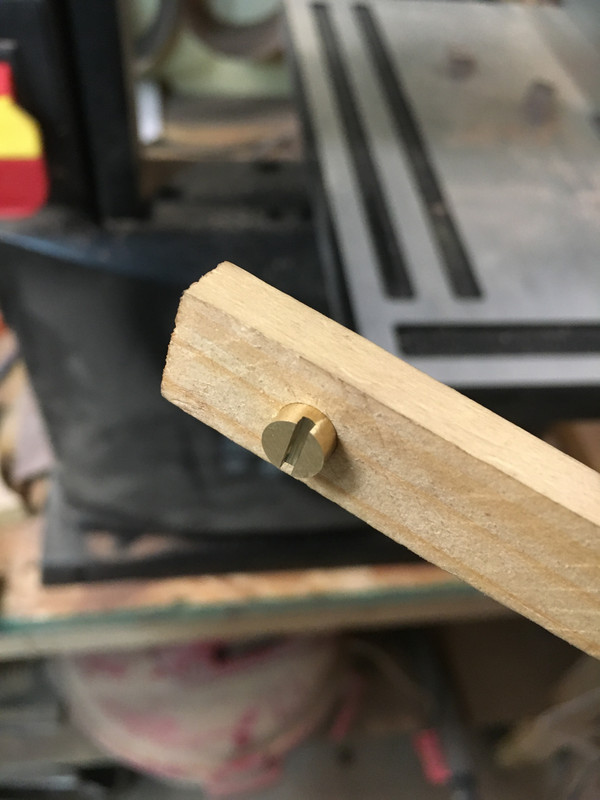
Using a long pair of needle nose pliers to help hold it, I cut a slot in the corby on the band saw.

This worked better that I expected.

Next, I'll work on the inlays. Should have more to add later tonight.
 
Last edited:
Final one for tonight. I sanded the inlays flush with the scales. Then I drilled the inlays to mark where to countersink for the heads of the corby bolts.


Next I used a little trick to set the depth stop for drilling. I wanted to drill the countersink holes 1/8" deep. I run the bit down to touch the inlay, then set an 1/8" bit on top of the depth stop and run it up till it hits.


After drilling the 3/16" hole, I drilled them out to 1/4", then ground a bit to have a flat bottom to finish the holes.


Next was cutting the handles to shape.


When I shape the front of the scales, I use short pins to keep them lined up and tape them together.


Instead of changing the angle of the rest to get the angle I want on the front of the scales, I tape an angled shim to the scales. This one is 10 degrees. I also mark the front edge to see where I'm sanding easier.


400 grit on the sander and into the vice for hand sanding.


Hand sanded to 800.


Next I hand sanded the back of the scales to insure flatness and drilled dimples in the back of them for more epoxy hold.


And the scales are on the blade.


On to the inlays. I cut a groove around the bottom of them for an epoxy ring when I put them into the scales. I also drilled some holes hoping that any excess epoxy will go into them instead of squeezing out to the outside of the inlays.

 
Last edited:
It's almost done! After the epoxy dried, I super glued a small shim to the front of the scales to account for the taper and sanded the edges flush.


Here I have the edges done and the scales to shape. Ready to hand sand the edges.


I could only shape one side at a time so I could take the inlays in and out. They fit fairly tight and taking one of them out caused that bear Ed talks about to show up. A little super glue fixed it.


Next I cut an epoxy groove in the scales and beveled the edges and front of the scales.


The checkering of the inlays was next. I made a jig to cut the checkering in a diamond pattern as Ted suggested. It worked really well and came out looking good.


I decided the inlay could look better, so I beveled the inside of the inlay groove.


I like this look better.


At this point, the scales have been sanded to 800 and the inlays are ready to be epoxied in. I'll update again after I get a few coats of tru-oil on the handles. Hopefully, I haven't bored everyone to death up to this point. If you have any questions, ask away.
 
Last edited:
Once the width fit, I started sanding one end of each inlay to fit, then cut them closer to length and fit the second end of each.

Hi Gene,
On the step where you sanded the ends round to fit, did you use any kind of guide or just slowly sand up to a pencil line.... or something else? Those round ends on the inlay look clean and match the grove perfect. It looks like you could have done it a hundred times the same way and it would have came out just as clean.
 
I sanded them on the rest and kept checking the fit. The first end is easy since the inlay is longer than needed. Once it fit, I started on the second end and checked it often. I used a 400 grit belt so it wouldn't cut too fast. A new 600 grit would probably work better. There were small gaps but the checkering and beveling of the inlay slot makes them almost disappear.
 
Thanks everyone. Here are a couple pictures after finish. I'll take some better close ups and post later.

 
Last edited:
Thanks for the compliments. I had a lot of fun doing this and it has spurred other ideas I want to try. I've got some ideas for a jig that should make things easier to do.
 
That's some really nice work. Nice finish, clean cuts, and nice color contrast. Thanks for posting all of this, Gene. I enjoyed following and learning from it.
 
I got some new tools in today to try an inlay that follows the profile of the handle. I threw together a practice piece to see how well it was going to work.
I started by cutting out a profile of the tang in a piece of 1/2" plywood.


Then I glued the template to the block and used a plunge router with a guide collar to cut the groove for the inlay.


Next, I glued the same template to the inlay block and cut a shallow groove in it.


Doing this to the inlay piece gave me an outline to sand to that matched the groove in the handle.


When I sanded to the outline, the outer wall of the groove gets cut through.


I did this fairly quick and wasn't as careful sanding as I should have been. There are a few gaps where I sanded too much, but I'm pretty confident this is going to work the way I was hoping.


Here it is after I beveled the edges.


Now I have to get some blades made so i can try this on a real handle.
 
Last edited:
On the checkering part how did you maintain the consistent spacing between the lines? Please do not tell me you eyeballed it because that will make me feel more inadequate.
 
On the checkering part how did you maintain the consistent spacing between the lines? Please do not tell me you eyeballed it because that will make me feel more inadequate.

Chris,

I filed the first pass then left about 1/4 of the file overlapped on the first grooves. This leaves you filing at a bit of an angle, but I just used light pressure until the file had leveled out a bit.
 
What file did you use? I have a jewelers saw I wonder if I made the right jig would it work. I think the kerf would be too narrow to give the proper effect though.
 
Back
Top