Checkered Inlay

Gene Kimmi

KNIFE MAKER
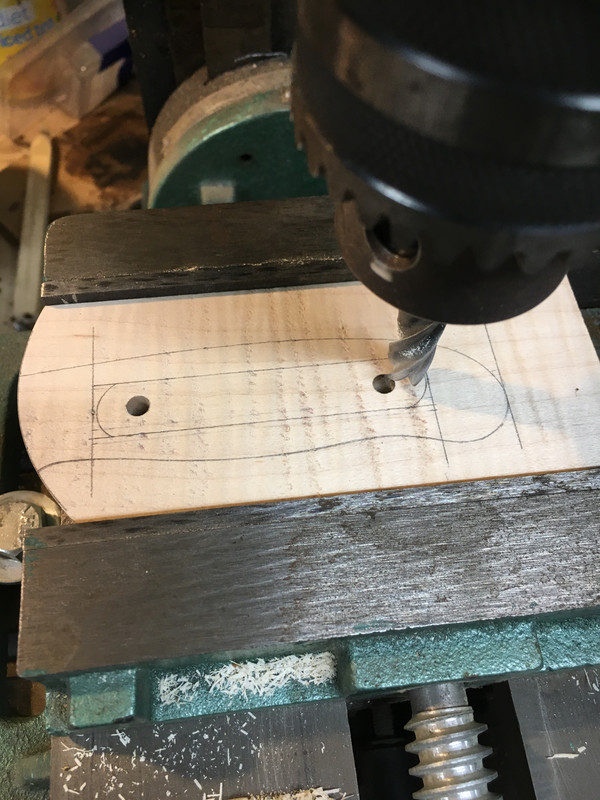
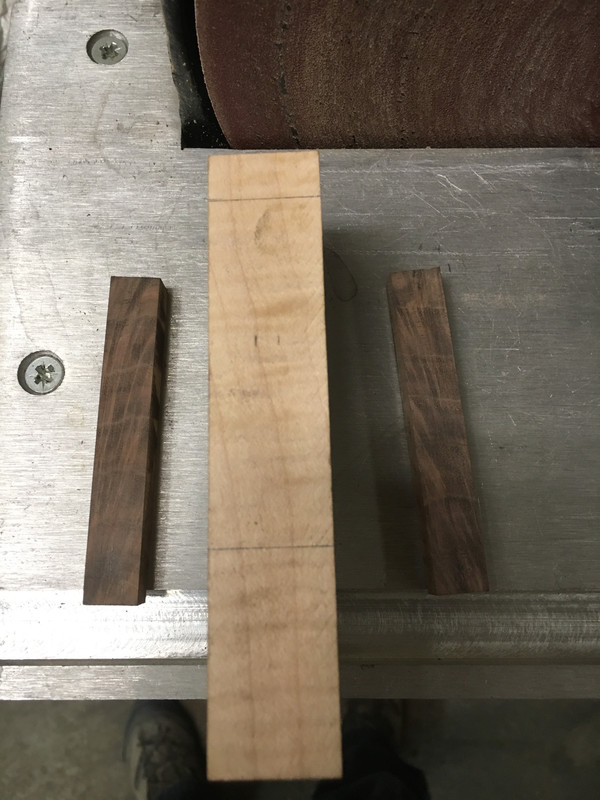
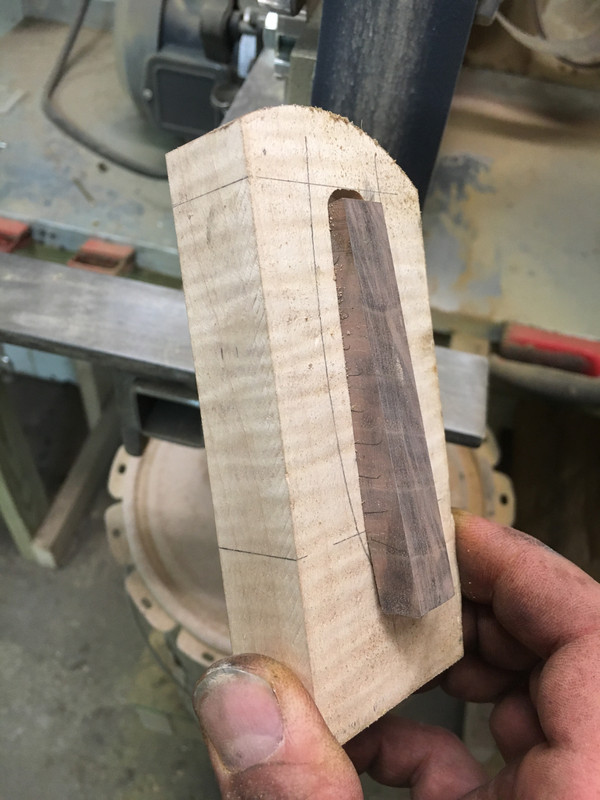
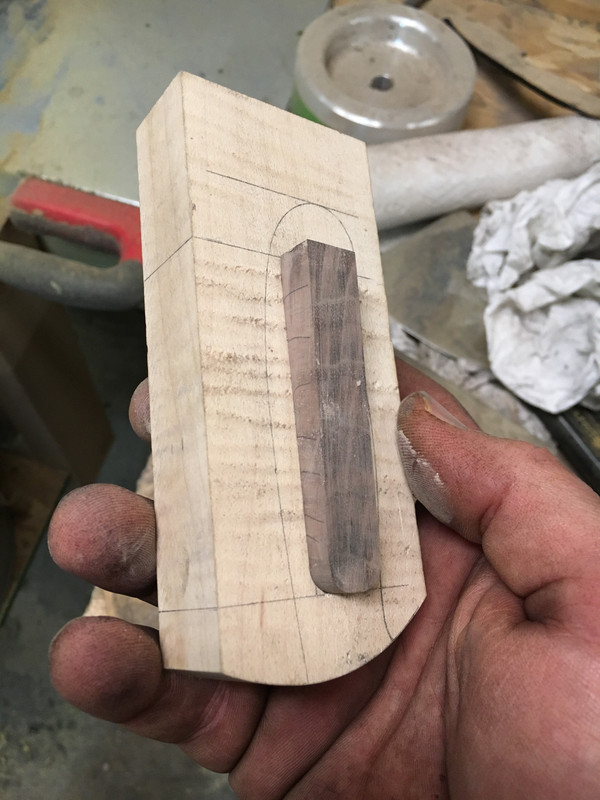
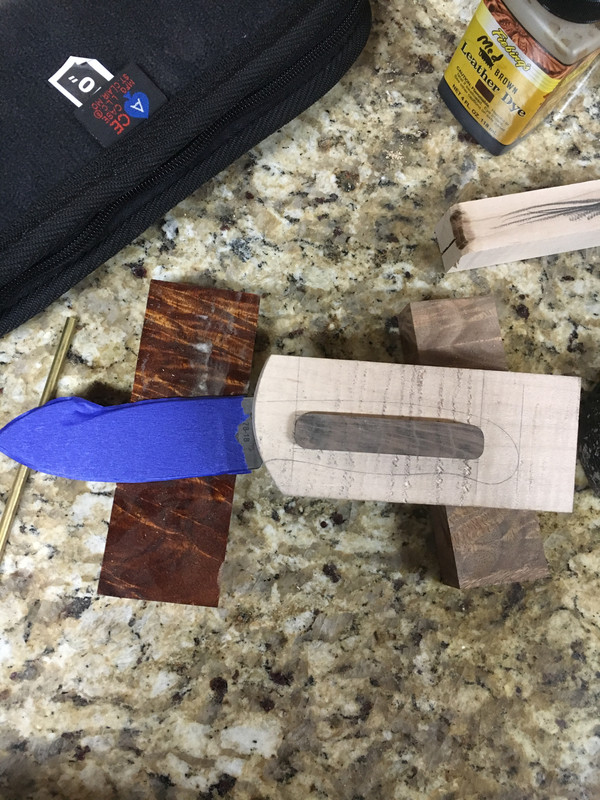
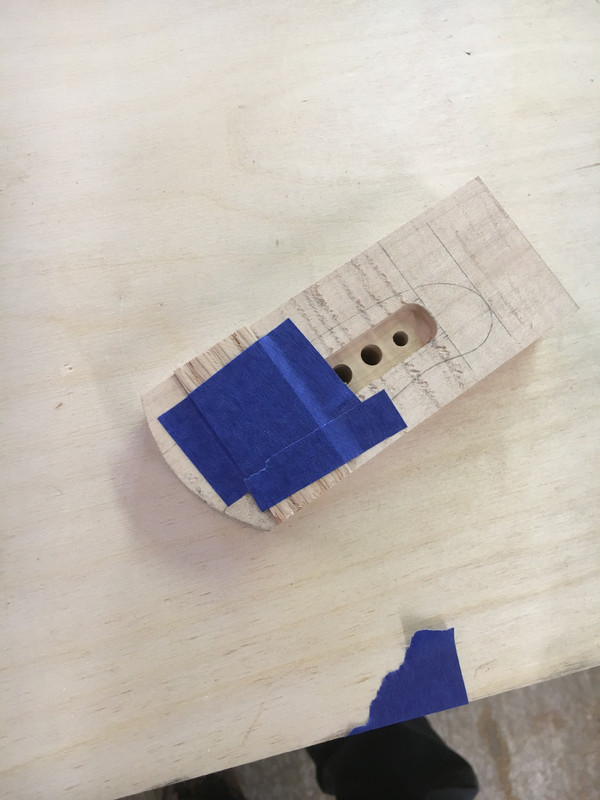
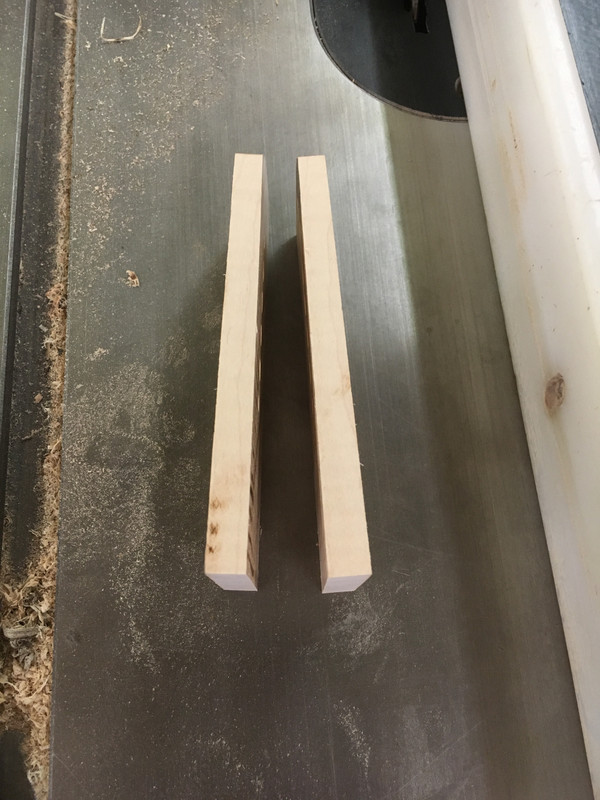
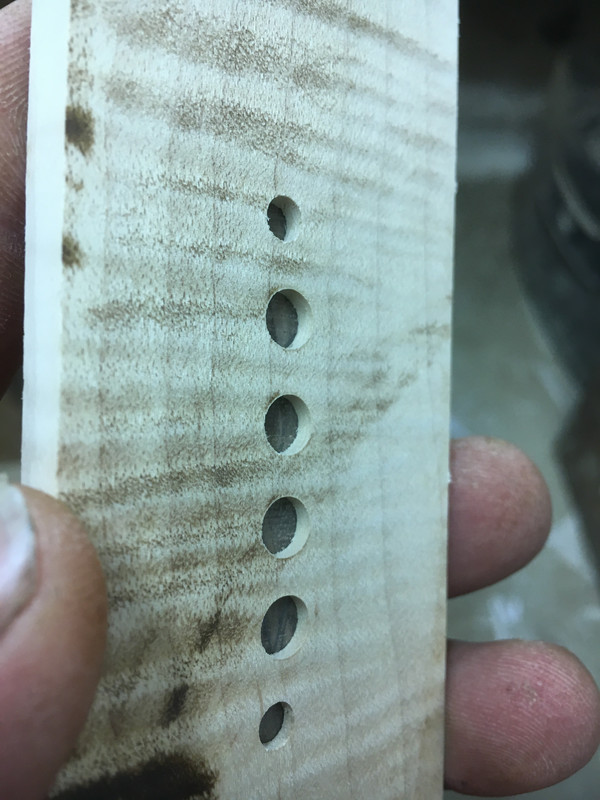
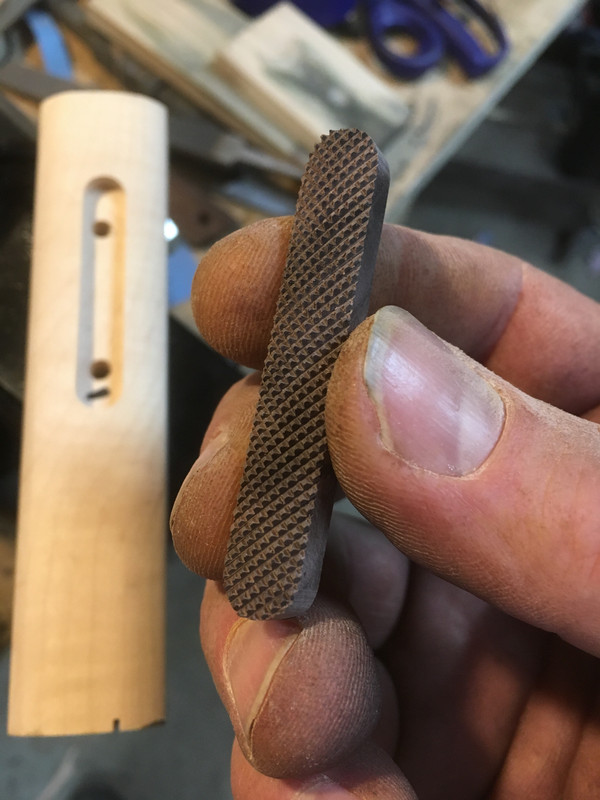
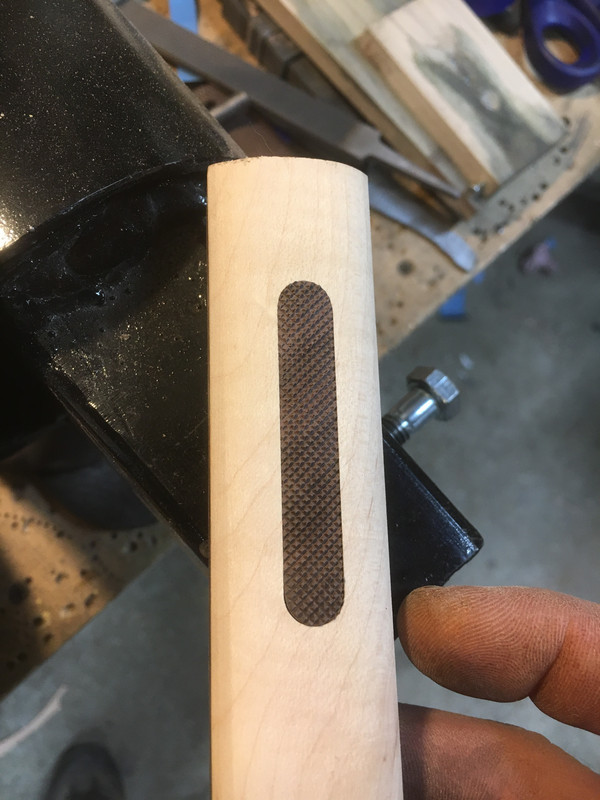
I've been wanting to experiment with different things to dress up the handles on my knives. Tonight I had some free time, so I practiced doing an inlay. I cut a groove with a 3/8" end mill then sanded a piece of walnut to fit. Then I decided to try checkering for the first time.


018-01-24_22.41.29.jpg[/img][/url]

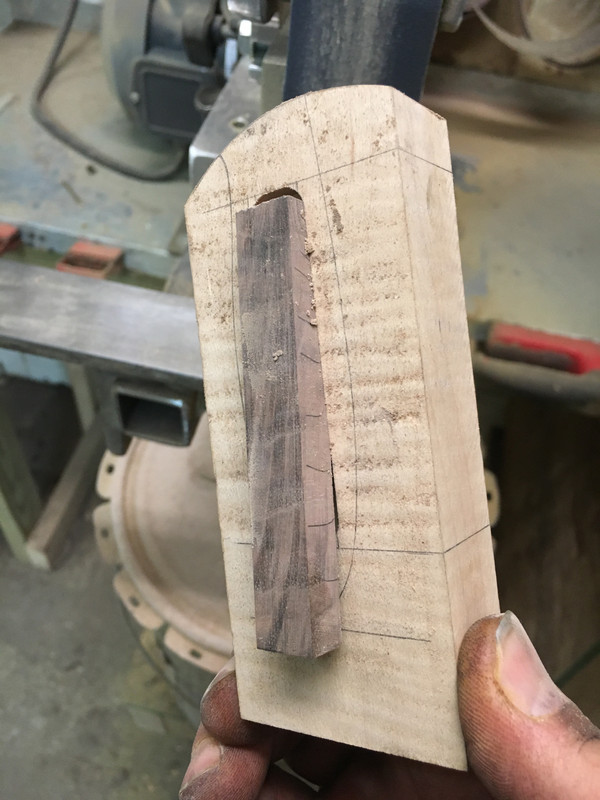
Now to see how many handles I can destroy before I get one done right.
 
Last edited:
Beautiful. I saw your other recent thread, too. Those knives look real nice. Made me wonder what I've been doing the past year. I'm just a hobby knife-maker in the process but I look forward to checking out more of your work.

Also I notice you own a cabinet shop. My dad used to do custom kitchens and when I saw that maple(?) with the darker walnut I wondered if it would look nice as an inlay on some face frames or door frames? I wonder if customers would really go for something like that.

Just a thought

LUke
 
Hmmmm.... i know you said "knife handle" but my brain saw and heard "super snazzy rifle forearm inlay".....
 
Thanks everyone. I'm going to play around with this in the next couple weeks to see what I come up with. I want to make some jigs so I can make an arched inlay to match the arch of the knife handle. Also thinking about recessing the heads of corby rivets in the main handle and drilling a stopped hole in the back of the inlay so no pins or rivets show in the handle.

John, I'm thinking there will be some 1911 grips in the future and now you have me thinking. I've got a couple extra stocks I may have to practice on.
 
Very cool! gene...traditionally checkering is not at 90 degrees but about 33 degrees...but anything really works. If you like diamonds try a shallower angle. i think guys checkering pistols/metal may do 90 degrees but can't remember for sure.
 
Thanks Ted. I believe you're right on the angle. I'll make some jigs so I can try different angles. On this, I used a 45 deg square to stay lined up.
 
I just couldn't wait to start on this so I decided to make this handle with a straight inlay instead of an arched one. And it looks like this thread will turn into a WIP thread. I'm using curly maple for the main handle. I traced the blade onto the block and drilled the pin holes, then shaped the front on the disc sander.

Then I cut the slot for the inlay. I went with a 1/2" wide inlay.

Next, I drilled holes to let the epoxy through to the inlay when I fasten the scales to the blade.

I chose a walnut crotch piece to use for the inlay.

After cutting the walnut into strips, I carefully sanded them close to size on the disc sander.


Once they were close to fitting, I went to the 2 X 72 with a 400 grit belt turning slowly to sand them to fit.


Once the width fit, I started sanding one end of each inlay to fit, then cut them closer to length and fit the second end of each.


Next, I cut them thinner on the band saw so they are just proud of the handle block.

And done for the night.
 
Last edited:
This has really got my gears turning. The possibilities are endless. (still thinking rifle stocks, too.....)
 
This morning I split the block into scales. I usually taper my scales thinner in the front on the grinder after they are epoxied and pinned to the blade, so at the last minute I decided to cut them on a taper. This will keep the inlay pieces the same thickness and hopefully keep me from sanding into the hidden corby rivet when I finish shaping the handles. I tapered them by using a shim taped to the block. I used the square line for marking the front of the inlay groove to index off of.


Here it is on the table saw.


One scale tapered.


And the second one.


And now it's time to go back to cabinetmaking. I'll continue this later tonight. Thanks for looking!
 
Last edited:
Gene - when you tapered the back side of the scale you also made your holes non-perpendicular to the tang. Your corby bolts/scale holes may be a little bit off to the hole in the tang. BEWARE!!! Sorry for the bad news...
 
Dennis, I thought about that when I tapered them, but figured the thickness that is left for the colby bolts to go through is thin enough that it won't cause problems.


The thickness left on the back hole is .120. The front is .075. I will run my bit for the corby bolts through them at the right angle to countersink a small amount and that should true them up.

If everything works out on this one, i shouldn't have to taper any future ones. I just didn't want to take a chance on sanding into the front corby. I'm taking good measurements on this one to see how much I will be able to taper the outside of the scales on future ones.
 
Last edited:
Back
Top