2013 Knife Making Progress

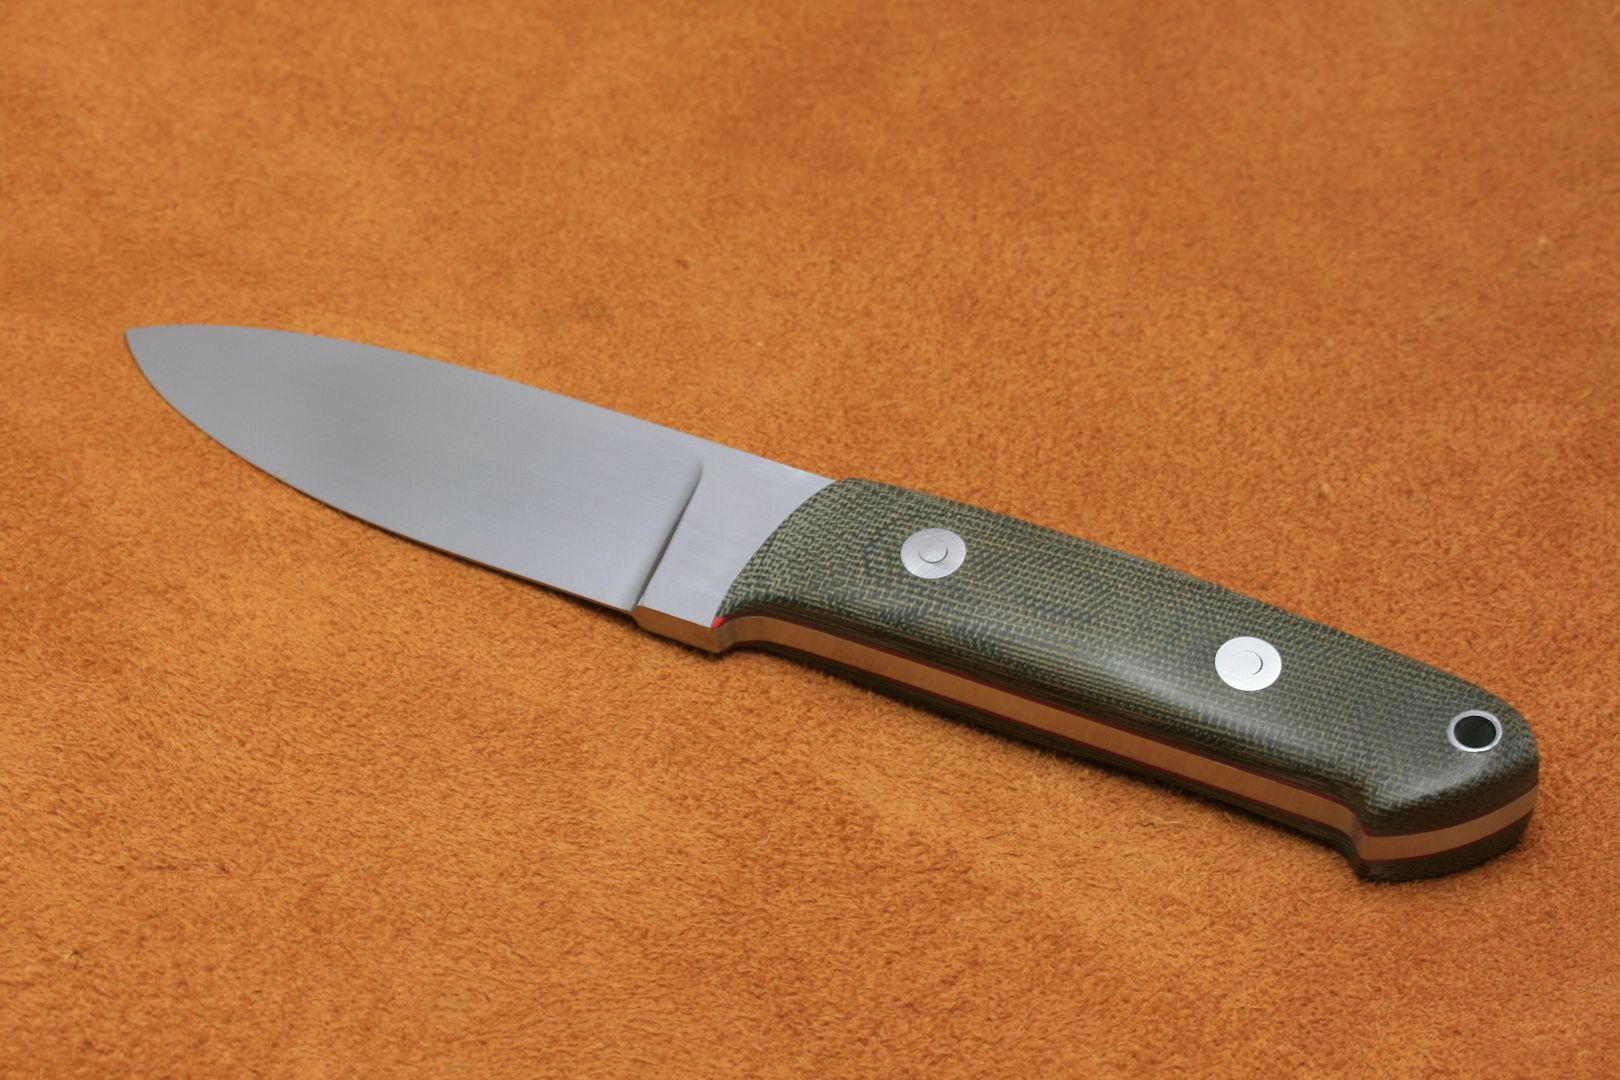
Think I just got most of the work done on my best one yet. Thanks to all of you for the great tips and tricks! I was able to catch most of my mistakes before they got too bad and felt in better control than any of the other ones. I am still a little off between my left side and right side, but not even close to as bad as it was. The funny thing is, I freehand ground it from beginning to end. No bubble jig, nothing. I have to say, the bubble jig is what helped me get this far. It is a great starting tool and helps with the learning curve.

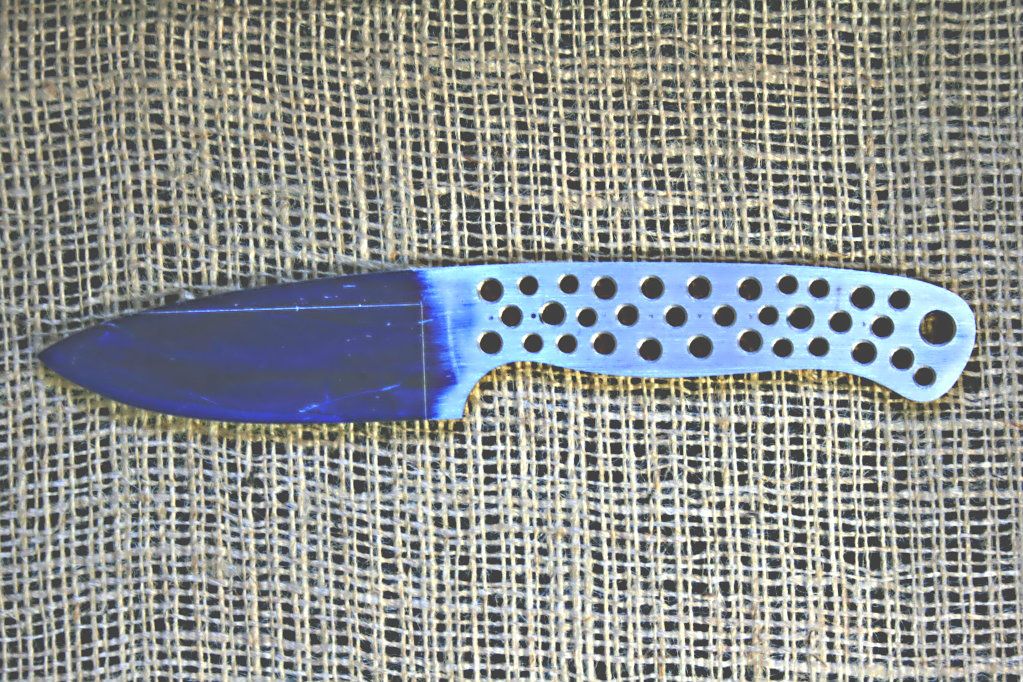
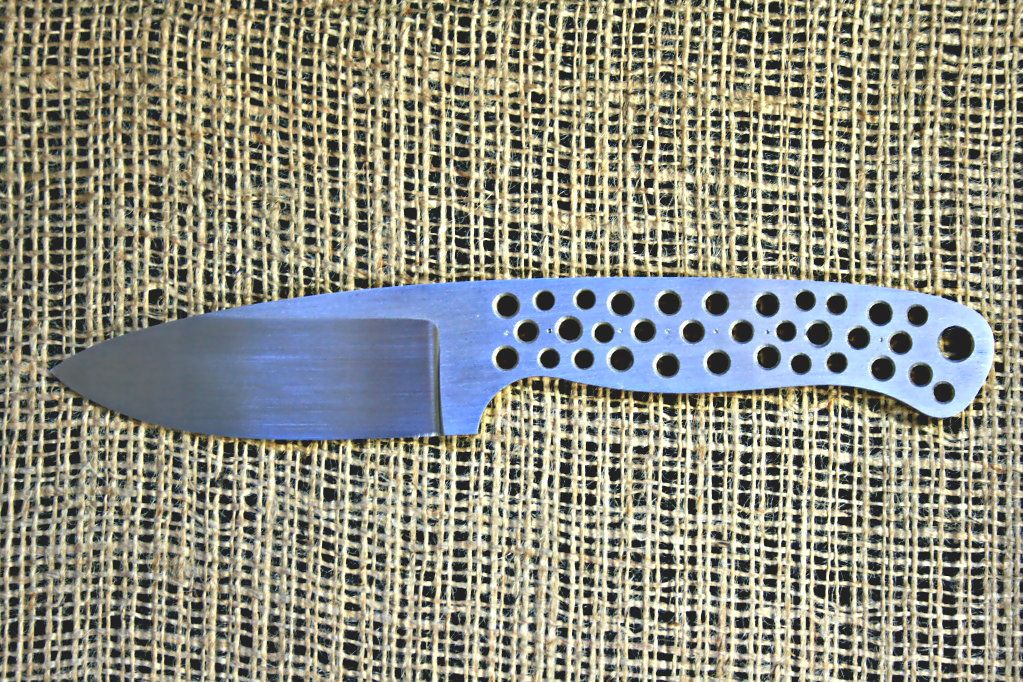
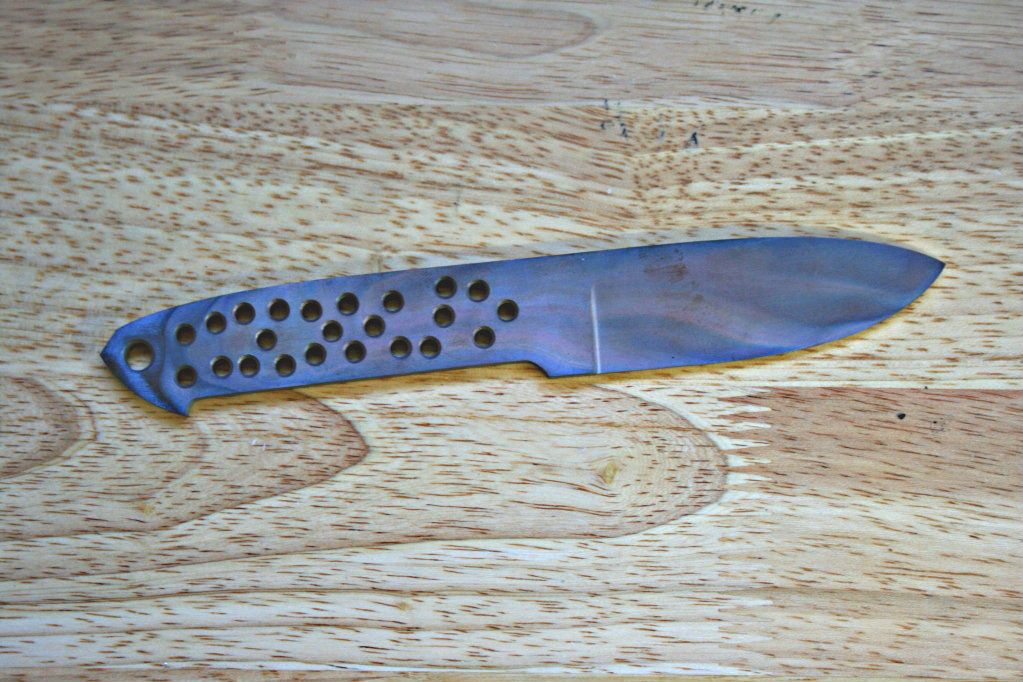
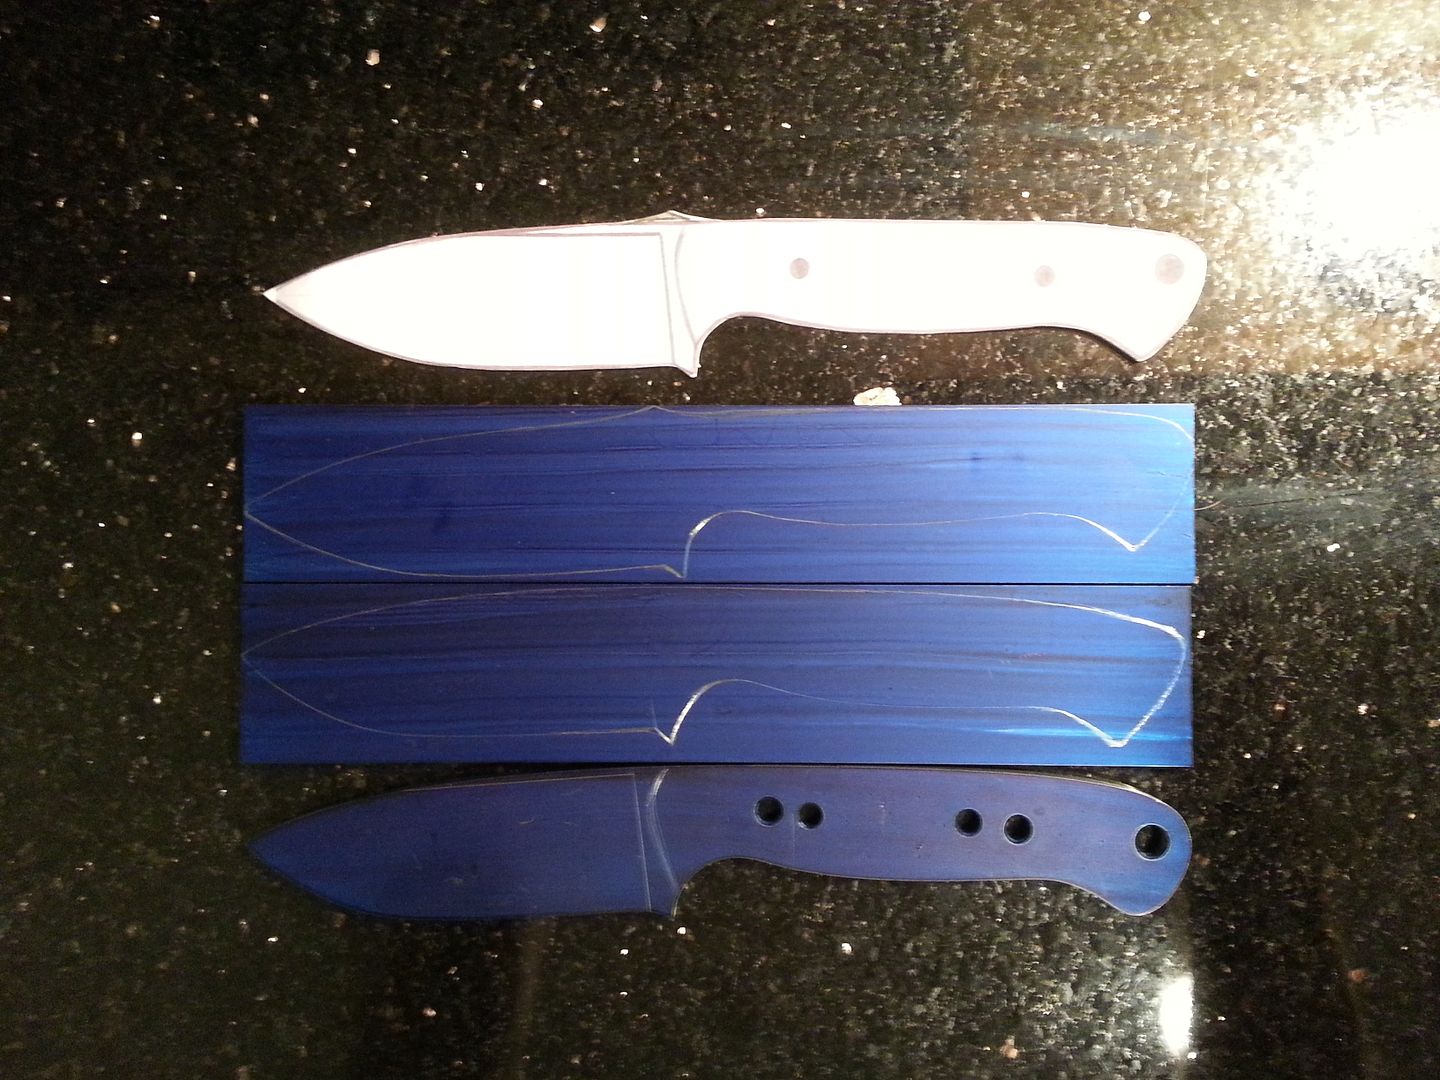
Here is what I started with this morning...
2013Progress001.jpg


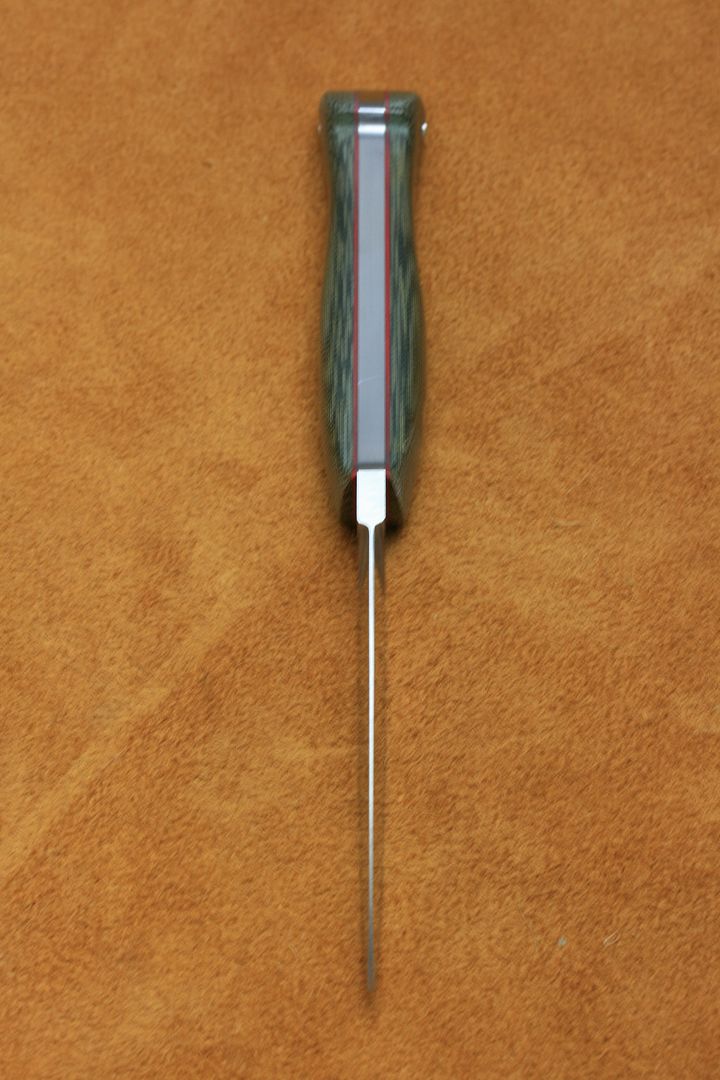
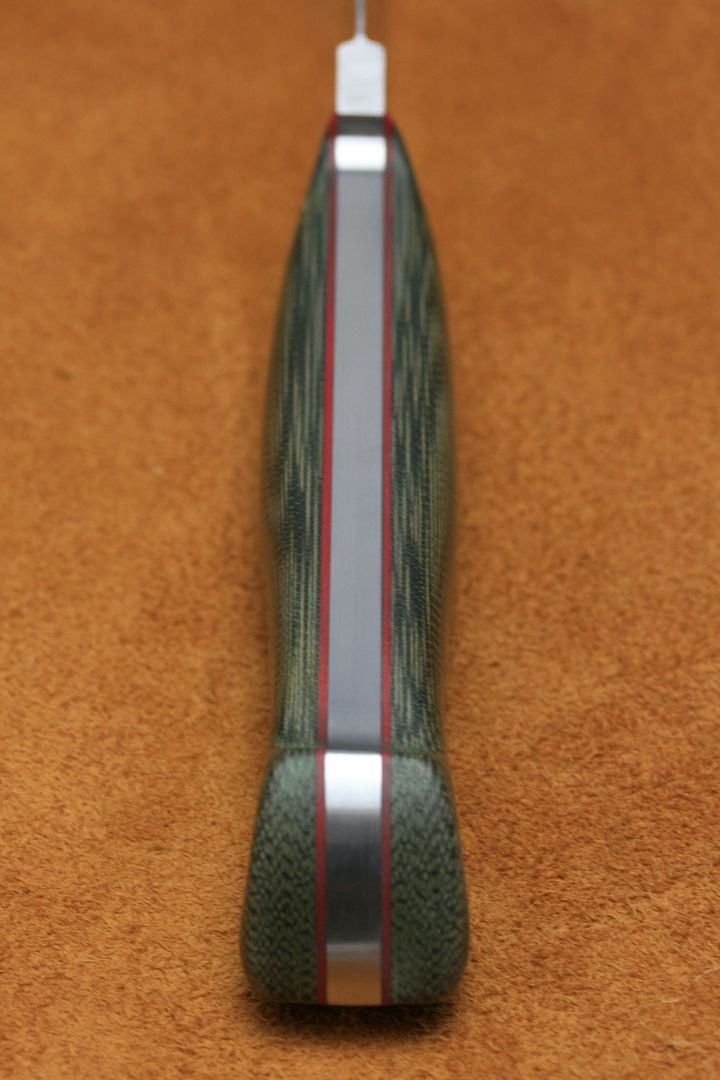
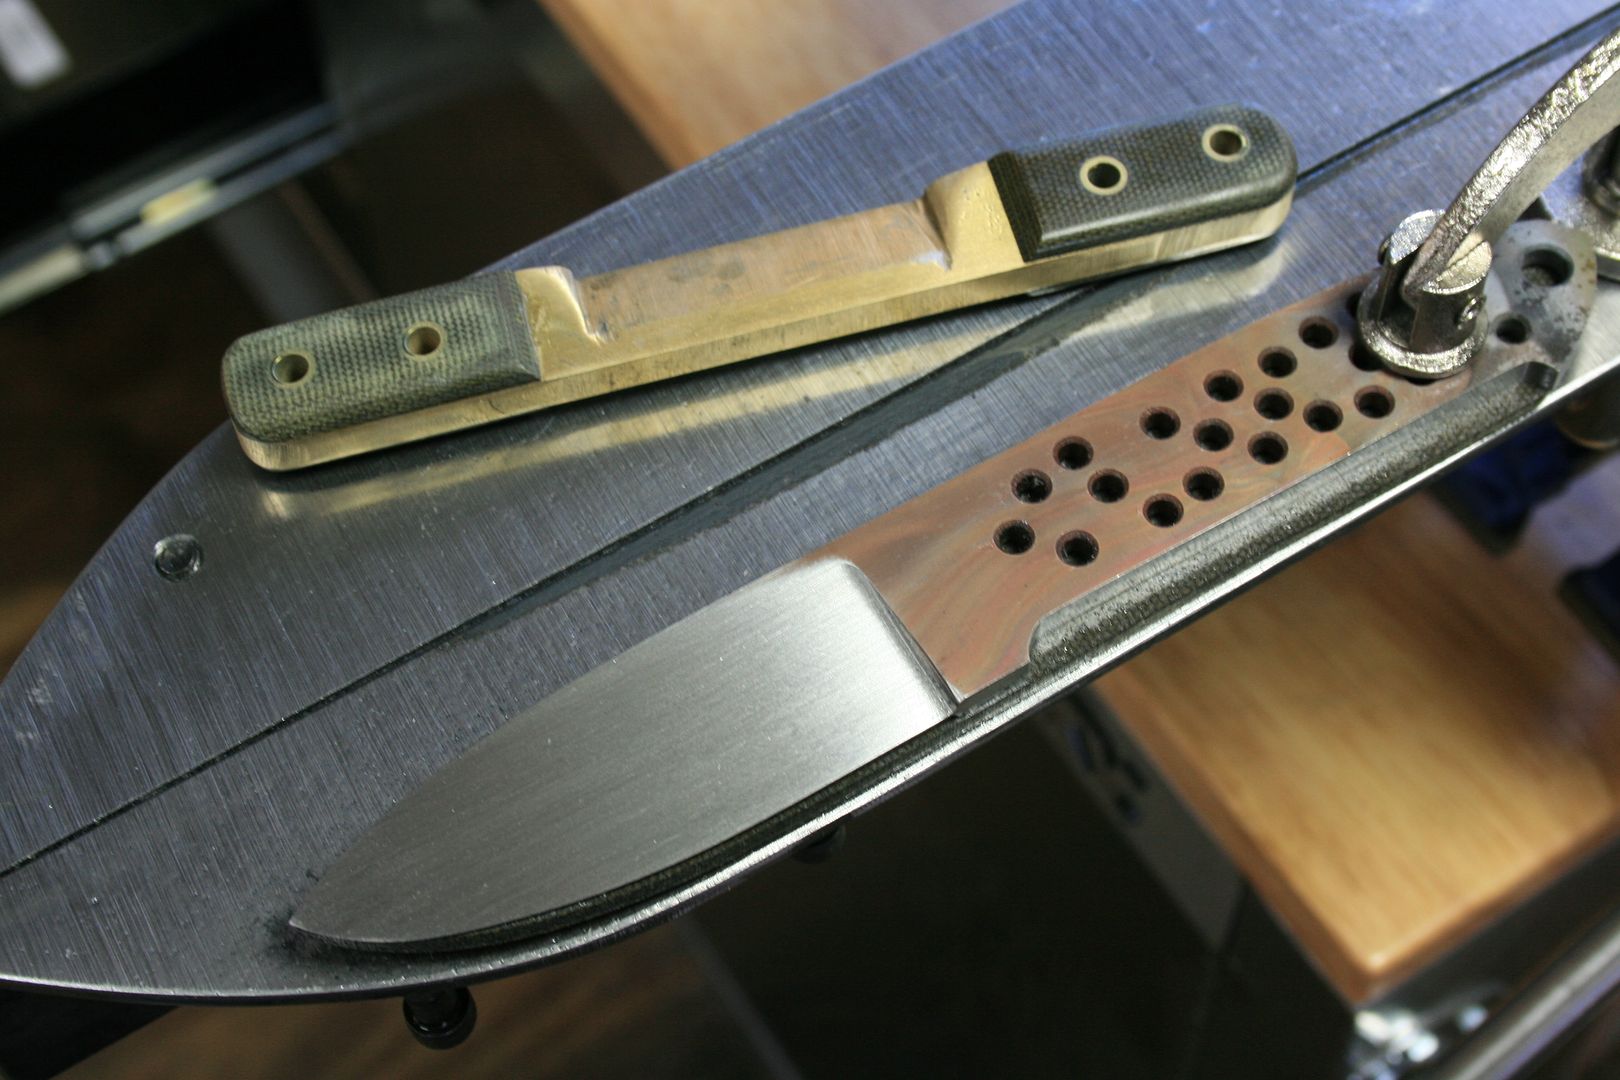
Walking the height up and trying to keep the knife level on both sides...
2013Progress002.jpg


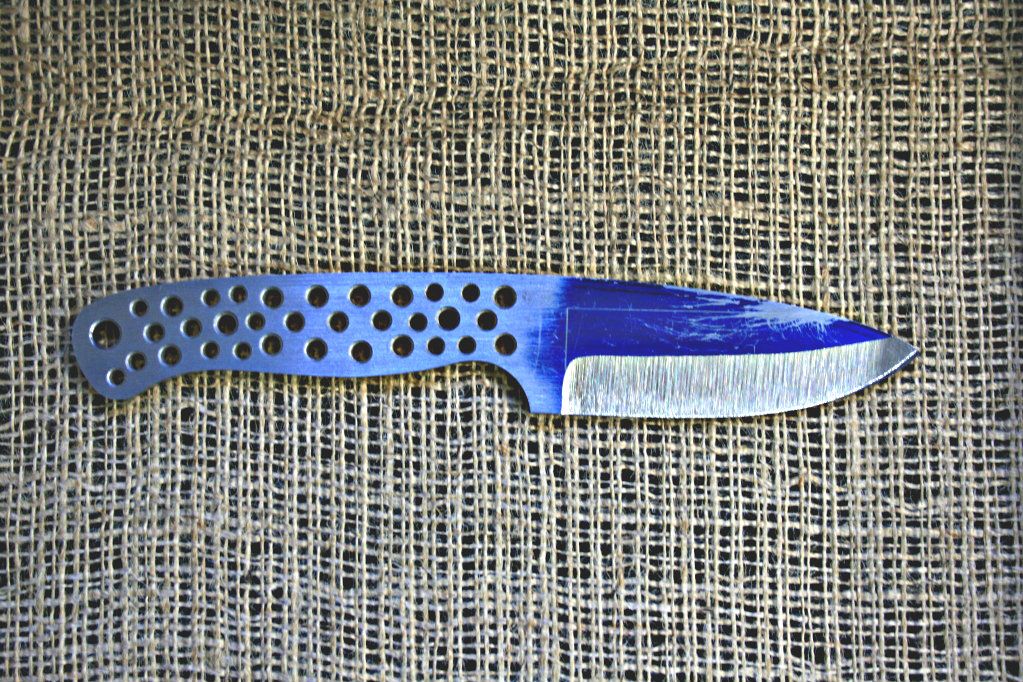
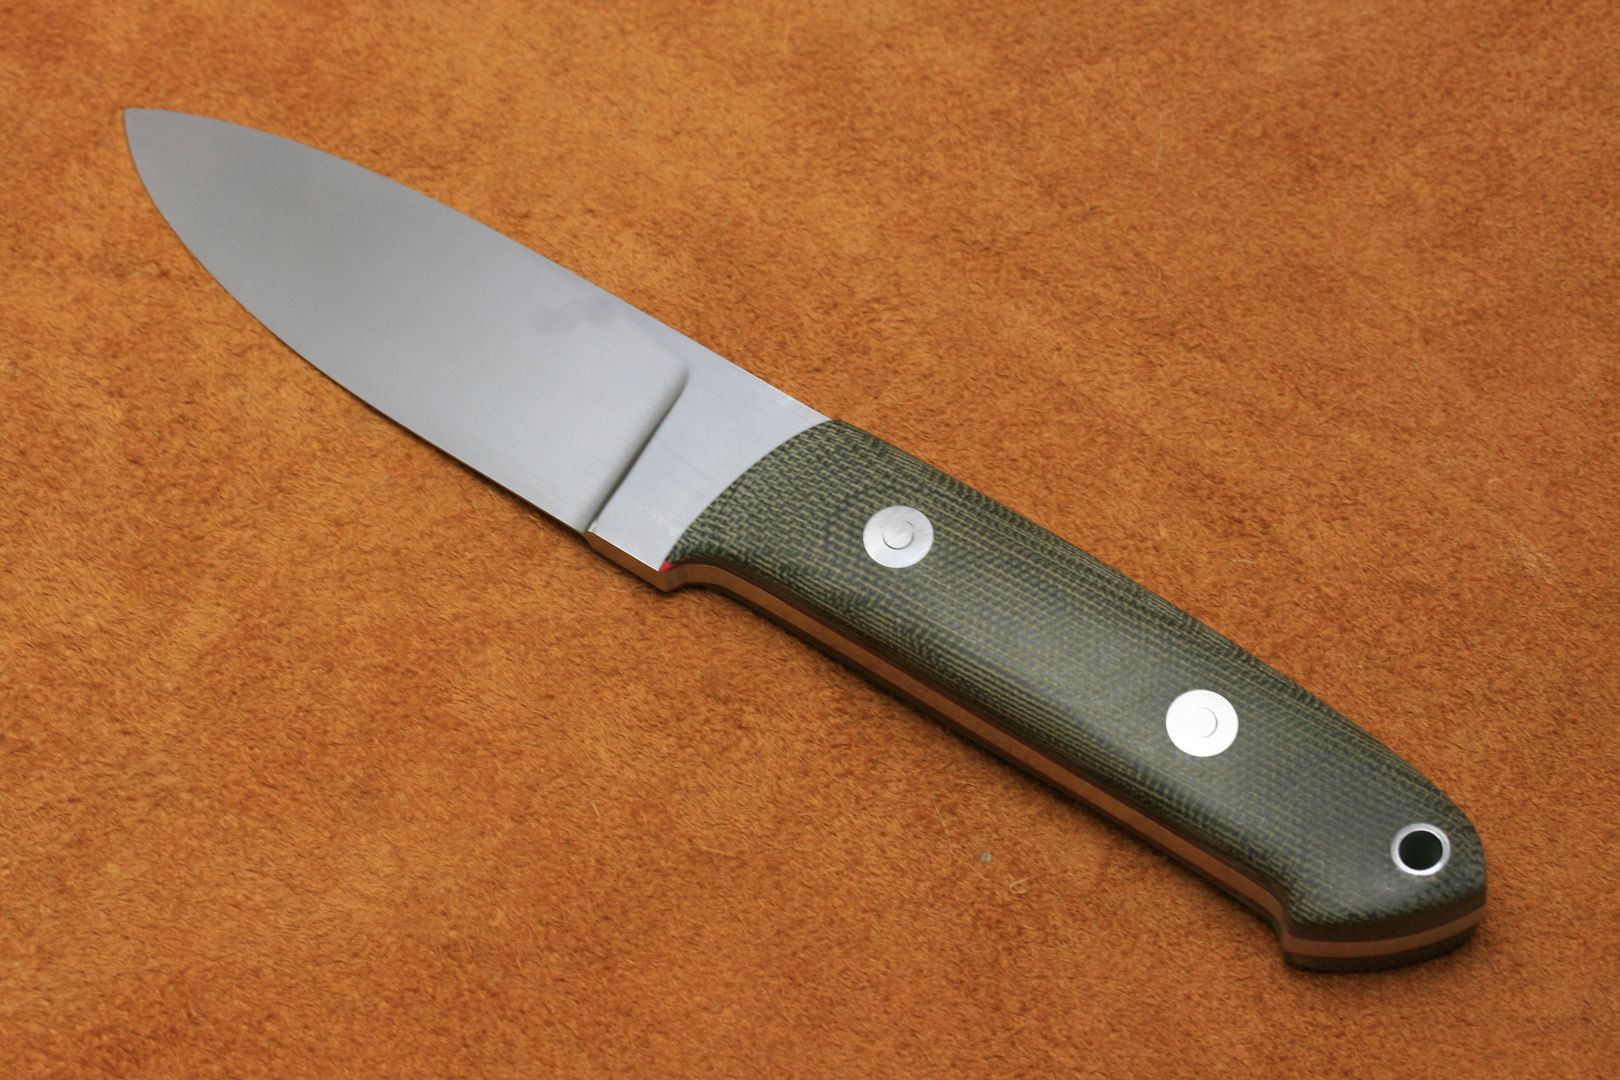
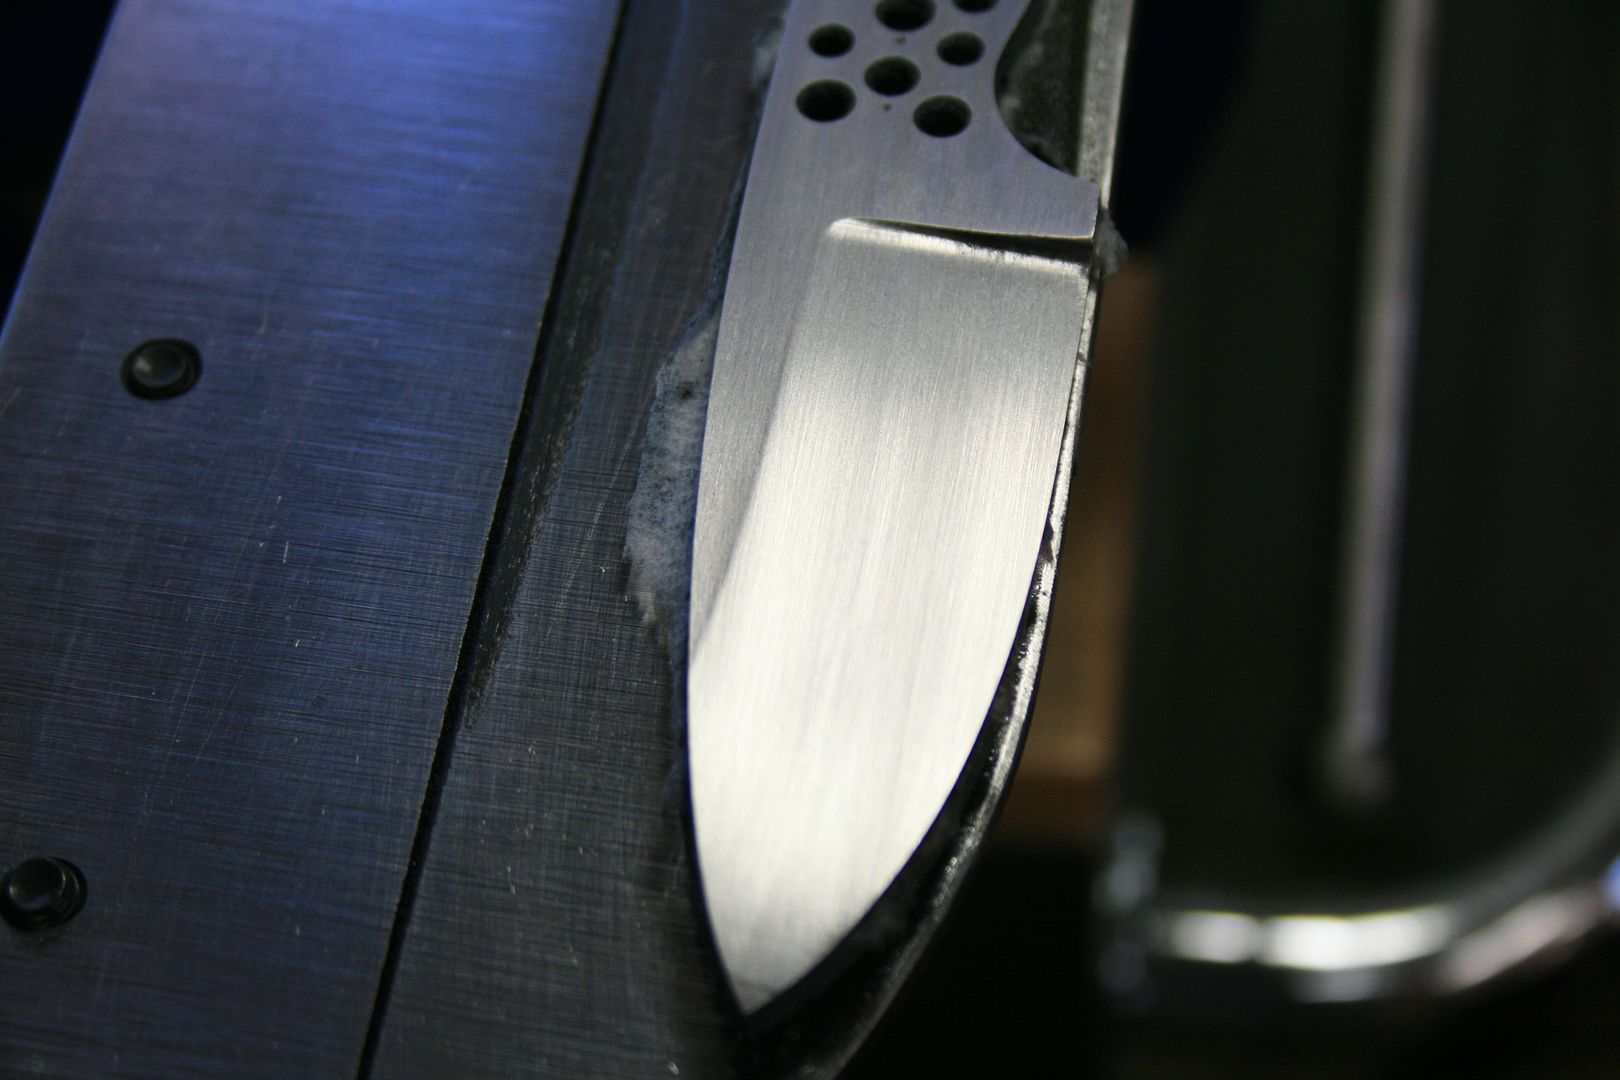
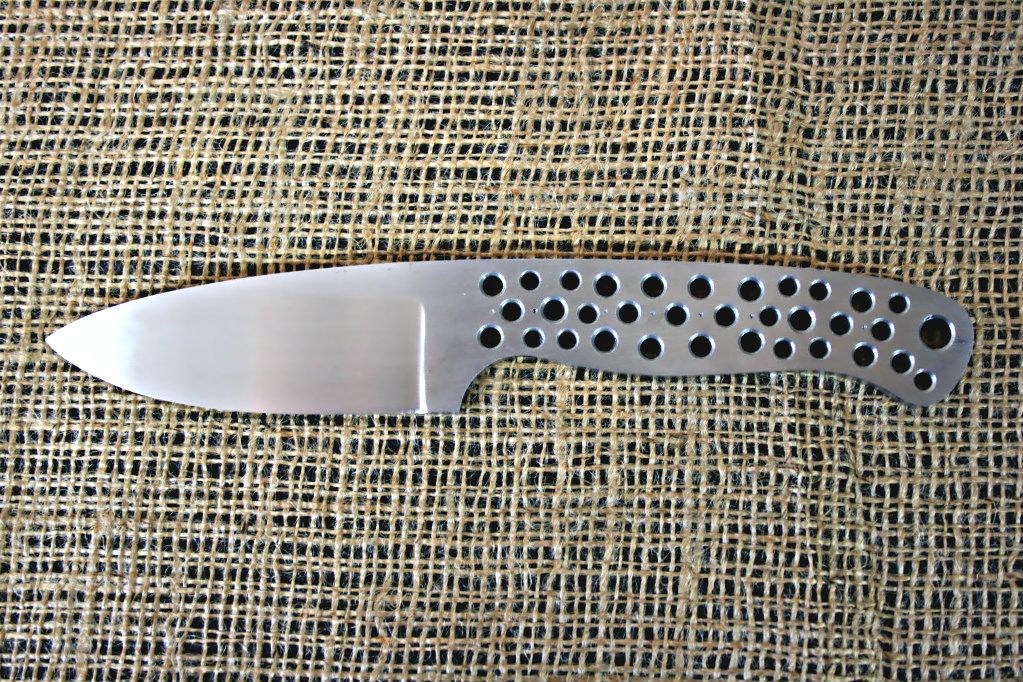
Hit my mark with my good side (right hand)...
2013Progress003.jpg


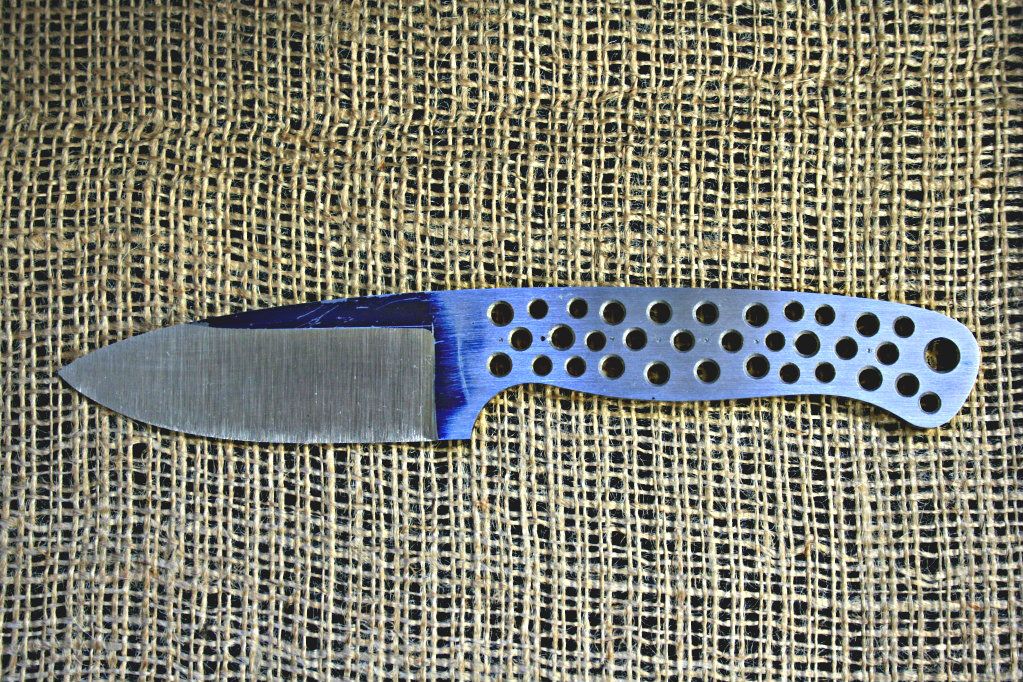
Still a little off with the tang in my left hand, but much better...
2013Progress004.jpg


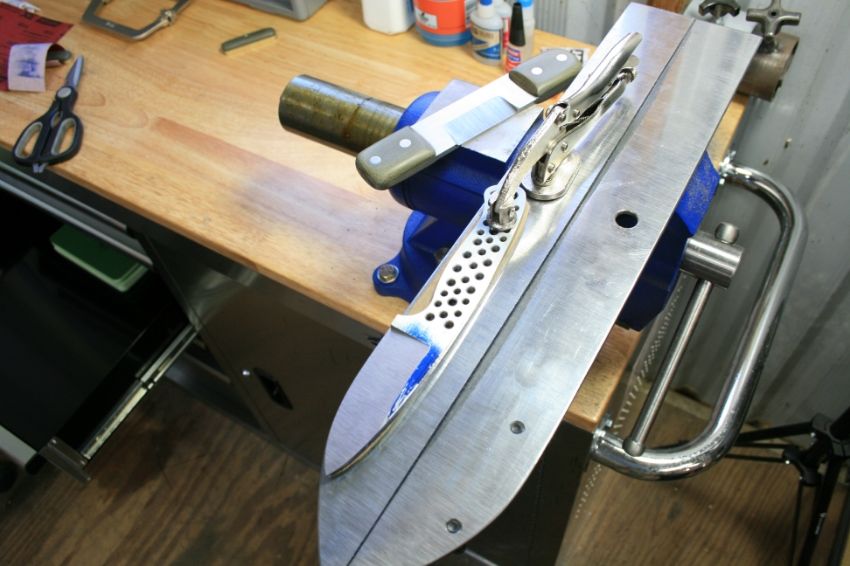
Time to do a little sanding...
2013Progress007.jpg


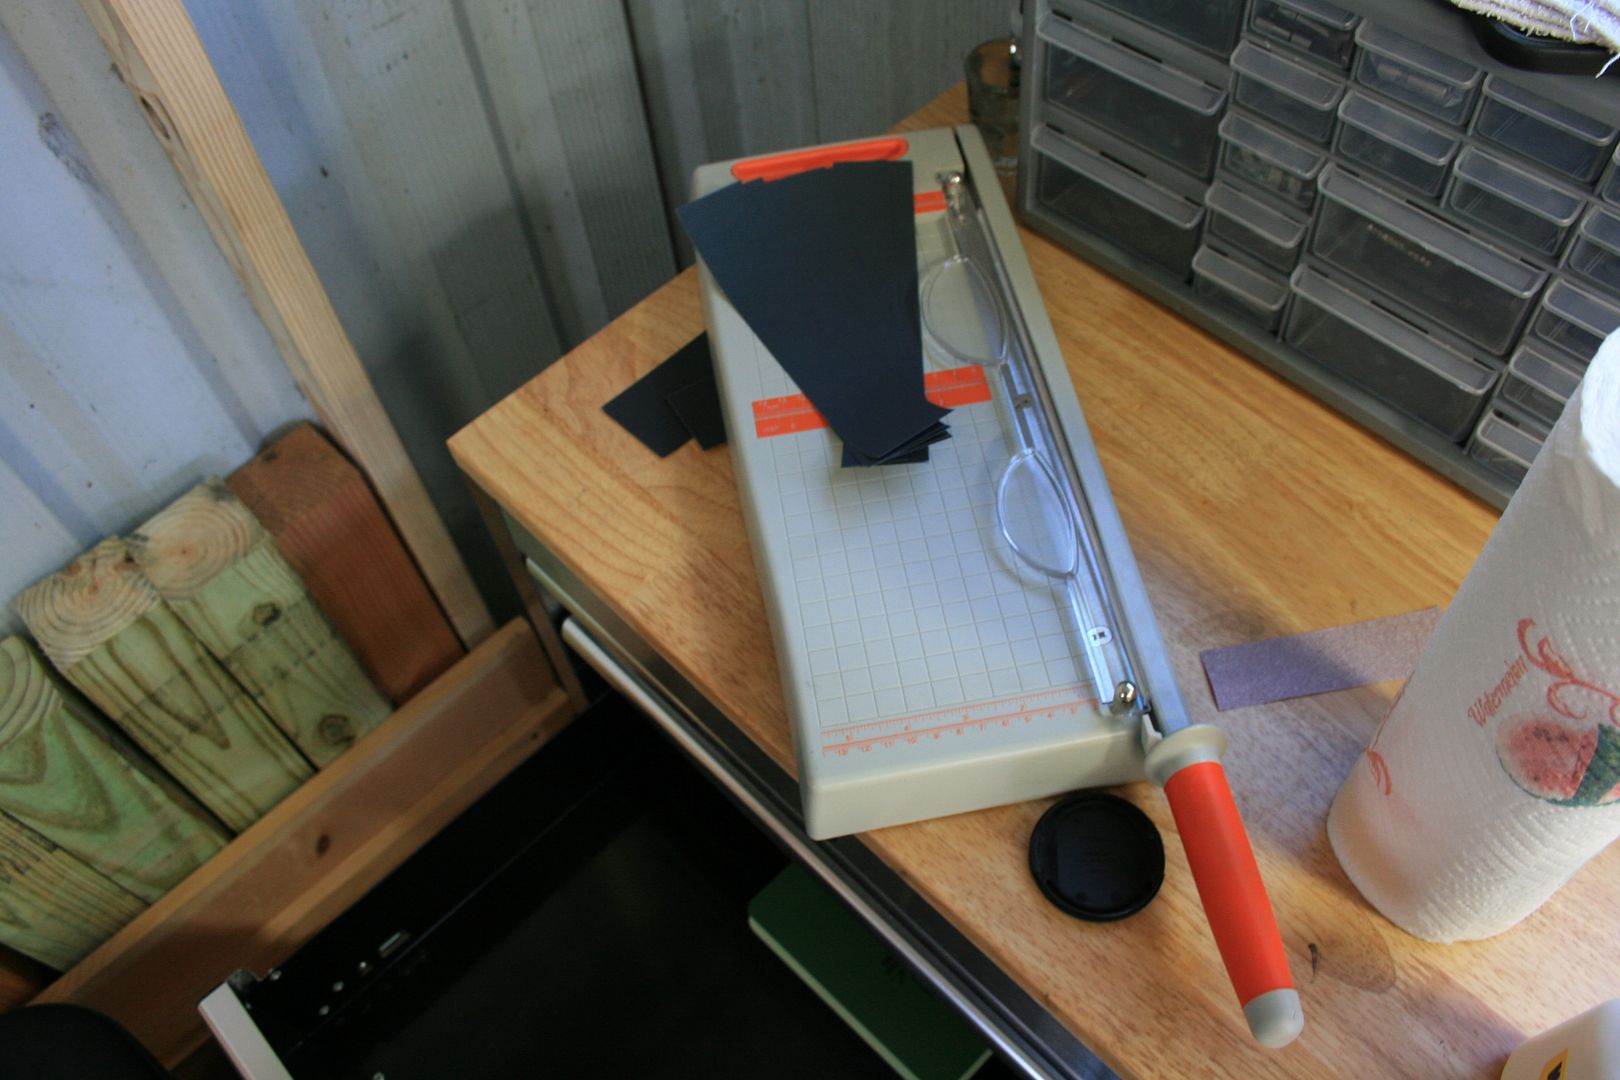
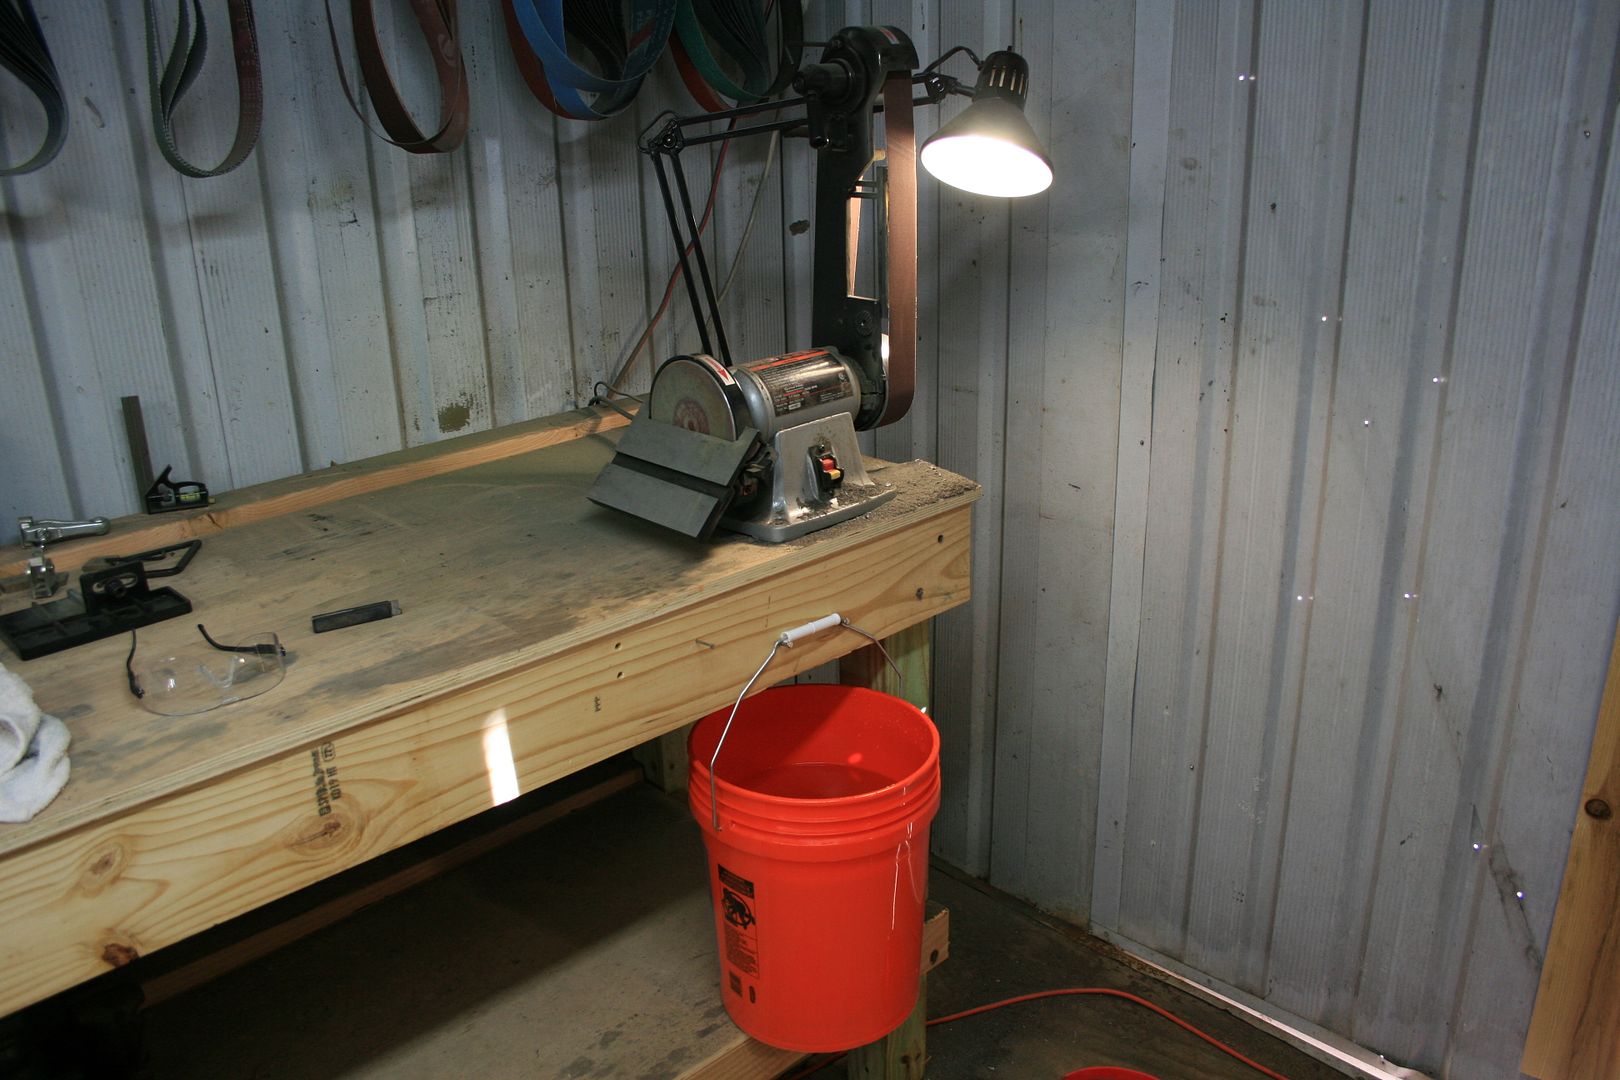
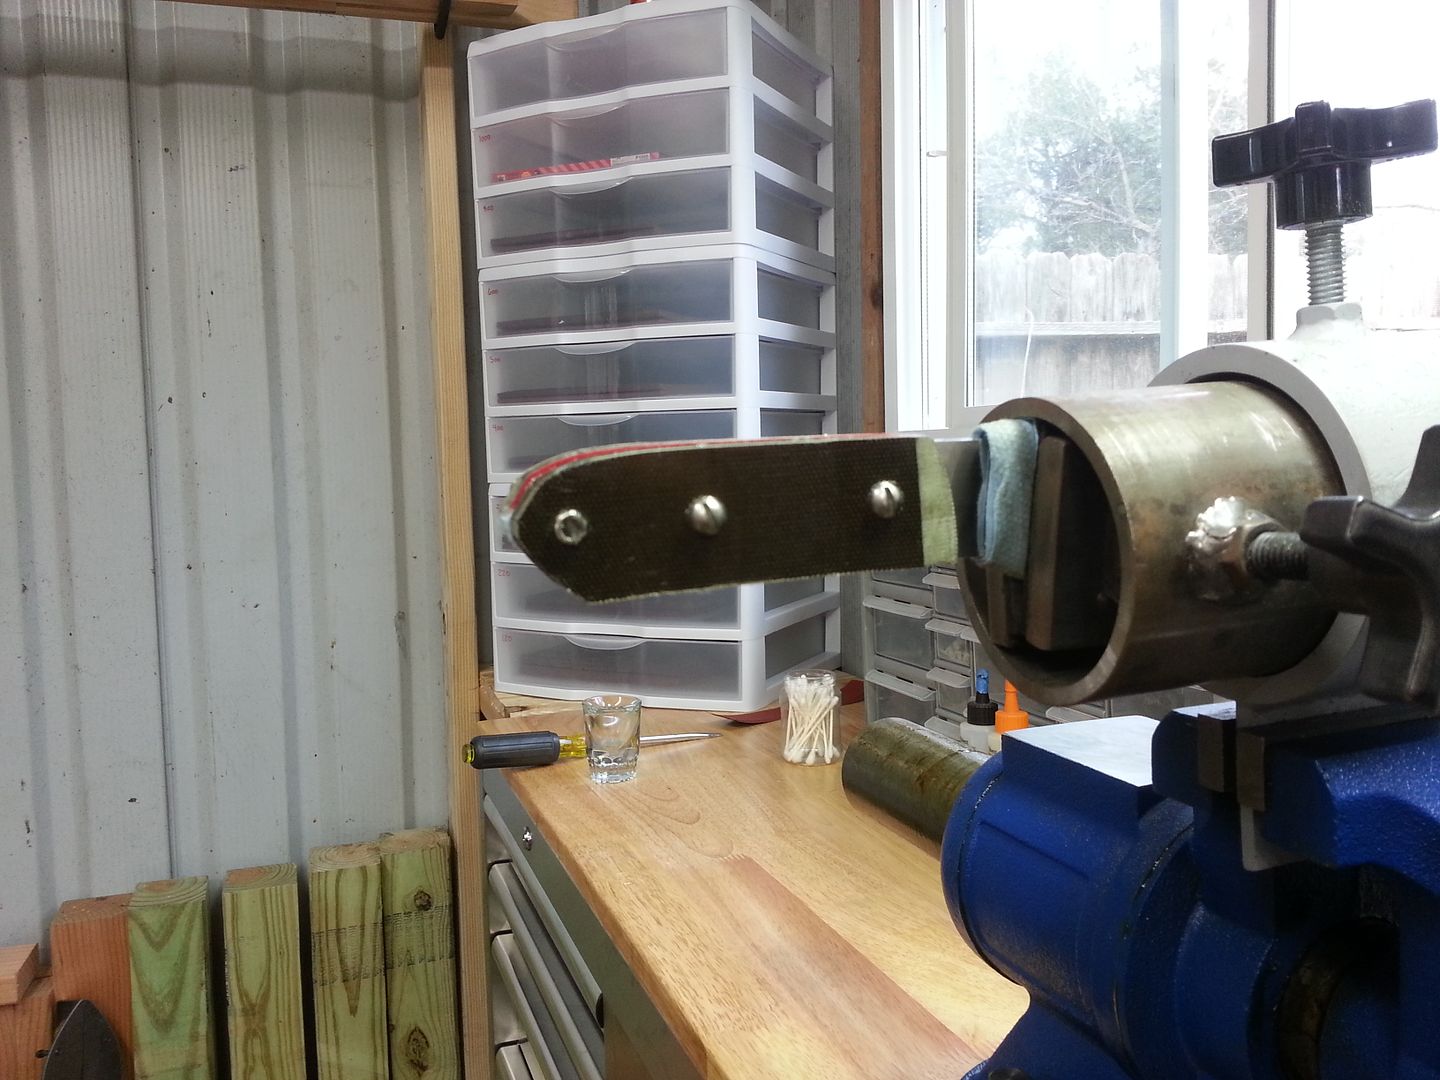
Added this to the shop today. This will make my life a lot easier...
2013Progress008.jpg


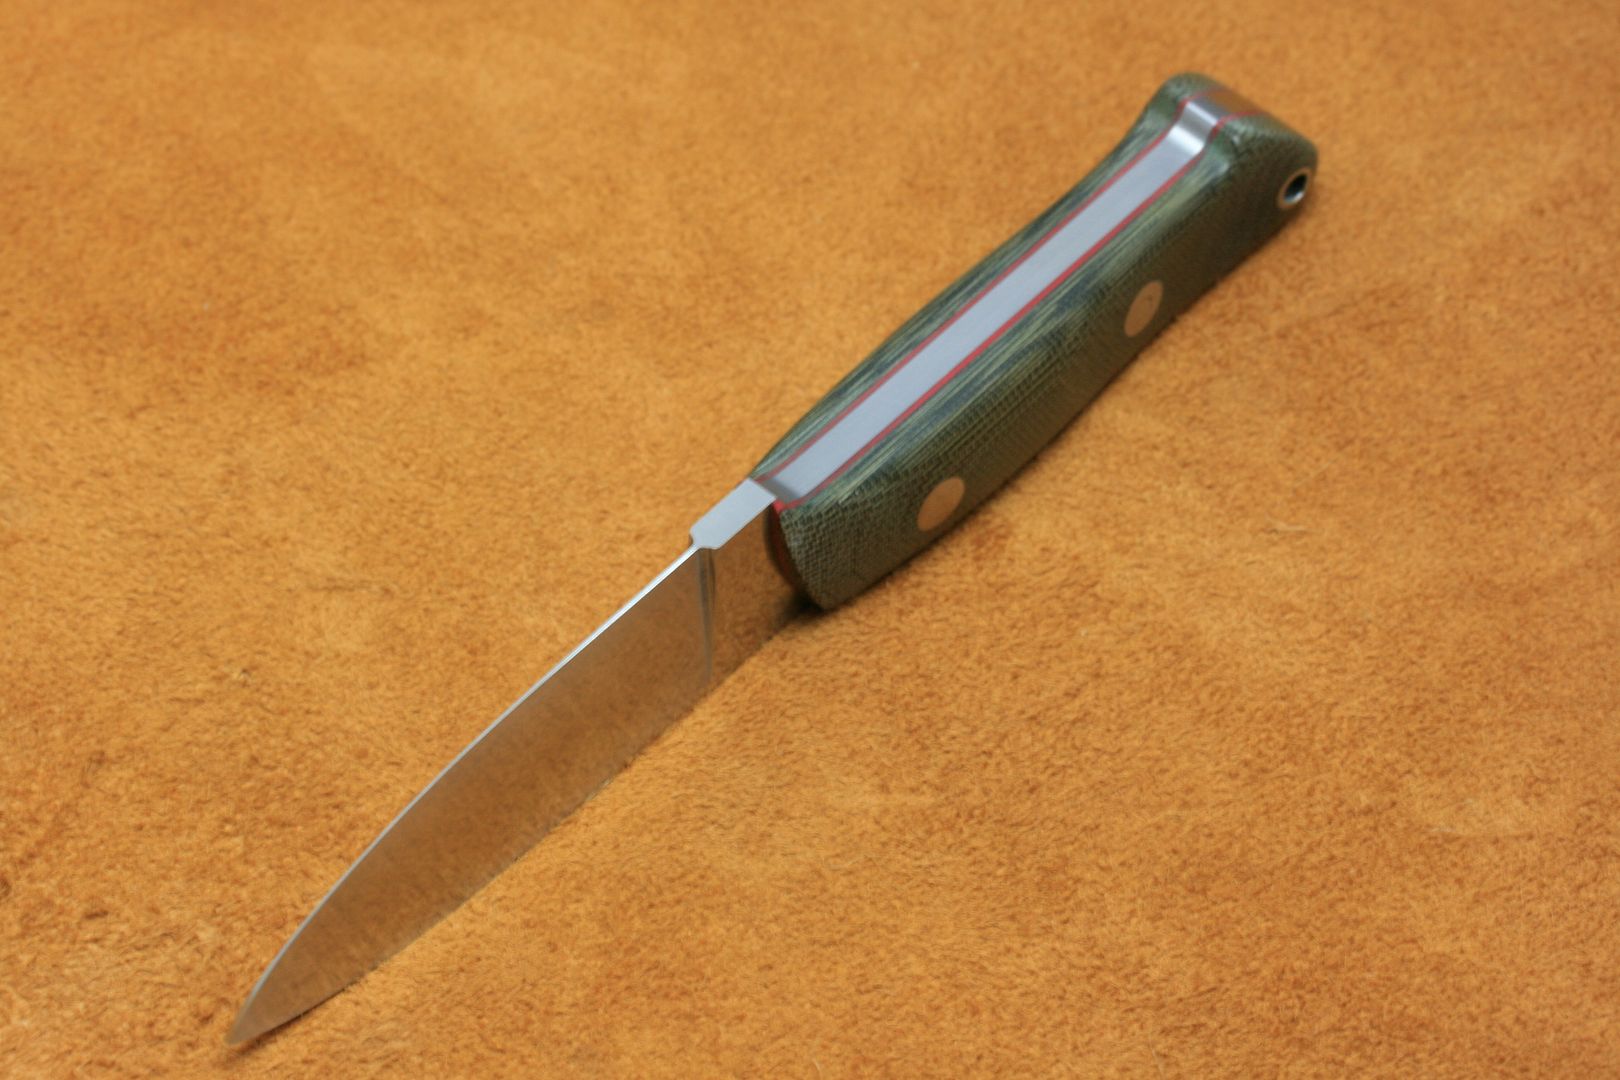
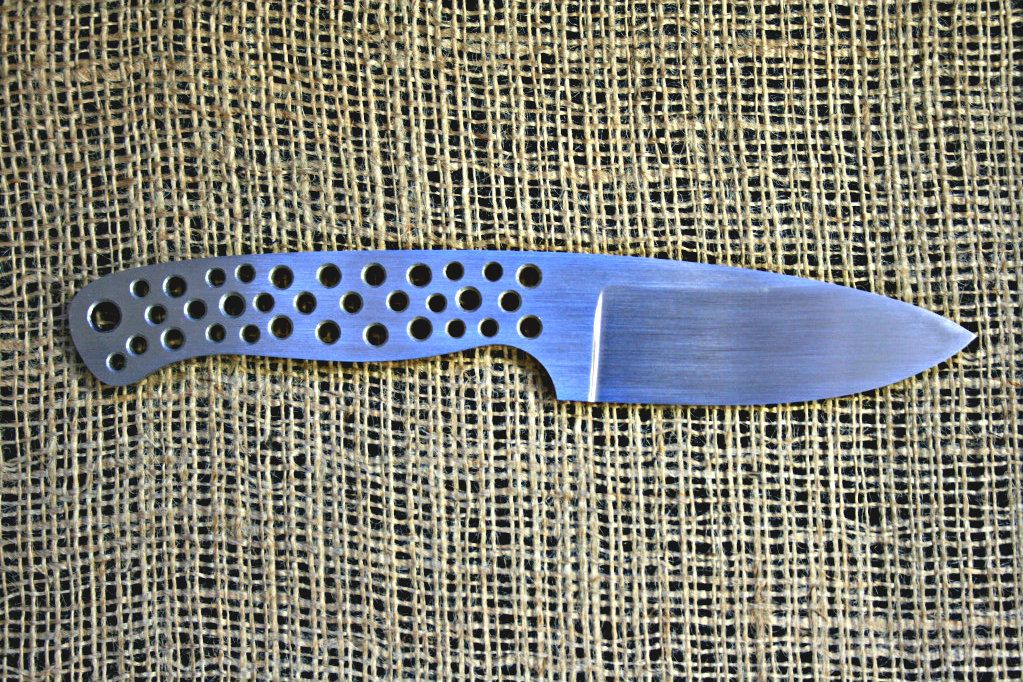
Starting to look a lot better. The lines are still pretty crisp, which means I am starting to figure it all out...
2013Progress009.jpg


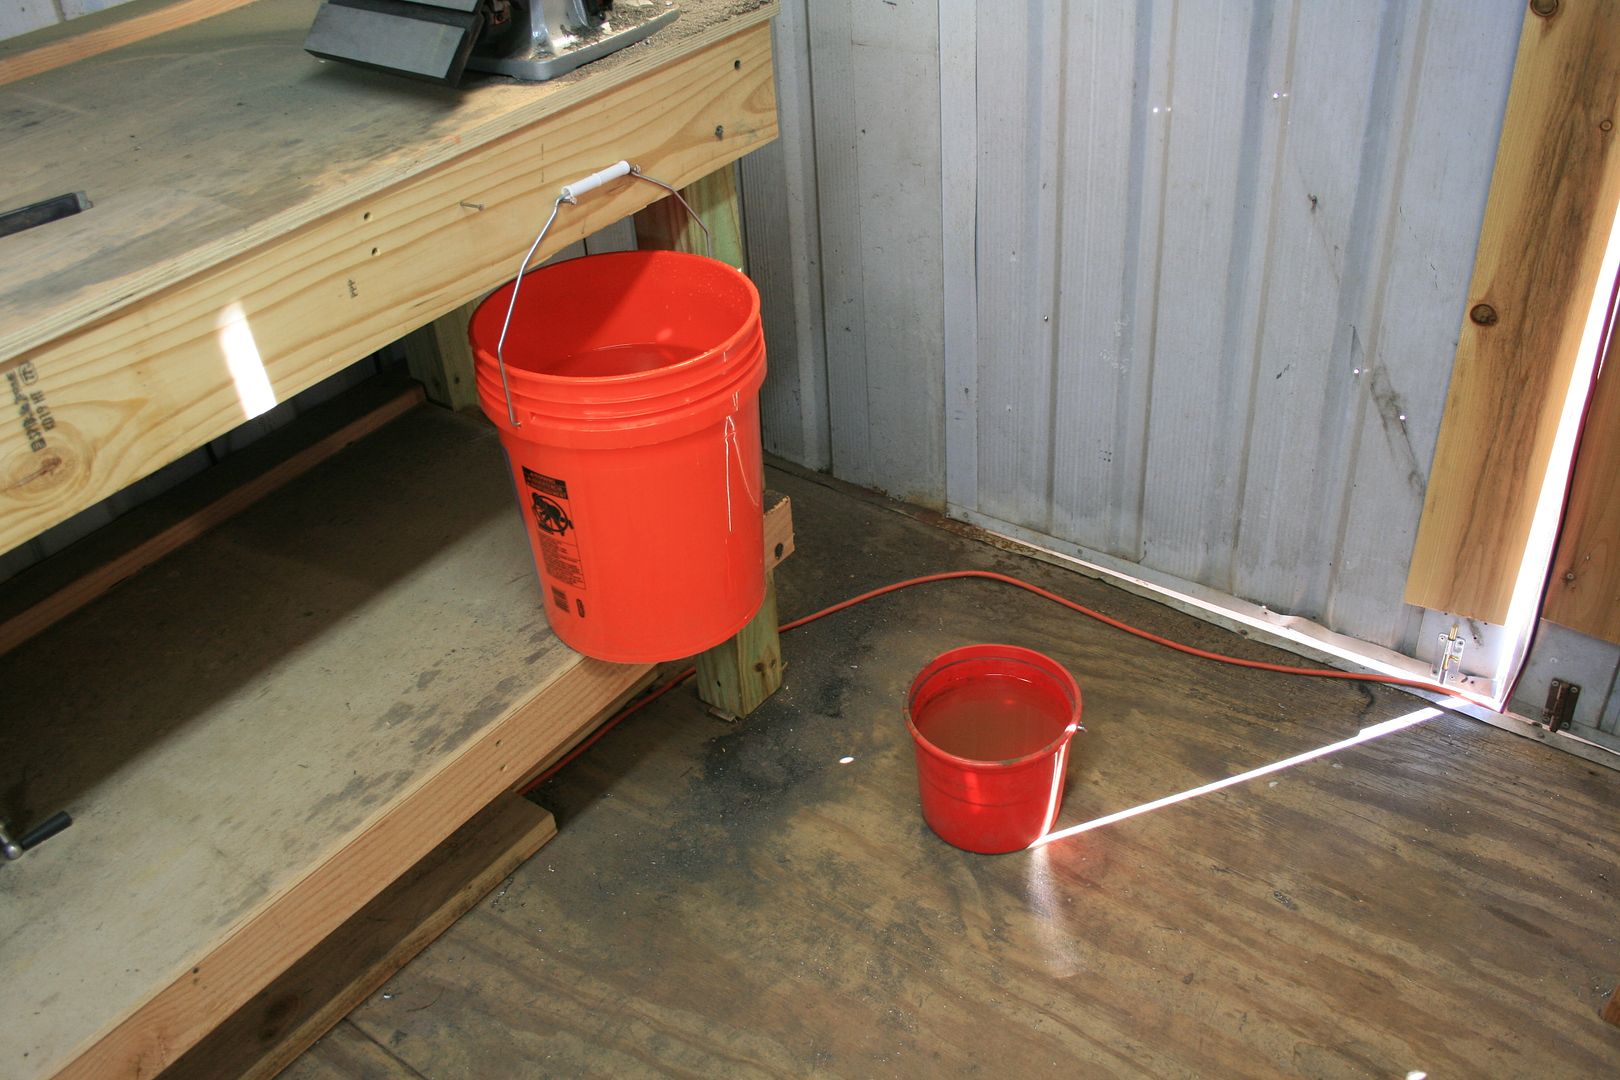
Took a little break to upgrade my dunk bucket...
2013Progress010.jpg


I was using that little guy...
2013Progress011.jpg


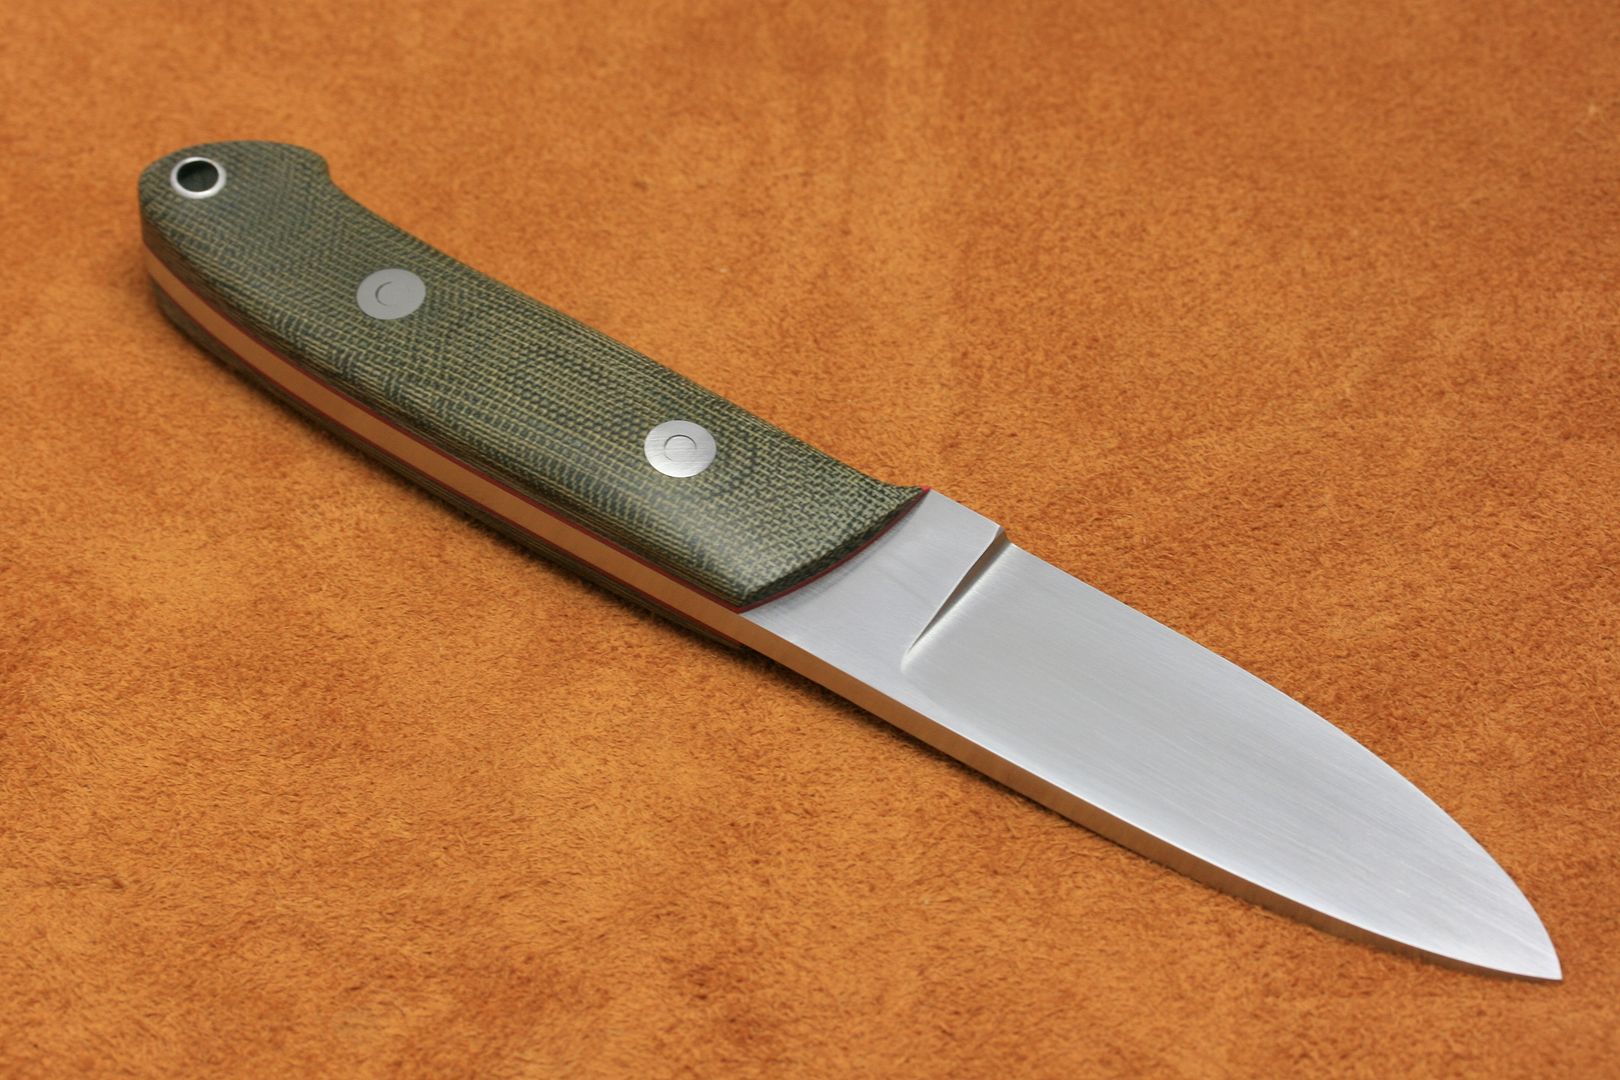
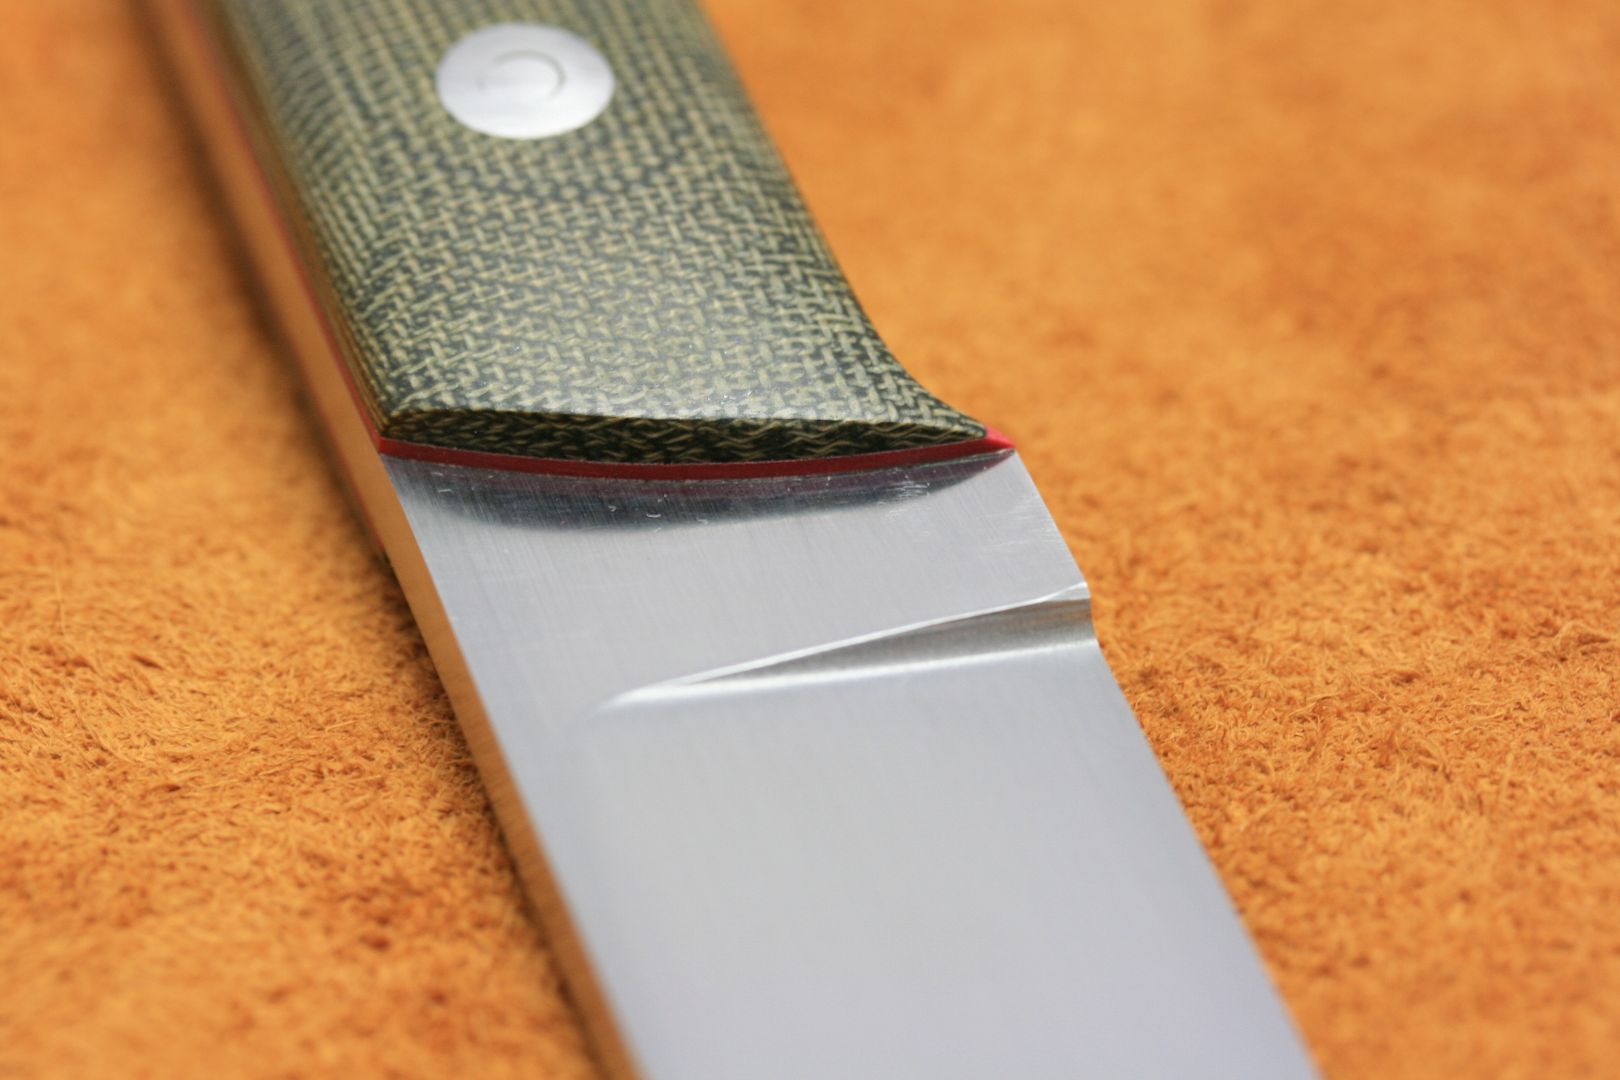
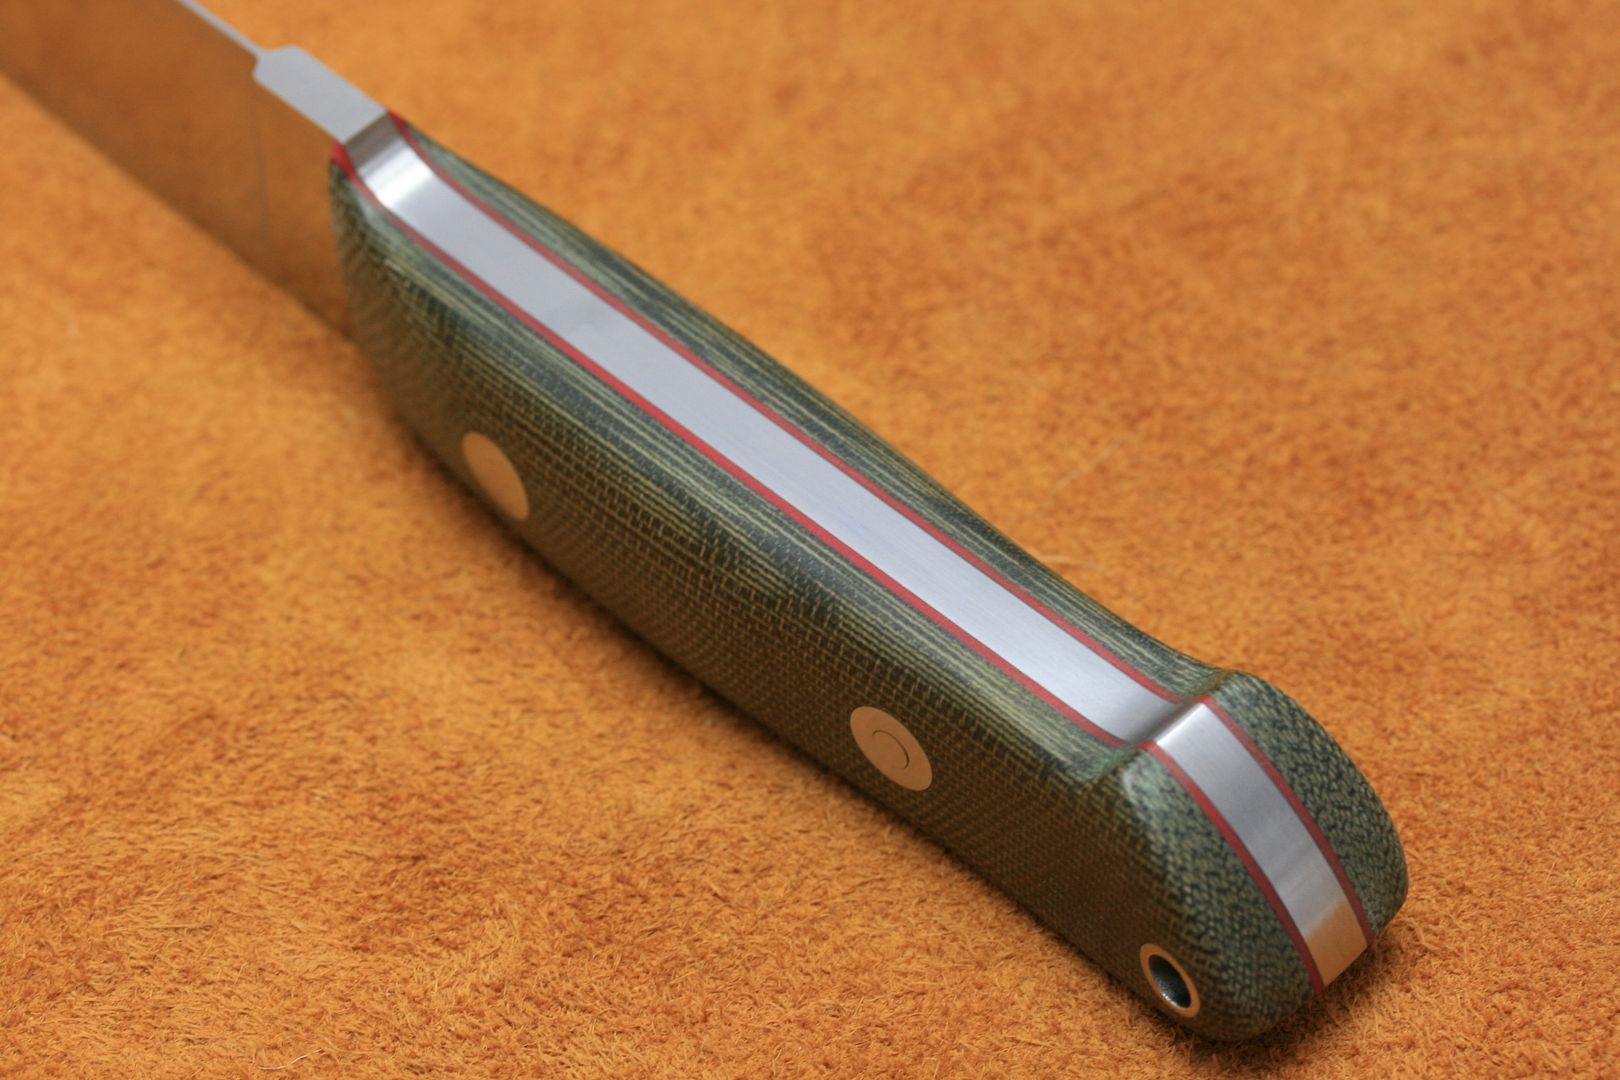
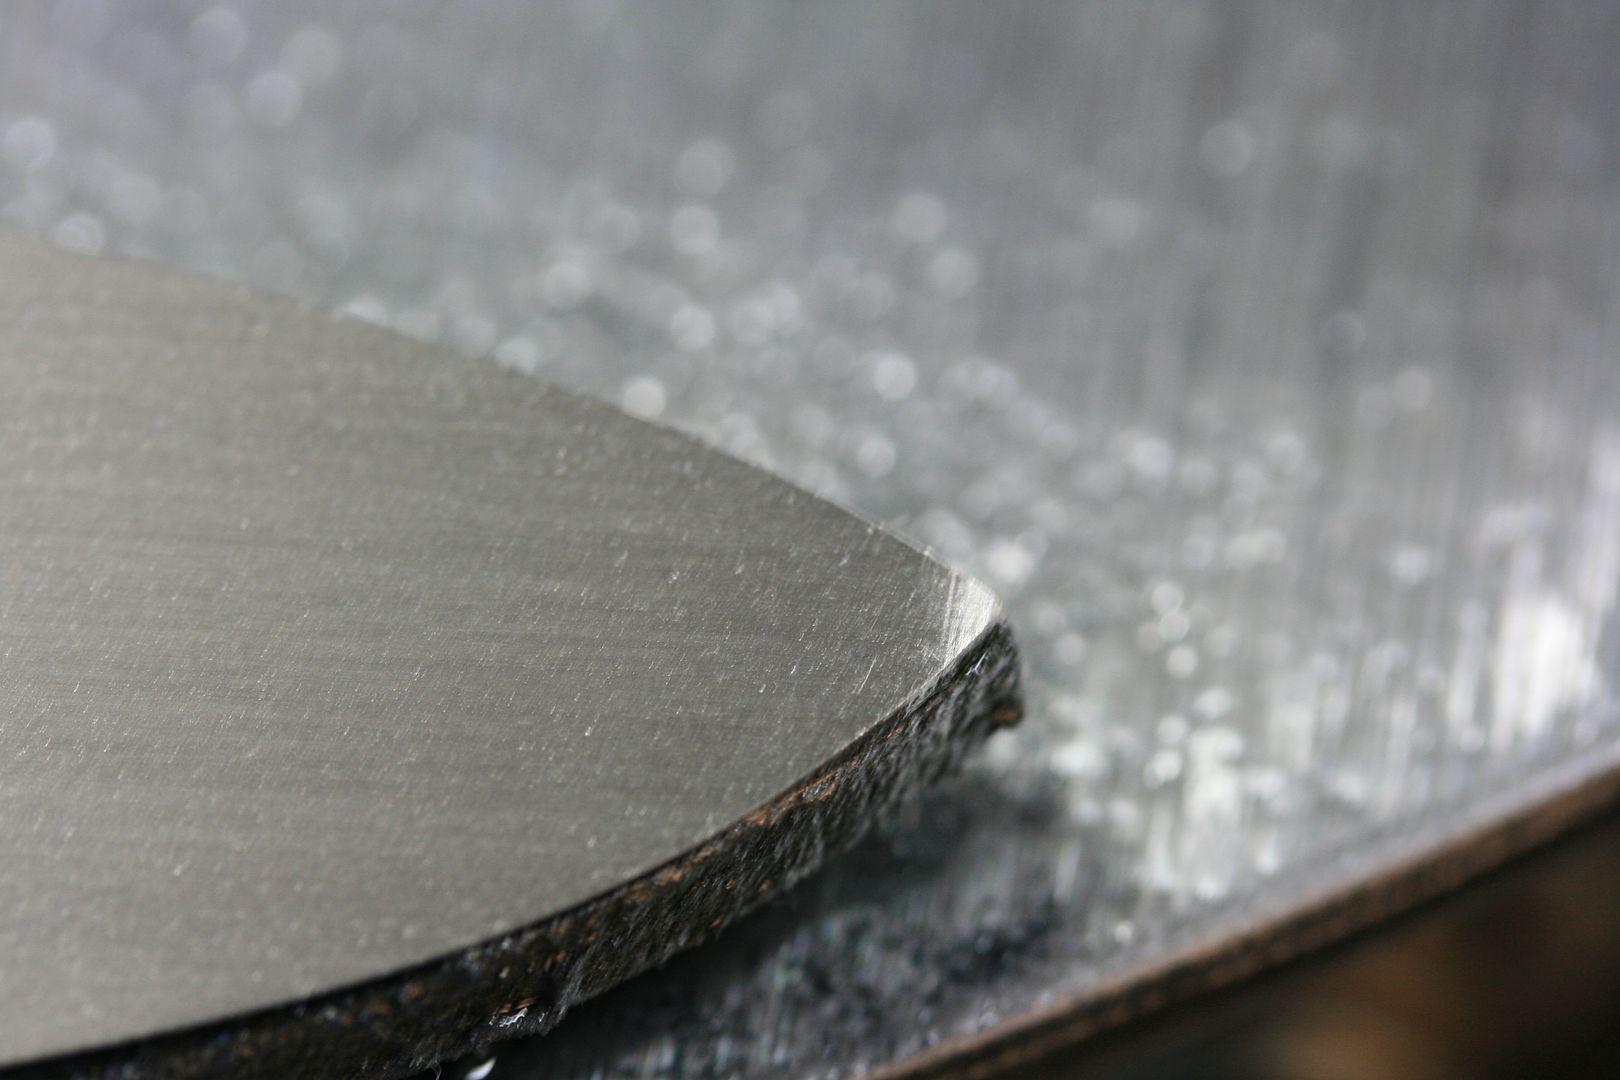
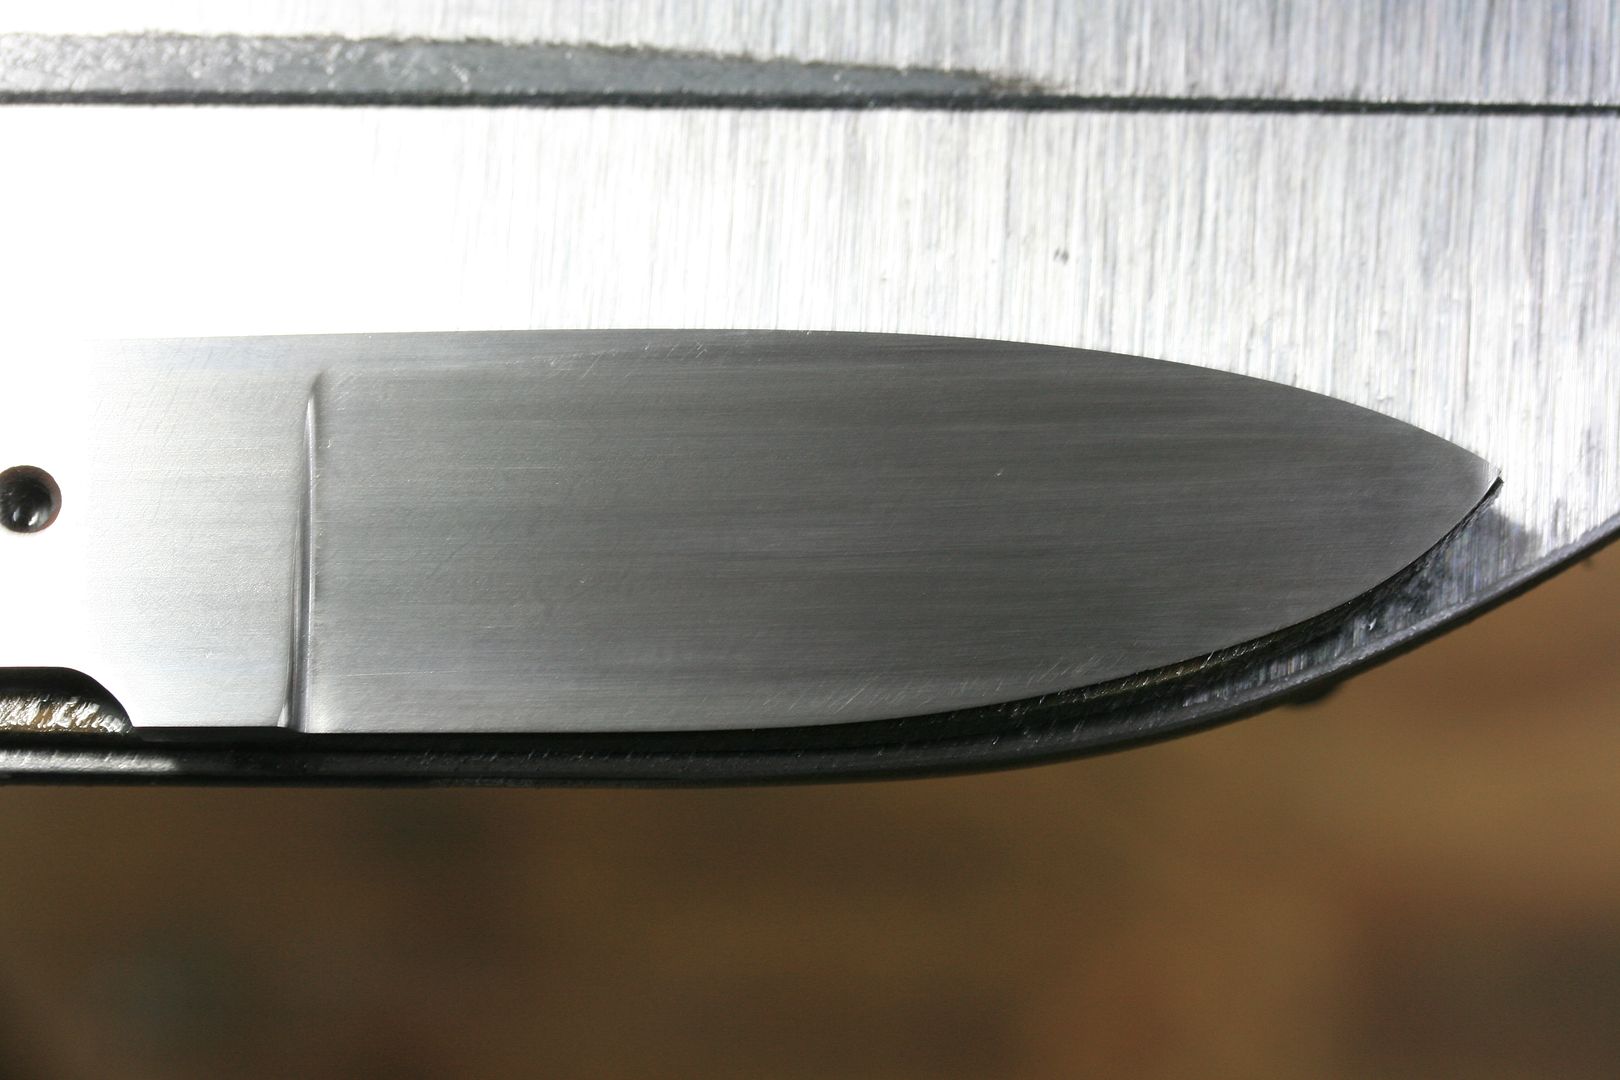
There is still a little upward curve on this side...
2013Progress012.jpg


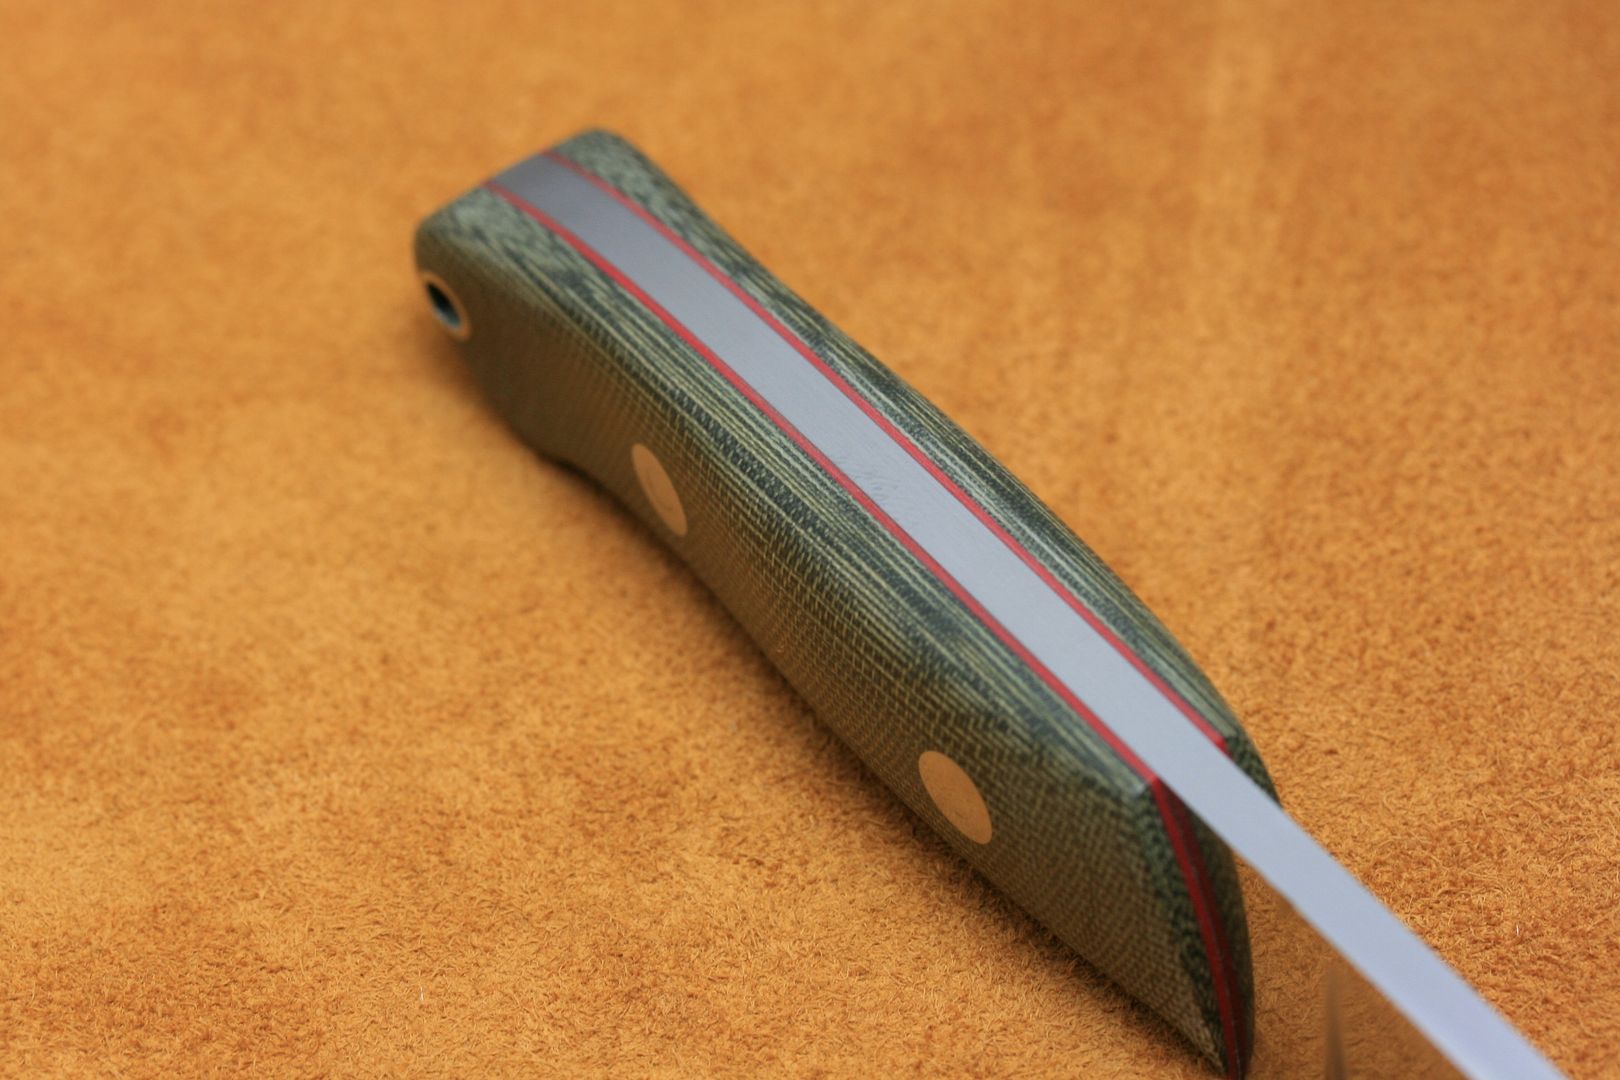
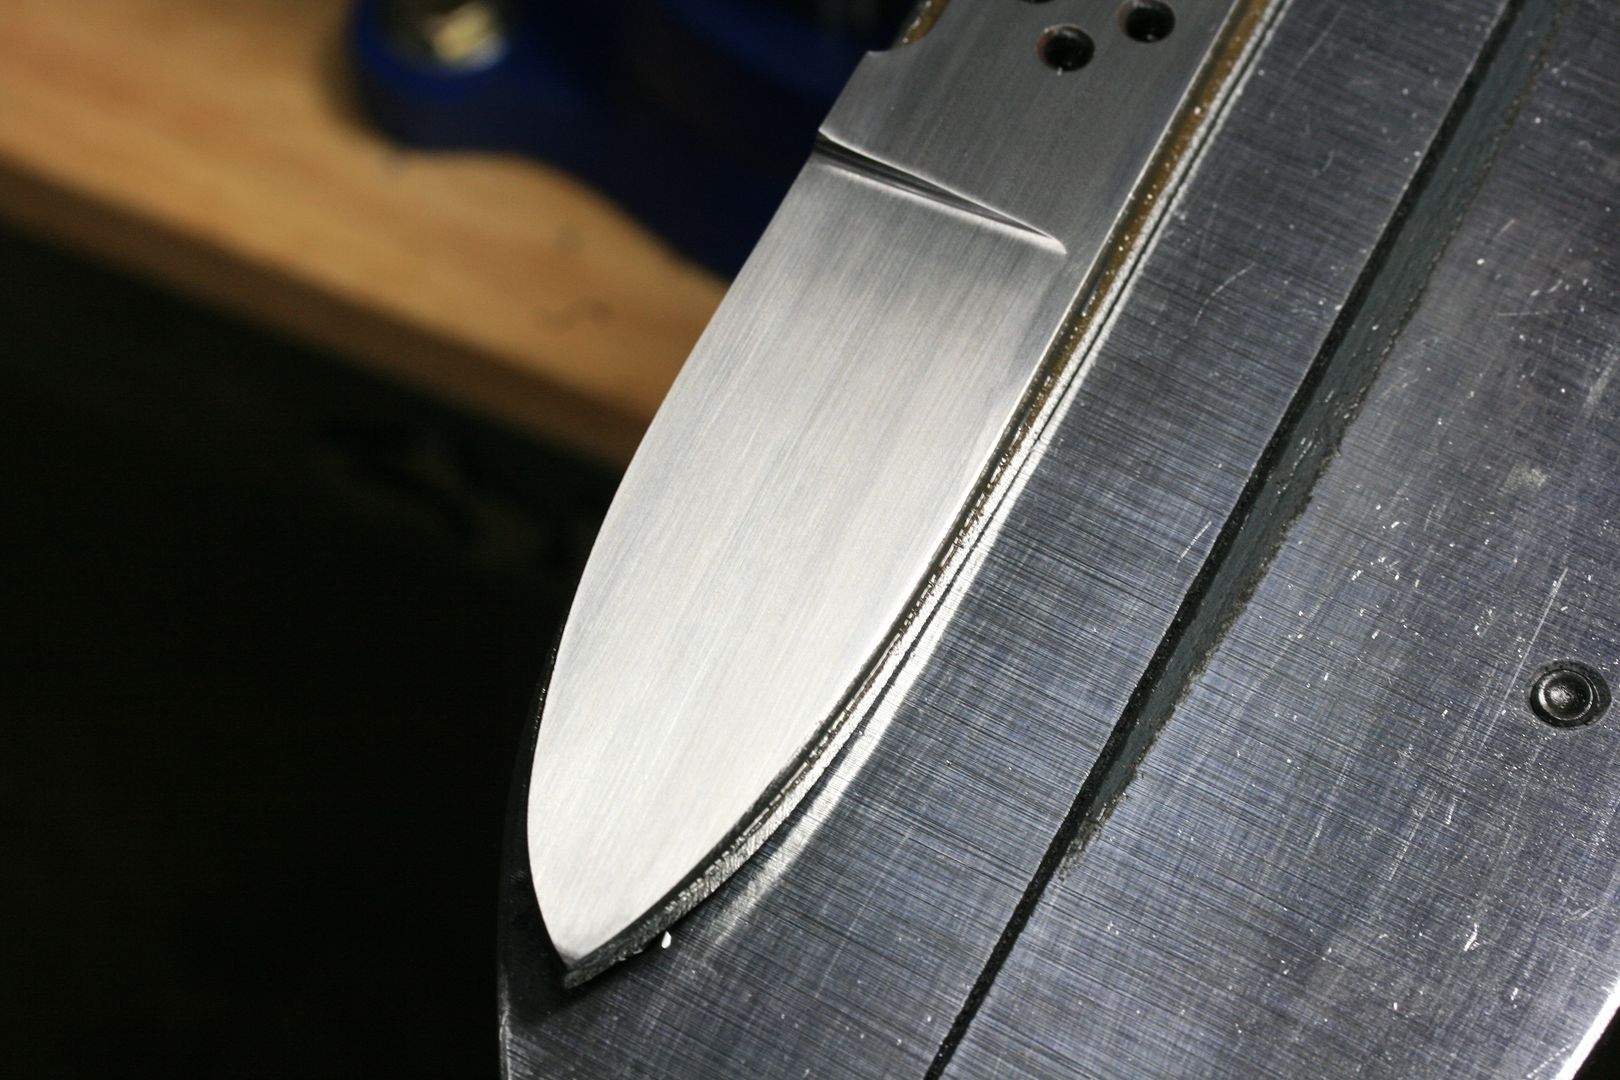
Pretty straight on this side...
2013Progress013.jpg


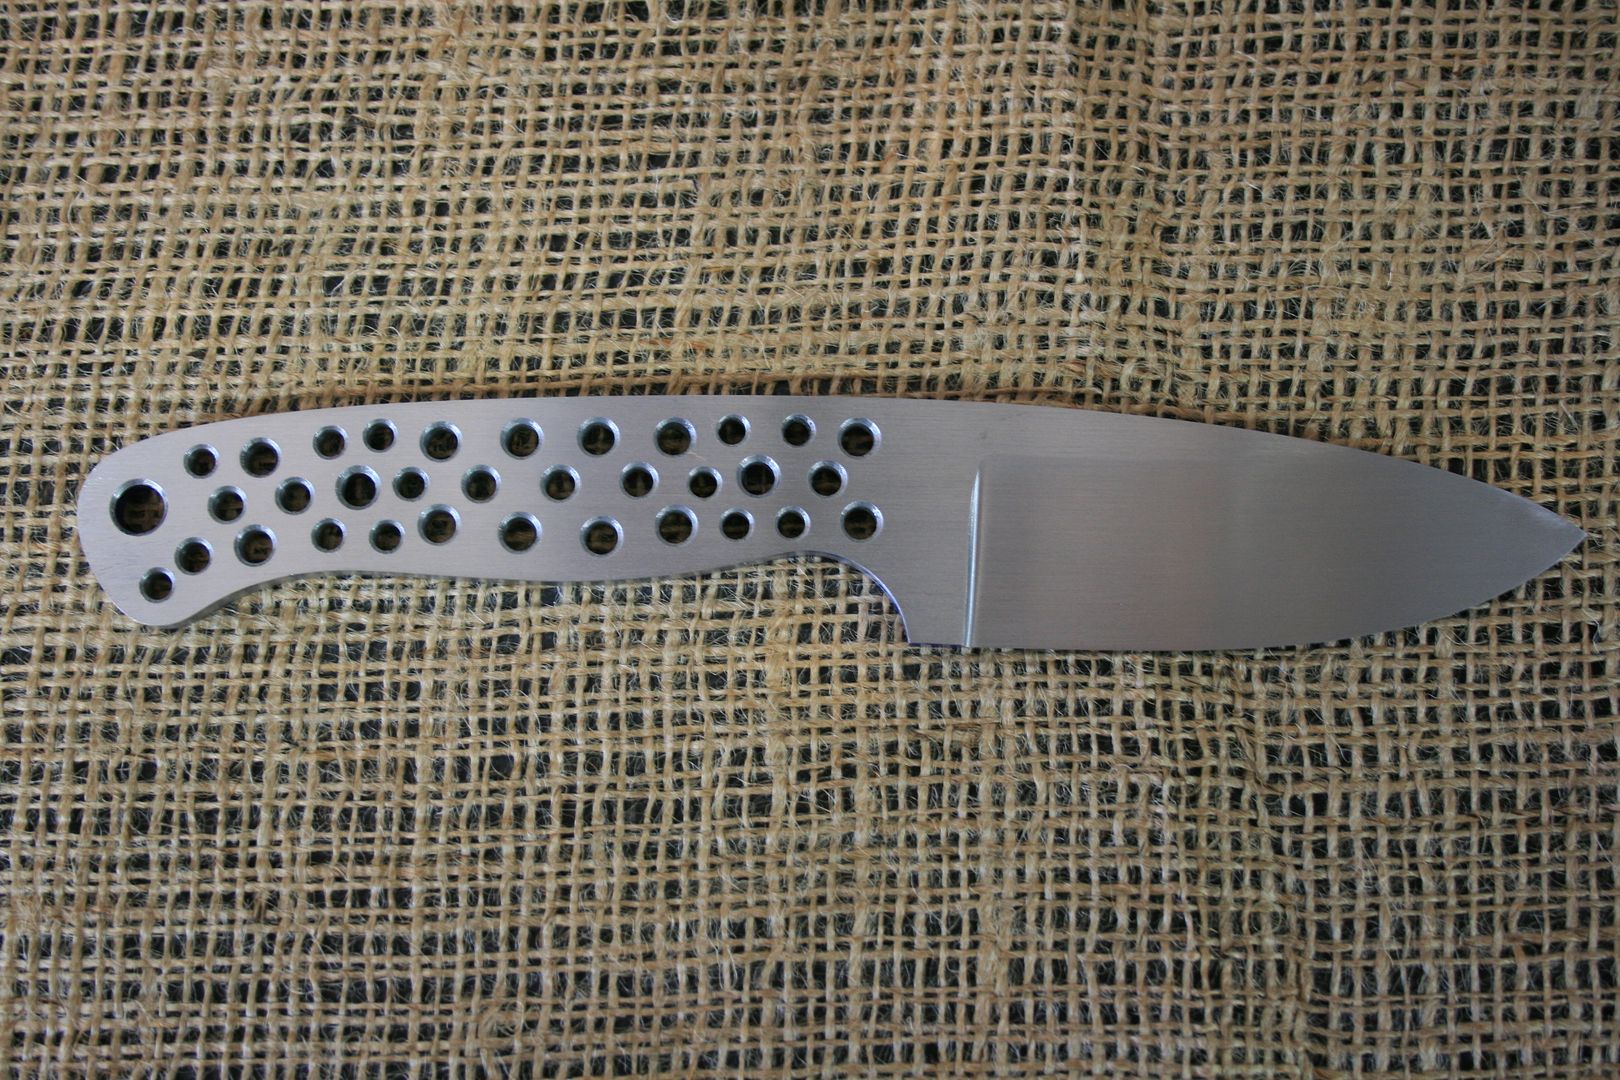
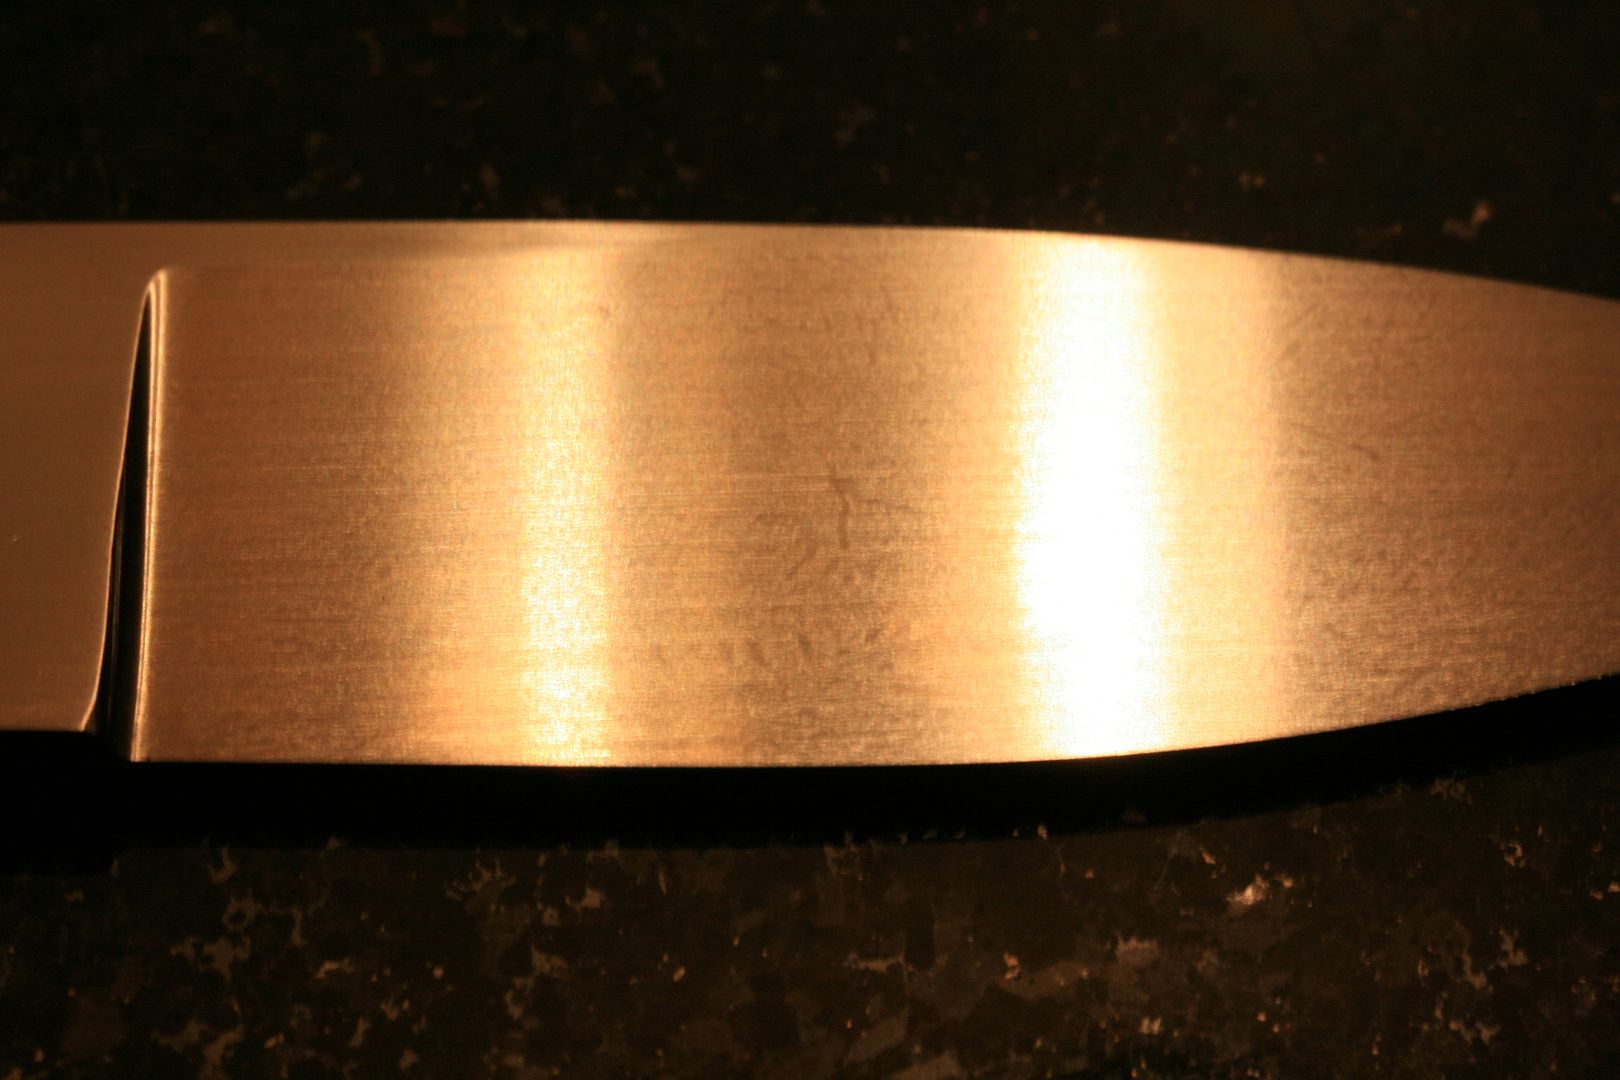
Sanded to 400 grit...
2013Progress014.jpg


2013Progress015.jpg


I am trying to save one from going in the scrap bucket forever. I raised the grind height to fix a few big scratches and tried to even her up. It looks a lot better than before. Hope hand sanding it will clean it up...
2013Progress016.jpg


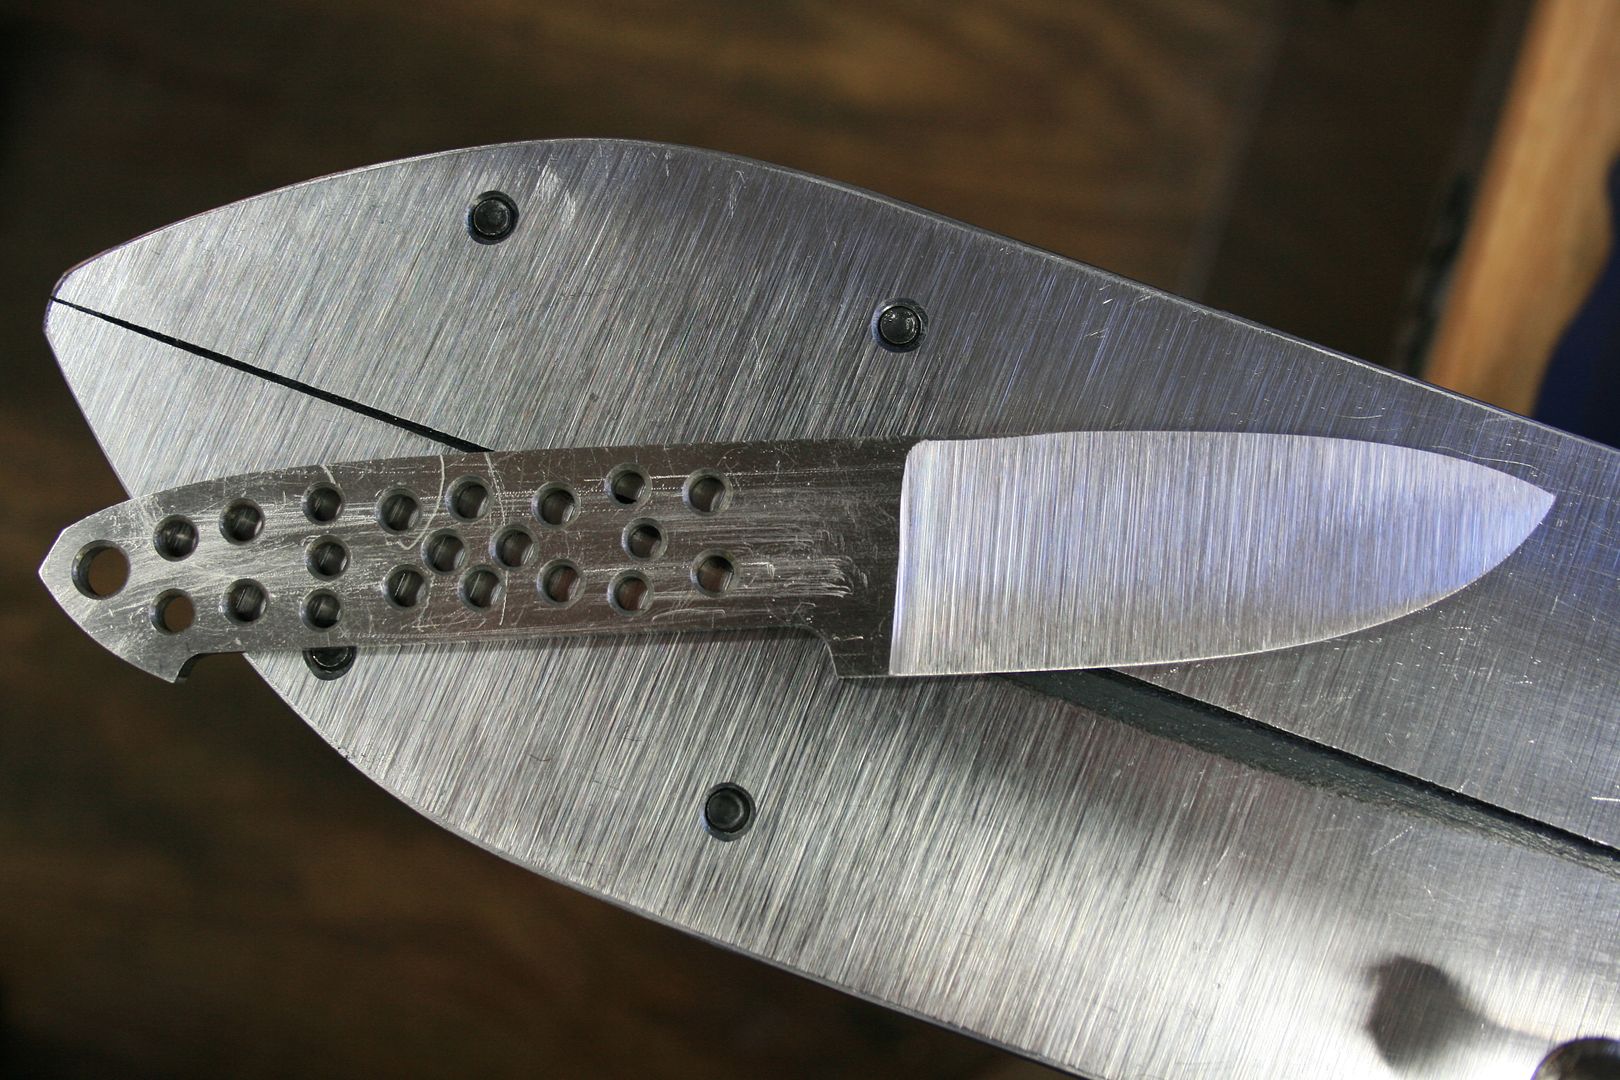
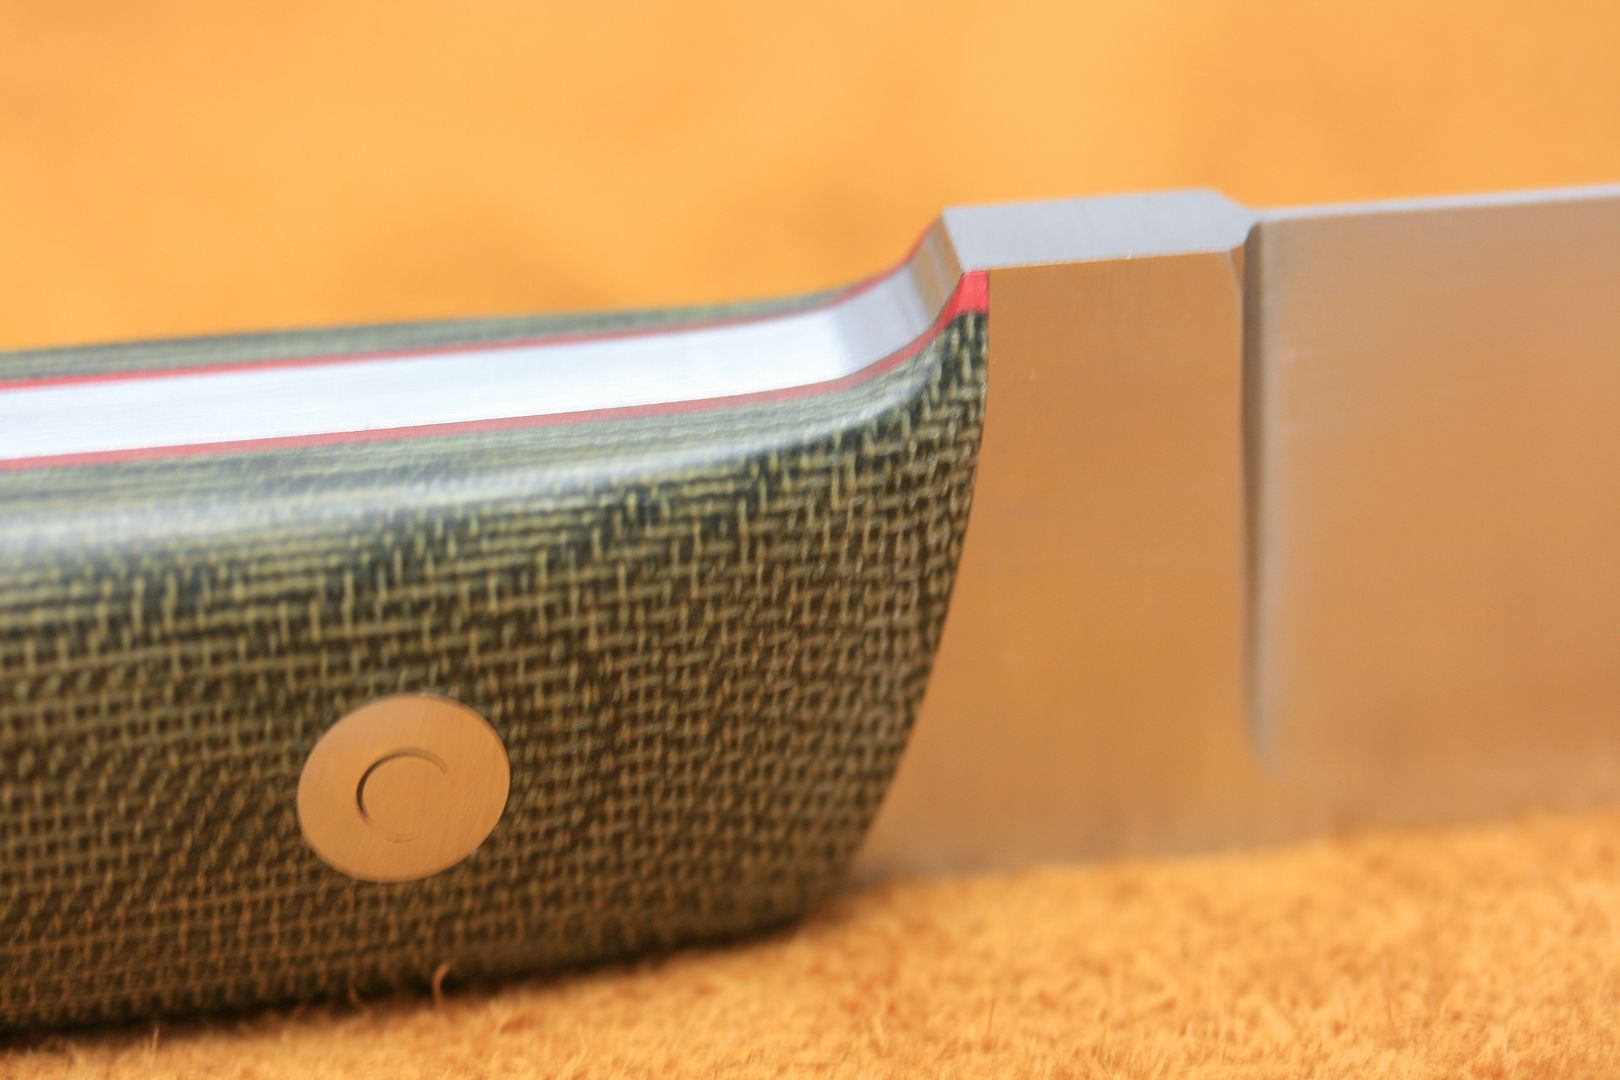
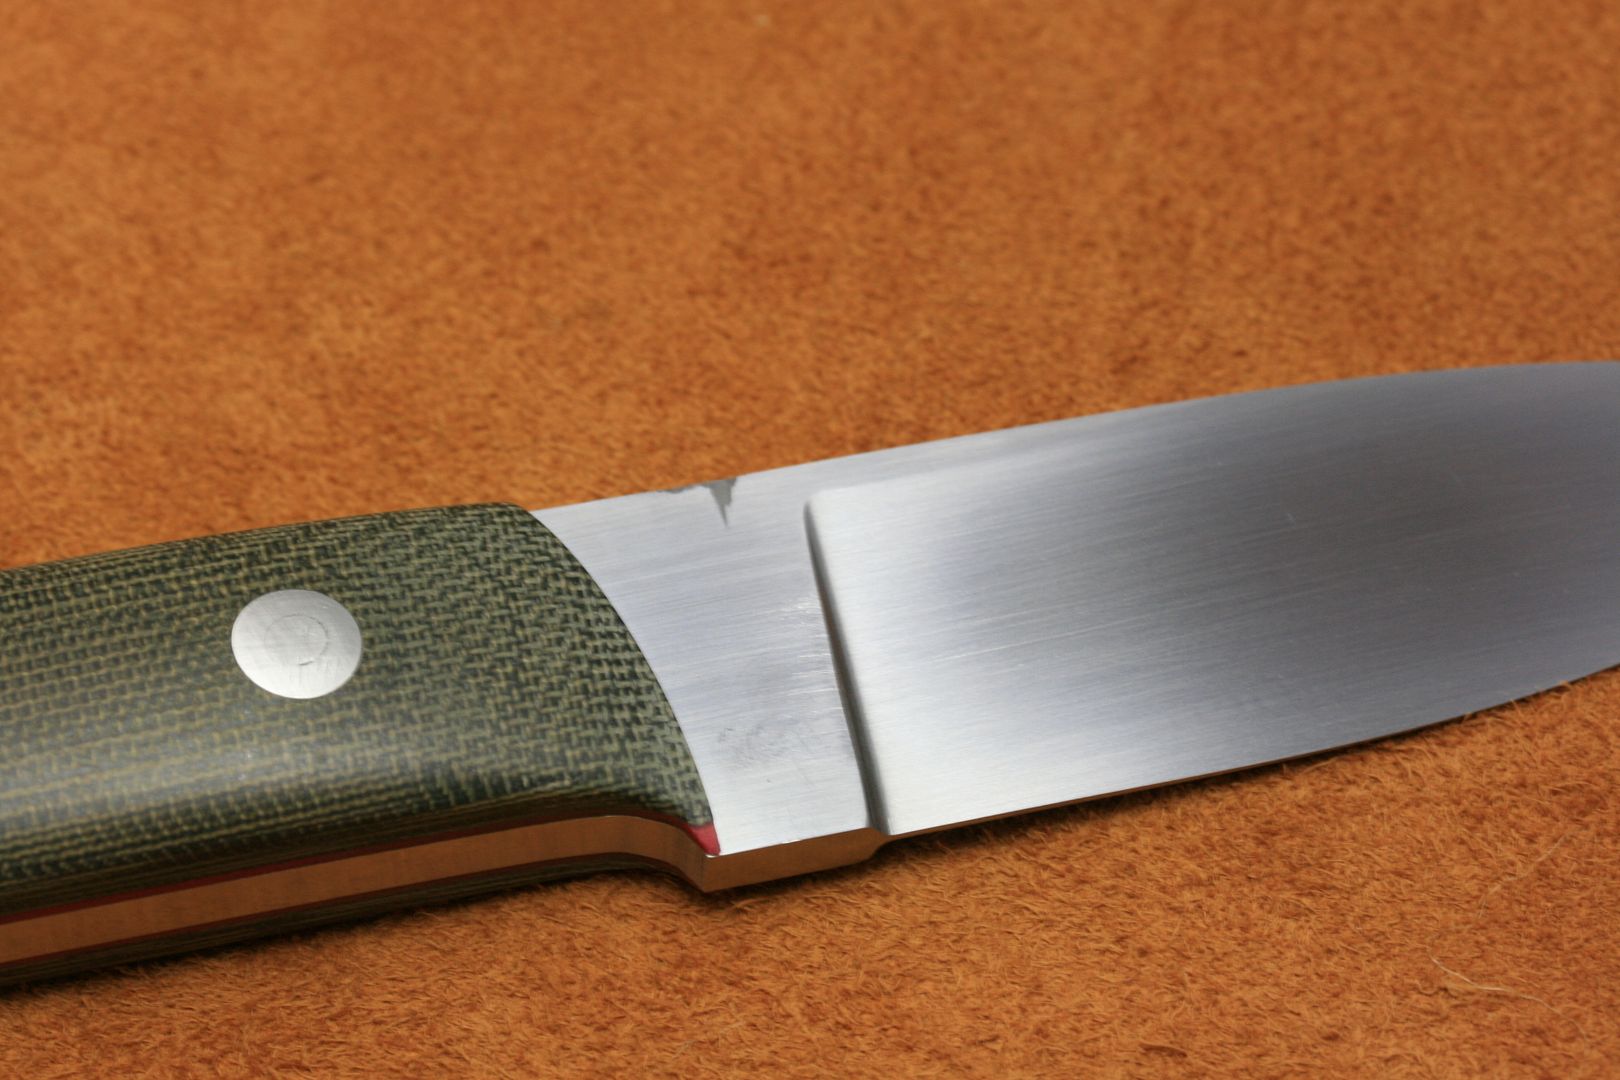
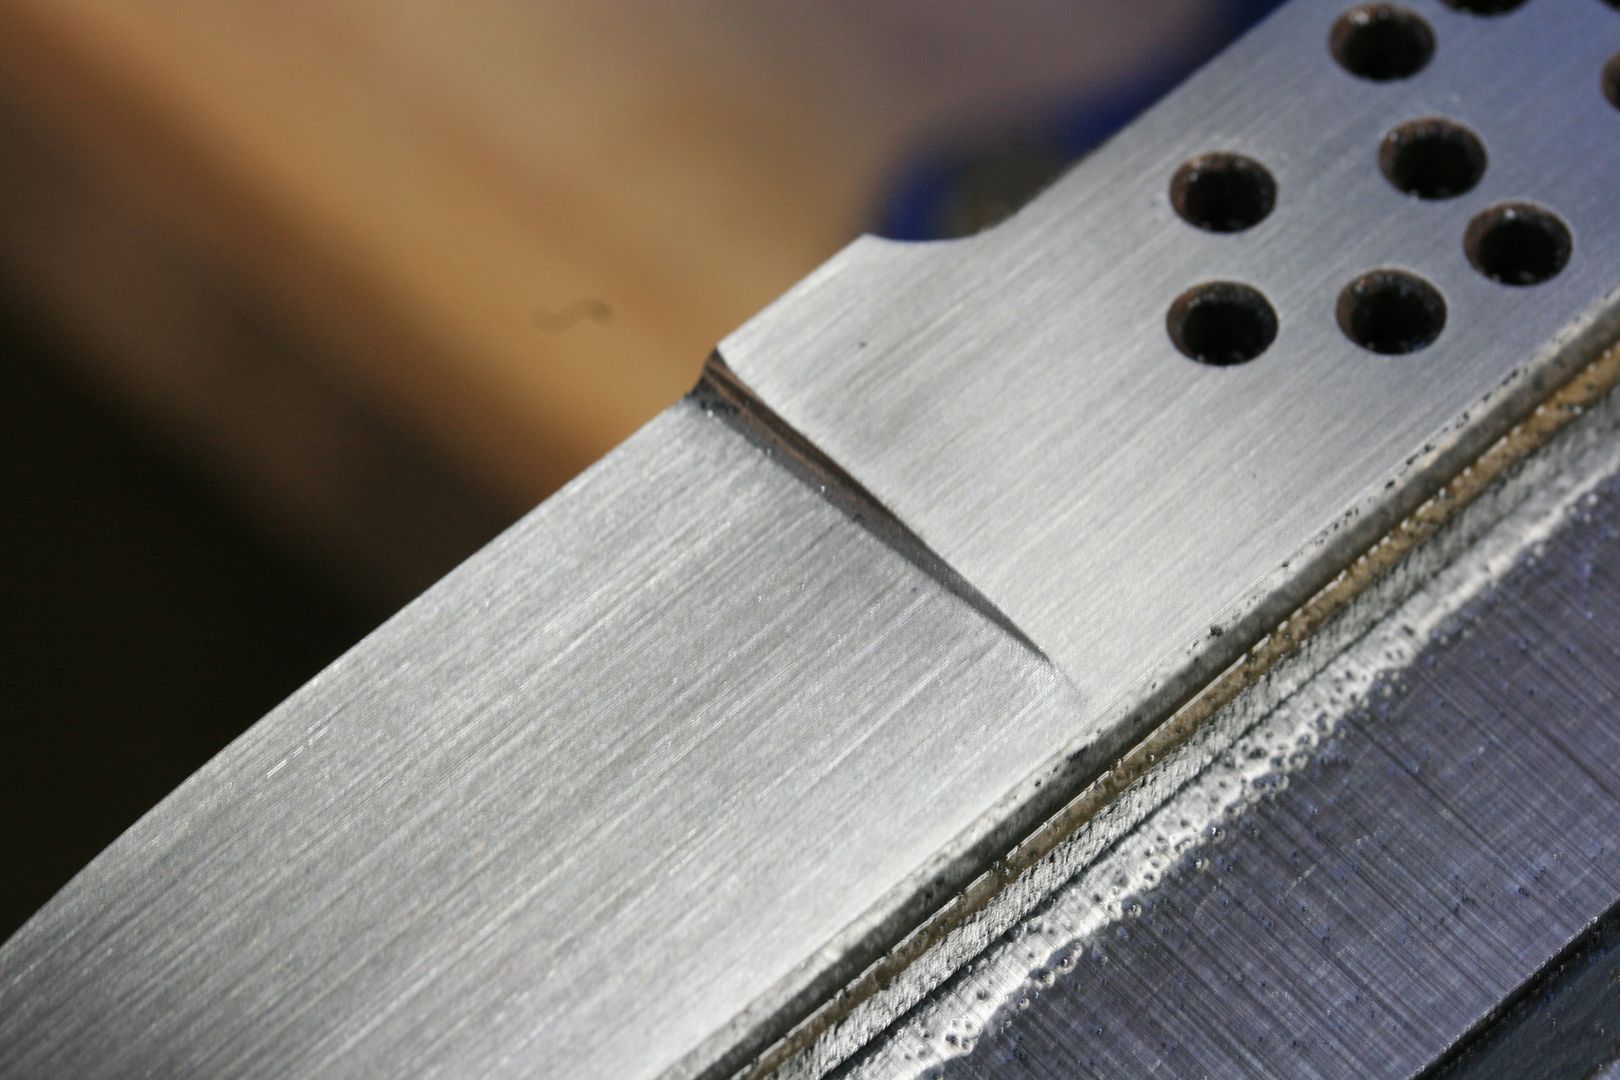
I still need to figure out a way to get my plunges even. Something with the grinder is causing it. On the right side of the platen, my plunge line has more of a radius, and on the left side, it's more of a 90* angle. Every time I switch sides, I make sure to adjust the belt to hang off that side just a little. My ceramic platen attachment seems to be close to the same shape on each side, but I bet the smallest difference will cause problems like these.

Thanks for looking!
 
$1200 is not bad at all. If I start one, do you mind if I PM you with a few questions as I'm building it? I might have to start looking into this option a little more seriously.

Steve,

I'd be glad to help you. So feel free to PM me. A lot of members ask for advice on putting together a grinder- components, etc. There are many posts on the subject, especially the GIB, which was developed out of the EERF grinder. The CAD files for the EERF grinder are free (EERF spelled backwards), but I think the kit saves a lot of headaches and is a good buy.

Jay
 
Question about epoxy?

I have read somewhere that when gluing up your knife, if you put it in the oven on low temp for a short amount of time (after the handle is attached), the epoxy will become more fluid and "soak" into your handle material. They also said that once the knife is out of the oven and has cooled down completely, the epoxy will fully cure and you will be able to work on the knife immediately.

I am using the 15 minute - mid cure epoxy from USA Knife maker Supply, if this helps. I am about to pick up my first blade from heat treat and wanted to try and finish it up tonight. Would it be possible to glue it up and start working on it within a few hours, or should I wait until the specified cure time has been reached, which I think is 24 hours?
 
Steve,

I can't help you out with these questions. I use T-88 which is very slow curing, like 8 hour set up. I found that when using liner material and scales, especially between the scale and bolster or guard, and later checked how the glue was setting up I had to adjust things a little. So, it takes more time but...

Are you going to use liner material?

On liner material, I was told by a good knife maker that gluing the scales to the liner, letting that cure then gluing them to the steel is better. But, I haven't always done that and nothing has ever fallen apart.

Jay
 
Jay,
I will be using liner material. I was going to glue up the scales and liners last night but it totally slipped my mind. I think I also read where BossDog keeps the left over epoxy next to the knife so he can see when it has fully hardened. I wish I would have bookmarked all of these things I have read.:what!:
 
Steve,

I glue scales, liners and blade at the same time. Since you are using Loveless bolts you'll have a good tight emcanical bond. The glue will mostly act to seal the water out.

Jay
 
I thought I would go ahead and post an update while I'm getting my hands to un-cramp from the hand sanding. Unfortunately, my Craftsman grinder really only cleanly cuts at 120 grit. A 220 leaves little bumps from the attachment point on the belt, and grits above that are like driving over 2' deep potholes. I found a way to grind up to a 400 grit on it by attaching a piece of sticky graphite paper to the ceramic platen, but it really only helps above 220 and I don't like using it for profiling or starting the bevels. It is too much of a headache and costly to keep using it (take it off, clean the platen, cut a new one, trim it , glue it, etc.). I was thinking of ordering another platen from Craftsman to use in this way. But then again, I would rather put that money towards a real grinder.

I screwed the knife up a little and had to raise the top of the bevel. I think it looks a little better. I started with a 120 grit belt to get all of the scale off and then decided to hand sand the rest starting again with a 120 to get it all even again. So, after a few hours, I have one side sanded to 400 and the other is still at 120. I will most likely go to 1500, so it looks like I won't be finished until Sunday. Not a big deal because I need to take my time anyway. I'm getting excited because I am getting closer and closer to FINALLY finishing my first knife!

Here is the progress...

Back from heat treat, this is a monumental moment for me!...
2013Progress001.jpg


120 grit, finished up the smaller brass sanding stick. I like this one the best so far...
2013Progress003.jpg


These scratches took me forever to get out. Lesson learned...
2013Progress004.jpg


2013Progress006.jpg


You can see where accidentally grinding this area too thin is causing me problems. I will have to shorten the width again too try and keep it somewhat at the same thickness.
2013Progress008.jpg


2013Progress009.jpg


Still a whole bunch of work to do but it's getting there.
 
I sanded down to 1000 grit so far, changing direction each time and making sure every scratch is out before moving to the next grit. At the end of 600 grit, the 440-C began to develop a pattern (sort of a patina maybe?). This happened to me before and I can't figure it out. Is this normal? What is causing it? The finer grit I go, the more it comes out. It is not appealing at all.

I use WD-40 up to 800 then switch to Windex. It started while still using the WD-40 if that makes a difference.

After all of this hand sanding, I NEED A NEW GRINDER! I have probably spent more than 5 or 6 hours on one side alone to get to 1000 grit, but it is a very rewarding feeling.

This is the only picture I could get to show what I am talking about...
2013Progress011.jpg
 
Last edited:
I haven't had as much time in the shop as I would like, but I am still making progress. I finished sanding the blade and got the handle glued up last night. I also started a few other knives while waiting for the epoxy to set. And, my second blade should be ready for pick up from heat treat this morning. Things are looking good this week.

I had an issue with the edge of the blade being too thin and it has caused me problems. If it wasn't for all of you pushing me to finish a knife, I probably would have thrown it in the scrap bucket. But, instead I decided to work around the issue and proceed to go ahead and complete the whole process. The completed knife is going to be way off of my original intentions, but it's my first and I will use it for "things to not do" on my future projects. Since the edge was so thin and distorted after sanding, I had to shorten the width and fatten it out again. This made the blade look funny to me, but that's the nature of the beast. I am also not happy at how the front of the handle came out (need to work on a better process). I caught myself rushing for some reason and made more mistakes than I would have liked.

Looks like I will get the bulk of this knife completed tonight. Handle glued on and waiting to cure...
20130123_154257_zps0d789f07.jpg


Here is a shot of the new projects I am starting on, template on top, two that need to be cut out / profiled, and one ready to start the bevels...
20130124_083017_zps4255f7eb.jpg


Hope to have more progress pictures to share tonight, and maybe a completed knife. :biggrin:

Thanks for looking!
 
the 440-C began to develop a pattern (sort of a patina maybe?). This happened to me before and I can't figure it out. Is this normal? What is causing it? The finer grit I go, the more it comes out. It is not appealing at all.

Steven - I had the same thing happen to a batch of 440C blades. I was told it was perhaps chromium carbides or some other sort of alloy banding. I called Aldo about the issue and he asked me to email him photos, but I haven't heard back from him (I don't think computers are Aldo's strong suite:3:). I ended up stonewashing the blades because, like you, I didn't find it appealing. I'd love to hear what Kevin Cashen or some of our other steel gurus have to say about this . . . maybe PM him a link to this thread?
 
Thanks Shawn.

I was hoping someone would respond about this because it is happening to every piece of 440-C I have, which was bought from Jantz. I was going to order from Aldo, but now you are saying that you are having the same issues. Did this happen to you recently?

On the most recent blade I am working on, the discoloration started at 320 grit and gets worse (more noticeable) as you go higher in grit. I am starting to think that using WD-40 is causing this, but it's weird because the discoloration stays there no matter how much you sand down. I might just have to start using a different type of steel.
 
I PM'd Kevin Cashen and asked if he could share his opinion on the 440C issue. I don't think WD40 is a factor. What I experienced was evenly distributed throughout the stock.
 
Great, thanks Shawn. I was thinking WD-40 because every spray leaves a faint discoloration (like a patina), but after a few strokes with the sandpaper, it disappears.

Hope to figure this out soon because I have enough steel for about 5 more knives and would like to try and get one or two to a mirror polish. It won't be worth all of the hard work if there is no fixing this issue.
 
First Completed Knife!!

I have finally finished a knife! (well, it still needs to be sharpened) It didn't come out as I had envisioned it but it looks decent and feels pretty good in the hands. The handle could probably use a little more sanding to bring it down more (newbie syndrome I guess) but I was afraid of losing a Loveless nut for going too thin.

- OAL: 7.5 "
- Blade length: 3.25"
- 3/16" 440-C
- Green canvas micarta with red liners
- Loveless bolts
- Flaws: MANY!

2013Progress014.jpg


2013Progress018.jpg


2013Progress005.jpg


Accidentally went a little too far on the belt grinder and exposed the liner...
2013Progress017.jpg


2013Progress016.jpg


2013Progress015.jpg


2013Progress013.jpg


I got comfortable while on the grinder and made a stupid mistake. While shaping the handle I was moving fast and nicked the spine area. It's too deep to sand down so I am going to leave it as a reminder of how careless I was. I also stuck it in a vise with plastic jaws, thinking steel is harder than plastic, well, lesson learned. It scratched up the ricasso...
2013Progress009.jpg


2013Progress007.jpg


2013Progress004.jpg


2013Progress001.jpg


Just picked one up from heat treat today and hope to get it done soon with less flaws. I figure they can only get better after seeing how much I have progressed from my first attempt.

Thanks for looking!
 
Last edited:
Congratulations on your first, Steven! I think you did a terrific job. As a maker, you will always notice flaws that nobody else ever will!
 
Thanks Shawn! I just wish I hadn't gotten careless and put that huge nick in the spine. The more I look at it, the more I want to start sanding!
 
I really think it's great. Nice symmetry good looking knife. I'd be proud of it. I know the little miscues will bug you but nobody but we Dogs would even notice. And I wouldn't fault them. I've started a habit of covering any area I don't want to ding with the grinder with masking tape.

Jay
 
Steve,

I know how you feel about that ding. There's a post here somewhere that is "how long does it to finish a knife?". I was going to respond that the only way I can finish a knife is to start a new one!

Jay
 
Thanks Jay! The sad thing is that I had it covered with a paper towel and tape but the knife slipped out a bit during my brain fart. Live and learn.

Steve,

I know how you feel about that ding. There's a post here somewhere that is "how long does it to finish a knife?". I was going to respond that the only way I can finish a knife is to start a new one!

Jay

I am starting to feel the same way. If I don't work on another one, this one will turn to dust from wanting to sand every flaw out.
 
Back
Top