Bruce Bump
Forum Owner-Moderator
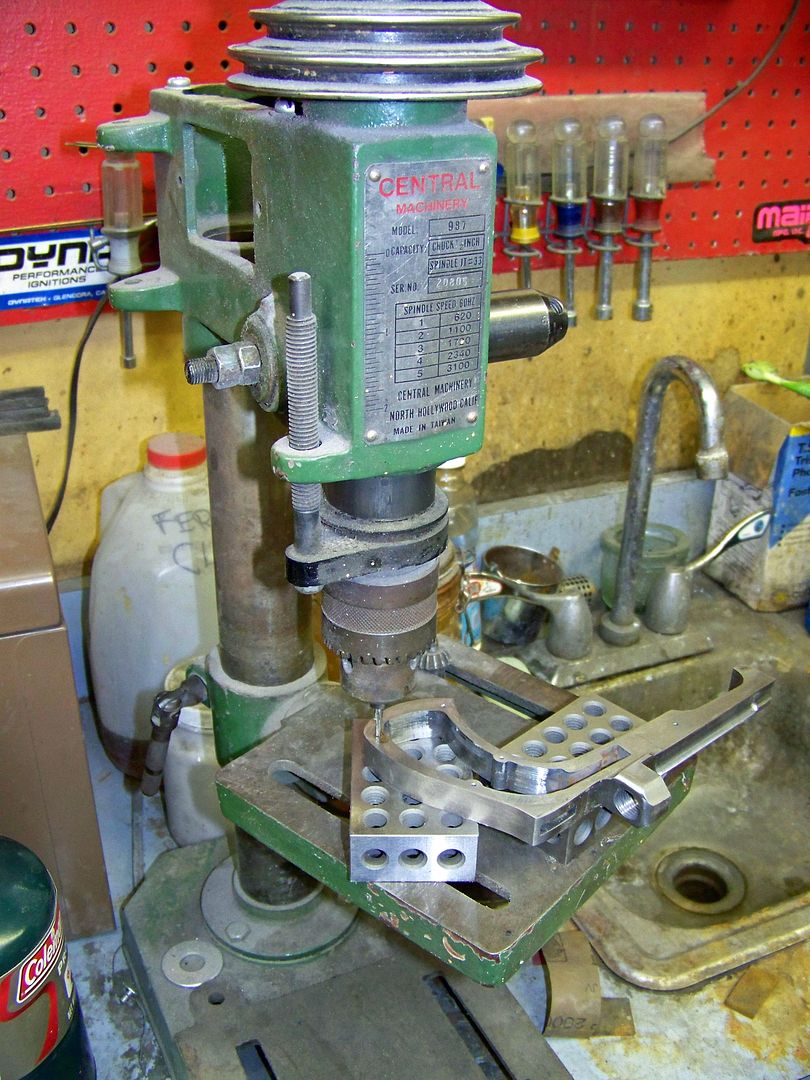
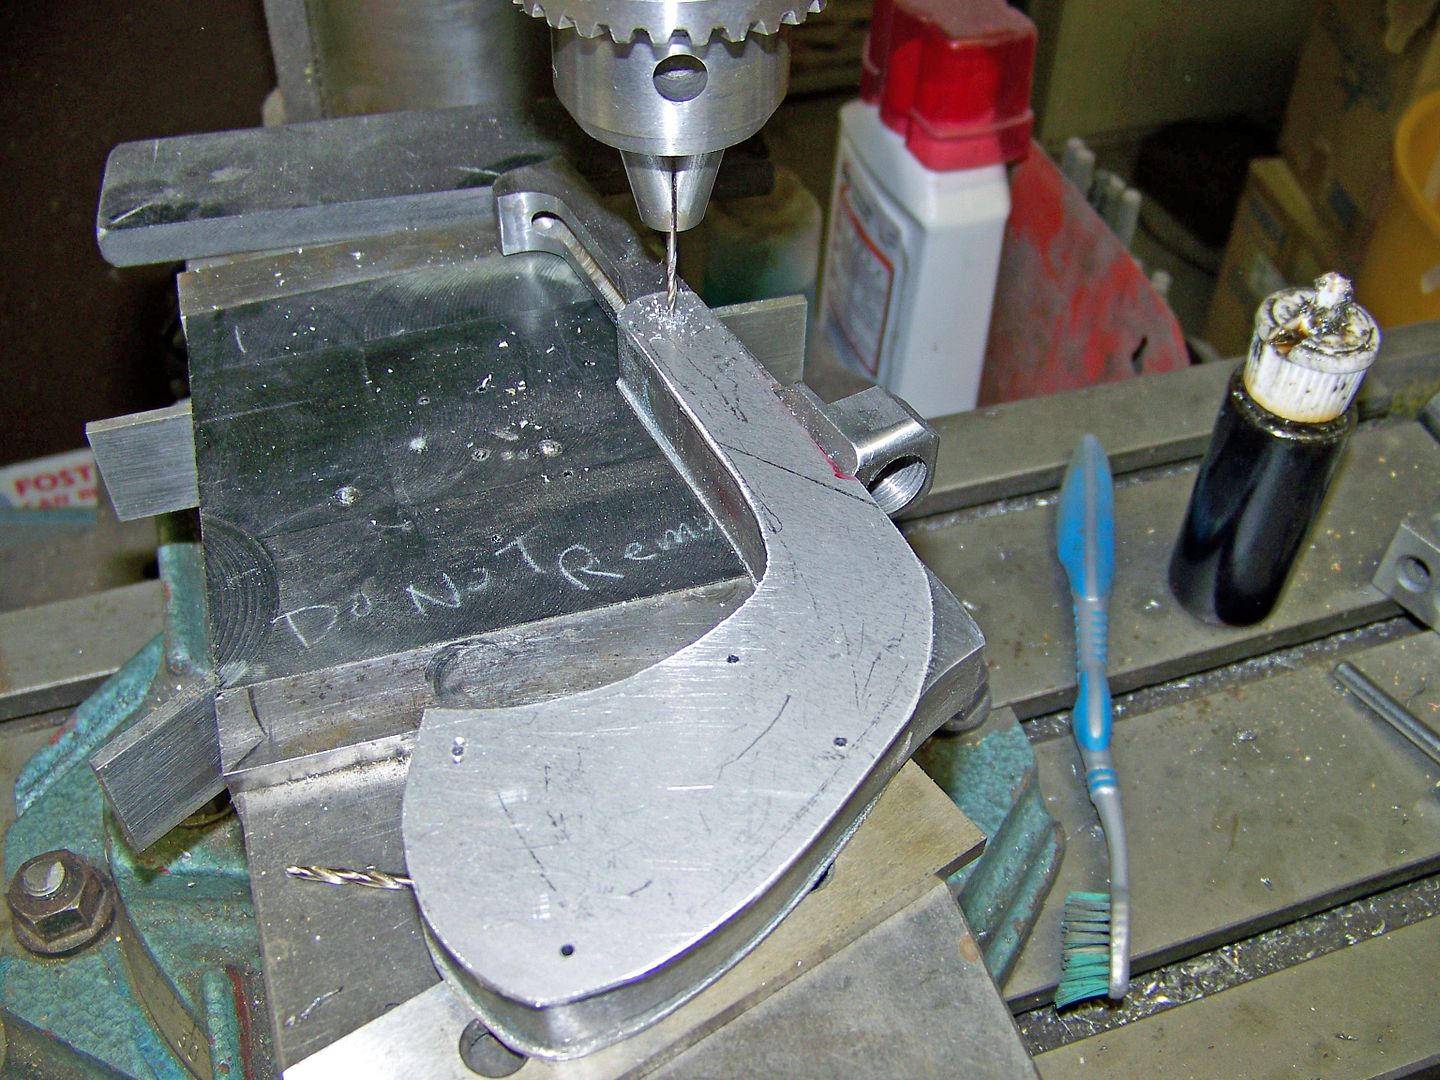
This is a disabled drill press that I still used to tap holes.
Last edited:
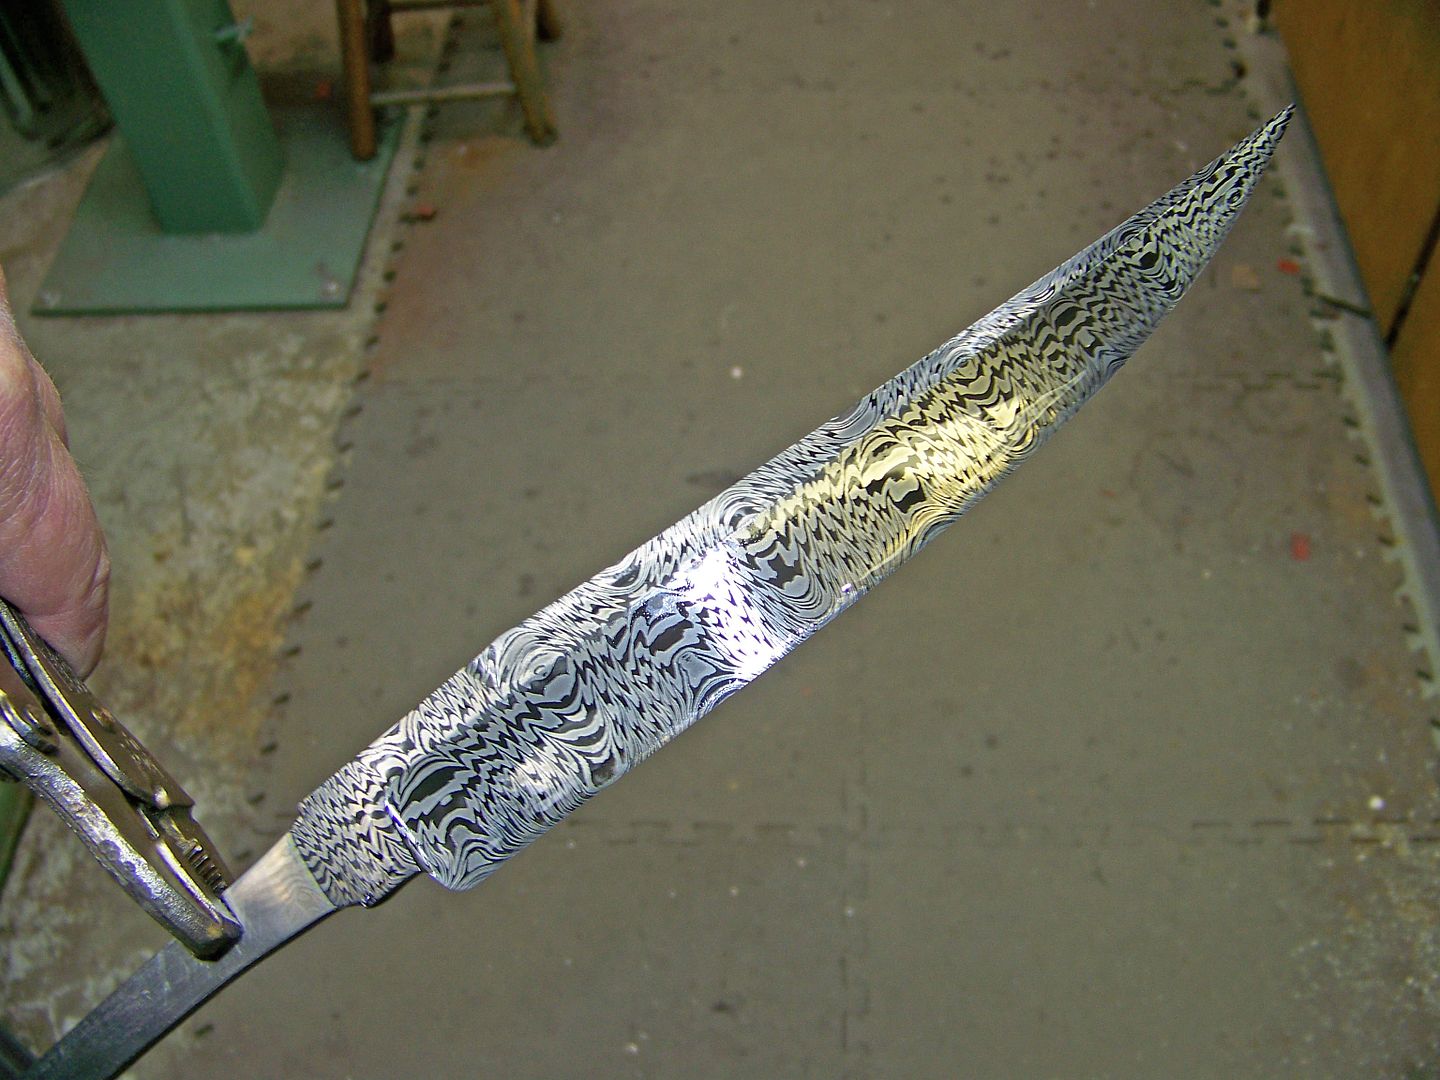
I seriously love watching the progress of this build! How big are those triangles of scrap from the accordion cut? Big enough for knife bolsters? I mean, I'd hate to see it go to waste!

Great WIP! I showed my wife your gallery thread, and I told her I want to grow up and be like you some day.
Bruce, I'm curious how you use that disabled drill press to tap? I've got a small press just sitting around. Do you have a handle you use to turn the bit and then just feed it by hand? Or did you remove the return spring in the drill as well and let gravity feed?
--nathan
Bruce
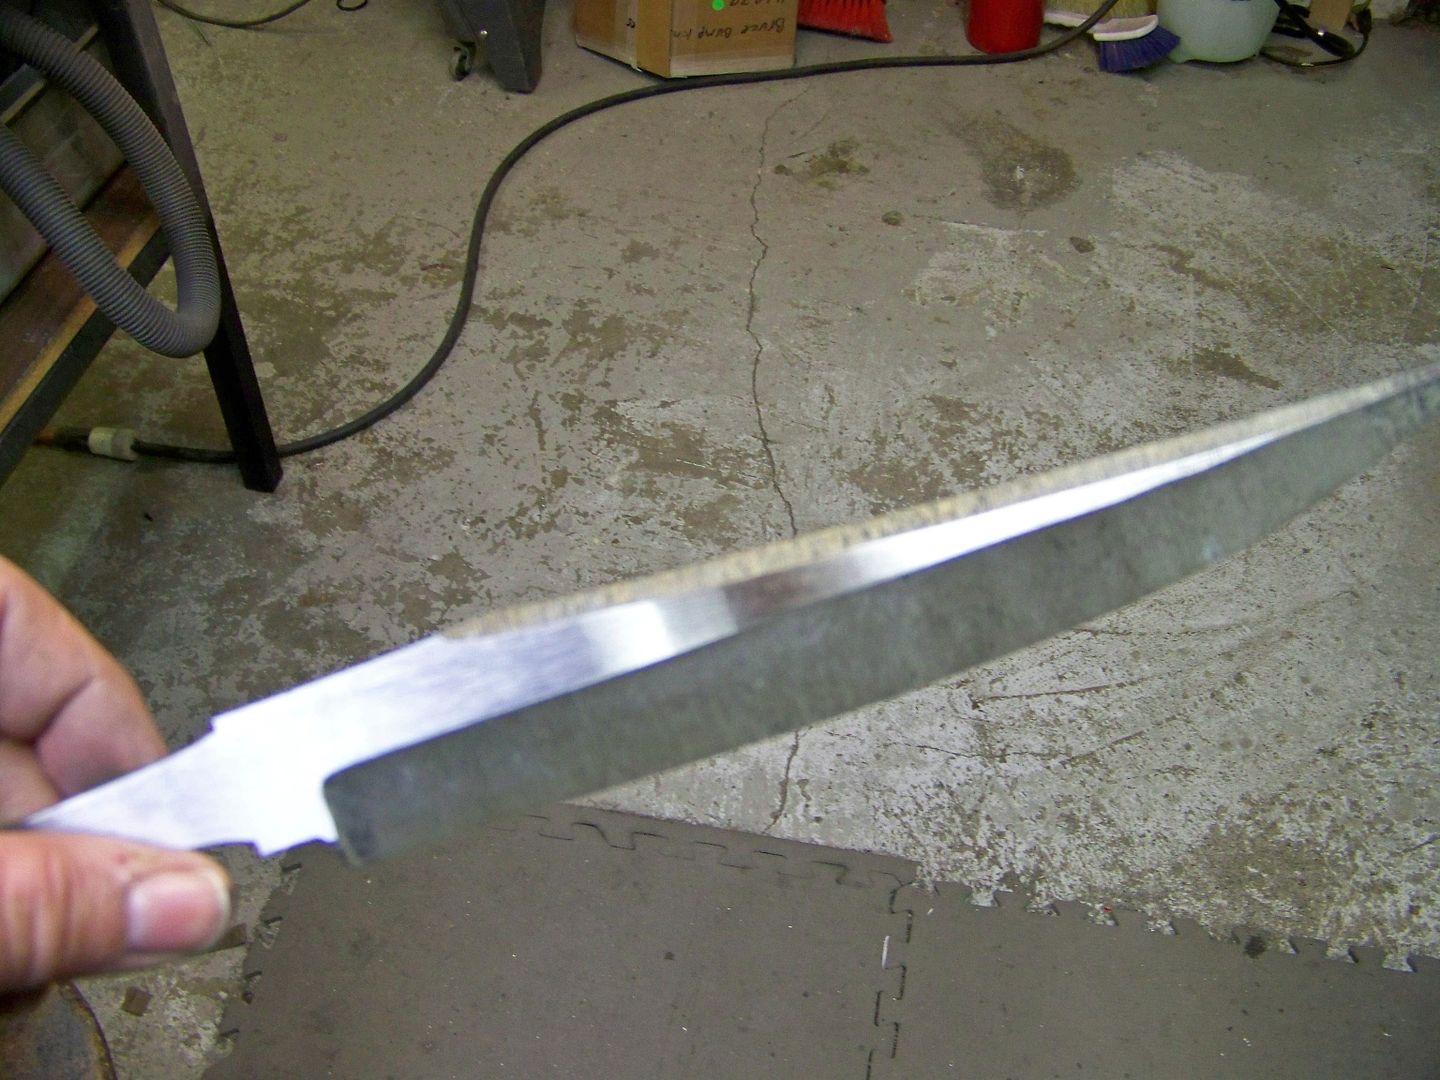
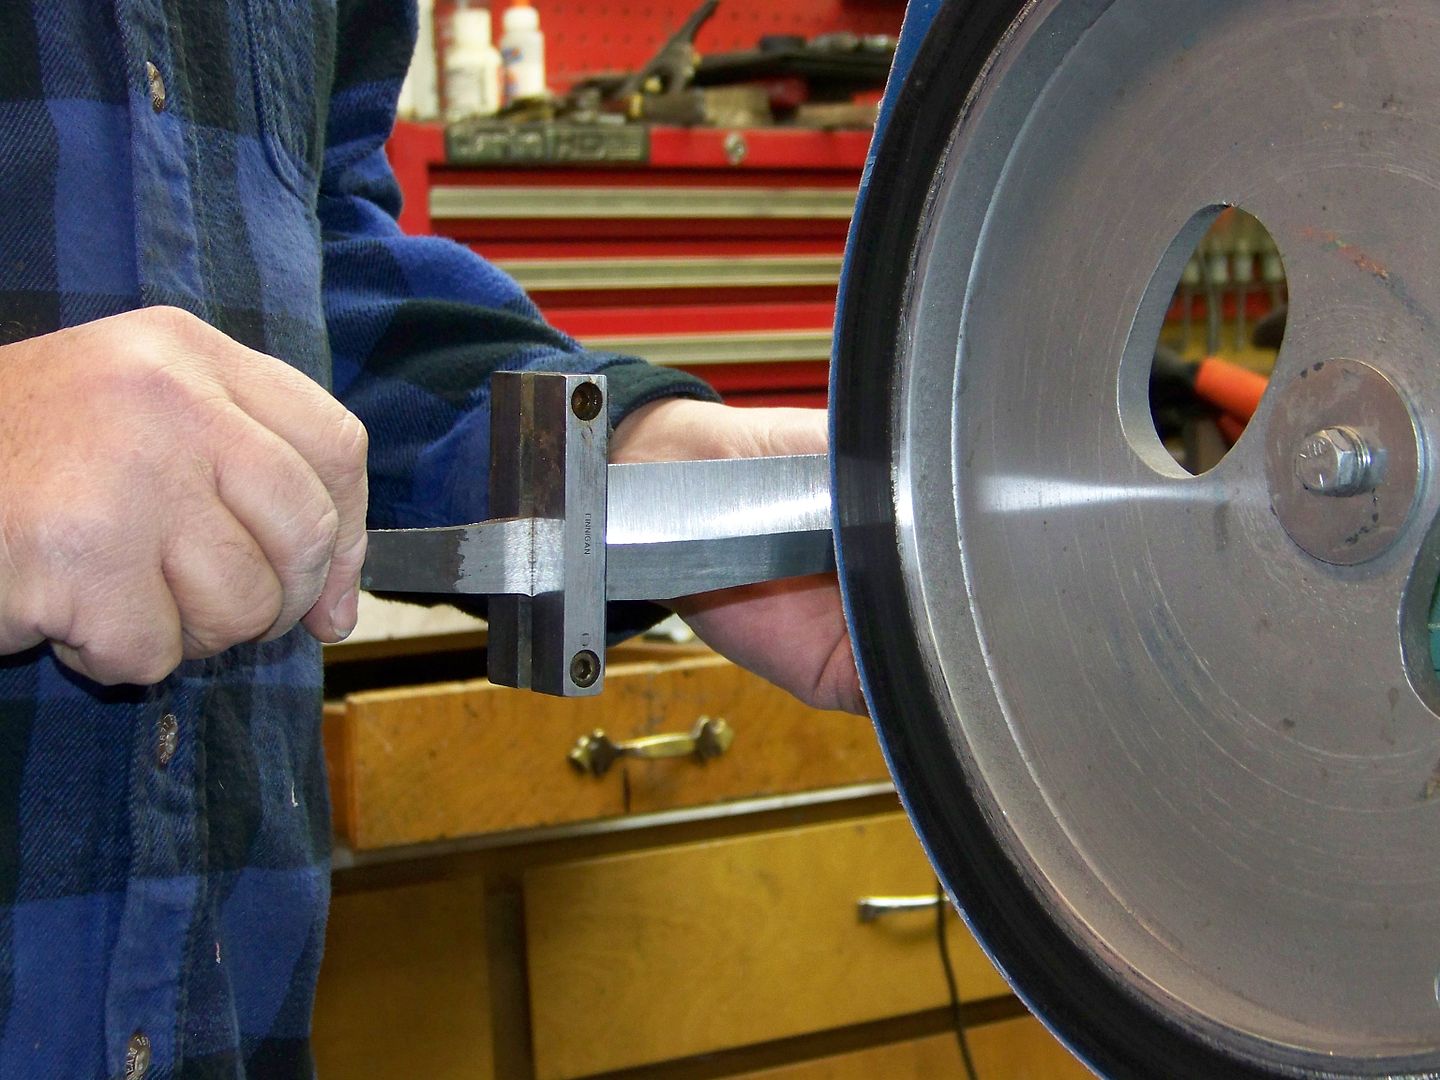
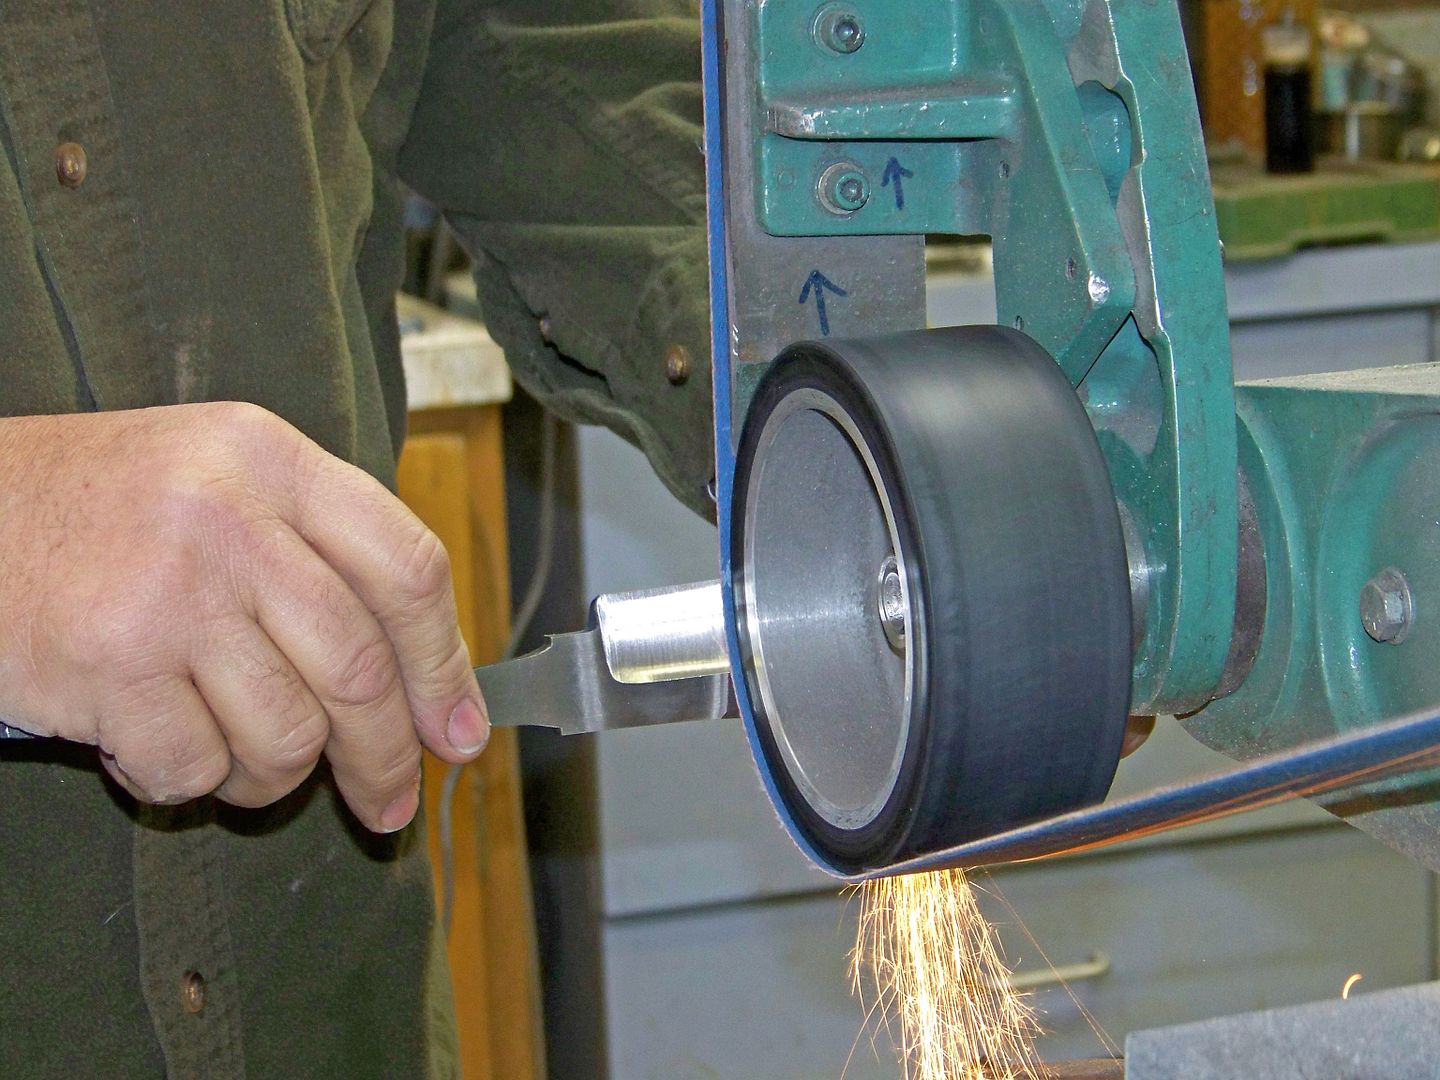
Thanks alot for the explanation and pics ! As I suspected you've got a platen above your 4 1/2" wheel. That is what really gave me trouble. Just as you mentioned, once establishing the the small hollow adjusting the top grind line is pretty easy.
After grinding to .060 with the 14 you continue to thin out your edge with the platen while grinding the 4 1/2" hollow at the same time.
Sound about right ?
Thanks again for sharing some of your knowledge with us ! -Josh