Bruce Bump
Forum Owner-Moderator
Very exciting.
Hello Boss, thanks for joining in. Please come back often. I'm slow but consistant.
Very exciting.


Hi Bruce,
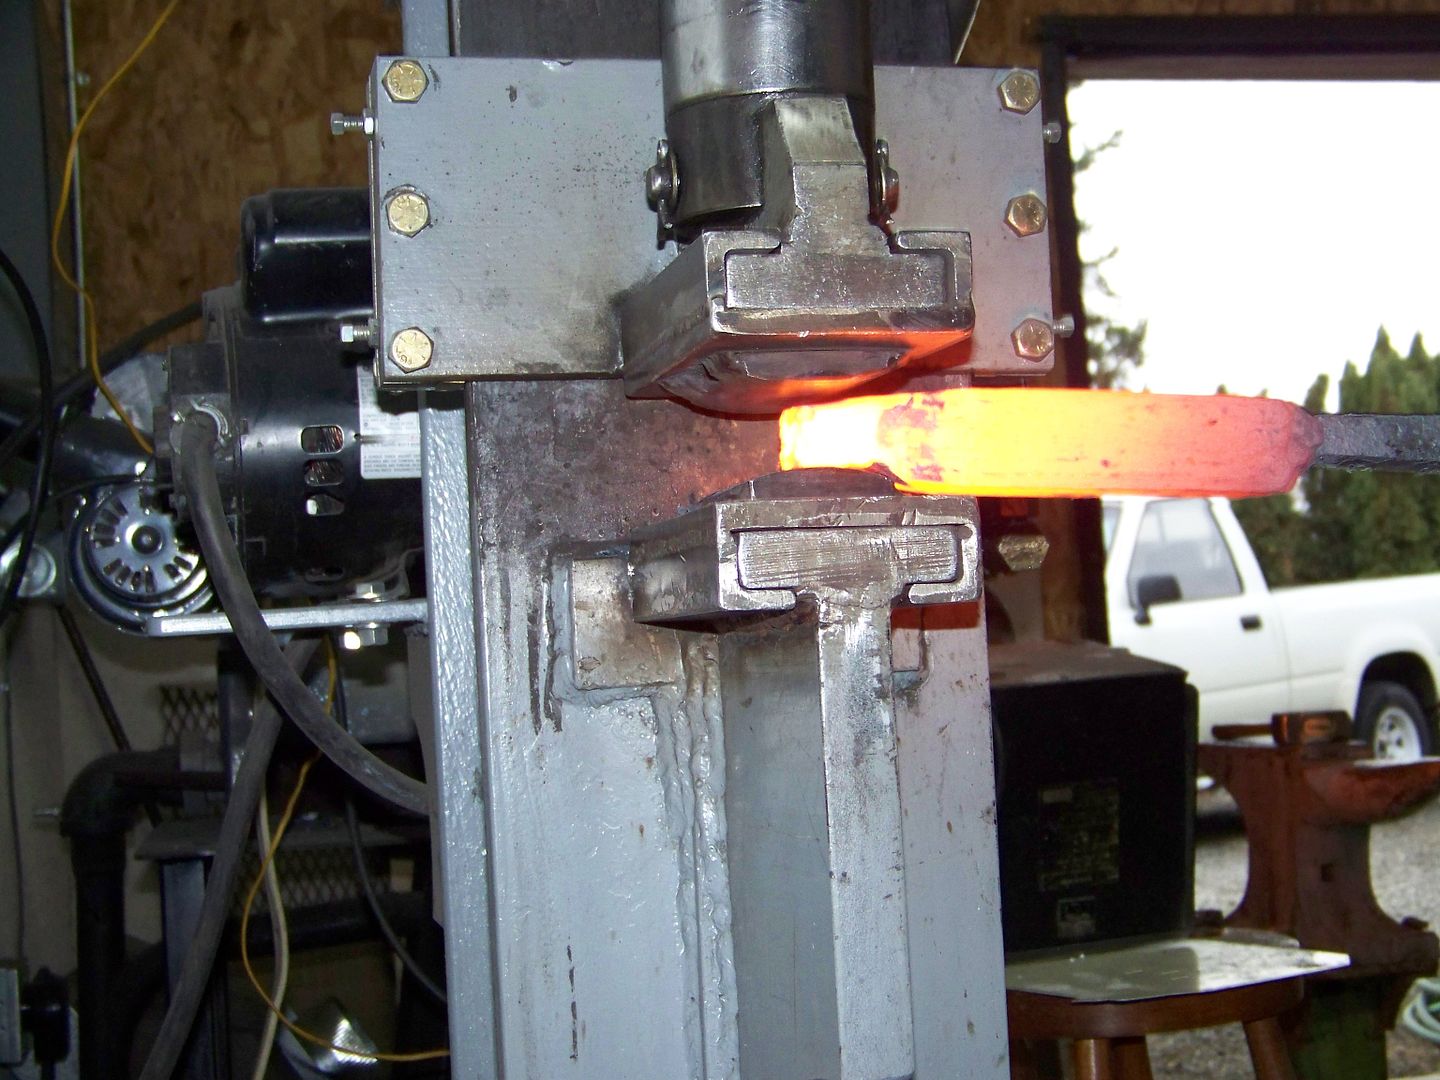
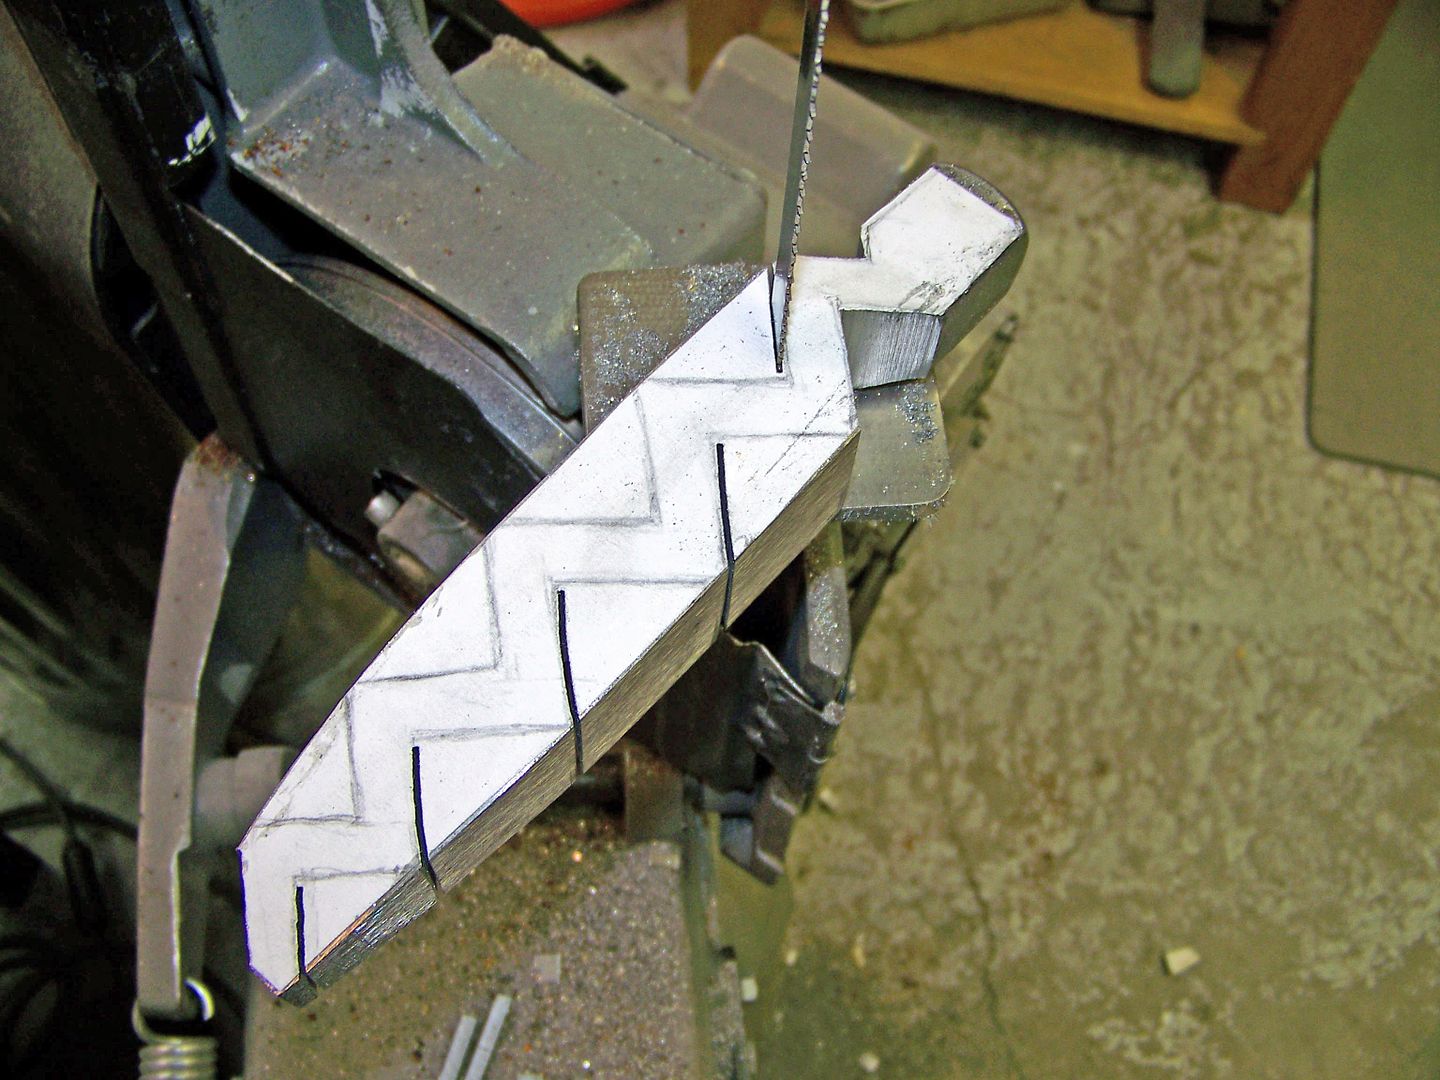
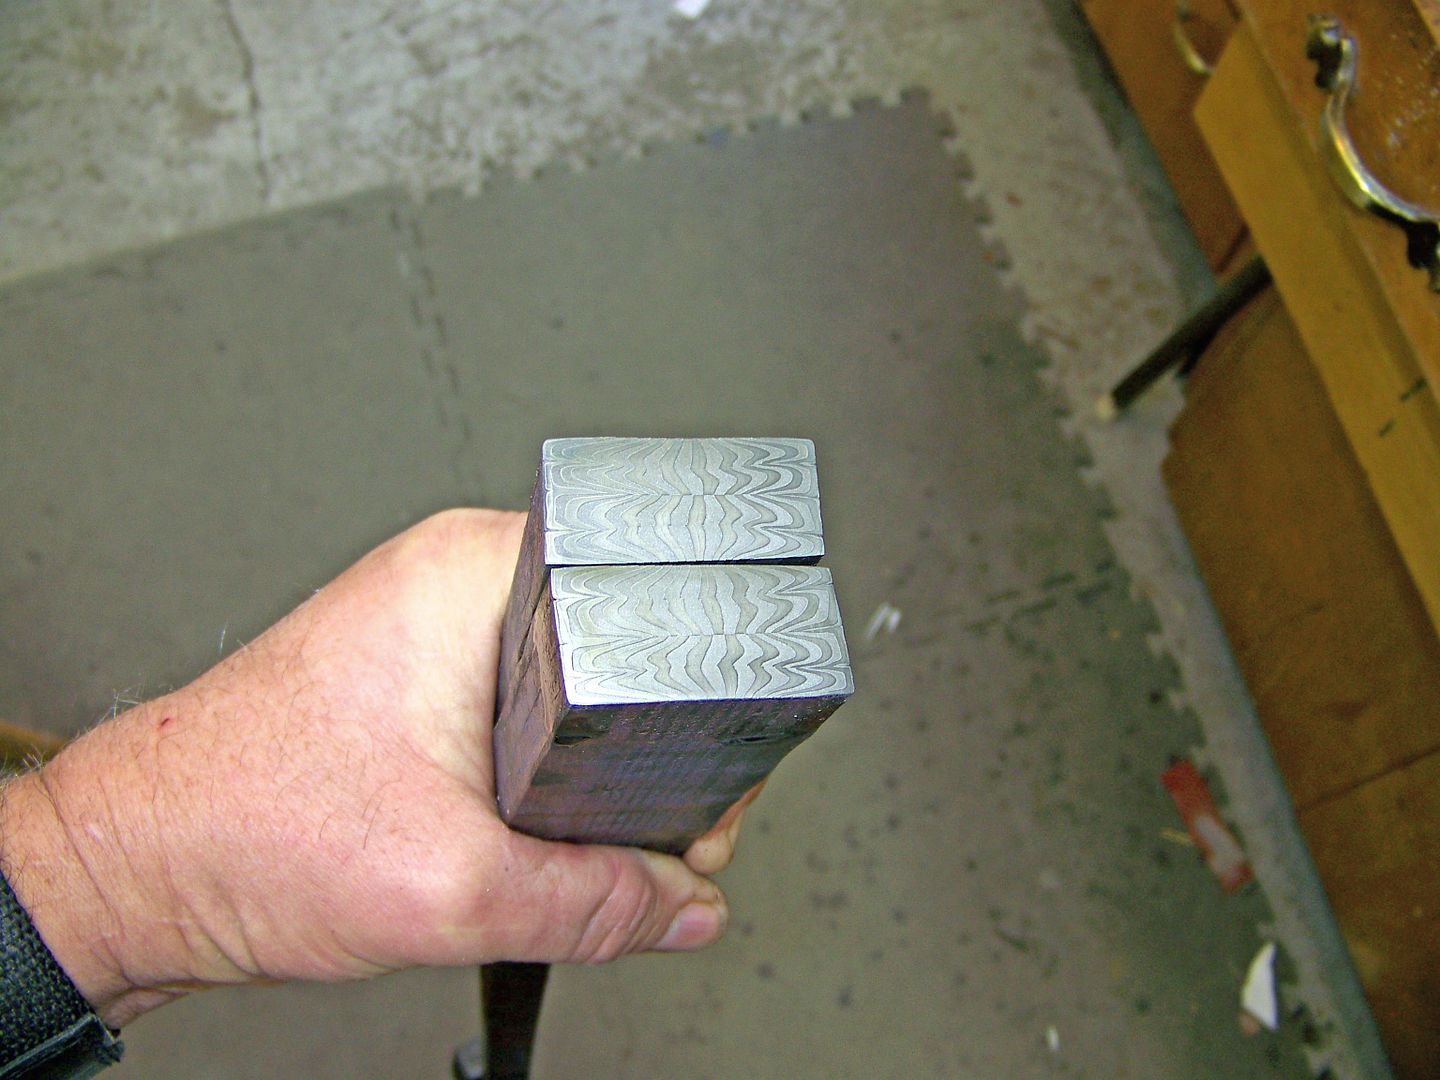
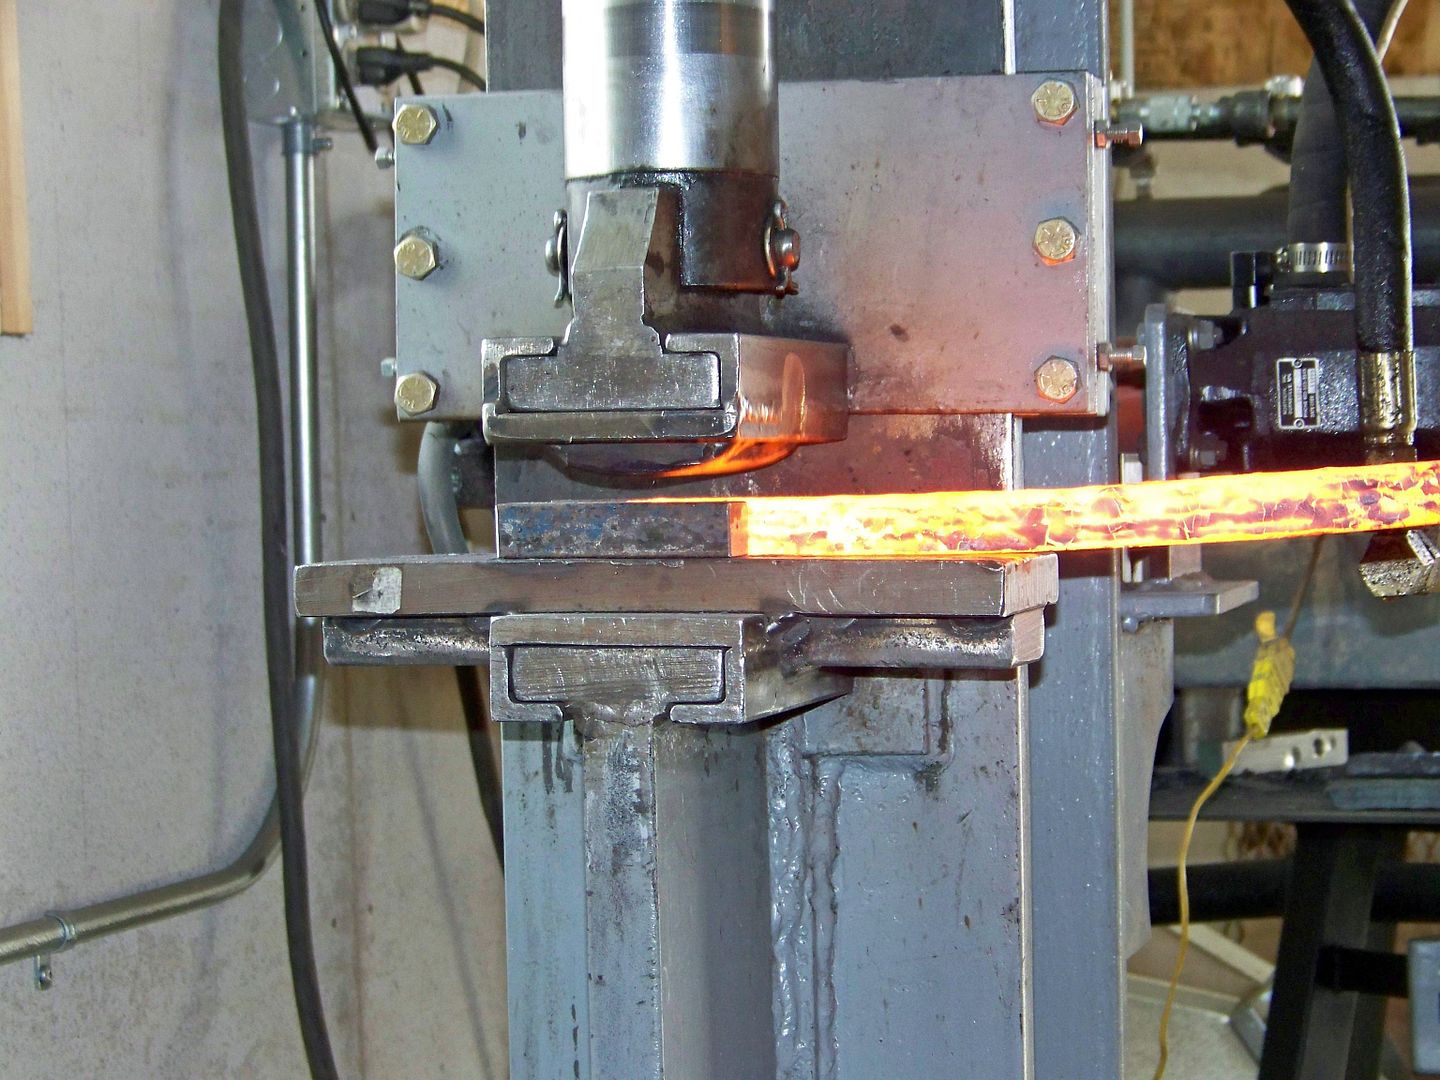
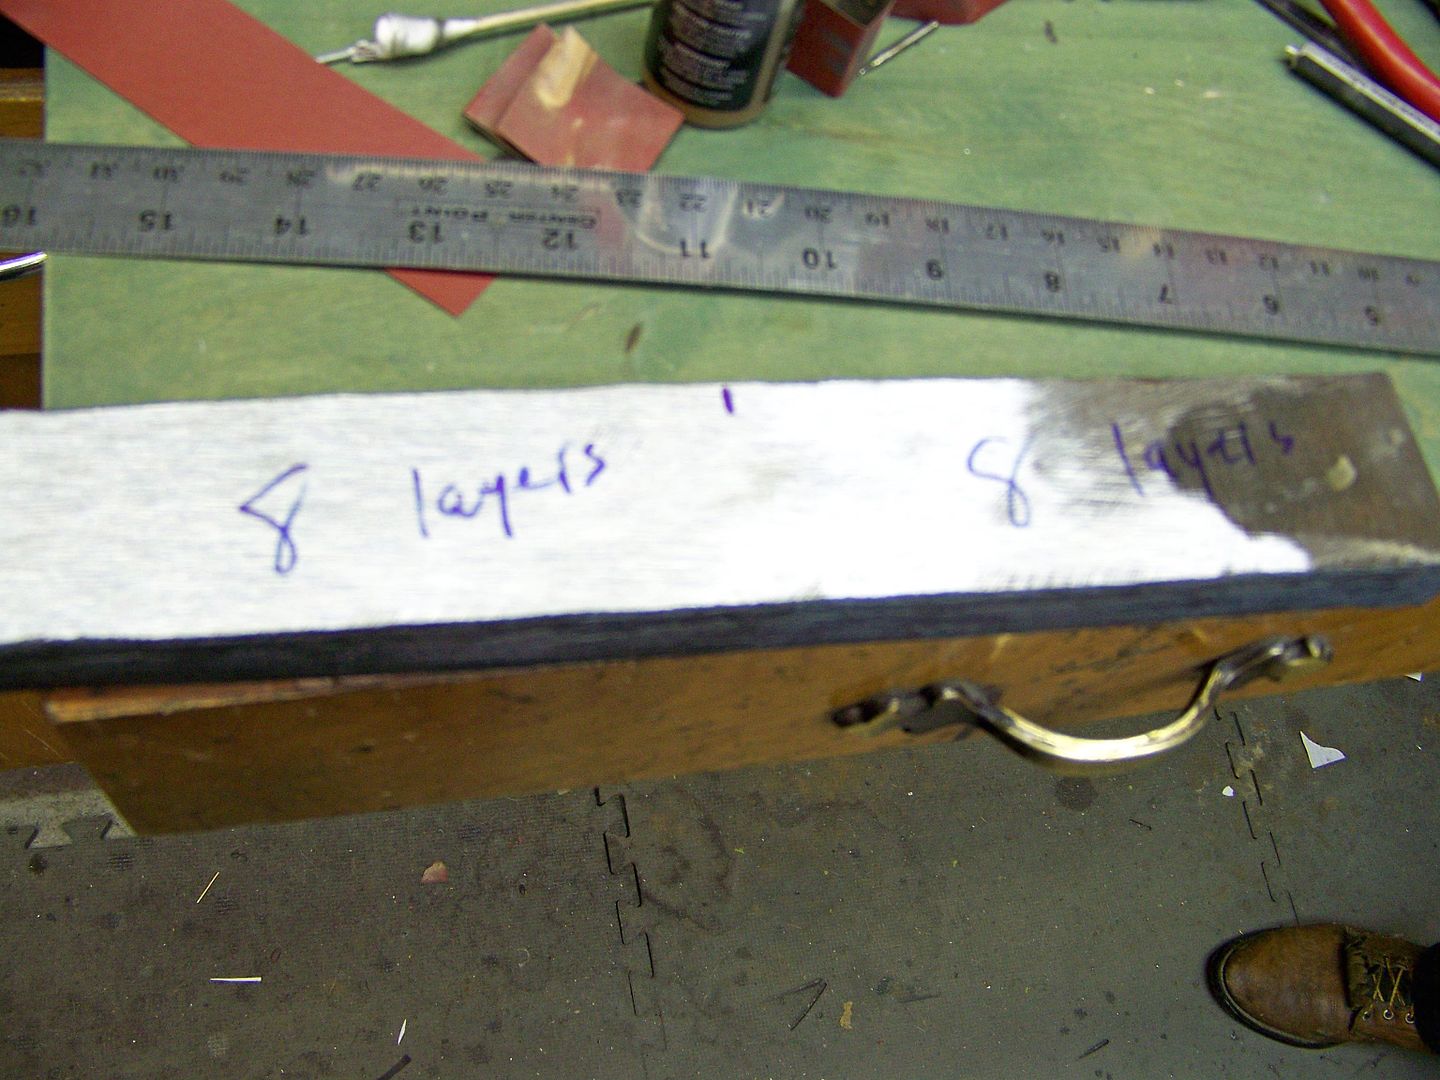
Is this the same billet you were working when I was there? That is really looking
slick! How amny more times are you going to draw it out, cut and stack?
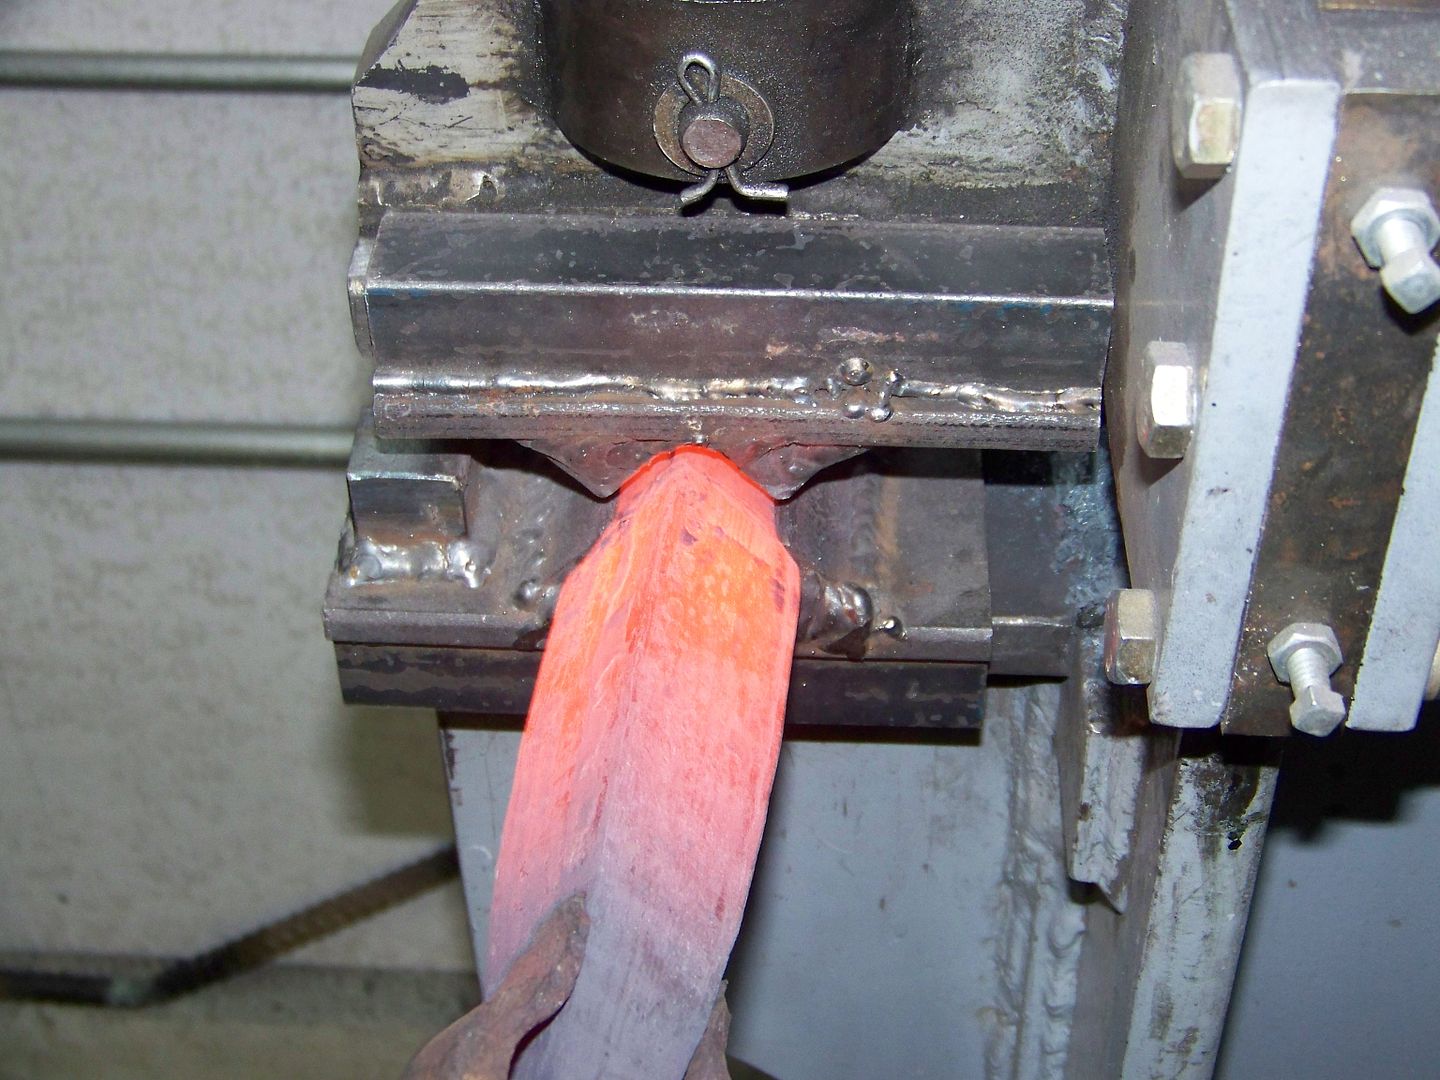
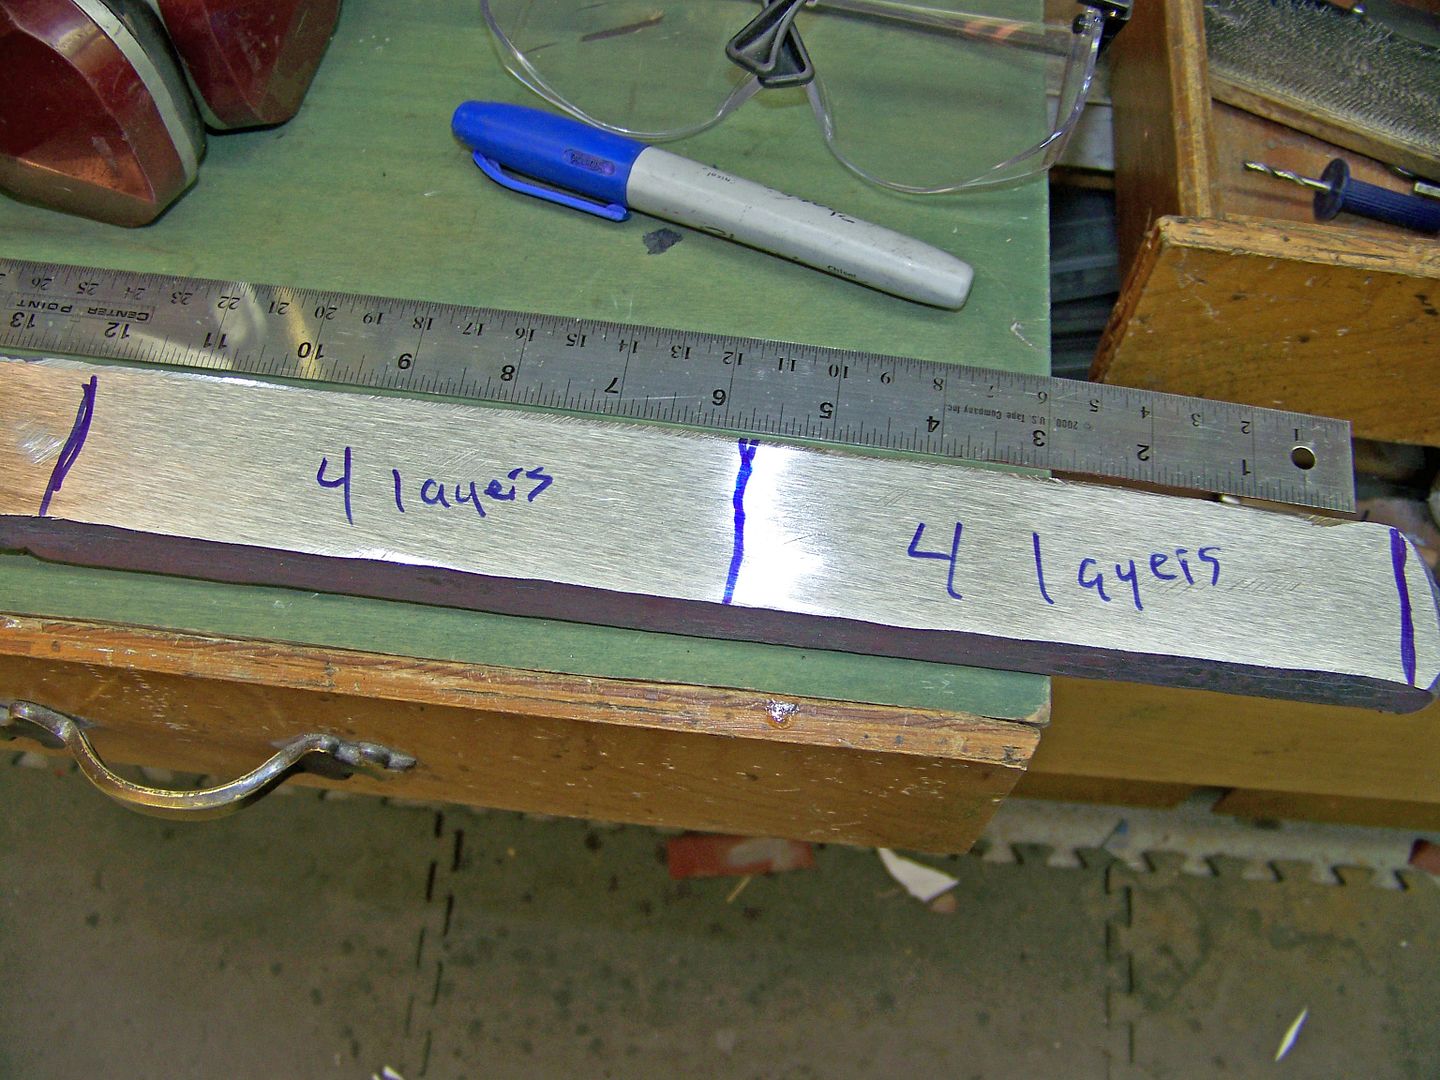
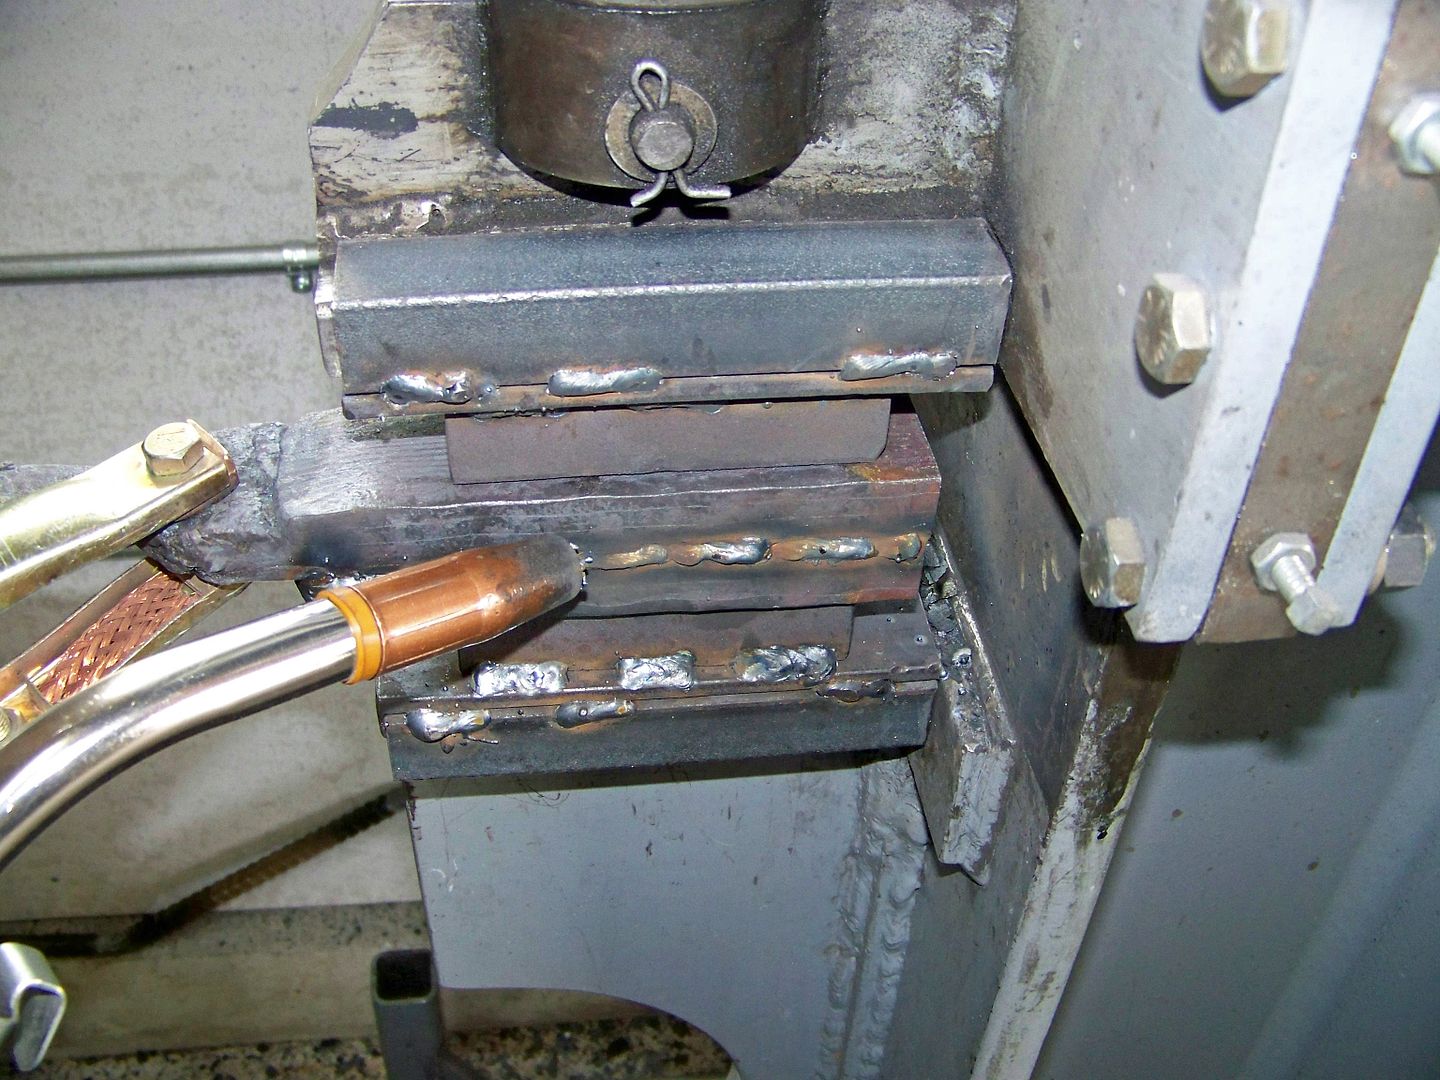
Did you surface grind the billet or just used the belt grinder? I was just wondering
if you are not using flux if it was best to have it perfectly flat or if eye-balling it was
good enough.
Beautiful work, as always, my friend.
Dana
Awesome work in progress as usual! I can't wait to see the finished product. Thanks for doing this so we can see what all goes into a project like this.
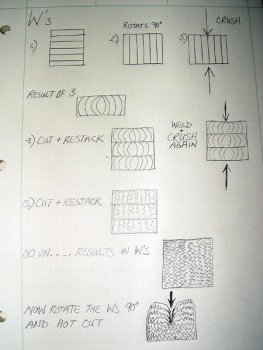
Is there a tutorial on making the w's?
Here is one that Nick Wheeler sent me. No, I've only tried it on a miniature scale and totally arsed it up...")
Here is one that I like by Jerry Fisk. Be sure to read the whole thing because even he makes a couple mistakes and starts over a couple times. "W"s are fun. http://www.fisk-knives.com/Progressive_W_pattern_Sendero.html