You are using an out of date browser. It may not display this or other websites correctly.
You should upgrade or use an alternative browser.
You should upgrade or use an alternative browser.
WIP -- 1st knife from scratch
- Thread starter seionage
- Start date
2nd bolstser
once that was done, i repeated the process for the 2nd bolster.
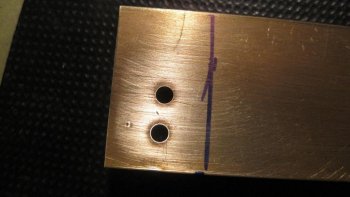
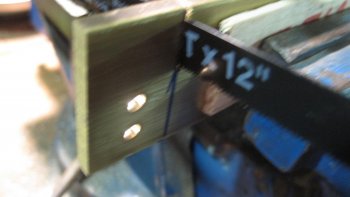
once the holes were drilled in the 2nd bolter (bar stock), I
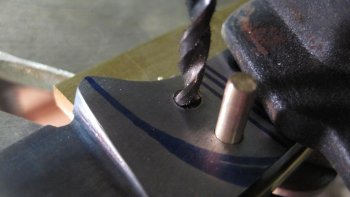
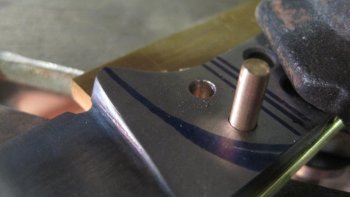
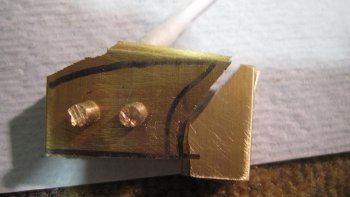
put the 1st bolster on top of it, and put the pins through. I drew a line for cutting the bar stock.
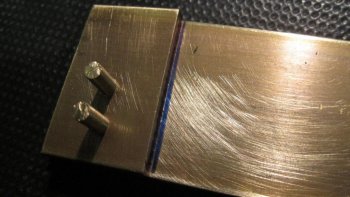
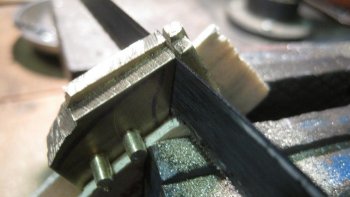
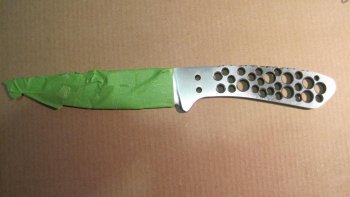
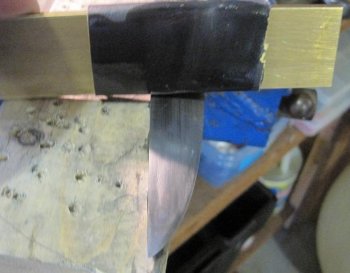
both bolsters on the knife.
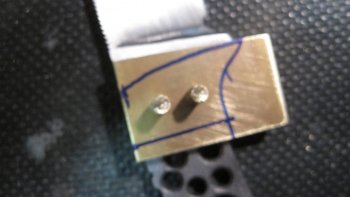
I outlined what I want the bolter to look like.
once that was done, i repeated the process for the 2nd bolster.
once the holes were drilled in the 2nd bolter (bar stock), I
put the 1st bolster on top of it, and put the pins through. I drew a line for cutting the bar stock.

both bolsters on the knife.

I outlined what I want the bolter to look like.

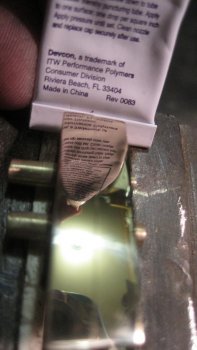
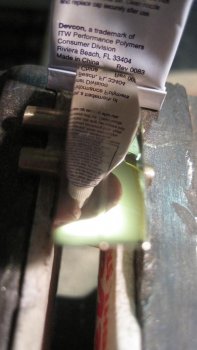
time for superglue
i wanted to super glue the bolsters together so I could work on shaping them. My thoughts were to put 3 dabs of glue on one bolster, put the other one on, put the pins though, and squeeze them together..
well, that was the plan.
I squeezed the tube of super glue, and a huge glob came out. I tried wiping it up, but it just smeared it.
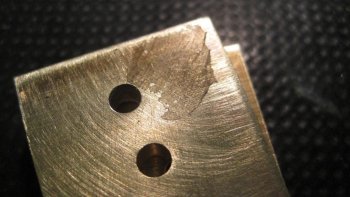
I used some acetone to clean it up, and tried again.
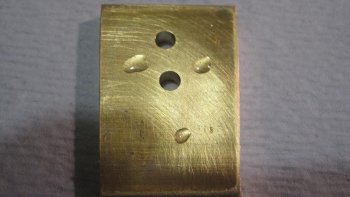
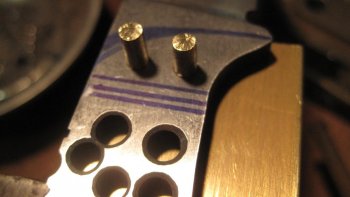
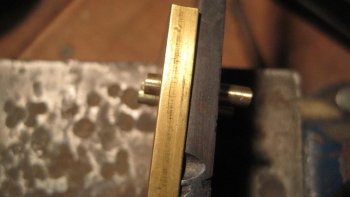
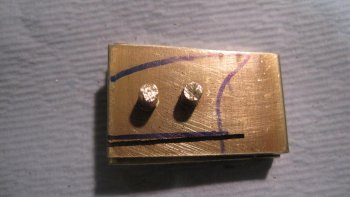
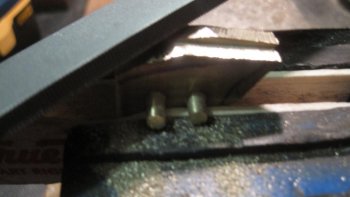
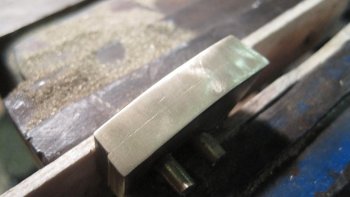
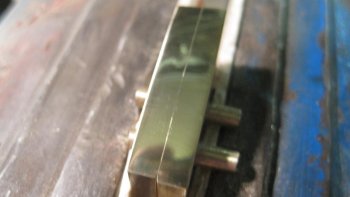
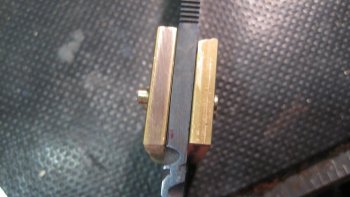
A pic of the bolsters glued together, with the pins sticking through. I only hand squeezed them together.
I probably should have used a clamp, but I didn't think of it at the time.
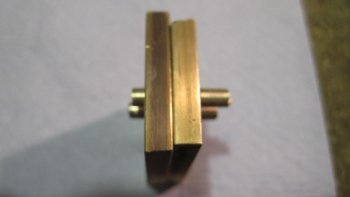
i wanted to super glue the bolsters together so I could work on shaping them. My thoughts were to put 3 dabs of glue on one bolster, put the other one on, put the pins though, and squeeze them together..
well, that was the plan.
I squeezed the tube of super glue, and a huge glob came out. I tried wiping it up, but it just smeared it.

I used some acetone to clean it up, and tried again.

A pic of the bolsters glued together, with the pins sticking through. I only hand squeezed them together.
I probably should have used a clamp, but I didn't think of it at the time.

polishing it up
i wanted to see what it would look like, if I could polish it up. I've never sanded anything past 1000 before. I had some 4000, 6000, and 8000 handy. Wow, I really liked it. I was surpised how fast it went.
It actually took me longer to be careful with the paper, as I didn't want any grit or chunks to get on it, and scratch the bolster. My fingers were black from handling the black wet dry sand paper. When I switched to the cloth, I tried to be careful.
4000 grit
6000 grit
8000
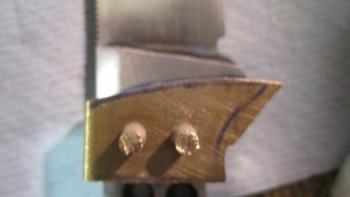
Another pic of the 8000. I'm actually pretty proud of it.
That's where I stopped for the night. Next time I start working bolster, I'm going to put some tape on this edge end, to protect it. Next, I'm going to start sanding the handle end (where the wood will meet the bolster).
i wanted to see what it would look like, if I could polish it up. I've never sanded anything past 1000 before. I had some 4000, 6000, and 8000 handy. Wow, I really liked it. I was surpised how fast it went.
It actually took me longer to be careful with the paper, as I didn't want any grit or chunks to get on it, and scratch the bolster. My fingers were black from handling the black wet dry sand paper. When I switched to the cloth, I tried to be careful.
4000 grit

6000 grit

8000

Another pic of the 8000. I'm actually pretty proud of it.

That's where I stopped for the night. Next time I start working bolster, I'm going to put some tape on this edge end, to protect it. Next, I'm going to start sanding the handle end (where the wood will meet the bolster).
wet sanding
been a while since I've been able to work on the knife.
Got to do some wet sanding with 600grit and mobile 1. Nothing major, or exciting.
Extremely boring. I really got to see how poor my sanding techinque is with all the "J"s I kept putting in it.
Here's a pic of the mobile 1, with the 600 grit wrapped around some brass stock (that I used for bolsters).
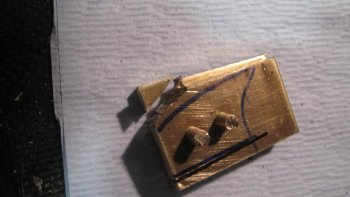
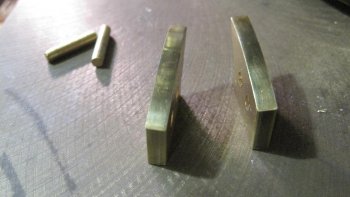
Speaking of bolsters, I finished working on them. I soaked them in some acetone, and they fell apart (superglue was all disolved).
been a while since I've been able to work on the knife.
Got to do some wet sanding with 600grit and mobile 1. Nothing major, or exciting.
Extremely boring. I really got to see how poor my sanding techinque is with all the "J"s I kept putting in it.
Here's a pic of the mobile 1, with the 600 grit wrapped around some brass stock (that I used for bolsters).

Speaking of bolsters, I finished working on them. I soaked them in some acetone, and they fell apart (superglue was all disolved).

filework
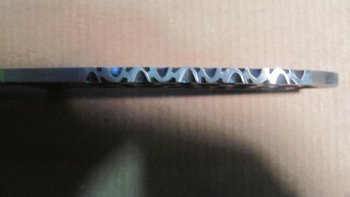
to do this, I taped one side of the filework.
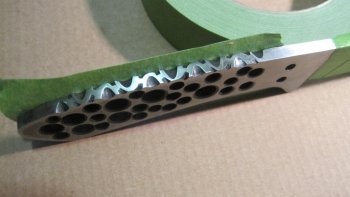
I took a little epoxy
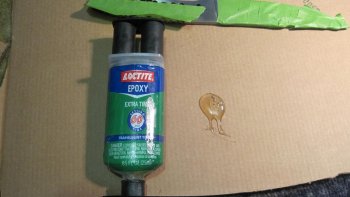
Added a dab of red paint
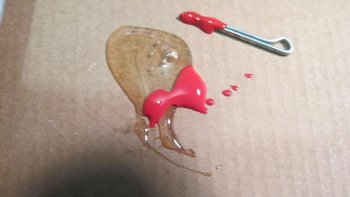
I filled in the filework, and added a 2nd piece of tape.
This made a little "hot dog" type sandwhich, where the "hot dog"
is the red expoxy between 2 "buns" of tape.
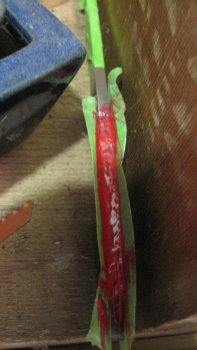
Next time, I should be able to remove the tape, and sand the epoxy smooth (fingers crossed, since I haven done this before). I figure worse case scenario, I soak the knife in acetone and start over.
to do this, I taped one side of the filework.

I took a little epoxy

Added a dab of red paint

I filled in the filework, and added a 2nd piece of tape.
This made a little "hot dog" type sandwhich, where the "hot dog"
is the red expoxy between 2 "buns" of tape.

Next time, I should be able to remove the tape, and sand the epoxy smooth (fingers crossed, since I haven done this before). I figure worse case scenario, I soak the knife in acetone and start over.
so, got some time to putz on the knife.
The plan was to sand down the epoxy, and put the bolsters on.
Well, i pulled the tape off. Everything looking good

Started sanding everything down...still looking good

Then, as I got closer to the metal, all the epoxy flaked off.

Any suggestions? Different epoxy? I wonder if the red paint weakened it up that much. Maybe try some different paint?
help!
The plan was to sand down the epoxy, and put the bolsters on.
Well, i pulled the tape off. Everything looking good

Started sanding everything down...still looking good

Then, as I got closer to the metal, all the epoxy flaked off.

Any suggestions? Different epoxy? I wonder if the red paint weakened it up that much. Maybe try some different paint?
help!
Thunter124
Well-Known Member
You thought of gluing the scales and filling in the file-work in one go? It may give you a more rigid bond with another solid surface to bind to.
James Terrio
Well-Known Member
I bet the red paint is interfering with the epoxy curing properly. There is a way to safely pigment the epoxy but I don't remember what to use, seen it in WIPs but never done it. Google it maybe?
For your bolsters, JB weld (the slow-cure kind) is the best I know of for bonding metal-to-metal. Superglue, not so much.
For your bolsters, JB weld (the slow-cure kind) is the best I know of for bonding metal-to-metal. Superglue, not so much.
tedinatl
Well-Known Member
You can get coloring agents for some epoxies - the System 88 Epoxy I'm using has a whole bunch of colors you can get. I agree with James, the paint is interfering with the bond. I also think it's maybe a good idea to do the scales and the filling-in at the same time, as suggested above.

