You are using an out of date browser. It may not display this or other websites correctly.
You should upgrade or use an alternative browser.
You should upgrade or use an alternative browser.
What's going on in your shop?
- Thread starter Justin Presson
- Start date
Merle
Well-Known Member
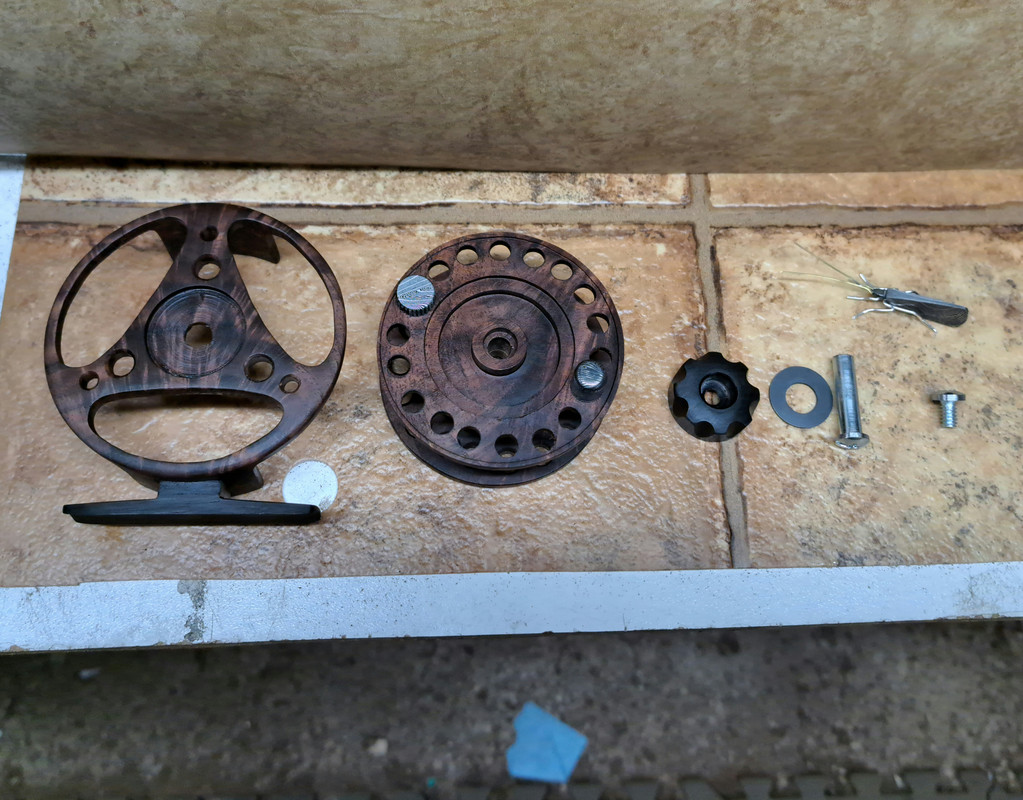
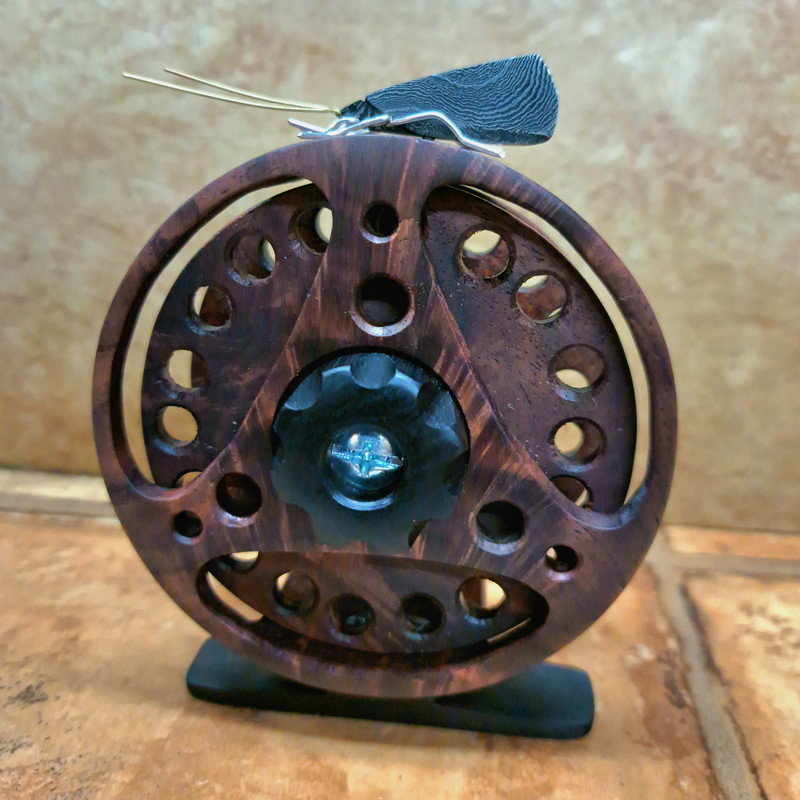
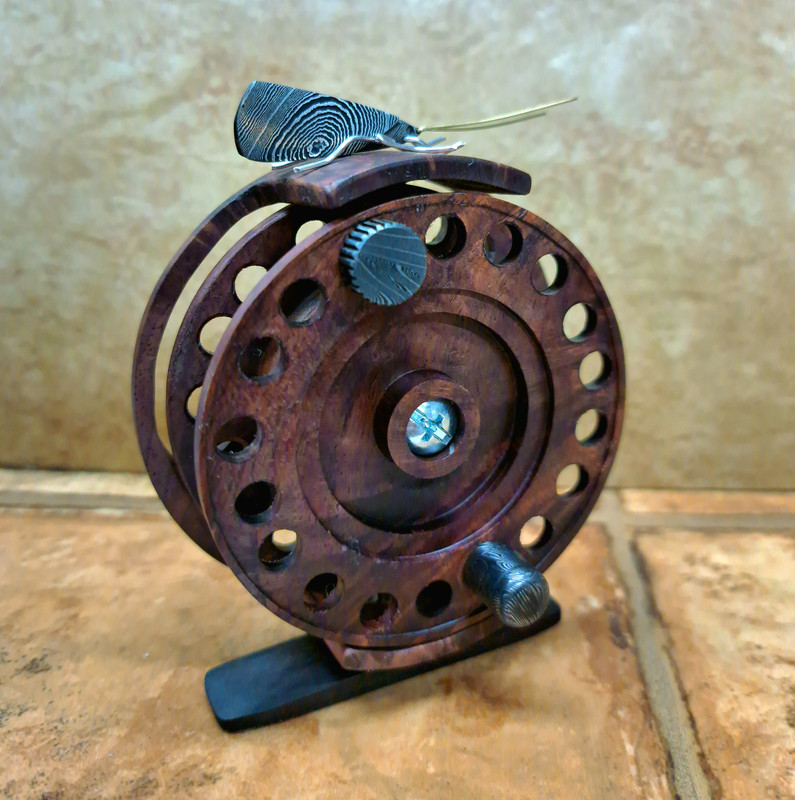
Nice! Looks like it was inspired by the Danielsson reels!Finally got this family Christmas project all finished up. Now my little caddis fly has a proper perch.
This was much more complex and time consuming than I anticipated. Really far too much involved for a family homemade gift exchange. I sped it up by eyeballing most of the layouts and not trying to get everything exactly symmetrical and perfect. And I hardly sanded anything much past 80 grit except the main reel faces.
I decided that I would excercise artistic license/freedom to make a rendition of a fly reel rather than make a perfectly precise and technical fly reel. As it was, it took 3 and a half days to complete.
It is made of Claro walnut, African blackwood for the know and foot and some left over bits of damascus.
(My other passion is flyfishing so I recognized the triangular frame).
Andy
I don’t remember. I don’t live near stores so i snagged it off something and saved it for later.nice work ! just curious, where did you source the metal ring for the dangler ?
It’s a dee ring and you can get them anywhere. I do have a Tandy catalog that has lots of different sizes and either copper, nickel plate i believe and brass- and some antiqued, which are nicer imo.
Owner of a local gun store loved the blue camo handle, Magnacut hunter I made him last week and asked me last week if I could make another one before Christmas for his buddy. I still had to finish up my nephews 4 knives, so I told him I may be able to, but wasn't sure? Then I got stuck at work for a double shift one day, but I managed to finish up my nephews knives on Saturday. I started his at 0820 am yesterday with the blade as a hardened, drilled blank:
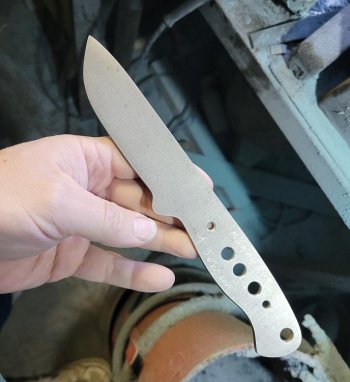
40 minutes later, just before 9am, I had it rough ground to 36 grit:
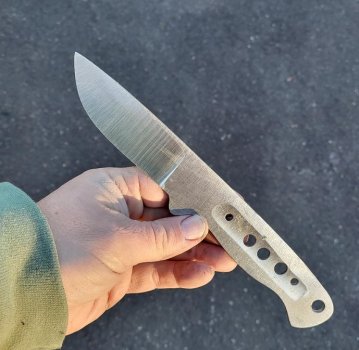
I etched the jimping at this point between bring my wife for blood work, grocery shopping, going to the Post Office, etc. I started the rest of the grinding at around 12pm or so. Handle was epoxying at around 230pm yesterday.
1610, the handle was on and done and prepping for the sheath construction!
Finished the logo etching at 520pm yesterday! I took some breaks during the day to run errands, ship a knife, etc, so it wasn't a full day, but I got it done!!
Before oiling the handle:
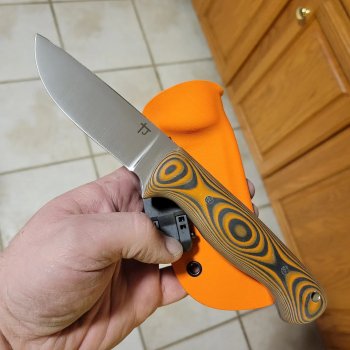
After Tung Oil:
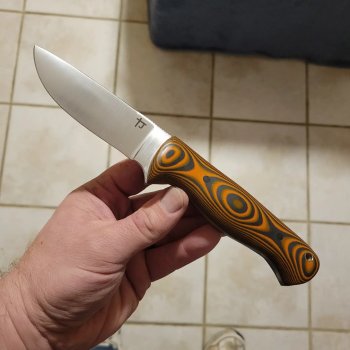
I took it up to a A30 Norax belt finish on S2-32 felt and then to a 800 Grit cork Belt with Bark River Black compound applied to the belt. Gives a nice, shiny satin belt finish!
Jimping went much better with this one! I did the profile and rough grind with a 36" belt, stopping before the full grind height, protected the blade with nail polish and brought the spine up to 320 grit on the belt sander lengthwise. I was able to go deeper and clean up the sides of the blade after the etching. Much deeper/sharper/cleaner looking!
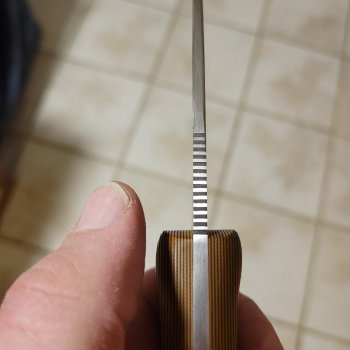

40 minutes later, just before 9am, I had it rough ground to 36 grit:

I etched the jimping at this point between bring my wife for blood work, grocery shopping, going to the Post Office, etc. I started the rest of the grinding at around 12pm or so. Handle was epoxying at around 230pm yesterday.
1610, the handle was on and done and prepping for the sheath construction!
Finished the logo etching at 520pm yesterday! I took some breaks during the day to run errands, ship a knife, etc, so it wasn't a full day, but I got it done!!
Before oiling the handle:

After Tung Oil:

I took it up to a A30 Norax belt finish on S2-32 felt and then to a 800 Grit cork Belt with Bark River Black compound applied to the belt. Gives a nice, shiny satin belt finish!
Jimping went much better with this one! I did the profile and rough grind with a 36" belt, stopping before the full grind height, protected the blade with nail polish and brought the spine up to 320 grit on the belt sander lengthwise. I was able to go deeper and clean up the sides of the blade after the etching. Much deeper/sharper/cleaner looking!

J. Doyle
Dealer - Purveyor
It was a loose copy of a cheap reel from my 4 wt. TFO. But that reel is likely a copy of a Danielson.Nice! Looks like it was inspired by the Danielsson reels!
(My other passion is flyfishing so I recognized the triangular frame).
Andy
Edwardshandmadeknives
Well-Known Member
Taz, I just started messing around with doing some fabric laminates, and I built my molds out of 1” thick HDPE. Screwed studs into it so I can bolt the mold together or apart. Epoxy won’t stick to HDPE so there is no need for a release agent. I built a 28”x10”x6” mold for about $200. I seal it up with hot melt glue, and press it in a manual hydraulic press. Works pretty slick.Its funky stuff for sure! If I cut from the side of the block, the colors are thinner wavy lines. From the top and bottom its more of a swirl/camo pattern. I gotta weld up a better mold. Used bread pans for these, but they bowed out under the pressure, so I got more air bubbles than usual in these last 2 batches. Probably going to do a 7x11" mold so I can get a 6x10 block after trimming and a smaller mold 4x6 to get enough for 2 handles. The larger molds use a lot of epoxy!
I have nice thick metal molds for larger batches, but tried bread pans for smaller batches. Doesn't do too well versus a 6 ton press! I may have to play with some hdpe one of these days! I put the fabric soaked in epoxy into ziplock freezer bags and then into the mold. I leave one corner open to let the excess air and epoxy seep out into a waiting tray as it gets pressed down.
Edwardshandmadeknives
Well-Known Member
Yeah, I tried various pans and containers and it’s surprisingly easy to wreck stuff with a press. I do get some warping in the mold, being plastic and all. I put some 2x8 boards under it to give it a bit more support.I have nice thick metal molds for larger batches, but tried bread pans for smaller batches. Doesn't do too well versus a 6 ton press! I may have to play with some hdpe one of these days! I put the fabric soaked in epoxy into ziplock freezer bags and then into the mold. I leave one corner open to let the excess air and epoxy seep out into a waiting tray as it gets pressed down.
I got one of the Lizard Skins molds at WoodCraft...blew it out without much effort! LOL. I have 2 ton and 6 ton (and a 20 ton) bottle jack I use in my press. The 2 ton works well for stacked layers, or burlap or carbon fiber, the 6 ton works well with fabrics when I do camo since it may be rippled over more. I finally found a bandsaw blade that cuts the stuff well and has kept it's edge through a few blocks so far!
Edwardshandmadeknives
Well-Known Member
What bandsaw blades are you running? I’ve been eating them up like crazy, Micarta, G-Carta, and my stuff are all real hard on blades. I have been using a tablesaw with a carbide blade but it wastes a lot from the kerf.I got one of the Lizard Skins molds at WoodCraft...blew it out without much effort! LOL. I have 2 ton and 6 ton (and a 20 ton) bottle jack I use in my press. The 2 ton works well for stacked layers, or burlap or carbon fiber, the 6 ton works well with fabrics when I do camo since it may be rippled over more. I finally found a bandsaw blade that cuts the stuff well and has kept it's edge through a few blocks so far!
This one! I was able to cut out a few blocks of my material around 1" to 1.25" thick and then do the profiling and split the block for scales:
https://www.amazon.com/dp/B07HFC5ZYM?psc=1&ref=ppx_yo2ov_dt_b_product_details
The blade cut cleanly and went through quickly and left a good finish on the block, too. There were teeth marks, but they sanded out well.
https://www.amazon.com/dp/B07HFC5ZYM?psc=1&ref=ppx_yo2ov_dt_b_product_details
The blade cut cleanly and went through quickly and left a good finish on the block, too. There were teeth marks, but they sanded out well.
Stang Bladeworks
KNIFE MAKER
REK Knives
Well-Known Member
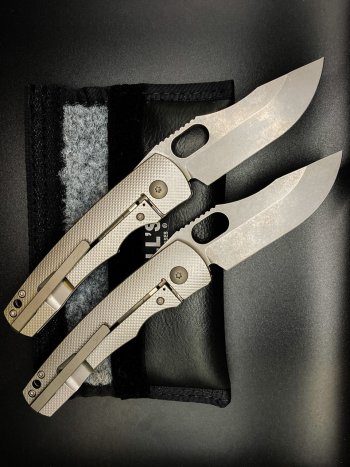
Look amazing! What did you learn this go around?View attachment 81948
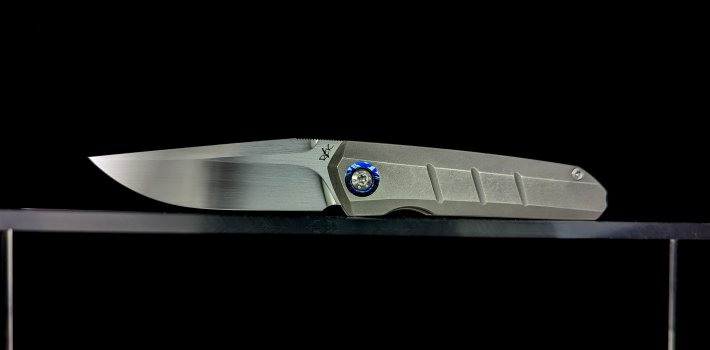
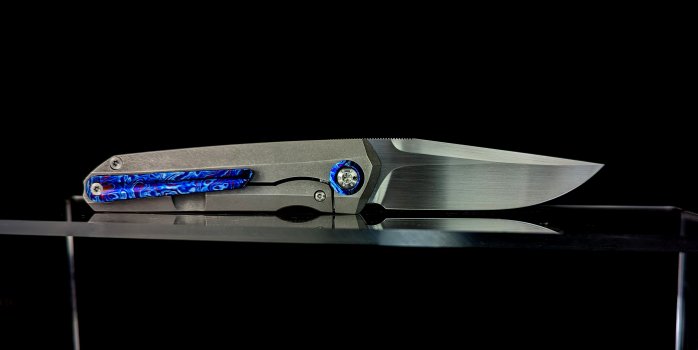
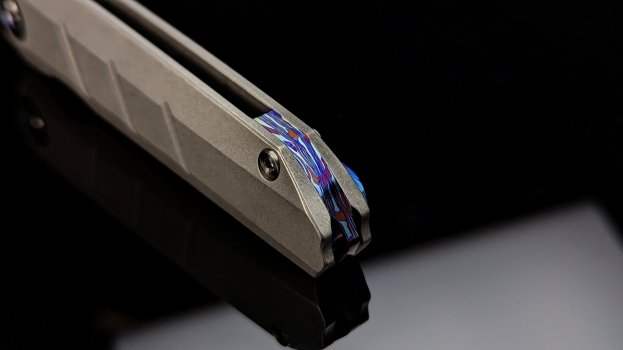
Managed to get a couple folders done. It seems like the learning never stops…
REK Knives
Well-Known Member
J. Doyle
Dealer - Purveyor
Man that's nice. I like that a lot.Just finished this custom Sparrow up View attachment 82028View attachment 82029
View attachment 82030
REK Knives
Well-Known Member
Thanks John!Man that's nice. I like that a lot.
Stang Bladeworks
KNIFE MAKER
Looks great man!Just finished this custom Sparrow up View attachment 82028View attachment 82029
View attachment 82030
Stang Bladeworks
KNIFE MAKER
I learned I need to revisit my backspacer op 2 program. For some reason it has incorrectly chamfered one of my spacers and scrapped a part. Basically I learned I need to learn more.Look amazing! What did you learn this go around?

