The thanks and all the kind words are appreciated friends !!!
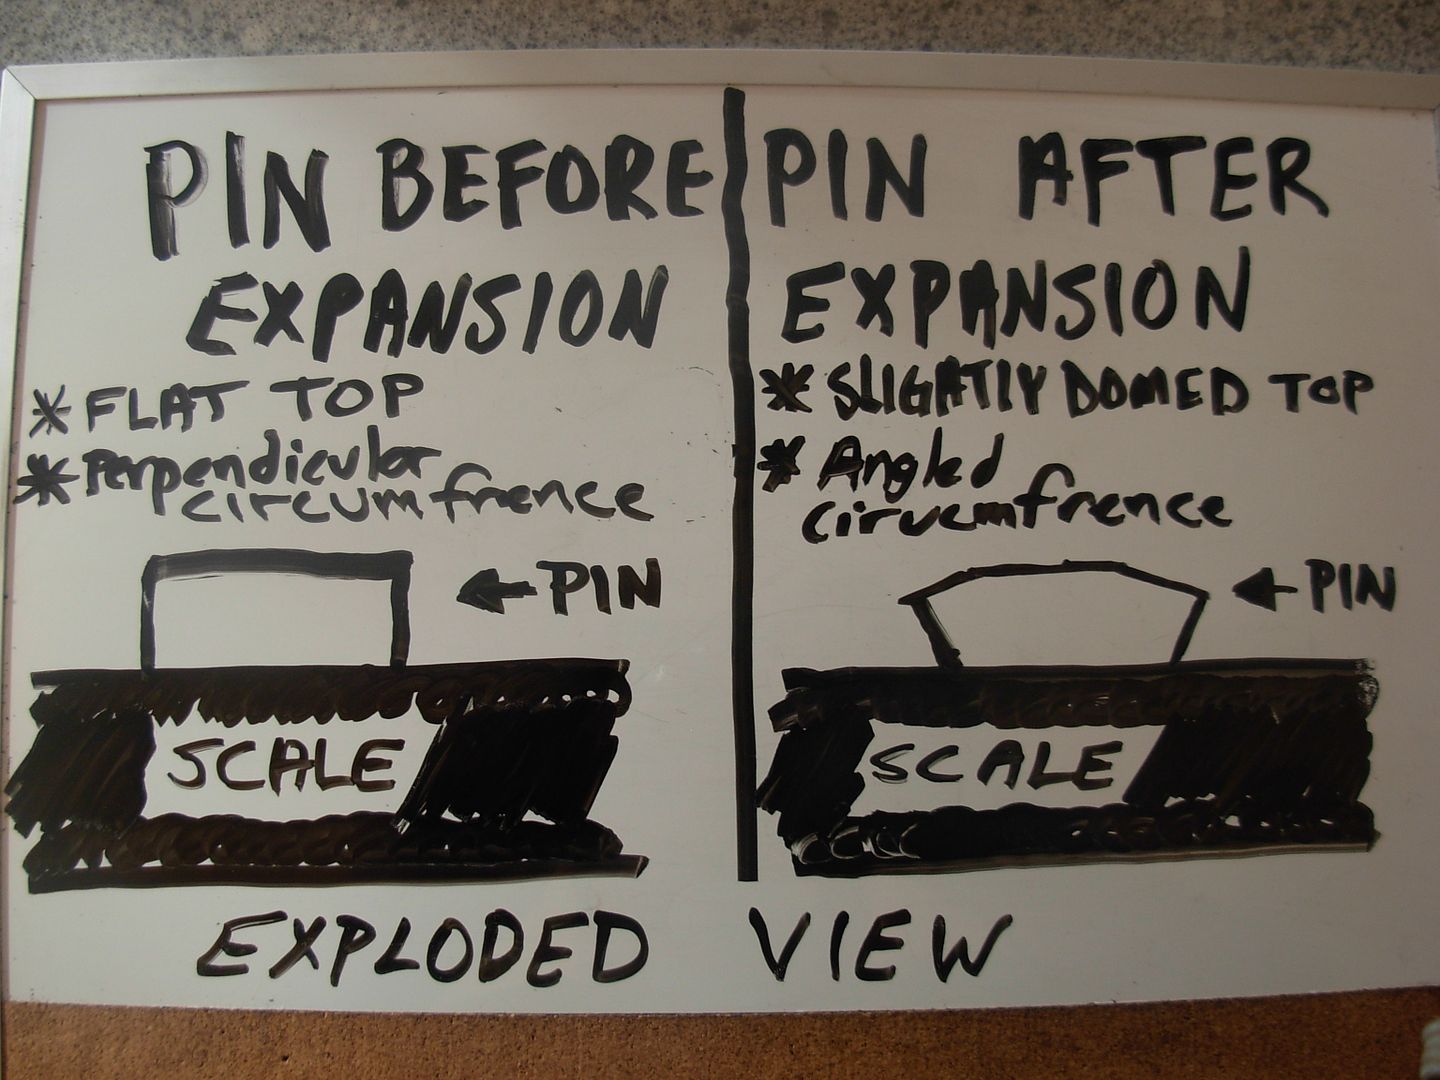
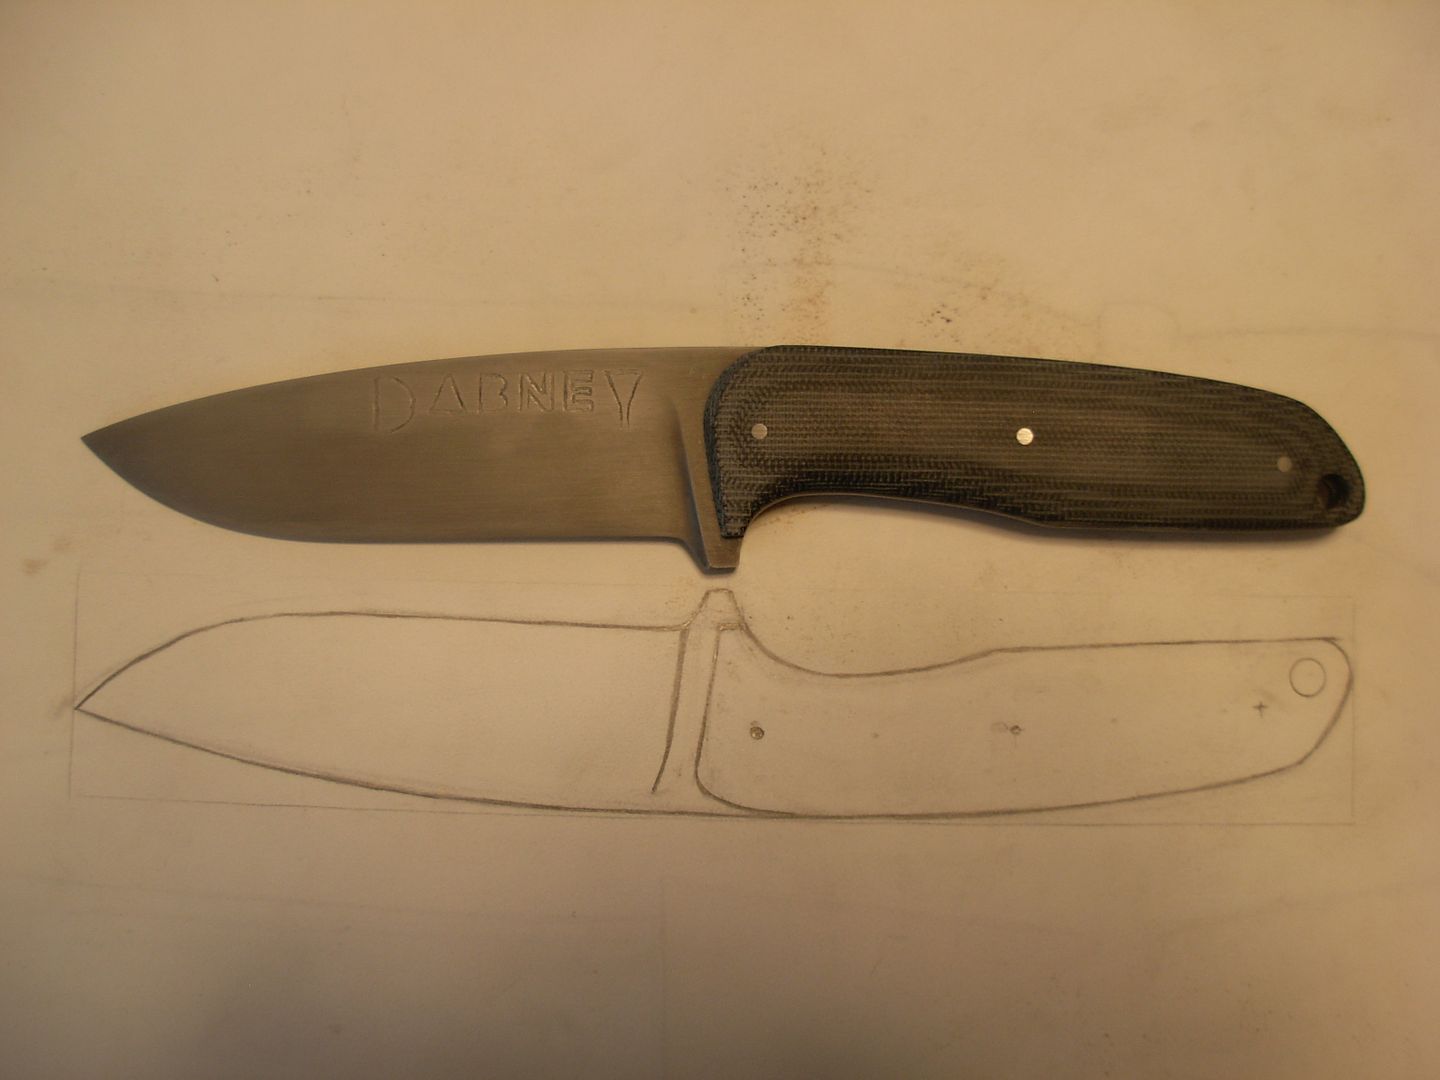
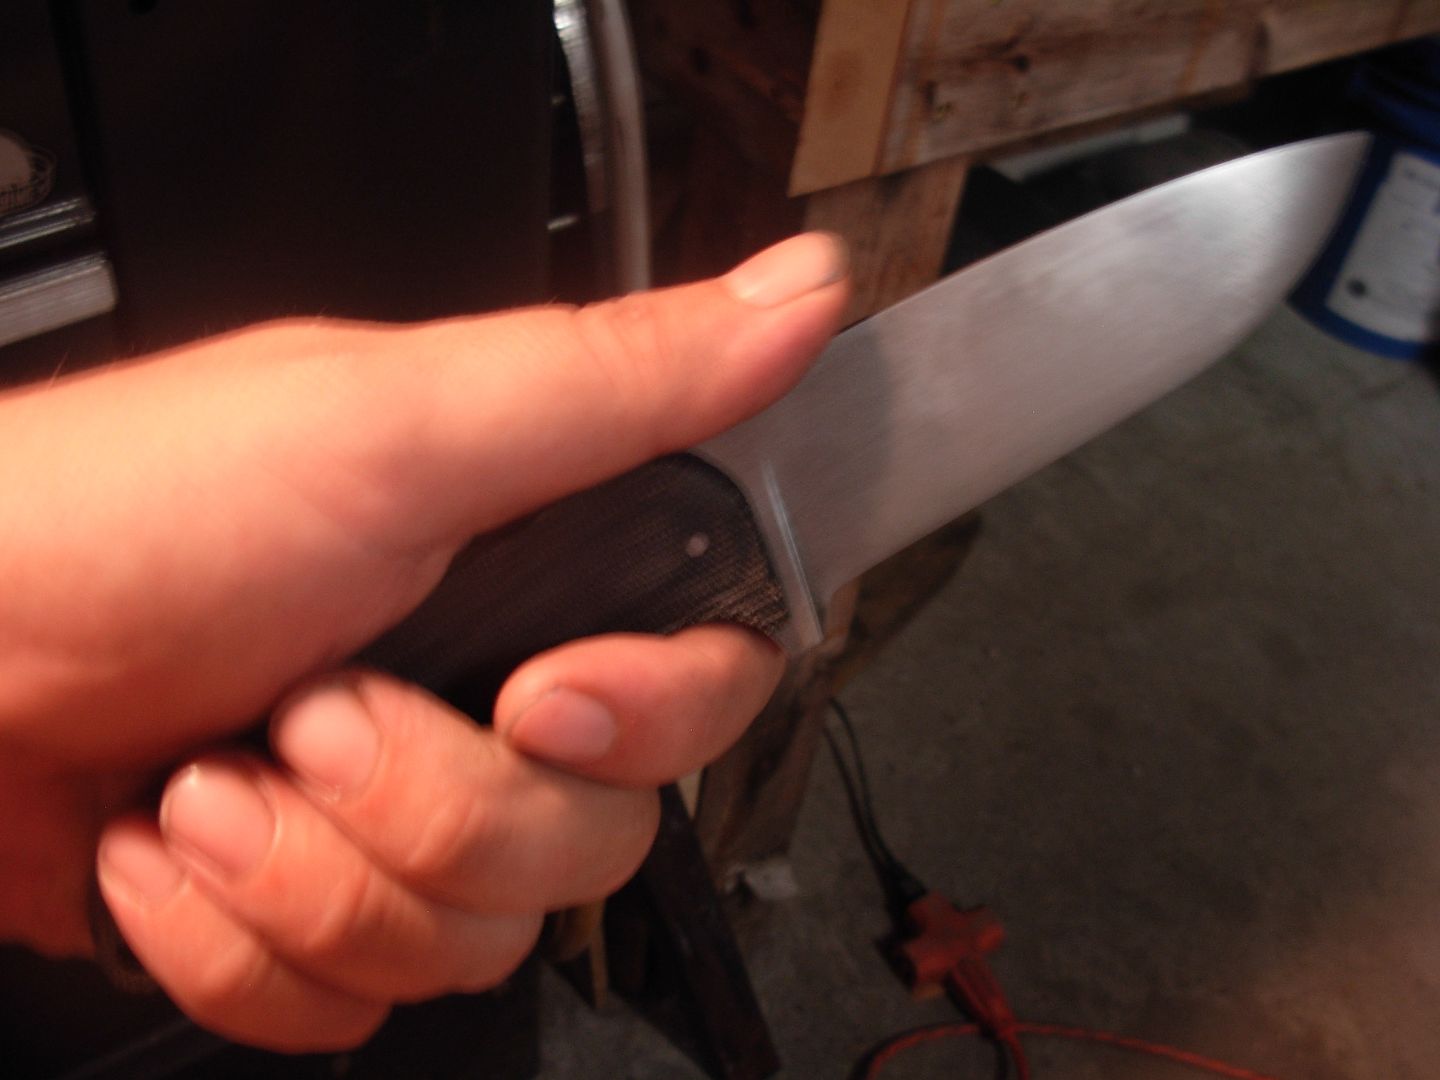
This is the point in our process where we should study our blade to determine whether to proceed or regress to a previous step and continue working with our blade. Until our handles are pemanently attached we can regress to any of the steps completed AFTER heat treating without a problem. Once we permanently assemble our knife things get very complicated in the areana of work holding stability which will greatly diminish our ability to perform accurate hand work. As such let's take stock before we continue-
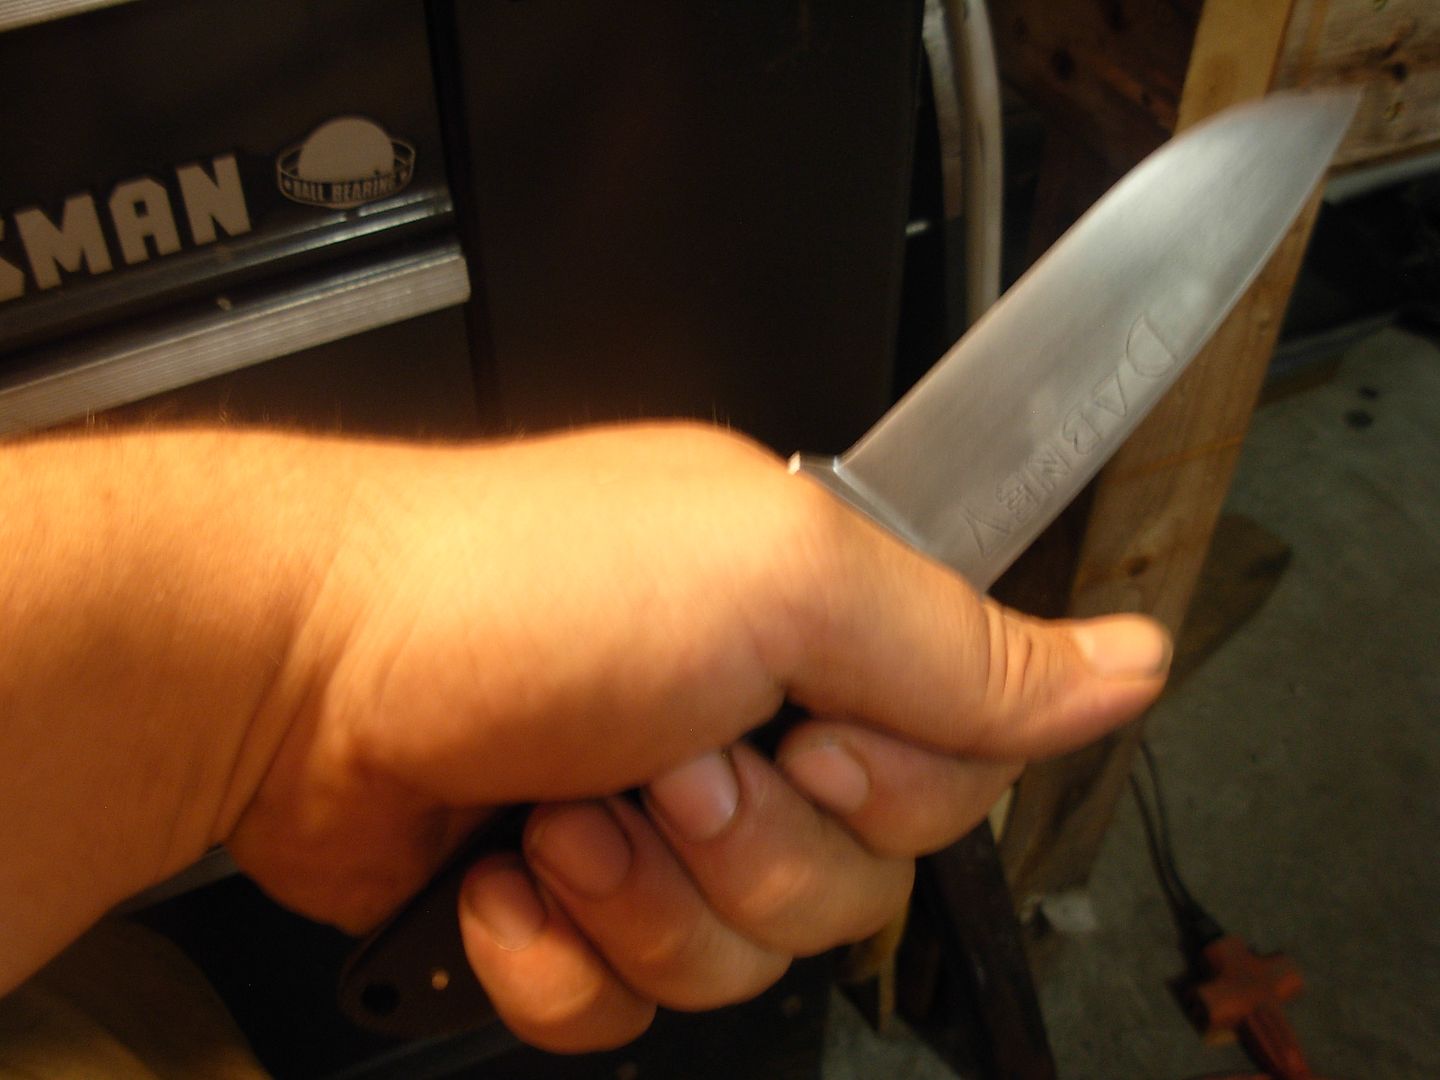
Is my blade profile EXACTLY the way I want it ?
Is my bevel and edge geometry EXACTLY the way I want it ?
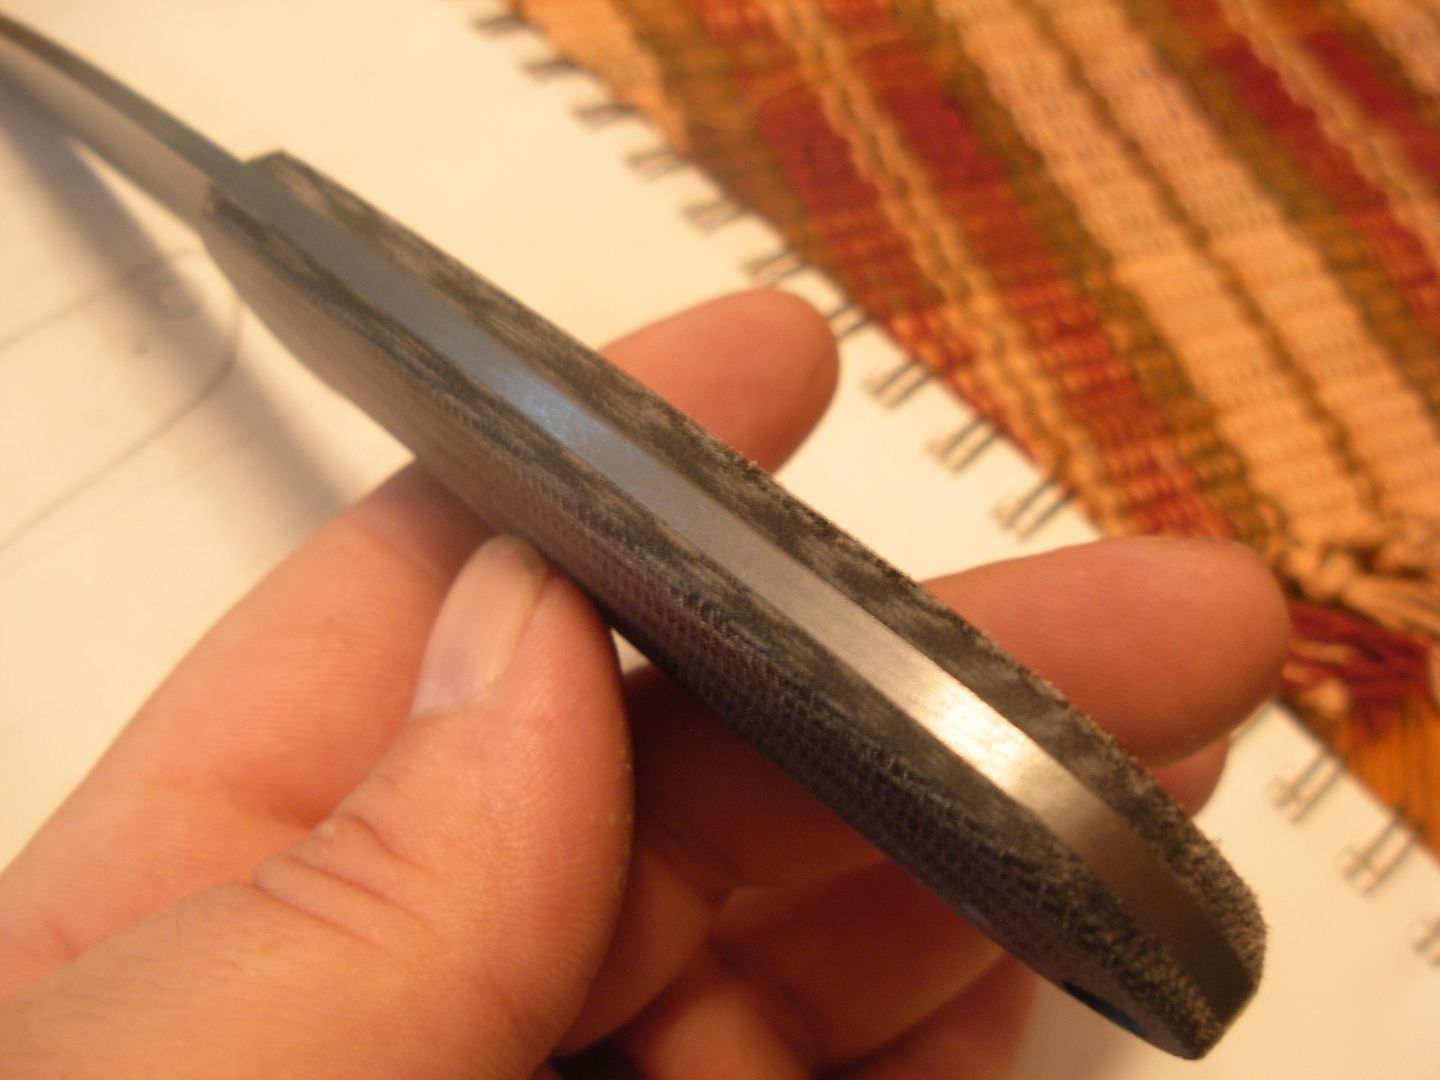
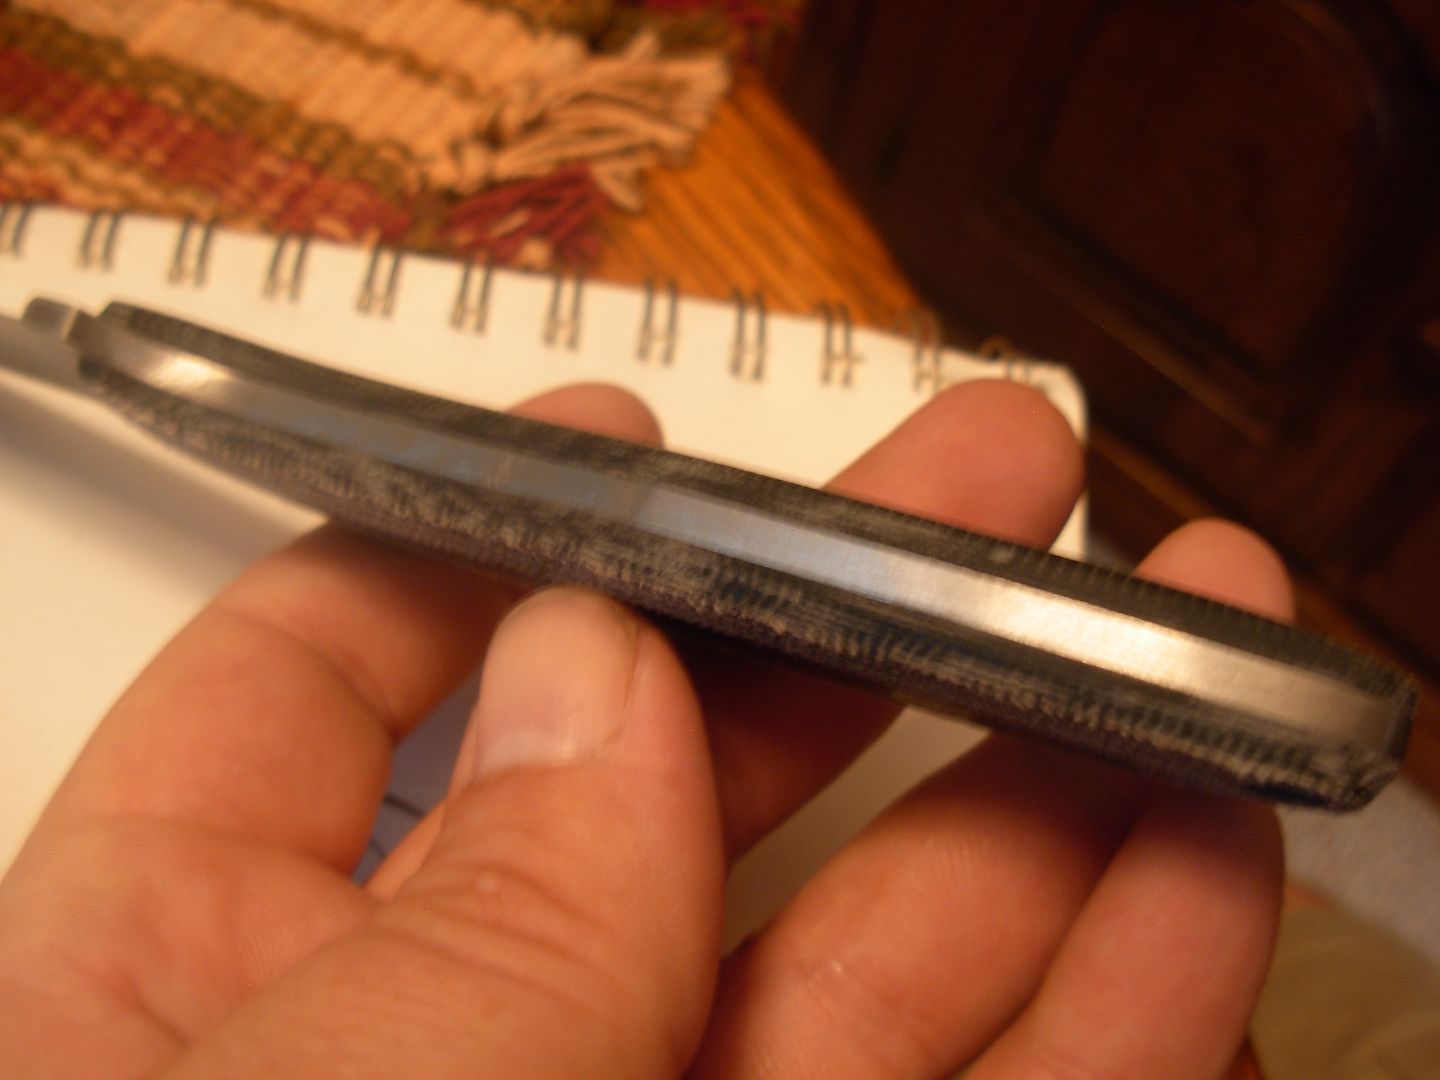
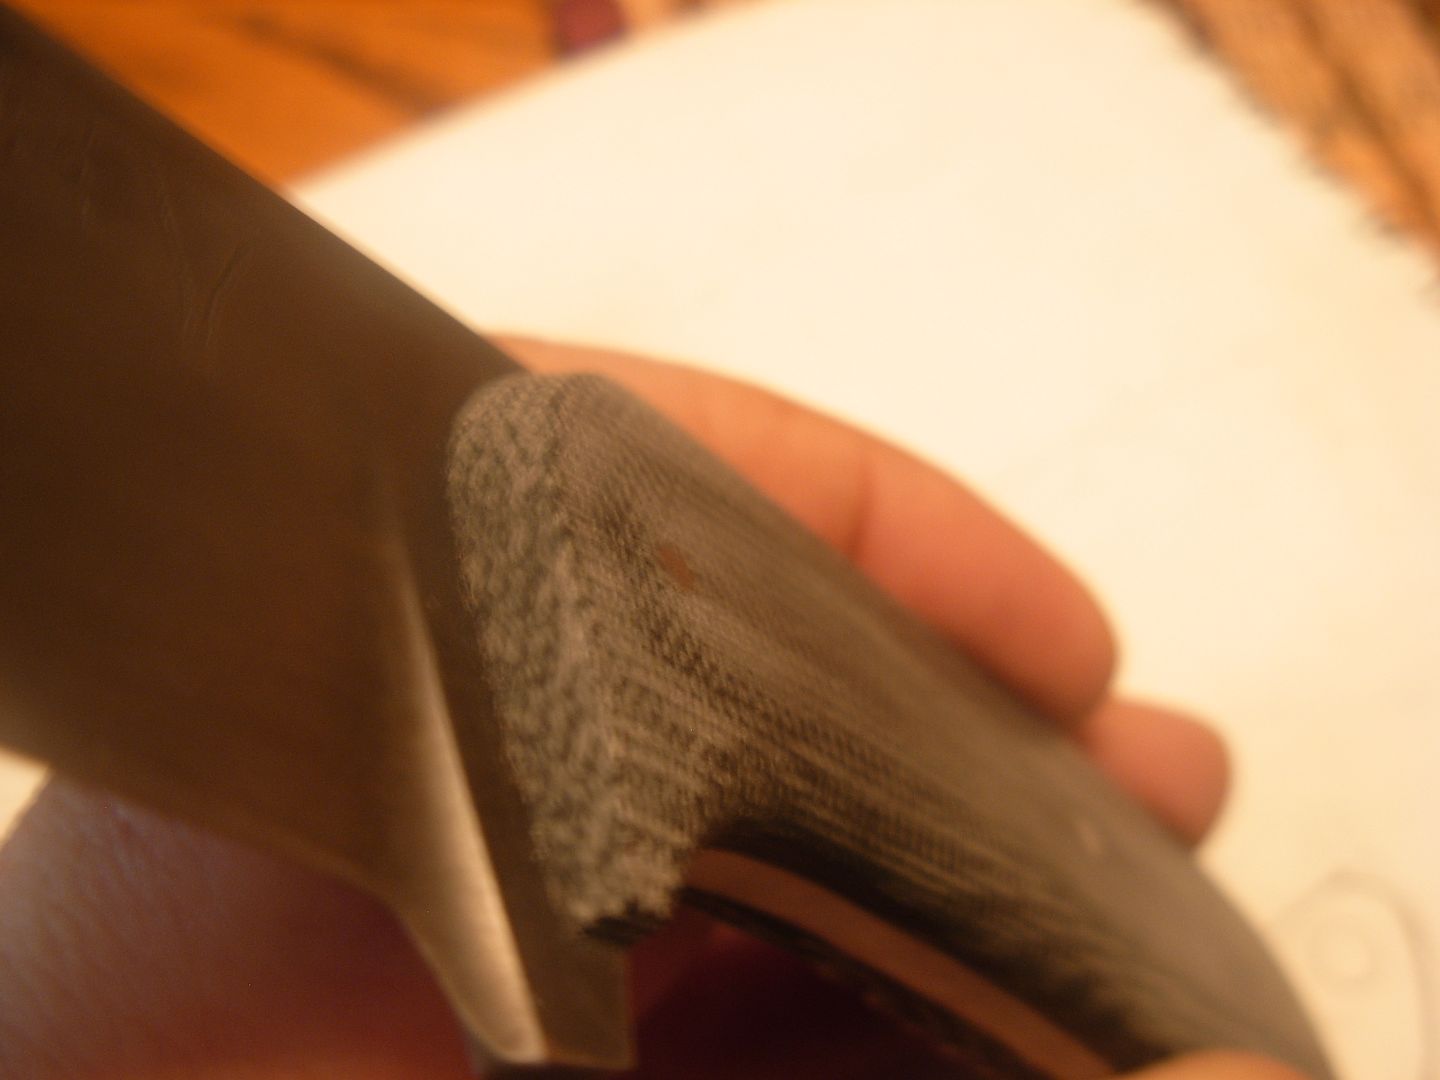
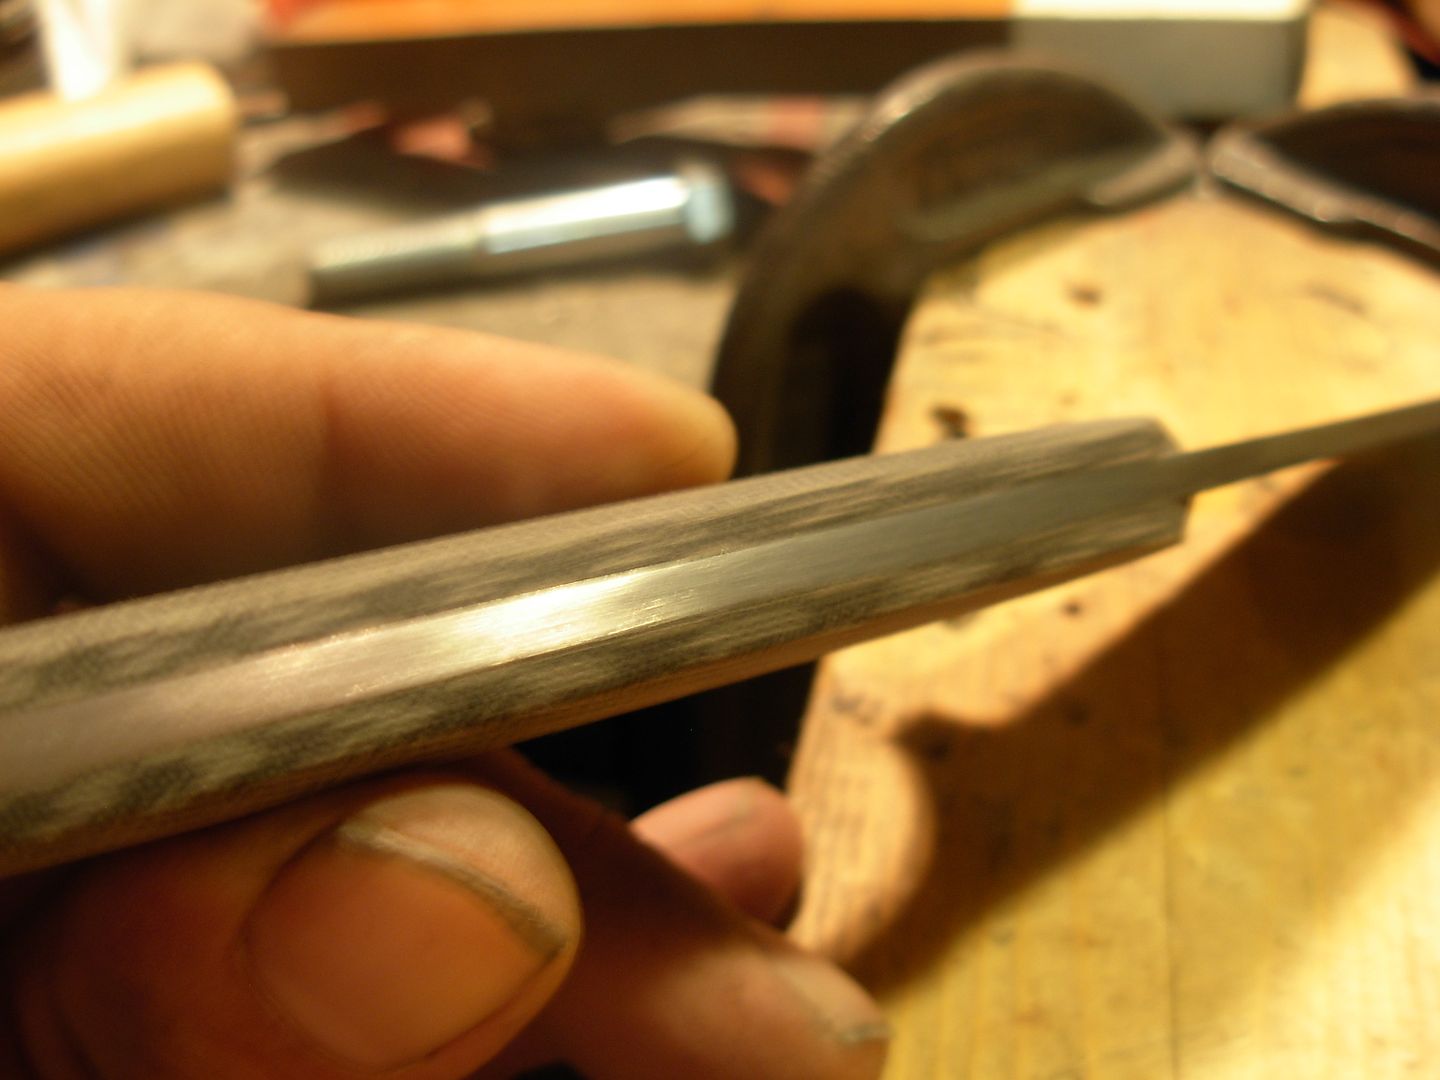
Are the sides of my tang and ricasso area FLAT ?
If you answer yes to these questions proceed to handle work. If not, correct ANYTHING you don't like about the blade NOW and re-work it until you get back to these three questions.
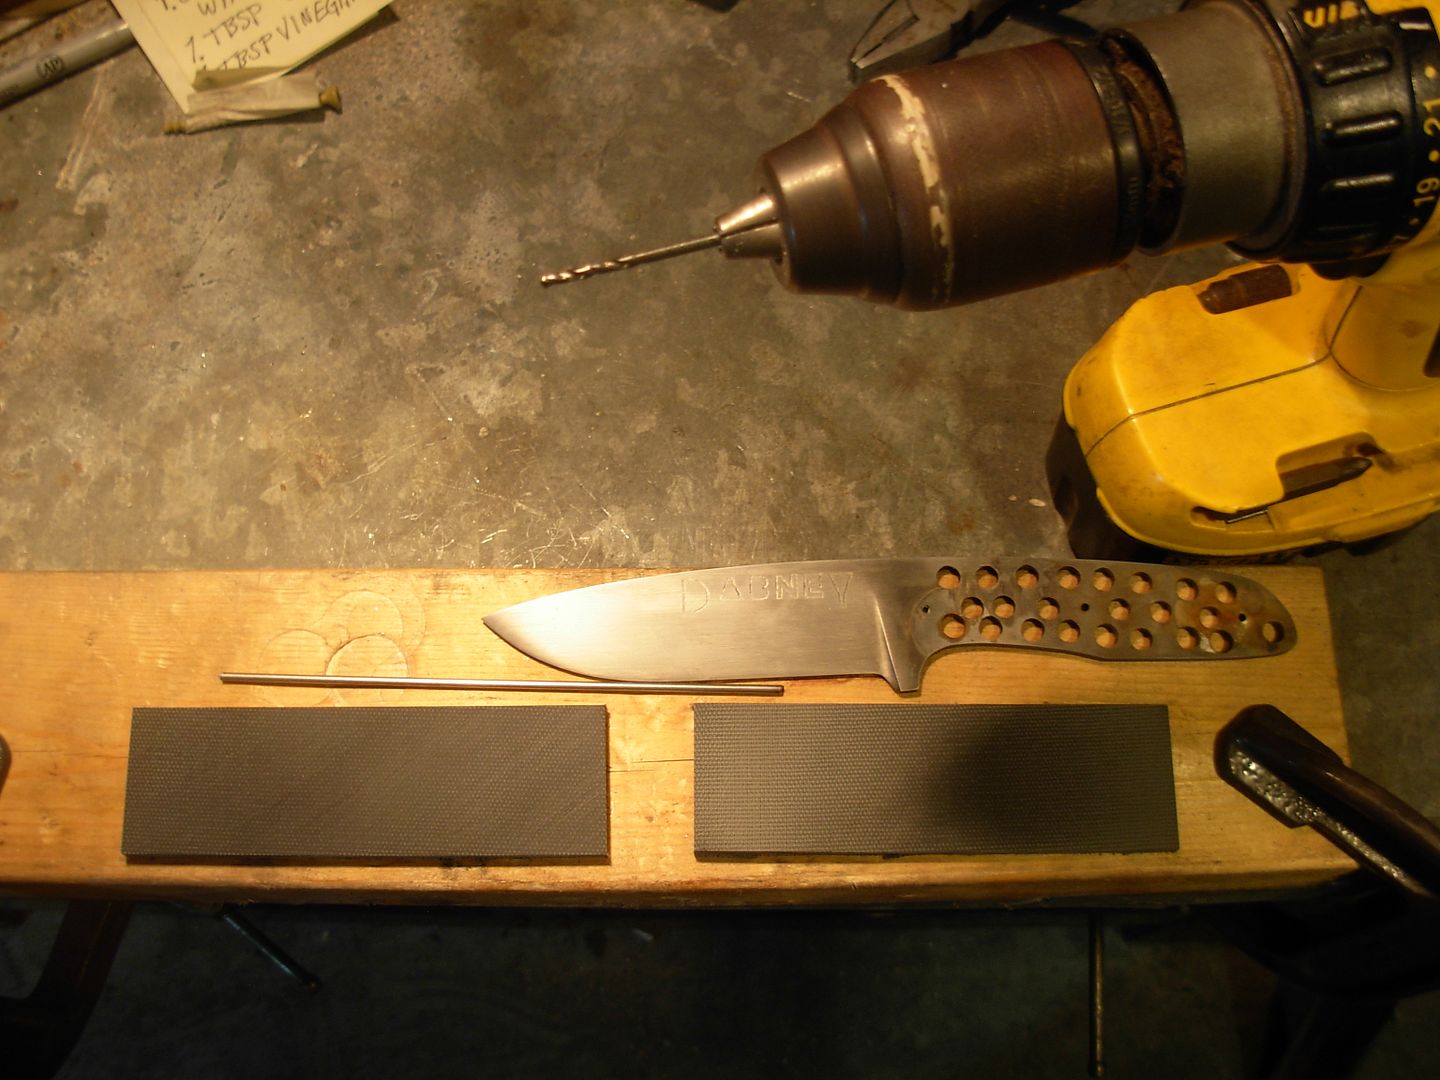
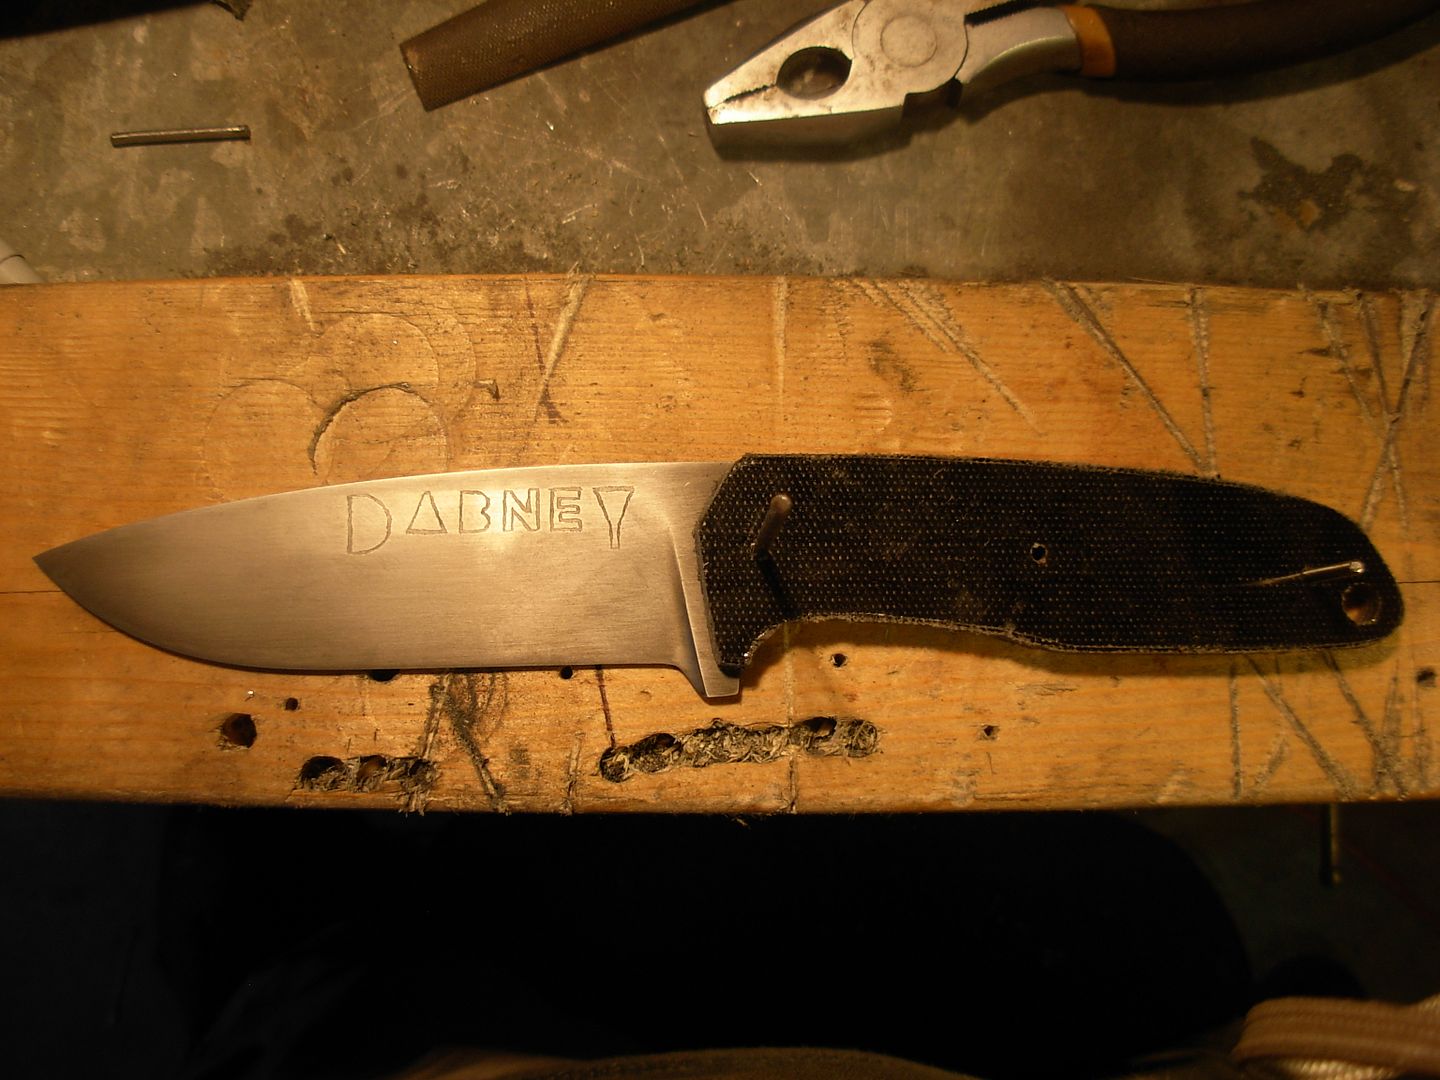
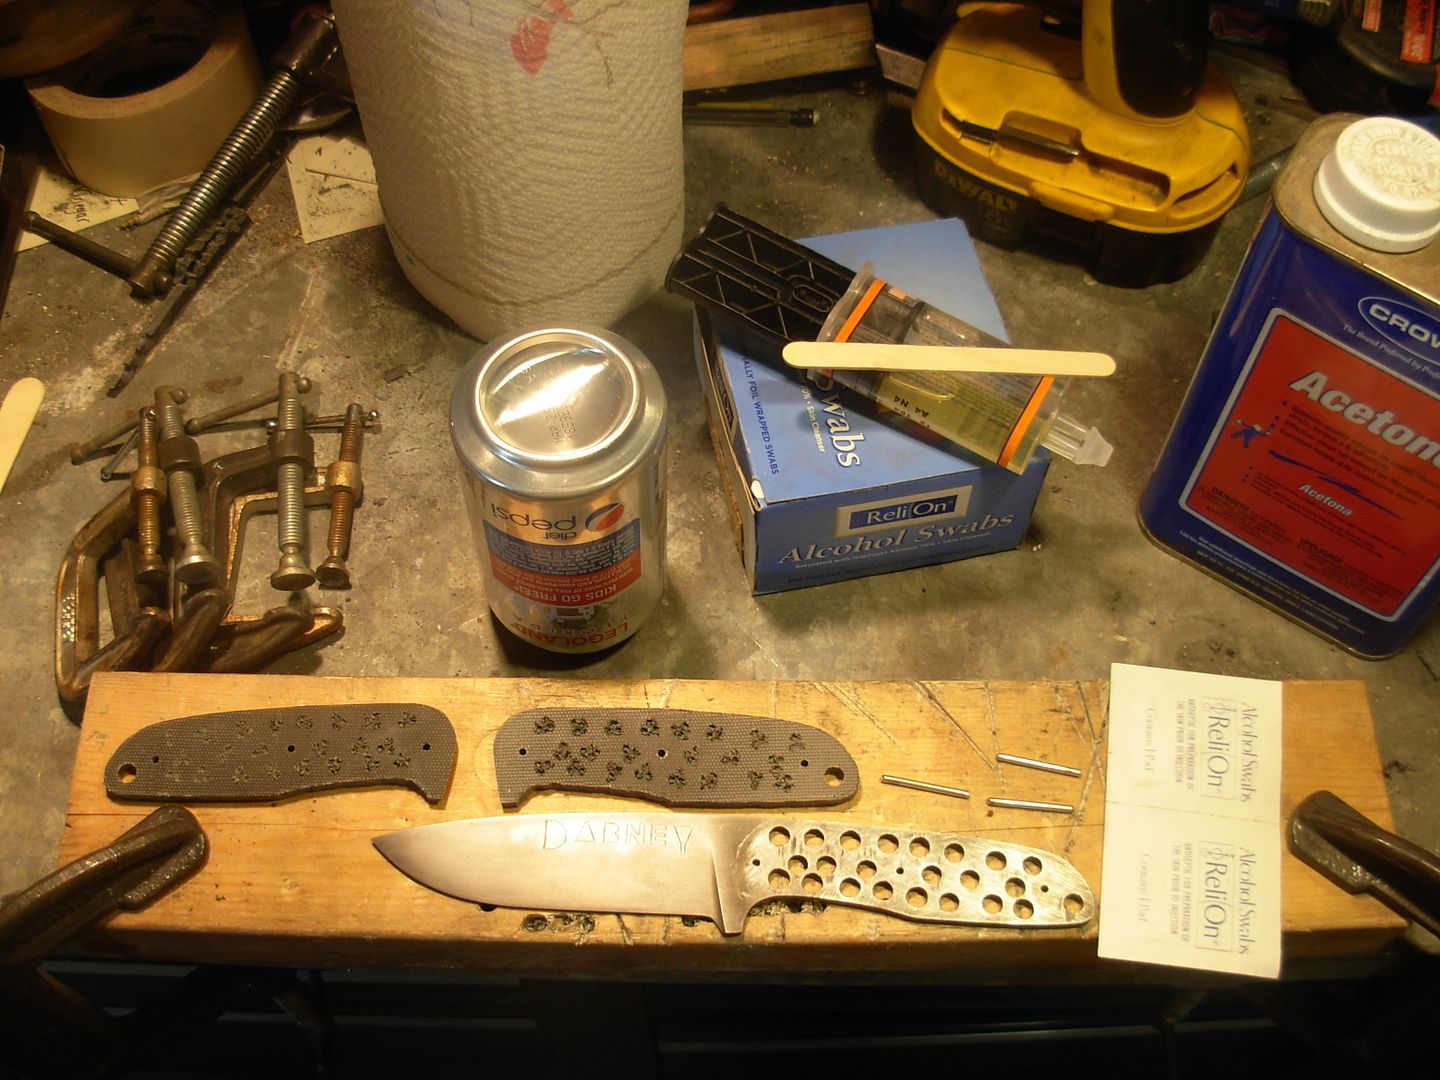
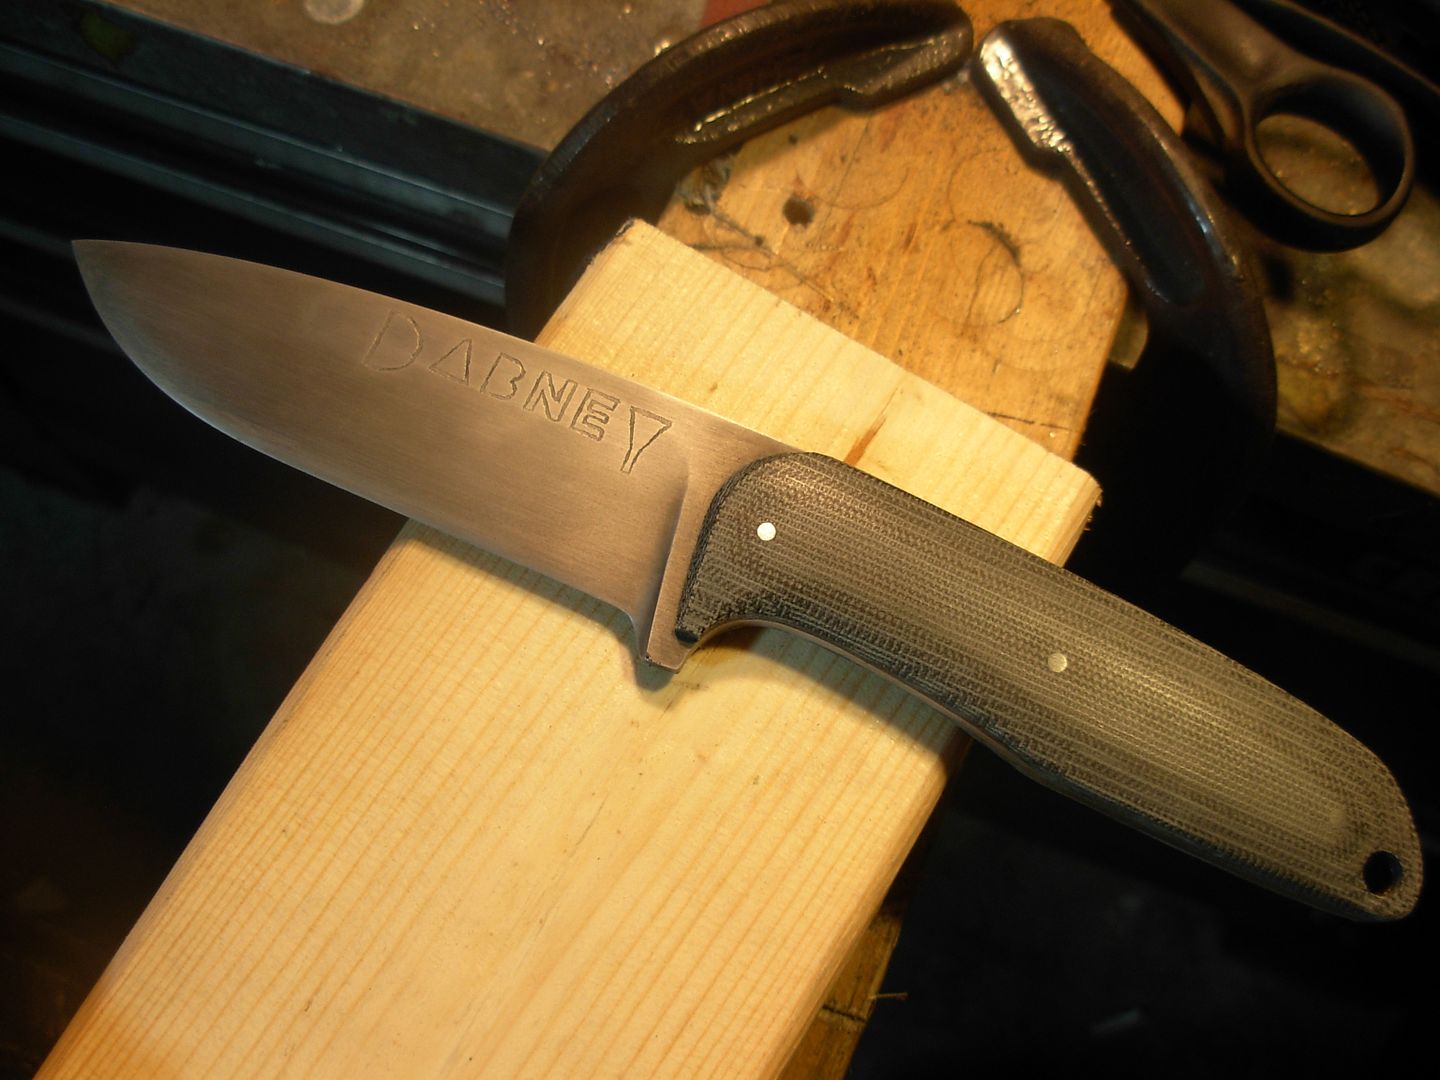
Just to recap where we are I'm about to begin the final step of Stage 3, the Finishing stage. - Install and finish the handle scales.
Clean up your work area and gather the tools we'll be using for the start of our handle work.
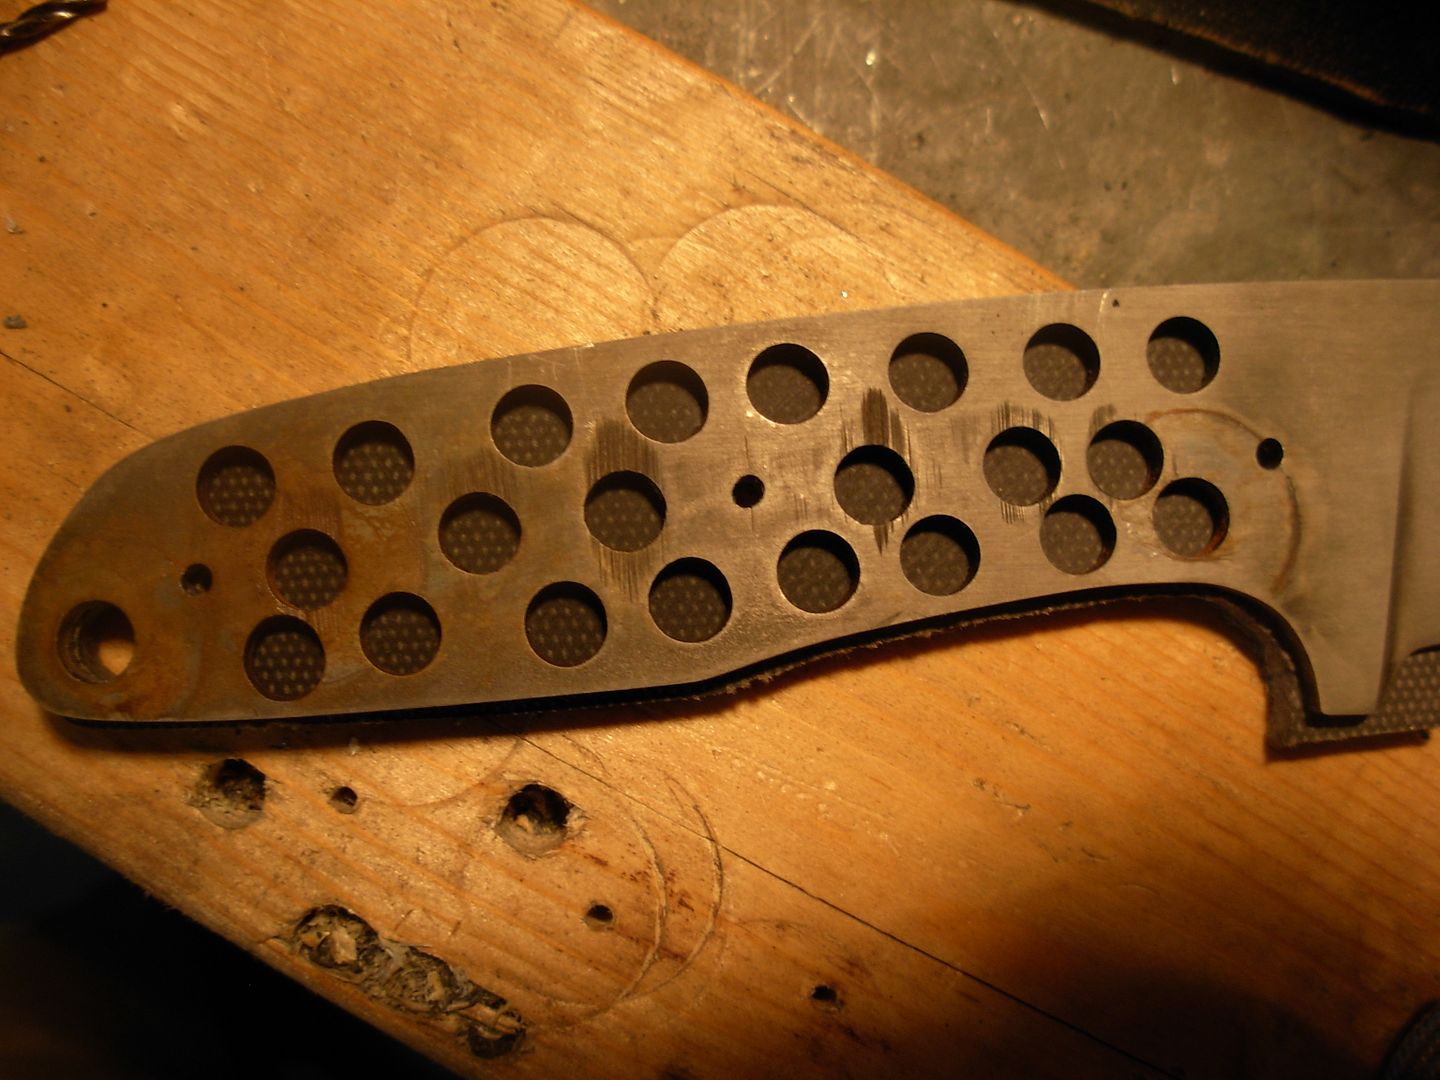
The blade
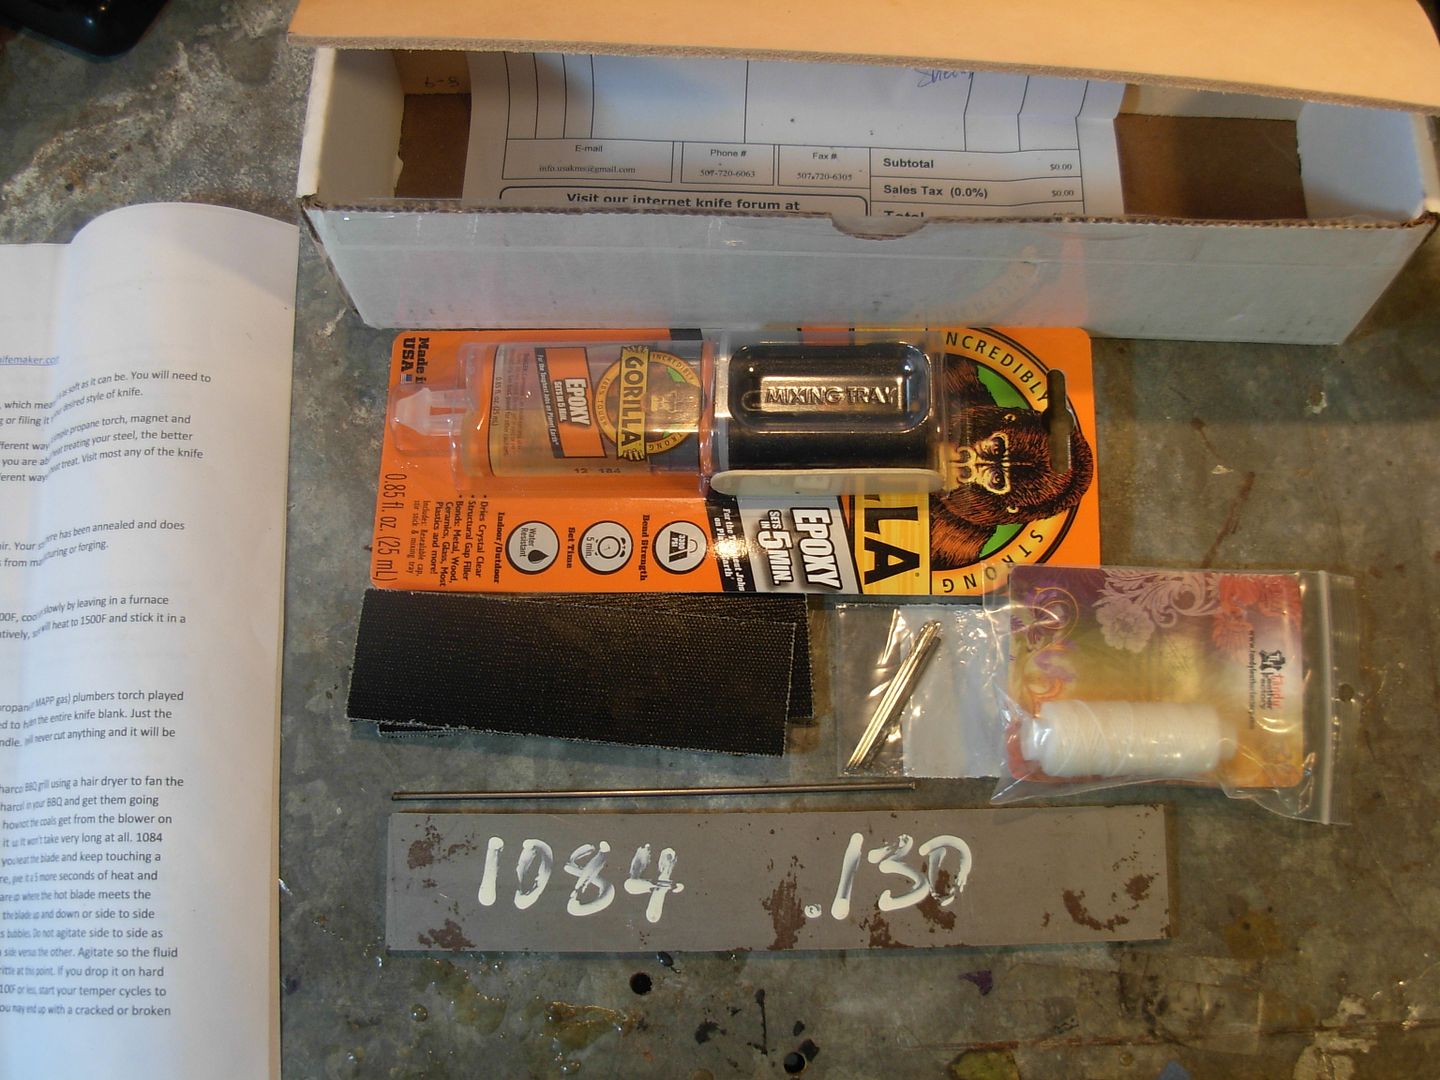
Drill and 3/32 bit
3/32 pinstock
Both previously FLATENNED hande scales
Not pictured is also a 1/4" bit and hacksaw
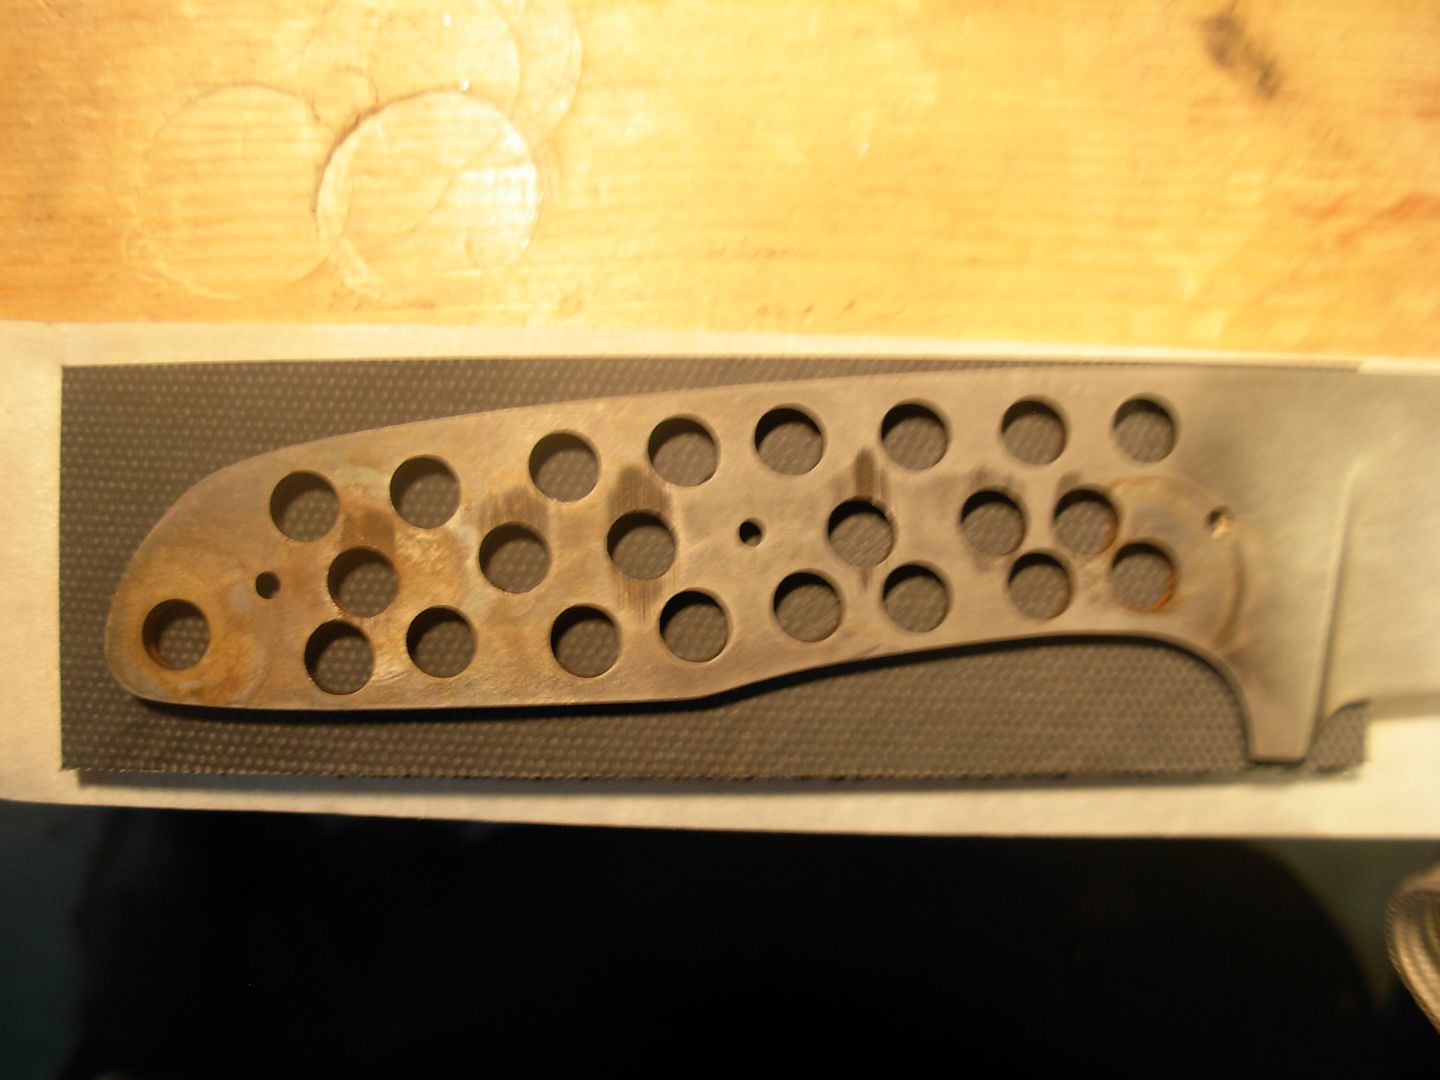
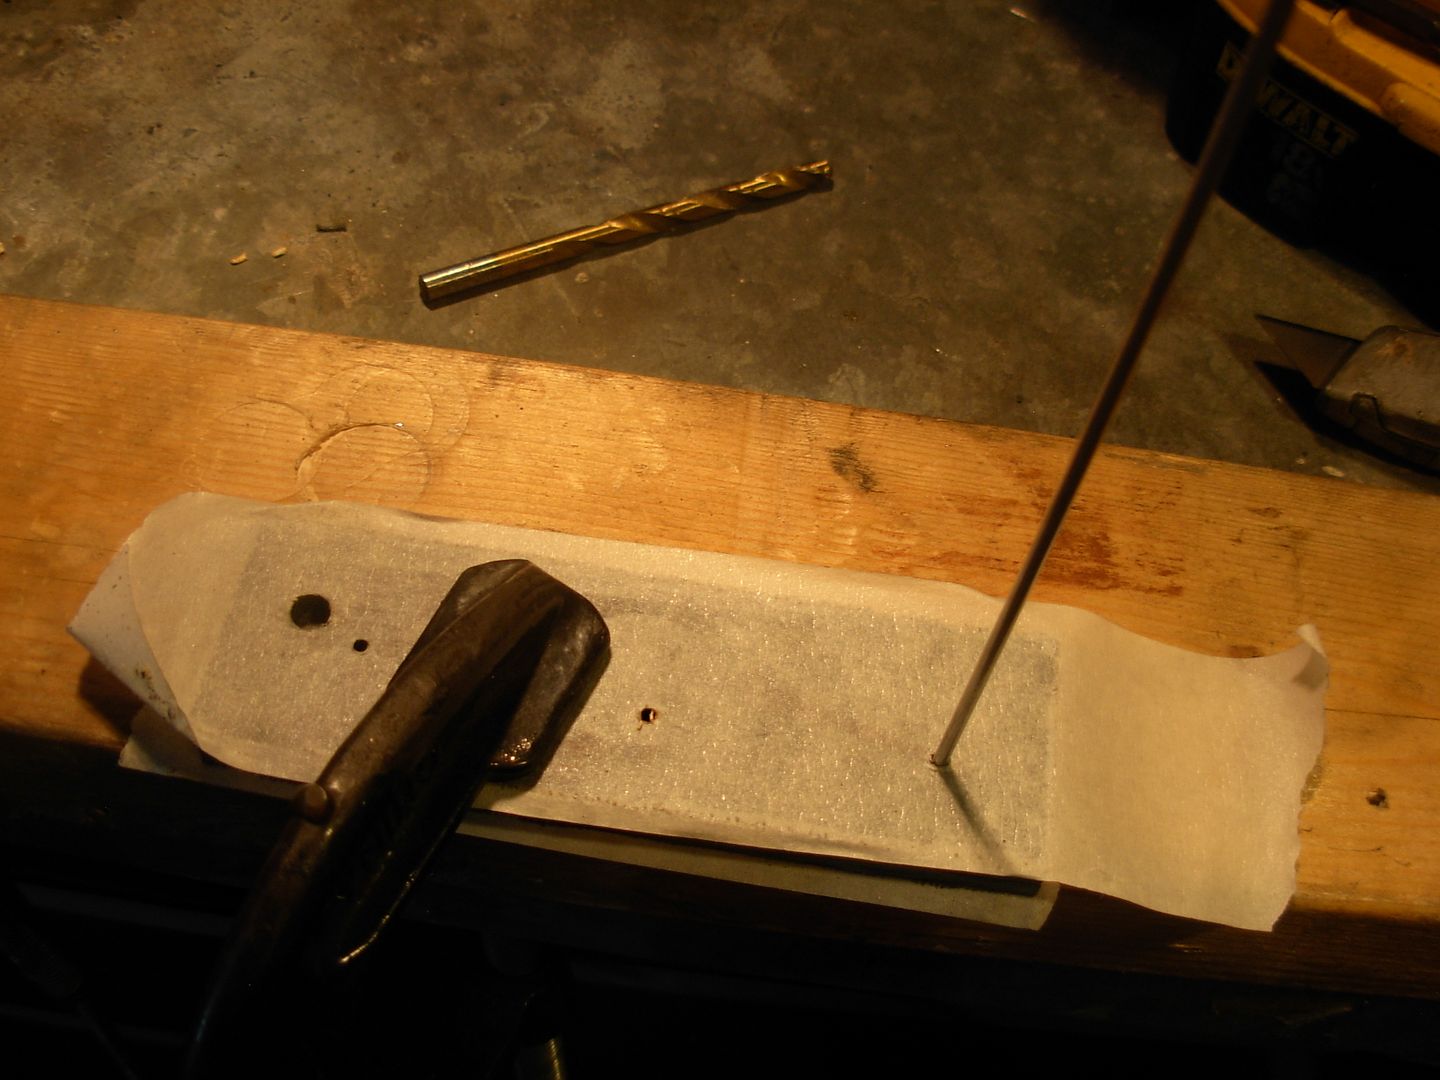
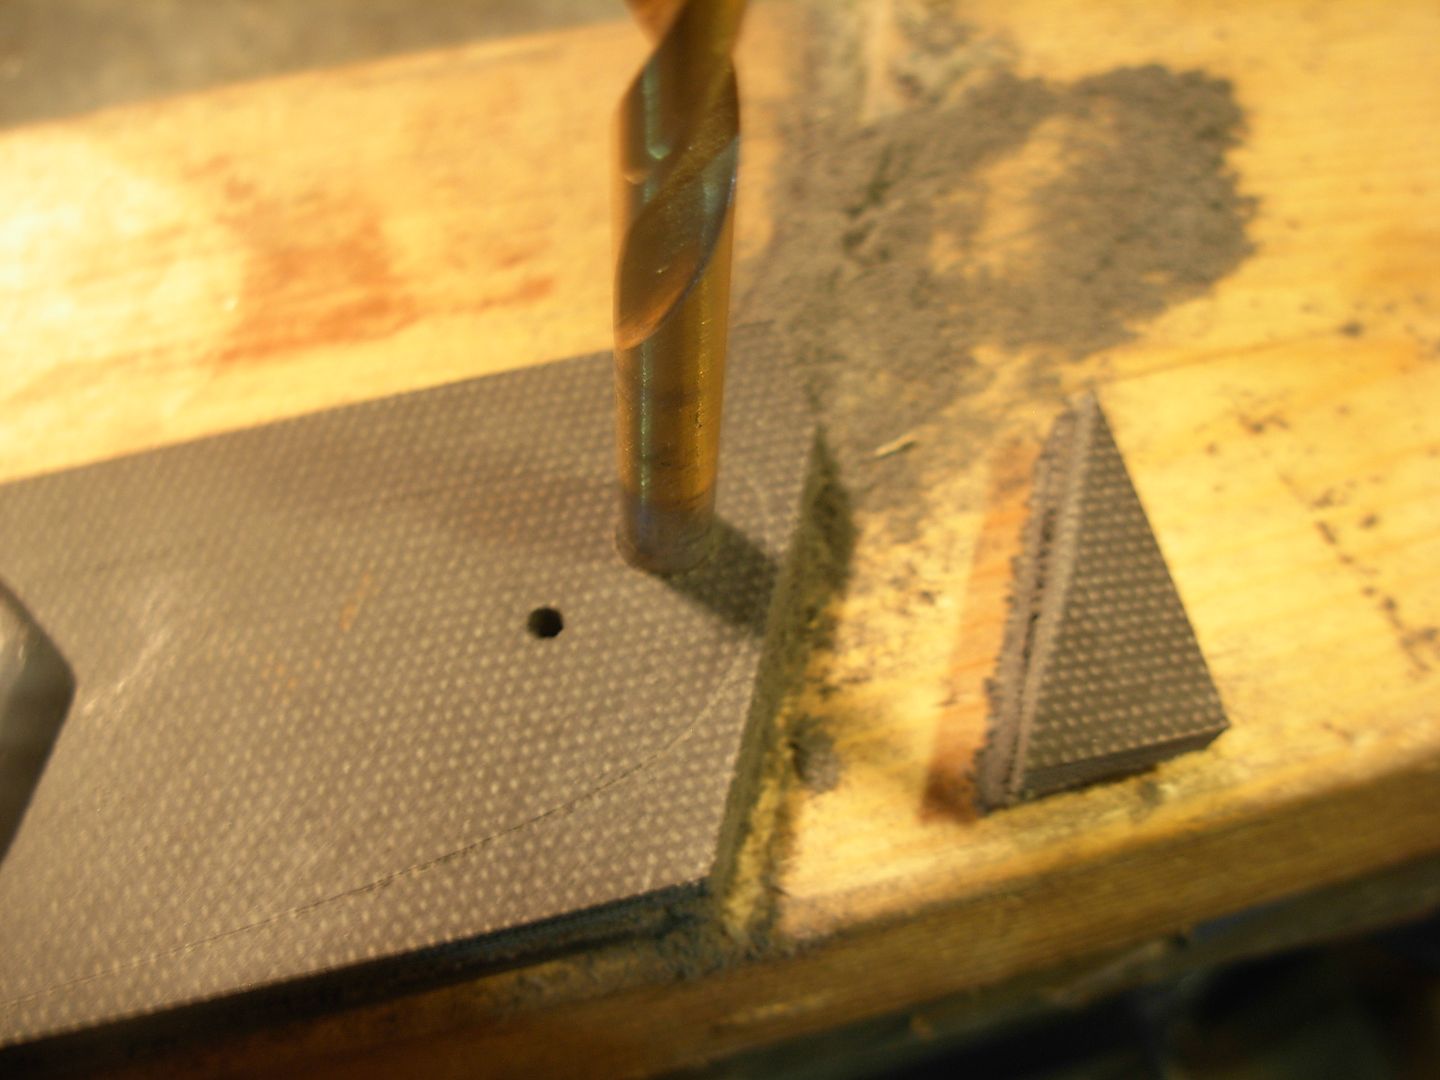
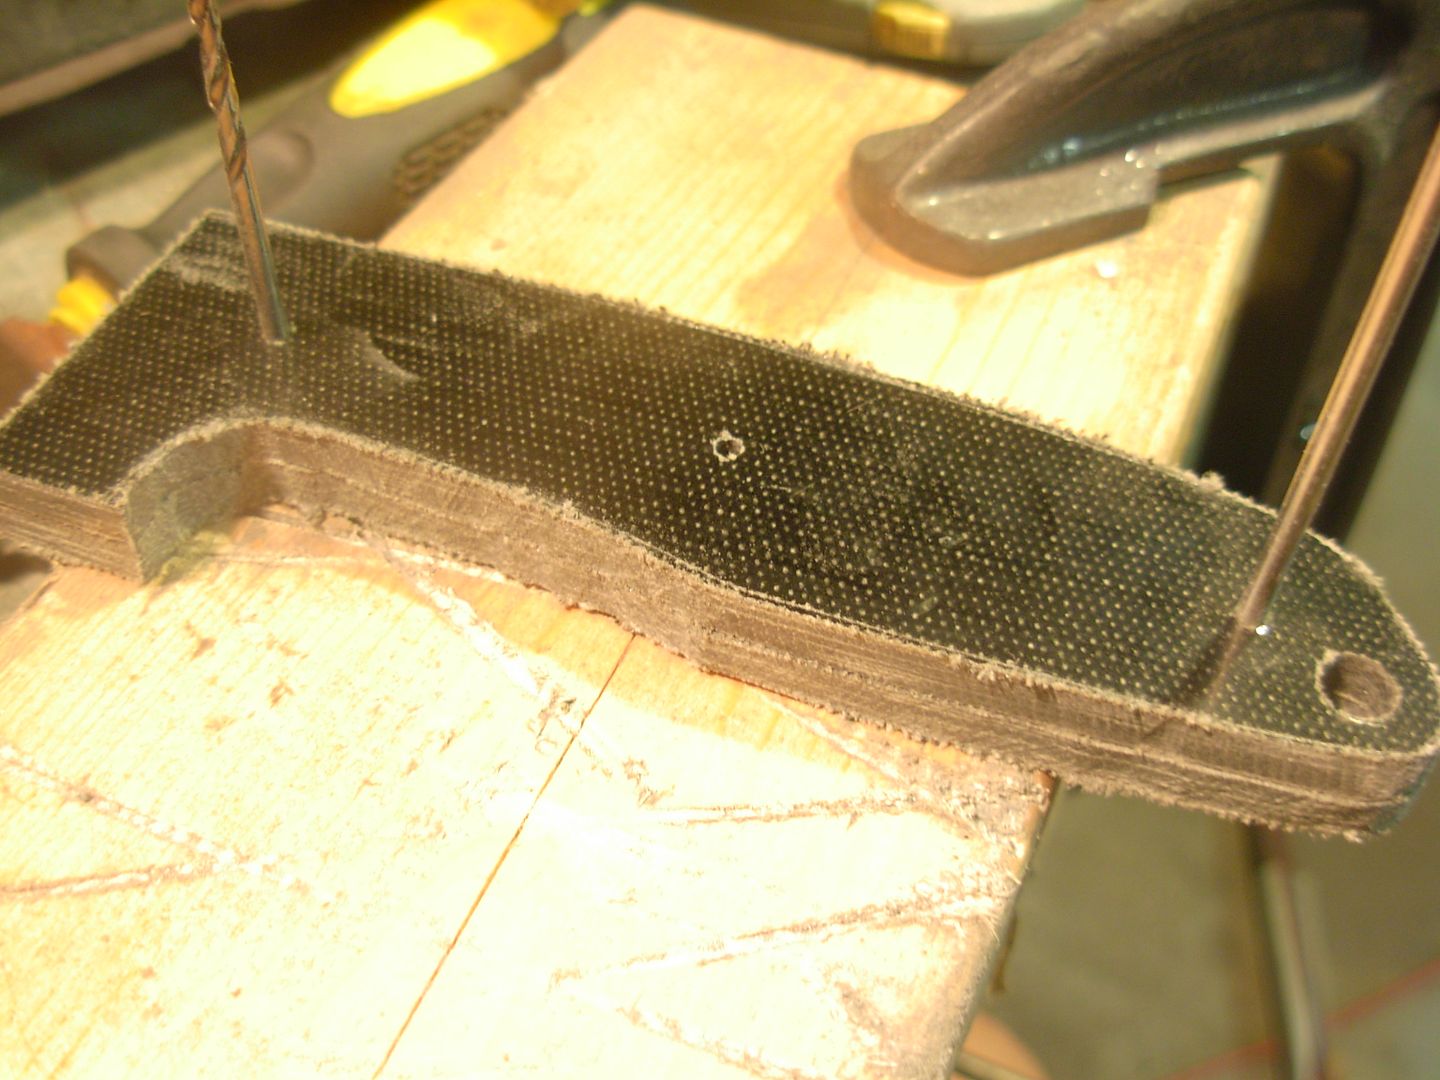
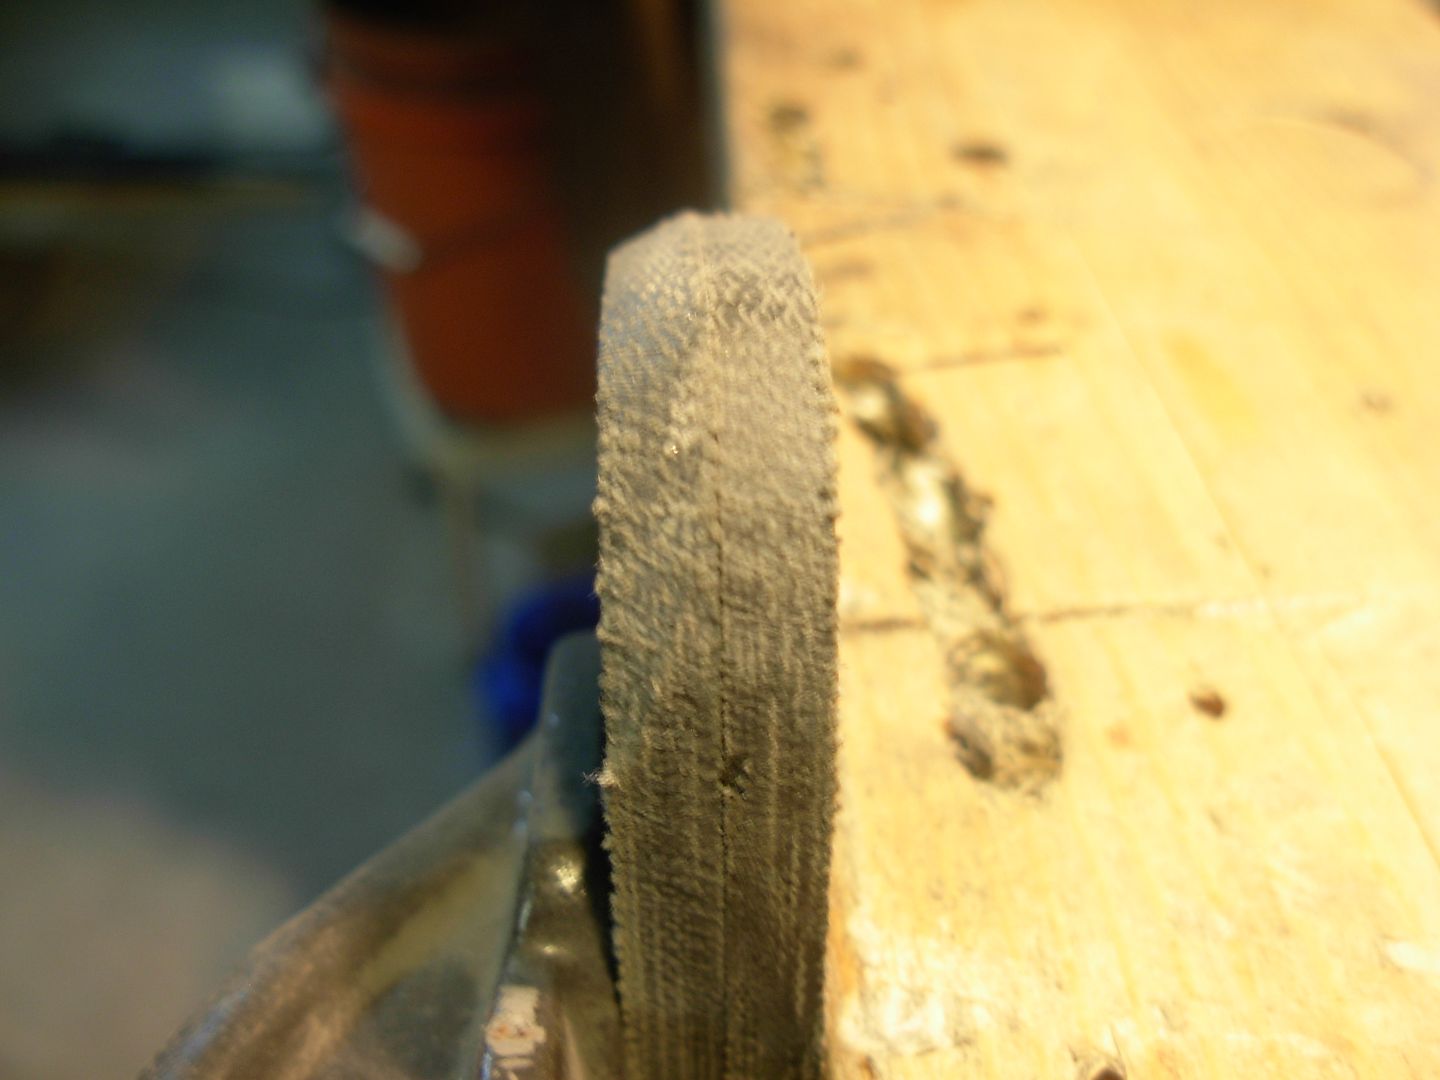
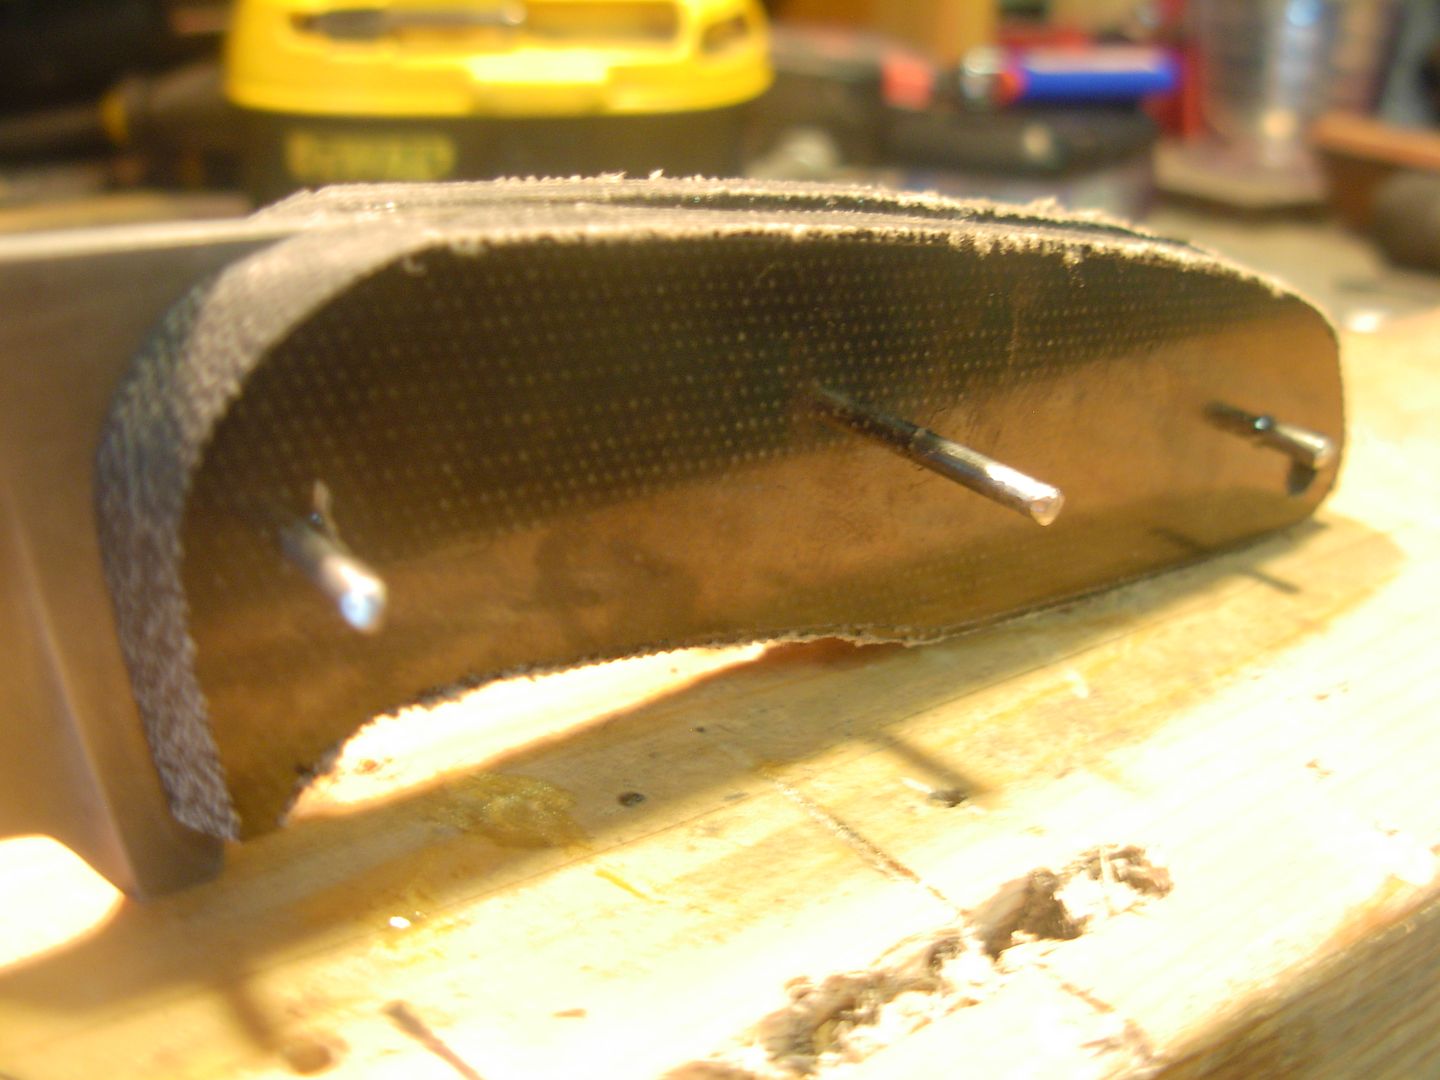
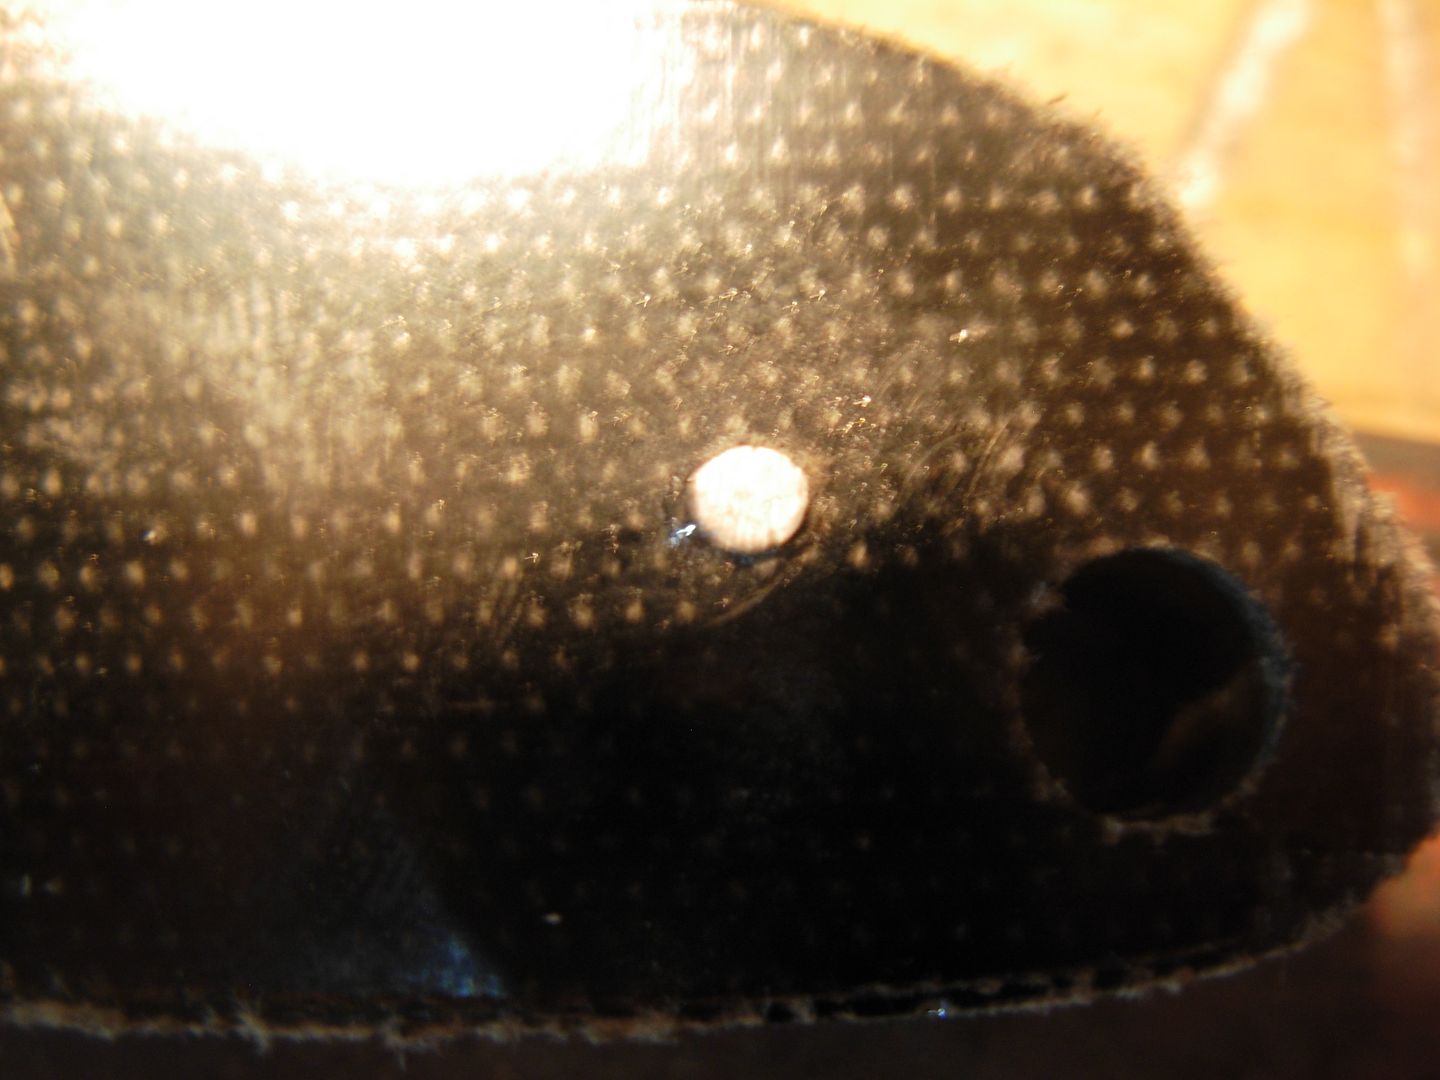
The first order of business is to get our pin holes and lanyard hole drilled in our handle material.
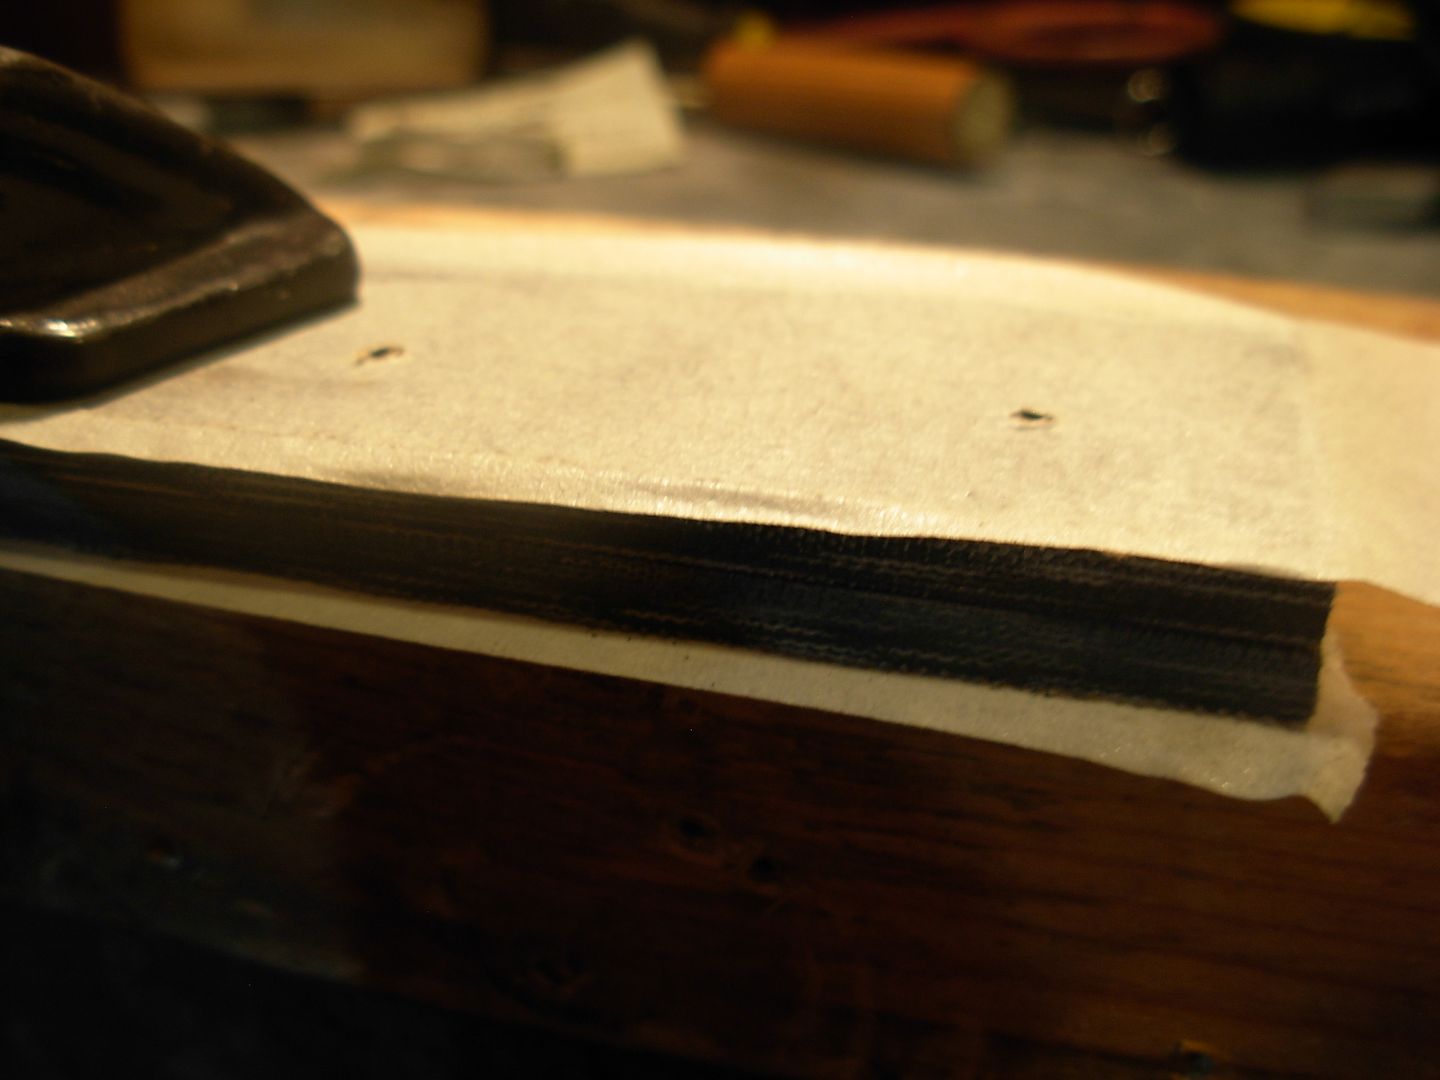
To give ourselves the best chances for success while drilling the handle material we'll use this simple precautionary measure to help prevent "chip out" . Chip Out is when the drill bit breaks through the back side of the material and snags the edge of the hole tearing or chipping a little chunk out of the handle material. To reduce the risk of chip out simply tape the backside of the scale with masking tape while drilling.
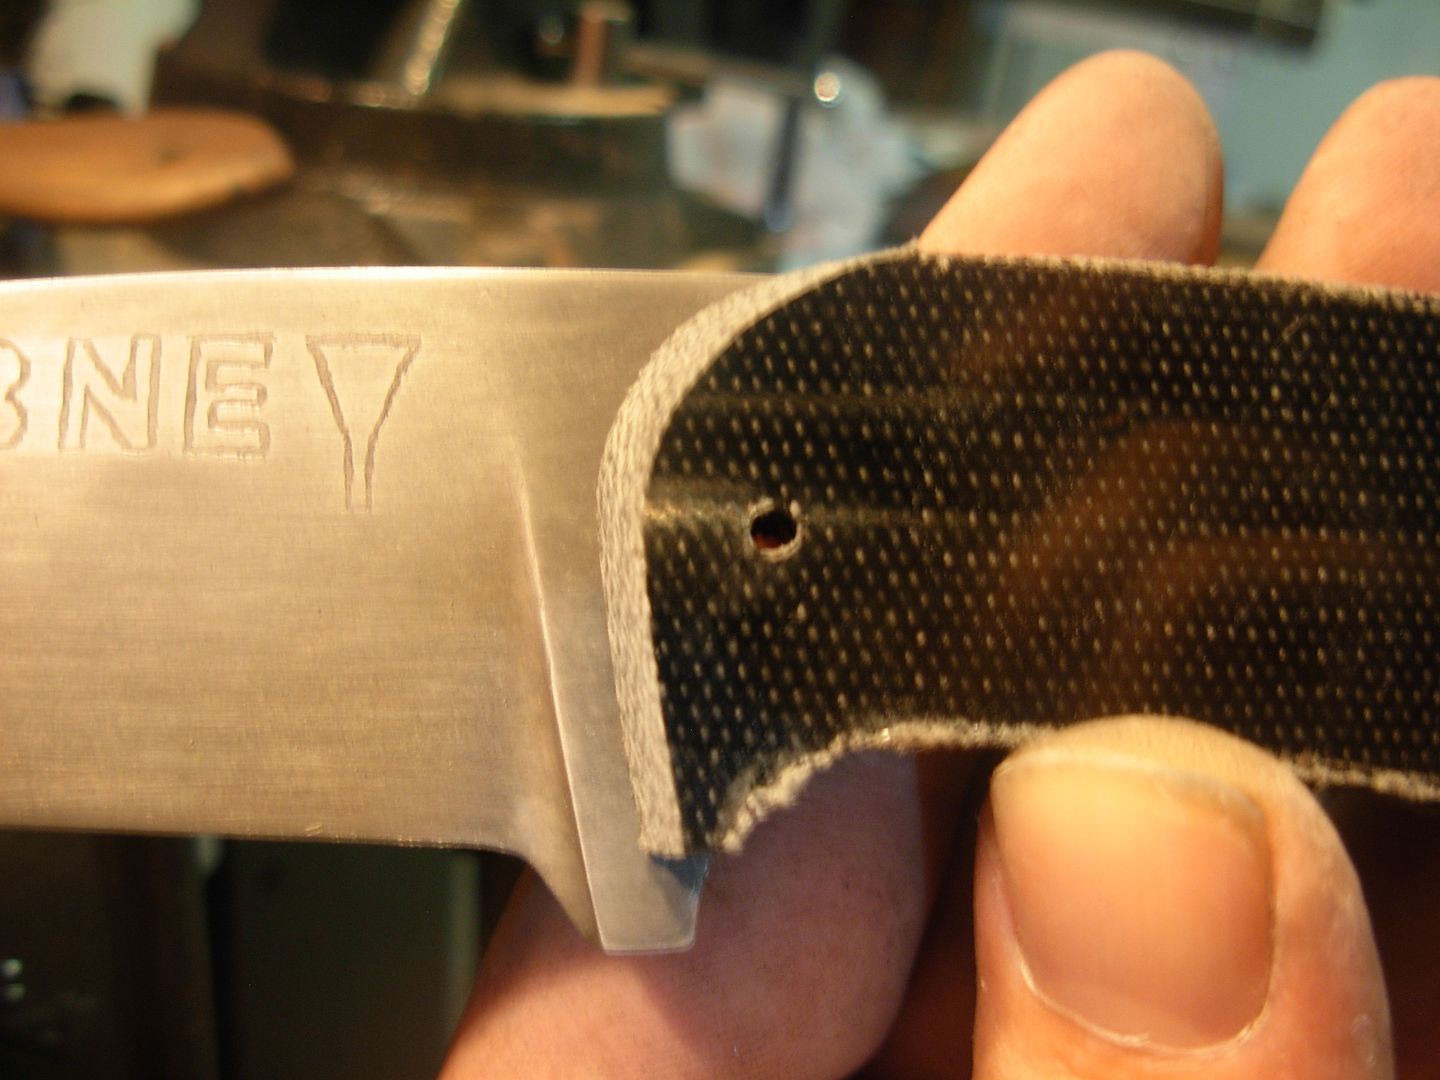
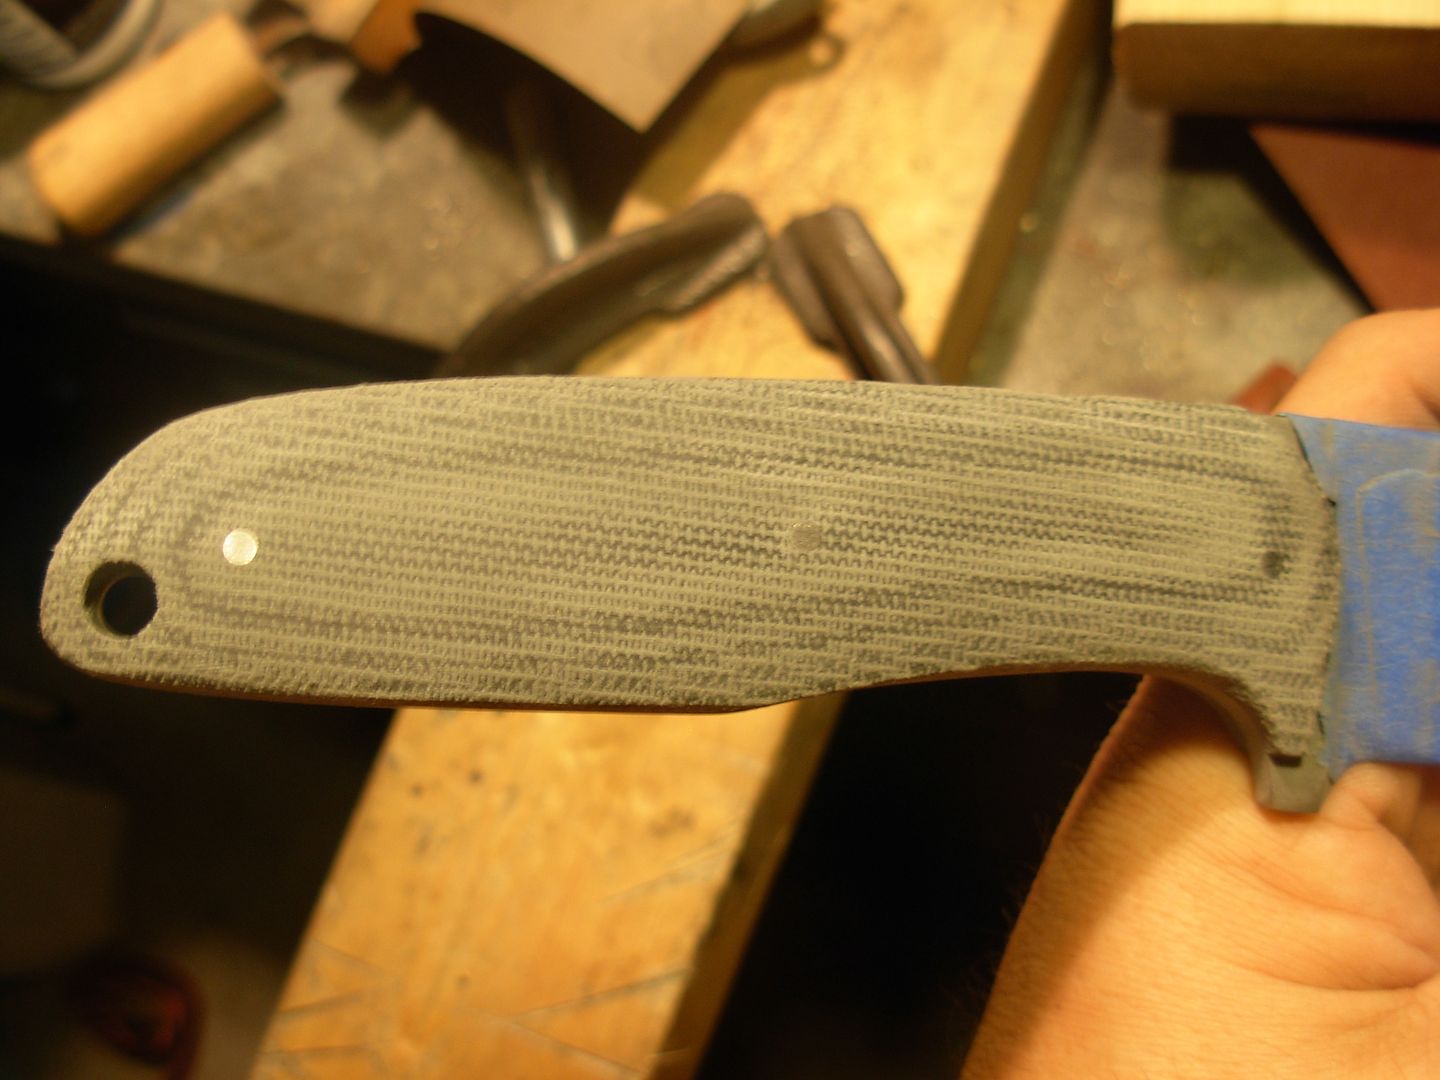
Now line your blade up on a scale so we have overhang around the entire perimeter of the tang and plenty of material on the front side so we can shape the ricasso side of the scale any way we like.
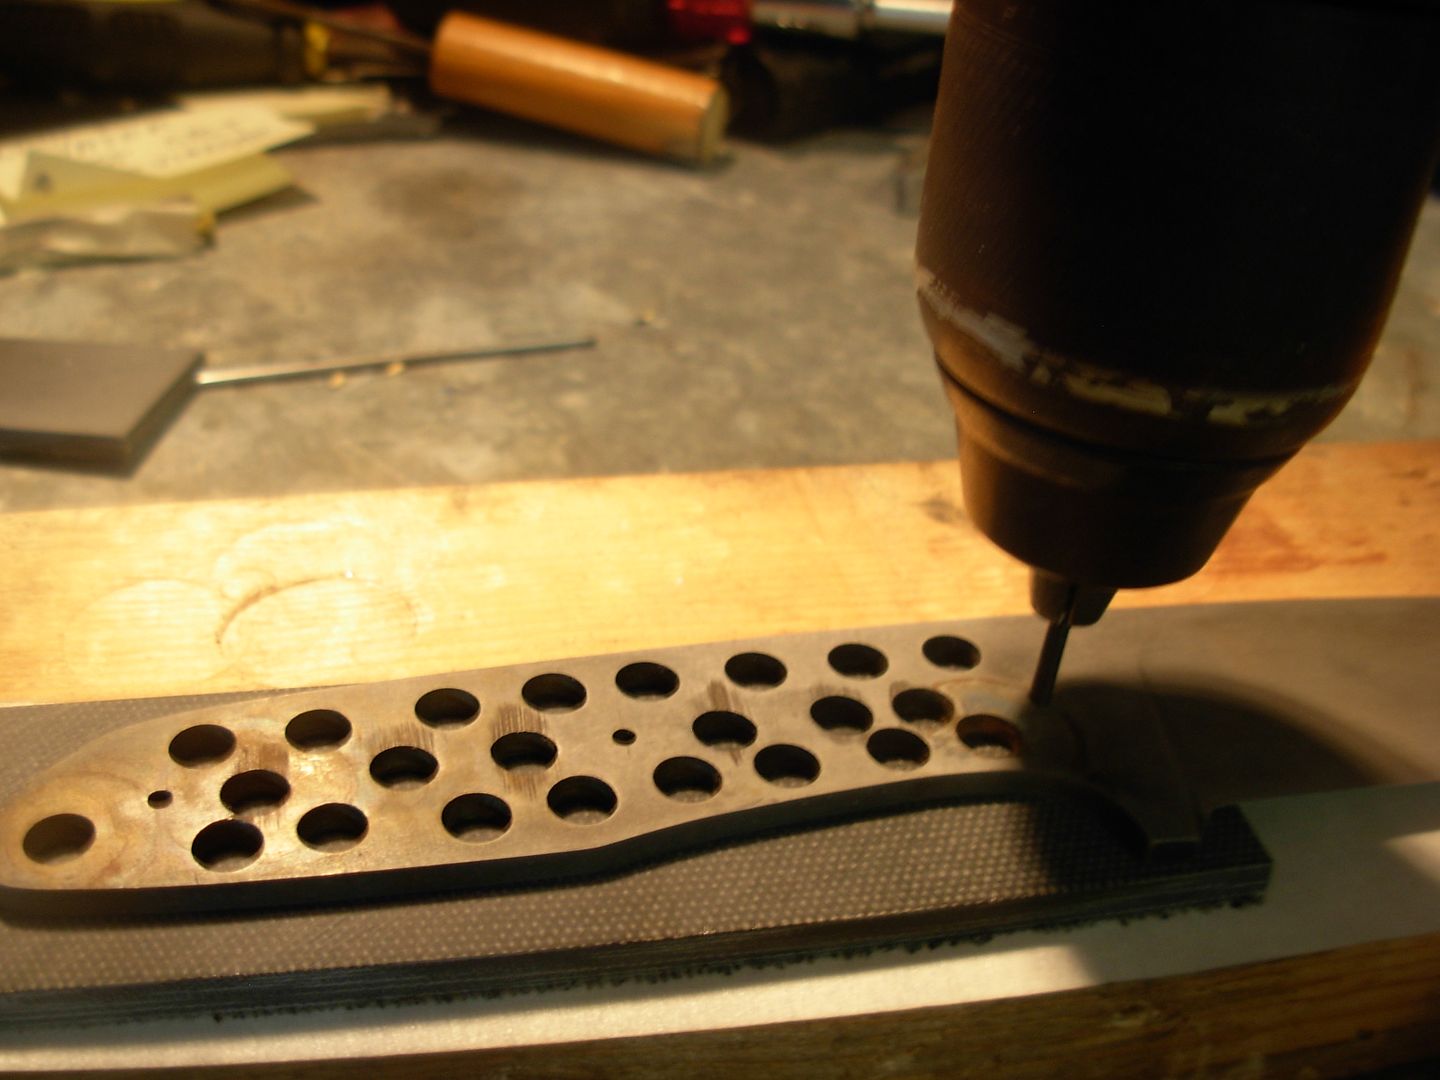
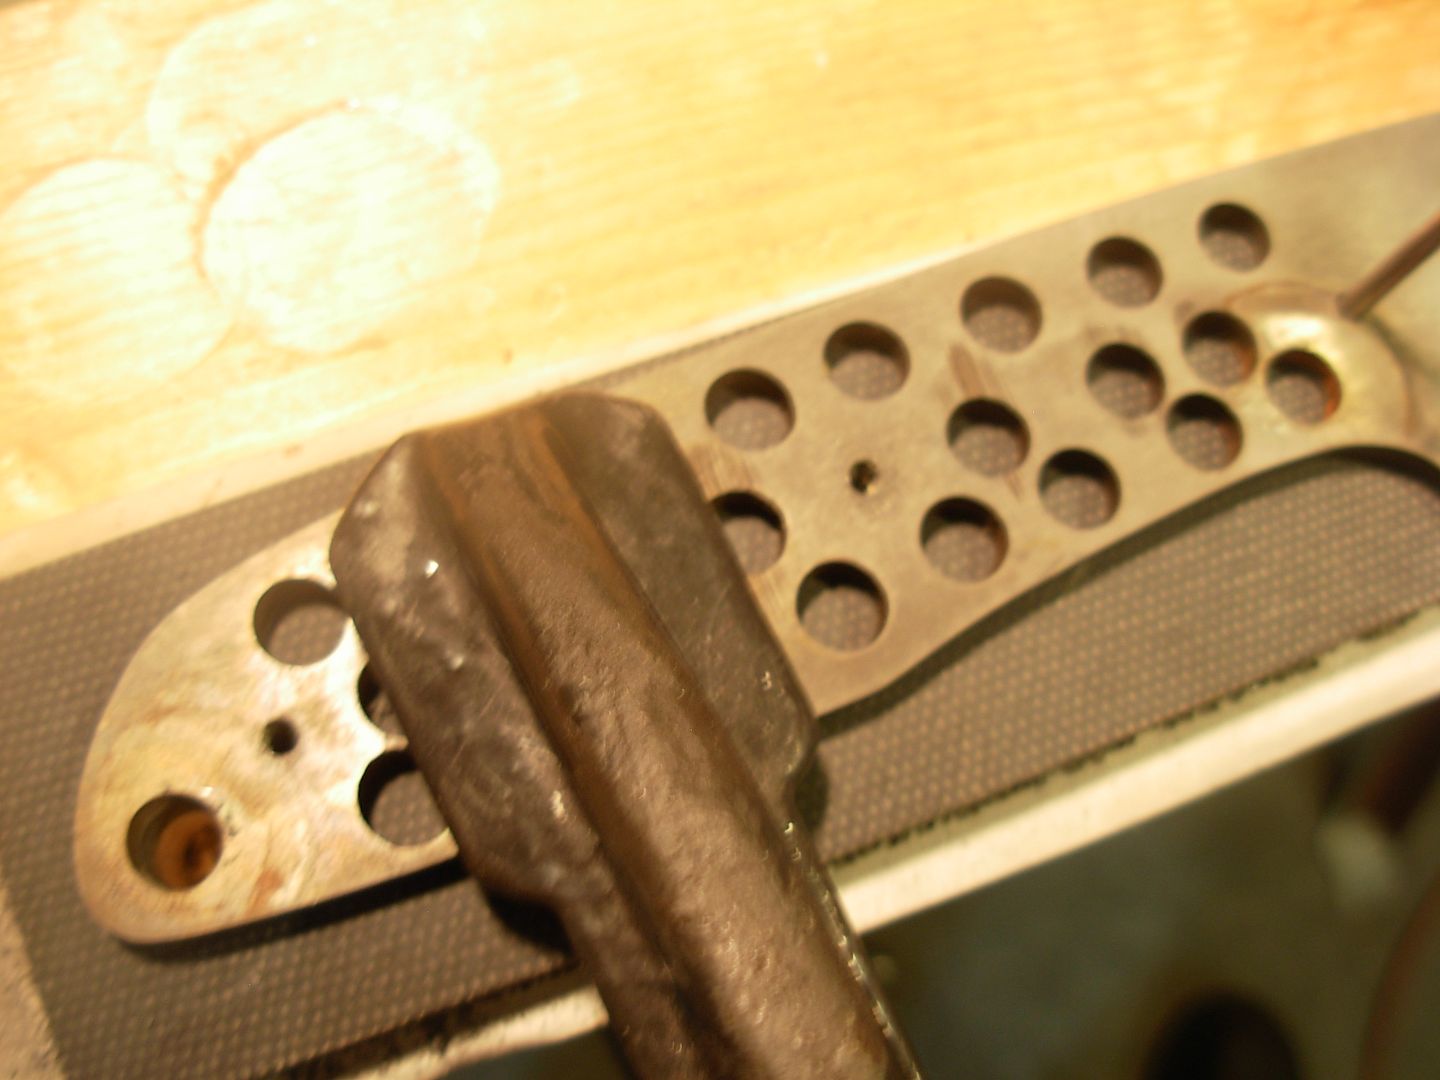
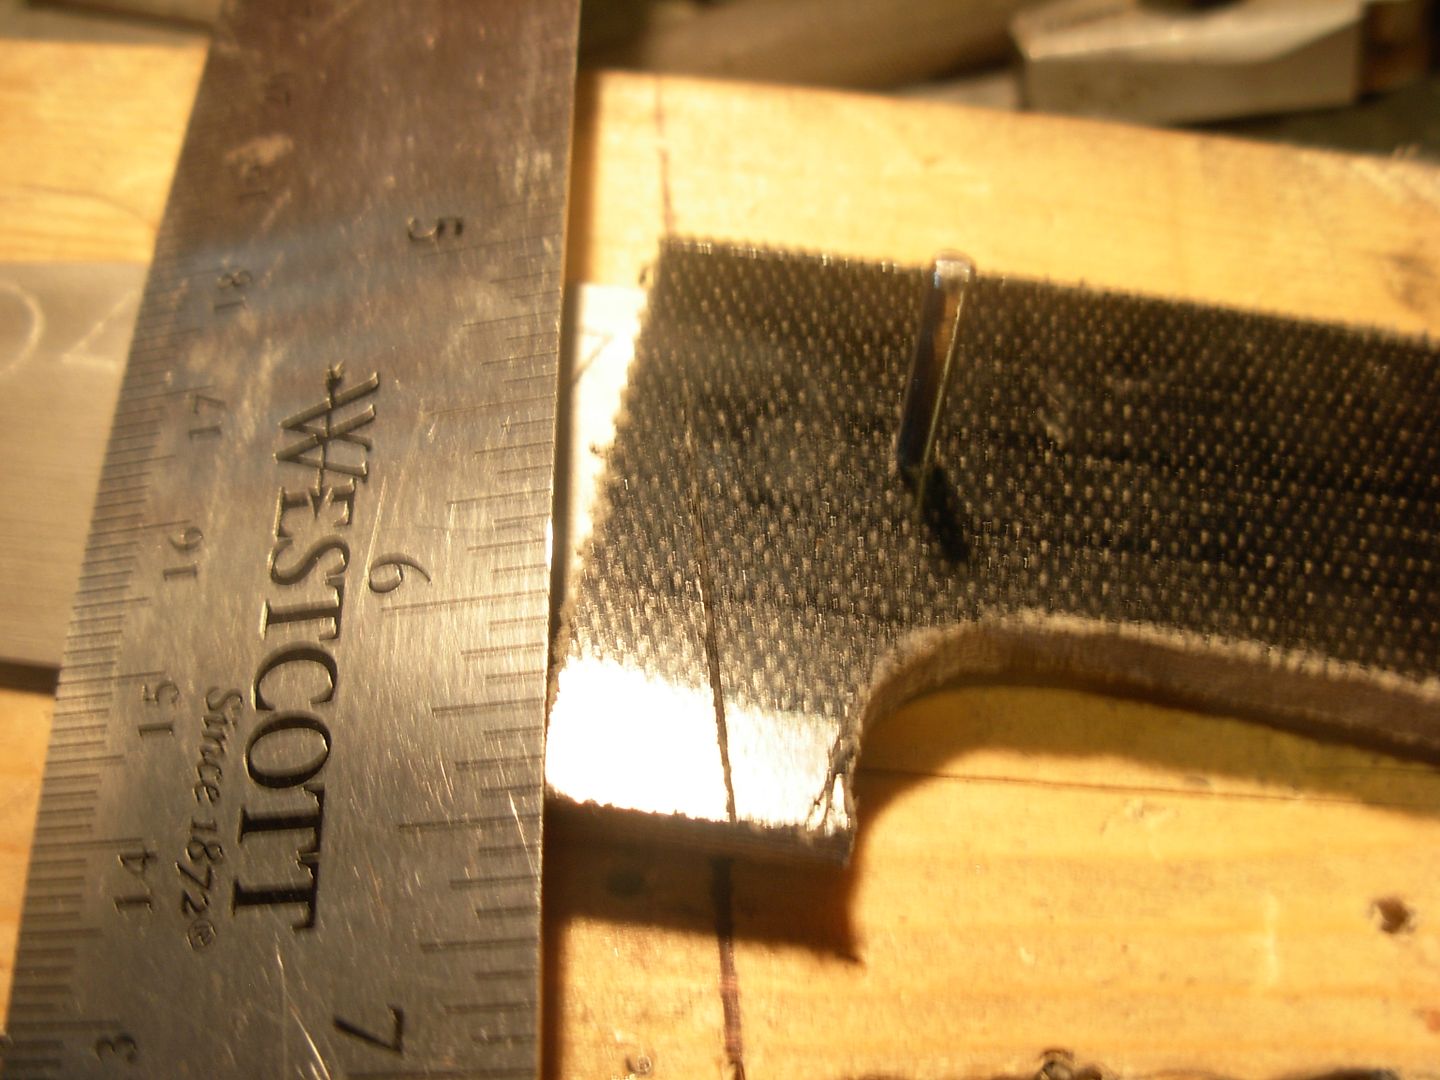
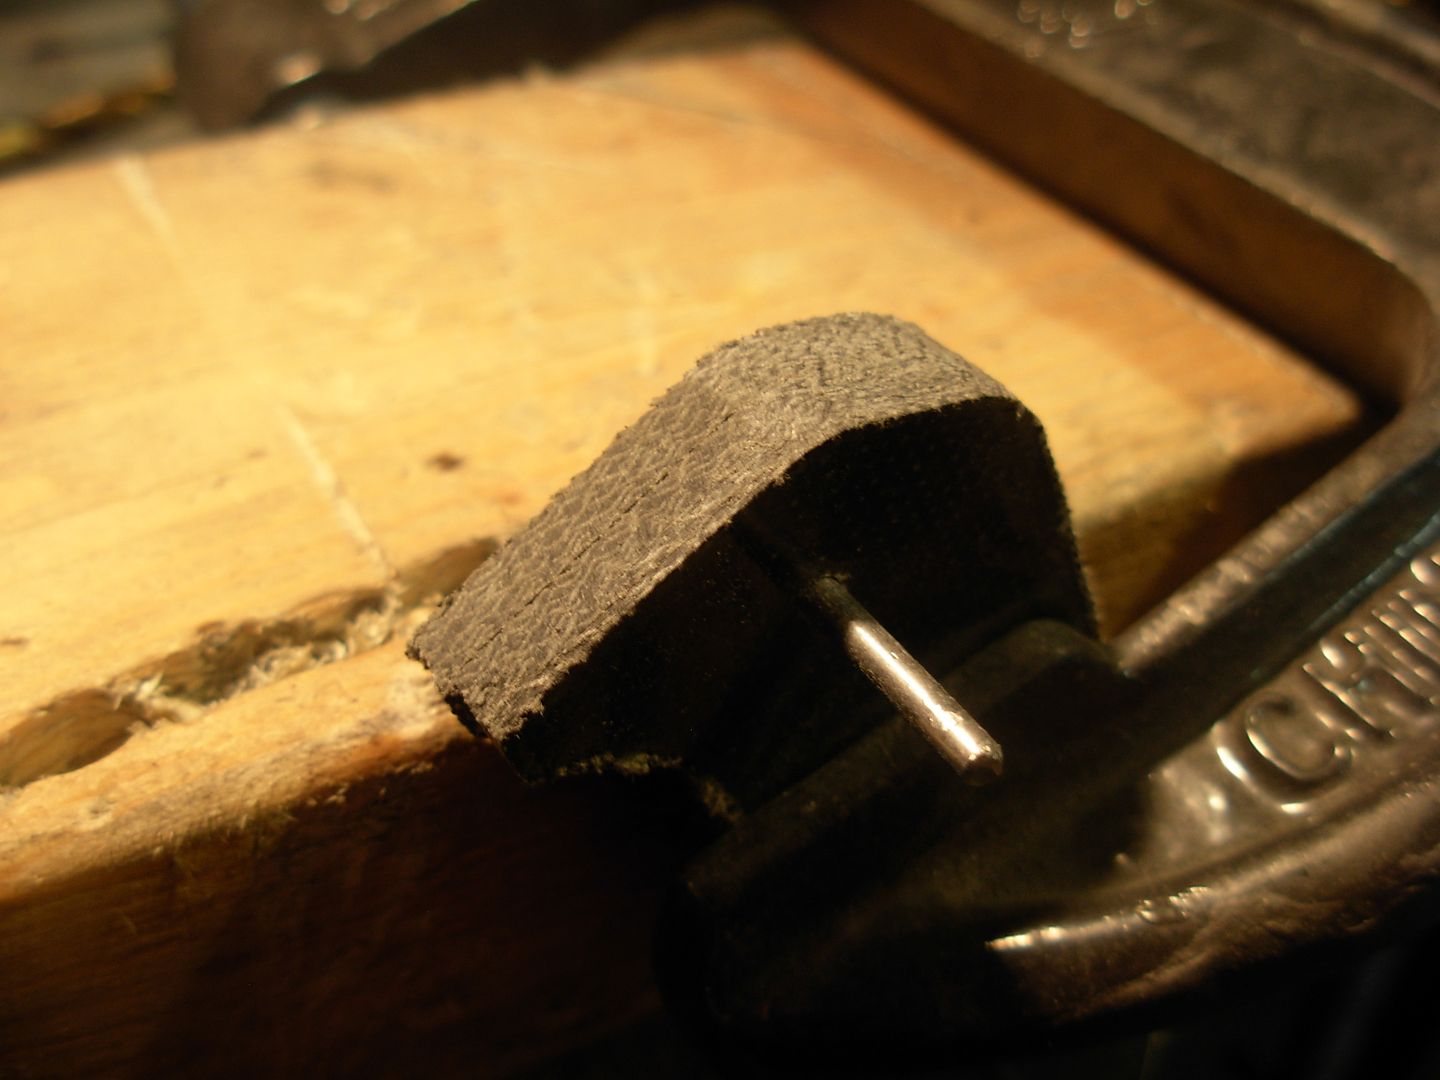
Now just hold your blade down and drill the first pin hole through the handle material.
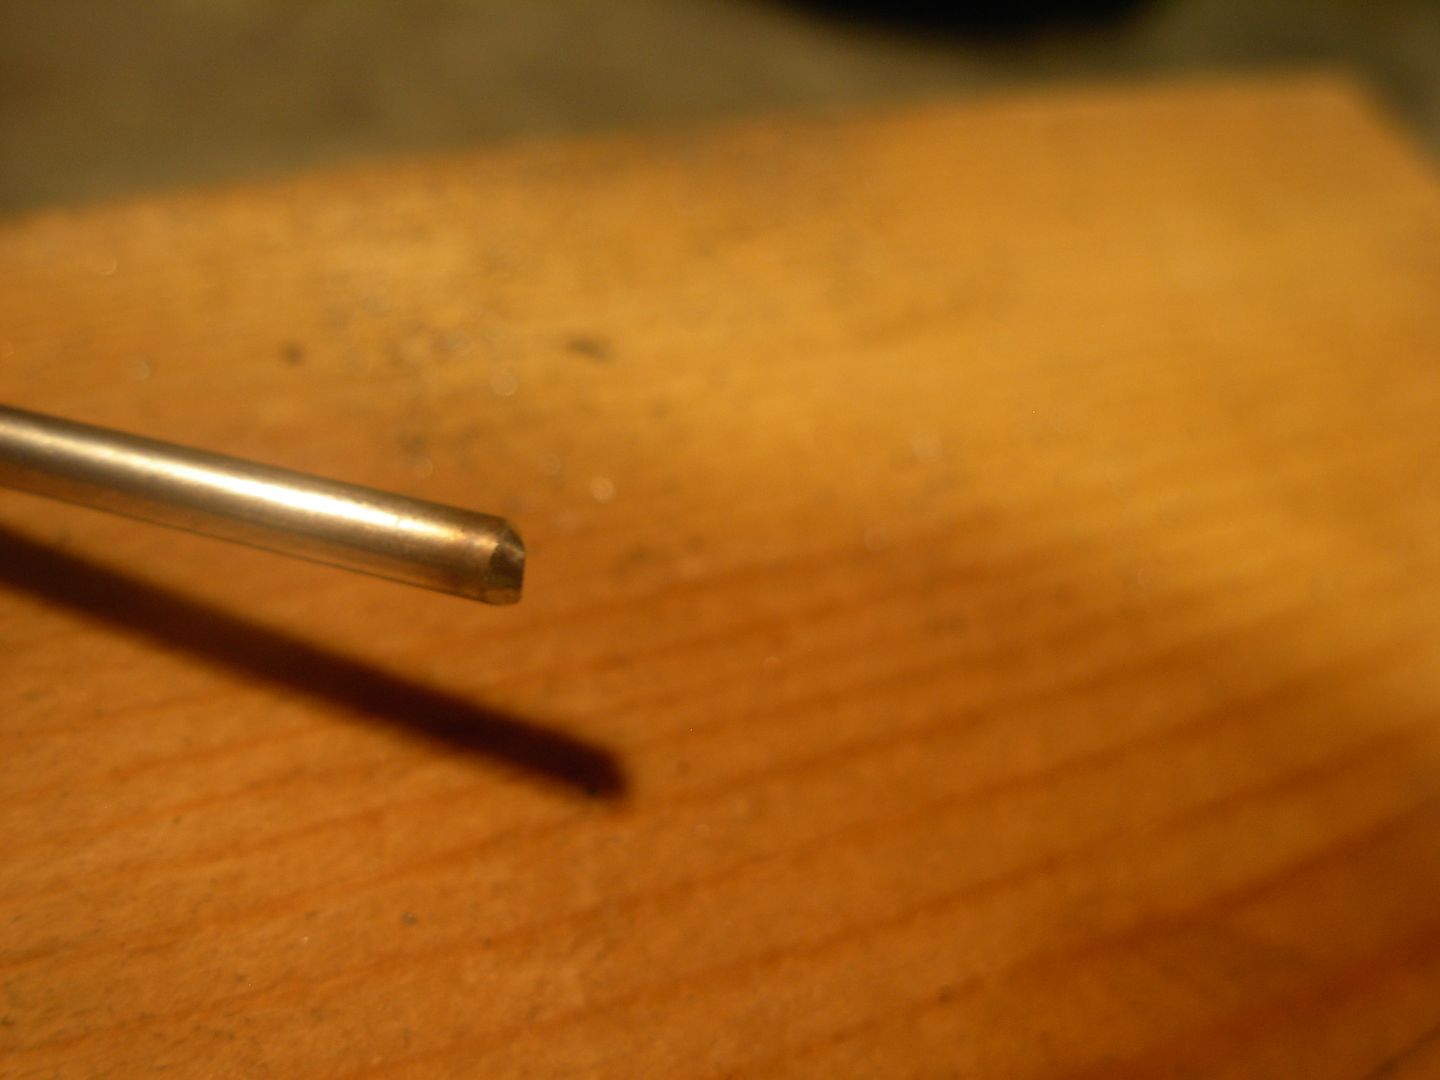
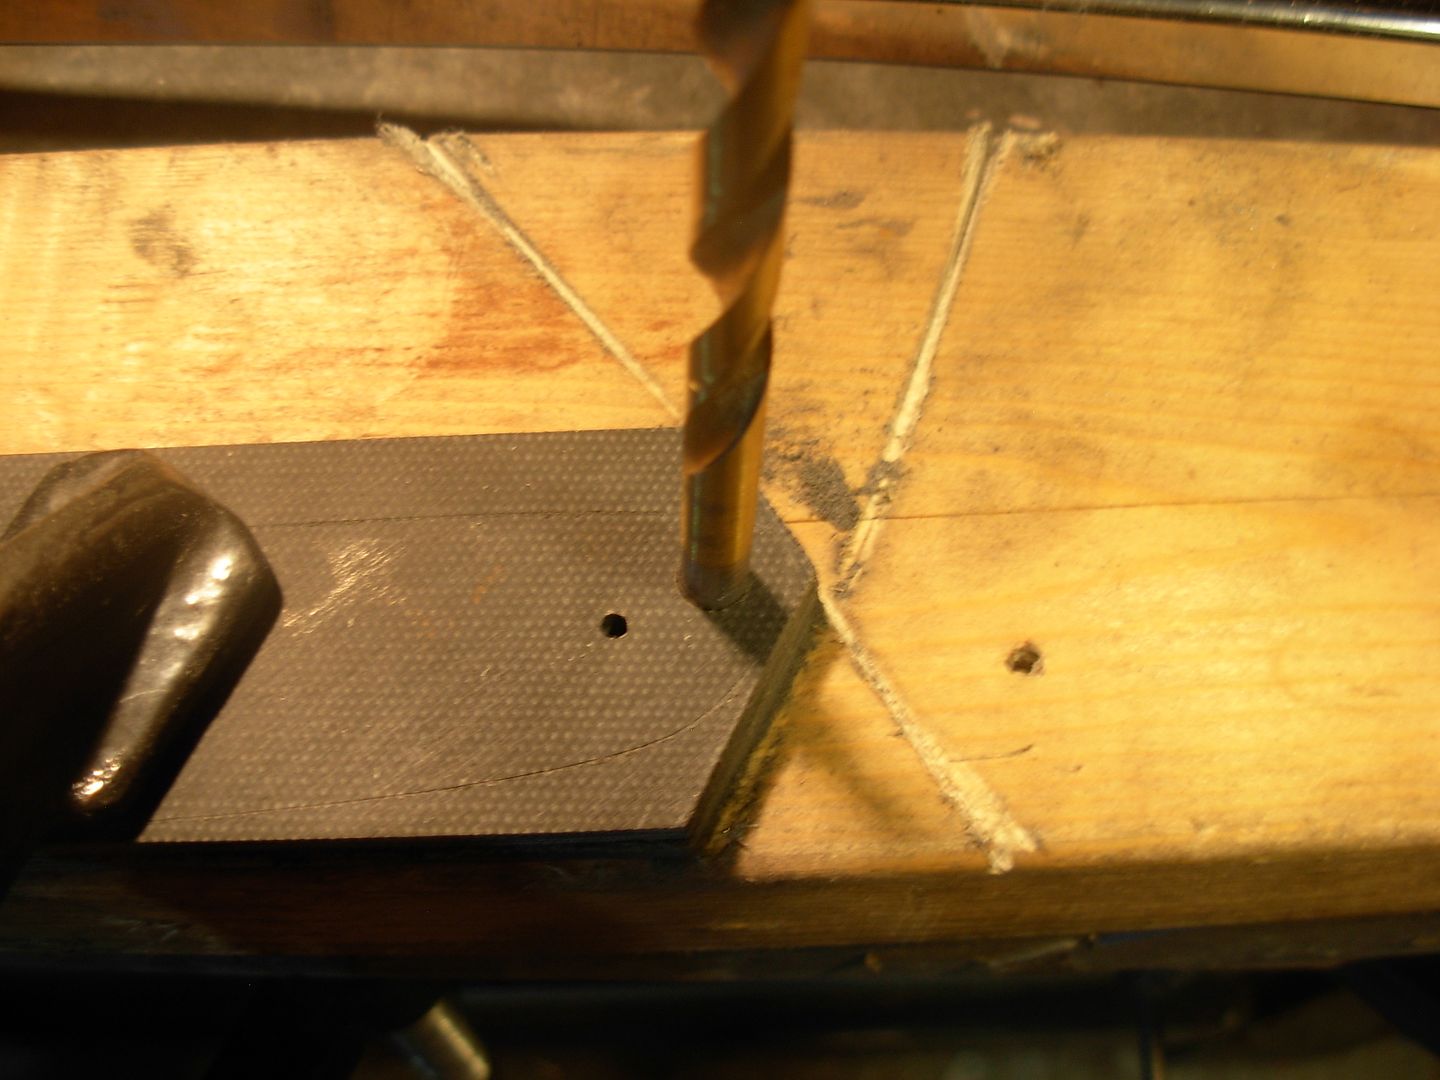
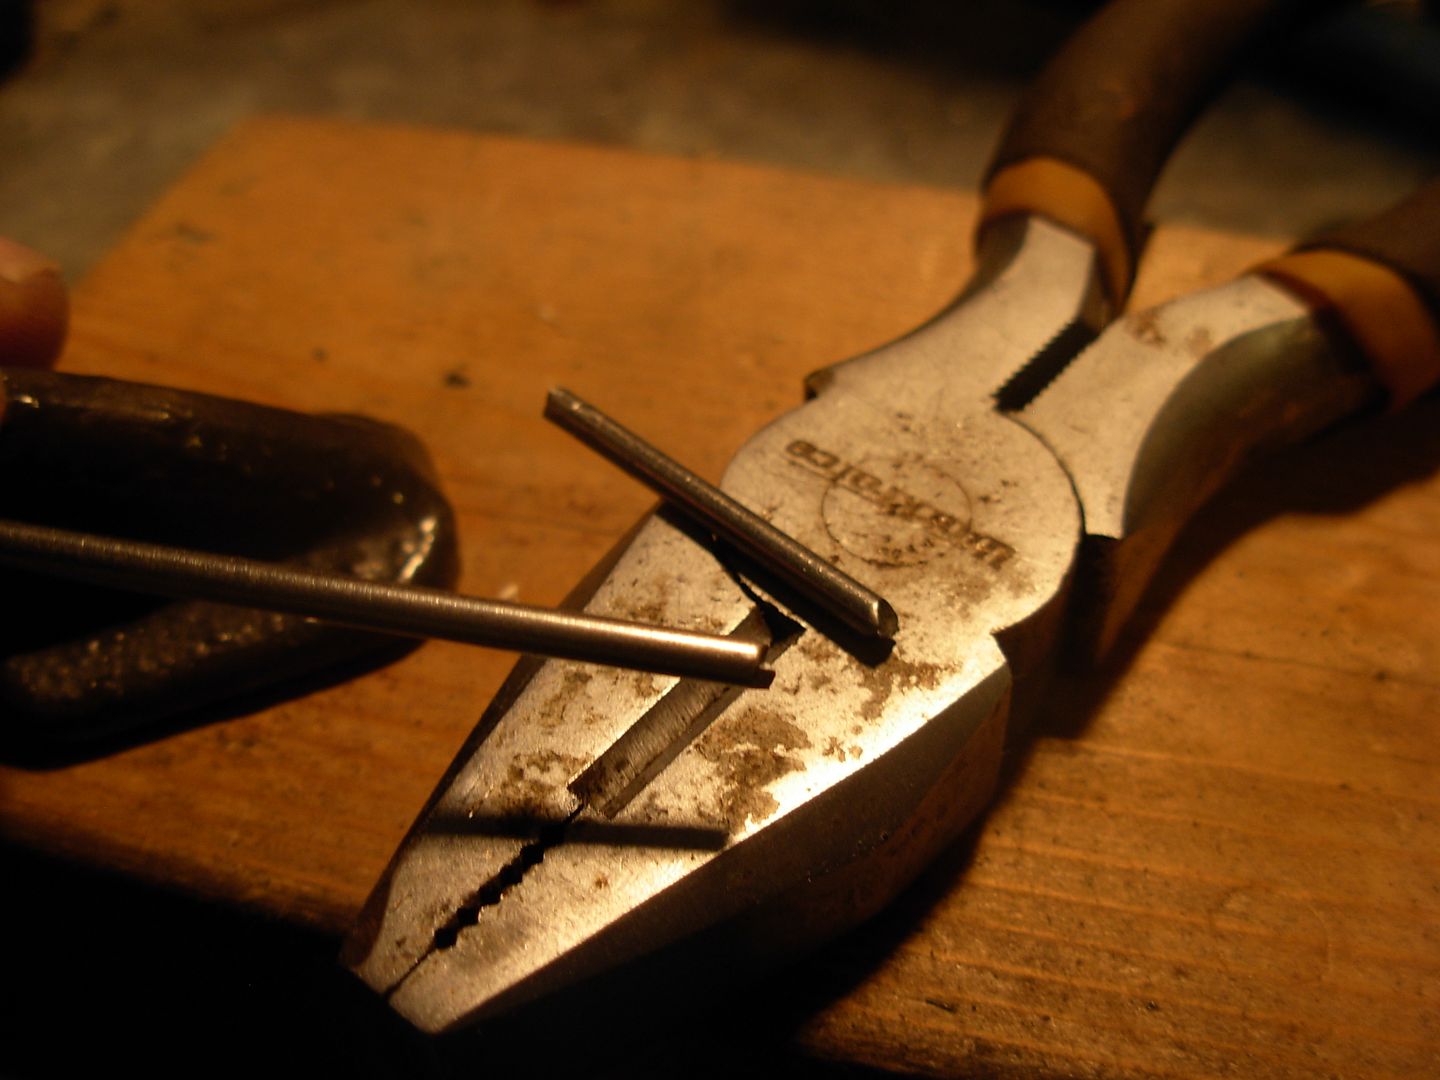
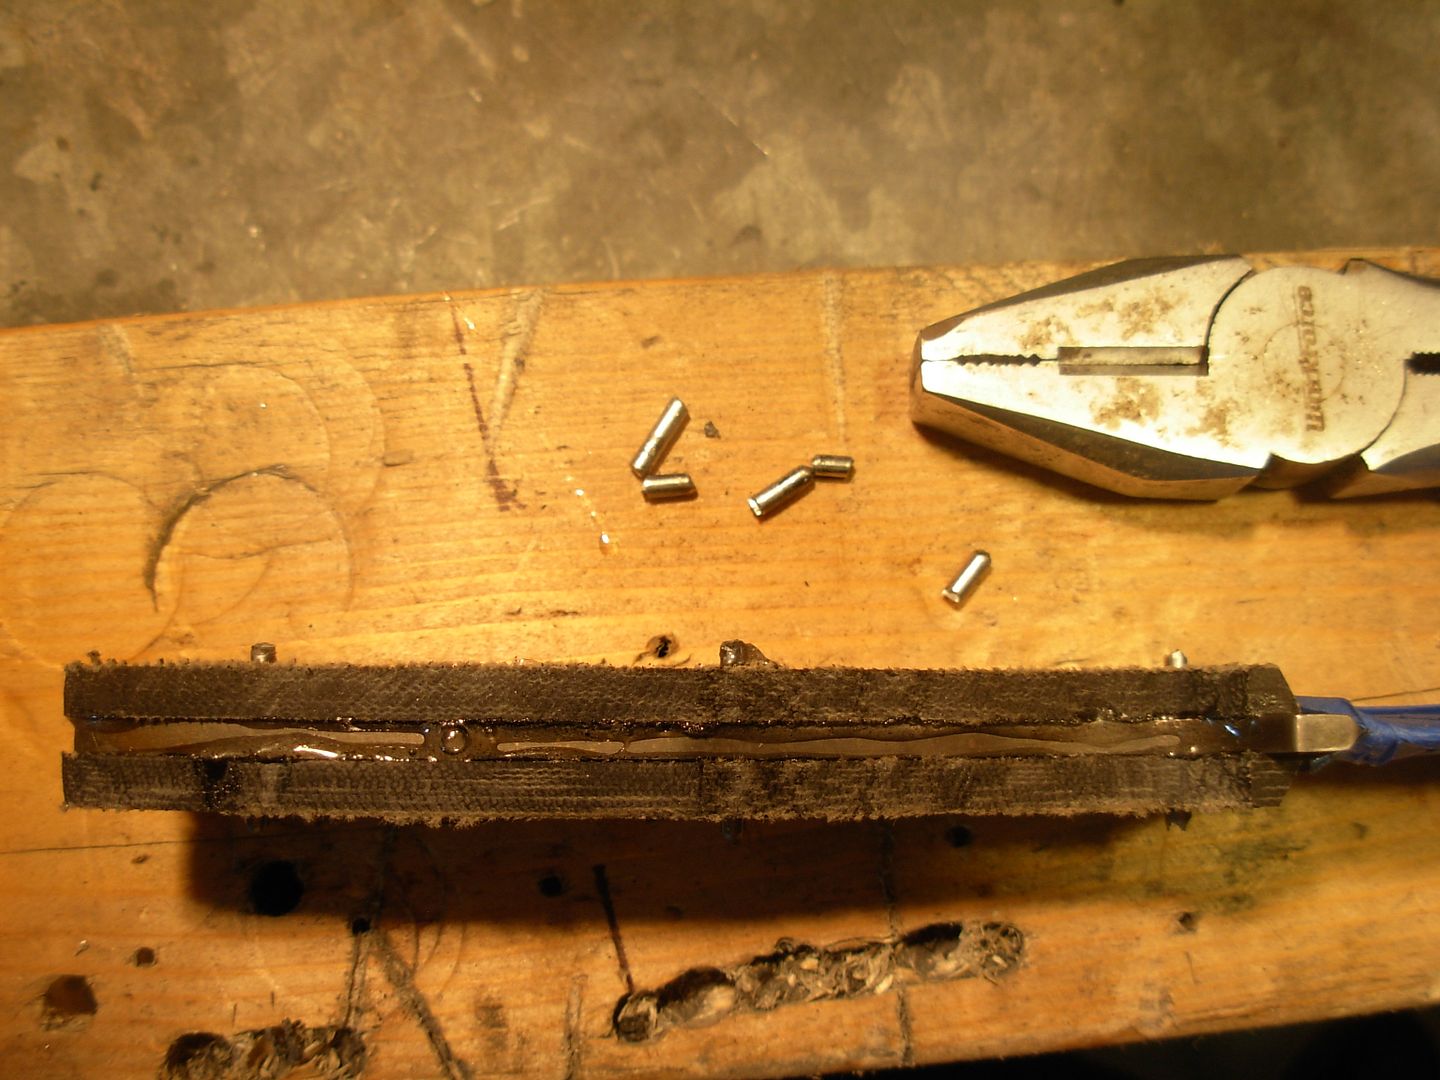
Cut pinstock will have a burr of sorts around the end from being cut. File a little chamfer around the end of your pinstock so it'll fit in the holes we're drilling. We don't need perfection just be sure to remove ALL of the burr.
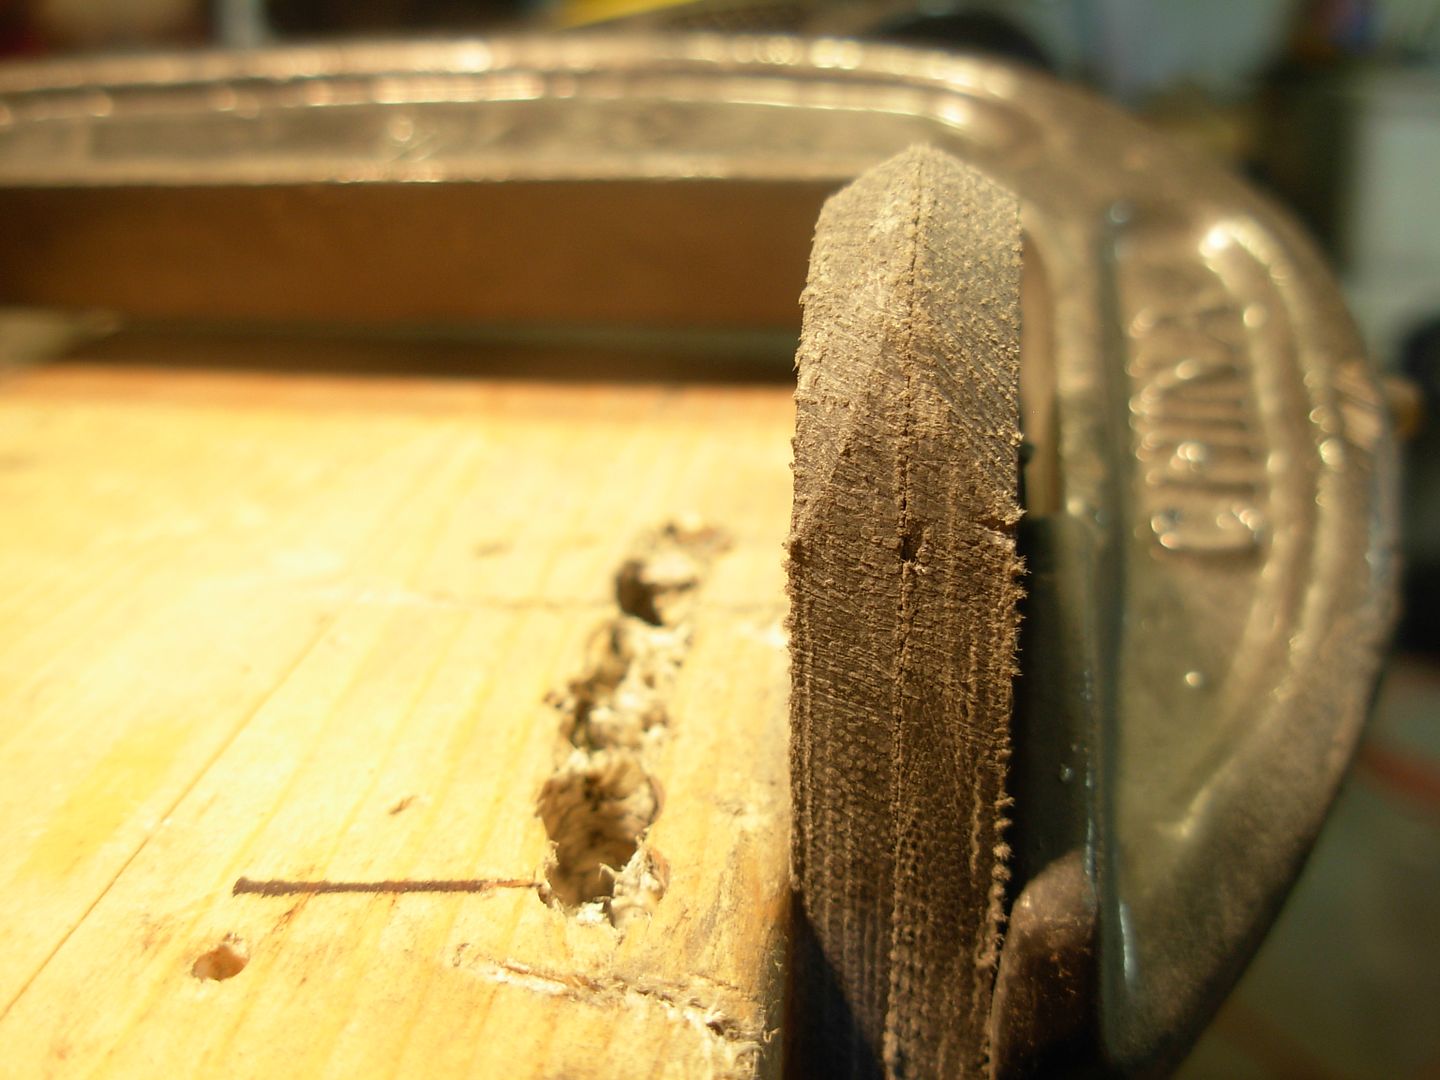
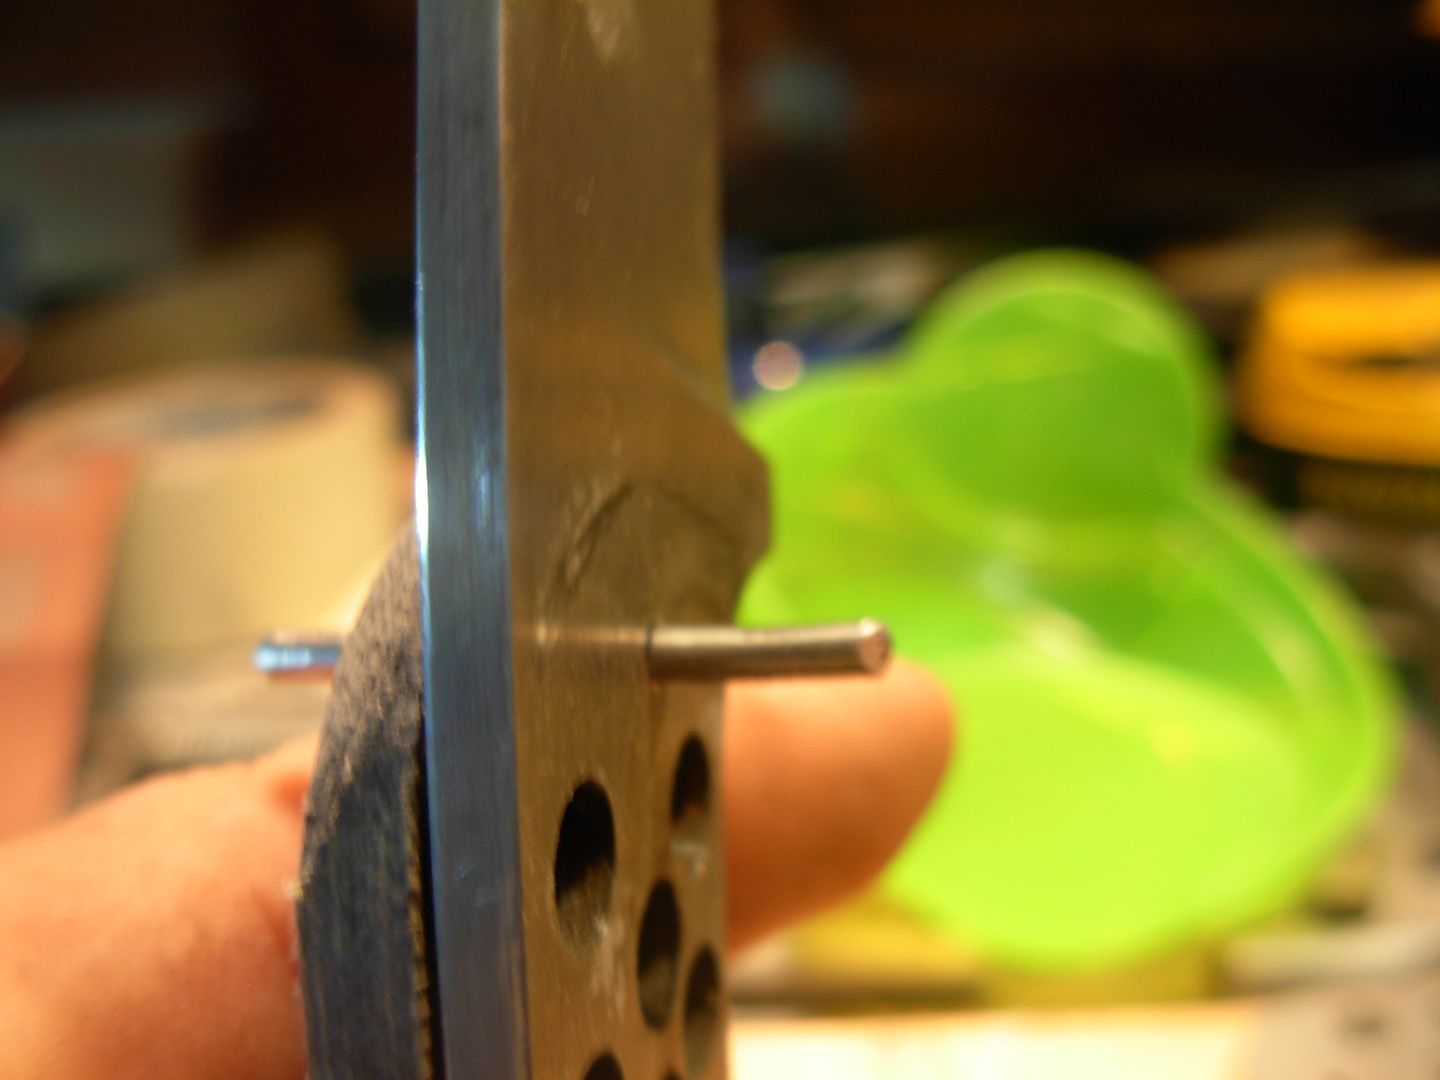
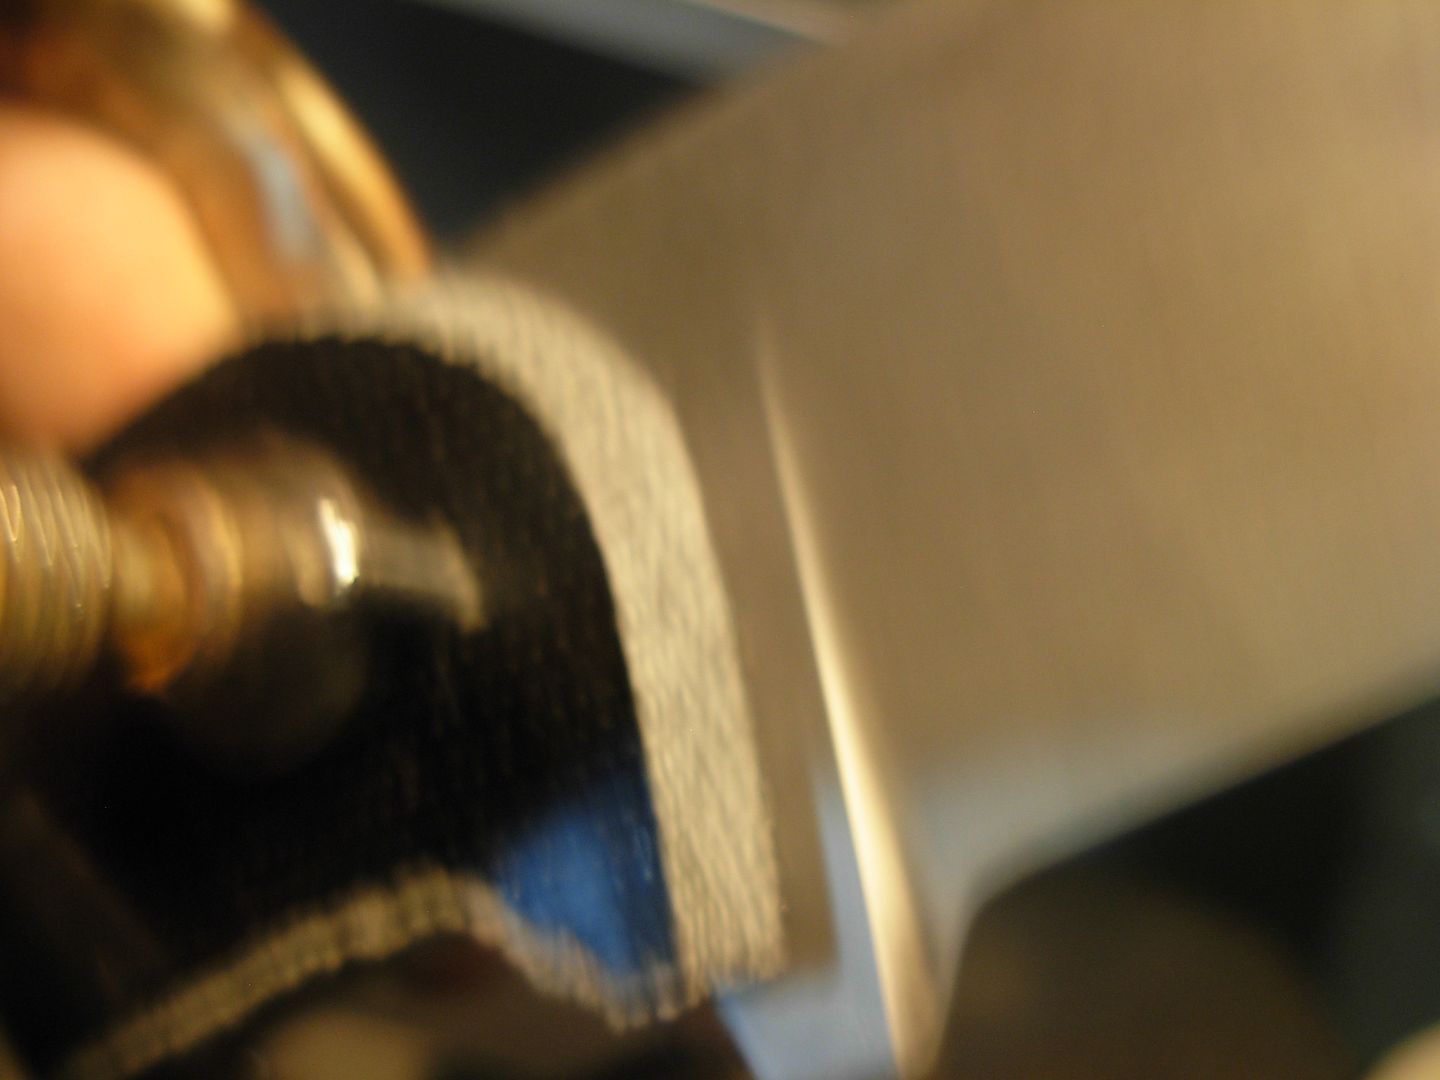
Now insert the de-burred pinstock into the first drilled hole, add a c-clamp, and drill the other two pin holes and the lanyard hole. The pin and the clamp will prevent any movement of the blade on the handle material while drilling. These holes MUST perfectly match the holes in the tang of the blade and ANY mis-allignment in the relationship between these 4 holes and the tang will result in scrapped handle material and starting over with a brand new scale. Use the pin and clamp and you'll have no trouble.
Also attempt to drill these holes as straight as possible, meaning perpendicular to the flat of the scale.
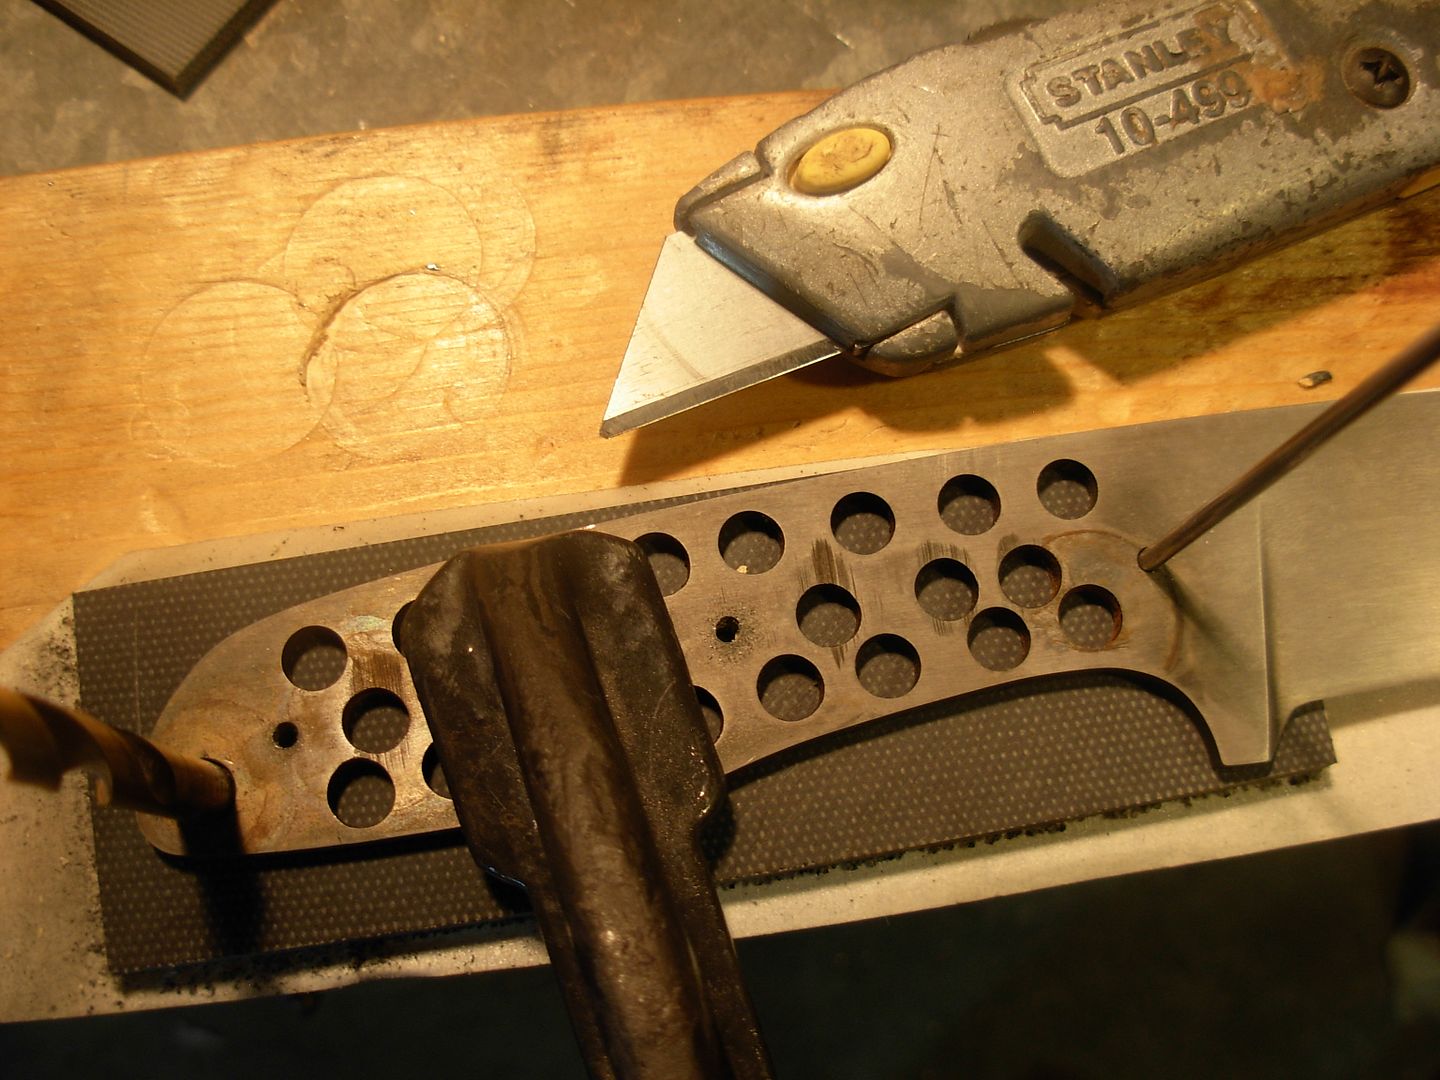
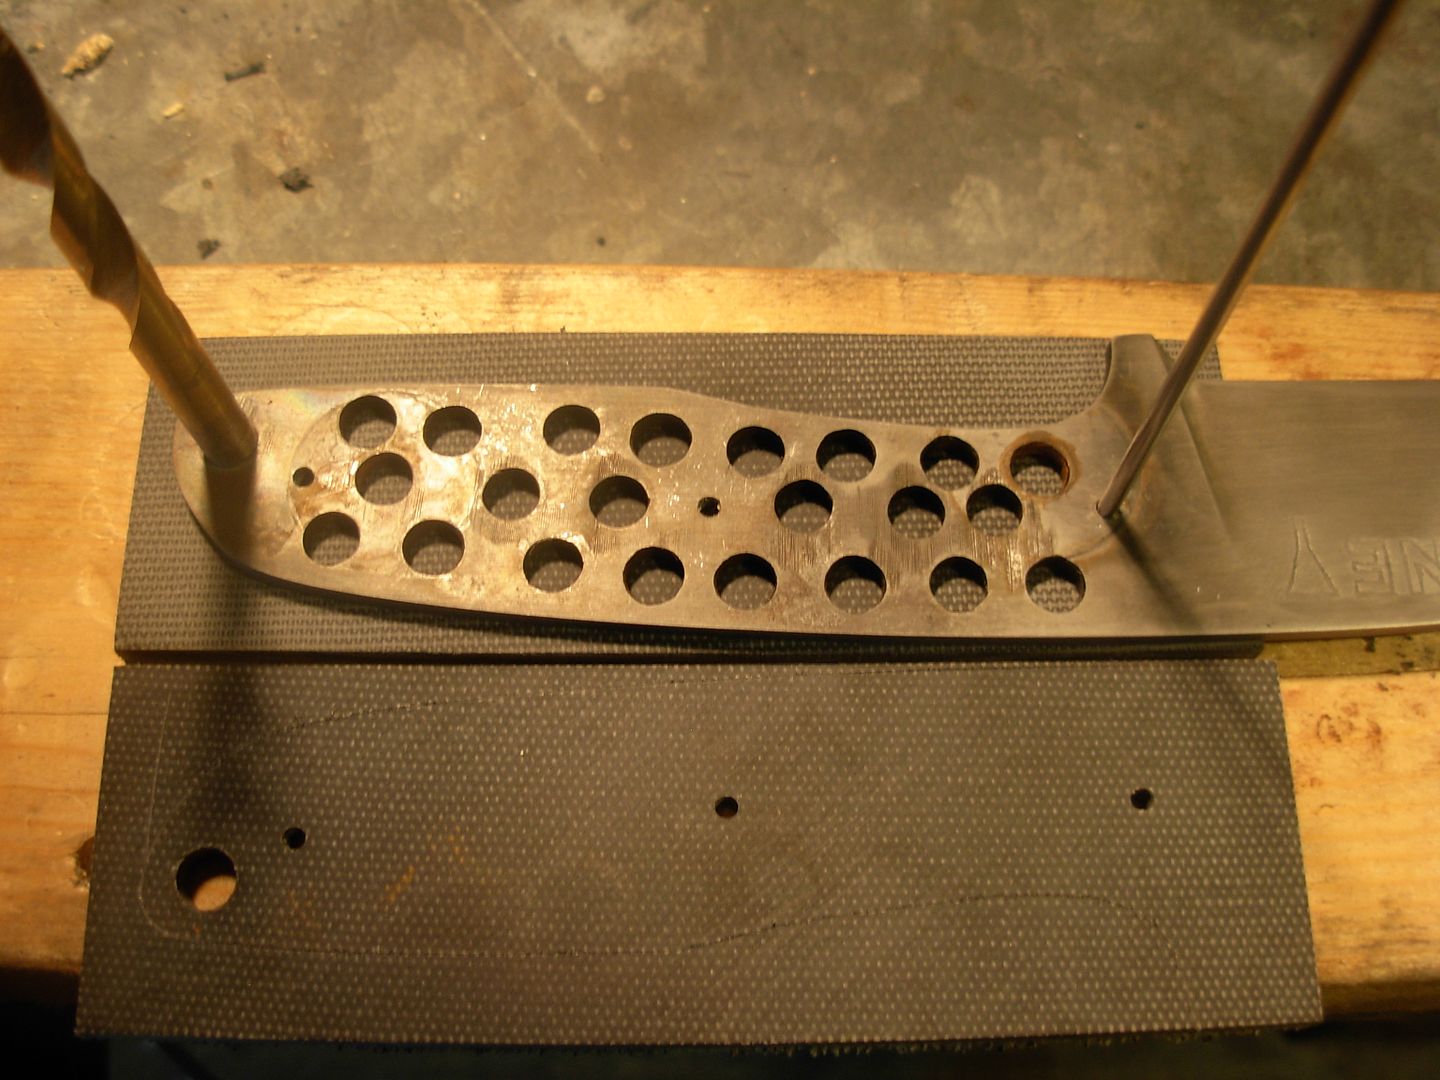
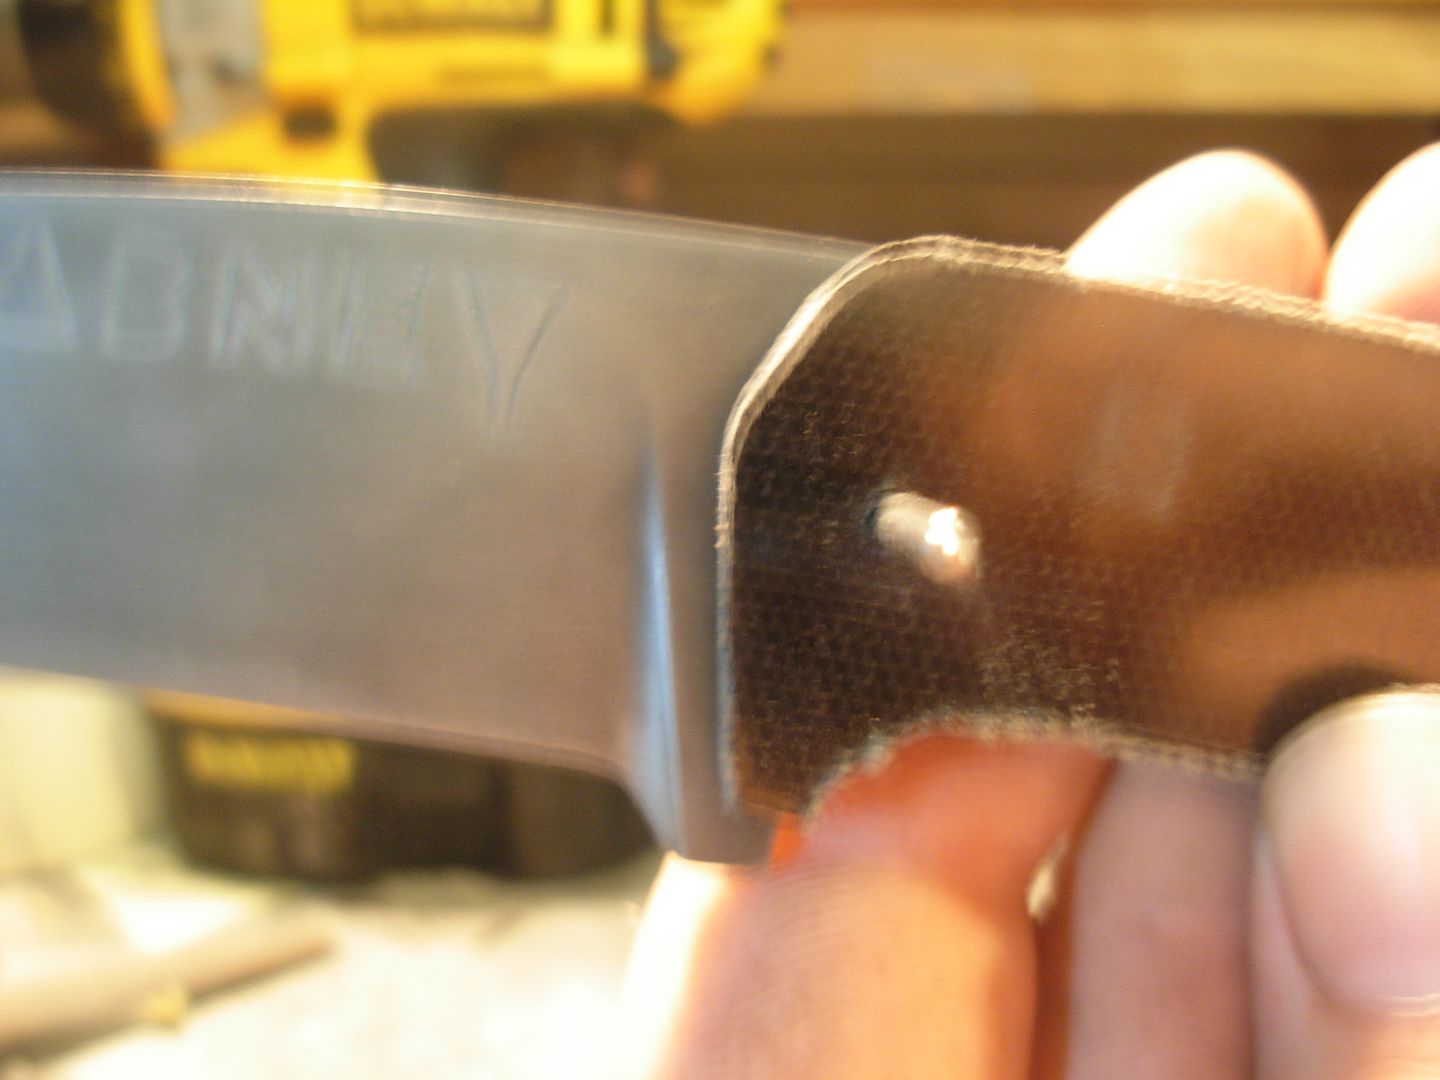
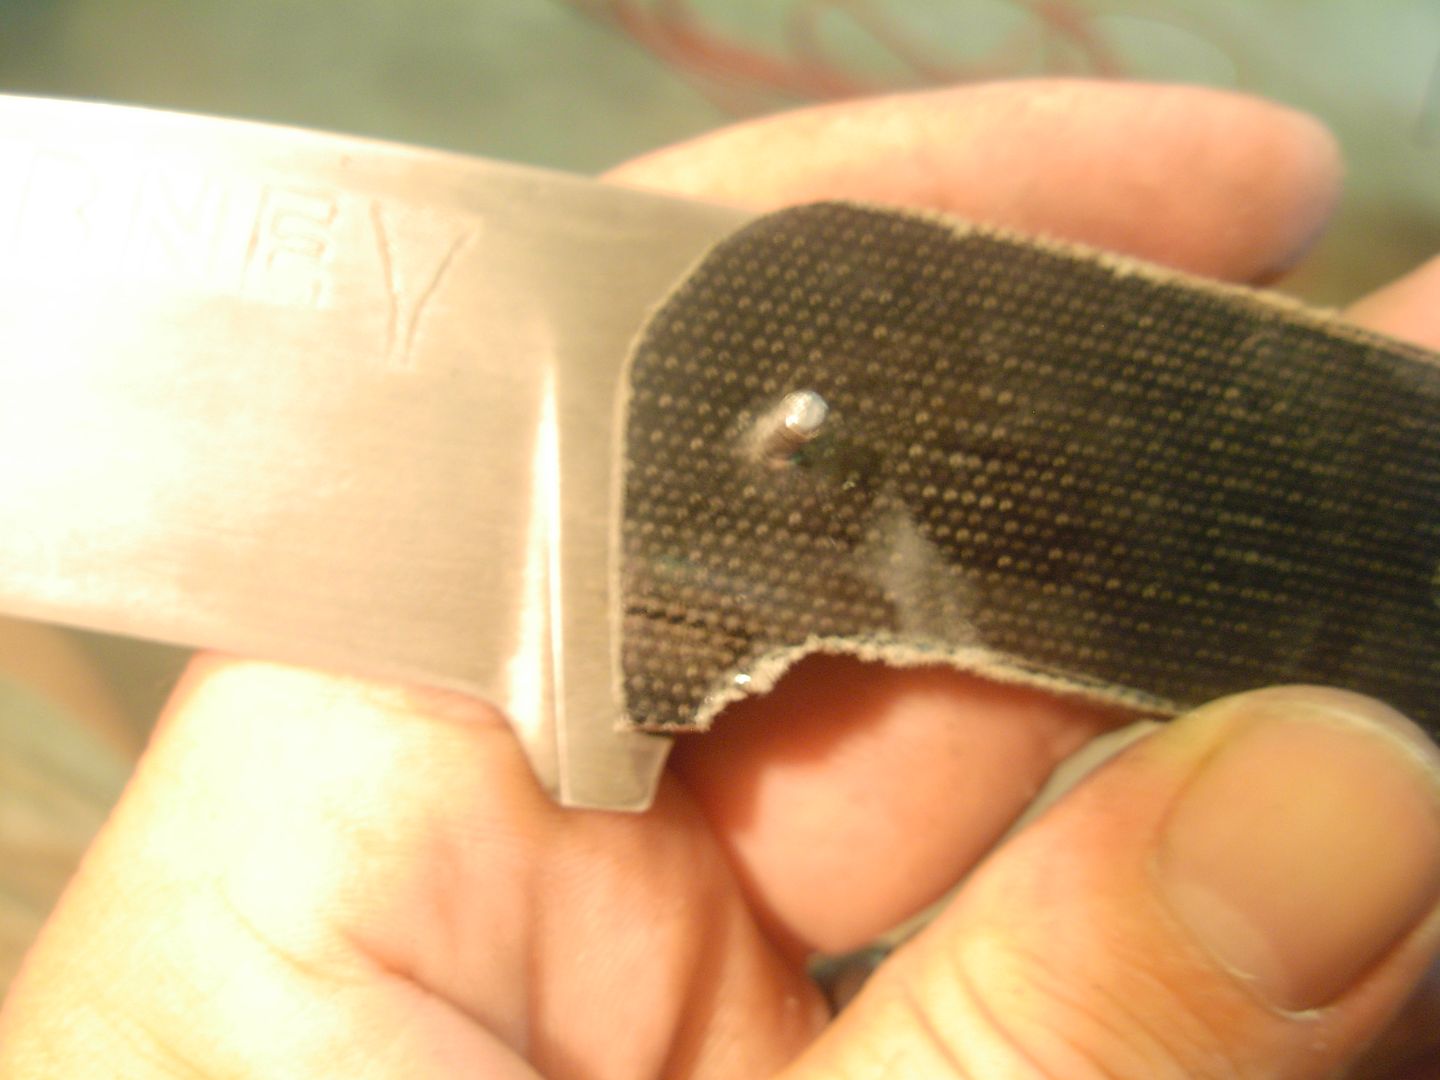
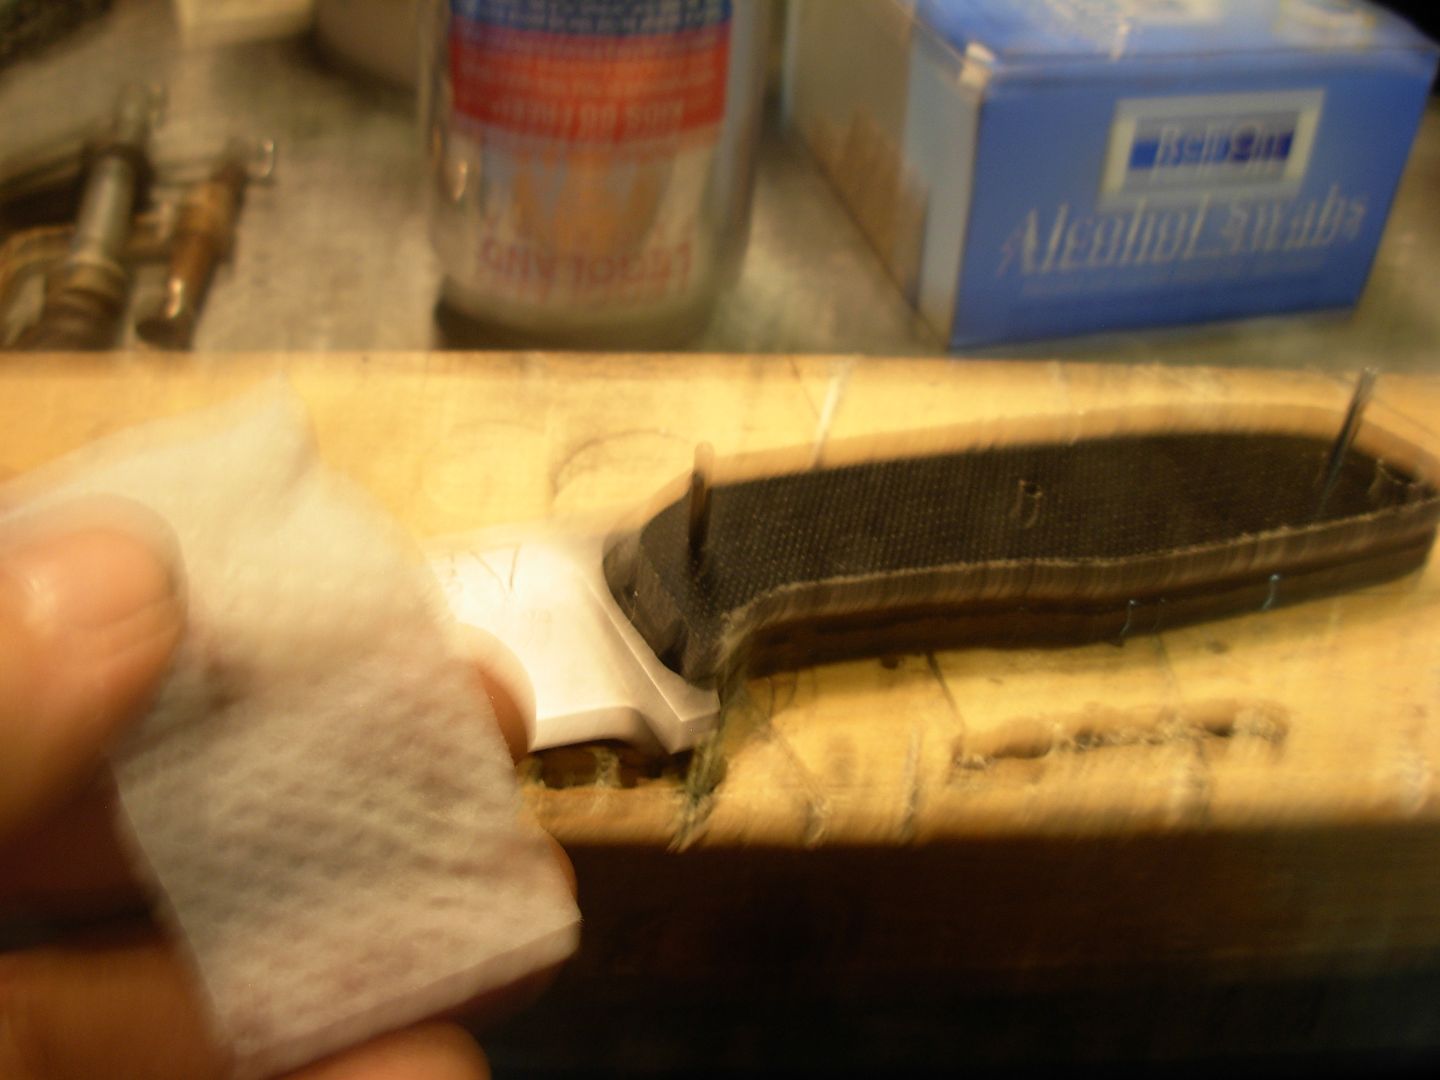
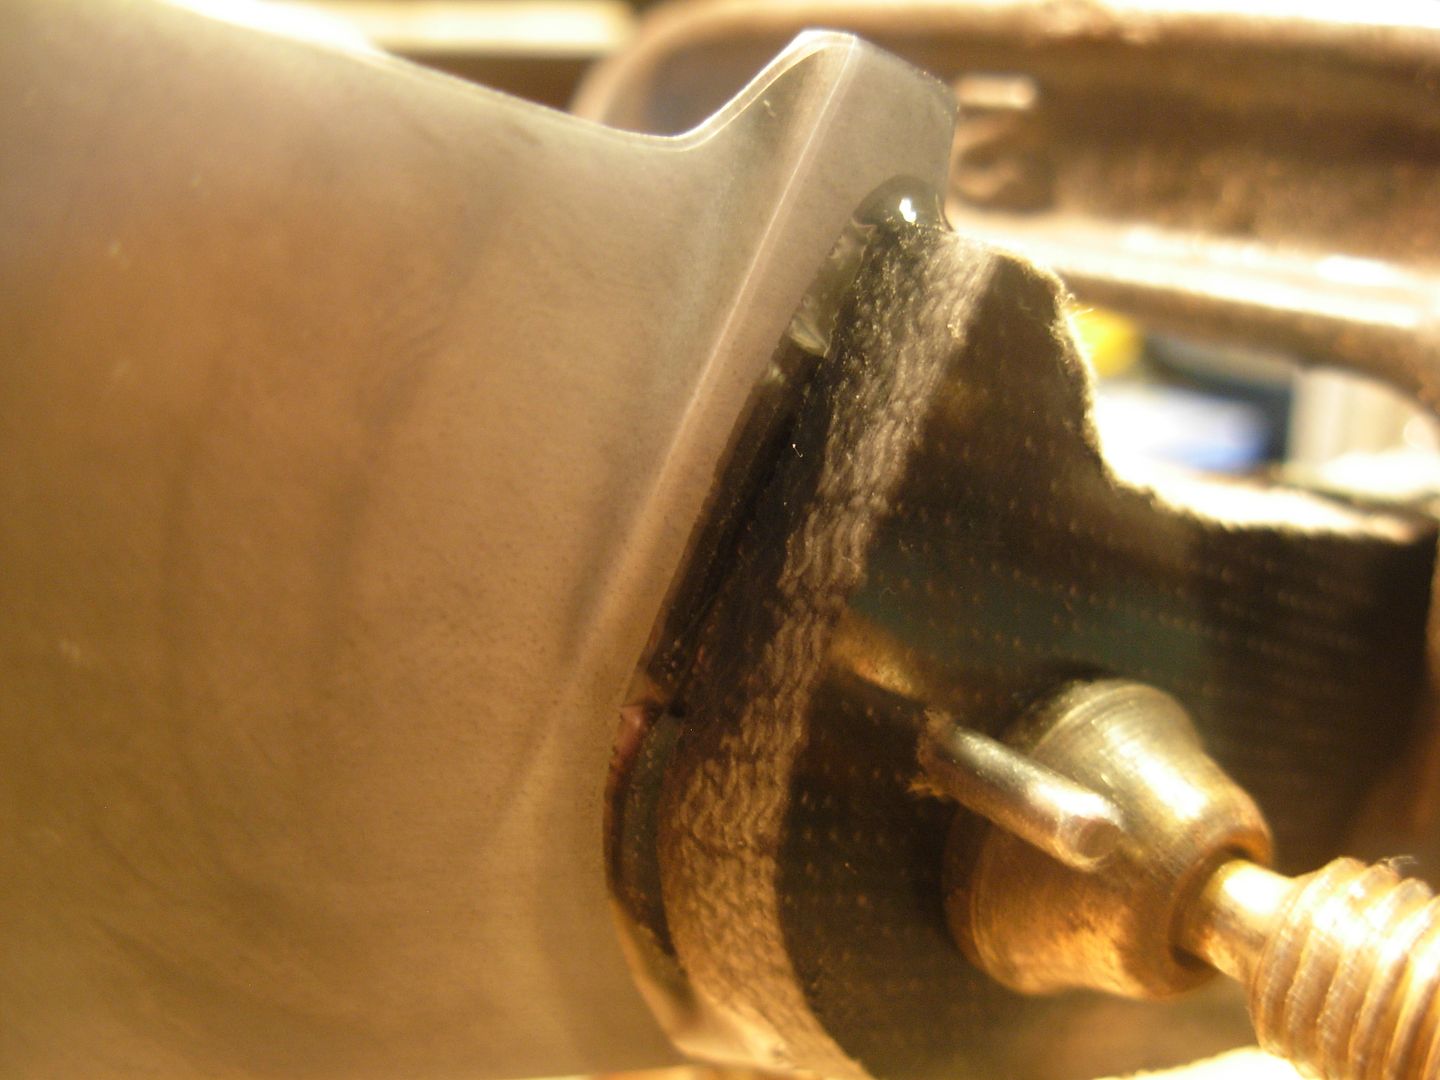
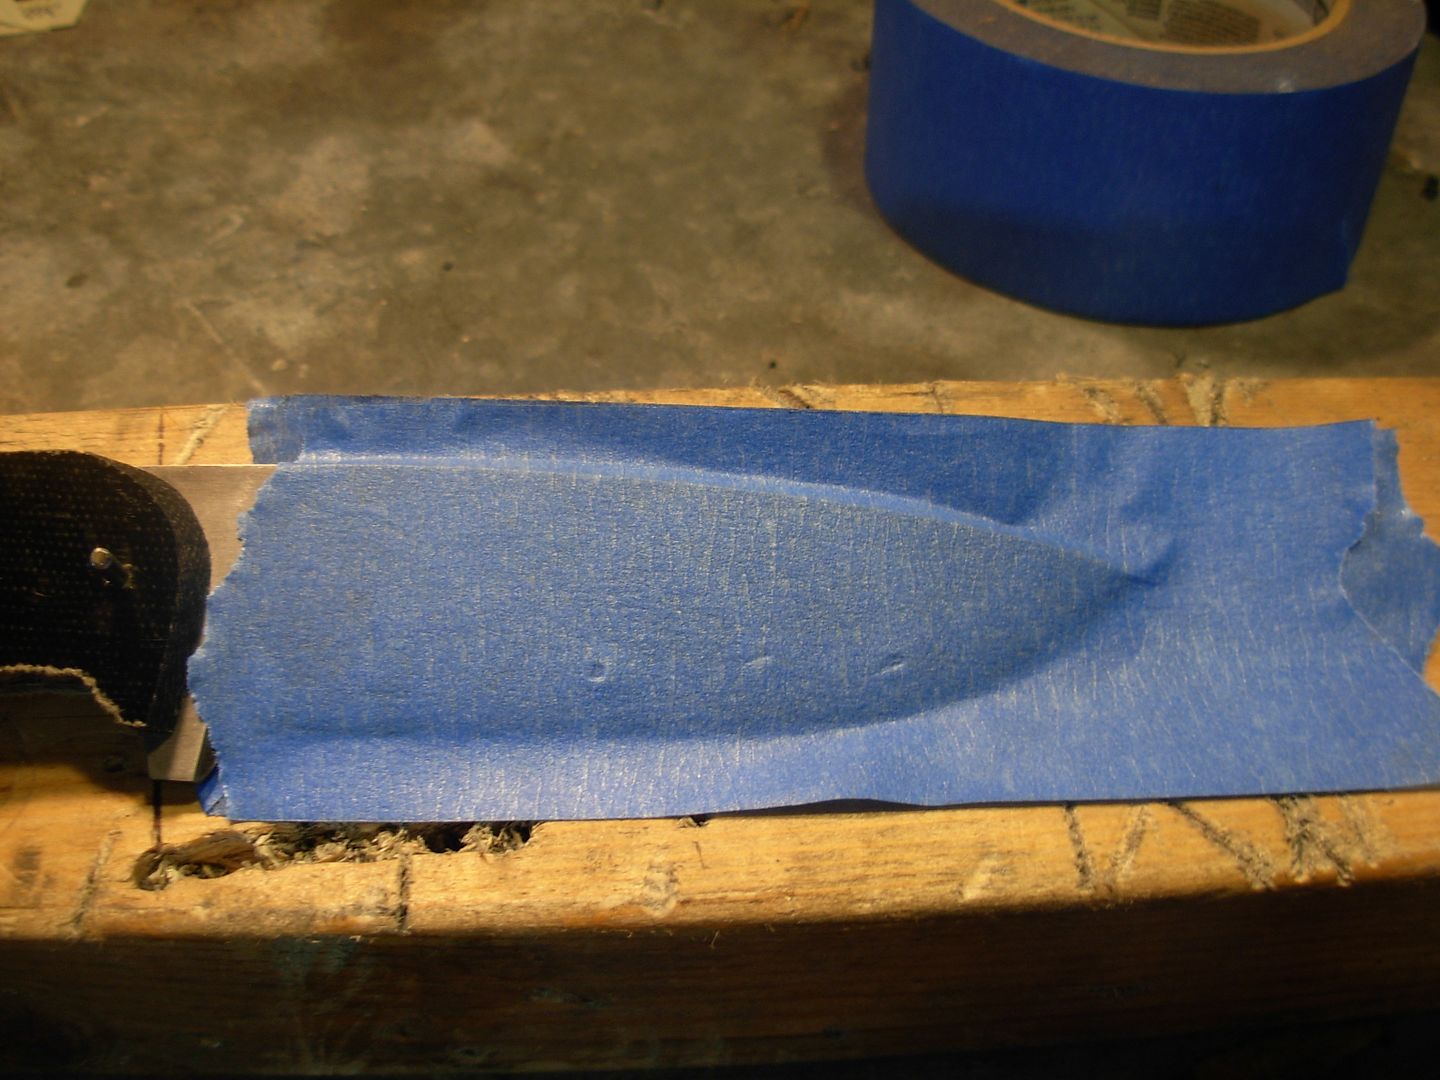
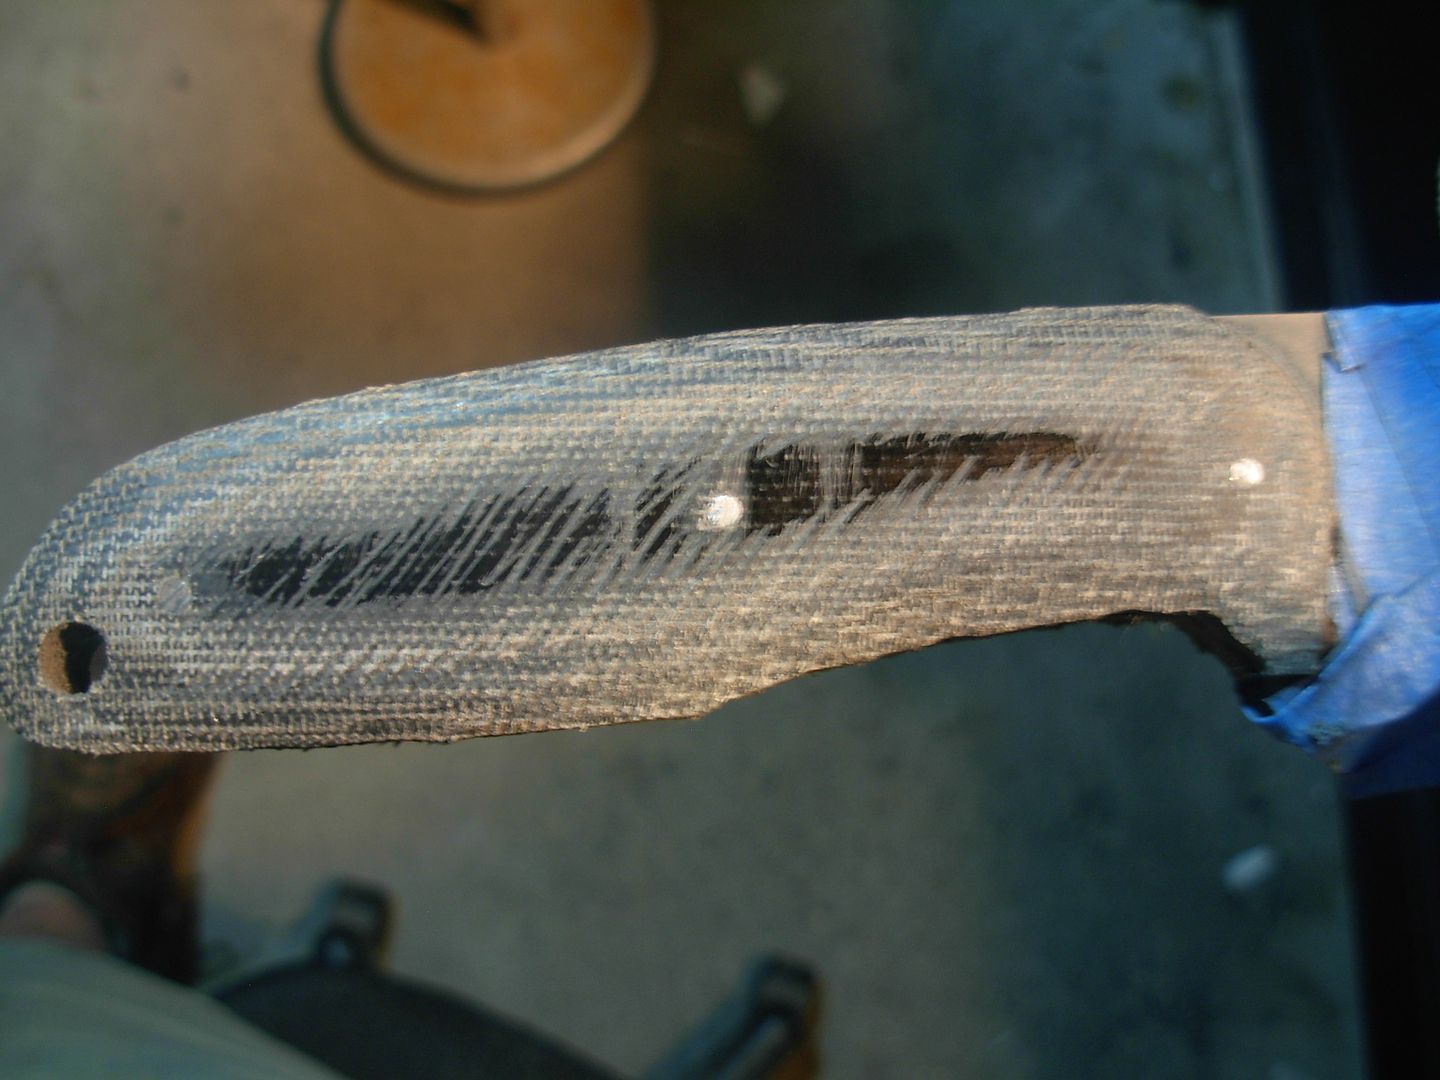
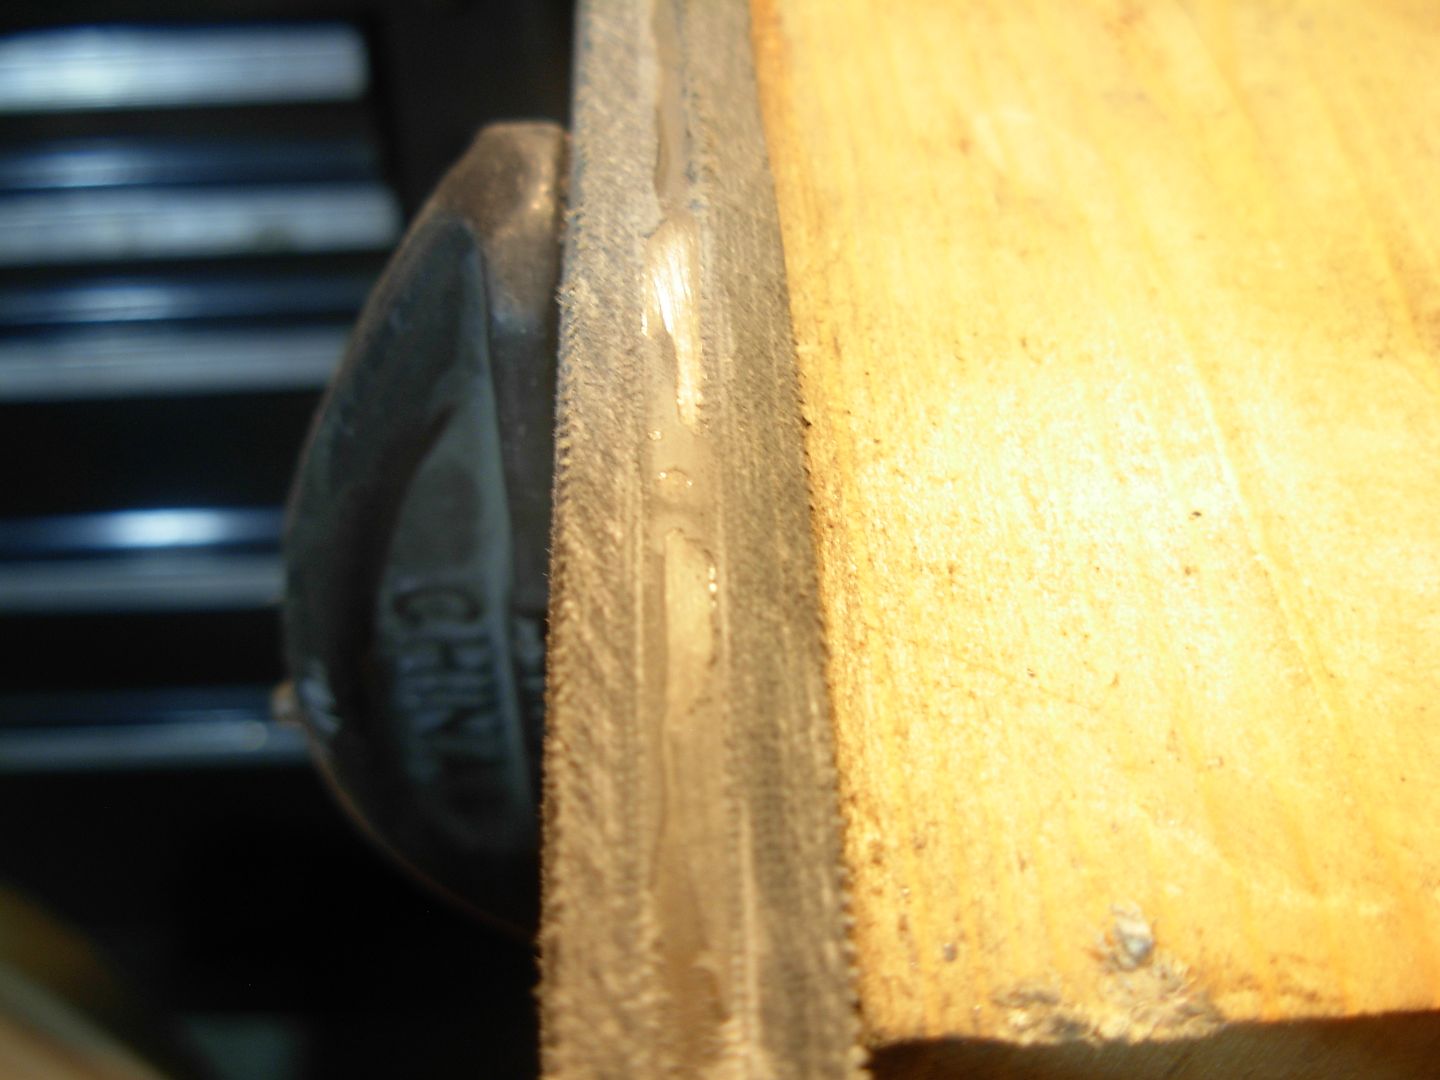
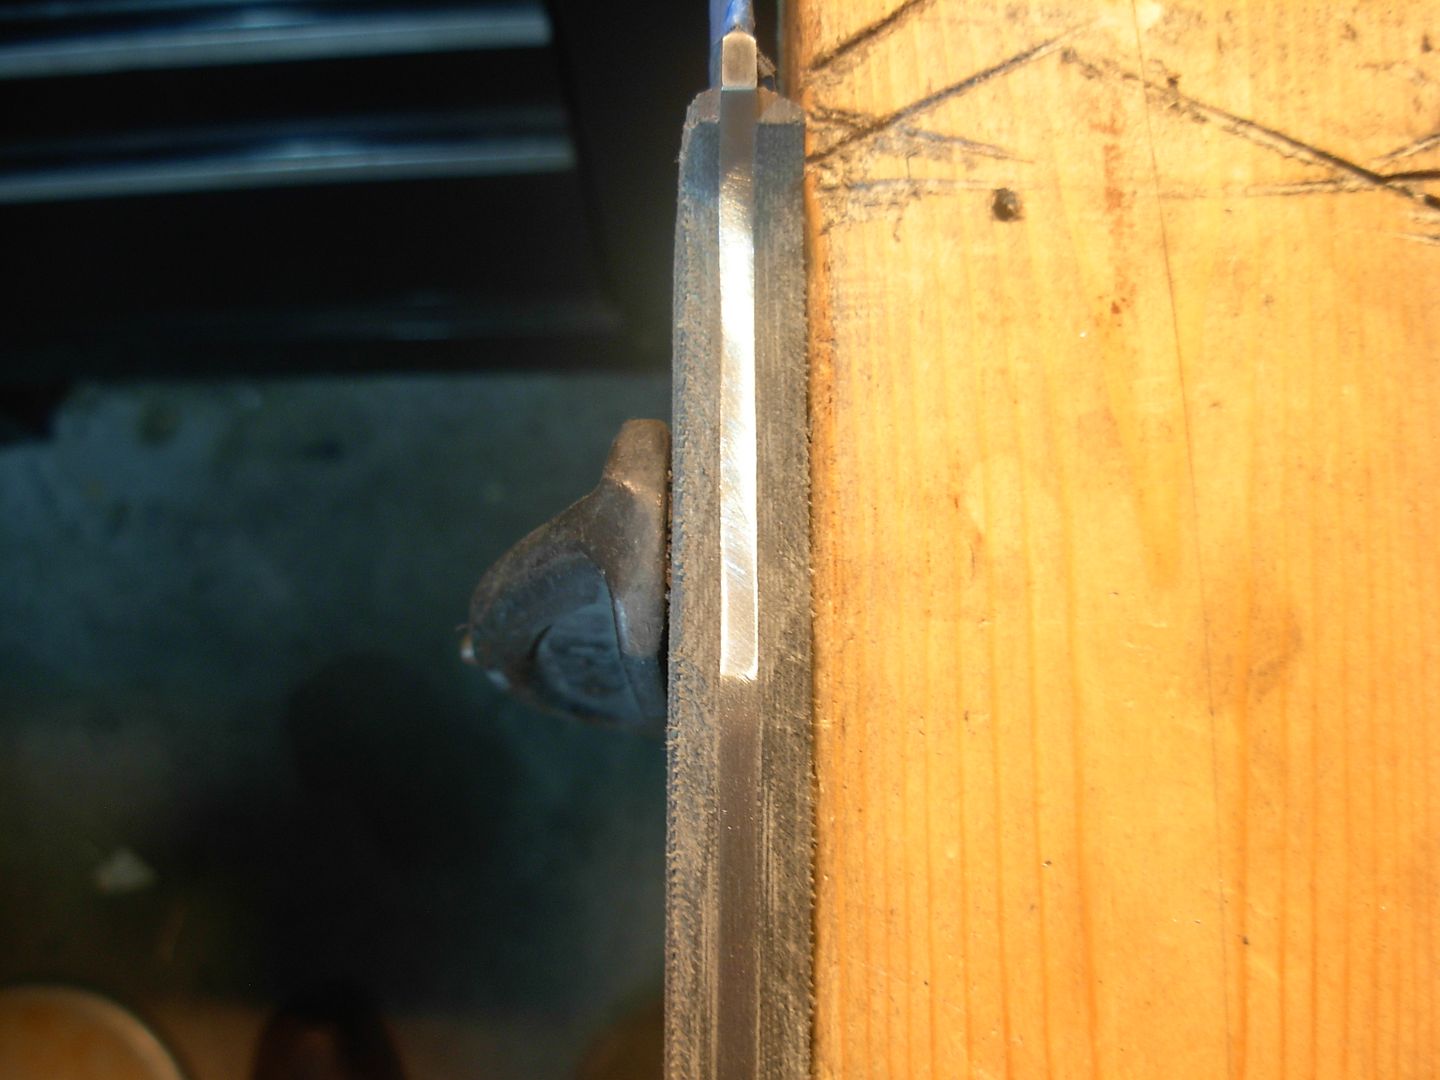
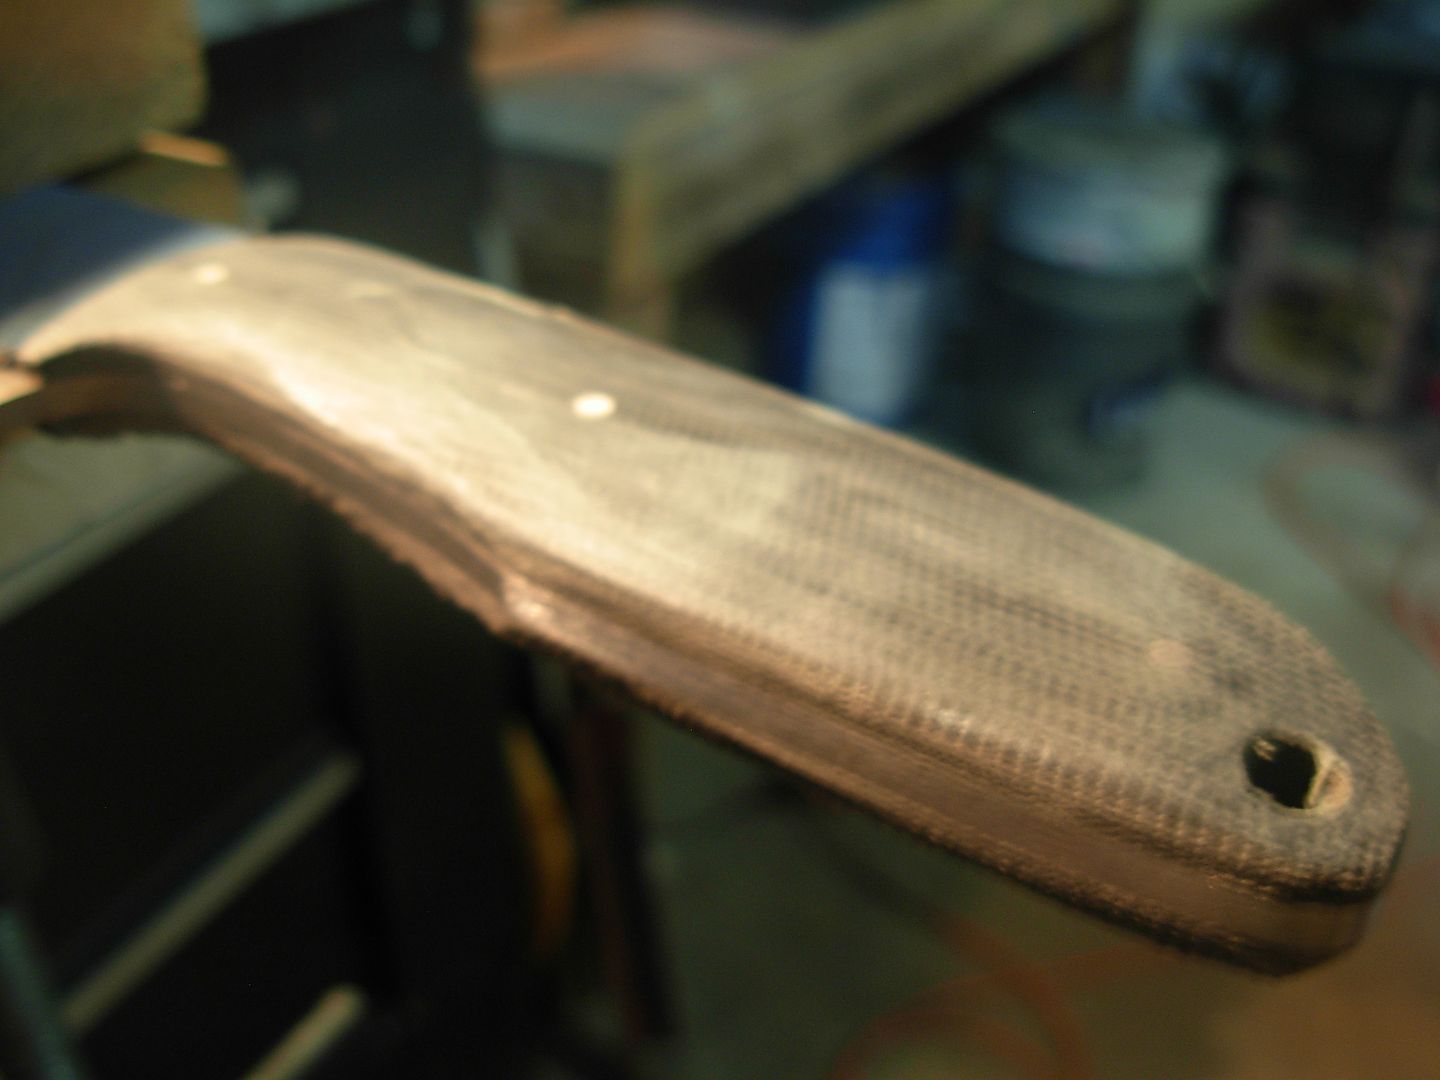
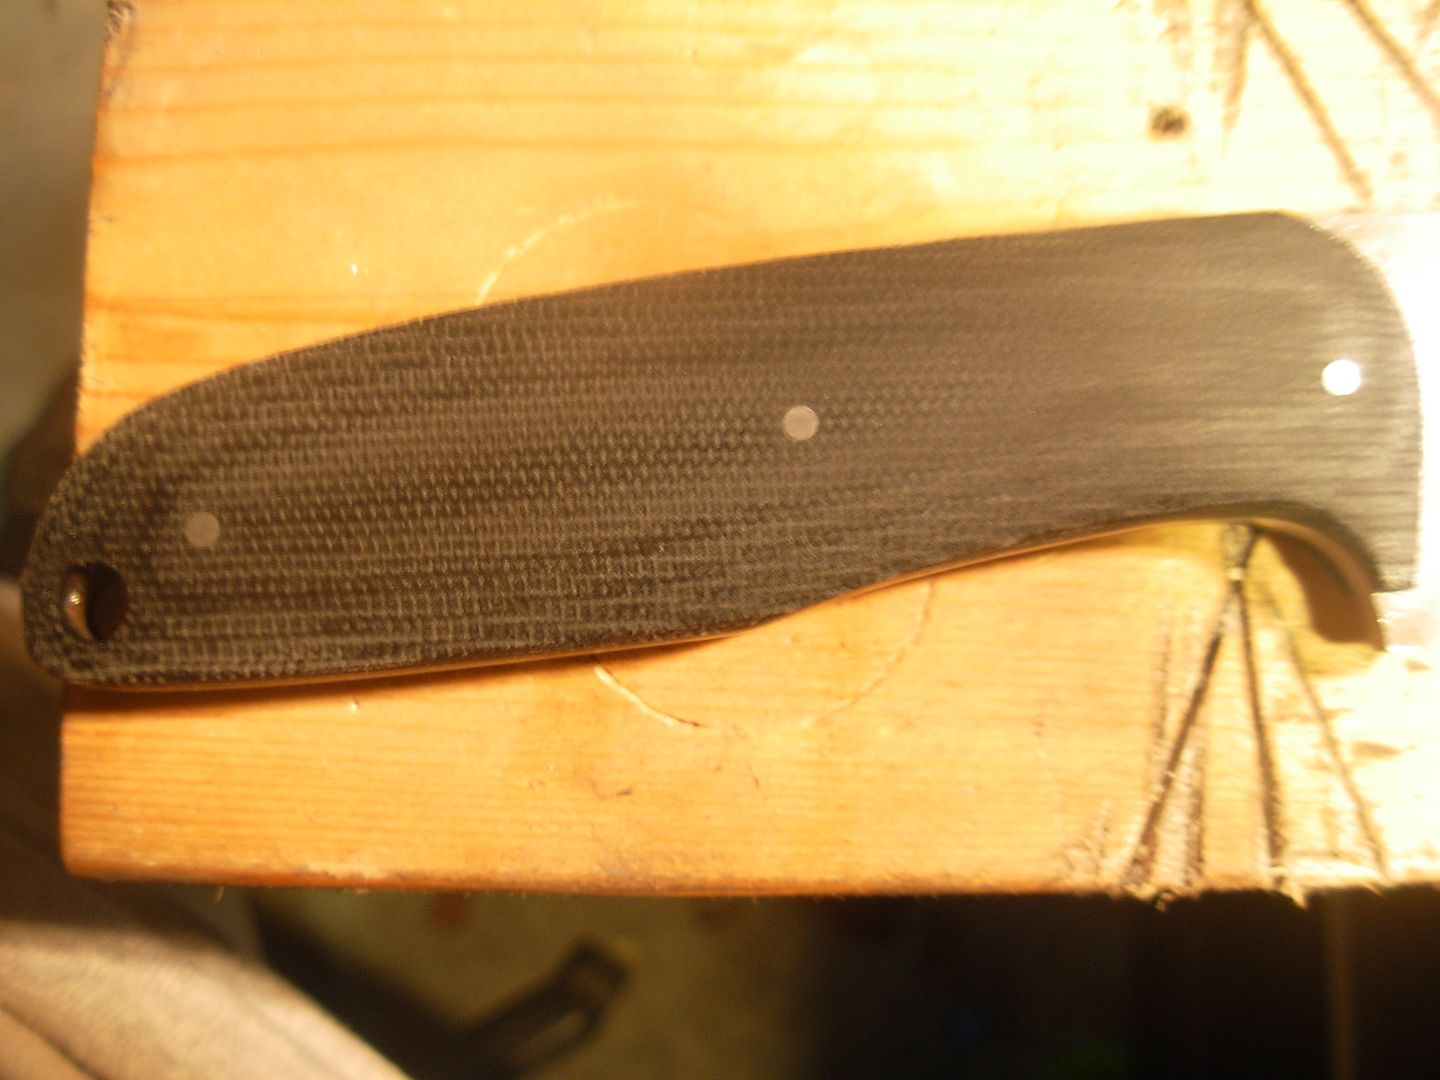
While I've got everything in place I scribe around the perimeter of the tang with a utility knife. We want a PERMANENT scribed line here !
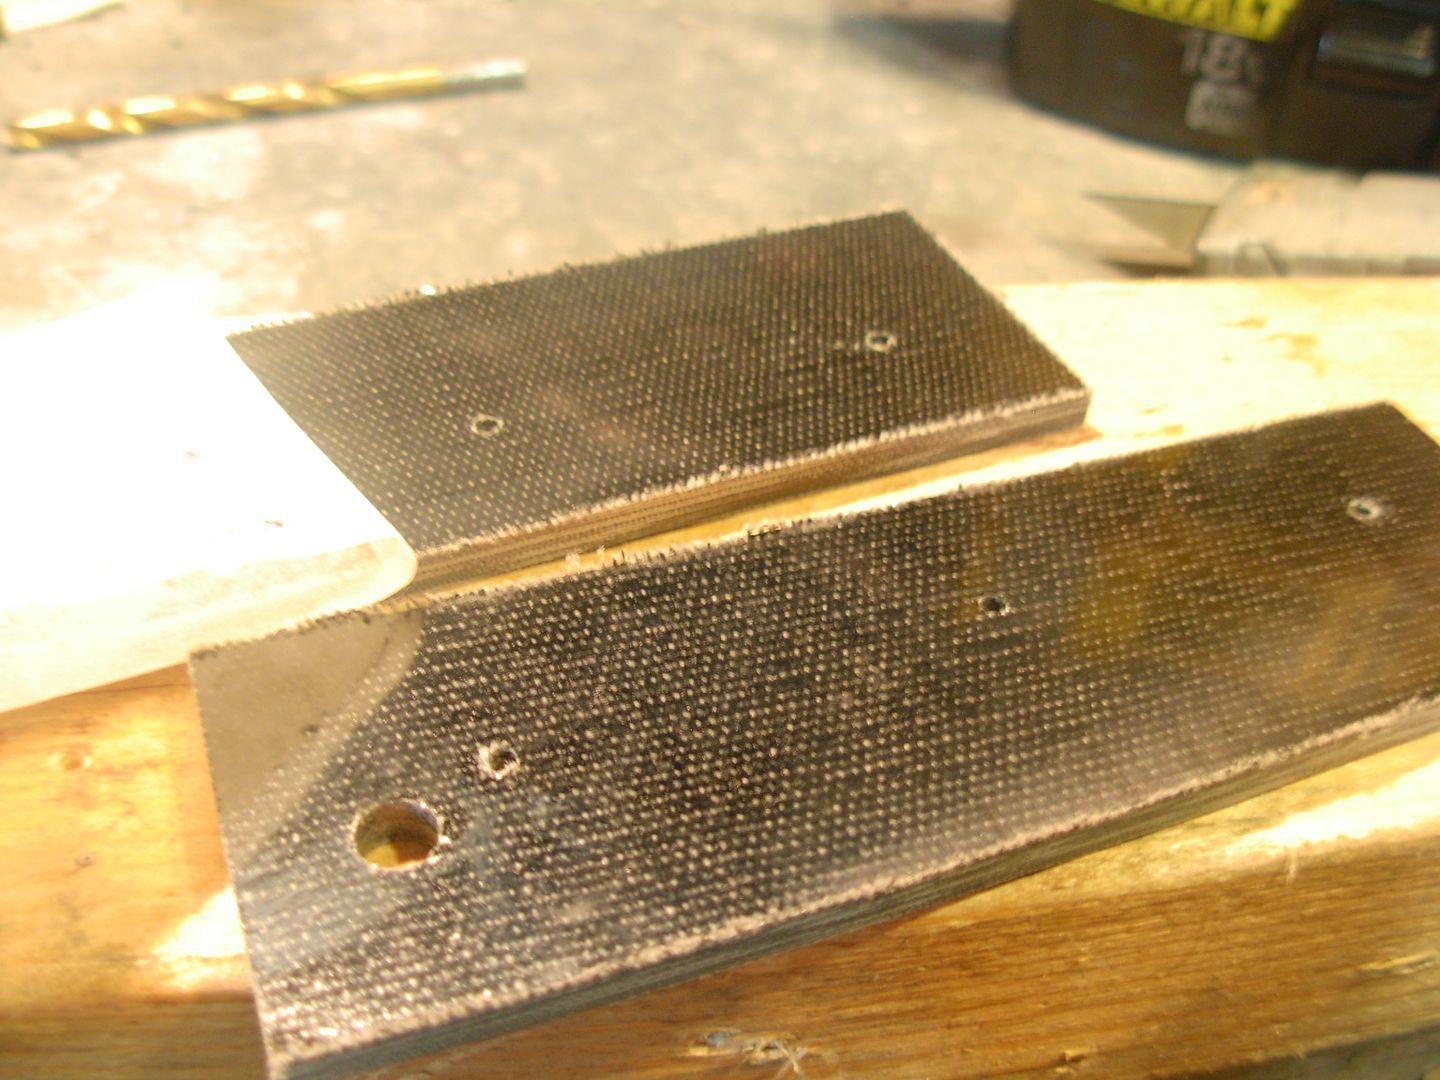
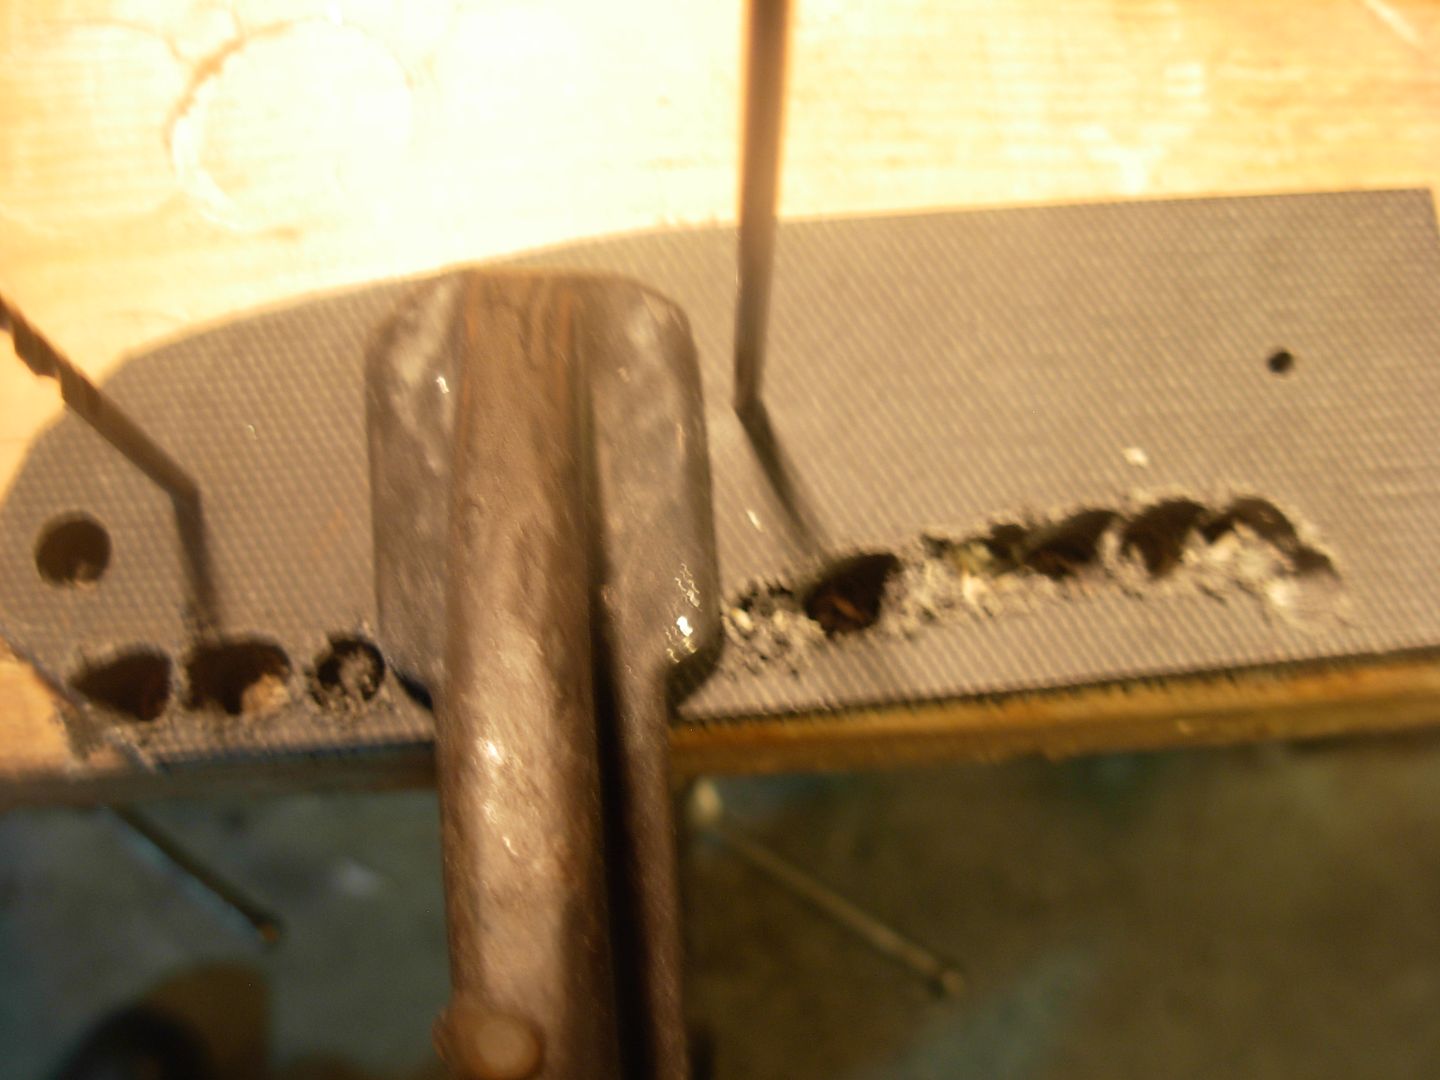
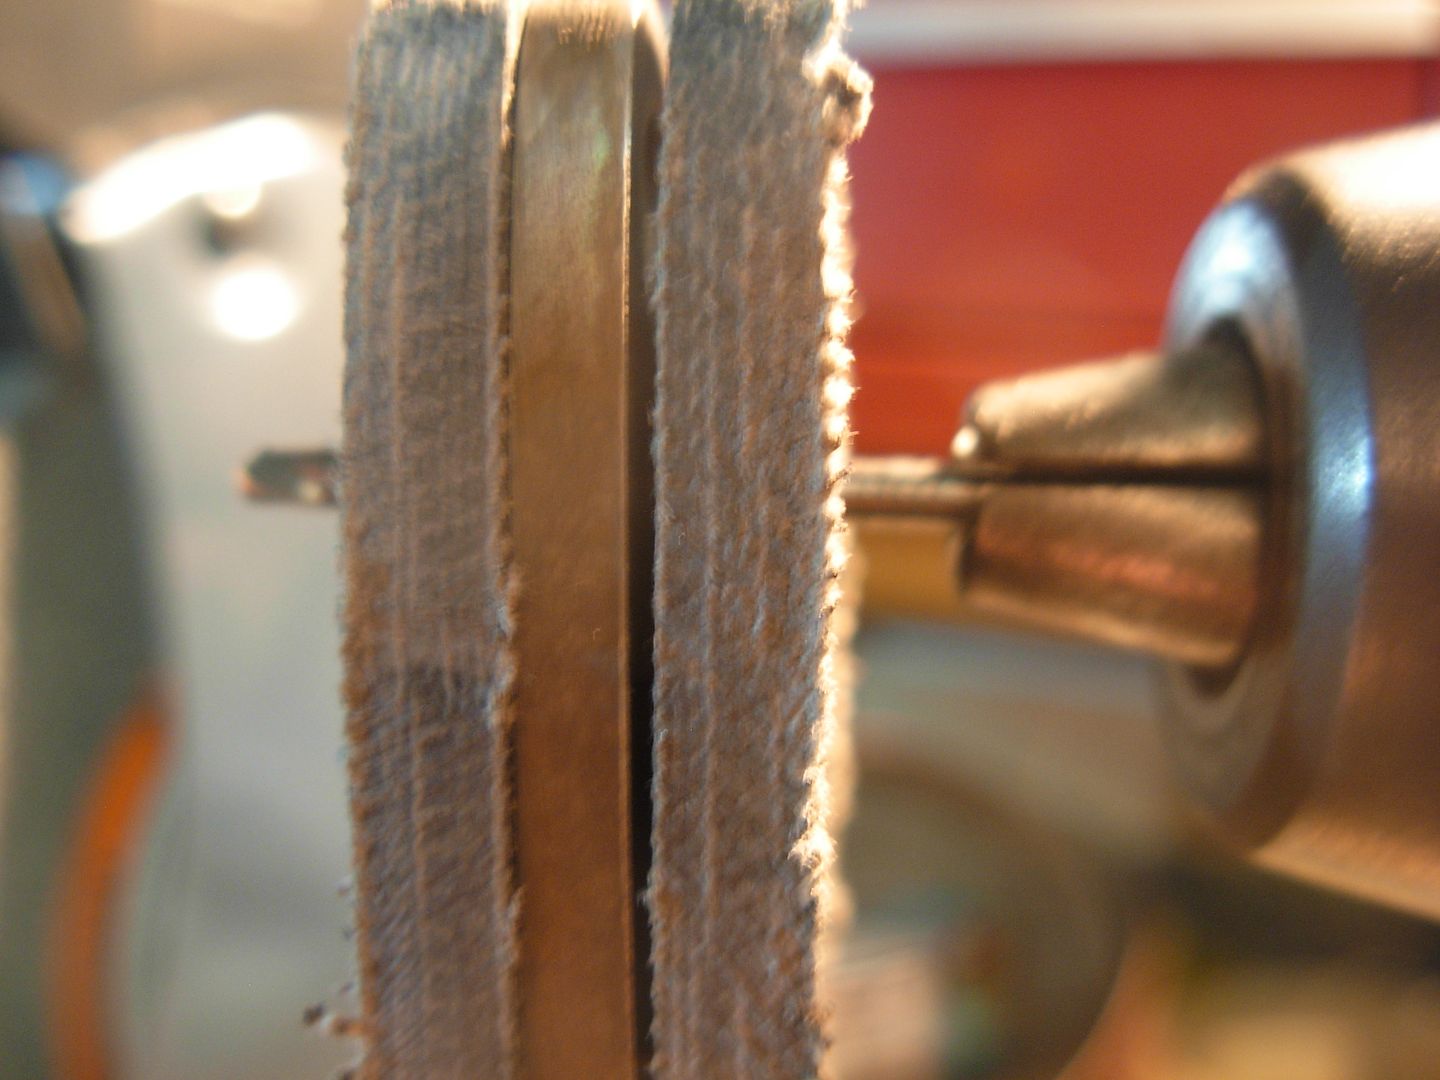
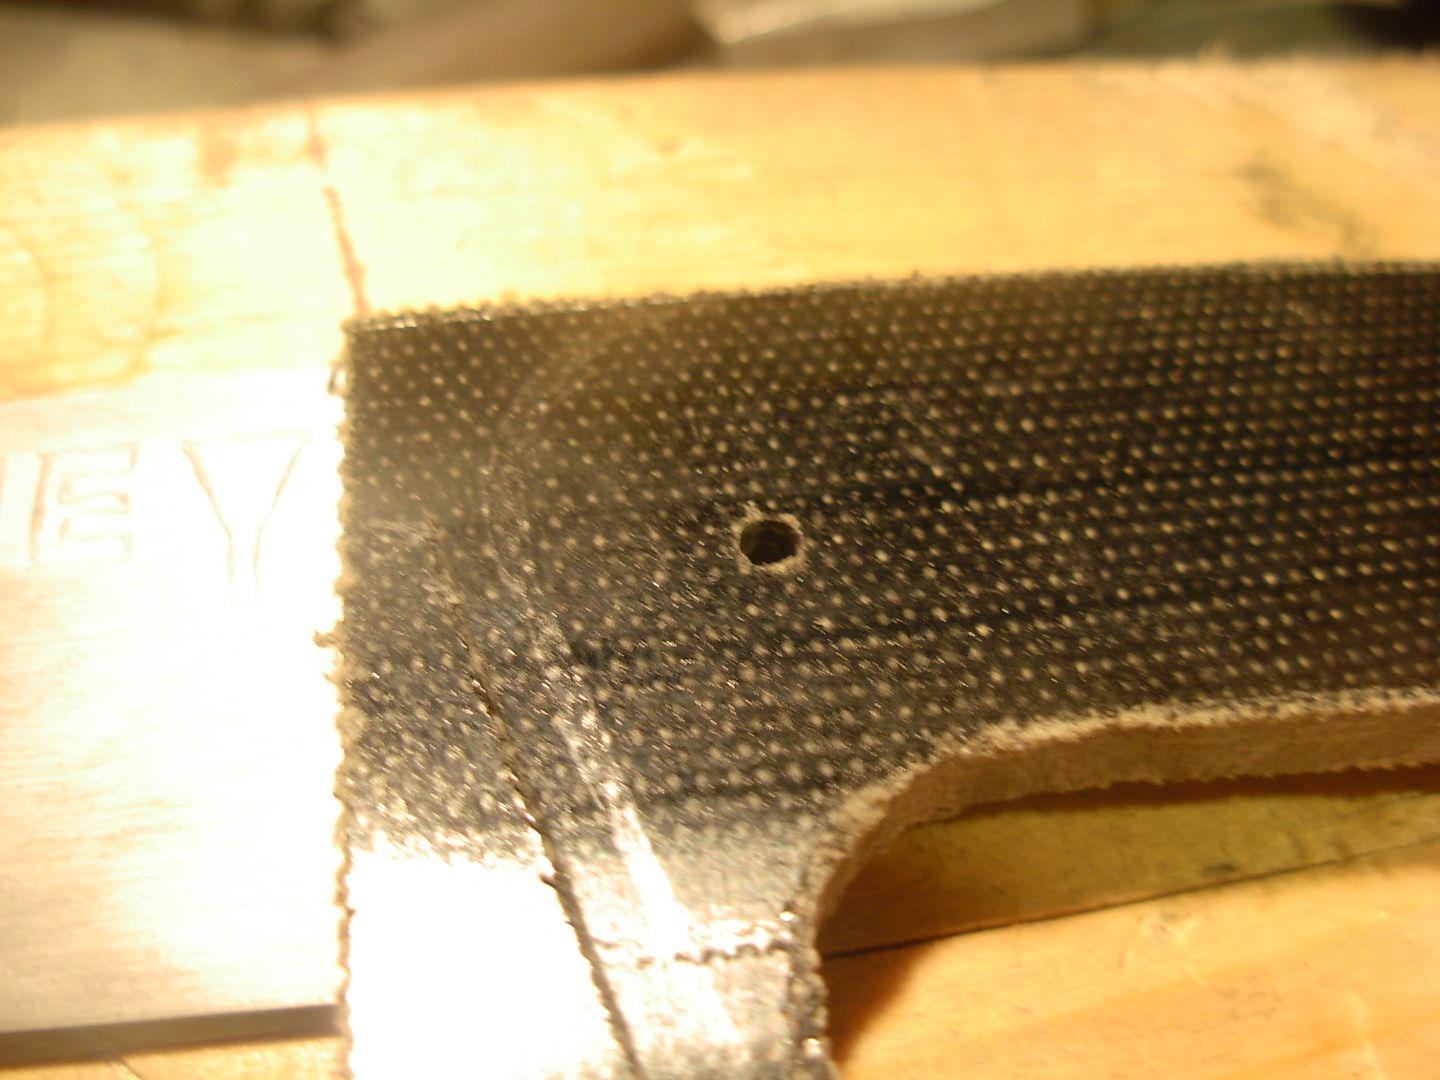
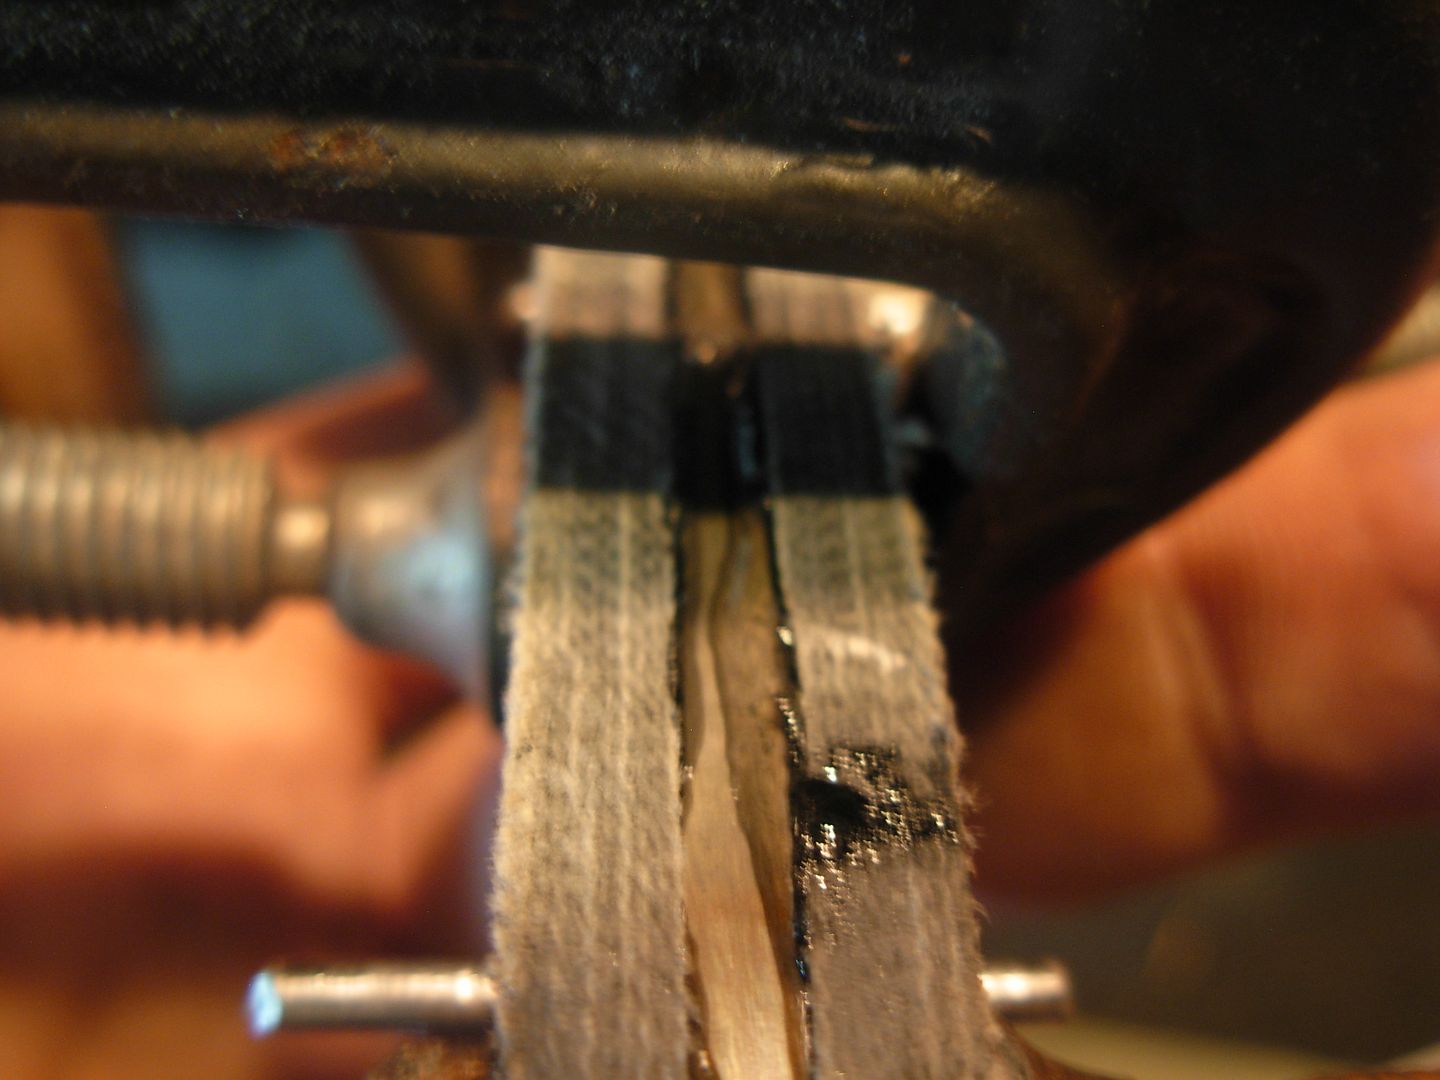
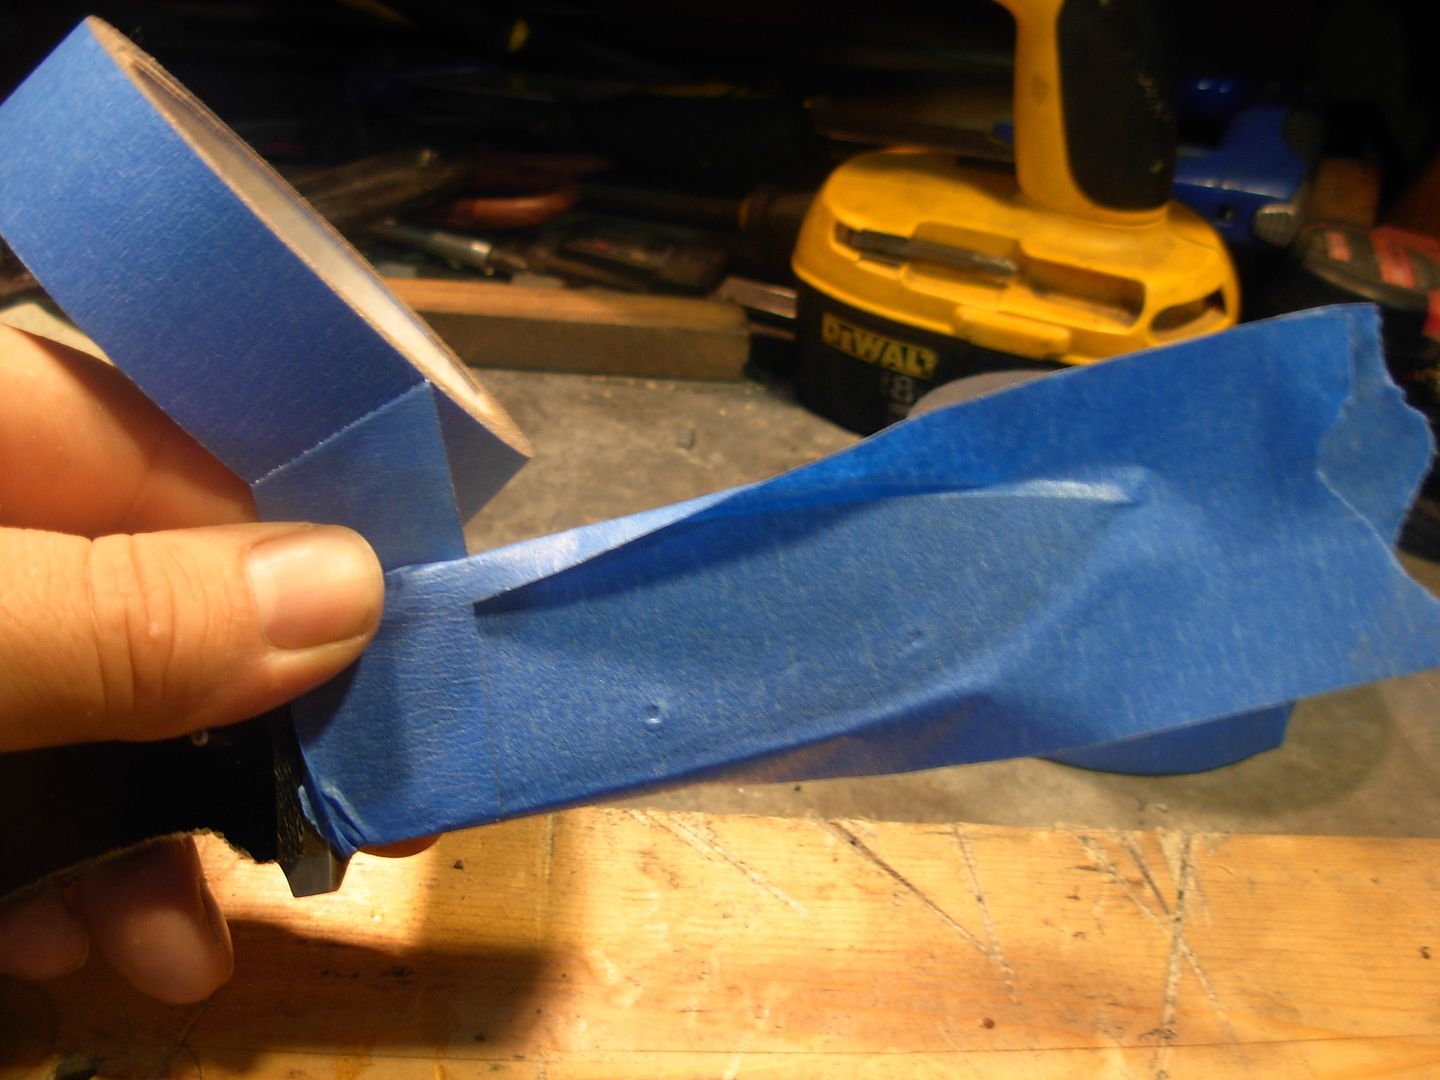
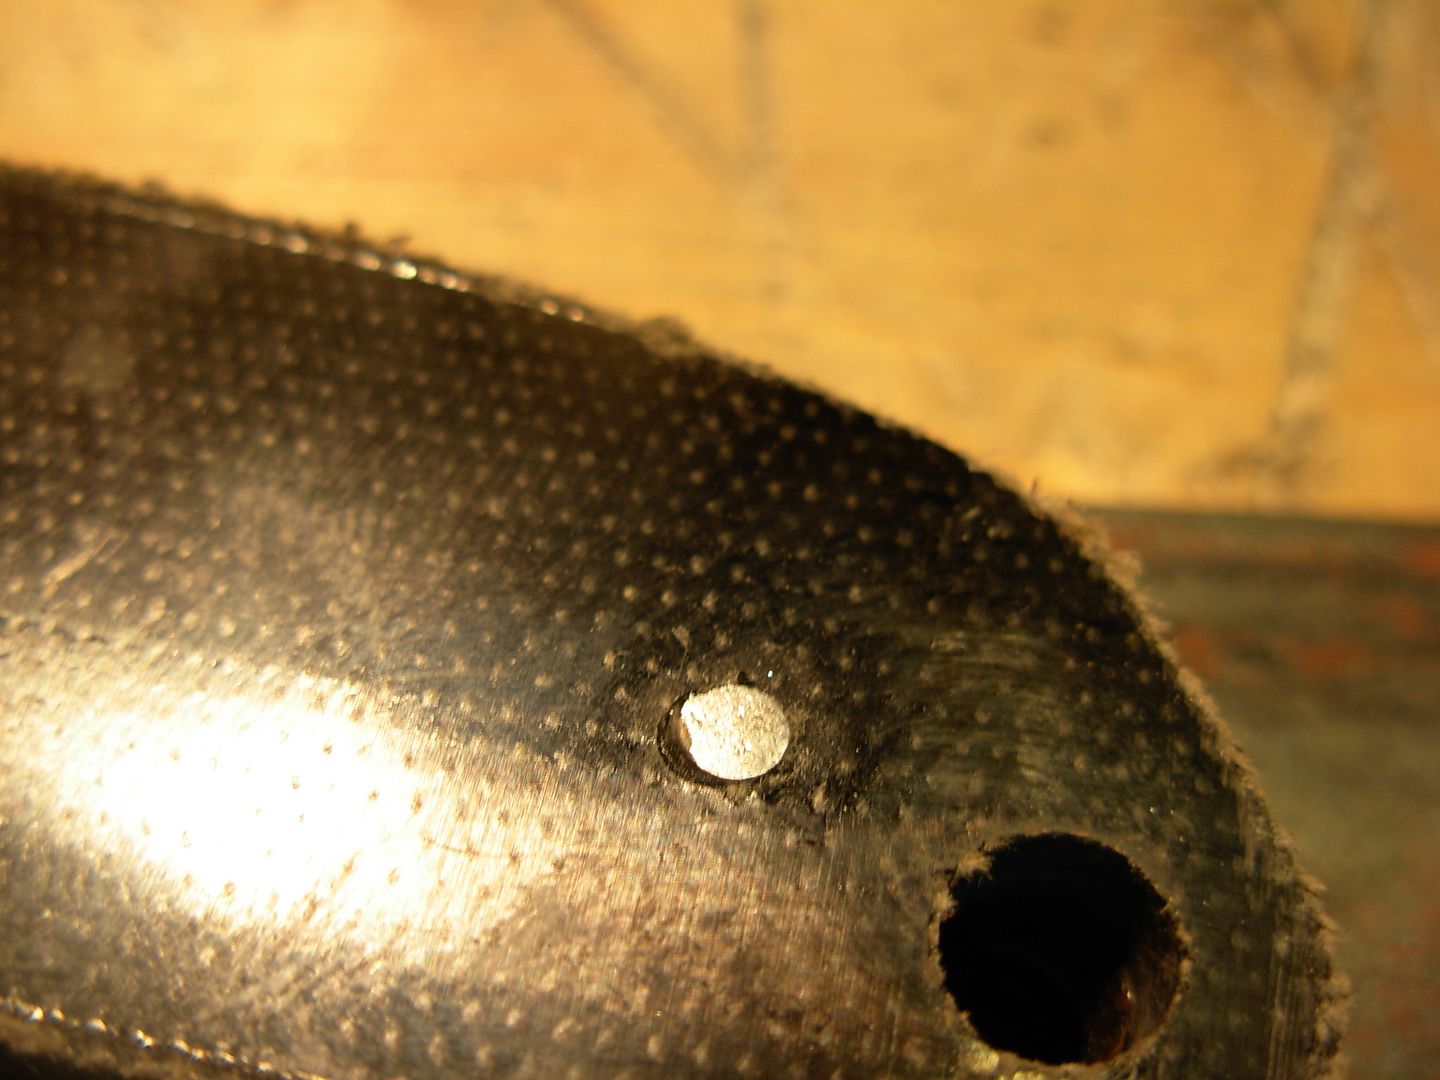
To drill scale #2.
-Tape back side
-Line up perfectly with scale #1 that is already drilled. !!! Be sure to put flattened side against flattened side !!!
-Clamp together
-Drill through #1 holes to create perfectly matching holes in #2
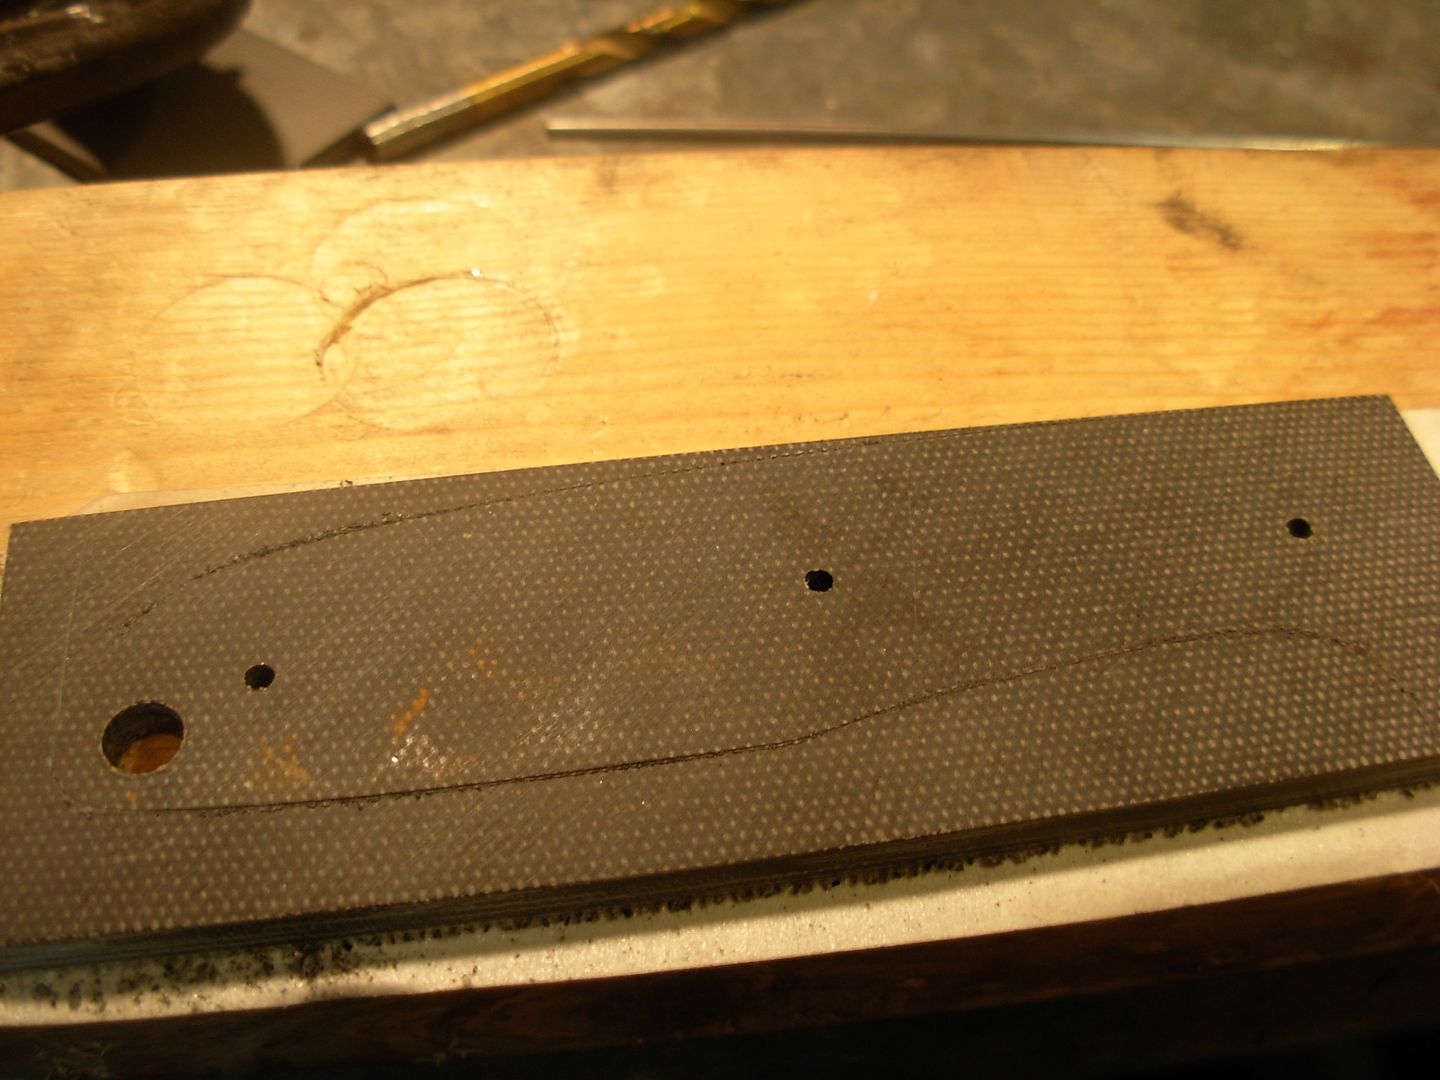
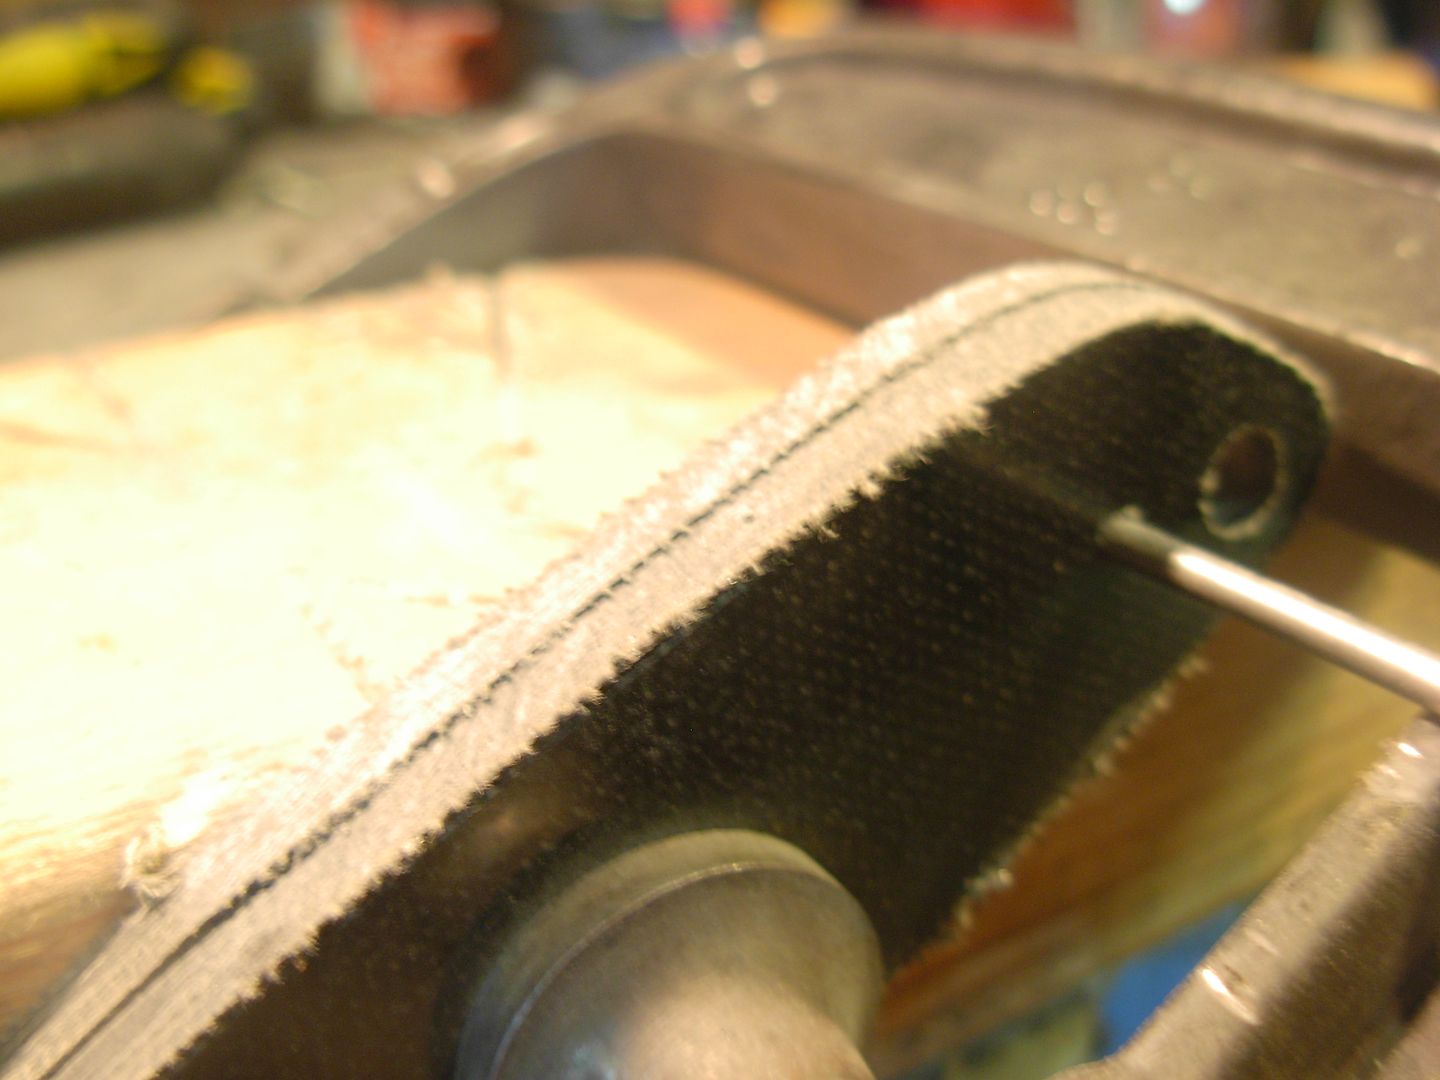
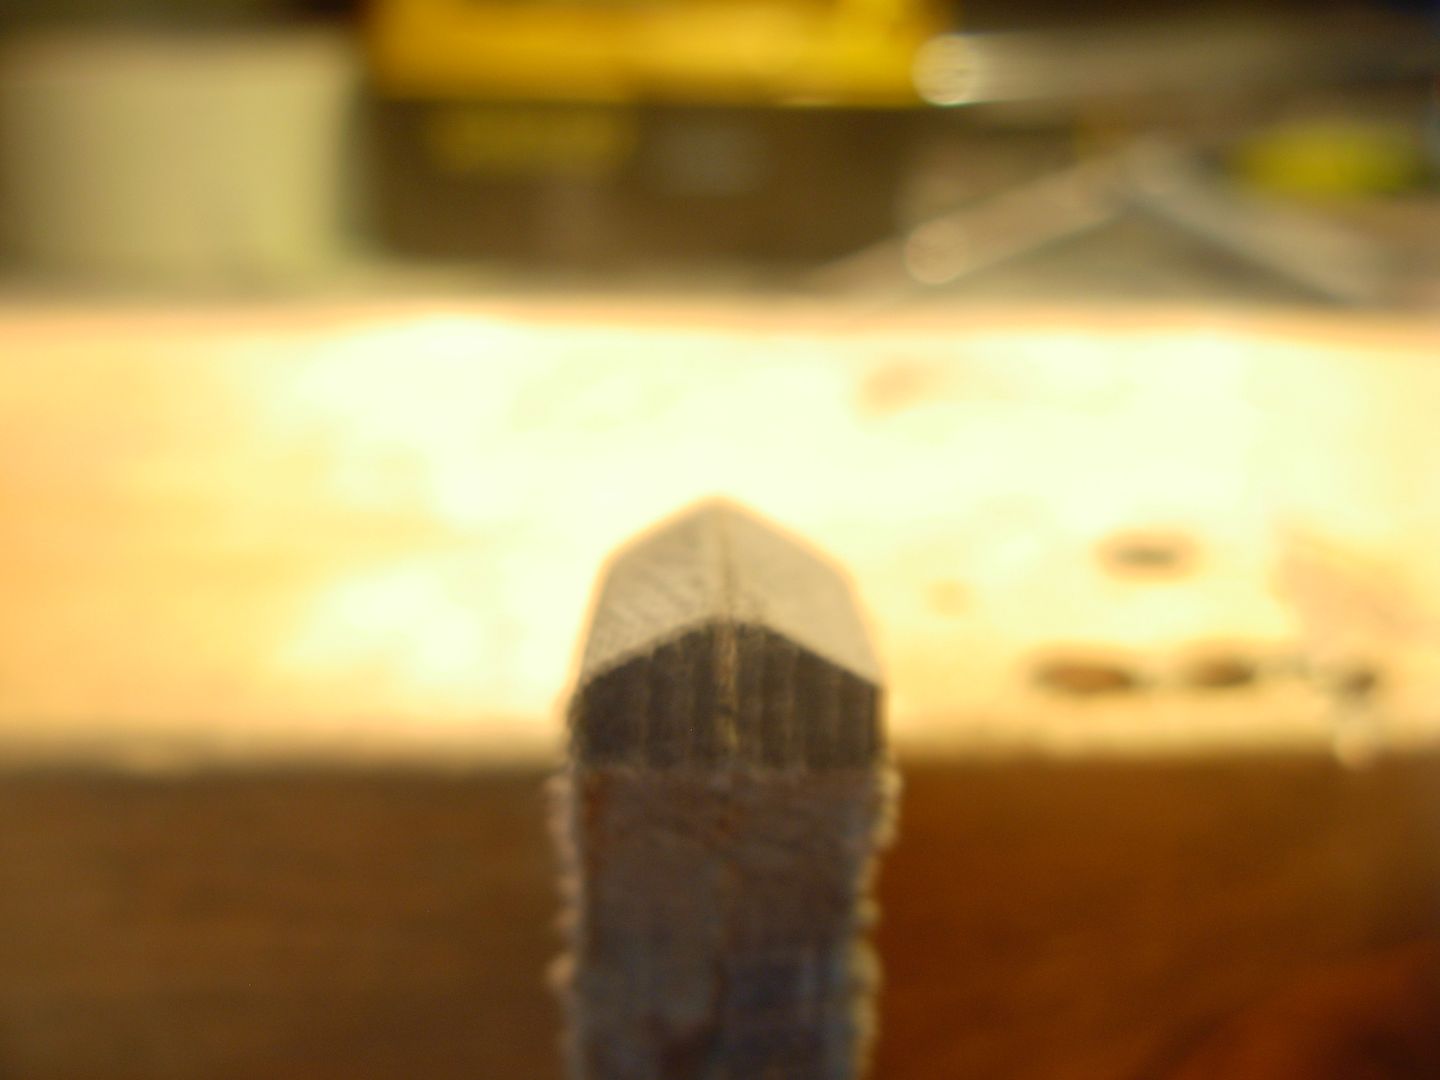
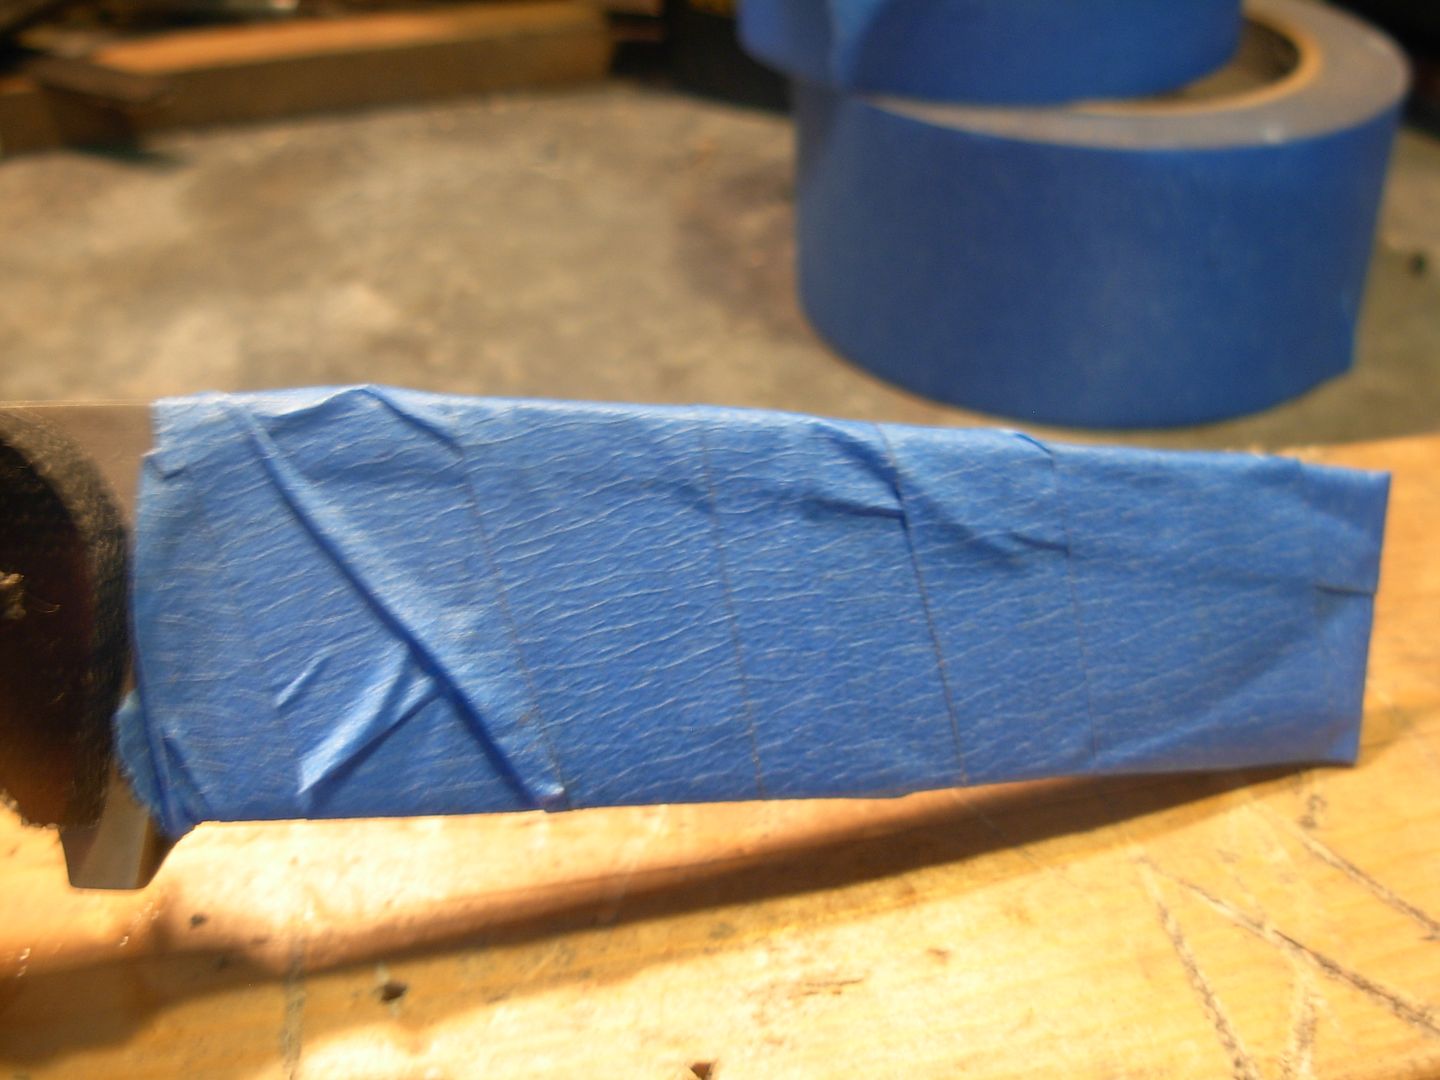
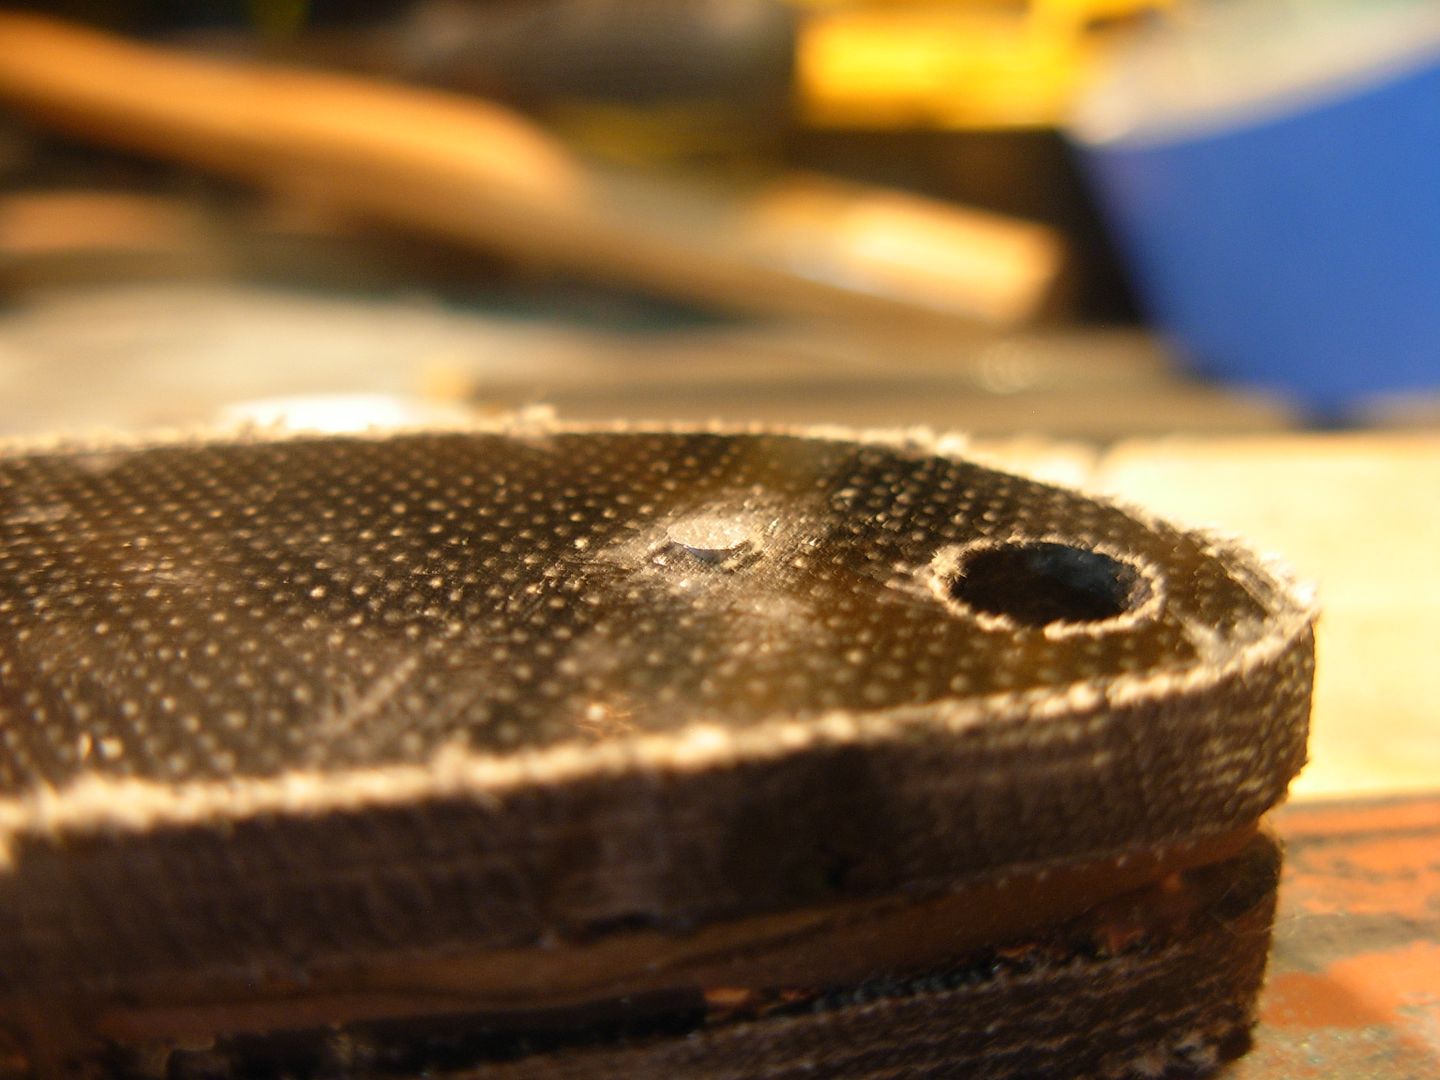
Now we can peel our tape off and see that all this clamping and taping has left us with perfectly matching holes and zero chip out
")
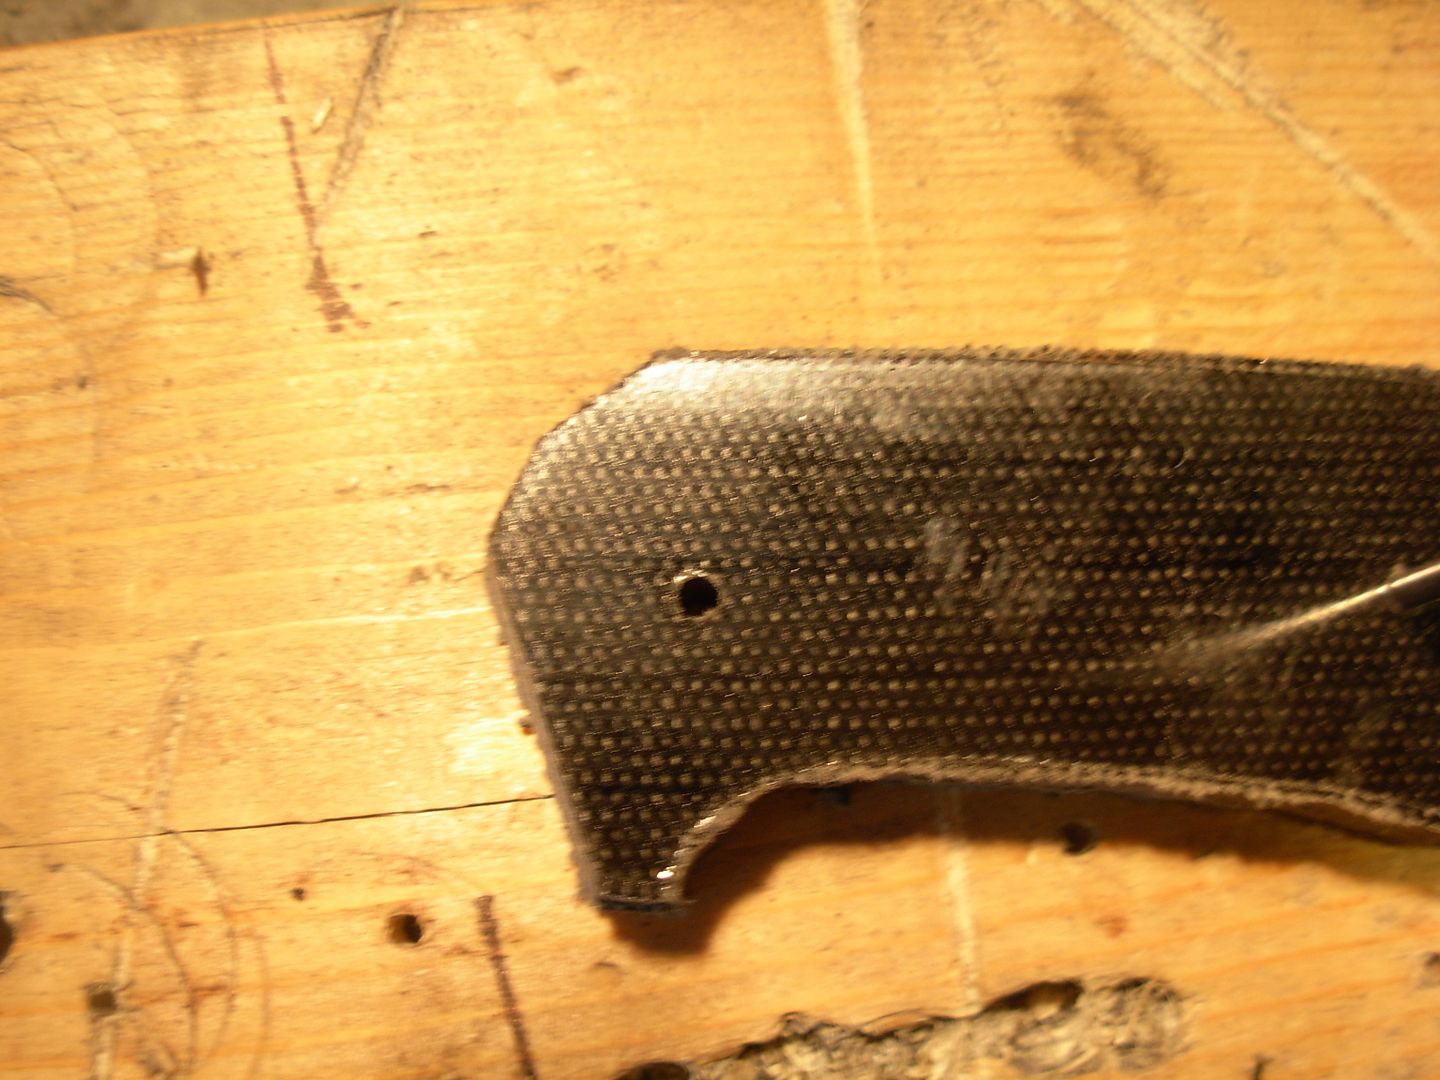
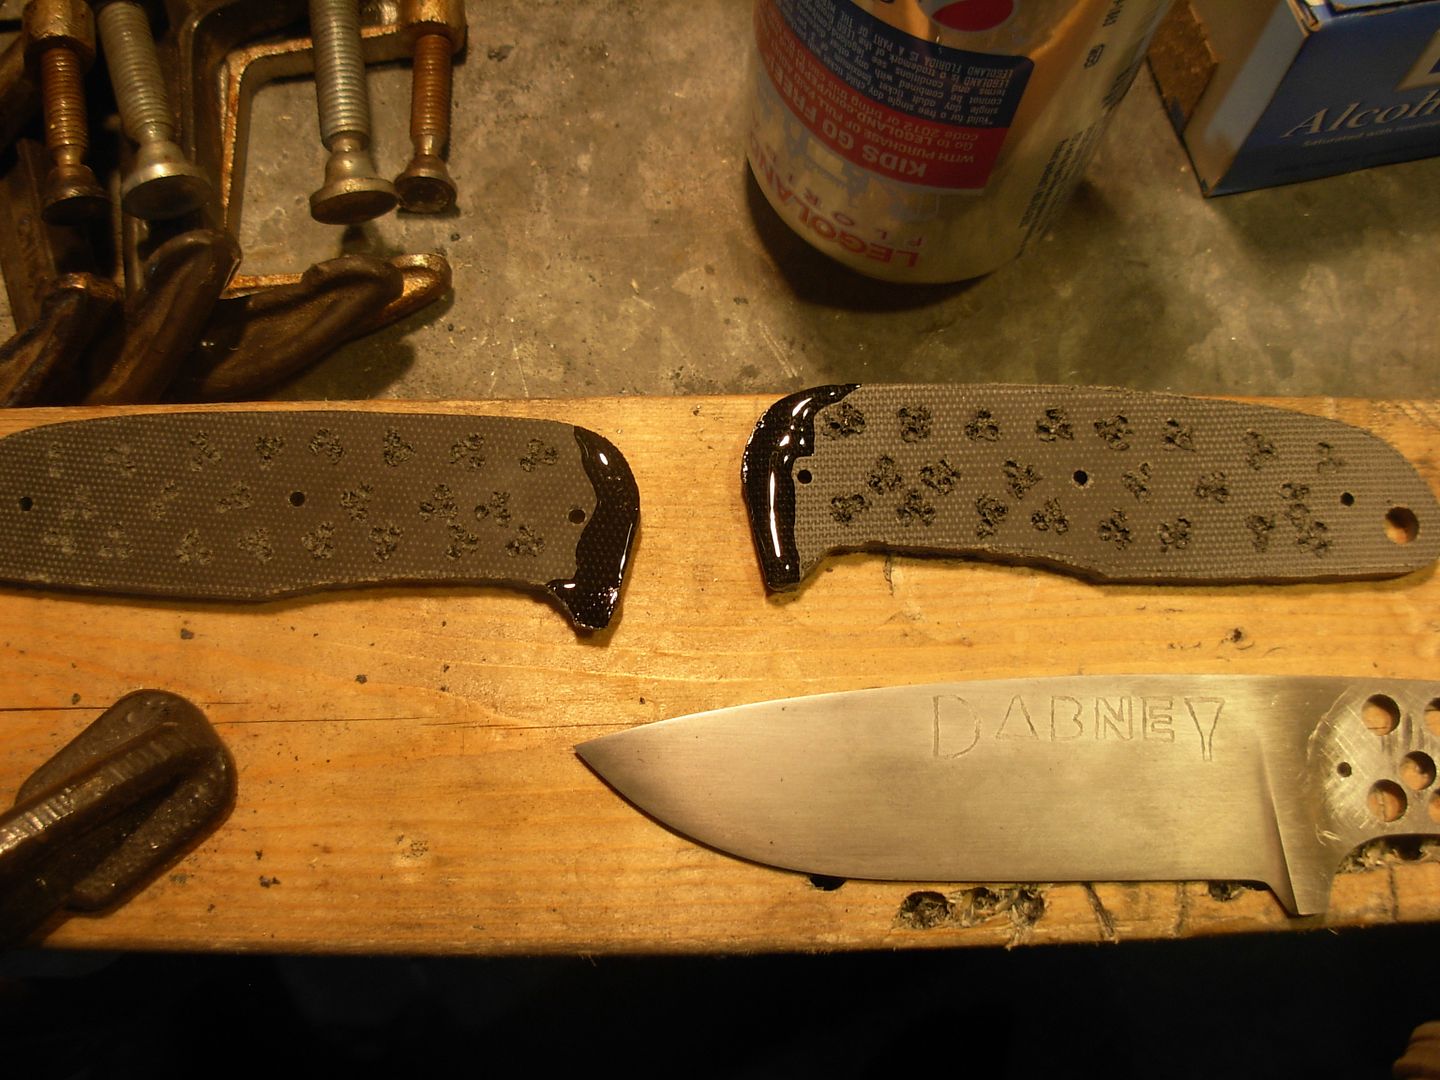
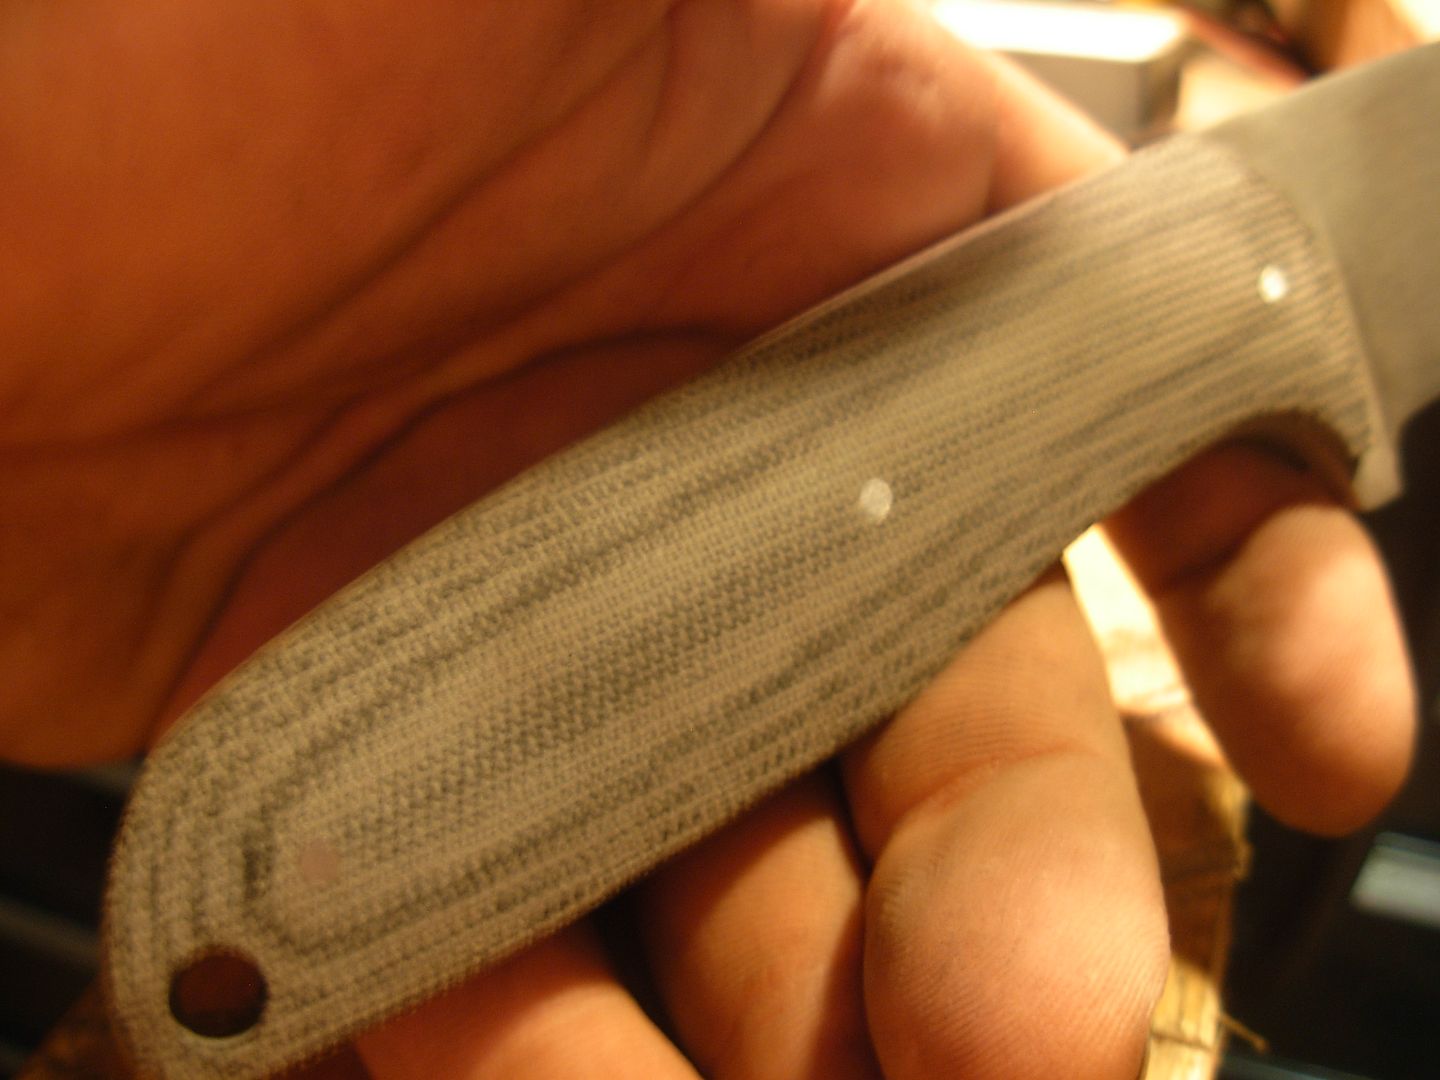
Now I'll pin my blade to scale #2 and verify my pin hole allignment and scribe around the tang
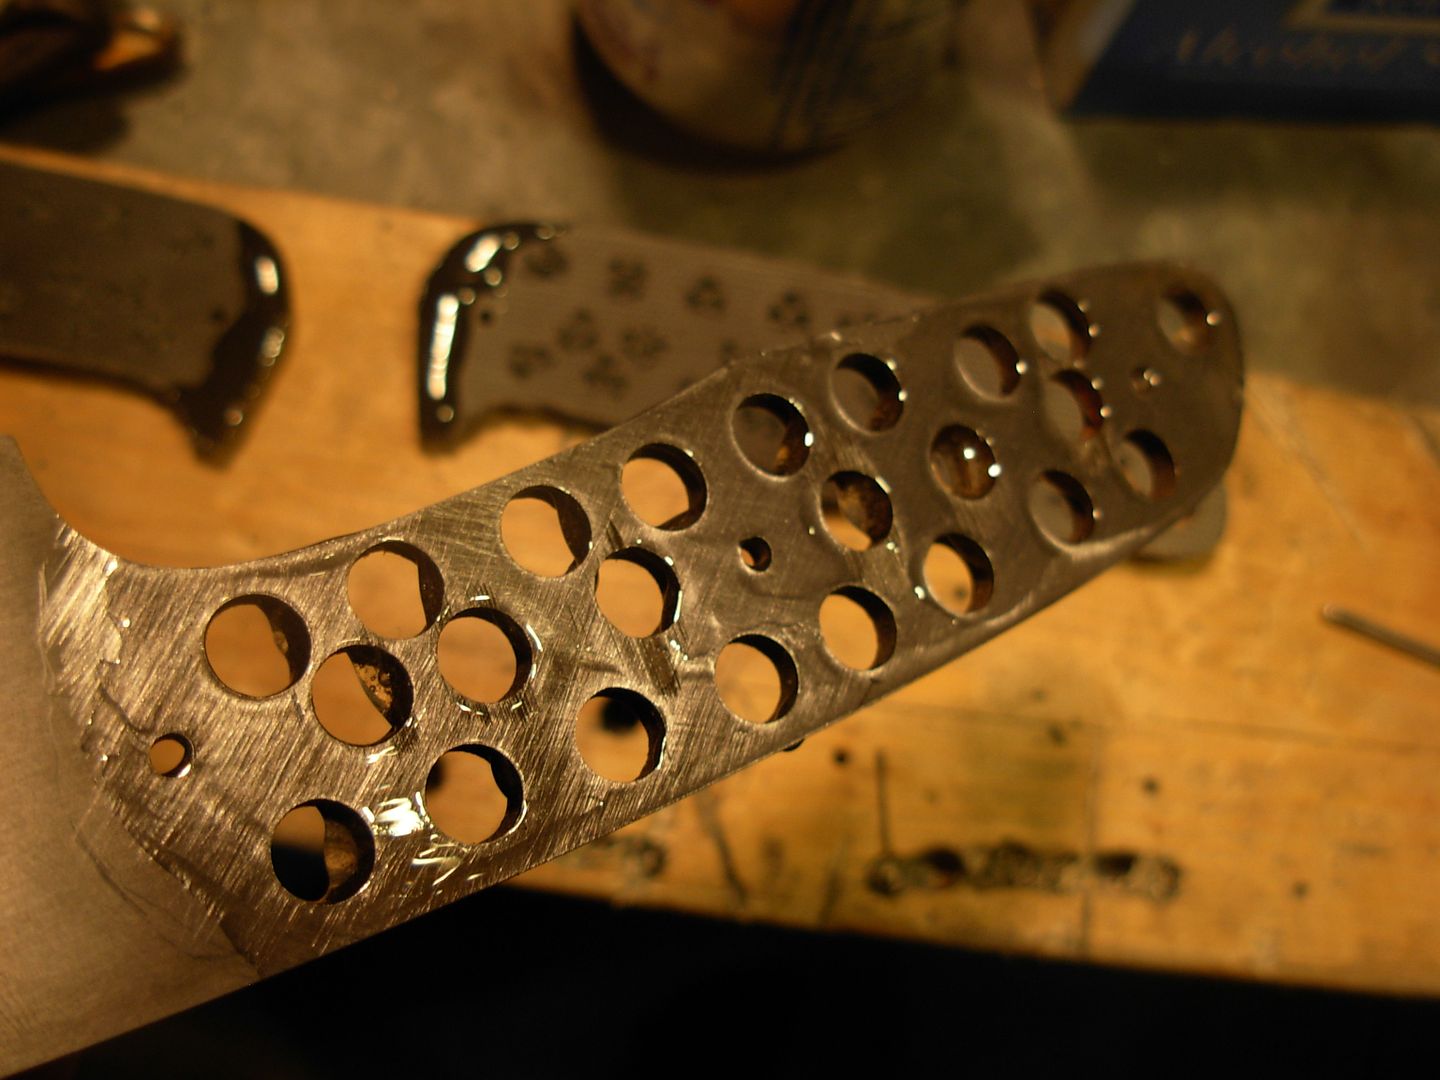
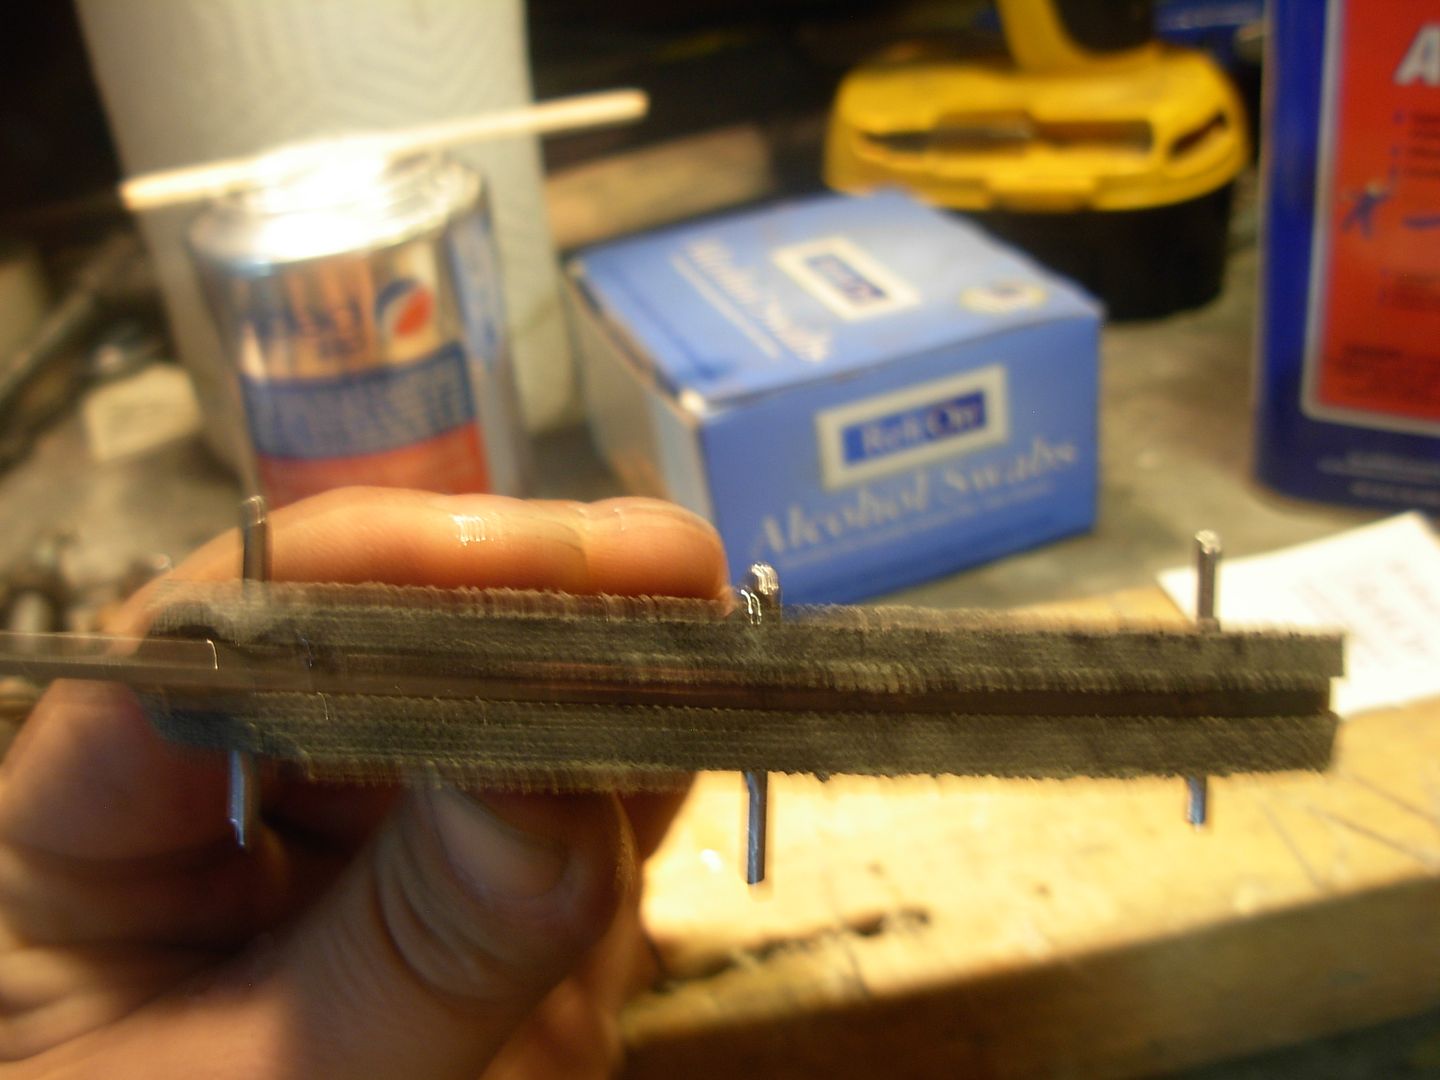
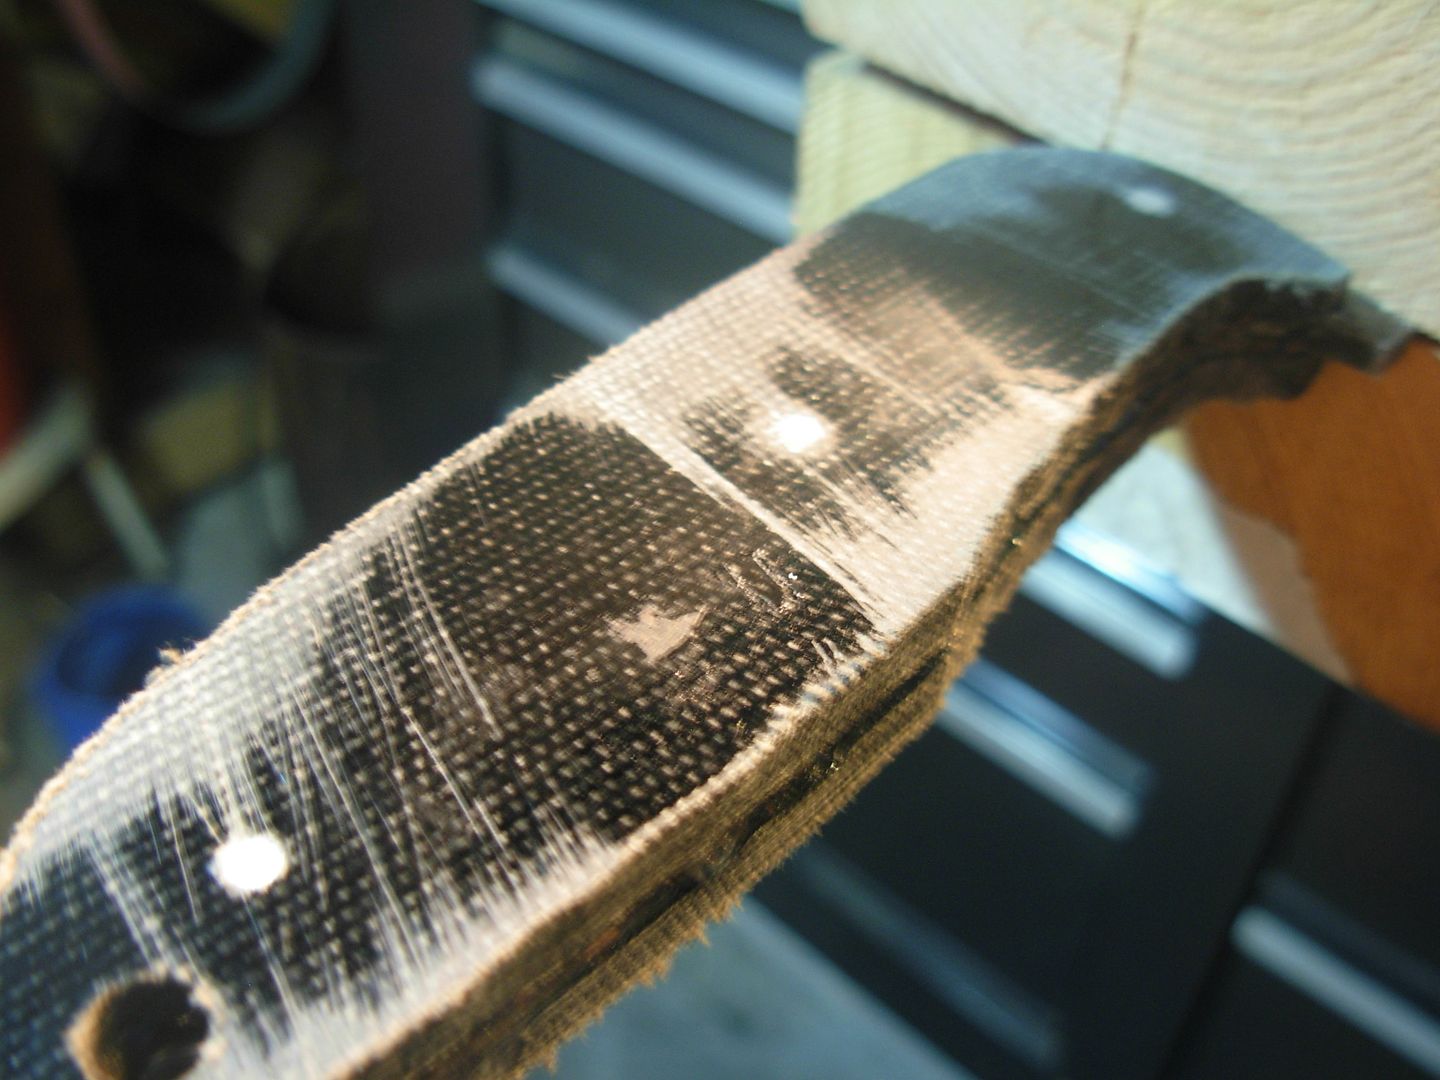
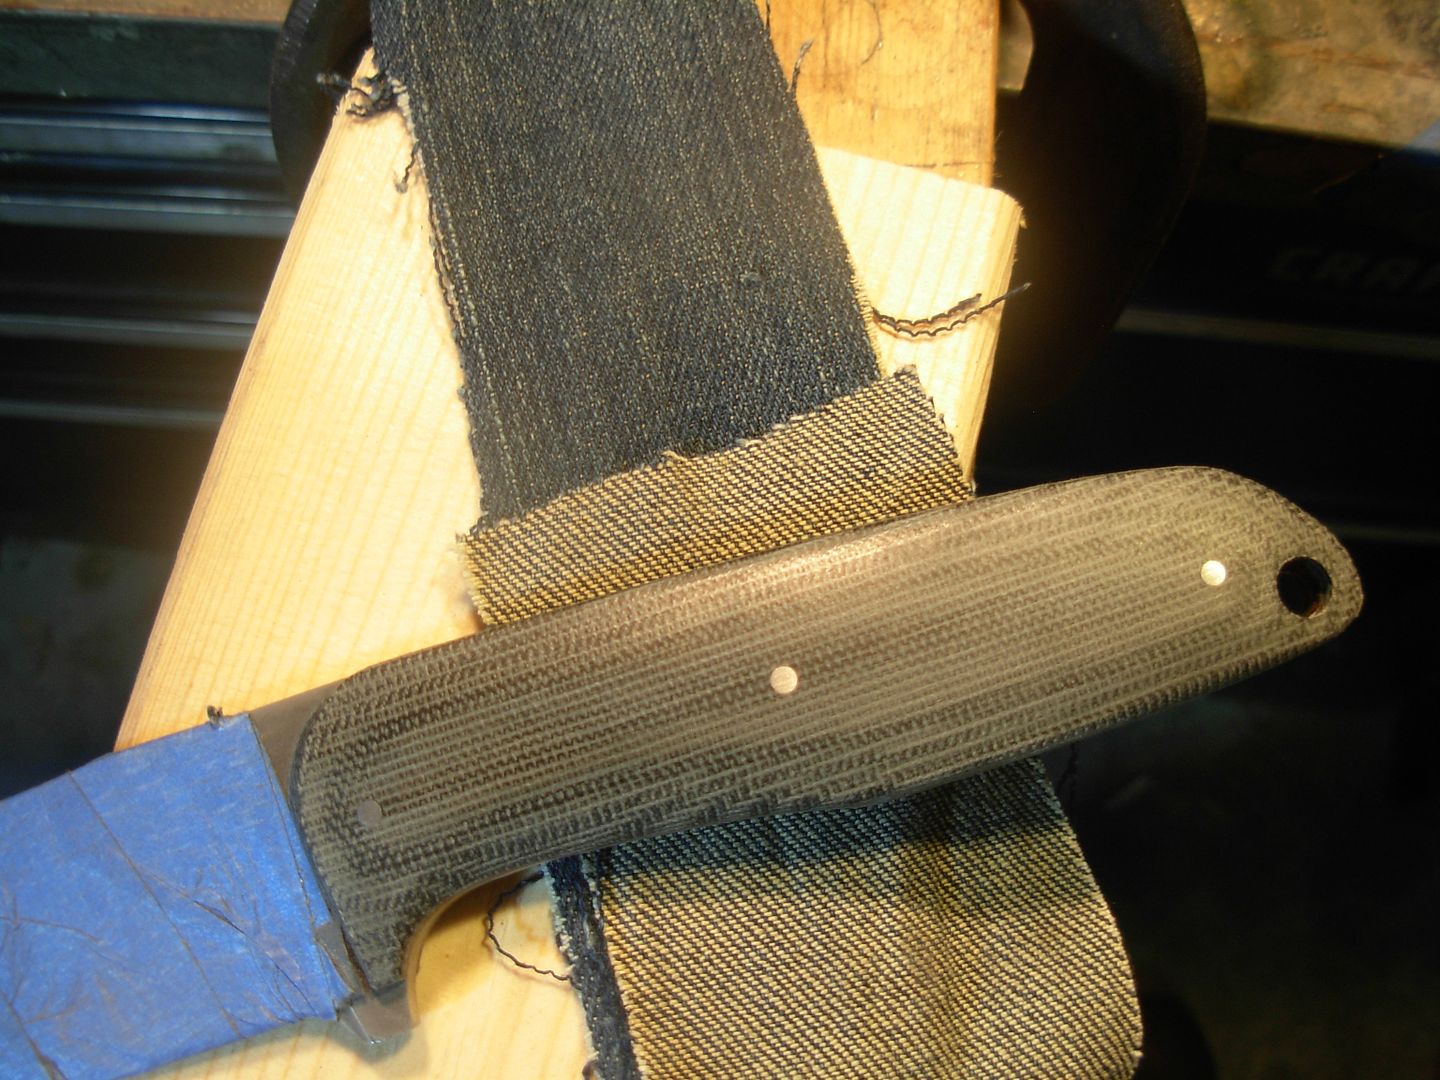
I greatly prefer to "pre-profile" my handle material before glue-up.
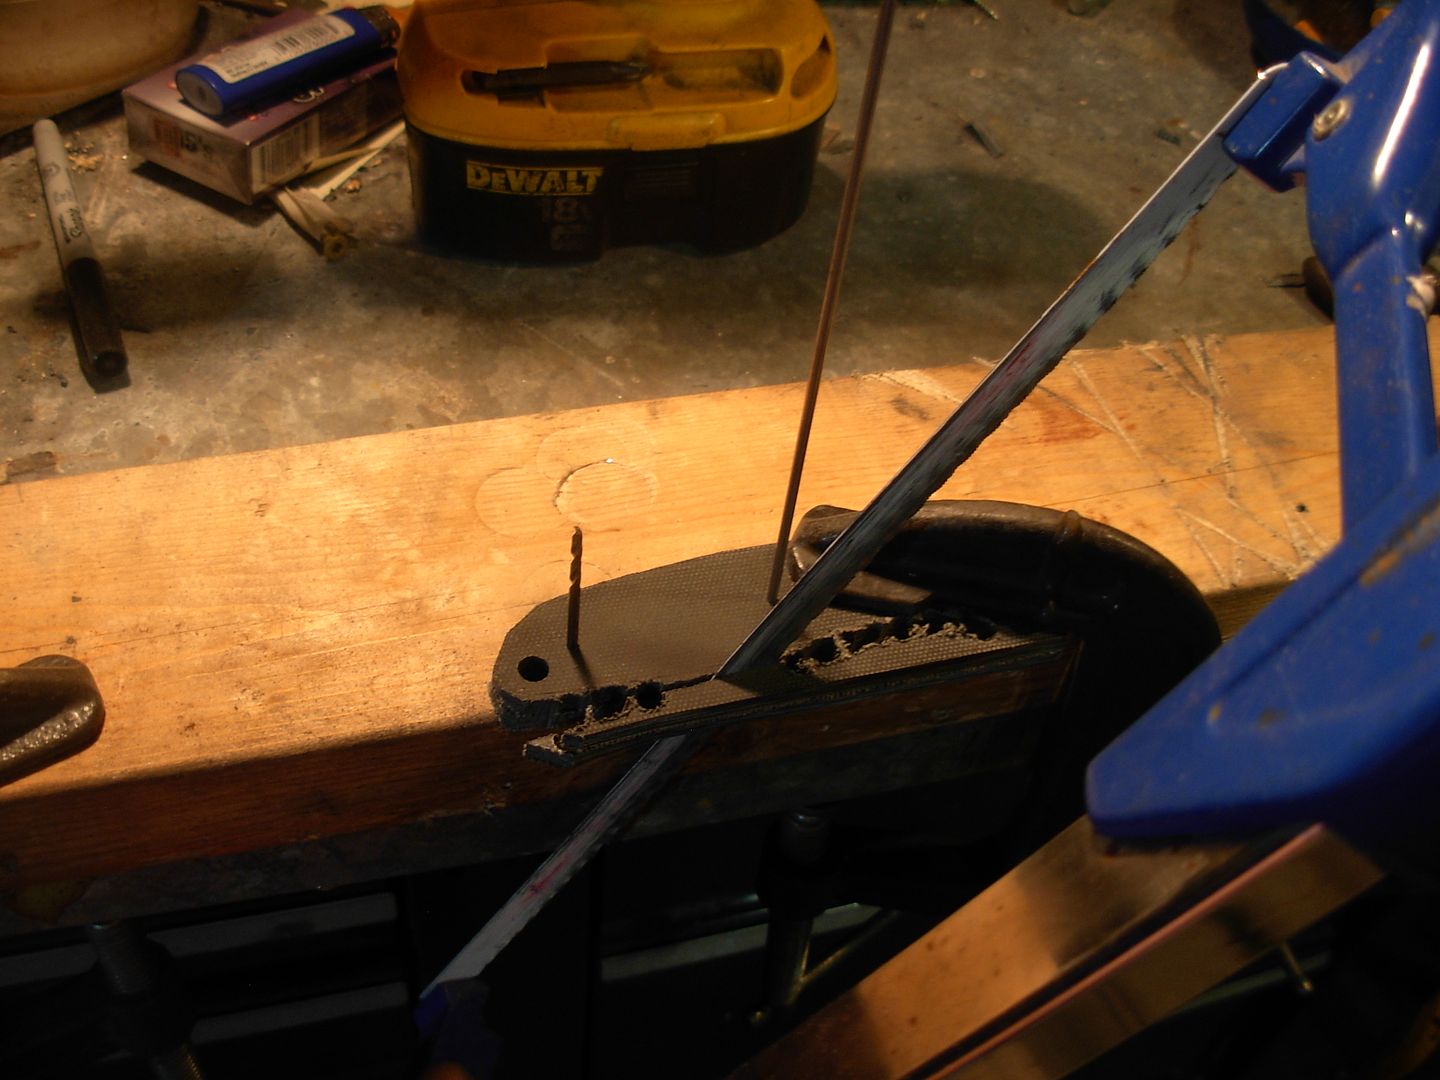
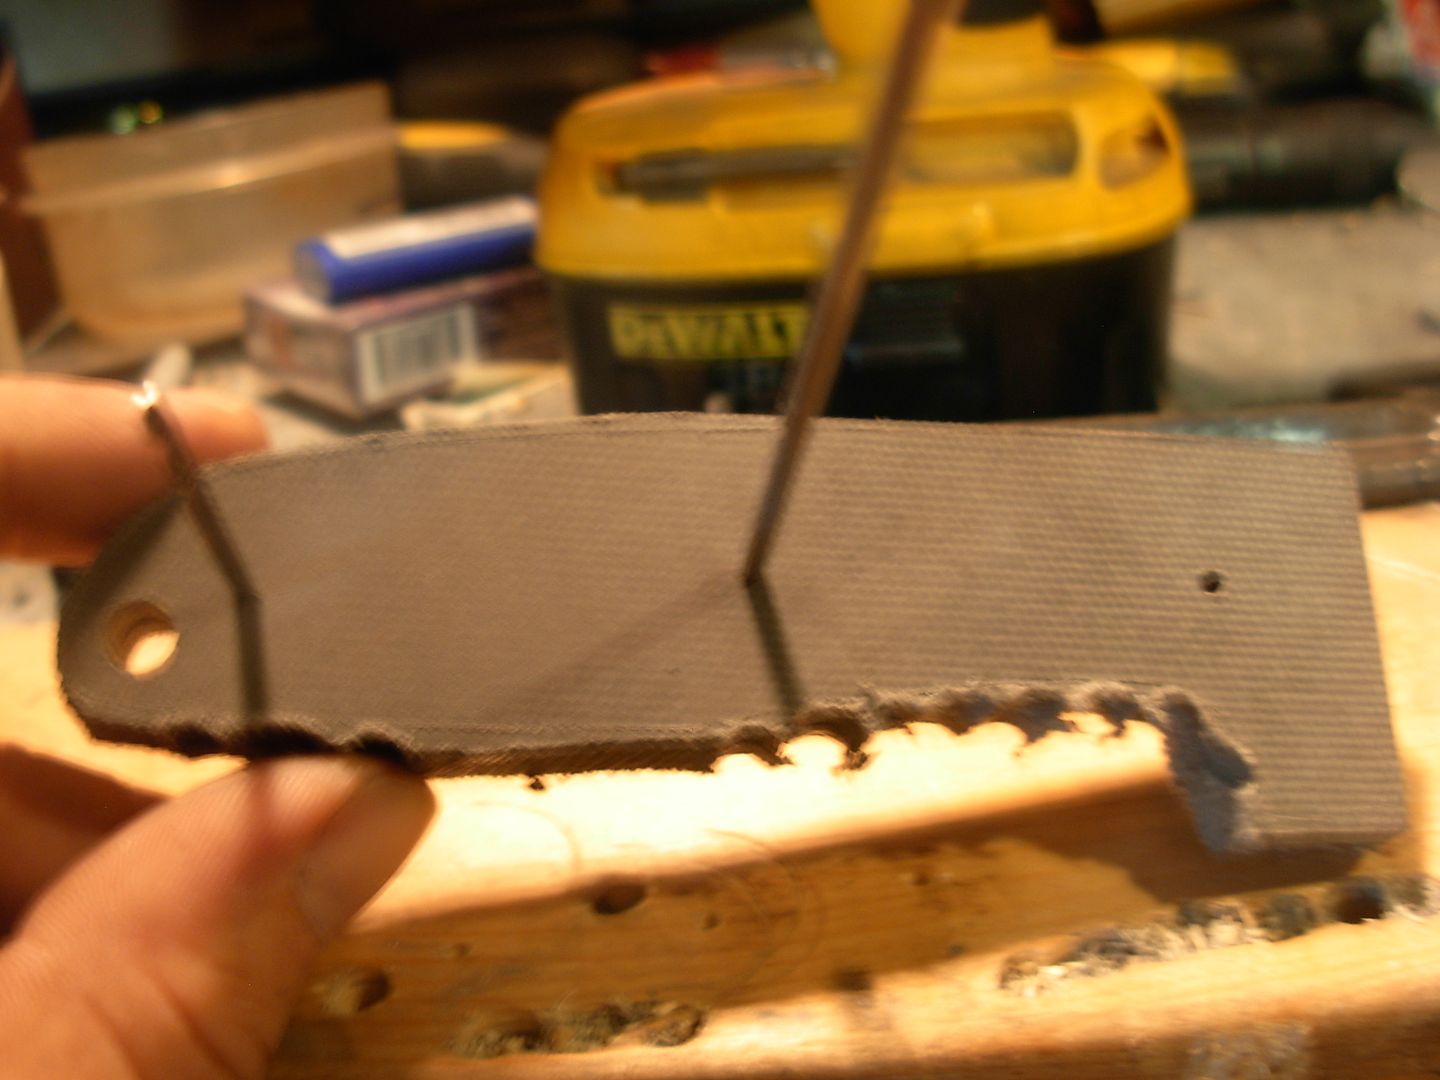
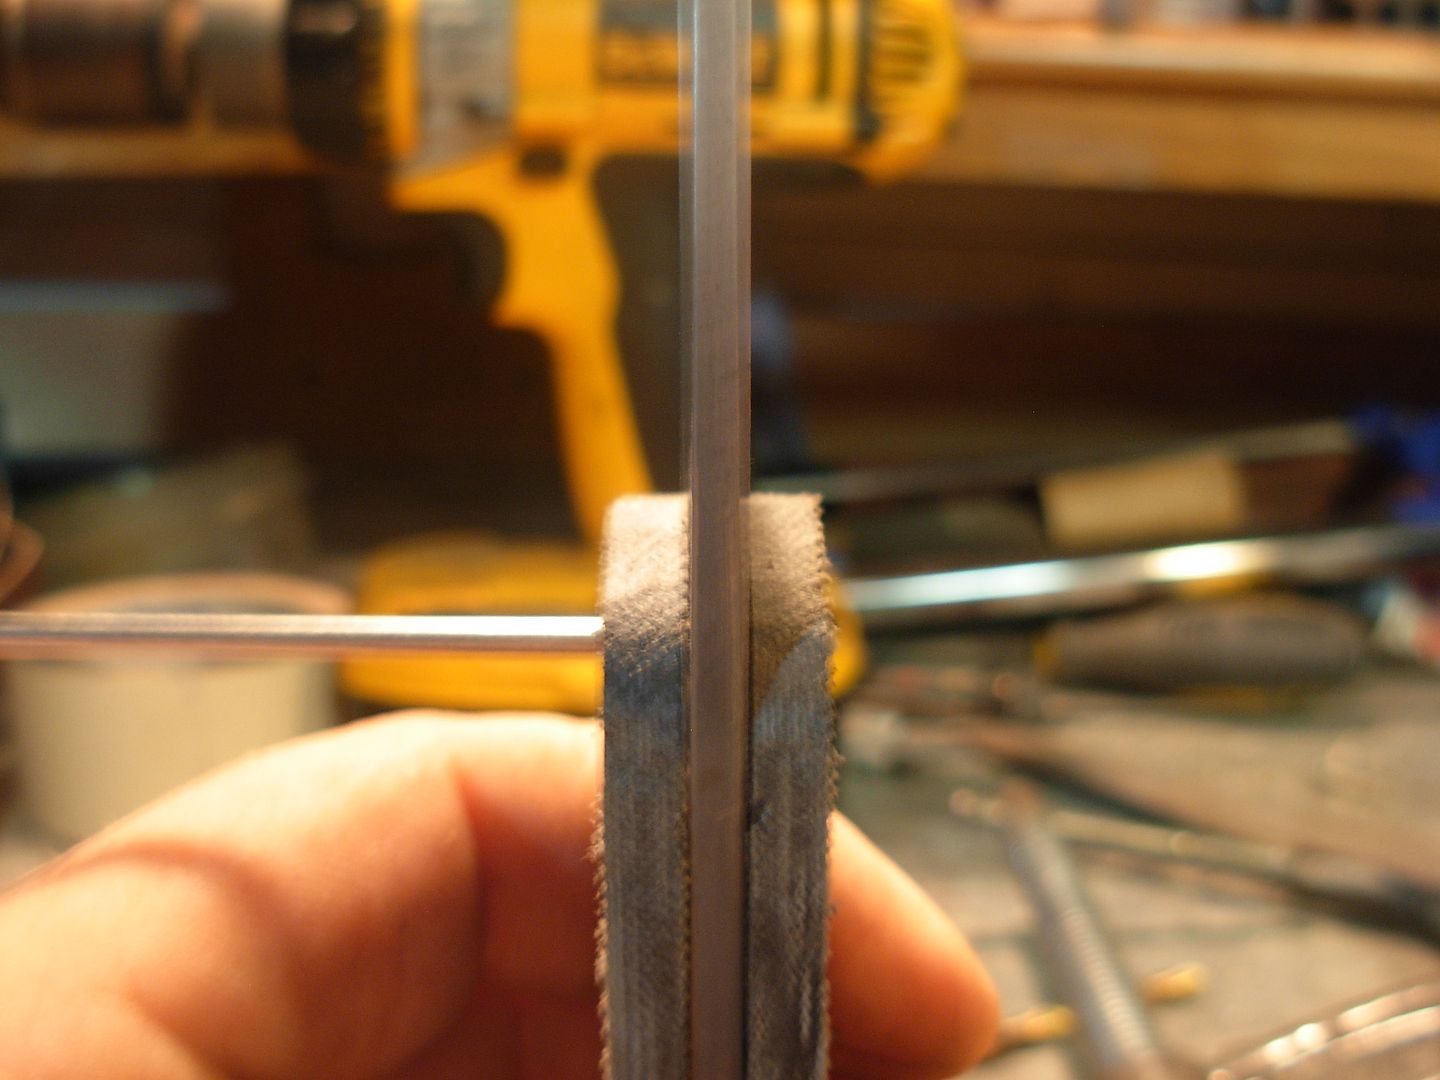
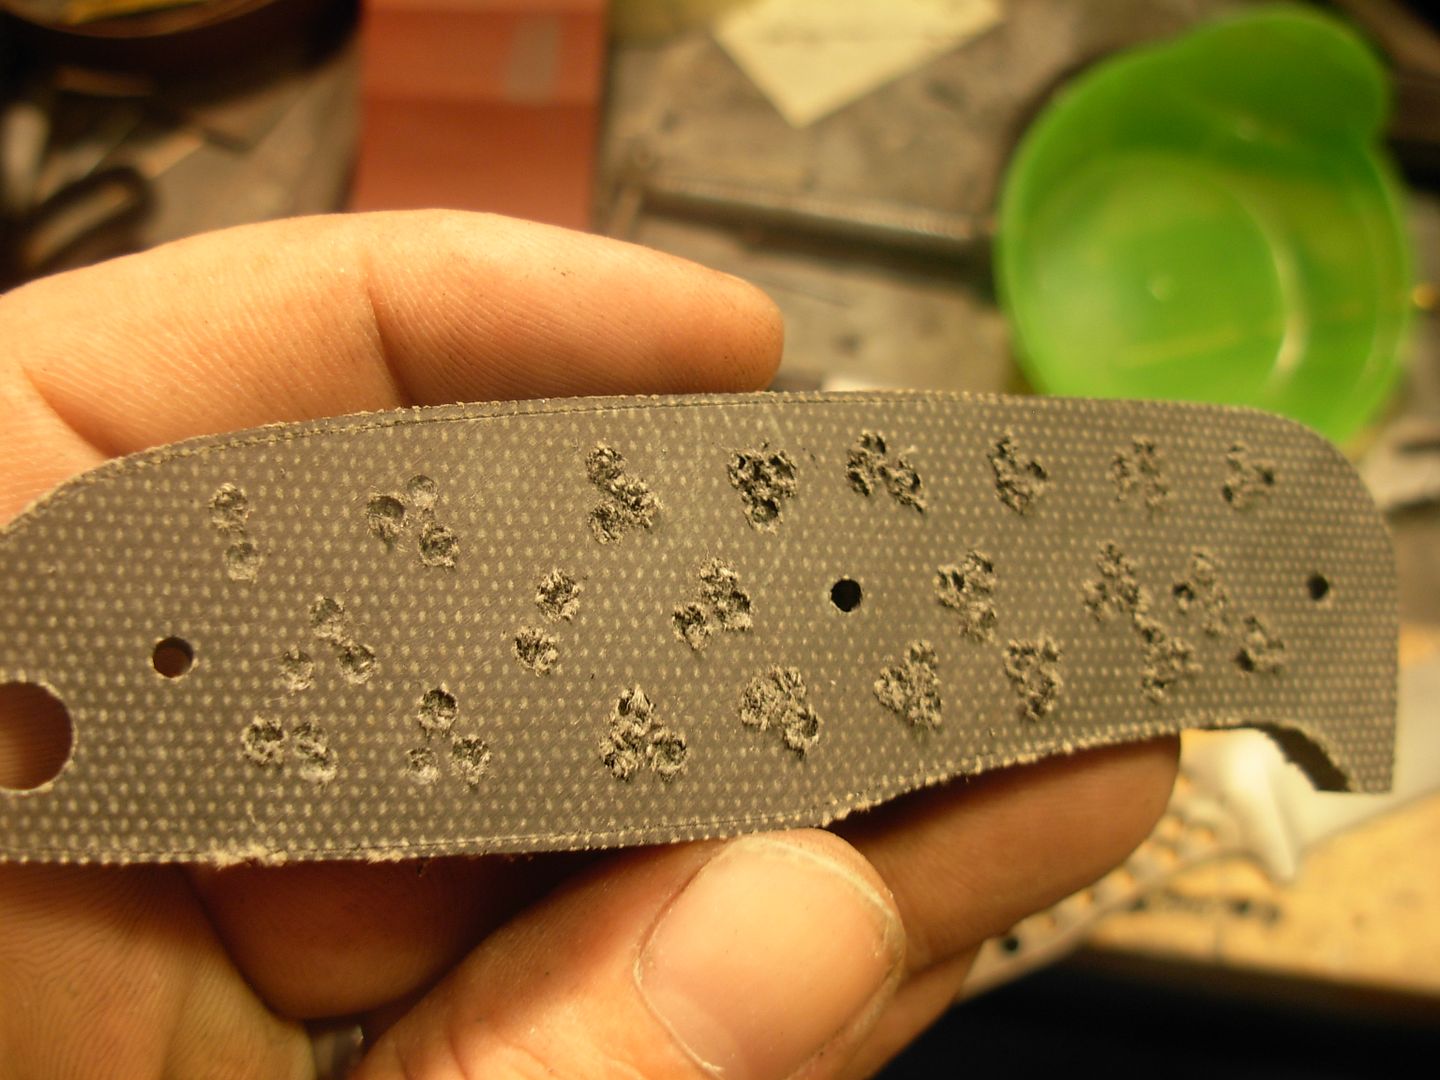
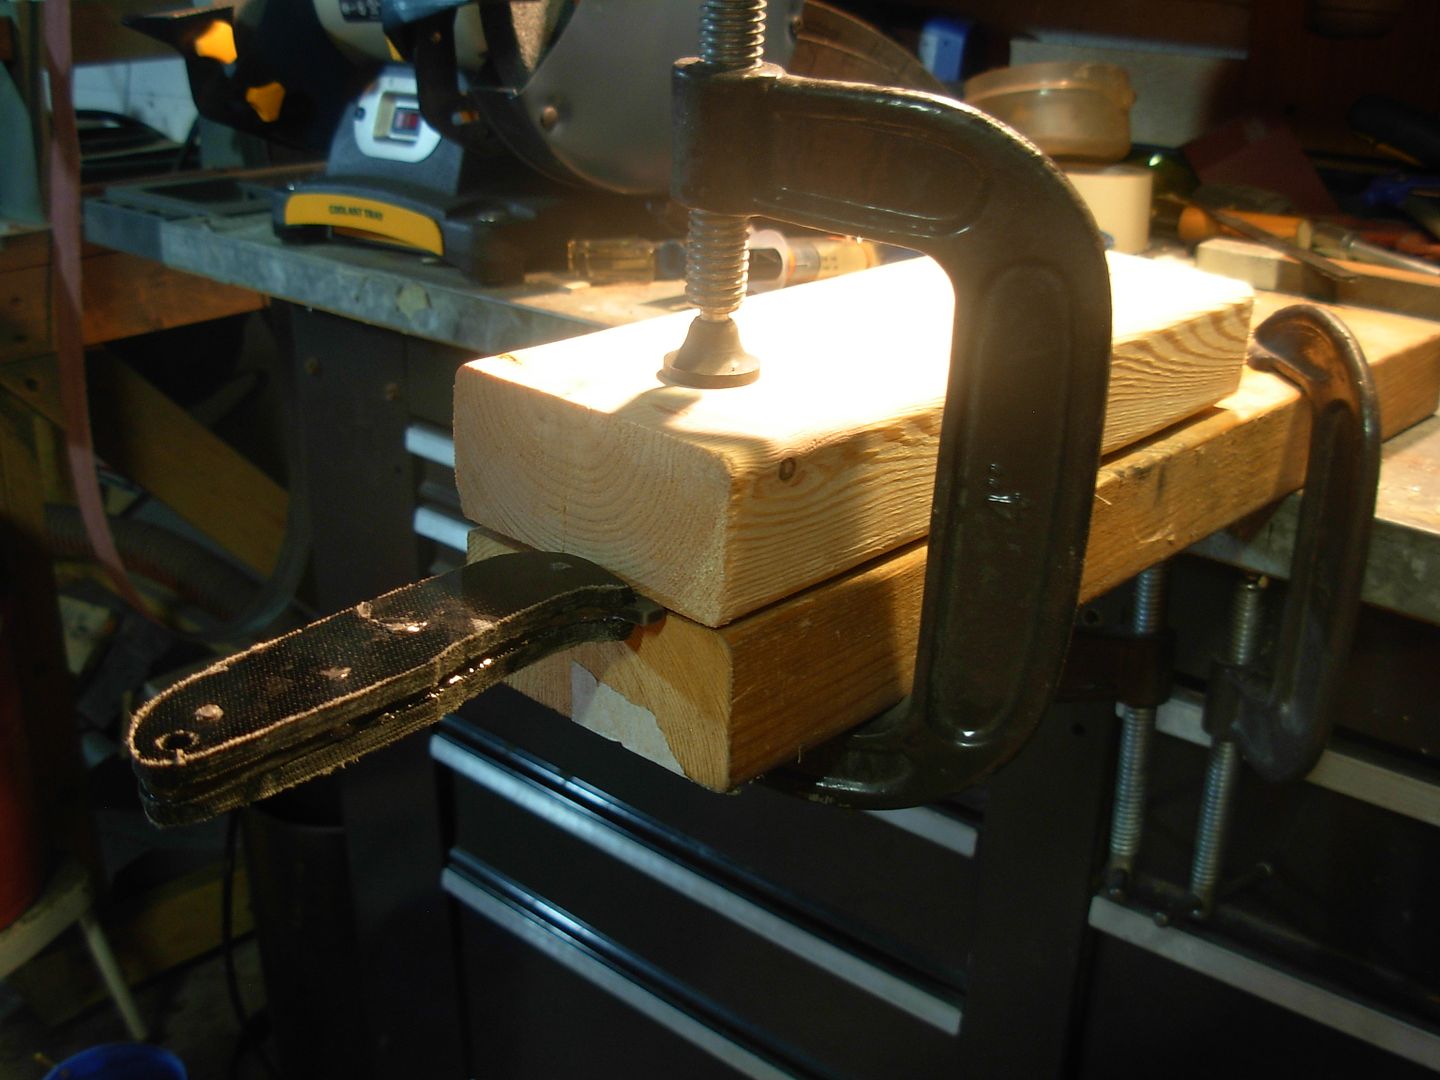
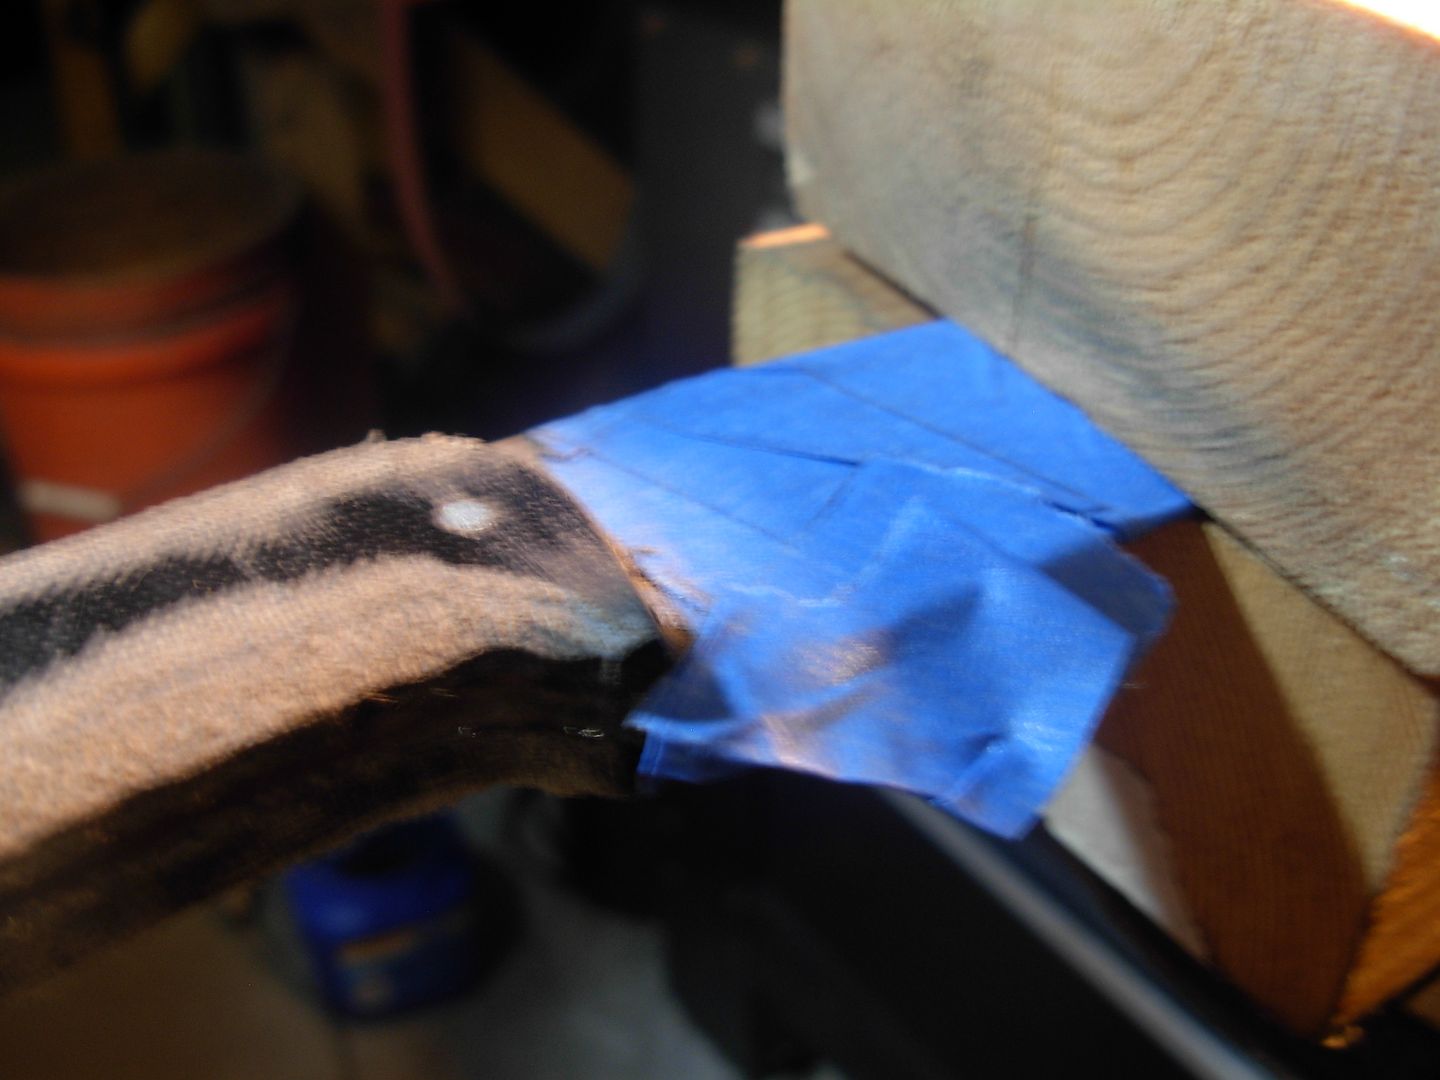
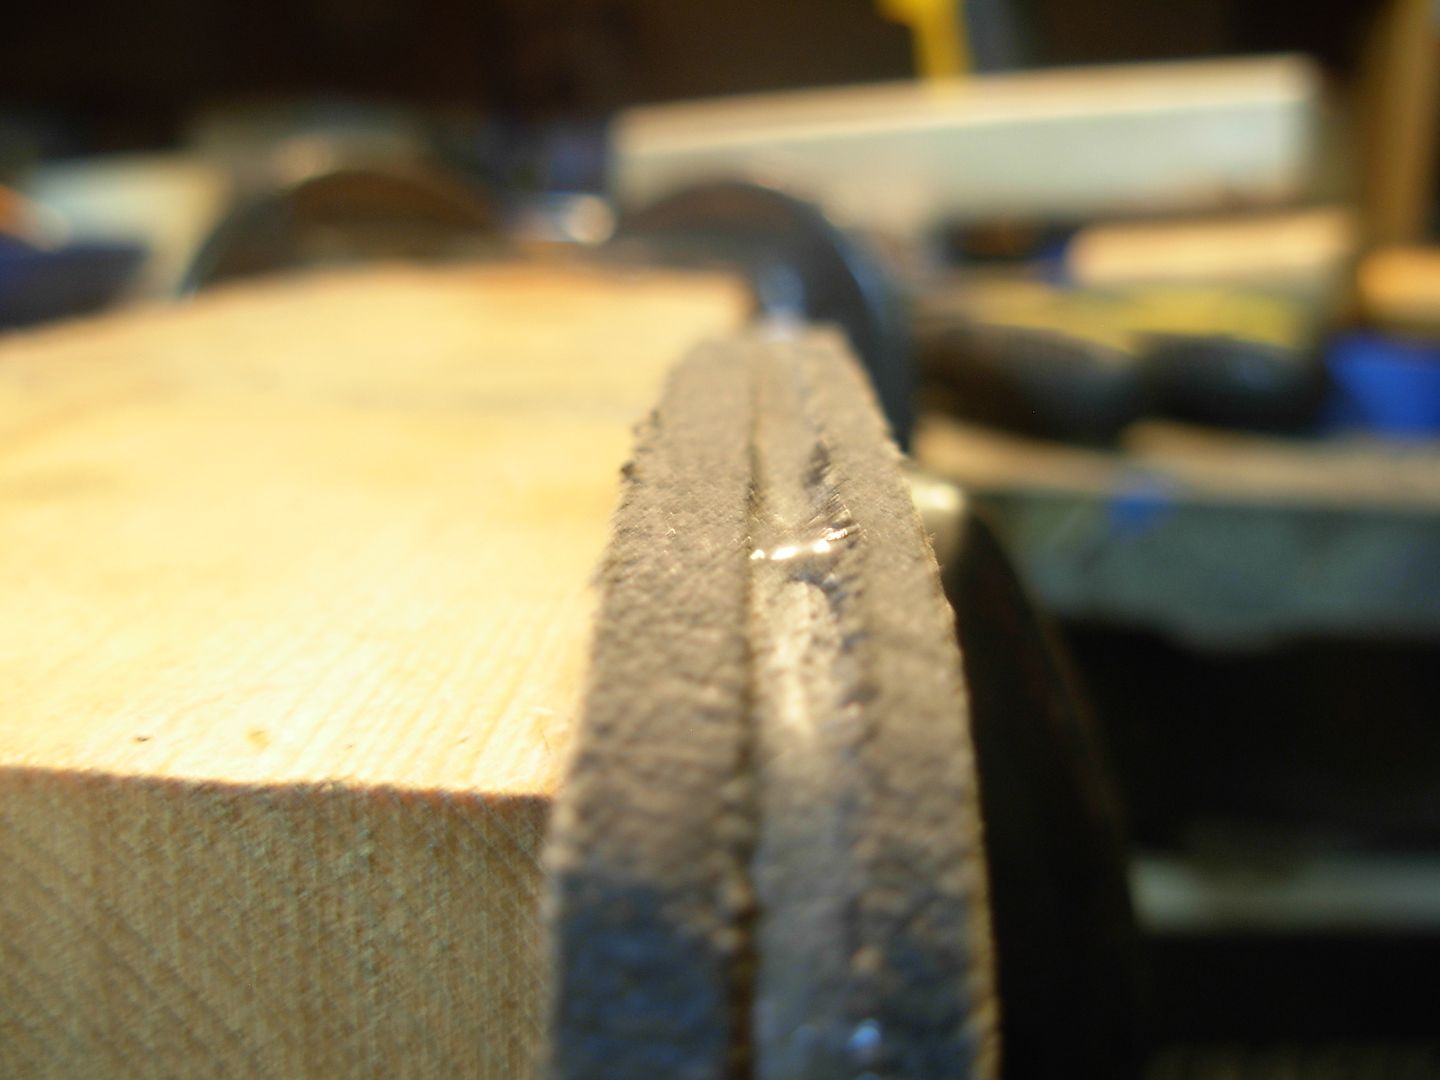
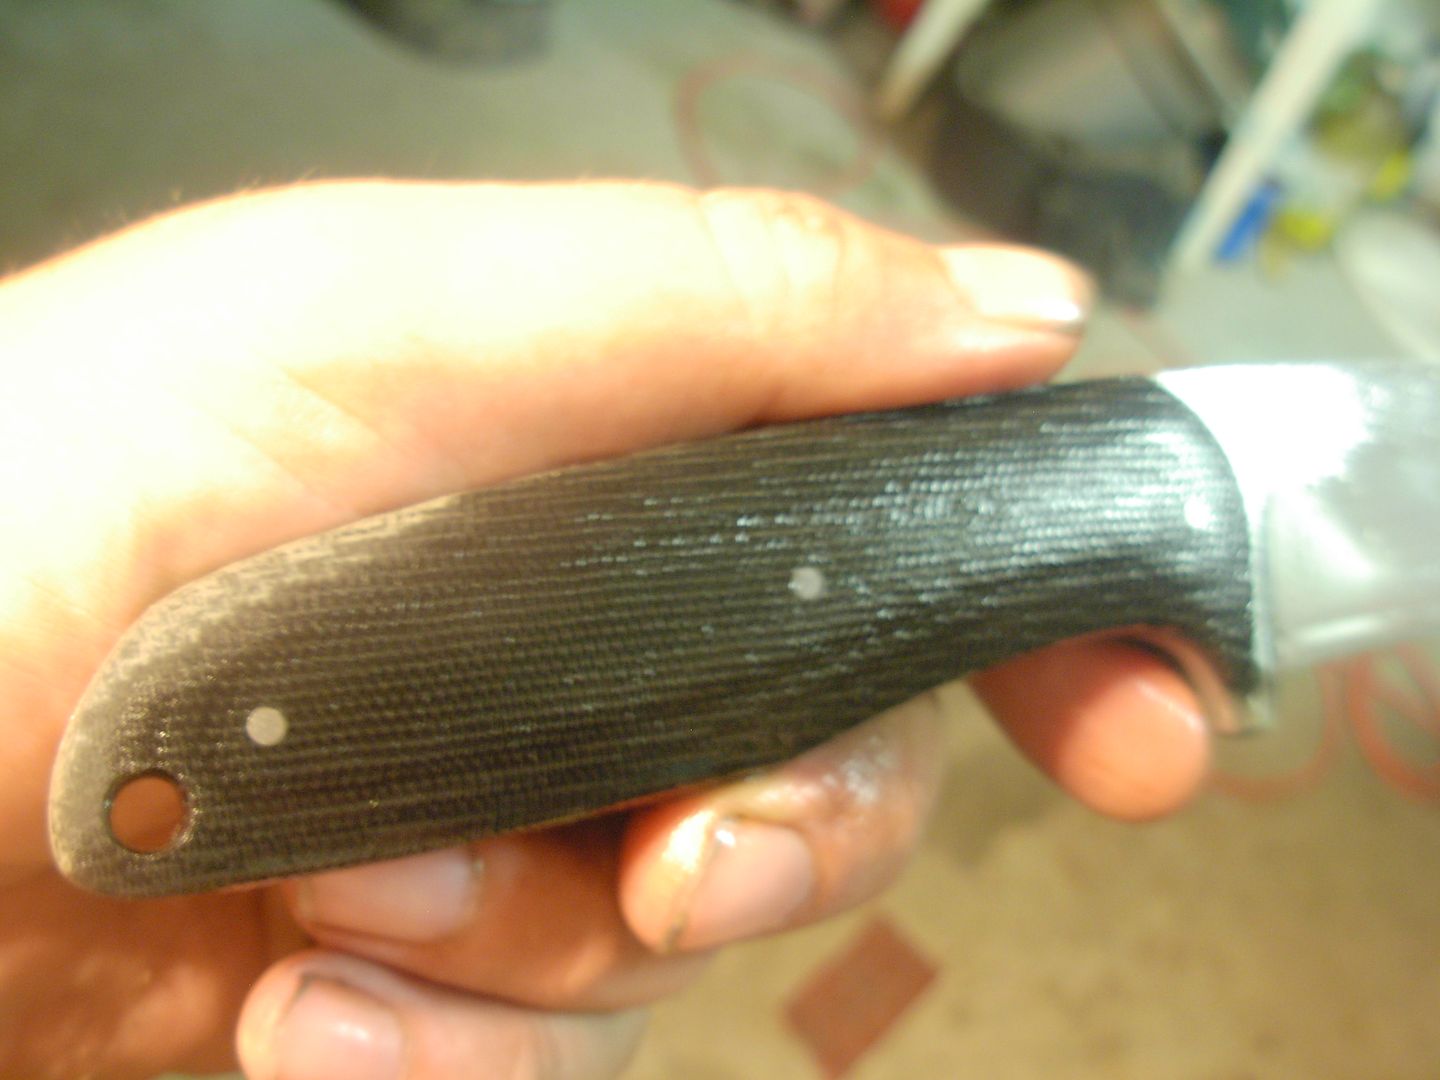
Now we can pin our scales together, clamp them down and begin cutting away the excess with our hacksaw
A word of caution here - We do not want to cut beyond our scribed line and will be wise and stay away from it just a little. If we do cut beyond the scribed line we'll be forced to alter the tang of the knife after assembly. This can surely be done but let's avoid changing our profile or creating uneccessary work for ourselves.
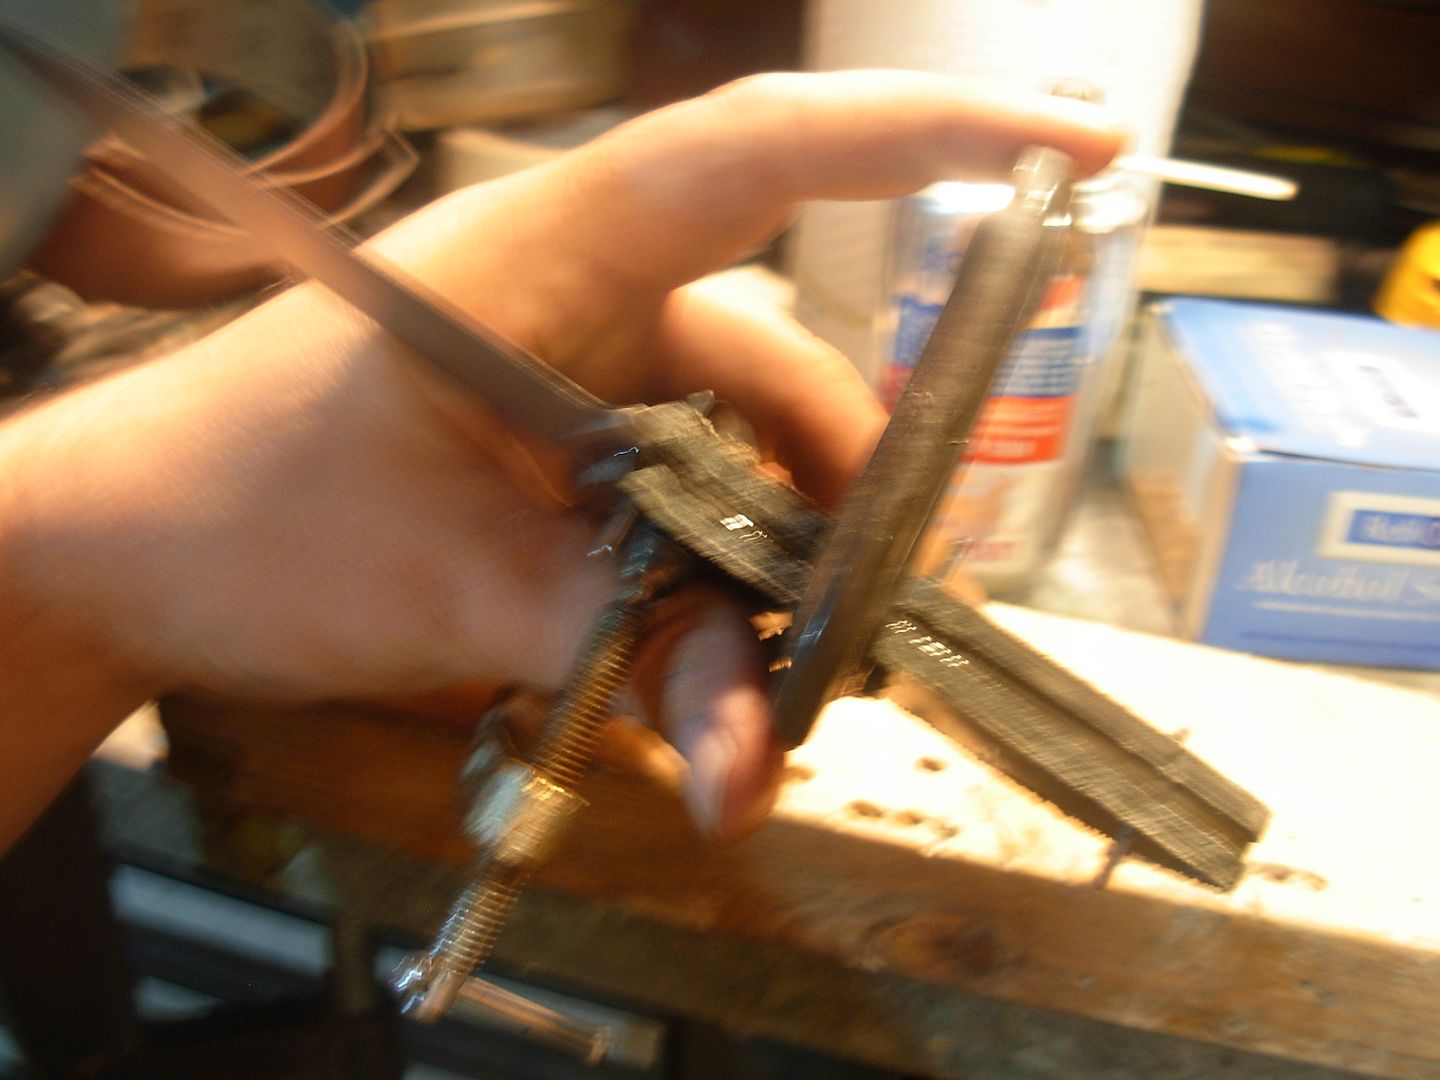
Micarta will cut easily with the hacksaw. Light pressure and quick sawing motion gets the job done in no time
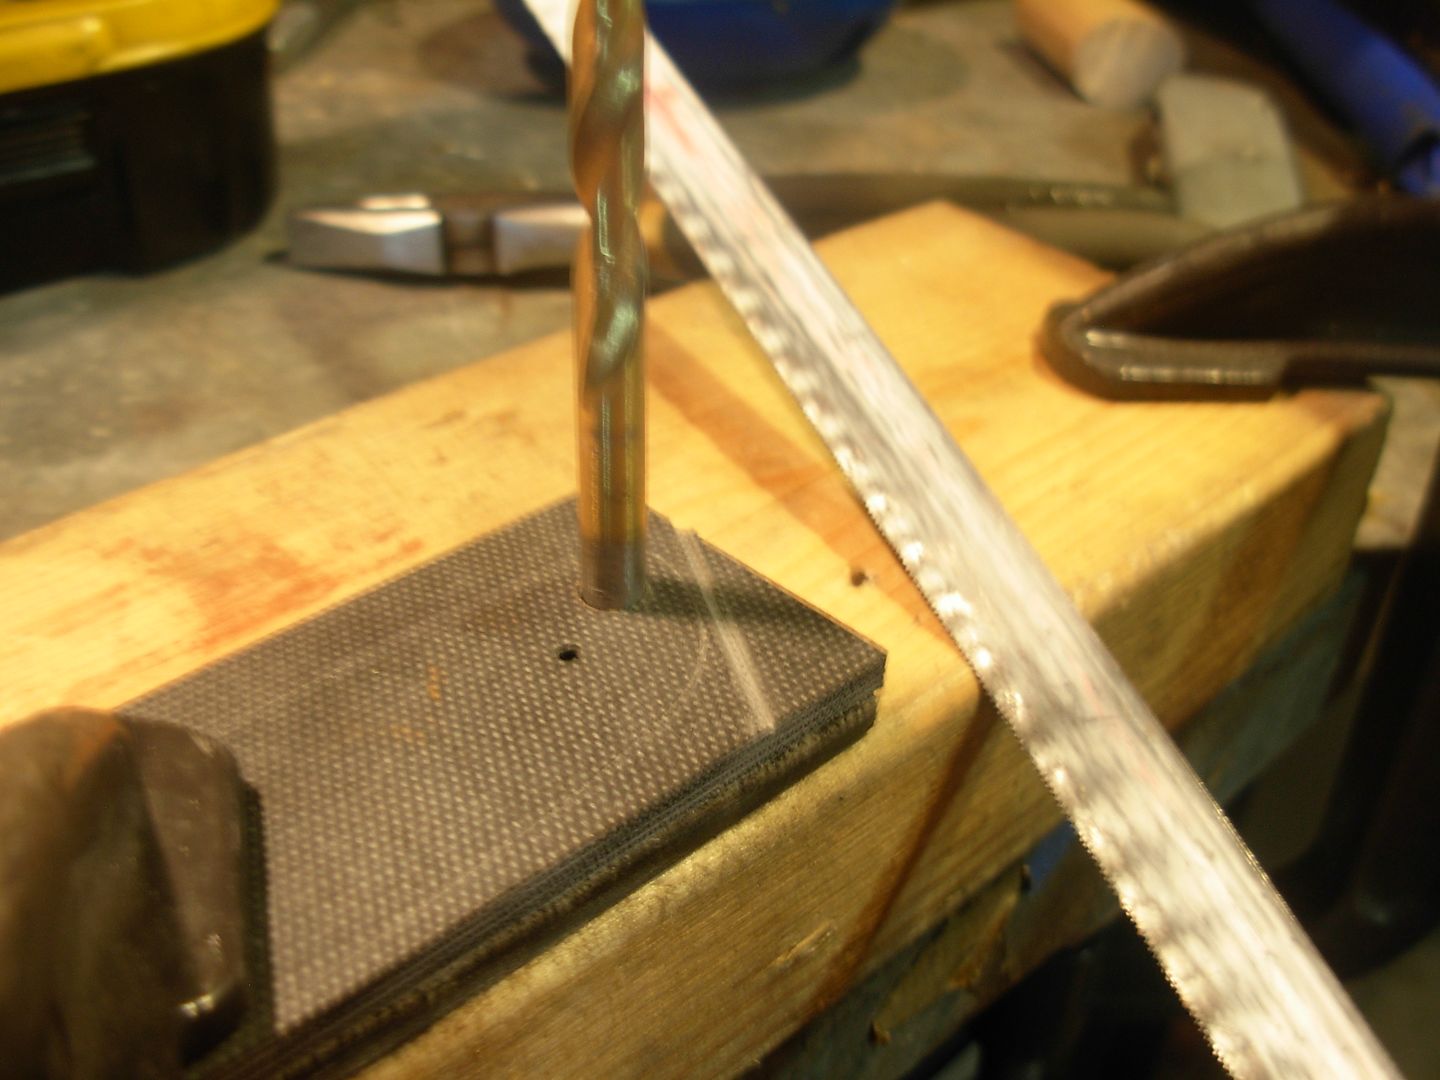
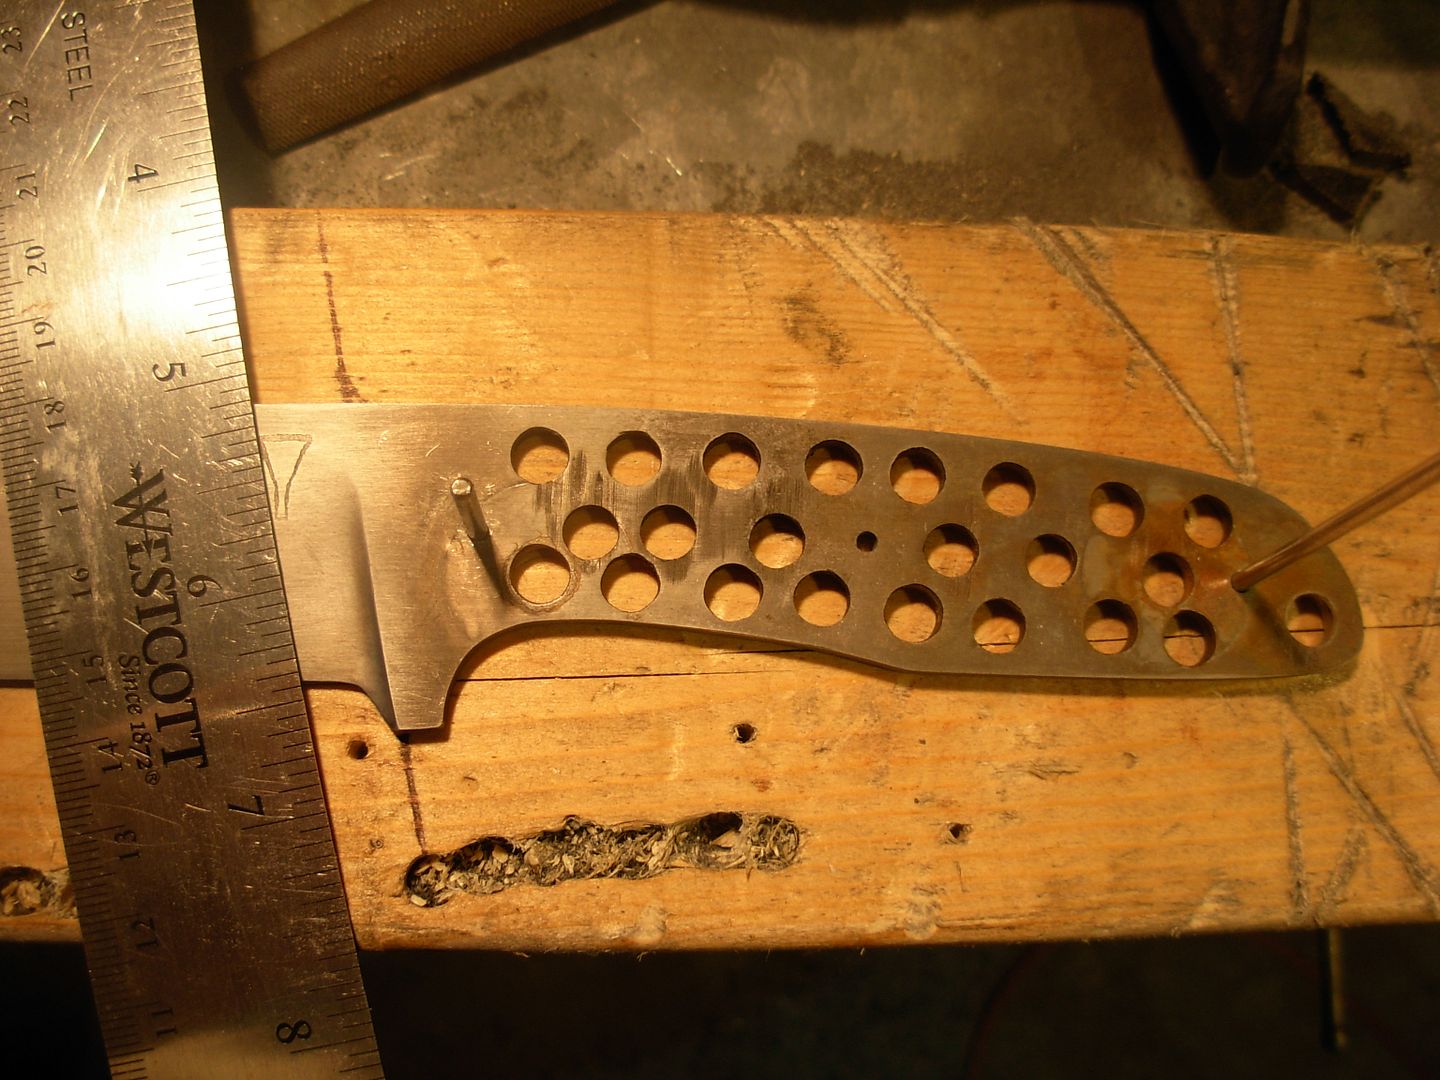
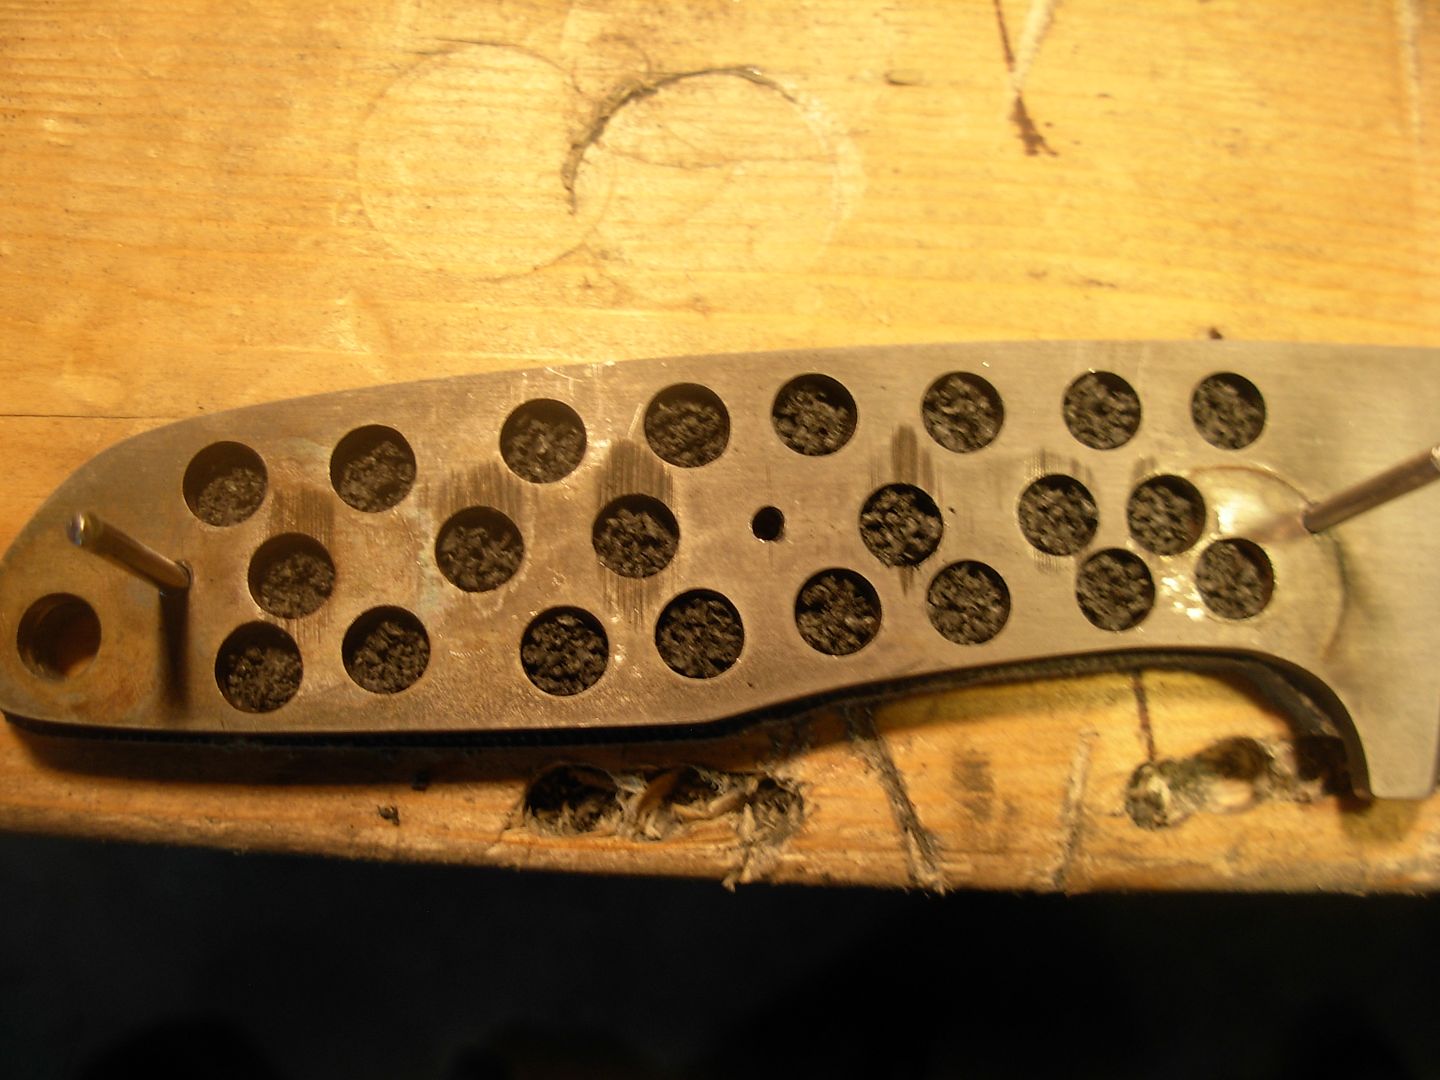
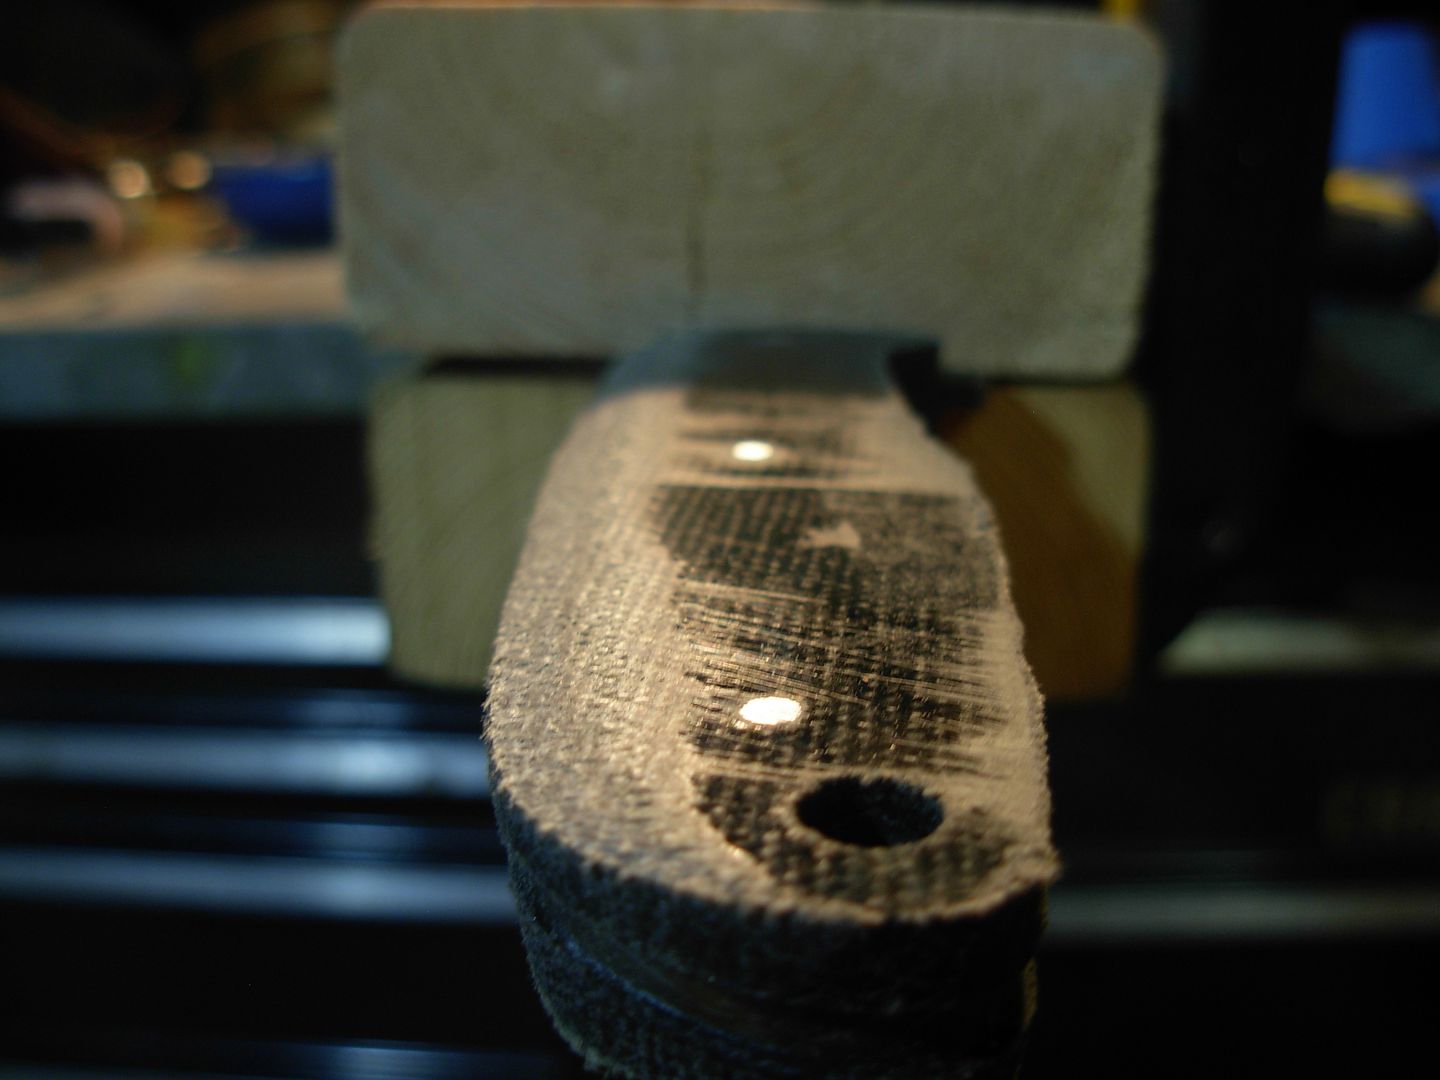
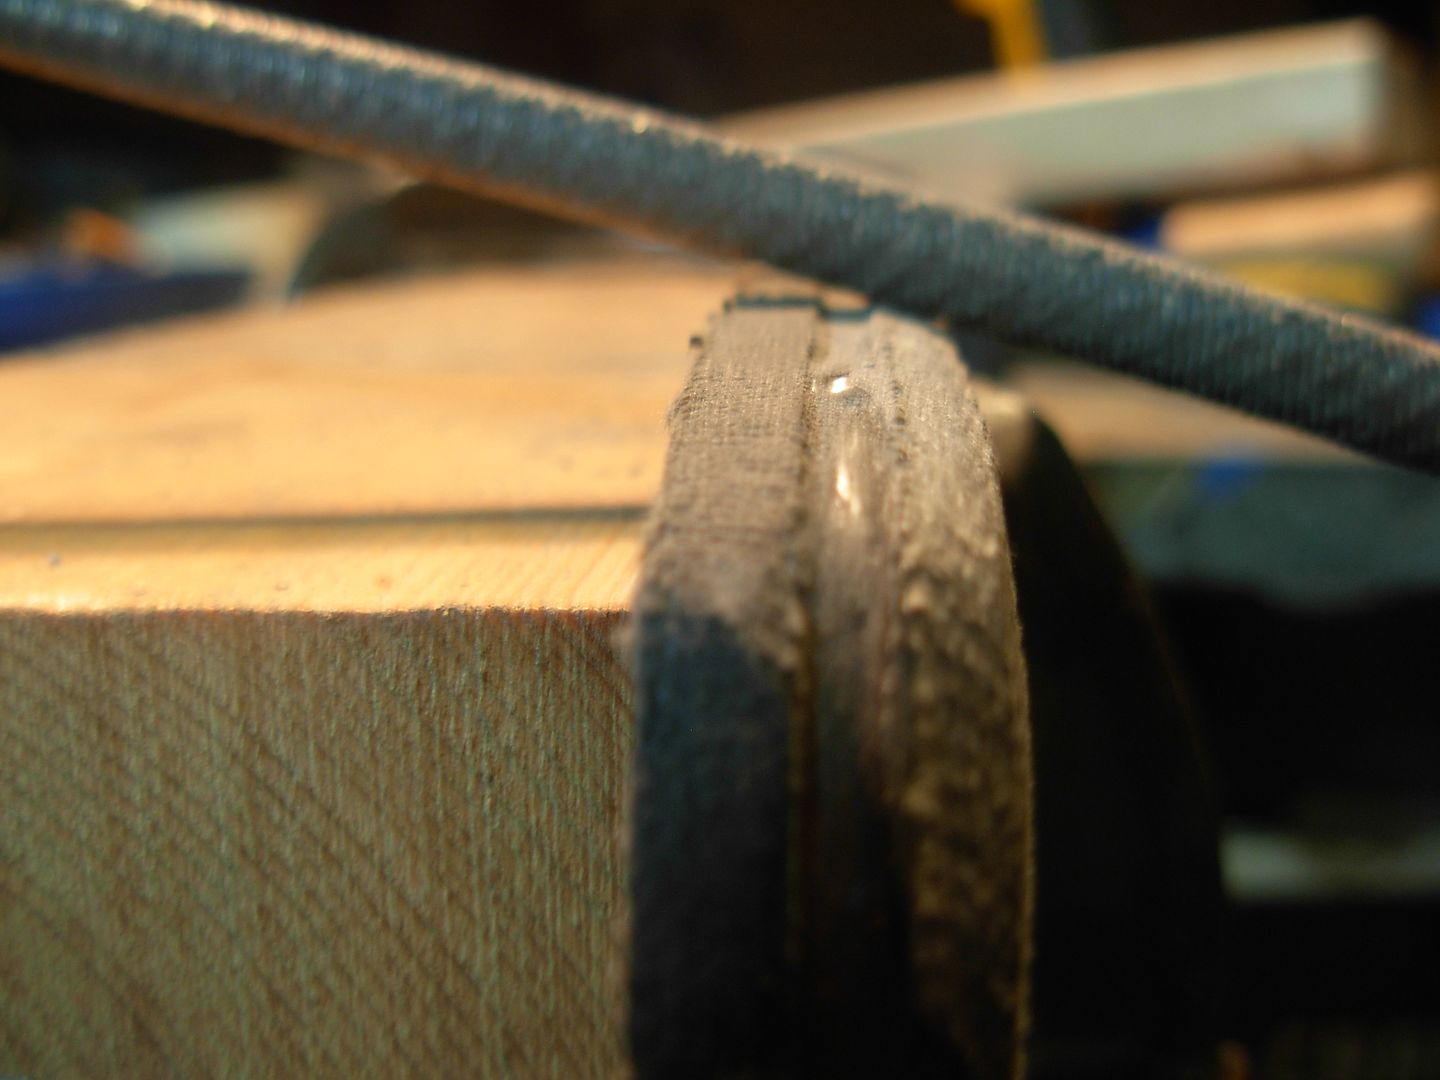
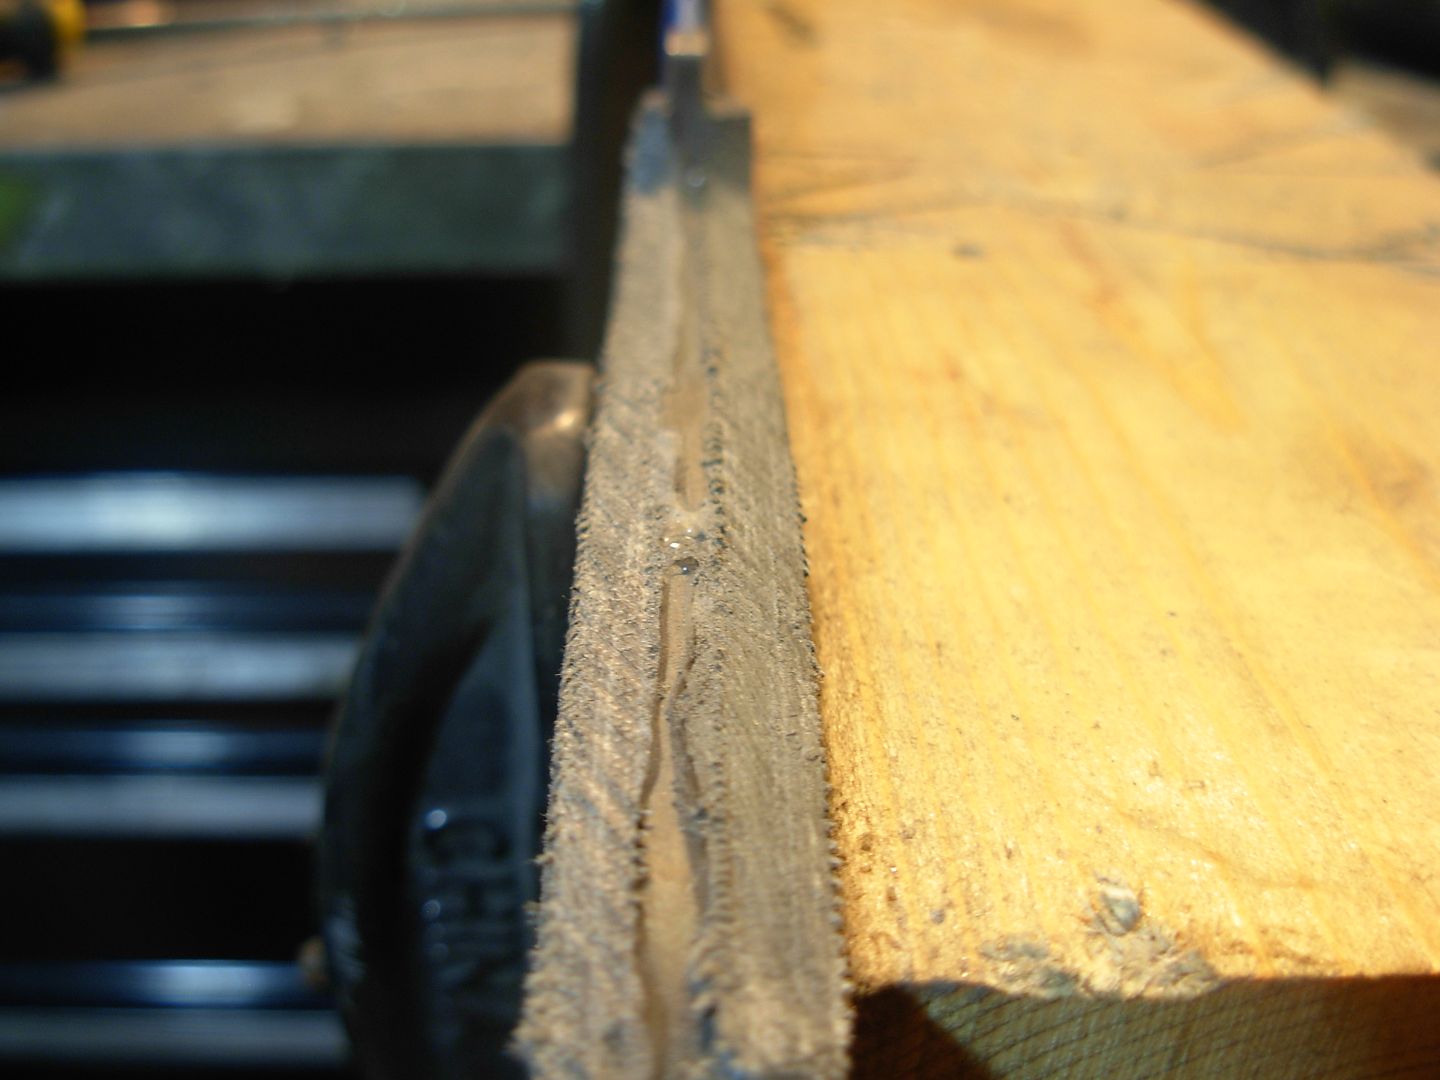
Cut away as much as possible with the saw as it's FAR quicker than rasping away excess material. When finished with areas accesible with the saw use the hole drilling method for the rest. The location of these holes is not critical like it was when we profiled our steel. Eyeball it and drill'em. Just be sure not to go beyond the scribed line.
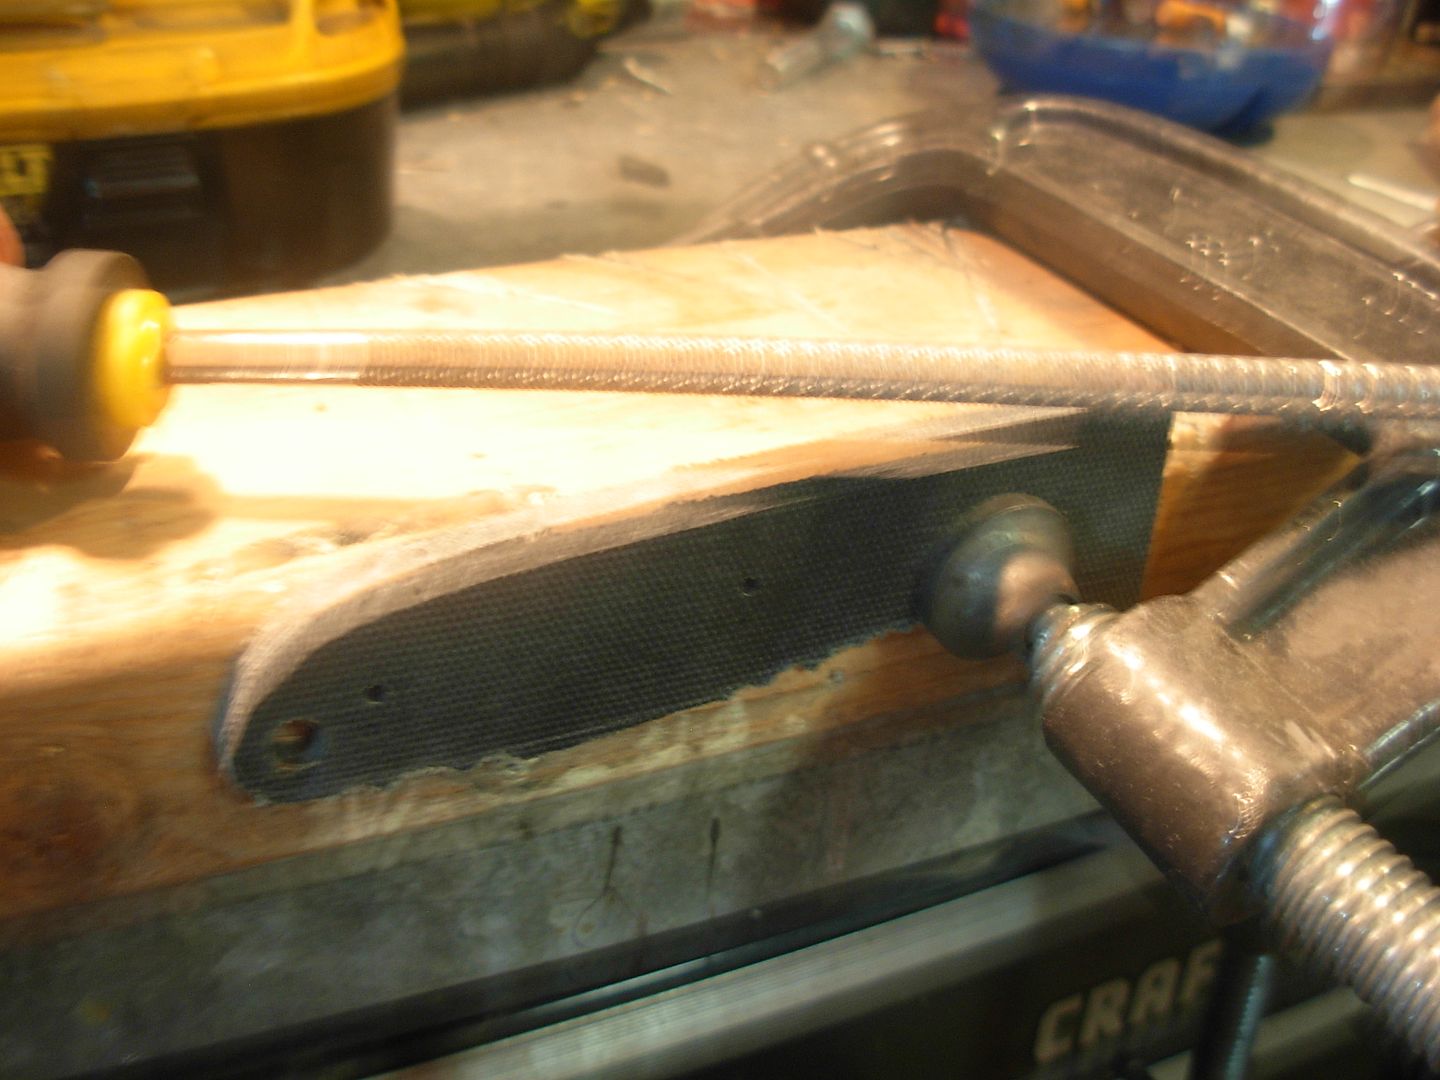
Now use the hacksaw in a similar fashion to a bandsaw to cut away the scrap
It's possible with a little care to get pretty close using these methods.
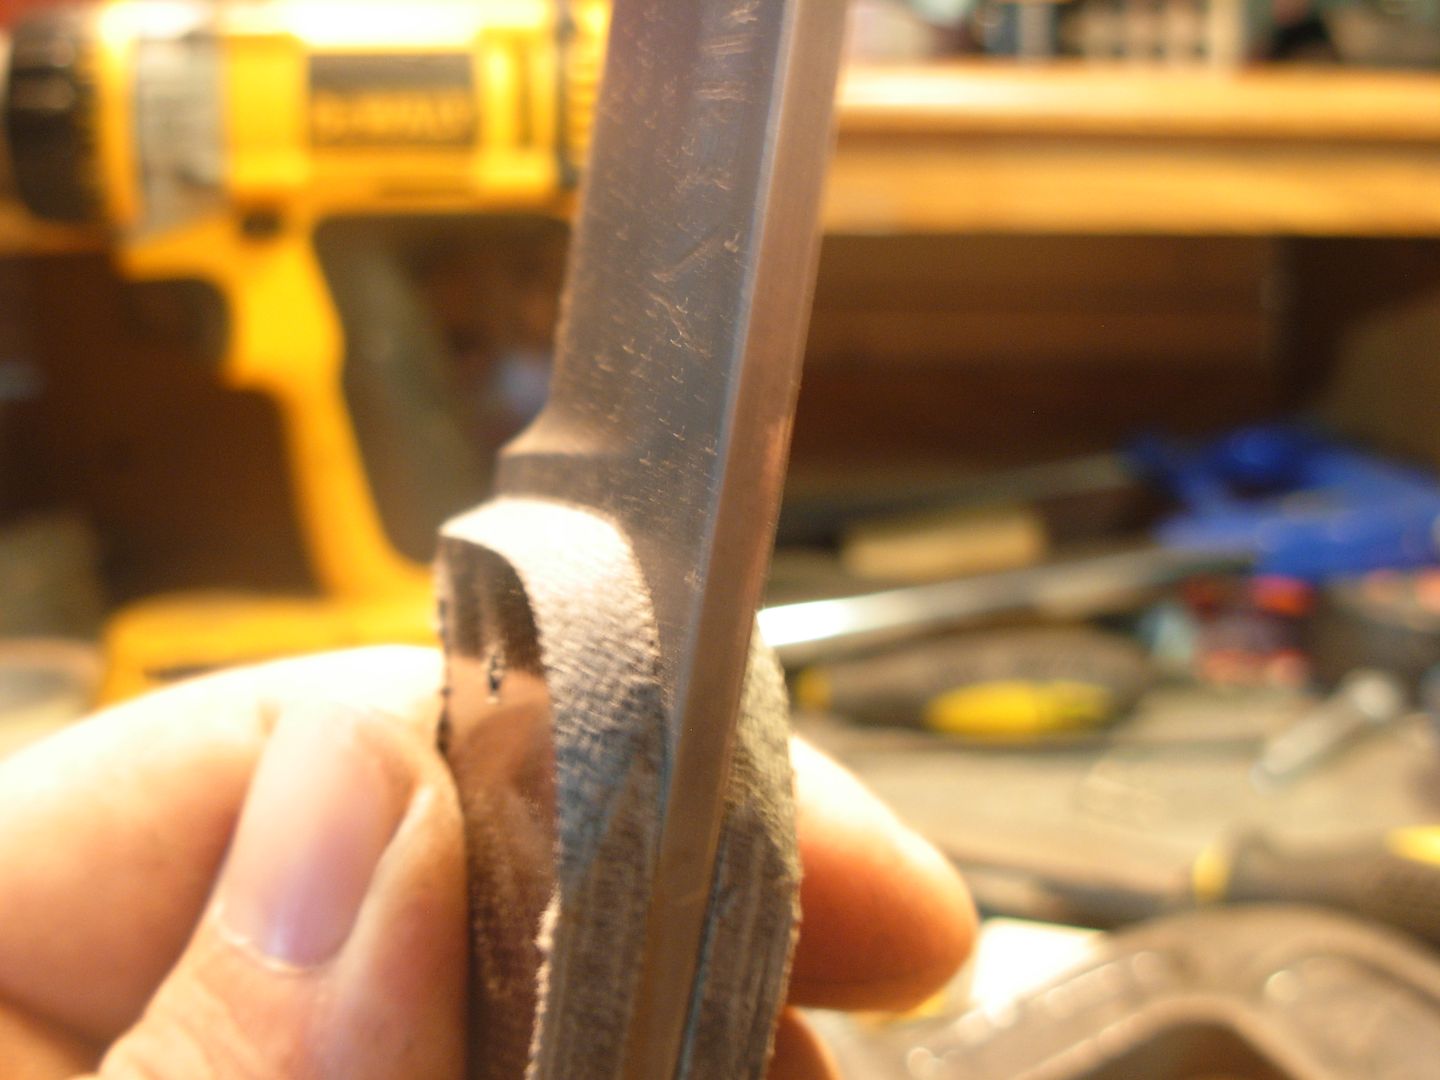
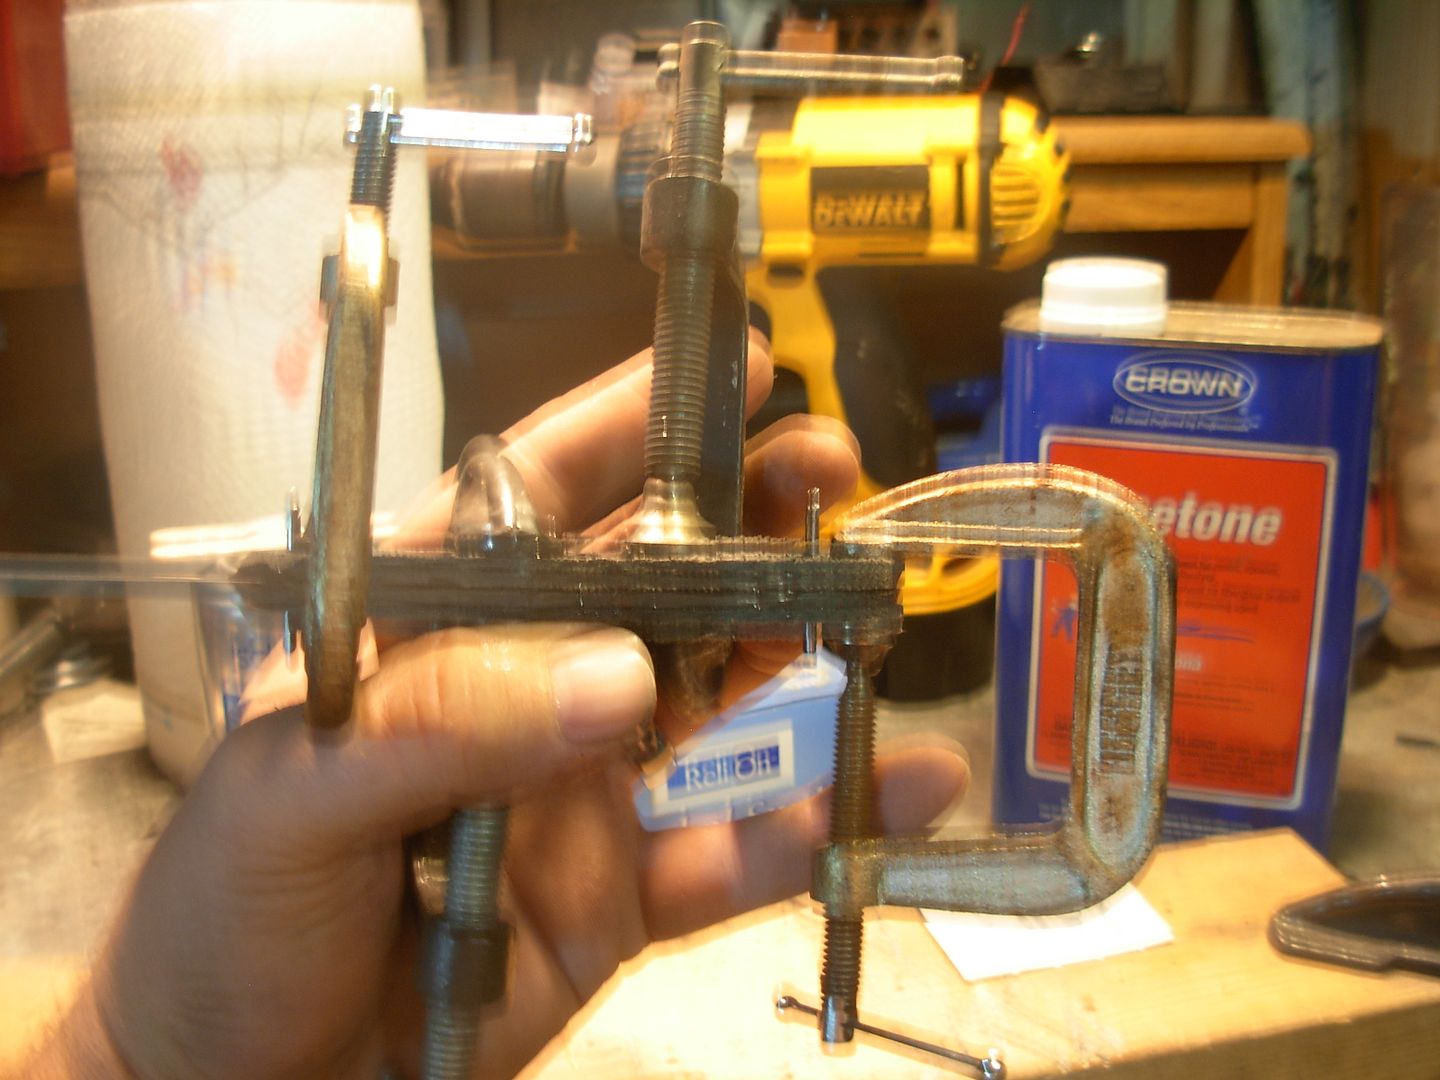
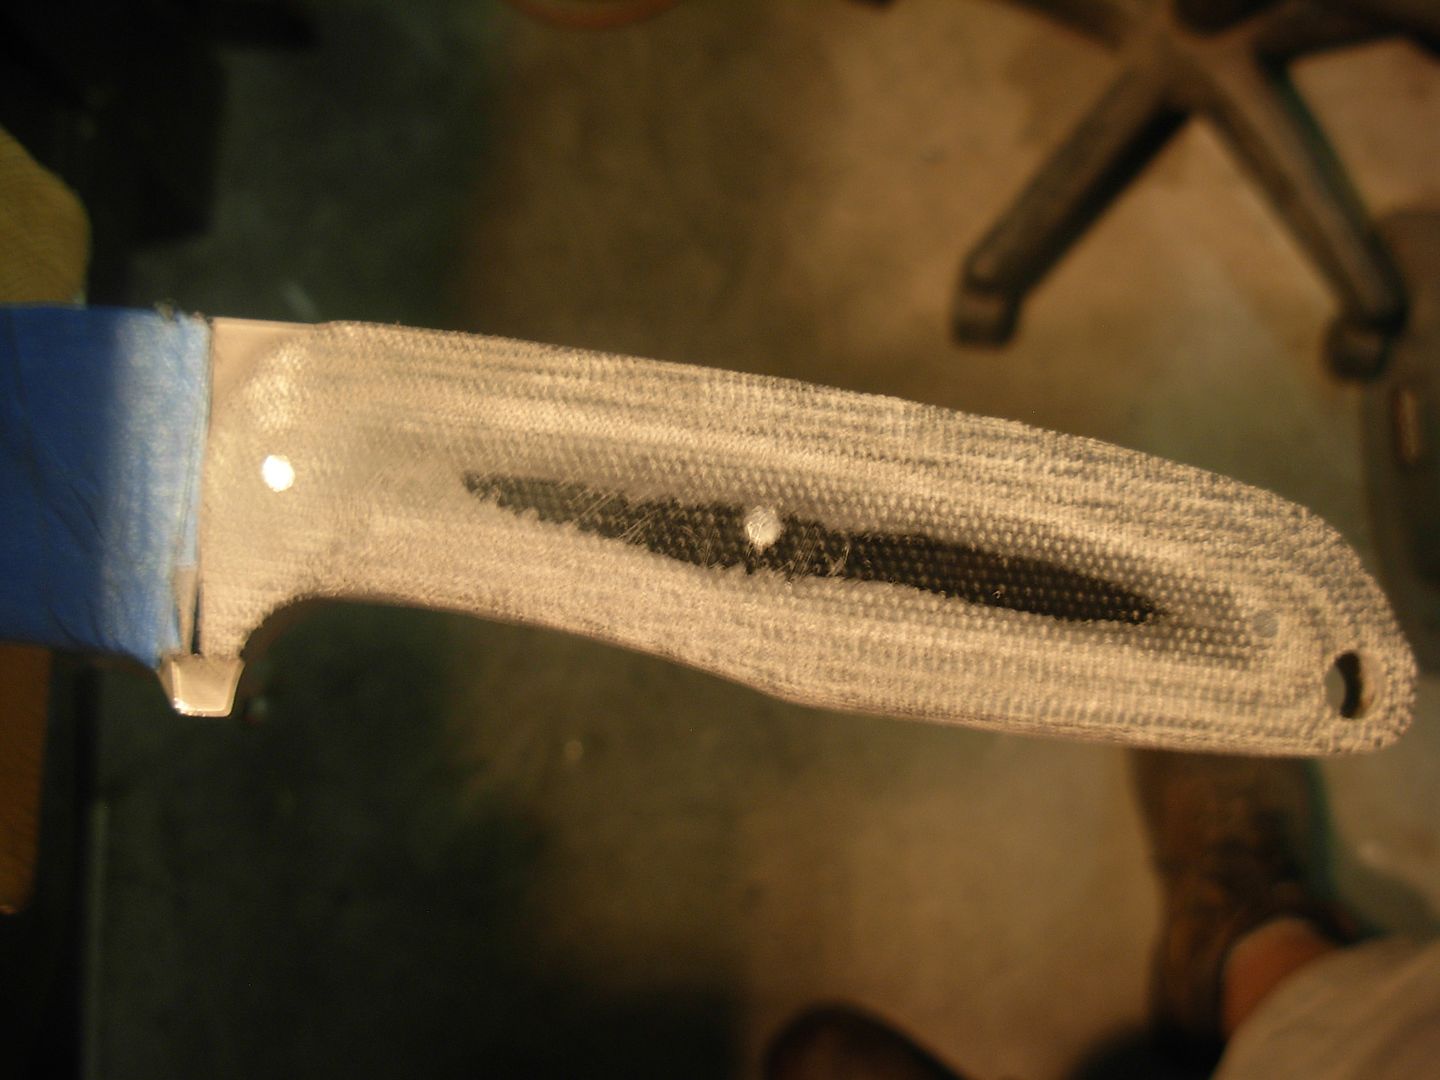
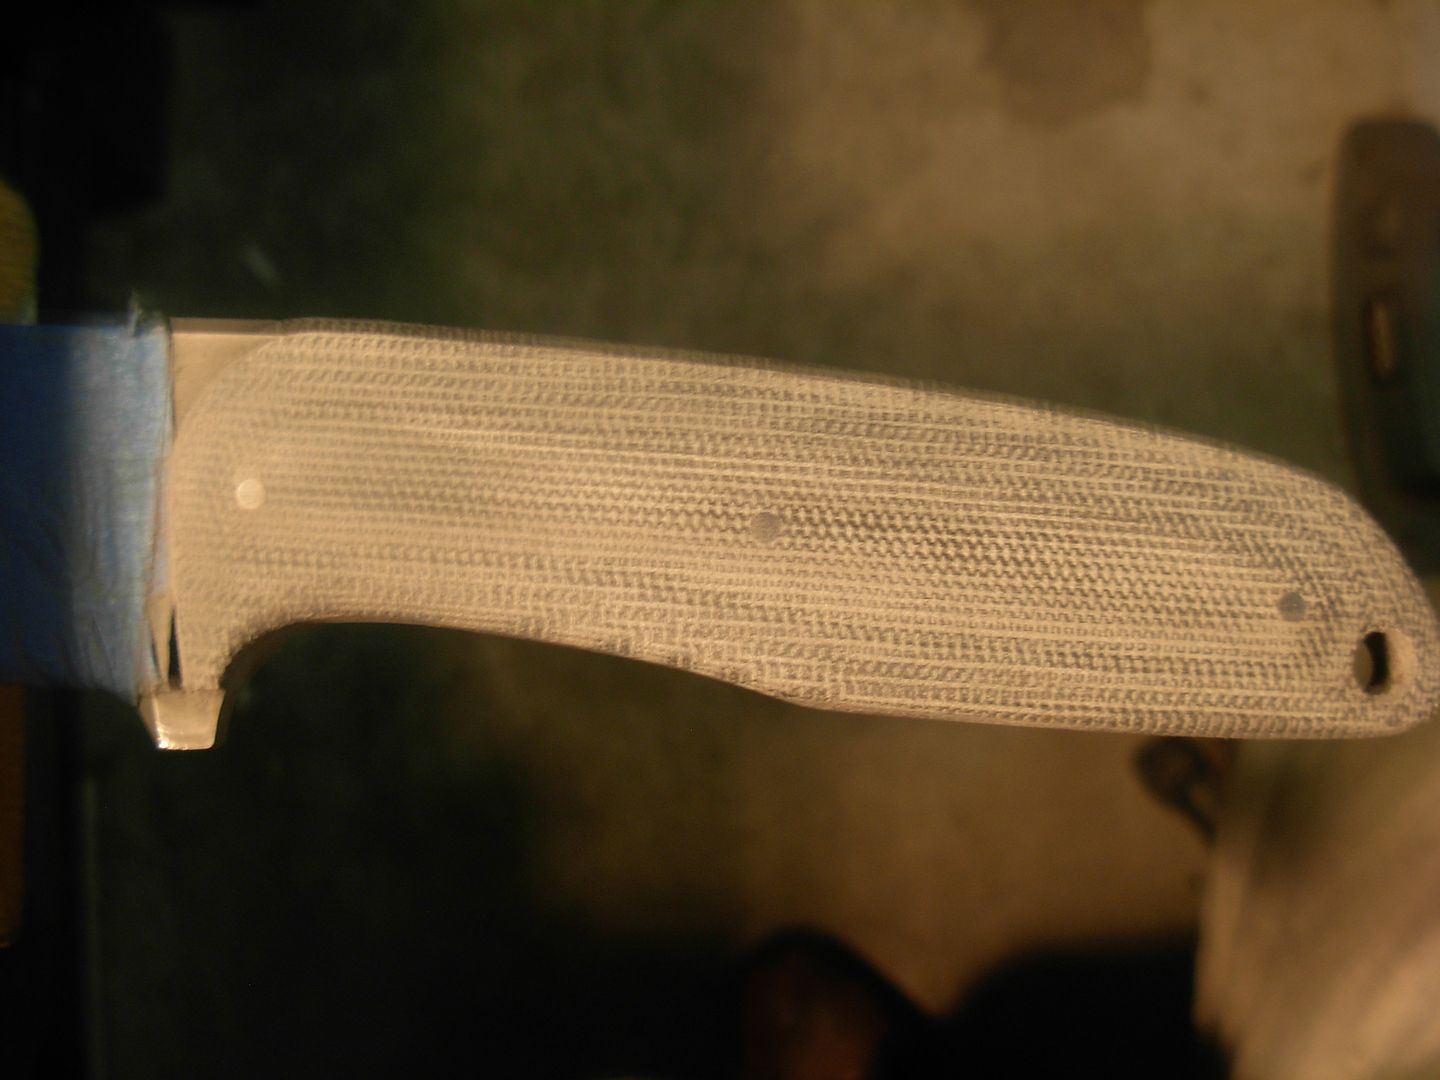
Now I'll clean up the profile of my first scale very nearly to my scribed lines using this round , very course, file. This material will be removed sooner or later and I find doing this pre-profiling of my scales GREATLY prefferable to attempting it after glue-up. At this stage I can clamp my scale in any old position I need and get it done without worry of damaging the tang of the blade.
Take your time and do a good job of pre-profiling scale #1. Time spent here will payoff when profiling #2 AND post glu-up
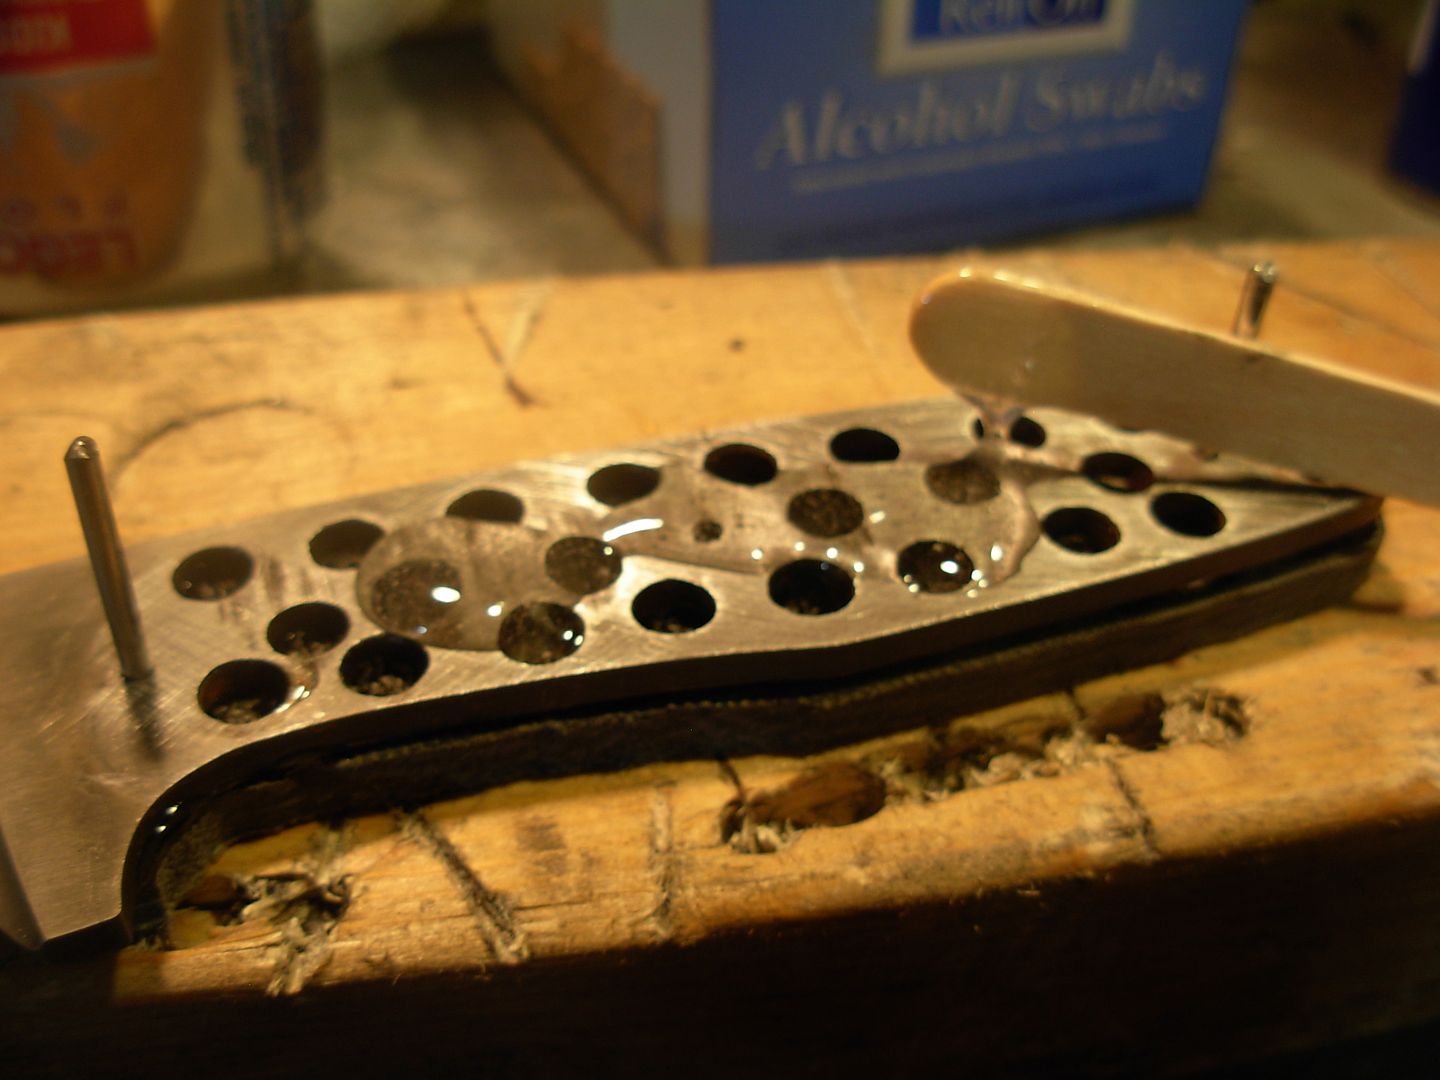
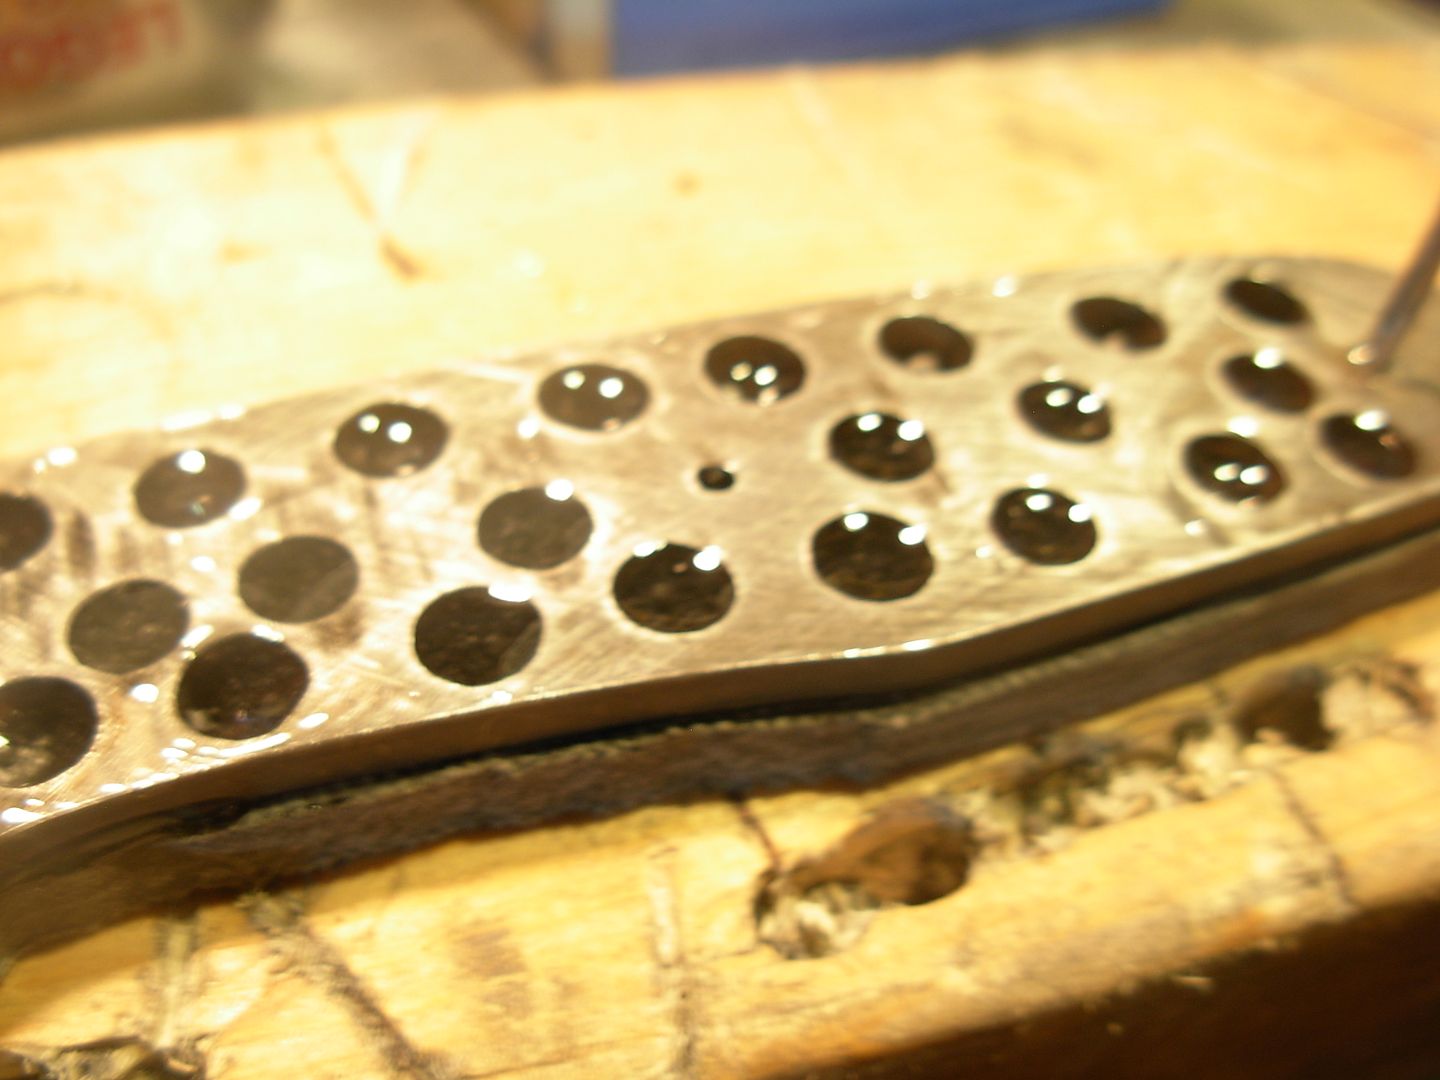
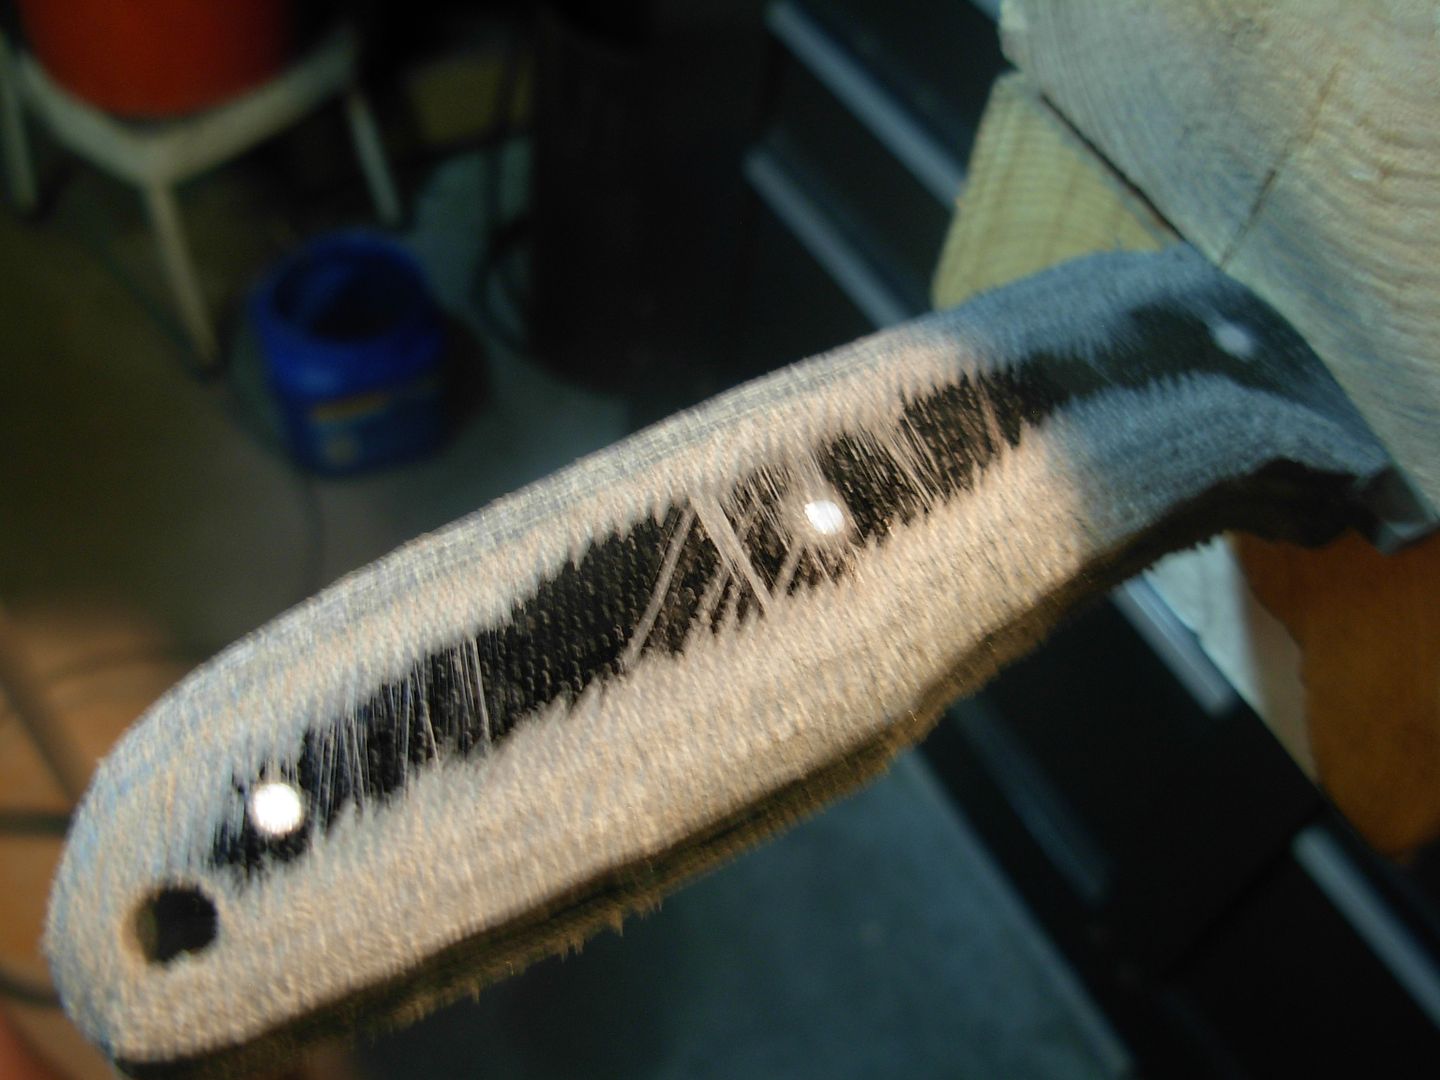
With #1 done pin the two together and clamp in place. Now we can really go to town bringing #2 down flush to #1. This spine side took all of about 60 seconds.
That is the conclusion of last night's progress but we'll continue from here.
-Josh