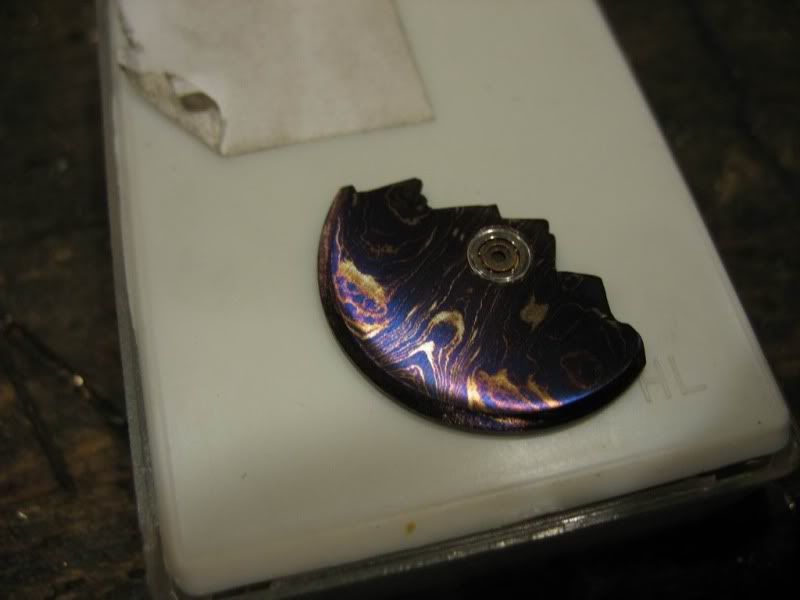
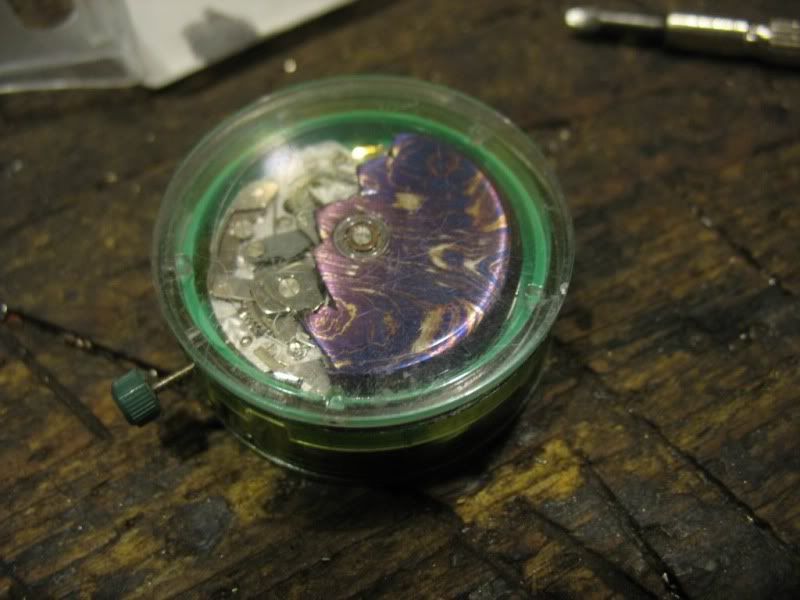
The watch WIP i promised you guys :)

papi

Well-Known Member
Hey guys,

i finally got around to do this, and hoping i'm in the right section, here's the first batch of pics.

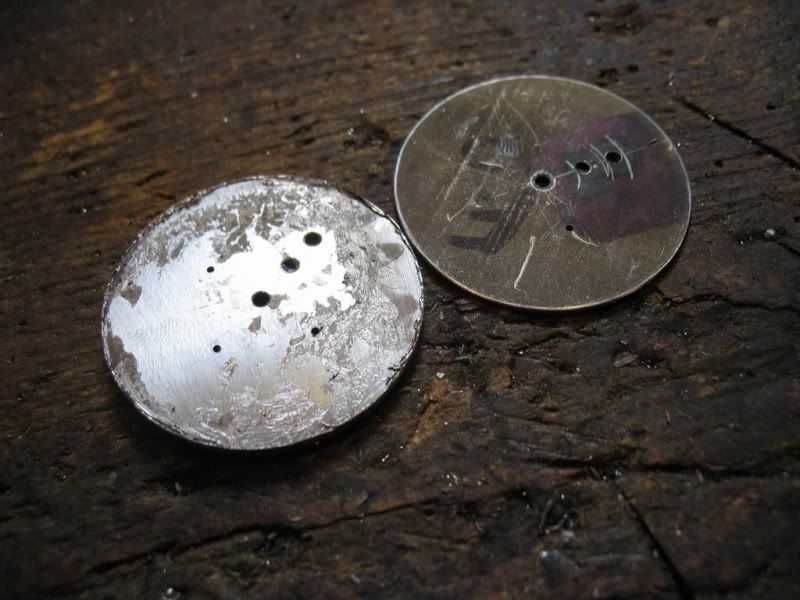
This is how it starts - just a bunch of stock - some titanium, damascus... there are some pieces still missing, but i will add them as i go along.
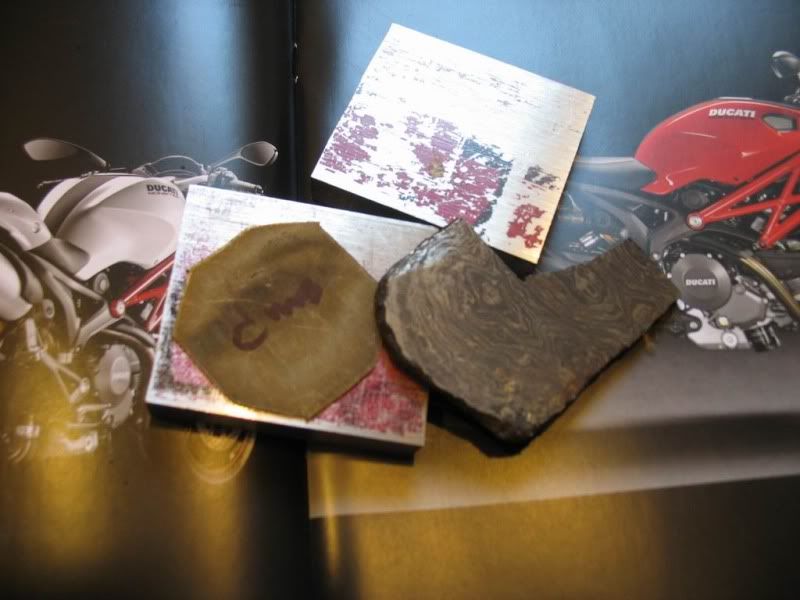
IMG_6404.jpg


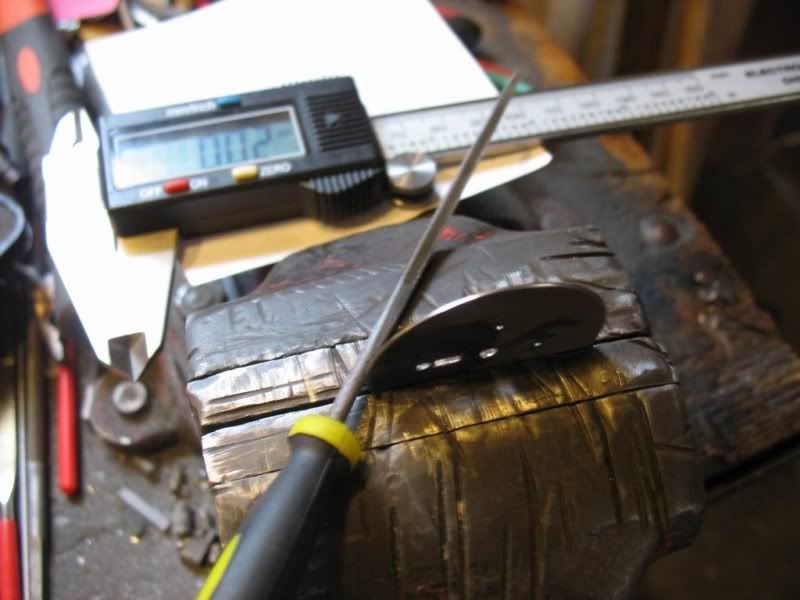
fitting the dial material to a fixture - here, the fixture is centered with the spindle of my mini mill
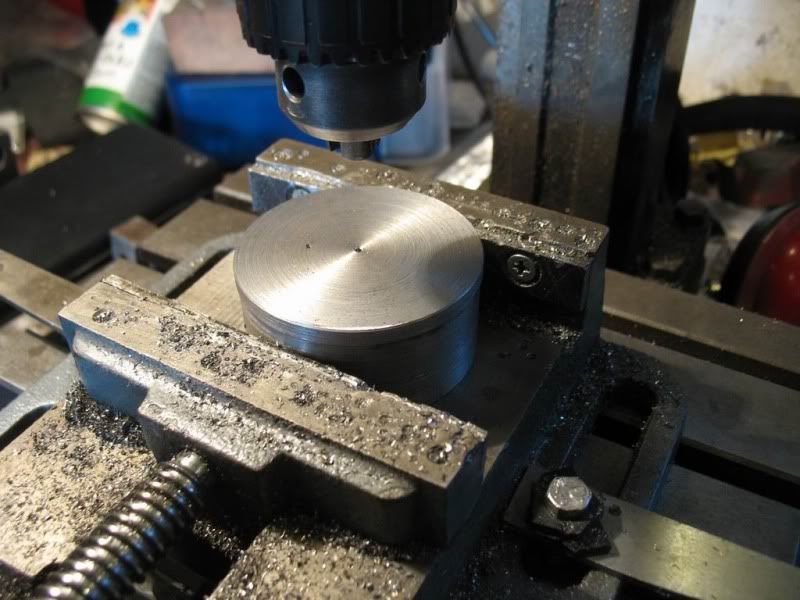
IMG_6408.jpg


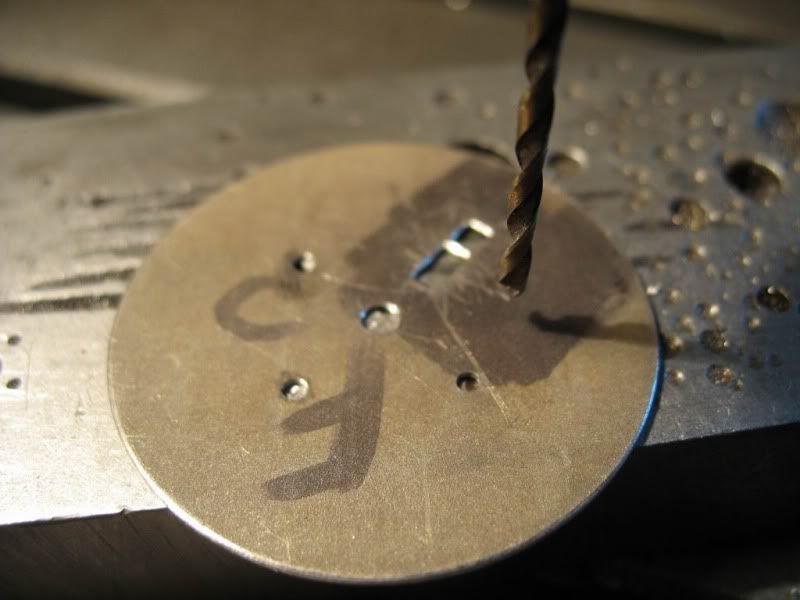
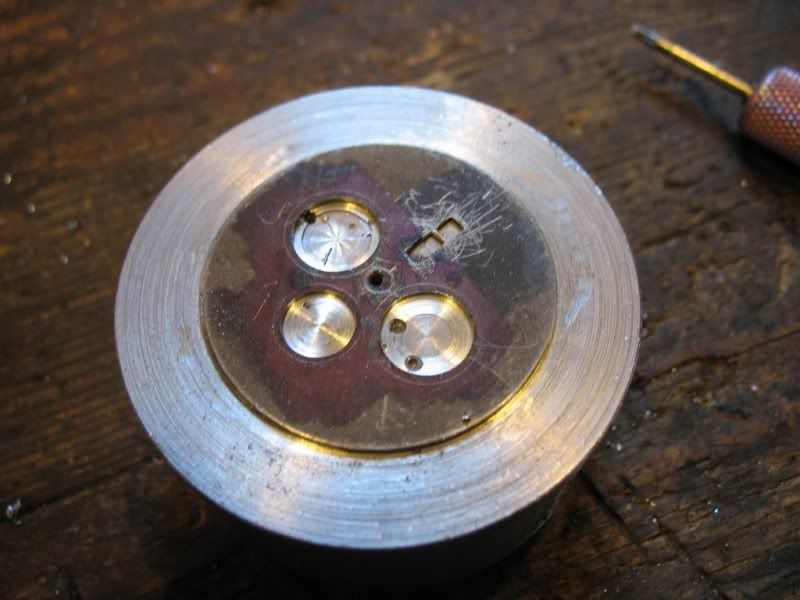
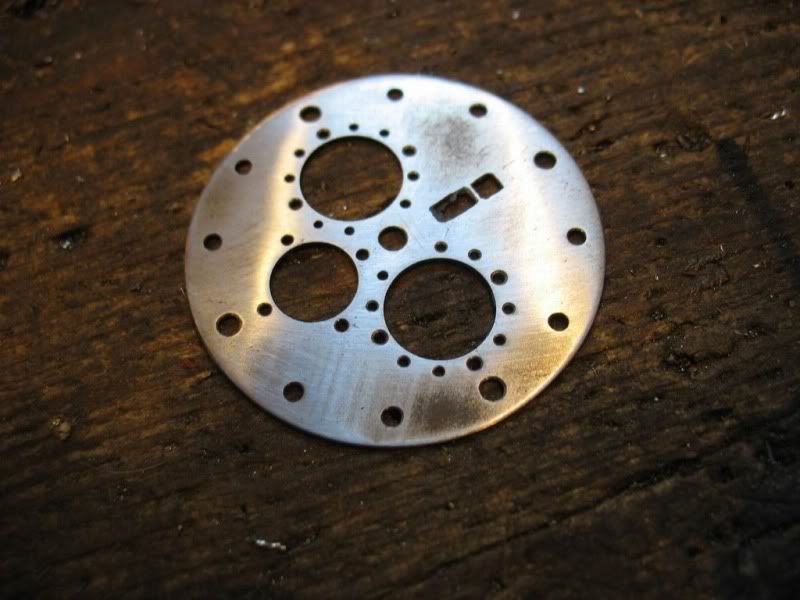
and the dial material superglued to the fixture, with the counter holes measured and drilled
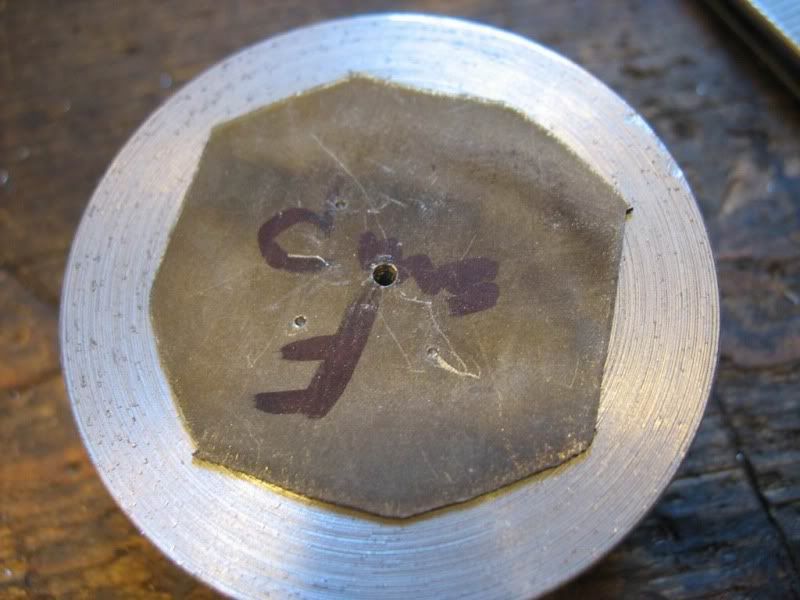
IMG_6409.jpg


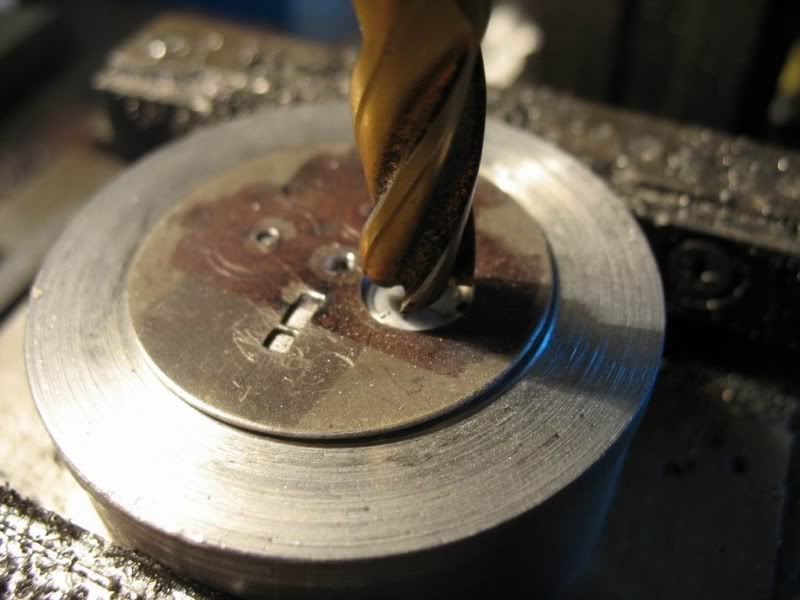
now i transfer the holes to a lower layer (this will be a sandwich dial), which will be a piece of 0.015" titanium
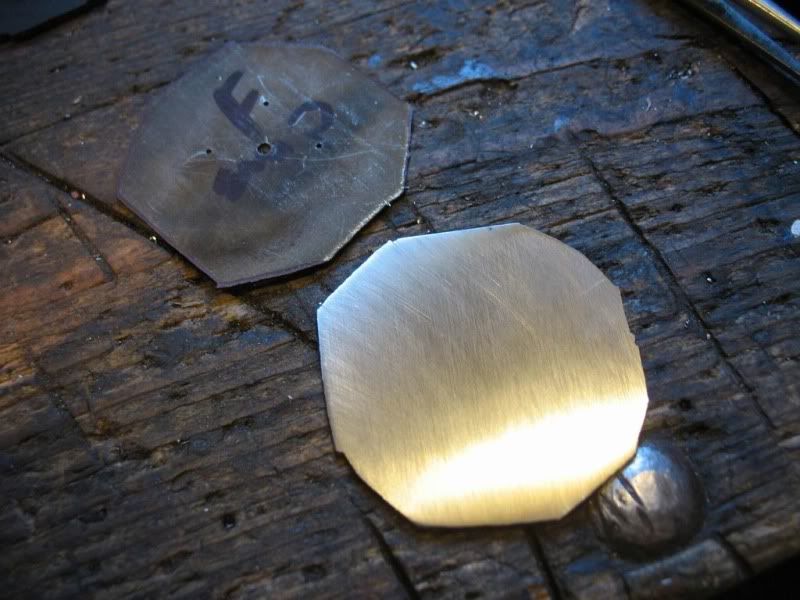
IMG_6410.jpg


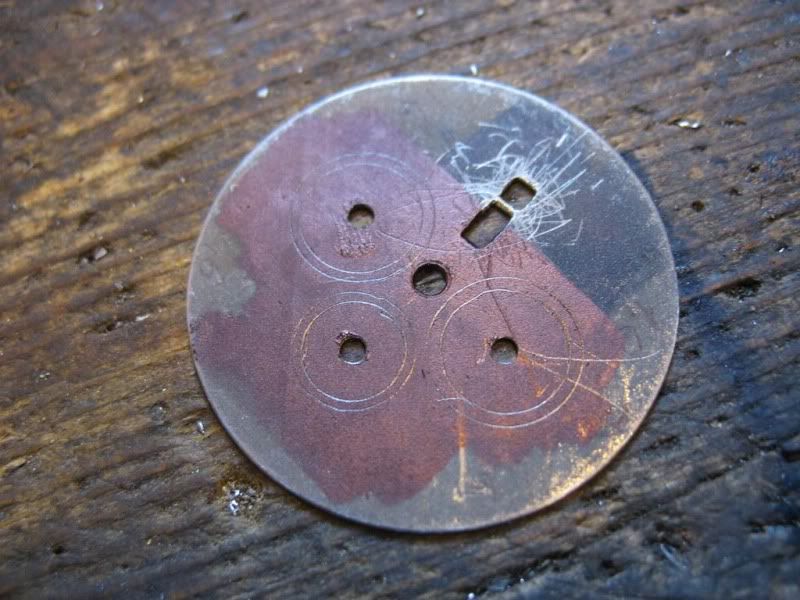
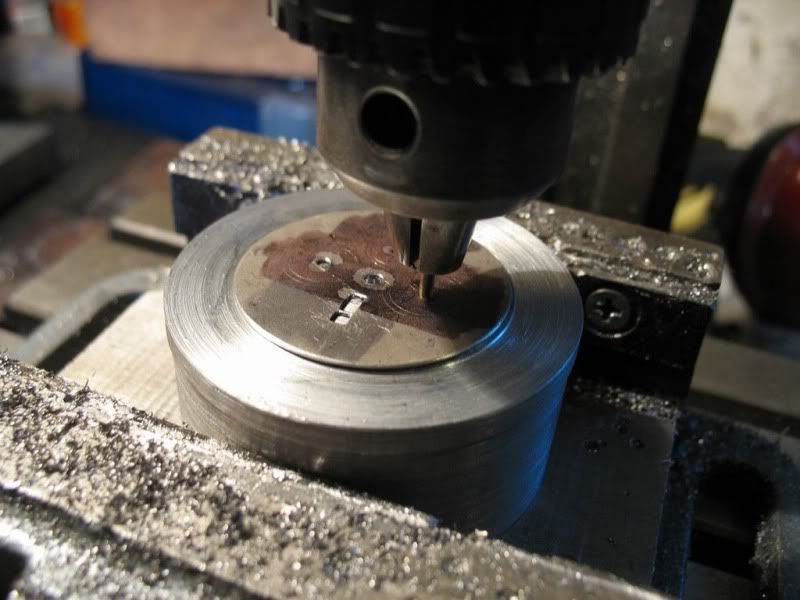
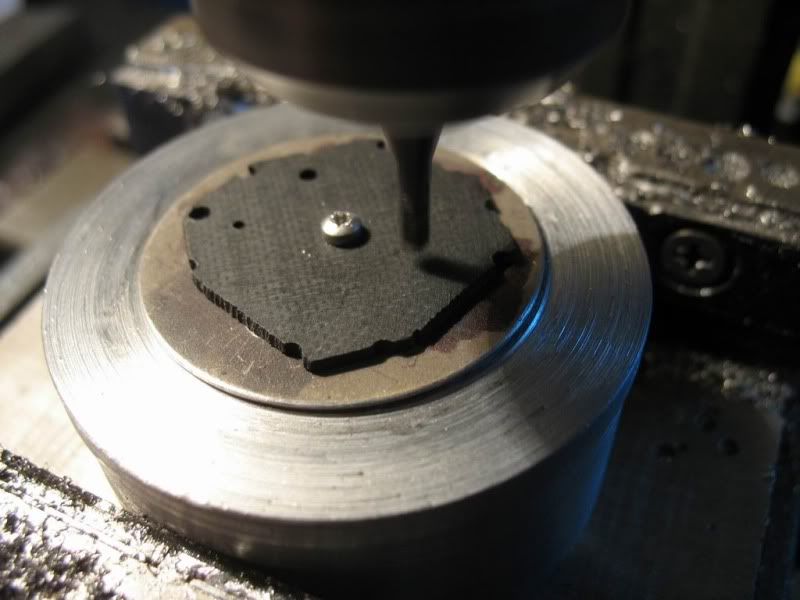
glue those two plates together, and glue them onto the fixture and secure them with a screw and a piece of G10. That helps to distribute pressure, so the glue doesn't let go when i'm turning this from that crazy shape into a nice round circle.
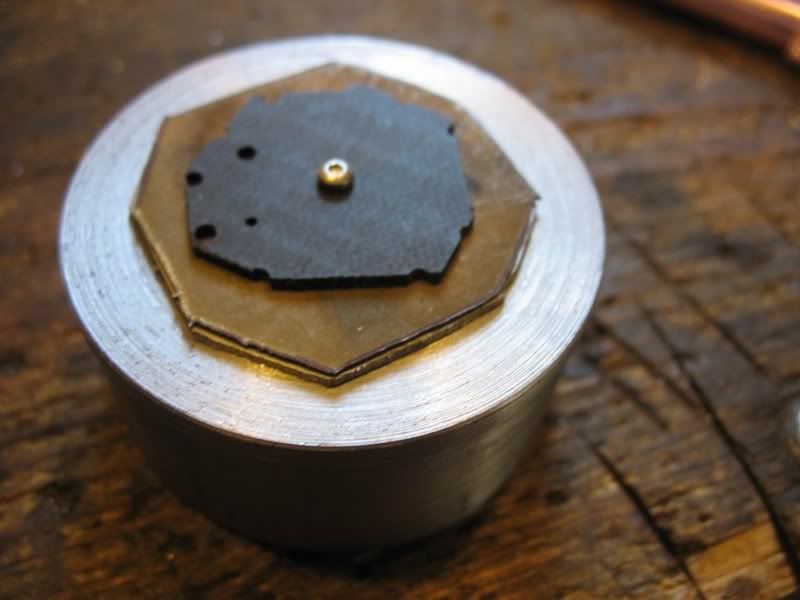
IMG_6411.jpg


TO BE CONTINUED...
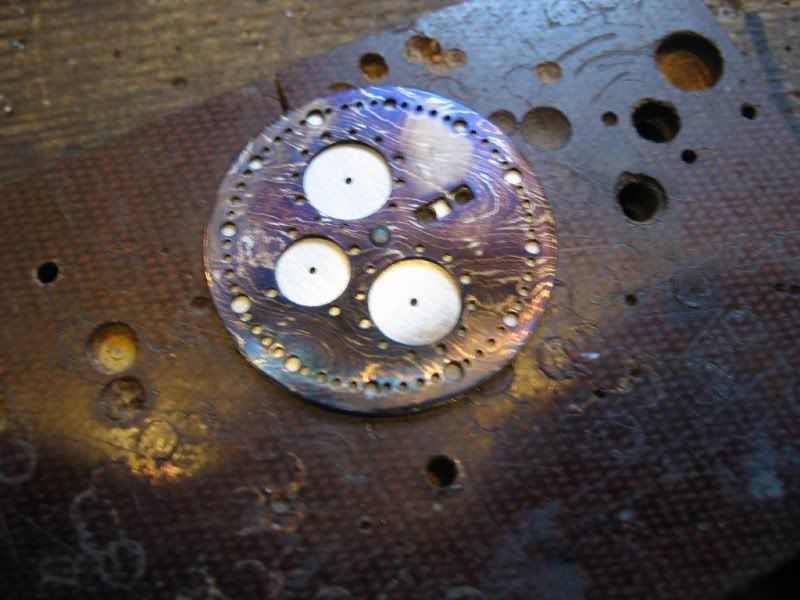
 
Don't think you're going to get me trying one of those, Papi. Still you do such nice work I just have to see this happen. My regards. Frank
 
This is going to be cool.the Mods may move it to the toturial sectoin.
Like Frank,I will be on top of this,but I don't
think you'll have to worry about me,as being any competition.
Thanks for doing this.

God bless,Keith
 
Last edited:
Thank you guys :)

I'm posting whenever i find a minute, so i won't be able to do this in one big post, but rather in a few partials, building a suspense a bit :)

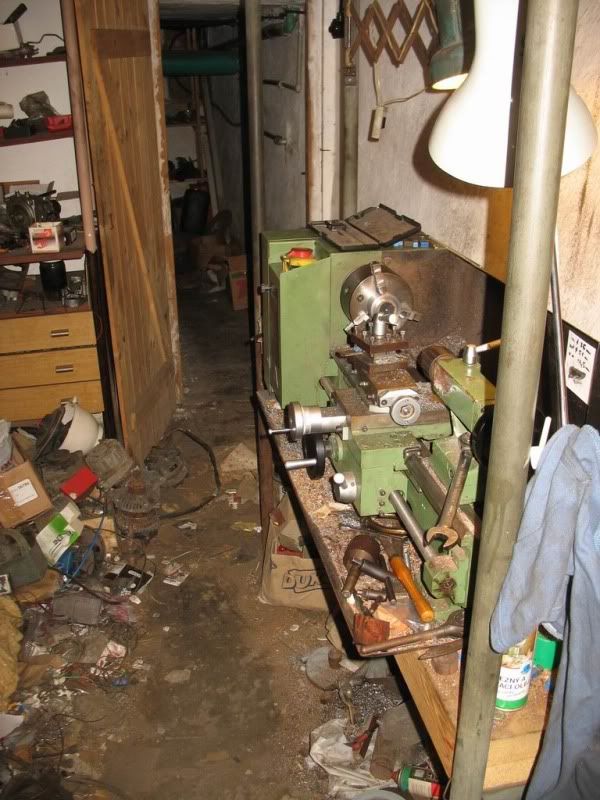
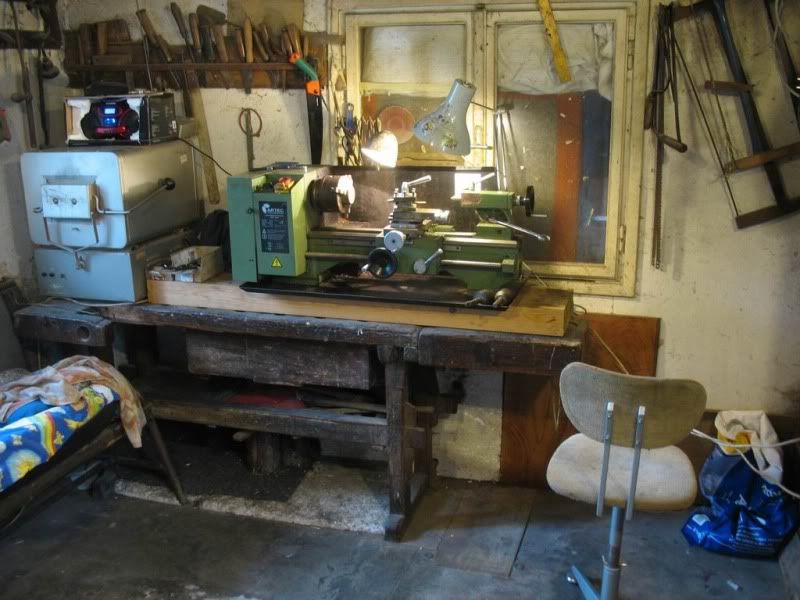
Here's my lathe, at the time in my dad's garage
IMG_6419.jpg


but right now, it resides in my shop - much more convenient :)
IMG_6967.jpg


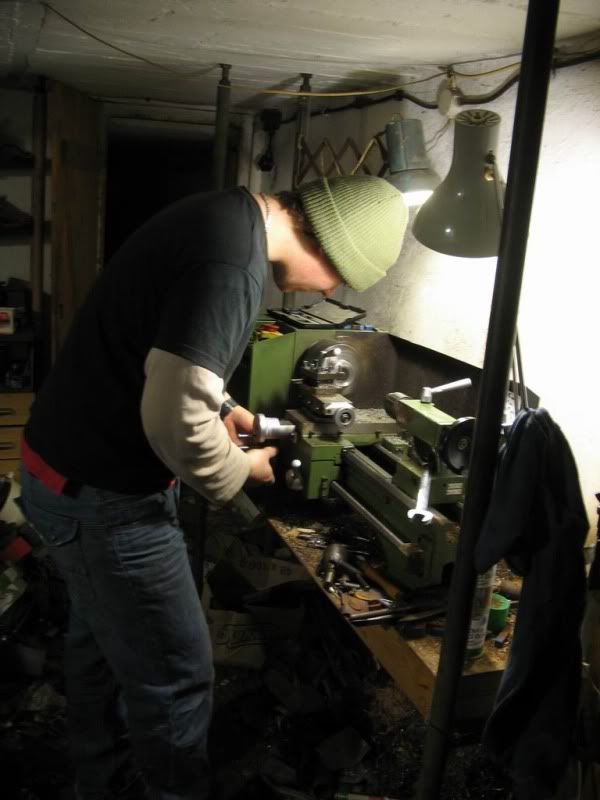
and we're turning
IMG_6421.jpg


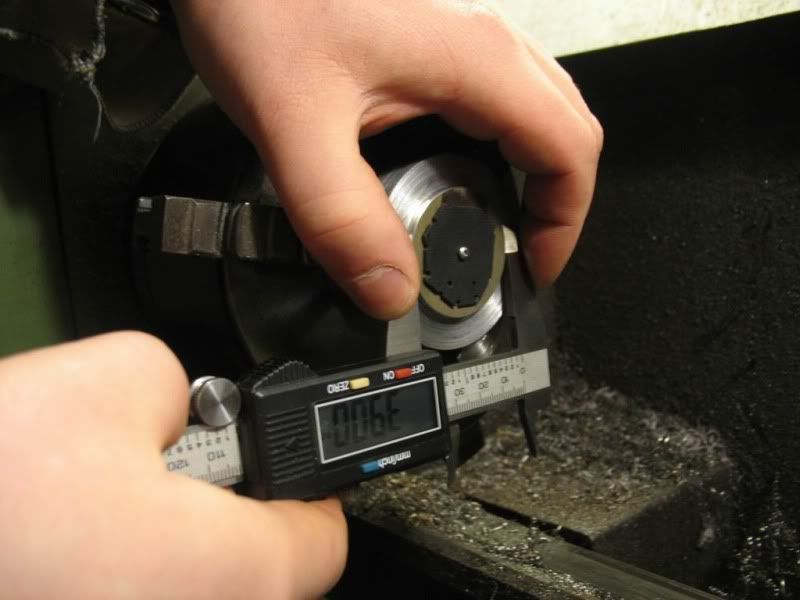
the dial is turned to fit the case
IMG_6423.jpg


taken off the fixture, cleaned-up with some nail polish remover
IMG_6424.jpg


and the day&date window is roughed out
IMG_6426.jpg


to be continued :)
Ondrej
 
Thank you guys :)

here's more stuff :)

enlarging the holes in the damascus, so that i can mount it on the fixture, and enlarge the subdials
IMG_6427.jpg


something like this, only better :)
IMG_6429.jpg


here is the actual process of centering the damascus with the spindle
IMG_6431.jpg


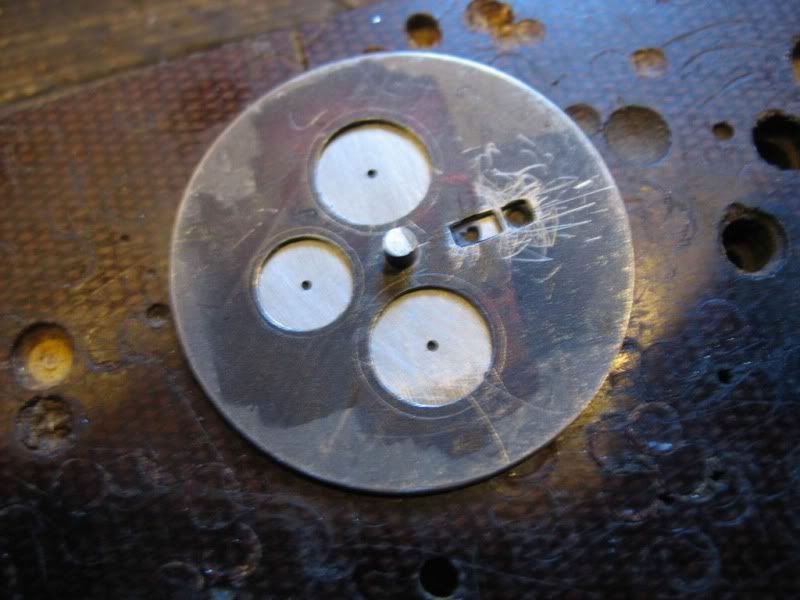
tightened down with a screw and a piece of G10 again, i am milling the subdial holes
IMG_6432.jpg


here's the final step. I went through four different sizes of endmills getting here, to have the smallest possible amount of material removed, to keep everything lined up correctly.
IMG_6434.jpg


oh goodie, starting to look like a dial :)
IMG_6436.jpg


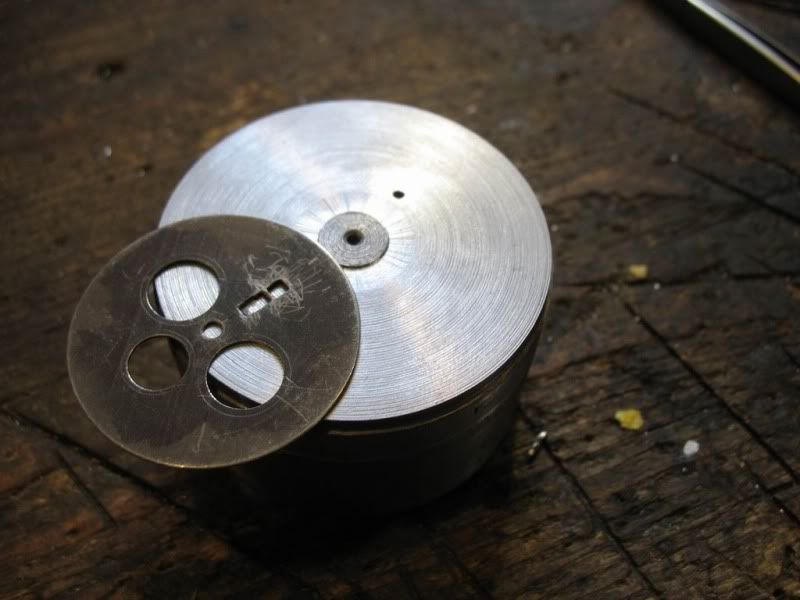
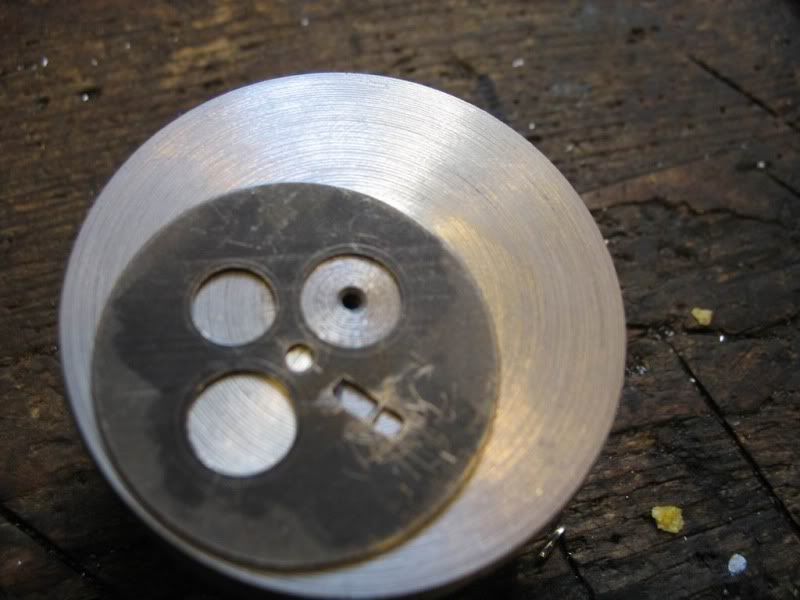
here are the two layers mocked up together
IMG_6438.jpg


i then adjusted the fixture by turning little bosses in the center, around which i put the damascus plate
IMG_6439.jpg


like so:
IMG_6440.jpg


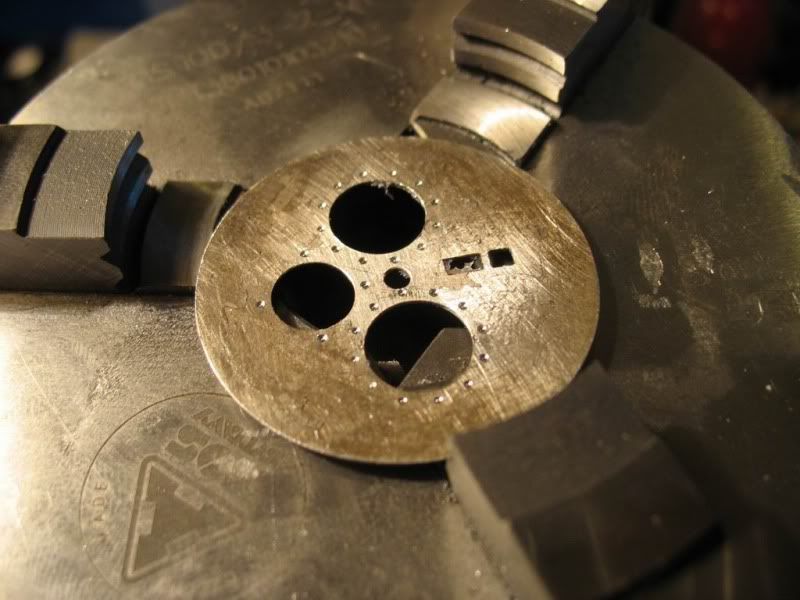
and spot drilled my subdial markers with the fixture mounted on my turning/indexing table mounted on my milling machine
IMG_6442.jpg


drilled through
IMG_6443.jpg


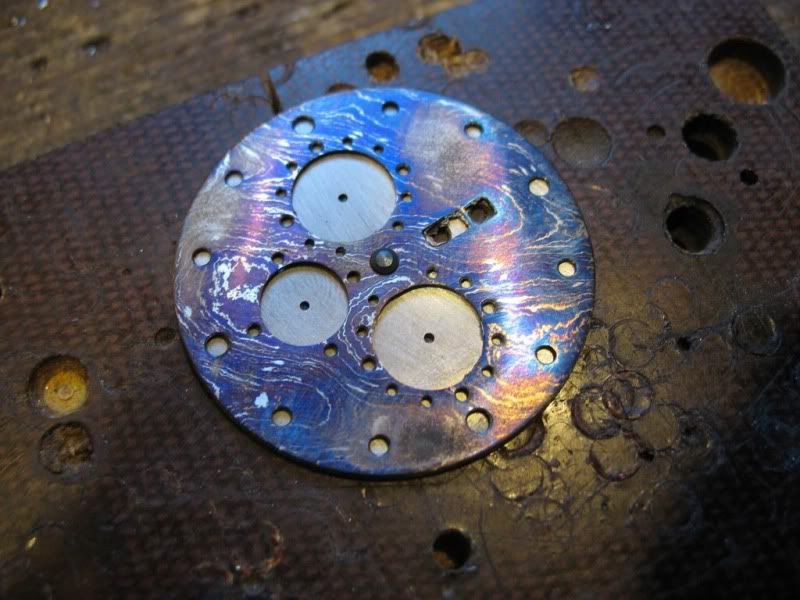
and trial heat colored, at this point i just couldn't wait to see what it will look like :)
IMG_6445.jpg


thank you for looking, take care,
Ondrej
 
This is GREAT so far, and I see it getting even better! :)

Thank you for taking the time to document all this!
 
Thank you for the kind words and support guys :)

Here's more stuff - the dial with second markers added:
IMG_6447.jpg


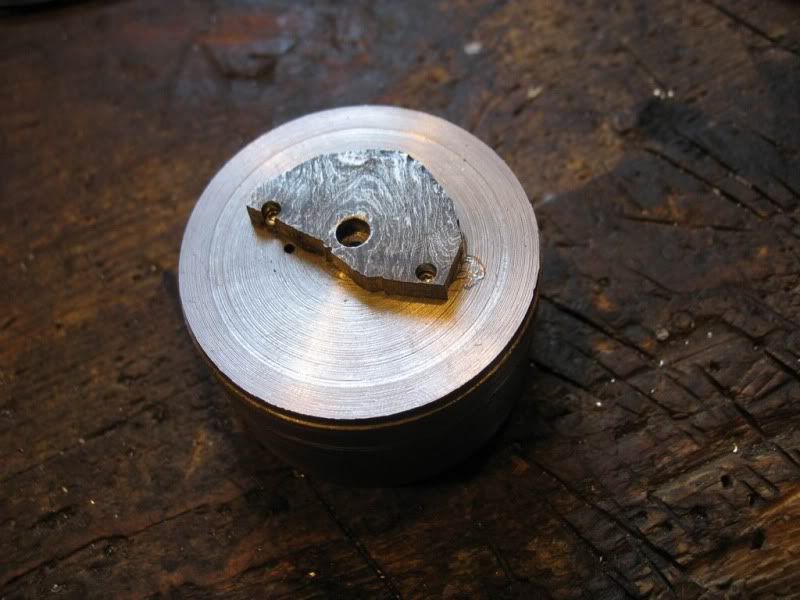
rough piece of material for the rotor
IMG_6476.jpg


ready for machining
IMG_6486.jpg


attached to the fixture (you see that fixture a lot, don't you? :) )
IMG_6509.jpg


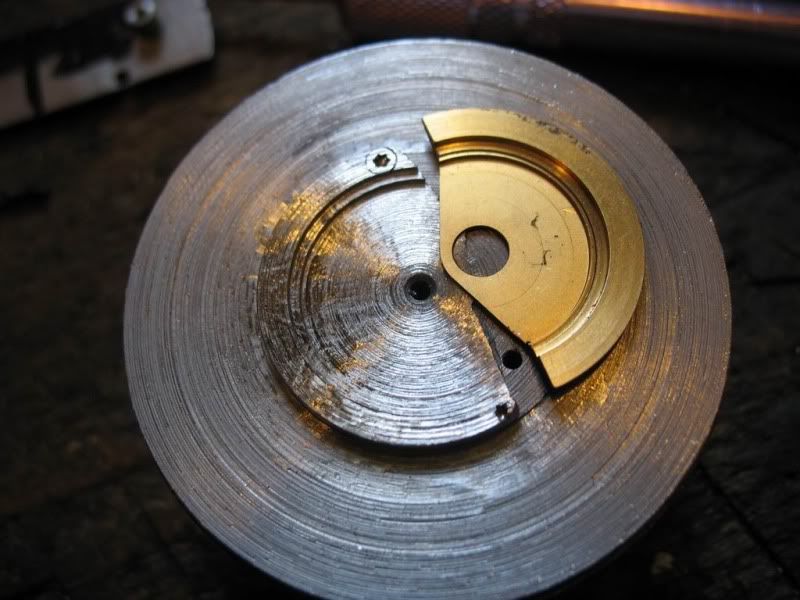
machined, compared with the original rotor
IMG_6511.jpg


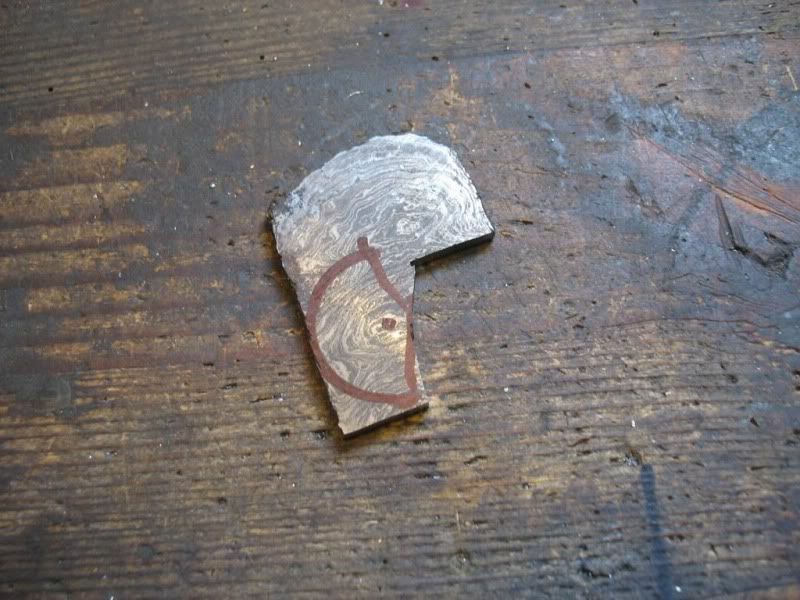
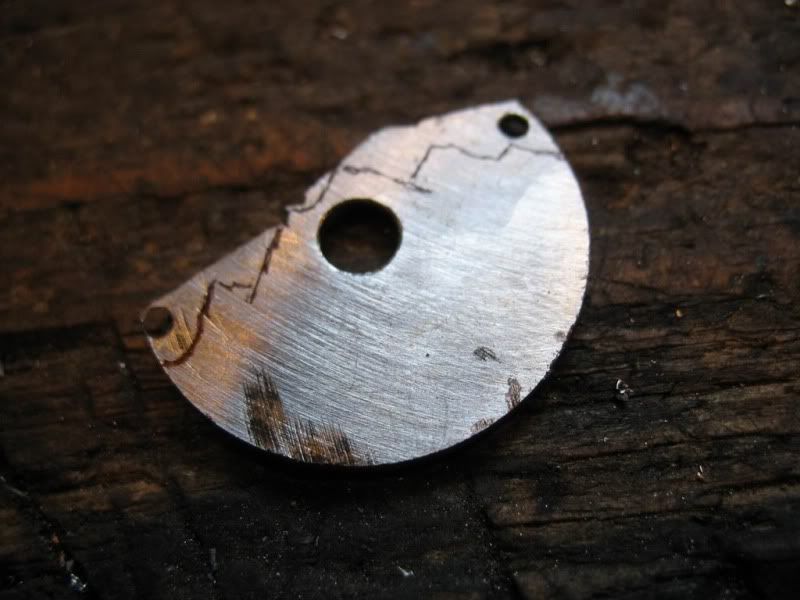
the outline of the rotor marked out...
IMG_6512.jpg


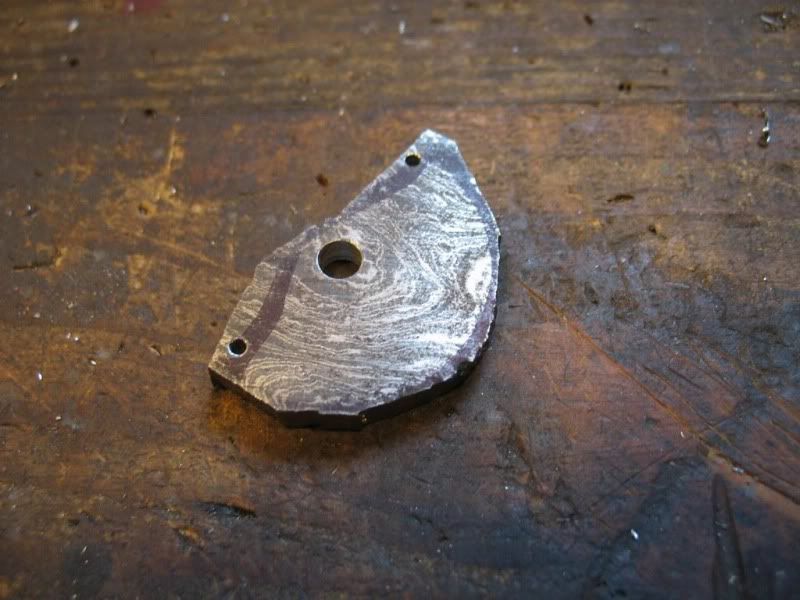
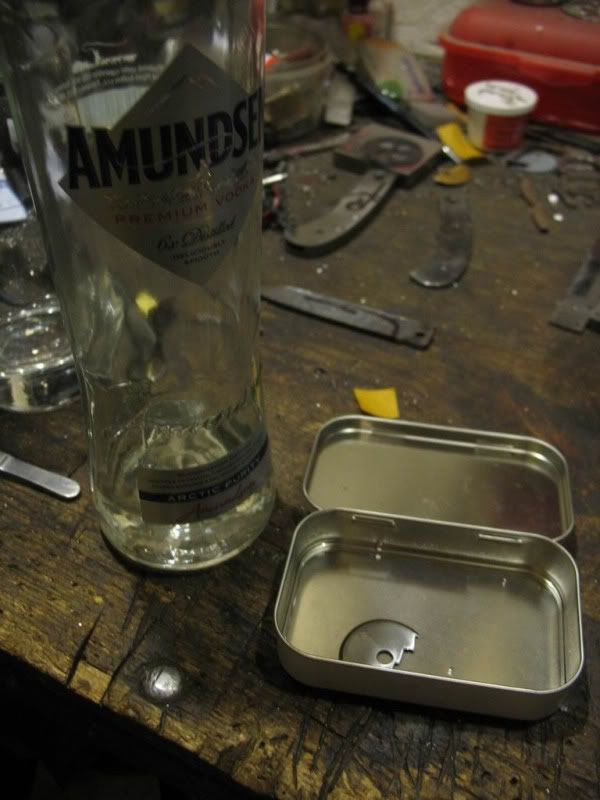
cut out, finished, and soaking in alcohol to get any oils of it
IMG_6520.jpg


and heat colored with the bearing already pressed in
IMG_6521.jpg


aaaaand, mounted on the movement, works just so nicely
IMG_6522.jpg


Thank you for looking, take care,
Ondrej
 
Back
Top