The Strauss Pirate 36 caliber

Thanks dogs for tuning in and coming back.

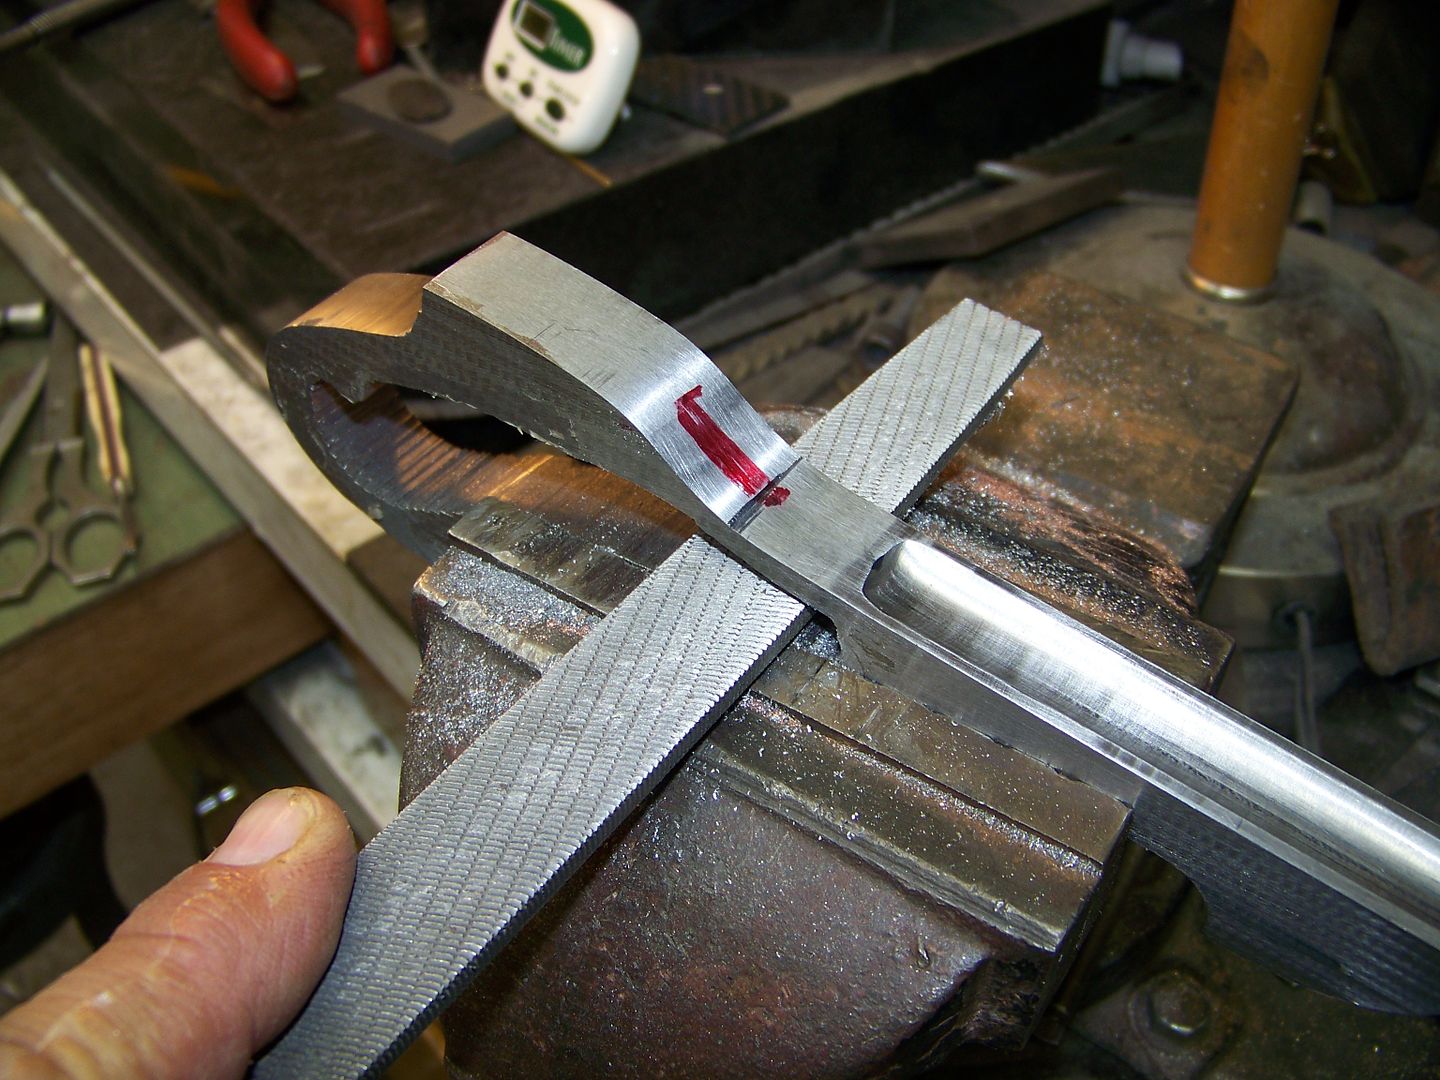
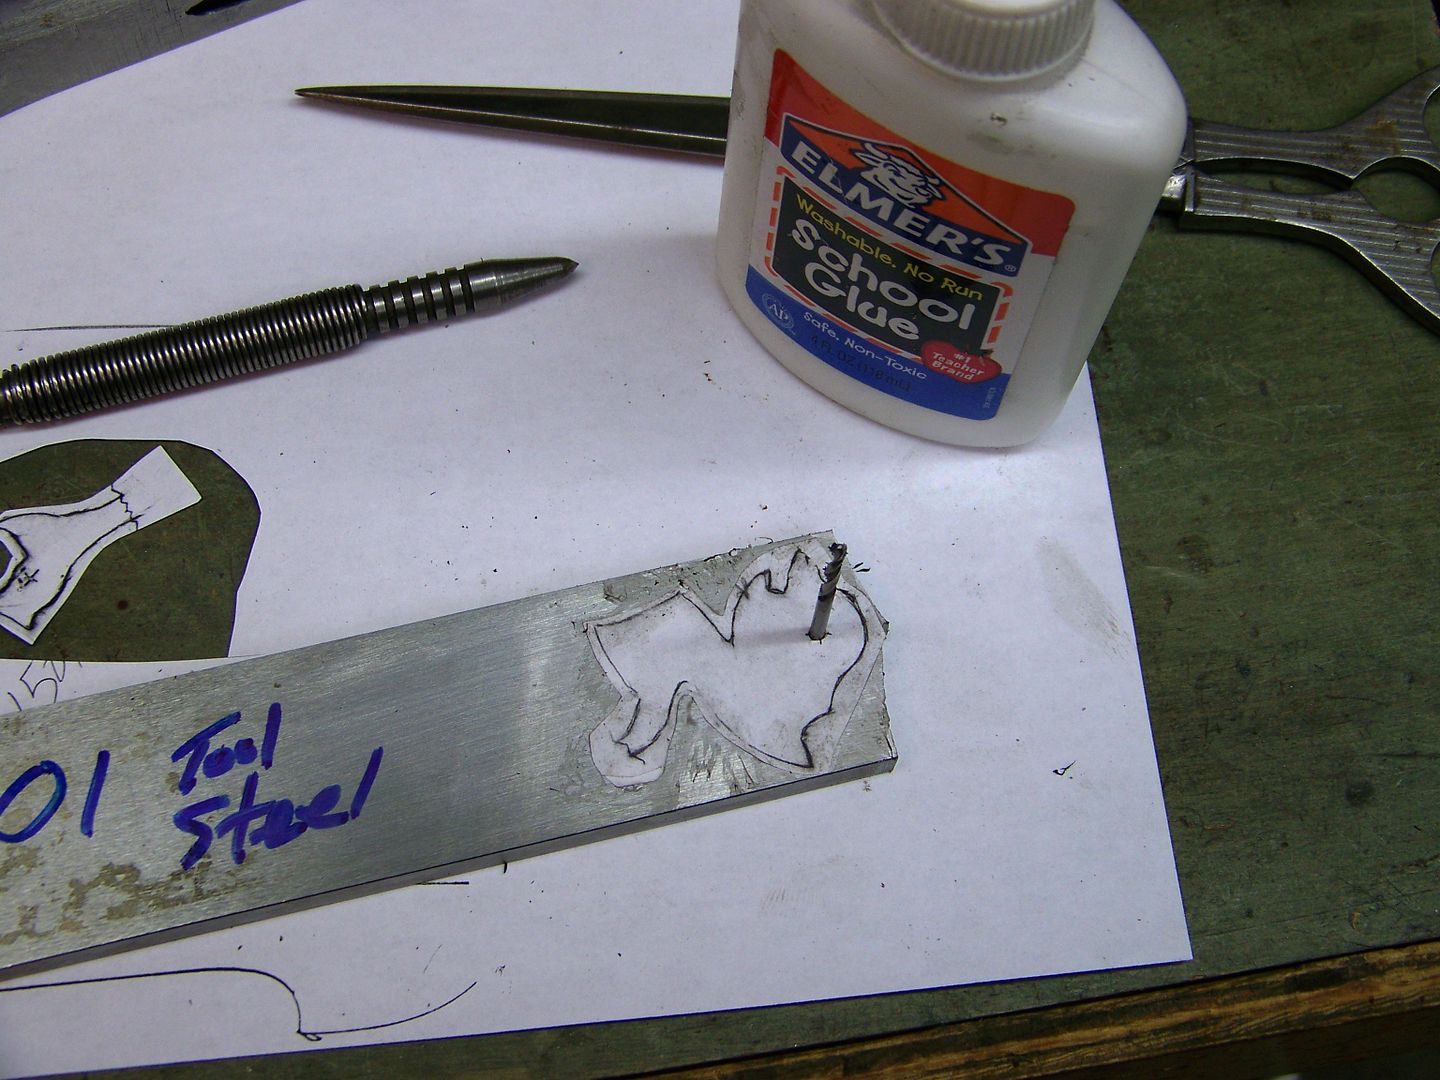
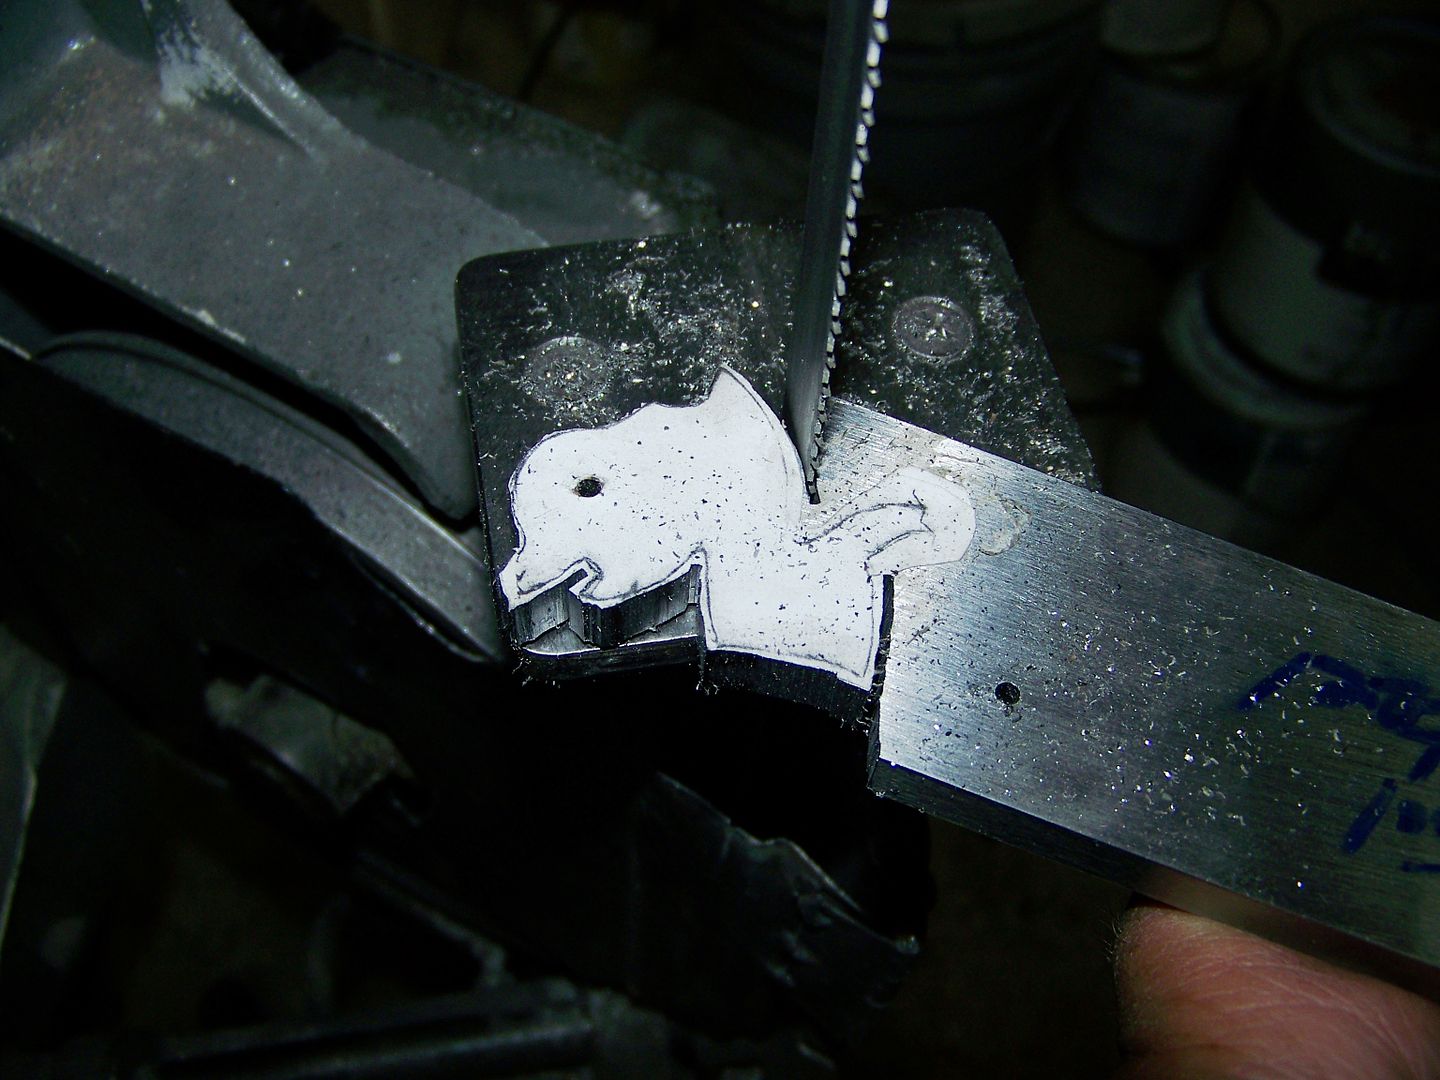
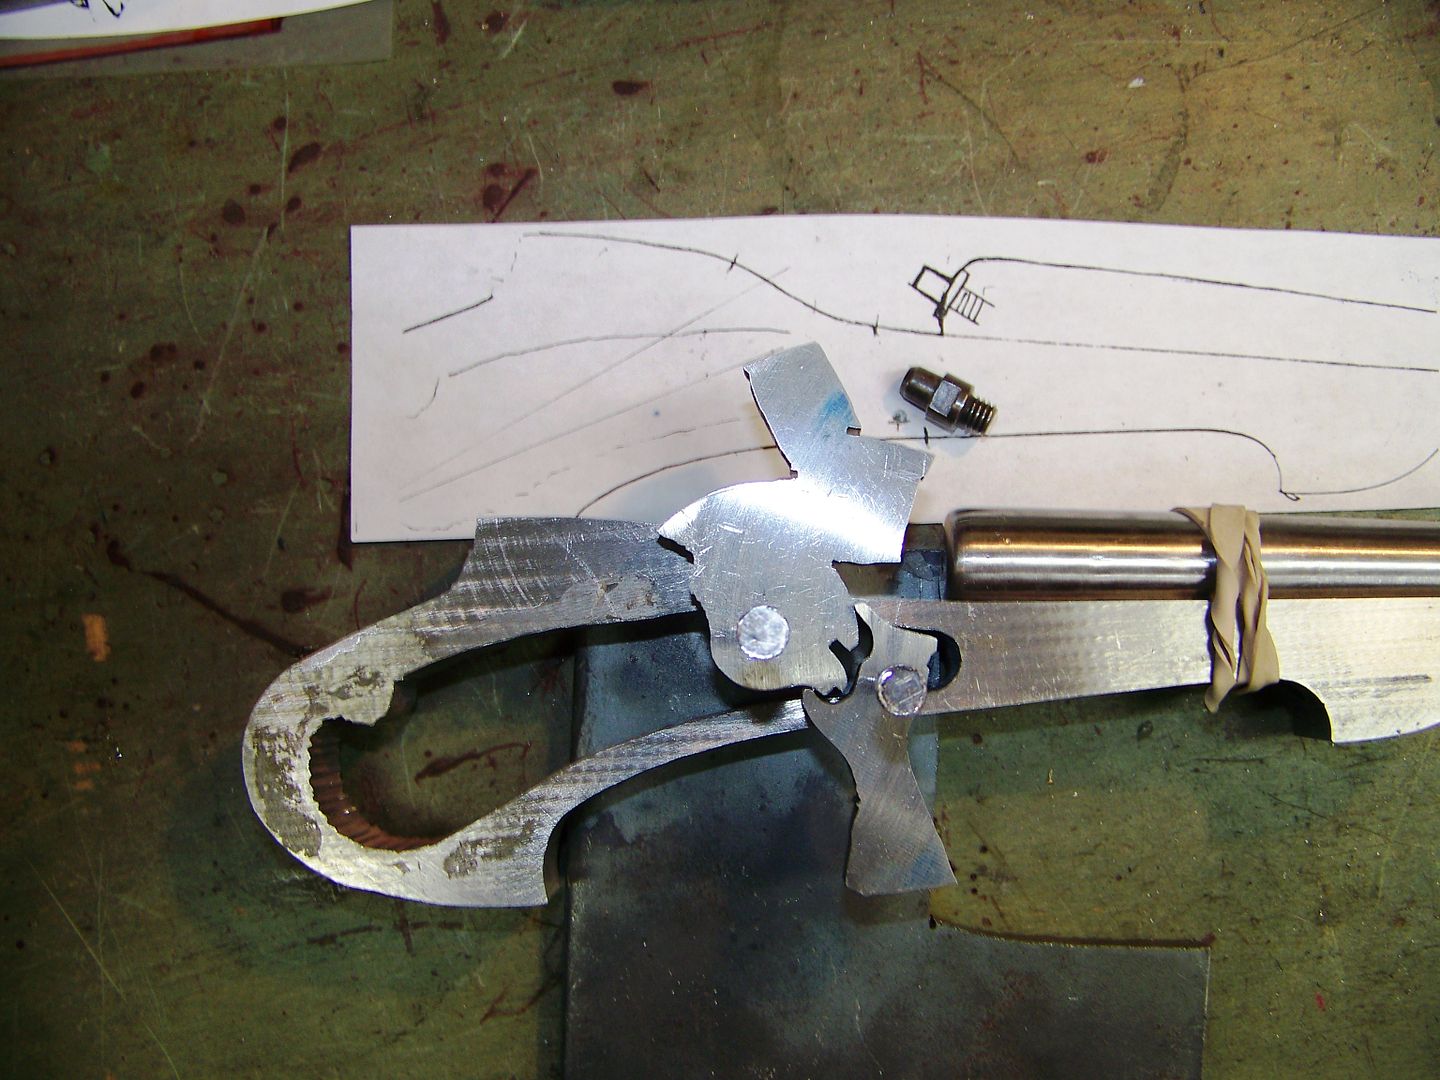
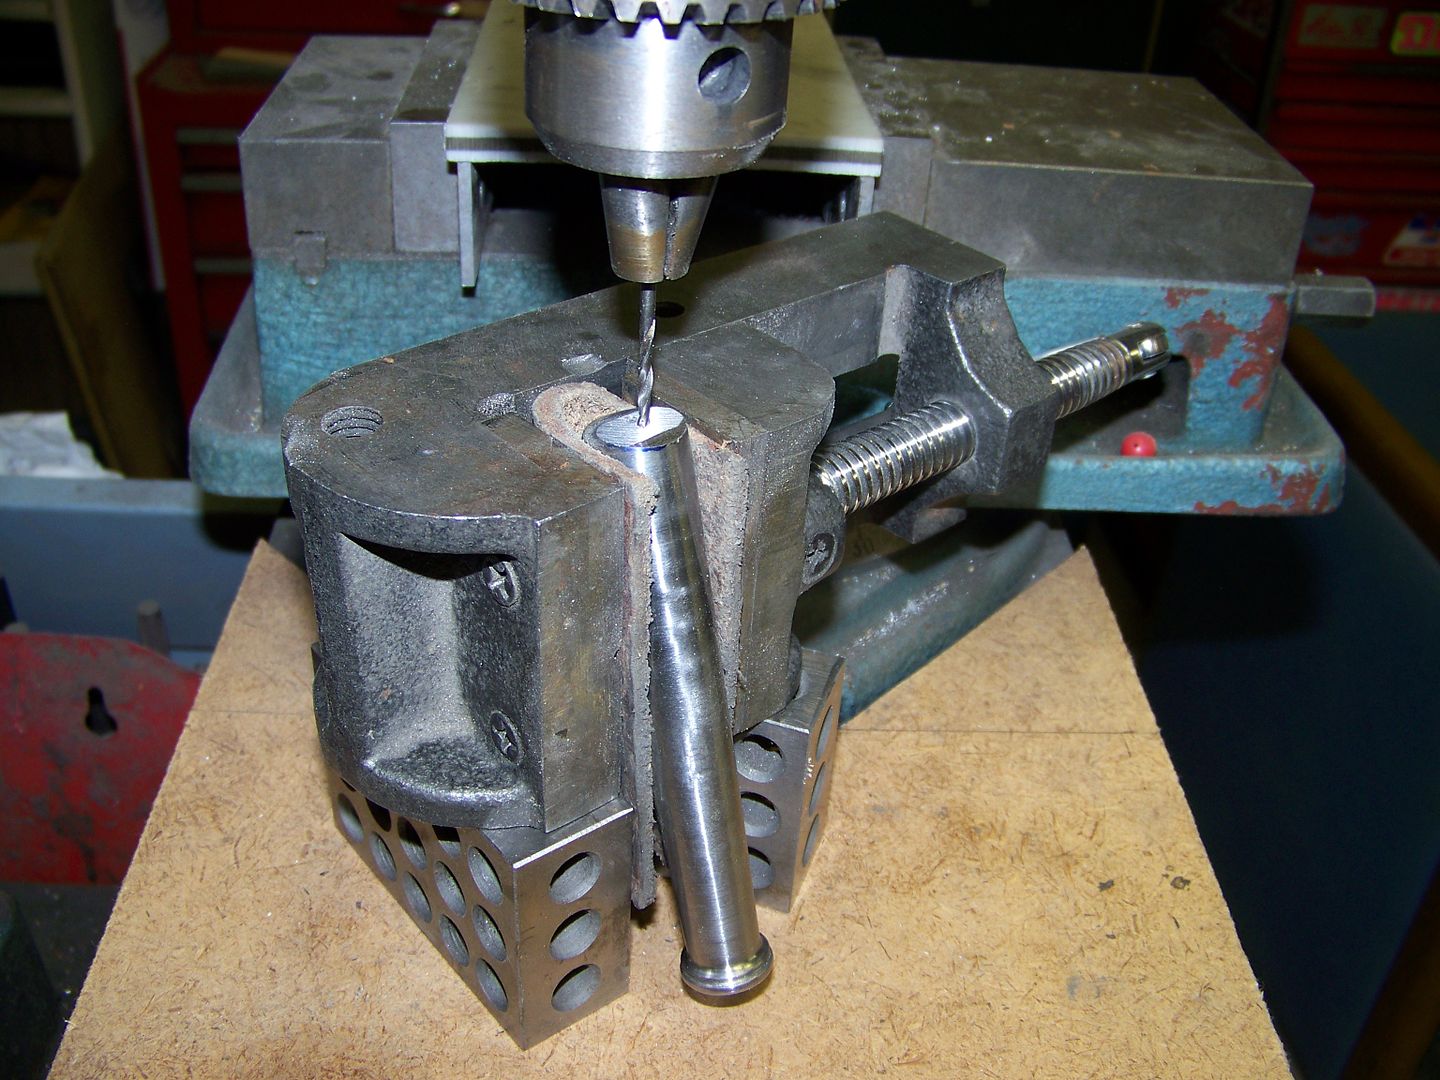
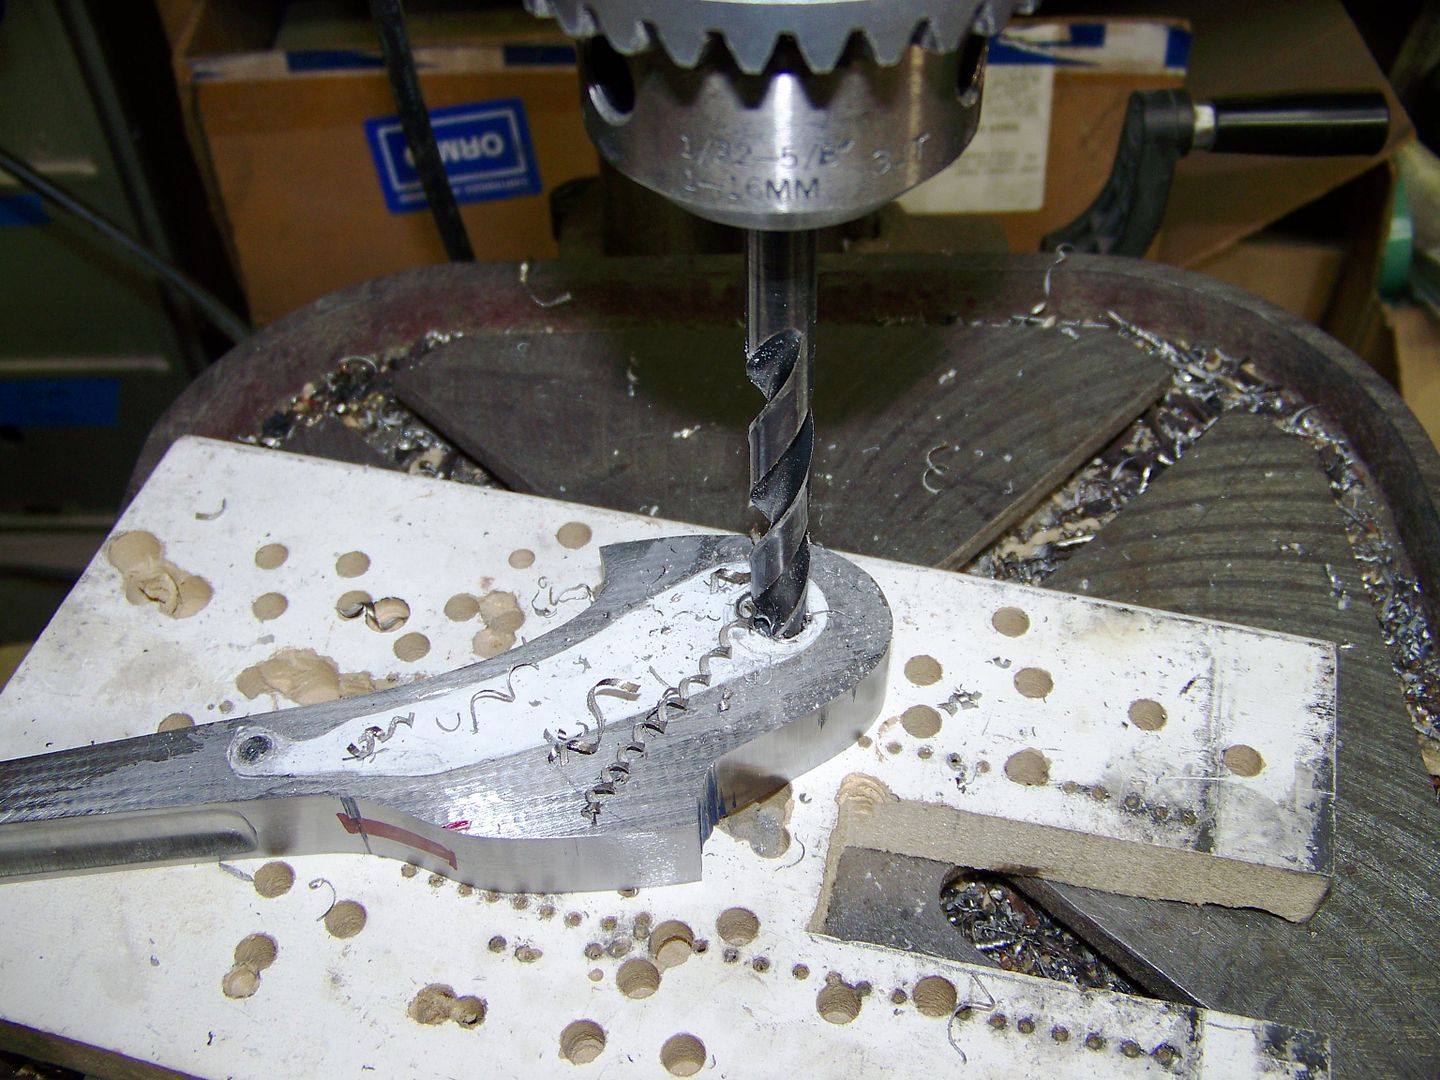
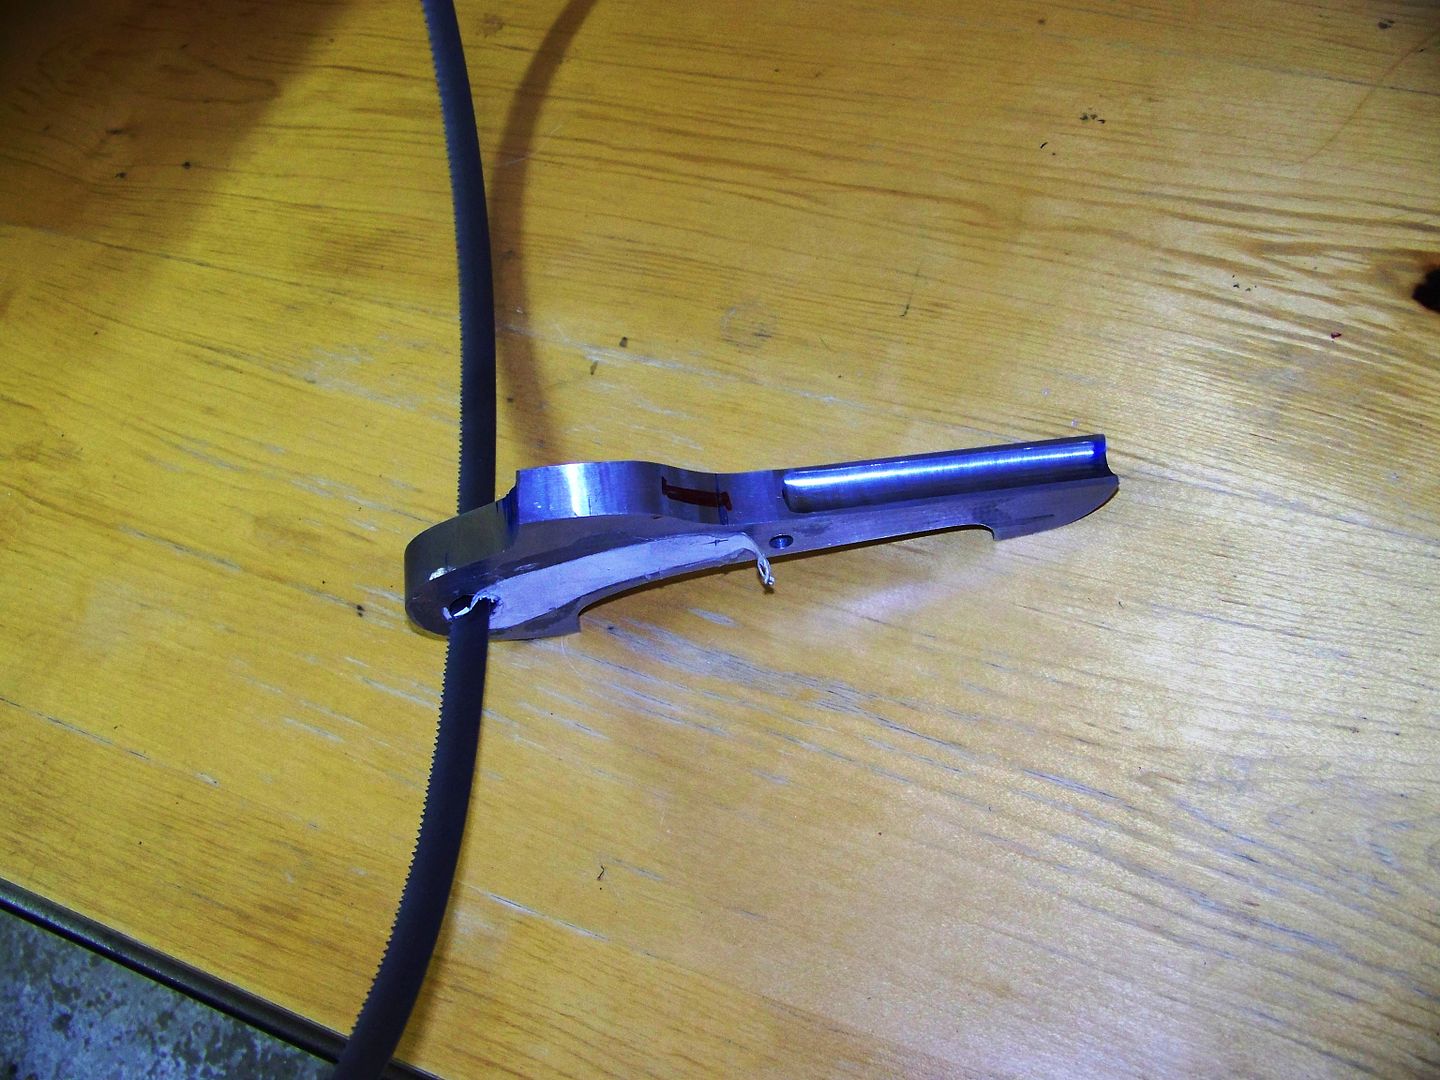
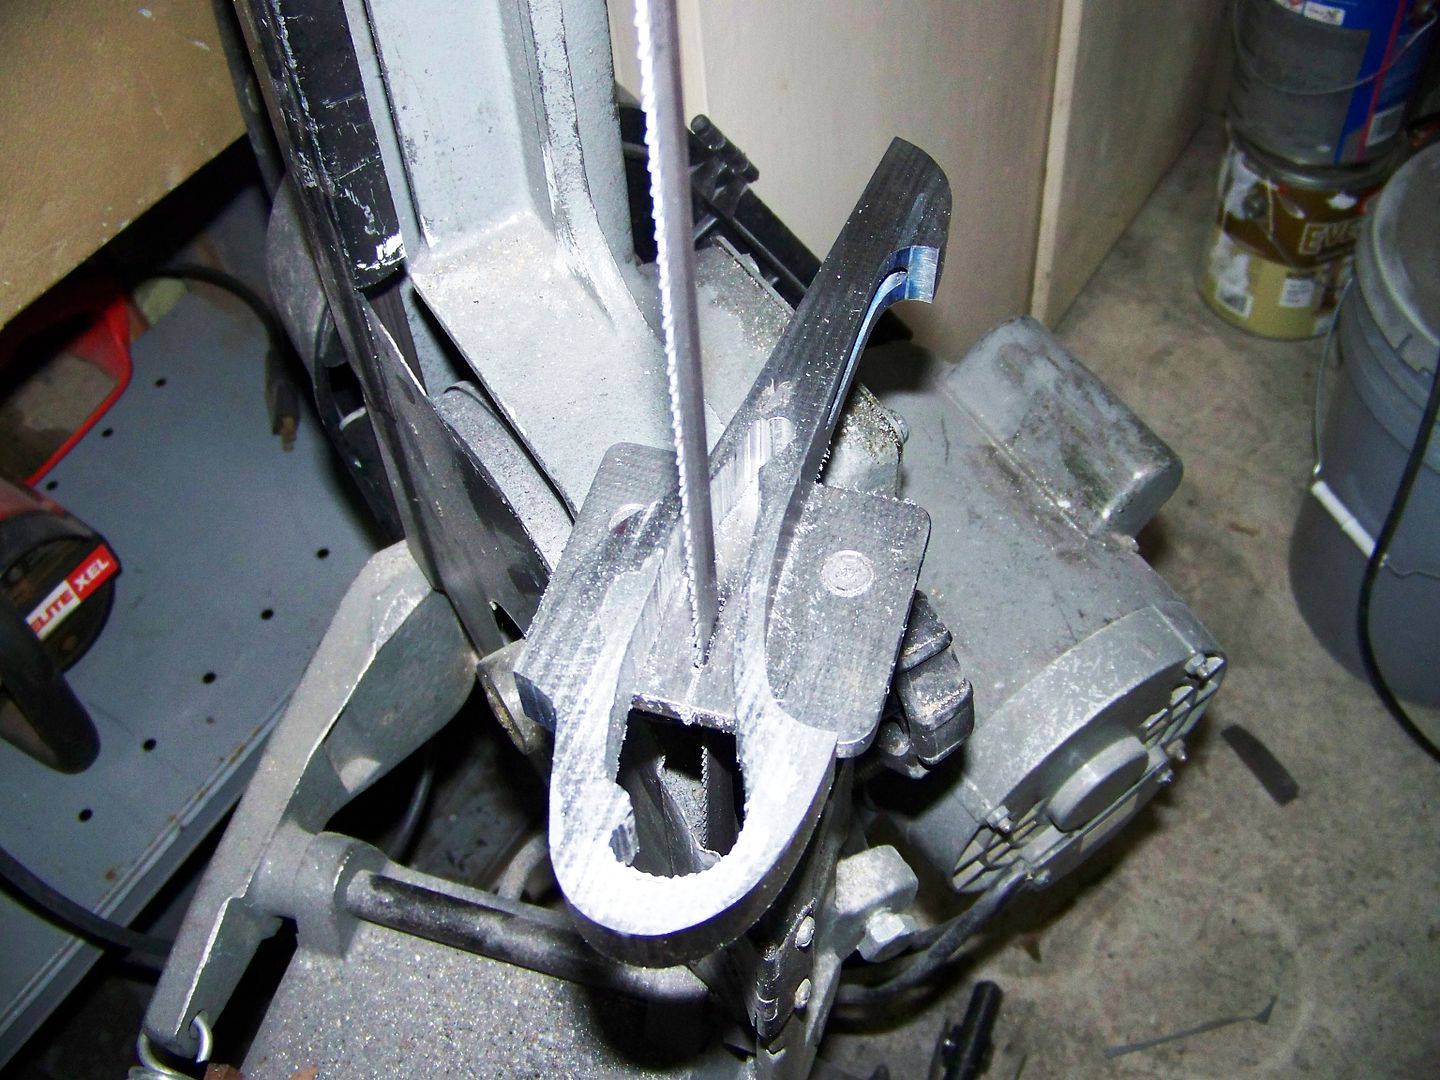
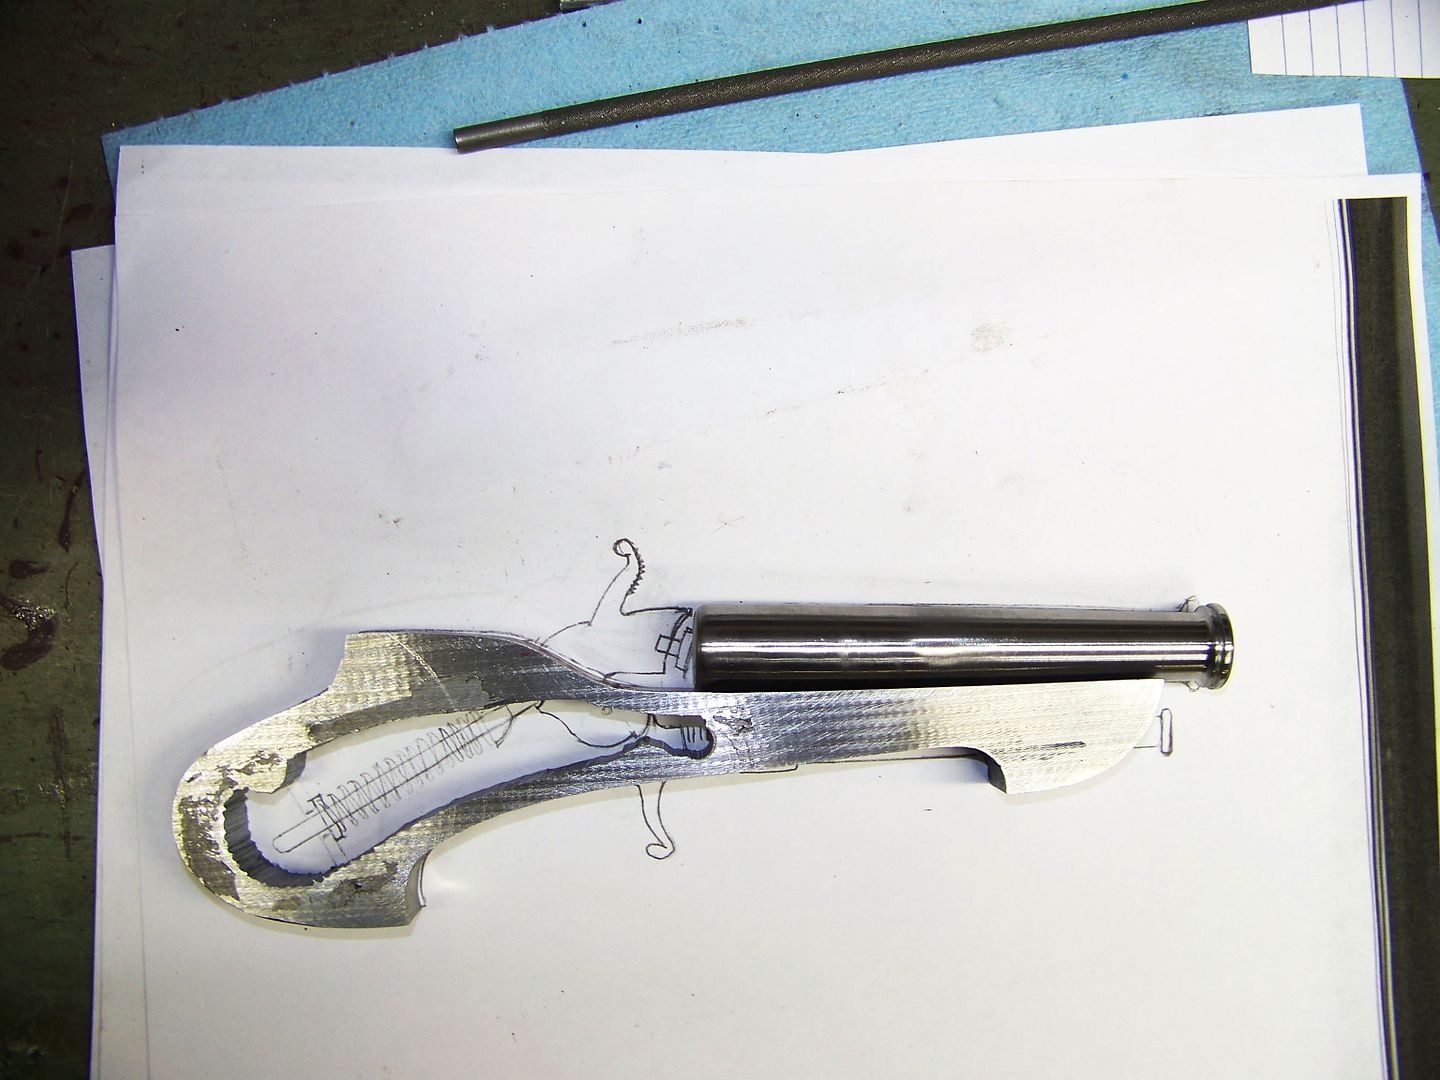
Here is the progress of late. I had to remove the center from the frame but didnt want to saw through it anywhere. Just drill a hole big enough to pass a bandsaw blade and weld the blade back together. After the mass of the center is removed I can file or dremel more if needed. I had to leave the edges thick enough to drill and thread mounting holes for the stainless liners later.

MarkStraussagain001.jpg


MarkStraussagain002.jpg


MarkStraussagain003.jpg


MarkStraussagain012.jpg


MarkStraussagain013.jpg


MarkStraussagain015.jpg


MarkStraussagain017.jpg
 
Yep the barrels breech needs to be shaped and drilled with the nipple angled up for ease of priming. I'm using muskett style caps as usual. They have about 20 times the flash as a small #11 cap.
Lookin good.
Will the nipple be angled upward like in your drawing?
 
The BB crew is airing it's season's new release. How cool is that. I'll be watching closely right along with the shop dogs.
Thanks Bruce
 
I know its been too long between gunknives. Its hard to just crank em out and still make bowies and folders to satisfy my waiting list. I think this is only the 10th combination gun/knife in as many years, I'm only turning out 1 per year at this rate and I have about 5 more to make so around 2016 I may get caught up.
I plan to stay on this project as promised to Mark and plan to take it to the Boise Show in late October finished hopefully. If its not completely finished it will at least be there as a WIP so please come to that show and check it out.
 
No problem Bro, I knew you werent complaining. We've been out of town for the last 4 days with out best buds in Bonners Ferry Idaho driving and eating and hiking and eating and shopping and eating. Just got back home and then we're off to Salem Oregon to watch our youngest son Michael graduate from police academy. No wonder theres not much progress but dont worry I plan to put in some overtime asap to get back on track.
Sorry Bruce, didn't mean to sound like I was complaining.
 
Bruce,
as always you are a huge inspiration to all. I my last email, I told you I was having a lot of pain and not able to get out much. Well I just had a Nuro-stimulator implanted into my spine (last Tue) which should really help in blocking some of the pain, so hope to be able to get back out there in 3-4 weeks.
great stuff thanks for sharing
Greg
 
Hi Greg,
I've heard good reports from others that suffer back pain. We hope you can get relief and get out there too.
 
I took a trip to our local Staples and enlarged my drawing by 50% so I can draw details better for the hammer and trigger. I want a "safety" position on the trigger so with larger drawings its easier to draw and see. This clear material is called "mylar" and is smooth on one side and erasable on the other. I just use a mechanical pencil to draw the hammer and trigger and push pins as pivots so I can rotate them on the visible frame below. Draw, erase, draw, erase about a hundred times until the two parts work together and match the contour of the overall design of the gun. The most important part is the engagment area (sear) where the trigger meets the hammer at full open position.


The main spring pushrod needs to have a cove area positioned on the hammer so that it will allow enough travel and leverage to snap the ignition cap but actually relieve the spring tension as the hammer is drawn back to fullcock position.

I wore out an eraser but it looks now like it will all work.

I'm not done with the hammer and trigger tips yet as they may get a more art-like treatment later. The main thing is the two should work together now.

This drawing also lets me know where the slots will be located in the frame for both hammer and trigger.

These steps are the most important part of any gun for it to function properly so the mylar helps tremendously. Of coarse if I were literate on CAD I could toss the mylar back on the shelf. I plan to cut these parts out with a bandsaw but if a wiser maker can make the PDF file with CAD he could have the parts cut out by wire EDM or Waterjet. I have only done "One Of A Kind" so far so it doesnt pay me to have them cut out. There will be some close up filing and fitting soon regardless of who or how they are cut out.

Ashtersbirthdaypartyand3MarkStrauss040.jpg


Ashtersbirthdaypartyand3MarkStrauss041.jpg


Ashtersbirthdaypartyand3MarkStrauss042.jpg


One more trip to Staples to reduce the parts back to 100% is next.
 
Well I don't know where I have been at all this time but GO BRUCE!:cool:

I was reading along when I suddenly realized I couldn't go on to the next page!:what!:

So until the next installment I will be waiting!!!!!!!!!!!:3:
 
Bruce, I am curious. Why not do the enlargement and reducing on your all-in-one printer scanner? It would bug me to have to go to Staples each time.
 
Wow Bruce... your sketches make me so happy that I have AutoCAD. Sketch out the design on paper, trace it in to AutoCAD, then adjust pivots and tweak shapes as required to make it all come together. Seems kind of like cheating I suppose. ;)
 
Bruce, I am curious. Why not do the enlargement and reducing on your all-in-one printer scanner? It would bug me to have to go to Staples each time.

For two reasons Patrice, I usually work it into my lunch break at Taco Bell and I dont have a 5th grader around to show me how to use my 4 in 1 printer/copier.
 
Thanks guys for coming back to have a look.

More progress includes cutting the paper hammer and trigger out and gluing them to O1 tool steel and pilot drilling the pivot holes to 3/32" and rough profiling on the metal bandsaw. The get allot of filing by hand and disc before they finally begin to work as a team. The barrel needed the muskett nipple installed so I determined my angle by eye and flattened a spot for drilling, tapping and counter-boring. I like the muskett nipple because of the larger size and more flash than the baby #11 nipple and caps.

More and More file work and tedious fitting until the hammer looks like it will function in all three positions, open, safety and fire. They will pivot on a 1/4" thick steel plate that will be cut out to fit inside the frame. The steel plate functions as a spacer as well as a very rigid mount. There will be allot of mainspring pressure so this should be a secure assembly.

Strauss36barrel012.jpg


Strauss36barrel001.jpg


Strauss36barrel002.jpg


Strauss36barrel015.jpg


Strauss36barrel017.jpg


Strauss36barrel018.jpg


Strauss36barrel022.jpg


Strauss36barrel024.jpg


Strauss36barrel025.jpg


Strauss36barrel028.jpg


Strauss36barrel027.jpg


Strauss36barrel026.jpg
 
Last edited:
Cheating, I dont think so. If my brain could wrap around CAD I would do it. I even have a copy and just get aggivated. There is a 19 year old college student that comes over and tutors me but so far nothing. I'm just going to pay hime to trace some of my slipjoint designs soon.
Wow Bruce... your sketches make me so happy that I have AutoCAD. Sketch out the design on paper, trace it in to AutoCAD, then adjust pivots and tweak shapes as required to make it all come together. Seems kind of like cheating I suppose. ;)
 
Bruce, I dont know how I missed this thread, But Im glad I found it!!! WOW Great WIP as always.

Your a true craftsman in every sense of the word. I wouldn't change a thing in your process. Its what makes whatever you make even more special. IMHO.

I got this one saved and cant wait to see the rest of the process. Thanks for taking the time to post these photos and Awe us once again!

God Bless
Randy
 
Back
Top