ddavelarsen
Well-Known Member
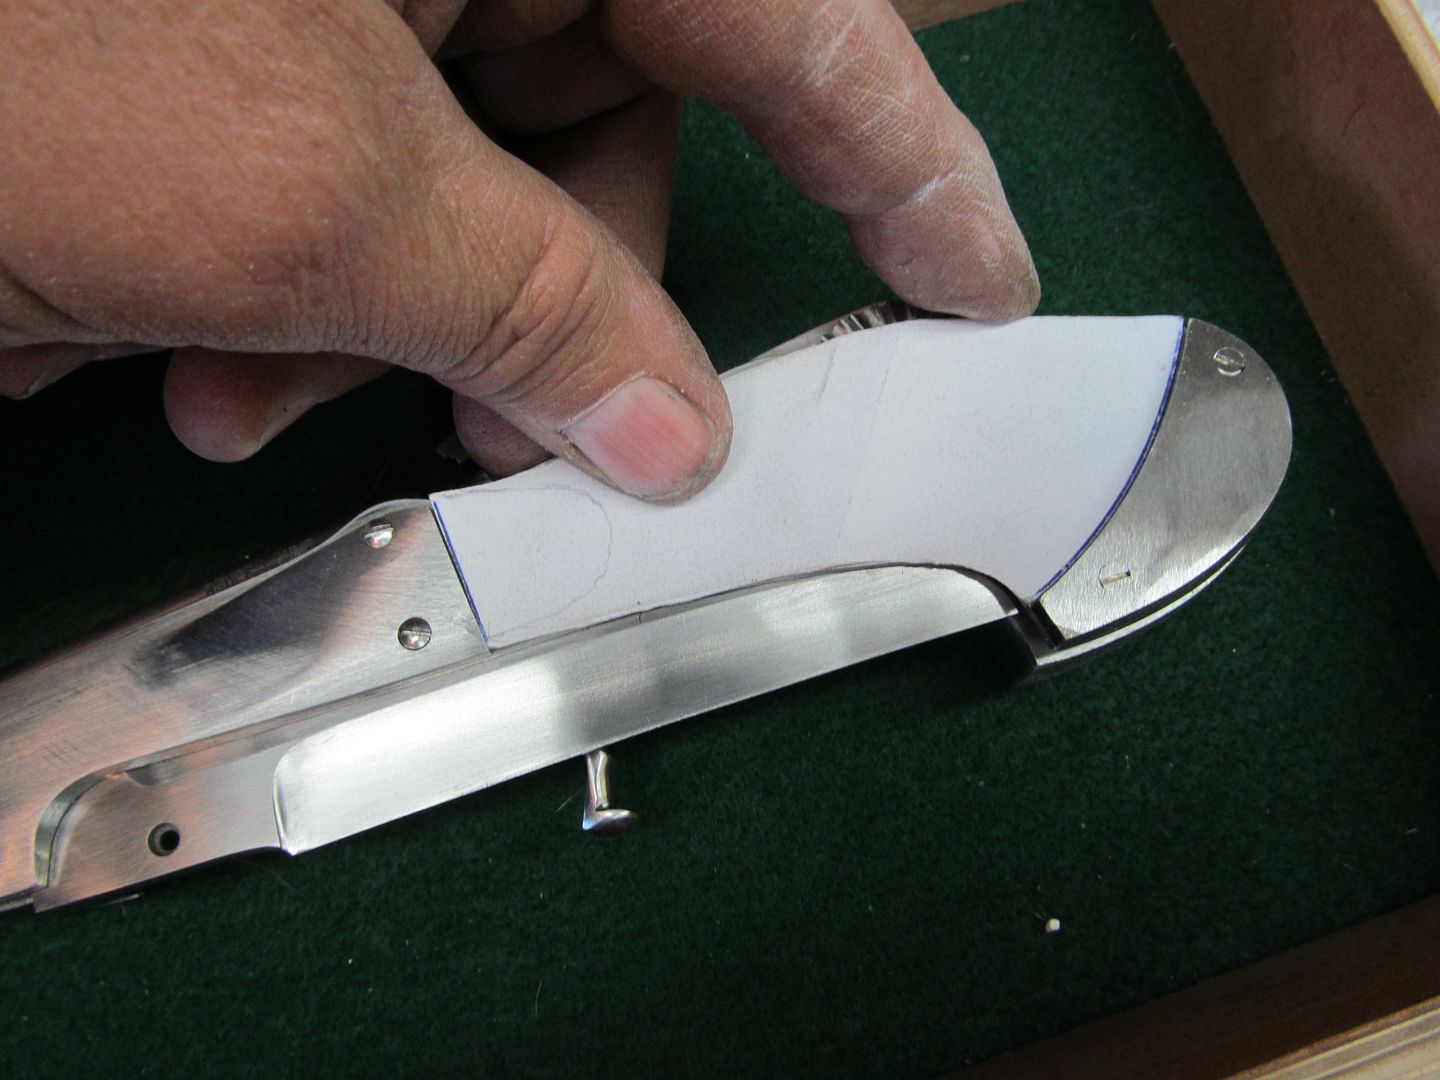
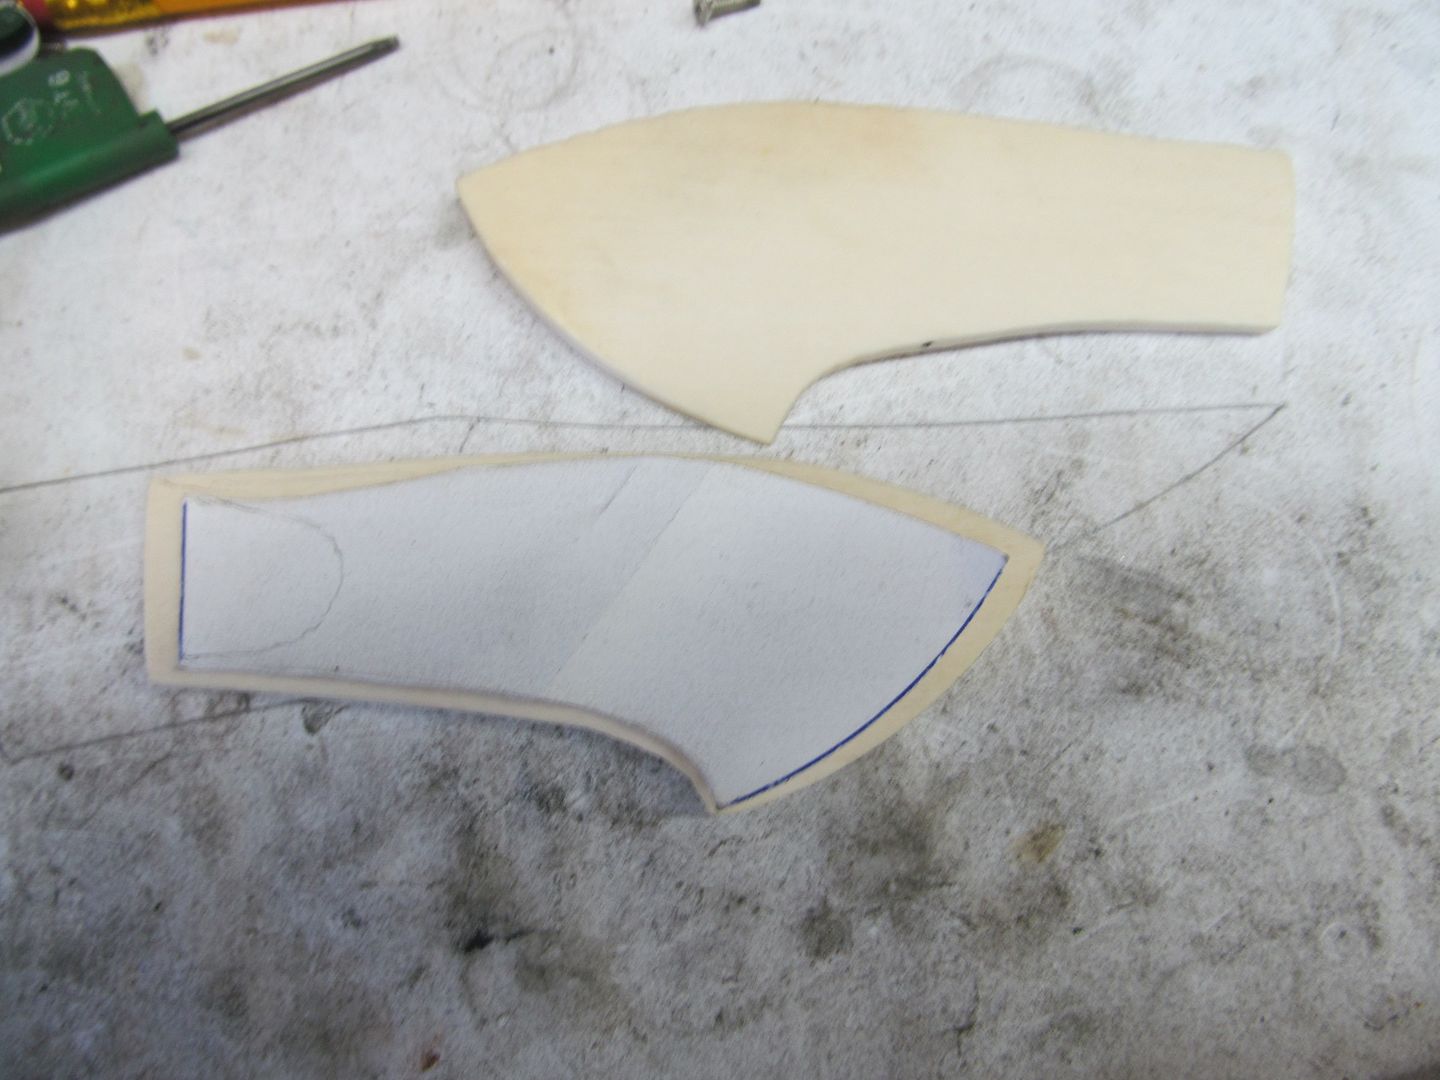
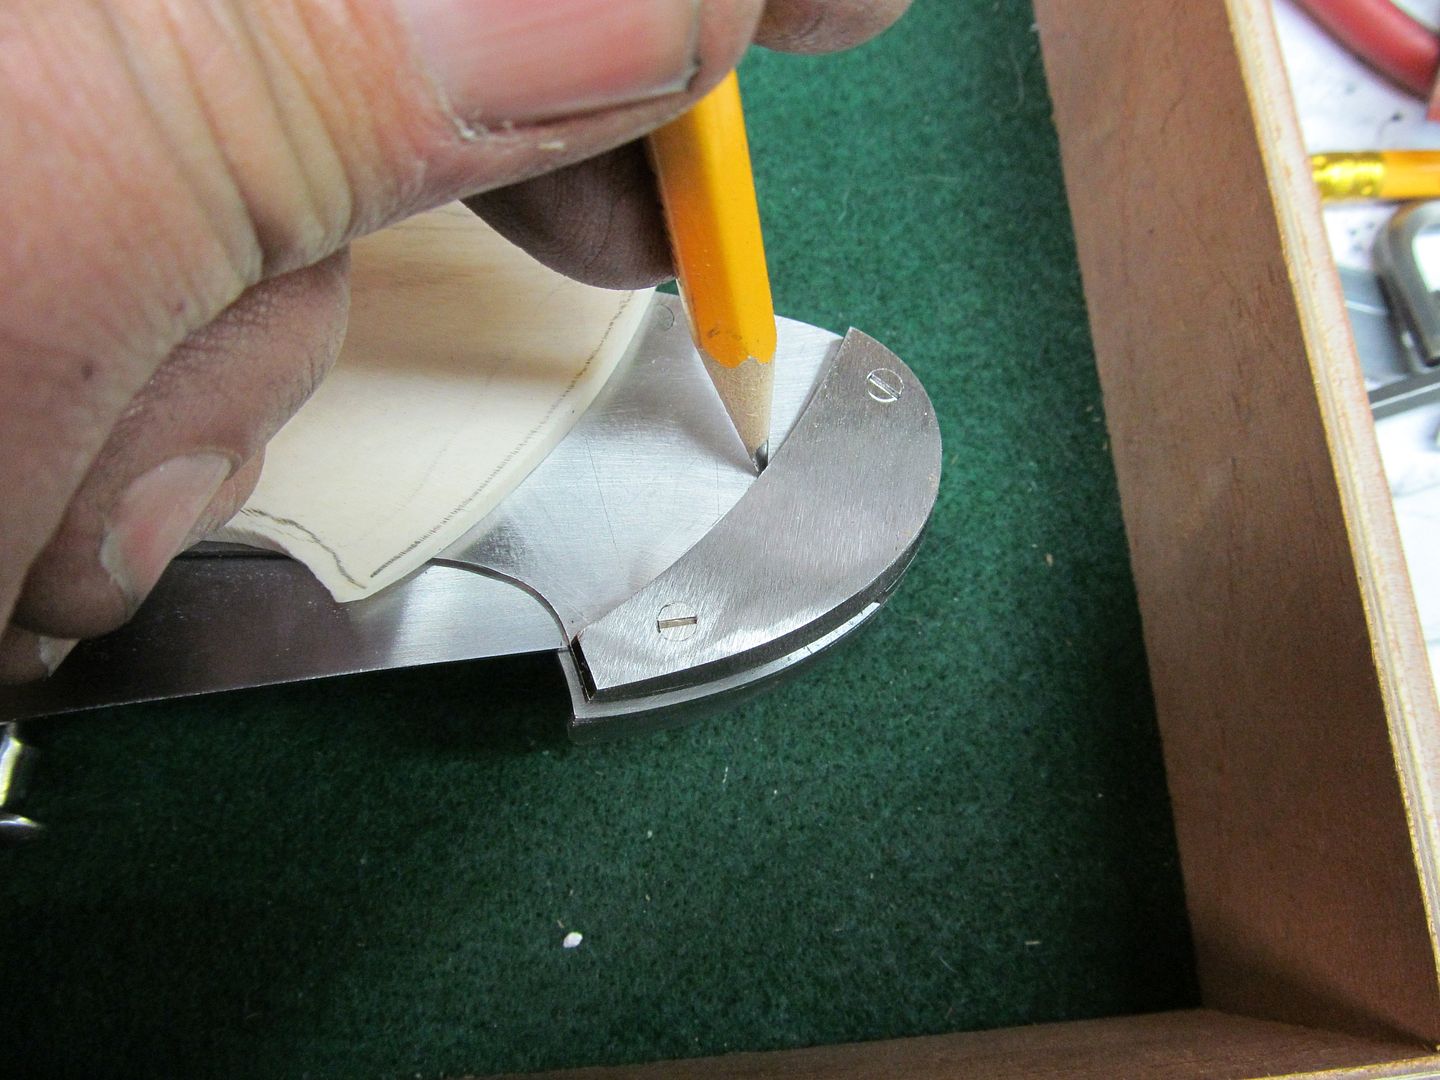
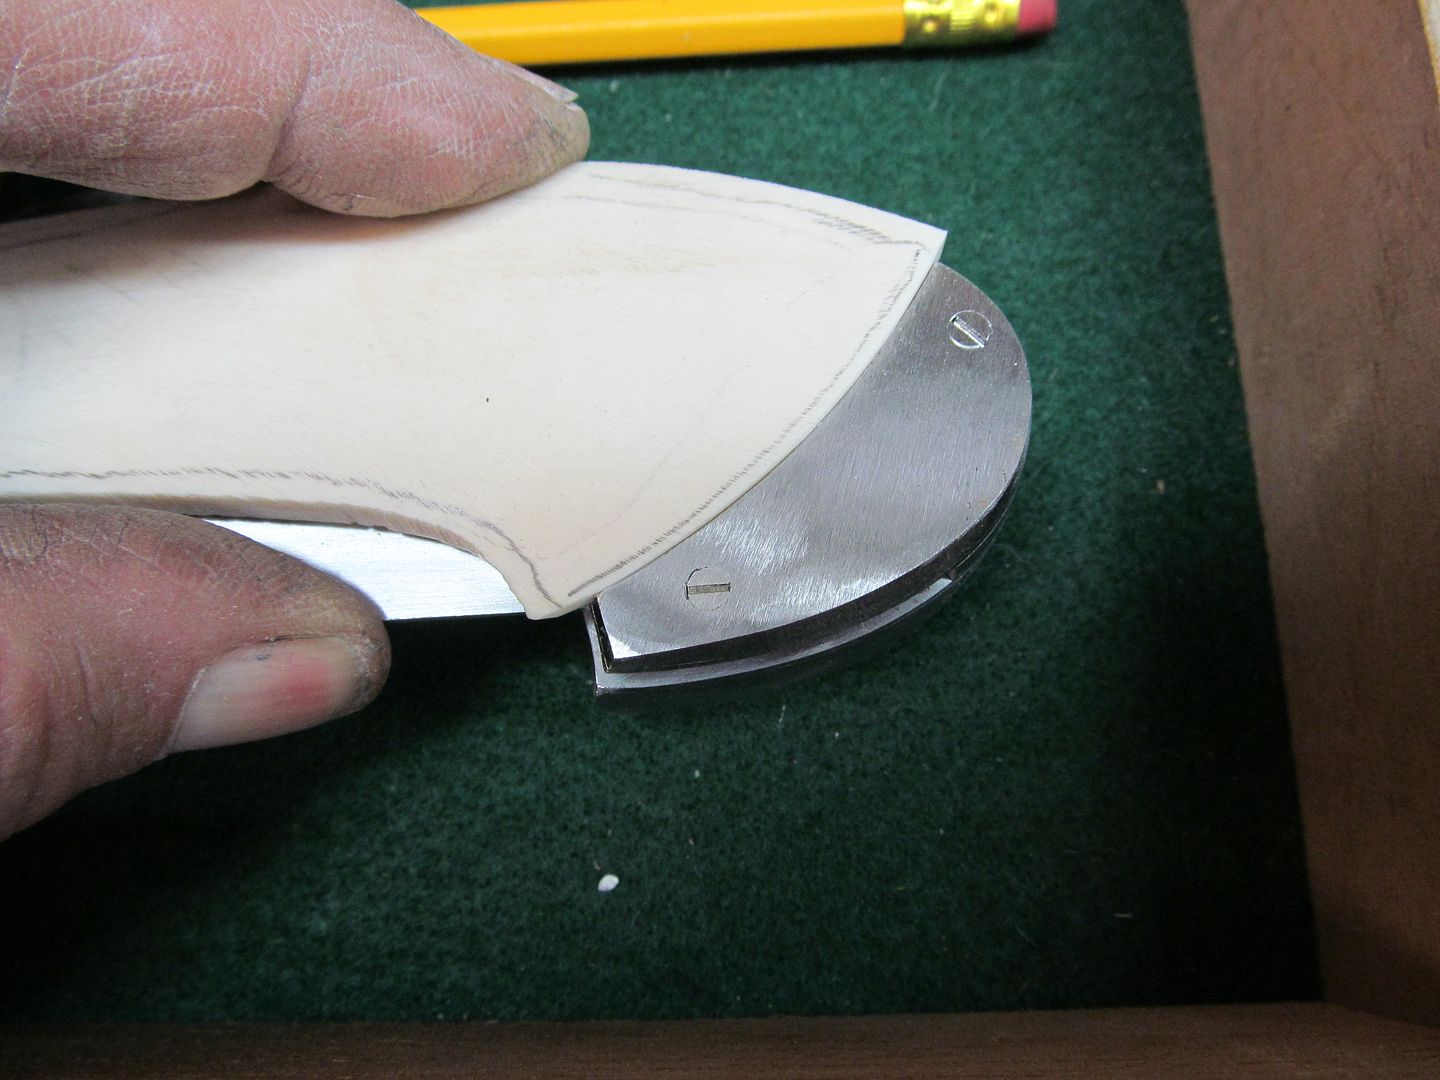
Bruce, thanks so much for taking the time to do these WIPs. I know it must really interrupt your work to stop to take pics, and your evenings to make these posts. They're wonderful though, and one of the greatest things knifemakers get to see.


")