rhinoknives
Well-Known Member
Well That's enough about my pain & trauma, Lets get back to the knife for our winner Aaron.
So I epoxied up the handle and then let it cure overnight. I switched to the West System G/flex epoxy that Bossdogs sells about one year ago and have been very pleased with it.
I sand down & sculpt the scales starting with a Hermes 40 G A/O Y weight belt then to a 120G Superflex to really contour the scales then to a 600 superflex then some hand sanding at 600 and then 1000 grit before I go to the buffer and load it up with Fabulustor white rouge and then It's time to put the final edge on the knife.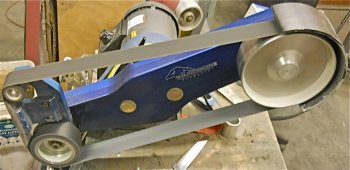 I stuck in a picture of my Flagship grinder, My Hardcore Products 1 1/2 HP Variable, She is one smooth machine!
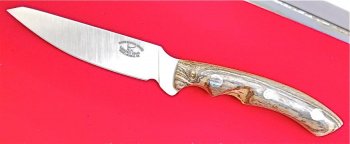

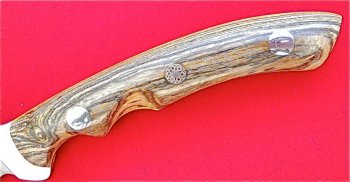
The final edge is done by first cutting in the final edge bevel with a used 60 g ceramic X weight then a used 120 G X-weight then a new 120G superflex Then a 3M 9 micron finishing belt for a mirror edge, Then back to the buffer with Fabuluster white rough. Add my Rhino logo and we are good to go!
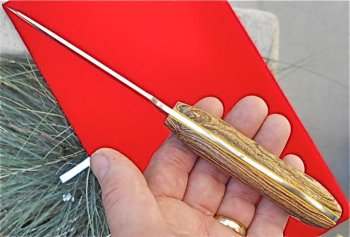
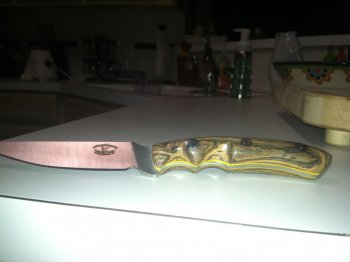
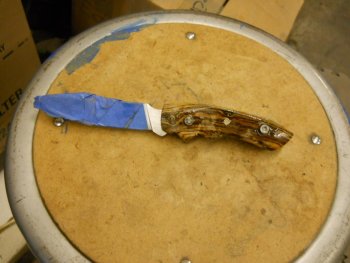
In the last pic you can see the slight distal taper in the blade as well as the yellow liners I put in for a splash of color to go with the Bocote scales and the mosaic pin.
This one is ready to pack up for it's trip to Aarons house.
Thanks everyone for following alone. This was my first WIP and it was FUN!
Any questions? Feel free to ask as I may have omitted many steps?
Laurence
www.rhinoknives.com
So I epoxied up the handle and then let it cure overnight. I switched to the West System G/flex epoxy that Bossdogs sells about one year ago and have been very pleased with it.
I sand down & sculpt the scales starting with a Hermes 40 G A/O Y weight belt then to a 120G Superflex to really contour the scales then to a 600 superflex then some hand sanding at 600 and then 1000 grit before I go to the buffer and load it up with Fabulustor white rouge and then It's time to put the final edge on the knife.
 I stuck in a picture of my Flagship grinder, My Hardcore Products 1 1/2 HP Variable, She is one smooth machine!


The final edge is done by first cutting in the final edge bevel with a used 60 g ceramic X weight then a used 120 G X-weight then a new 120G superflex Then a 3M 9 micron finishing belt for a mirror edge, Then back to the buffer with Fabuluster white rough. Add my Rhino logo and we are good to go!


In the last pic you can see the slight distal taper in the blade as well as the yellow liners I put in for a splash of color to go with the Bocote scales and the mosaic pin.
This one is ready to pack up for it's trip to Aarons house.
Thanks everyone for following alone. This was my first WIP and it was FUN!
Any questions? Feel free to ask as I may have omitted many steps?
Laurence
www.rhinoknives.com
Last edited:

