Starting An Elk Antler and Sanbar Stag Antler Knife

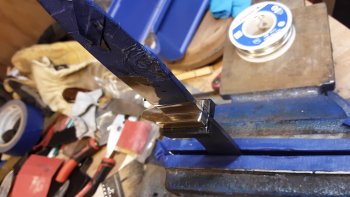
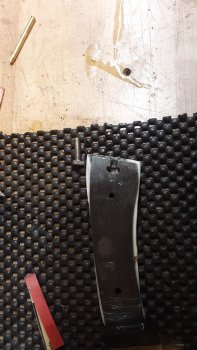
Hammered the solder flat, it only takes a tiny bit. The flattened part would be enough for a dozen knives, or more.20190531_141511-734x1305.jpg
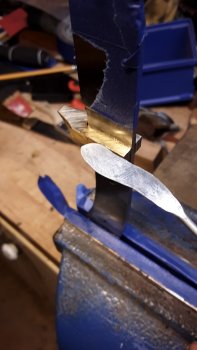
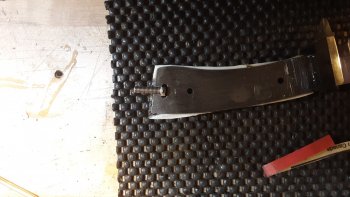
I use a plumber's solder rag to wipe excess solder while it is still flowing, keeps cleanup to a minimum. Graphite on the ricasso area just in front of the bolster makes any cleanup a bit easier in the end also. The small amount visible behind the bolster is of no consequence as long as the spacer fits snug against the bolster.
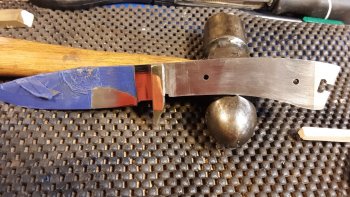
20190531_150043-1305x734.jpg

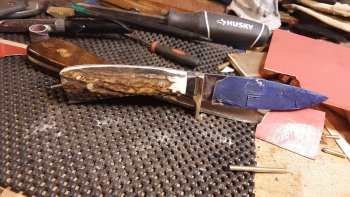
Waiting for epoxy to dry now.
PhotoPictureResizer_190531_152046441_crop_830x595.jpg

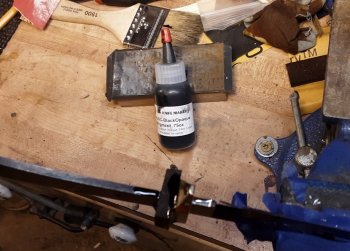
If you haven't tried USA Knifemakers epoxy color additives, you might want to. I used to used powdered dies from Stewart McDonald's, the USA stuff does a much better job giving deeper, richer, more opaque colors.
 
I hesitate to call what I do a WIP, this is just the process I use, there are better, more efficient ways of doing things (and, as soon as I think wip, it goes off the rails :) ).

If you keep the solder application to a minimum, clean isn't so bad. Another way to remove it is with a course buffing compound and buffing wheel. I use a small 4-5" wheel from HF on my small benchtop drill press.
Once I am further along in the build, I will revisit the solder clean up and the left over buffing compound.
20190601_120457-1305x734.jpg

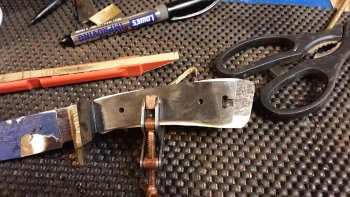
I'm placing a scale where I want it and marking the key way I will need to drill out later for the pommel cap bolt. Once both clamps are in place, I'll drill the pin holes.20190601_120942-1305x734.jpg

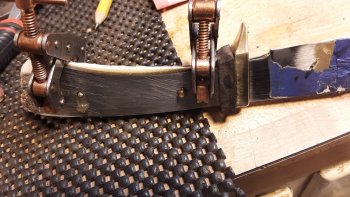
With the pin holes drilled, I place two pins through the tang and scale, apply epoxy and clamps and then remove the pins as their function at this point was to properly place the scale over the hole in the tang. Clean up all over flow and clean out the pin holes.
20190601_122715-1305x734.jpg

Waiting for epoxy to dry.
You can save a step by through drilling both scales and then applying epoxy. I have lost a couple that way with misaligned holes so I prefer this process. YMMV.
 
Last edited:
Slow going right now, other irons in the fire. Will try to get this one finished up before the upcoming weekend ends.
Cleaned up the slot for the bolt with a 1/8" bit. An end mill would work well also.
20190603_162338-734x1305.jpg

The bolt needs just enough room to pivot a bit to allow the pommel to fit square and flush, but still hold tight in the cross slot.
20190603_162417-1305x734.jpg
More tomorrow.
 
Dan I have a question. Other than your pin holes - why did you not drill more holes in your tang? Not judging, just have an inquiring mind. We all build them differently. I just want to know if there is a reason behind that decision.
 
Dennis, I seem to have better luck balancing the knife right at the bolster this way. It may be from my blade length to tang length ratio, coupled with my grind. Thanks for asking, I had not thought about it before, but I'll have to play with some soon to see what happens. I know I personally like a bit of weight in my using knives, I've never liked a hunting or EDC knife that felt "too light" in my hand for some reason, but I know some people really like that "anti-gravity" feel.
 
Dan - one issue is handle balance. Another is total weight. I drill holes to allow the epoxy to help hold the two scales together. Other makers will vary...
 
The majority of knives I make are less than eight inches oal, and between .072 and .090 pregrind thickness. Total weight has never been an issue and feel very balanced in hand. Multiple epoxy holes are beneficial, but I have never had a failure with two pins applied correctly. As you say, it varies by maker
 
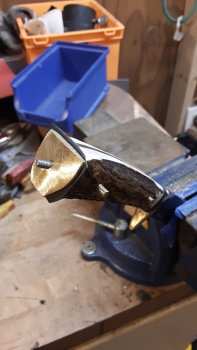
Pommel roughed in. You can see enough of this to determine where it is going, so this is it for this thread.
20190607_113322-734x1305.jpg
 
Back
Top