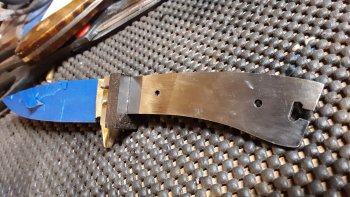
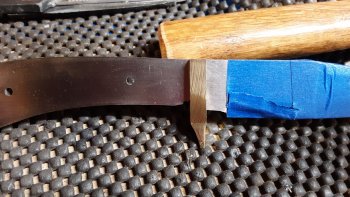
Starting An Elk Antler and Sanbar Stag Antler Knife

DanF

Well-Known Member
I ran across a very well shaped piece of elk antler so I thought I would also use up a piece of sanbar I have while I am stinking up the shop.
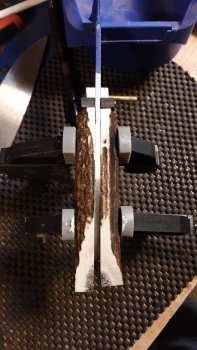
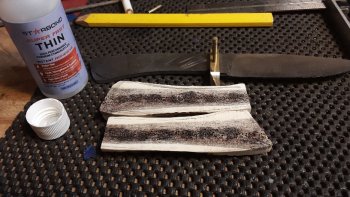
Using thin cyanoacrylate glue to penetrate, this stuff is like water and is great for turning projects and the cracks that develop while turning.
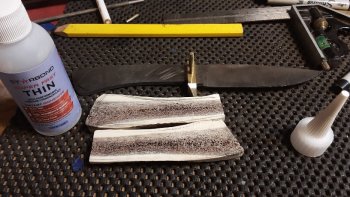
20190510_144016-816x459.jpg
You can see where the drops hit and spread. Once I saturate with the thin, after drying, I follow up with regular cyanoacrylate until I feel the pith is filled and stable. Gluing is a slow process as the stuff get very hot so I wait until it sets and cools before applying more.
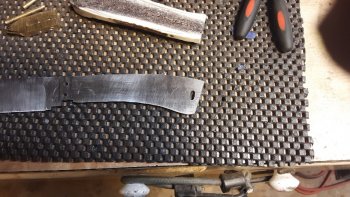
20190511_110509-816x459.jpg
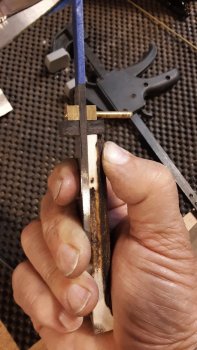
I usually use a cleavis pin/hinge for hidden through tangs, but with this full tang I am borrowing an idea from akwildman's recent thread on his knife build (thank you for that technique!), so I can use a pommel.
20190510_144132-816x459.jpg
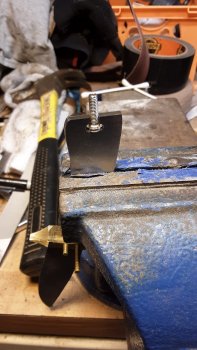
Screw fitted for mounting later, it will "float" so it will fit flat and flush in place.
20190511_115147-459x816.jpg
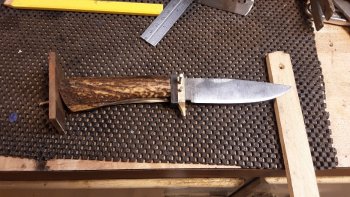
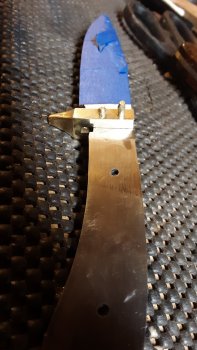
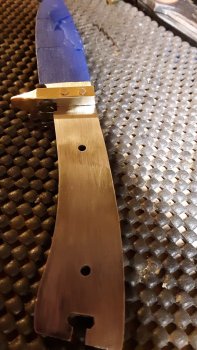
All components rough fitted.
20190511_122150-816x459.jpg
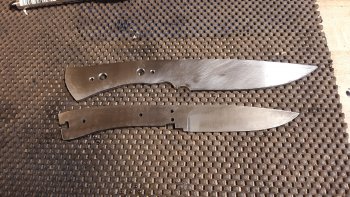
The other blade will be a just a bit bigger.
20190511_173837.jpg
More to come another day.

Edit 2nd and 3rd pic reversed.
 
Slow going right now, working on too many at once.
I haven' done a swedge in a long while, thought it might be fun. Not.
20190514_122601-459x816.jpg
More work on it and plunge lines needed.
 
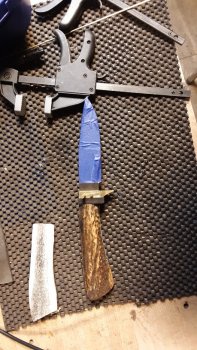
Blade finished except sharpening, hand sanded to 600, then backed down to 400 and wrapped for protection.
Taking a quick look at fit.20190514_171700-459x816.jpg

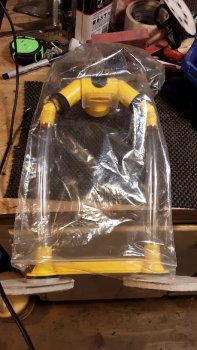
I found this respirator to be great for full beards, called the resp o rator.
20190514_170631-459x816.jpg
I'm going to break the pics down as I am sure to mix things up as I go along. More coming.
 
The antler scales as they presently are, are too big in diameter for this knife, and too round and need to be sanded. Antler and bone do not like heat so I will take it slow, alternating each side to allow plenty of time for cooling.
20190514_165148-459x816.jpg
They extend beyond the spacer so I will sand them to flush, and slightly tapered front to back. There is also a slight gap where the right scale is not truly squared up where it meets the spacer.

Scales thinned to flush with the edge of the spacer and most of the gap has been taken out, but needs a bit more sanding.
20190514_171527-459x816.jpg
Next I will be shaping the finger guard prior to permanent installation. Thinking about using a pin press like I saw on usaknifemaker.
 
Last edited:
Blade finished except sharpening, hand sanded to 600, then backed down to 400 and wrapped for protection.
Taking a quick look at fit.View attachment 68752

I found this respirator to be great for full beards, called the resp o rator.
View attachment 68753
I'm going to break the pics down as I am sure to mix things up as I go along. More coming.
I have been looking at a better respirator than the half mask I have which never really seals against my beard. I have read positive reports on them but it was the blocking the nose and only breathing through the mouth that had me wondering how comfortable they are for a coupe of hours use at a time.
 
It took me a couple days to get used to it as I have never snorkled or scuba dived. Now I don't even use the nose clip as it has become second nature for me. For the first 3 or 4 days I experienced a bit of dry mouth/throat from mouth breathing. Haven't noticed that since the beginning. From what I have read/heard, there are better types out there , but cost hundreds of dollars.
Some days I forget I have it on.
I have just ordered one Dan. Thanks for the feedback that mirrors what others have been saying
 
Anthony Self did a vid on using a C-Pap machine...positive flow and goes over the nose and doesn't fight the beard...of which his is spectacular...lol. He puts it in a drawer under the grinder where the dust can't get to it...

Dan...great WIP!!
 
Putting this one on hold for a few days, rewiring the shop again (third time, more equipment each time). Didn't want to appear to be abandoning this.
 
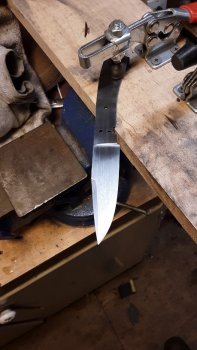
That's nice looking knife you have going there. I do admit that the picture of the blade hanging out over the edge of the knife board gave me the willies though. You could really cut yourself or, worse yet, stab yourself with it hanging over the edge that way.

Doug
 
You are correct, Doug, that would be an unsafe practice for sure! I had released one of the toggle clamps to swivel the blade around for a better picture.
 
Gave up trying to finish a pin press for this so I am continuing on peening the pins to the bolster.
Pins are tight, now need to grind off all but a heavy 32nd protruding from each side.
20190530_172218-734x1305.jpg

Now ground down to start peening.
20190530_172547-734x1305.jpg
 
At the back side of the bolster there is a gap left as an epoxy pool area for when the African blackwood goes on. (see previous pic)
20190530_172246-1305x734.jpg

Bolster sides ground down to flat, no pin lines will show on this one when complete.
20190530_173710-1305x734.jpg

I have tried several bolsters with epoxy in the recent past, I just don't care for it, so this will be soldered.
 
Back
Top