You are using an out of date browser. It may not display this or other websites correctly.
You should upgrade or use an alternative browser.
You should upgrade or use an alternative browser.
new project...ivory cracked
- Thread starter soundmind
- Start date
The bowie is progressing. I just about had heat stroke yesterday, so I spent today in the shop out of the sun.
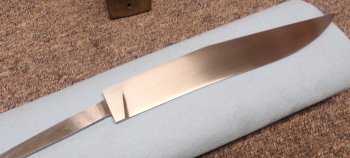

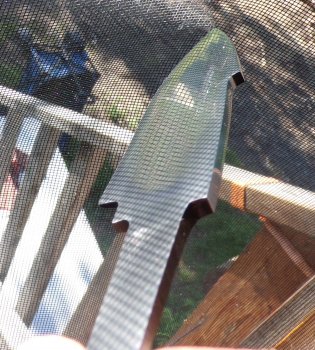
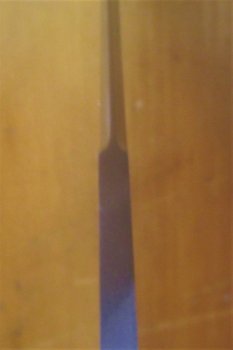
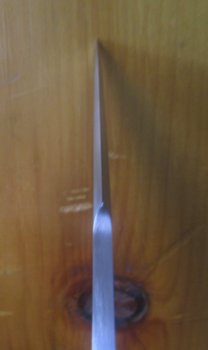
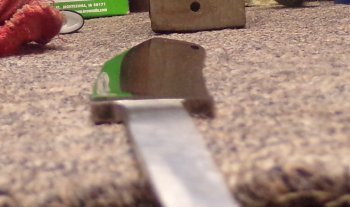
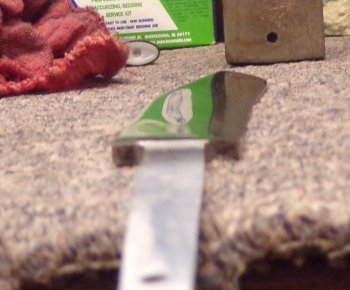
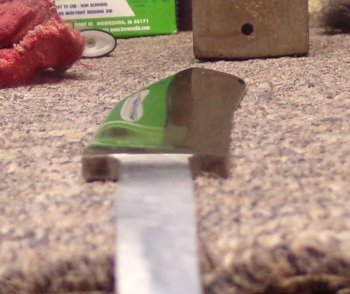
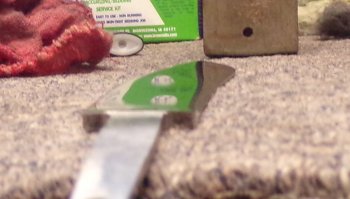
I noticed some waves in these bevels that just about made me sea sick. They were pretty bad, I don't know how I missed them. I went back to 80 grit and grinded on these all day. It did the grinds some good but still didn't completely get it. Plunges are washed out and some slight unevenness in the hollow grinded section. But way more presentable. I brought this up to 600. My first time actually trying for clean plunges. These two blades sure need false edges.
This isn't a WIP. I just wanted to post up some progress. I'll post up the finished product with either the ivory or the ivory with the bone.
I'm planning on copper guards, stainless hidden pins in the guard and spacers, and need to order epoxy and CA glue. Thanks for checking it out!


I noticed some waves in these bevels that just about made me sea sick. They were pretty bad, I don't know how I missed them. I went back to 80 grit and grinded on these all day. It did the grinds some good but still didn't completely get it. Plunges are washed out and some slight unevenness in the hollow grinded section. But way more presentable. I brought this up to 600. My first time actually trying for clean plunges. These two blades sure need false edges.


This isn't a WIP. I just wanted to post up some progress. I'll post up the finished product with either the ivory or the ivory with the bone.
I'm planning on copper guards, stainless hidden pins in the guard and spacers, and need to order epoxy and CA glue. Thanks for checking it out!
Chris Railey
Well-Known Member
I only ever made 3 knives with all hand work and those are way better than any of them. Nice job.
Jason Volkert
Well-Known Member
@soundmind Nice work man!
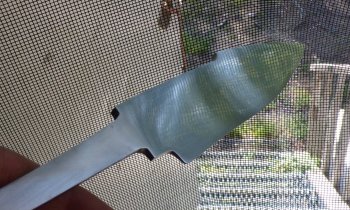
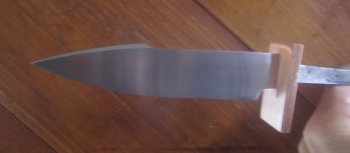
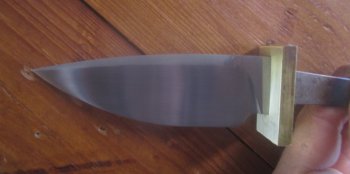
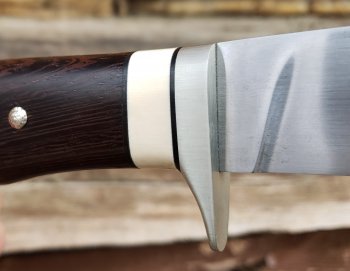
Here are some better grinds. The 4" with brass has been my practice blade. I wanted to try a deeper swedge than my last one I finished. But I decided on more mild swedges on the other two.
I decided to try it out with my bench grinder. I cleaned it up with medium diamond files, then 240 then 600. They stayed pronounced but not super crisp. Worked out pretty good though and I know from Raymond and John D.'s recent threads to focus on getting my grinds cleaner and the ricasso flatter. I promise I will but I think with differentially hardened blades until I get a grinder.
I decided to try it out with my bench grinder. I cleaned it up with medium diamond files, then 240 then 600. They stayed pronounced but not super crisp. Worked out pretty good though and I know from Raymond and John D.'s recent threads to focus on getting my grinds cleaner and the ricasso flatter. I promise I will but I think with differentially hardened blades until I get a grinder.
Attachments
Jason Volkert
Well-Known Member
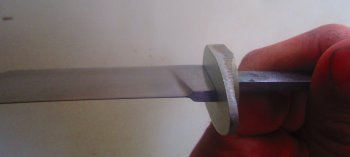
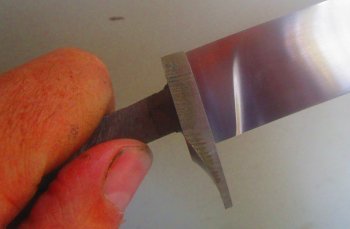
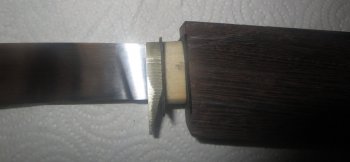
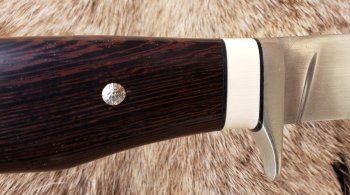
@soundmind Looks like your got a Nice fit on that gaurd
Luke, I just read this, as much hand work as you are doing I would not heat treat until the knife is finished down to 220, I know I am going to be called on this, I was taught to wrought grind and heat treat but gave it up a long time ago I take all my knives to 220 before heat treat and hand finish from there with tool and die maker stones to 600 from there with sand paper to 2000 or what ever grit you want to stop at, if the blade warps straighten it on the first drawback, this works for me, Deane
Luke, I just read this, as much hand work as you are doing I would not heat treat until the knife is finished down to 220, I know I am going to be called on this, I was taught to wrought grind and heat treat but gave it up a long time ago I take all my knives to 220 before heat treat and hand finish from there with tool and die maker stones to 600 from there with sand paper to 2000 or what ever grit you want to stop at, if the blade warps straighten it on the first drawback, this works for me, Deane
I'm glad someone else thought of making these stones, because I was just about to invent them myself.
No, honestly Tracy mentioned EDM stones awhile back and I forgot about that until now. I just received some longer length diamond files I ordered from Jantz. It's the set of five they sell. They're a little longer and wider than the small diamond needle files I have now. I wish I would have remembered about these stones. I'll look into ordering them too. Thanks Deane.
Thanks JasonLooks like your got a Nice fit on that gaurd
building the handle:
First time with any kind of ivory. This one was a five dollar piece. I'm doing it for experience and the nostalgia of working with something rare. But any feed back is welcome on this.
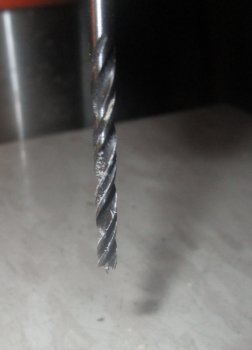
I knew to keep it cool while working it - go slow and use sharp tools: 1/8 brad point drill bit and needle file knife to mill the slot. New 1/16" bits for horizontal pins only drilling a little at a time. Feedback welcome on this. I researched some but not hours and hours.
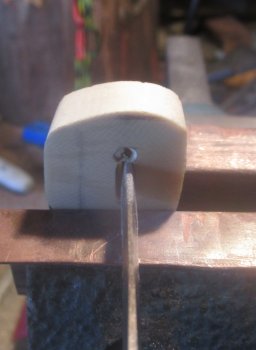


I can only think of using my vice to get flat. I tend to rock a piece on it's edge if I'm holding it and going back and forth (or even one direction) on sandpaper and barstock. I've had better luck if I'm holding a file or abrasive and the workpeice is held still.
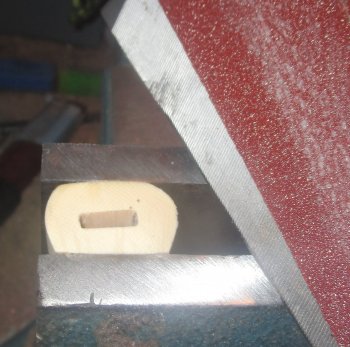
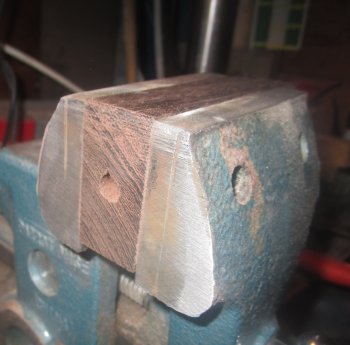
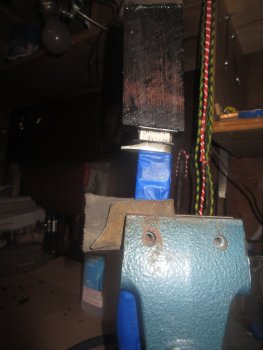
btw I'm really frustrated with this vice. It's good if you like your material to move when you're cutting it. I'm thinking it'll make a good anchor on the bottom of my net this year.
But it's a good heat sink:
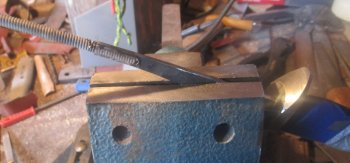
I used 1200 degree silver braze. My new vice held heat for a long time afterward. So it may also work as extra mass on top of our wood stove. So there are options, I'm not going to just throw it away.


btw I'm really frustrated with this vice. It's good if you like your material to move when you're cutting it. I'm thinking it'll make a good anchor on the bottom of my net this year.
But it's a good heat sink:

I used 1200 degree silver braze. My new vice held heat for a long time afterward. So it may also work as extra mass on top of our wood stove. So there are options, I'm not going to just throw it away.
Positives:
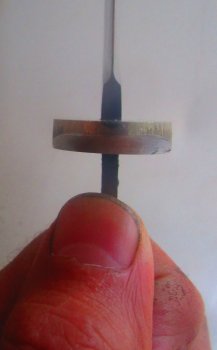
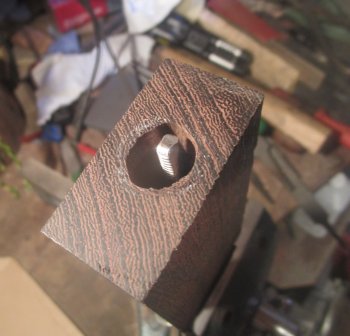
The butt cap is drilled below the silver brazed nut to receive the all thread which also has the edges knocked off. This was to give me a little extra bite since I was using coarse thread. I'd like to try machine screw threads next time. I had 6-32 but it was too small so I switched back to this coarse thread I had on hand.
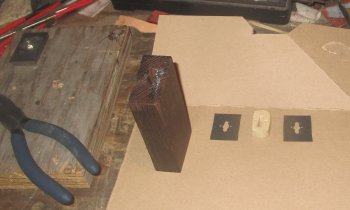
There's the nut and the spacer in the left hand corner of the second picture.
Glue up is tight. I was able to land the butt cap where I wanted as I was twisting it. It's tight and lined up with the wood. I think I have a solid handle construction.
Negatives.
The handle came out a little twisted.
How long do you guys cut your horizontal pins and what pin-stock do you use? I think for some reason my horizontal pins weren't strong enough to hold it straight. It may be the hole through the tang is not straight either.
Also do you think the twist will be obvious in the grain when I finish it?
Second, What kind reinforcement can anyone recommend for the butt plate and spacer? The only thing keeping them from turning is the epoxy. But it surrounds the nut inside the handle which is a plus. Anyhow it seems like they need horizontal pins also somehow. That's why I tried peening the tang on my other knife - so I could use horizontal pins.
I know this is getting long, but last for some dumb odd reason I didn't catch the spacer wasn't 90 degree to the spine. I don't know how I missed that. I'm going to try to correct that in the handle shape....
Thanks for looking! This is all posted for feedback and critique.
Jason Volkert
Well-Known Member
@soundmind Looking good man
opaul
Well-Known Member
I like the premed pin.Waiting a couple days helps me think of how to or if I think even can fix something. I'll be out of town a couple days for a wedding. That'll give some time to dwell on it.
Any thoughts on the peened pin?
Bruce McLeish
Well-Known Member
Isn't that like an "intern" pin?I like the premed pin.
opaul
Well-Known Member
I’ve got to remember to not trust spell check - I meant to type peened.Isn't that like an "intern" pin?

