New Forge

Well I've collected most of the parts for the gas part for the burners, got the Kiln shelf cut and fitted. Need to cut the rear door out and figure out what I want for front and rear shelves to support the fire brick to help keep heat in forge. Then it will be time to get messy with the Satinite and ITC.IMG_20180515_24381.jpg
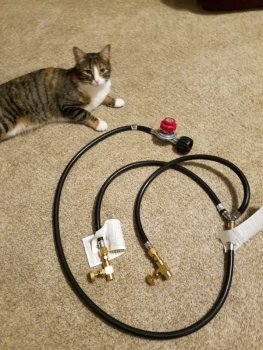
These are all the hoses and most of the valves (still need a ball valve for shut off) 30PSI regulator, 2 needle valves to adjust pressure at the burners so I can balance them. And that is my model Zoe!!
 
Last edited:
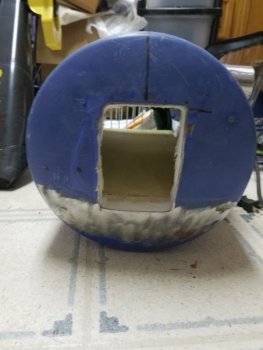
Cut the back of forge body for a pass through for longer blades. Made it 3" wide and 4" tall so a standard Firebrick will fit in it. I'll take some pics and post. Next up couple of shelves to hold Firebrick then Satinite the wool and top coat with the ITC. While all that drys I'll work on burners! Still a long way to go!!
 
IMG_20180707_4909.jpg

Here is the cut out pass thru on the backside of the forge. Finally got a pic. Next need to cut out the Kao-Wool from the Burner tubes and coat with first thin coat of Satinite. Time is at a PREMIUM right now!!
 
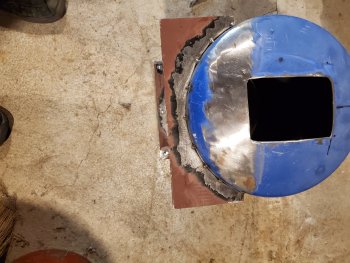
Starting to get this going again finally!! Cut the rear shelf need to weld it on. Need a little bit of steel for the front then finish weld up the rest, and I can get to the liner!!
 
What did you use to cut the holes with? I'm thinking of making something similar. However the only hole saws I have are for wood.

Thanks

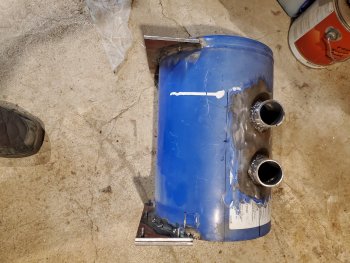
To cut the end off I used a grinder and cut off wheel, same with the rectangular rear opening in the rear, the holes for the burner I used a Lenox Bimetal Hole saw. There pretty inexpensive if you have the Arbor to fit it and dont get real large ones.
 
To cut the end off I used a grinder and cut off wheel, same with the rectangular rear opening in the rear, the holes for the burner I used a Lenox Bimetal Hole saw. There pretty inexpensive if you have the Arbor to fit it and dont get real large ones.
Thanks for the reply. I'll check out the hole saw you mentioned
 
Thanks for the reply. I'll check out the hole saw you mentioned

If you have access to a low RPM 1/2 drill that helps a lot too. I used a Milwaukee right angle drill. Also when drilling on the rounded surface of the tank pay attention to your progress, if you cut thru part of the hole the saw may catch and smack you! Or worse break something!!
 
If you have access to a low RPM 1/2 drill that helps a lot too. I used a Milwaukee right angle drill. Also when drilling on the rounded surface of the tank pay attention to your progress, if you cut thru part of the hole the saw may catch and smack you! Or worse break something!!

I have a drill press that should be able to do the job. I believe 140 is it's lowest speed. Thanks once again for the tip
 
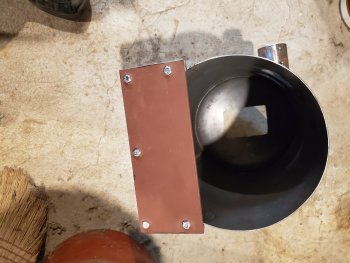
Built the front and the plate that bolts to front of forge to facilitate the removal of the plate so rebuilding interior of forge will be easier. It will have a shelf on it to hold fire brick to help heat forge up quicker! More pics to come when I get a couple minutes. Need to make one more cradle for the back.
 
Finally some movement on this project! Got the rear foot and front foot mounted. The front foot was also drilled and bolted to accept a partial cover. This cover is going to be a tad lower than the kiln shelf that's going in. I am going to weld a shelf to the bolt on plate to support fire bricks that is how I plan to control the heat in forge. 20190516_143707.jpg20190516_143701.jpg20190516_143651.jpg
 
Almost forgot ordered some rigidizer for the Kao-Wool. Hopefully will do some more next week once the rigidizer comes in.
 
20190521_104948.jpg20190521_104951.jpg

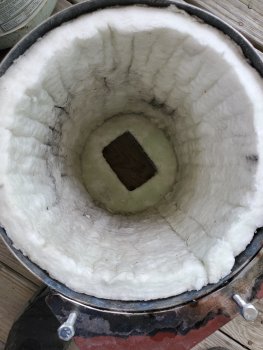
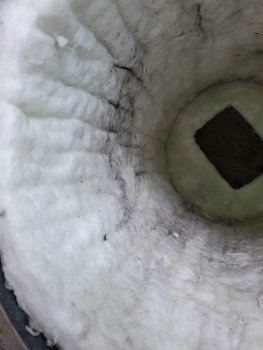
Pics don't show it well but most of the Kao-Wool and Rigidizer has been put into the forge. If I had not gotten the Kiln shelf and finishing supplies for the interior for more or less free I think the better way would have been to cast it. Next time! But this should last a decent amount of time! This will need to dry for a couple days at least. Then onto Satinite and ITC. Need to cut 1 more piece of Wool for the front. Just taking my time have an Atlas type forge that I am using still that works pretty good. Still need to finish burners for this one.
 
Last edited:
20190606_121336.jpg20190606_121324.jpg

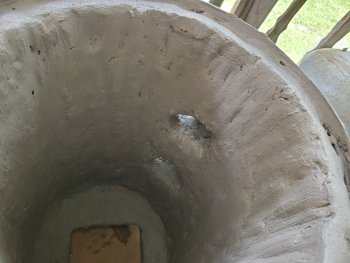
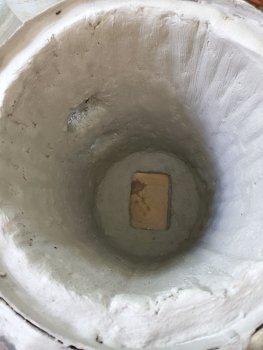
First coat of Satinite easy to do but messy job. Let it dry over the next couple days and then put on a second coat.
 
Now that is a forge lining...
If I wanted to cast a removable floor liner for my forge to stop the sticky flux invasion would satinite be suited for that purpose?
 
Now that is a forge lining...
If I wanted to cast a removable floor liner for my forge to stop the sticky flux invasion would satinite be suited for that purpose?

It is flux resistant, but a Castable refractory is better. Something like a Kastolite 30 good for 3000 Degrees!! I'm also putting a kiln shelf in and coating the interior and kiln shelf with ITC100.
 
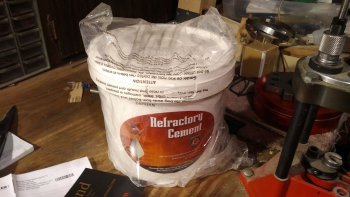
Gliden I'm back to working on my own version of a forge almost identical to yours. In addition to 1" Kaowool I have two gallons of 3000 degree refractory cement, but I don't think it's the Castable kind? I'm thinking of using both to create a very solid forge. Amazon users say it works fine for a forge, but that's Amazon.
69222
 
That's a lot of forge to heat 4"-5" of steel at a time. Could be useful in heat treating swords if you put in a pass through port on the back side. I would go with the Kast-O-Lite to coat the inside of the forge with as it will stand up longer to contact with the work and won't be eaten up by flux like the Satanite will be. Another way to look at getting Santanite given to you is that if you throw it out you won't be out anything.

Doug
 
Put second coat of Satinite on today have to let it dry a week or so then line it with ITC. Work on the Burners next. Got a meter to keep track of temps. Have to figure out where to put thermo couples.
 
Back
Top