MDA Slipjoint WIP

Well Rex, I had to brush up on this a bit. Apparently since this damascus is a 10XX steel, it needs to go from heat treat temp to less than 400F in less than 6 seconds. This means I will have to heat treat it without wrapping it in foil, and then dip directly in quench oil. Doing it in foil will only prolong the time it takes to get it into the oil, because I have to cut the foil and unwrap it after it comes out of the oven. It won't come to proper hardness like this.

It is the stuff from Bladesmith2002 (Pakistan).

I did do the back spring yesterday. It is at about 48-50 Rc. Hopefully I can get the blade done today.


Yes, 10XX Steel does need to be quenched fast, but 6 seconds is too long, more like 1 to 2 seconds, it has to be done very fast, with zero hesitation to get full hardness, if you'd like you can come over and we can HT it in my shop, if you need to. I've got 5 gallons of the Maxim DT-48 just waiting for some hot steel, and it doesn't look like I'll ever get finished with the second W-2 blade of my knife making career. Stuck on the guard, I'll get it, I'm just slow in my old broke down age! Let me know, Rex
 
Can you use some stainless TIG wire in the pivot hole to maybe grab it quicker and not worry about dinging the hot blade?
 
Thank you for the tip Joe, but believe it or not that is exactly what I planned to use lol. I have some 1/32 that is perfect for this.

Rex, I'd like to come up man, but I'm not sure what the work schedule looks like this weekend man. I may be here..

I have the oven and quench here, I just have to get to it.
 
Thats cool, I was just offering, I didn't know you got an oven. I guess your all set, until you want to do some forging, let me know when you're ready, Rex
 
Ok folks, When we left off a few days ago I was at the point where I needed to heat treat the blade. I had a little trouble with this steel, which was kind of expected, but I was hoping it wouldn't happen. After I went through a crash course on how to properly heat treat 10XX steels and of course the other 15N20, which is what this damascus is made with, I started gaining some ground. I figured out from talking with Dan Seaver, Josh Dabney, Bruce Bump, and a few other folks particularly familiar with damascus that 1095 was a really finicky steel. This damascus is claimed to have been made with 1095 and 15N20. I am very accustomed to using a hardness tester, and we have a Starrett tester that is calibrated pretty often. I kind of expected to get different readings with it when testing damascus, but not in the broad range I was seeing.

After finally getting the blade hard enough to where it tested 60+ Rc in a couple of places, I was ready to go. A file skates on the edge, but I was still unsure whether I should use it or not. After talkng to several people about it, I feel confident now that is ok to leave my shop. So, with the heat treating of the blade out of the way, I could finally move on.

Before I heat treated the blade, I did some finish sanding work on the handles. My main objective here was to get the scales brought down even with the bolsters and get them roughed in. Here we are roughed in and close to finish work.

mda98.jpg


mda99.jpg


During the process of bringing the scales down to where they need to be, I cut the counterbores down, and ground off the top of the screw heads. This was okay, because I could go back and recounterbore the holes and put in new screws. Here I have the old screws removed and the counterbore needed to redo the counterbores. If you haven't noticed I'm using an allen wrench on torx head screws. You can usually find an allen wrench that will fit a torx, but be advised "it isn't the correct too for the job" so to speak. I am only lightly snugging these screws, so no need to have the proper torx tool at the moment. The allen wrench works okay for the time being. Just don't use one to do final tightening, because it is easy to strip the screw.

mda100.jpg


You can see here where we need to recounterbore. Note how shallow the hole is now after grinding and shaping the scale.

mda101.jpg


And then when finished, you can see the deeper counterbores.

mda102.jpg


Here is a picture of the blade and spring. Both have been heat treated and surface ground to the same thickness.

mda103.jpg


Now we can start final grinding on the blade. Care is needed here. I usually grind my blades in to close to finished, and then I only have a little bit to clean up after heat treat. I start with about an 80 grit belt, and progress up through finer grits. I think I use a 220,then a 320, then 400, and finally 600. I always mark my blade with a blue sharpie so I can see what I have ground and what I haven't. This is important because if you don't do this, it's hard to see what you are grinding. When you are progressing up through belt grits like this it's hard to see the difference of the scratches because they are all running one direction. This next series of pics is throughought that process, although I can't really remember which picture corresponds to which grit scratch..

mda104.jpg


mda105.jpg


mda106.jpg


mda107.jpg


mda108.jpg


mda109.jpg


mda110.jpg


For a final step last night, I ground the inside of the spring. I plan to engrave this with the knife's number and name. Remember to stay away from the end of the spring where it fits into the back of the blade. If ground here, it will effect the zero. What I did was take a piece of scotchbrite and lightly dust it off.

mda111.jpg


mda112.jpg


Stay tuned. Etching the blade and putting the maker's mark on is next.
 
Time for the etching work on the blade.

First thing I did was check the blade and be sure all the bevels, surfaces, and contours were exactly the way I wanted them. In this picture I'm putting a small chamfer or bevel on the top of the blade to knock the sharp edge off. It looks really clean if you do this. I also lightly deburr all the sharp edges.

mda113.jpg


mda114.jpg


Next we do the stencil etch for the makers mark. These stencils are from Ernie Grospitch; he makes stencils for many makers. Here is one of my small ones I use for folder blades.

mda115.jpg


To prepare, I use electrical tape to hold it up against the blade. You need to be sure the blade is completely clean of all contaminants and oil. Once cleaned up, be sure you have it oriented the way you want it and tape in place. I use electrical tape because it holds well and is easily removed without fuss. A Q-tip saturated in salt water is used for my etch. I'm still improving this process, but this works for now. My etcher is home built.

mda116.jpg


And then after I'm finished, this is what I have. I'm gun shy and afraid to overdo it, so then I underdo it..lol. It really isn't dark enough though. I'll talk about that later.

mda117.jpg


Next step is to isolate the mark from the surrounding blade that will be marked. I got this idea from the way Bruce Bump does his knives. I don't have the stencil with the oval around it, but I figured I could at least give this a shot and see how it came out. What I did was take some clear nail polish like he recommended, and paint an oval around my mark. I also us the nail polish to coat the inside of the pivot hole, and the contact areas for the spring. You don't want to be etching in these areas because of the risk of changing the zeros.

mda118.jpg


Then, into the ferric chloride for the etch. This is PCB etchant solution that can be found at Radio Shack. I dilute mine about 1/1 with water.

mda119.jpg


I think that still may be a little strong, because after I etched for about 5-7 minutes, my blade came out black. Scared me at first, but I went inside and washed off all of the etchant under running tap water. The blade came out a medium gray color.

mda120.jpg


mda121.jpg


I wasn't quite sure what to do here, so I hit it with some 2000 grit sandpaper. it cleaned up the lighter of the two metals, which I assume is the 15N20, and brought out a nice shine. In the process of doing this, I removed too much of my maker's mark. There was no way around except for to re-etch. I don't know how I pulled it off, but somehow I managed to get my stencil in the exact same spot and when I redid the mark it came out great. I think the oval trick worked pretty well. What do you guys think? Are there any hints on how to get anymore "look" out of this damascus? It looks good like it is, but I want to make it the best it can be. I think I remember Bruce Bump using bluing and polishing too.

Here are some final shots of the knife dummy pinned together and some stuff kind of laying in place.

mda122.jpg


mda123.jpg


Not far to go folks. A final shape of the handle assemblies and pinning together will bring it close to done. Then we have to sharpen and check for other issues.

Stay tuned.
 
Over the past couple of nights I have worked to finish the knife. The final assembly and last steps are detailed here.

The first thing I needed to do before I pinned it together was to grind these screws off where they were even with the inside of the liner. If you recall they were a little too long.

mda124.jpg


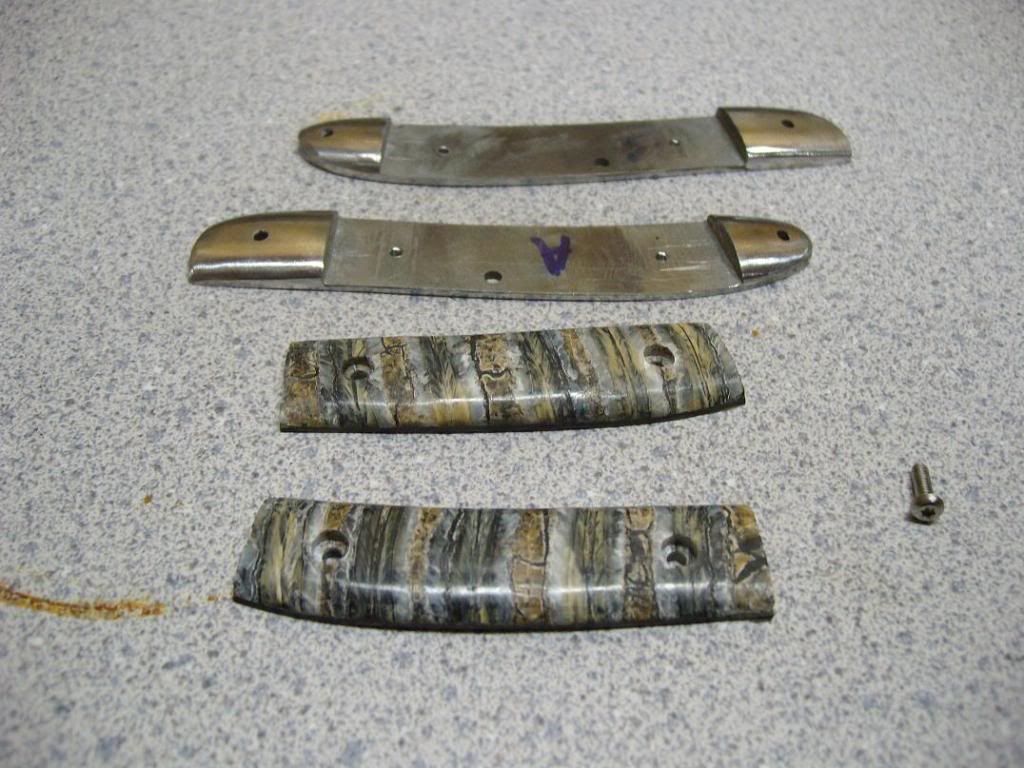
Once that is finished, I moved on to doing the final cleanup on the handle assemblies. I'm working from a 320 grit belt up to a 600. Here is where you have to try and make everything flow without removing too much material. This is an area I know you are interested in Rex, and like I say, you just have to roll with it. I can't really explain how I accomplish this, but I just sand until I think it looks good. It's important to address any issues you don't like about the handle assemblies now. Once the knife is pinned together, it's difficult to sand the handle asemblies without nicking the blade. Best to do it now while you don't have the blade in the way. Be sure you get the front of the pivot bolsters at this time. Those are pretty much impossible to reach once the blade is in.

mda125.jpg


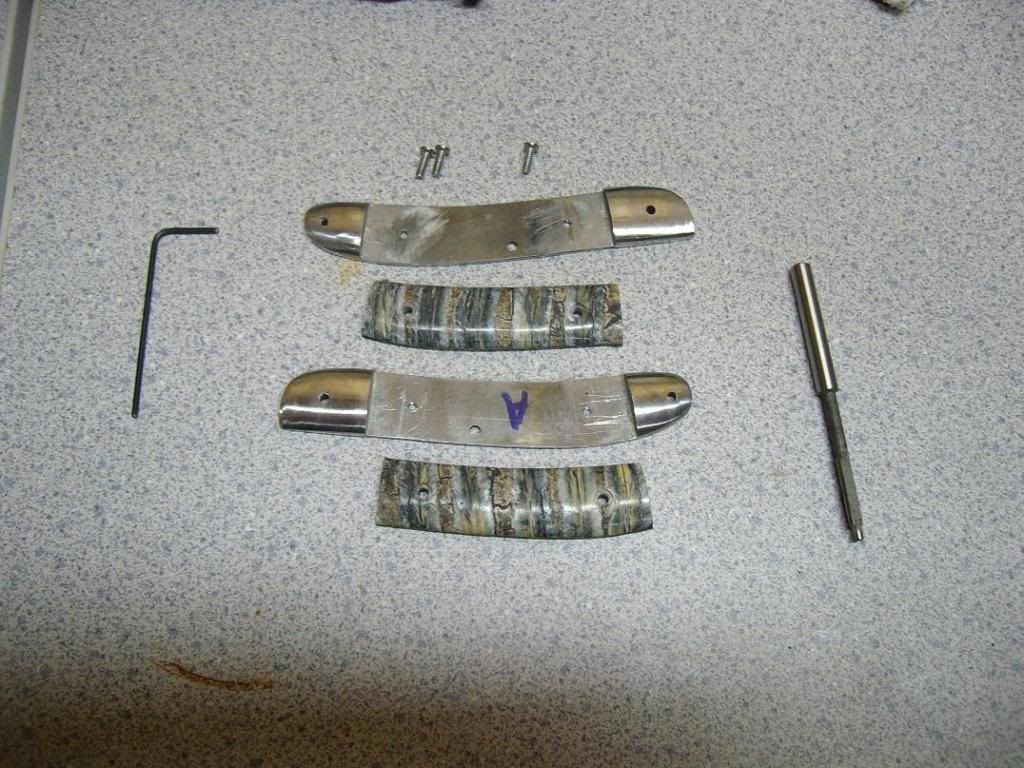
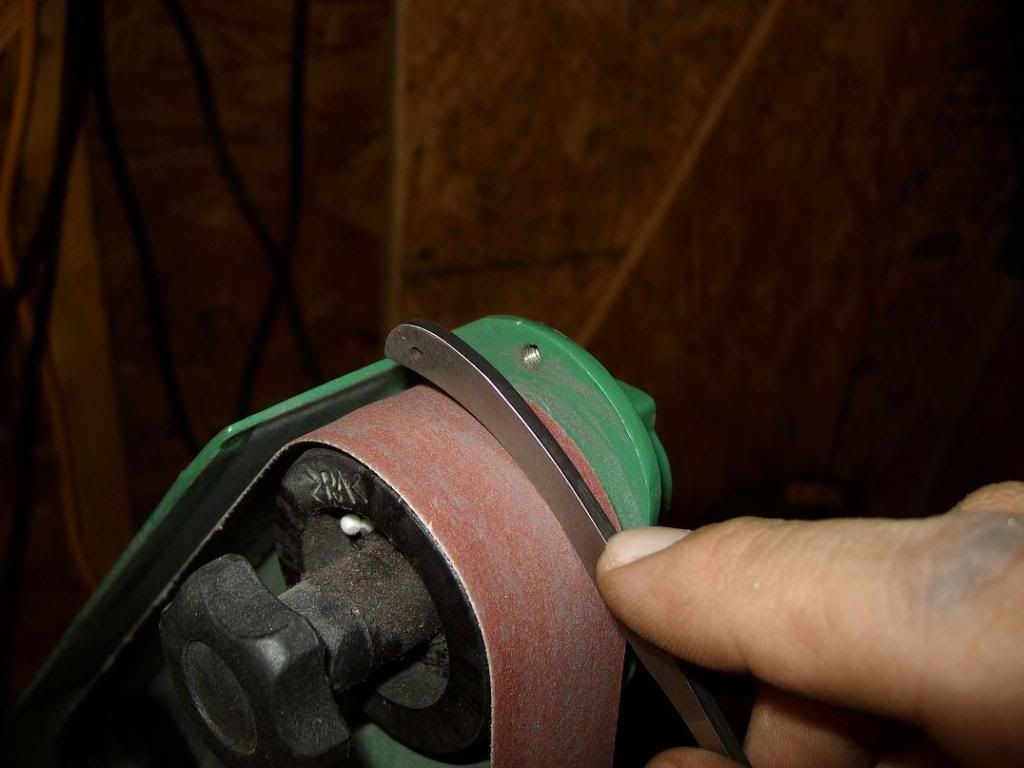
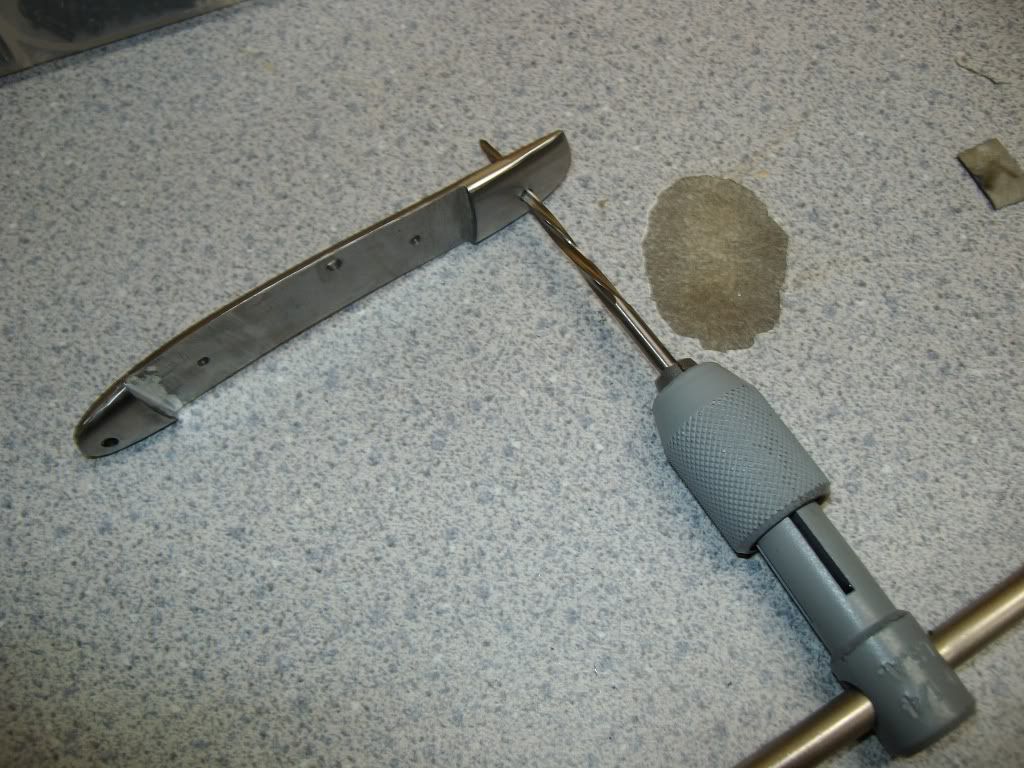
Next step is to taper the holes in the bolsters where the pins go. I also taper the middle pin hole in the liners. Remember, this will be a hidden pin deal like Rex suggested. It works out great here. Thanks for the idea man! I use a tapered reamer, and then a tapered diamond bit. The bit is of course mounted in a rotary tool and used, but here I just have it stuck in the hole for the picture. You don't really need to go too deep here, just deep enough where a flare is created so that when the pin spreads it will be able to grip the walls of the holes.

mda126.jpg


mda127.jpg


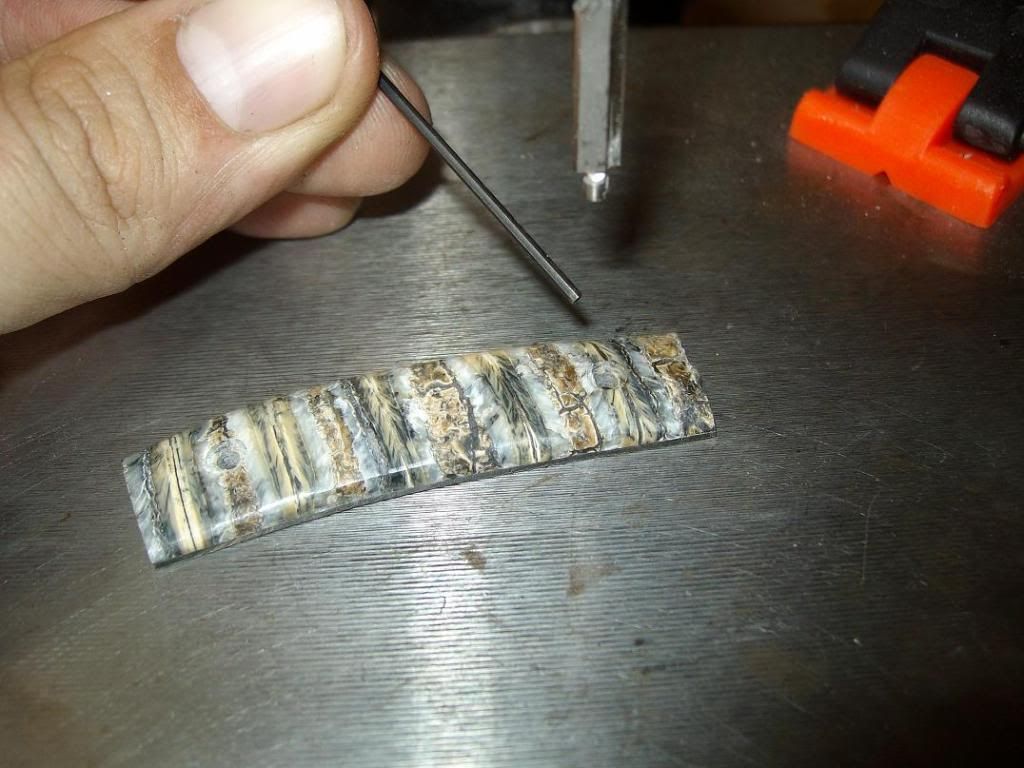
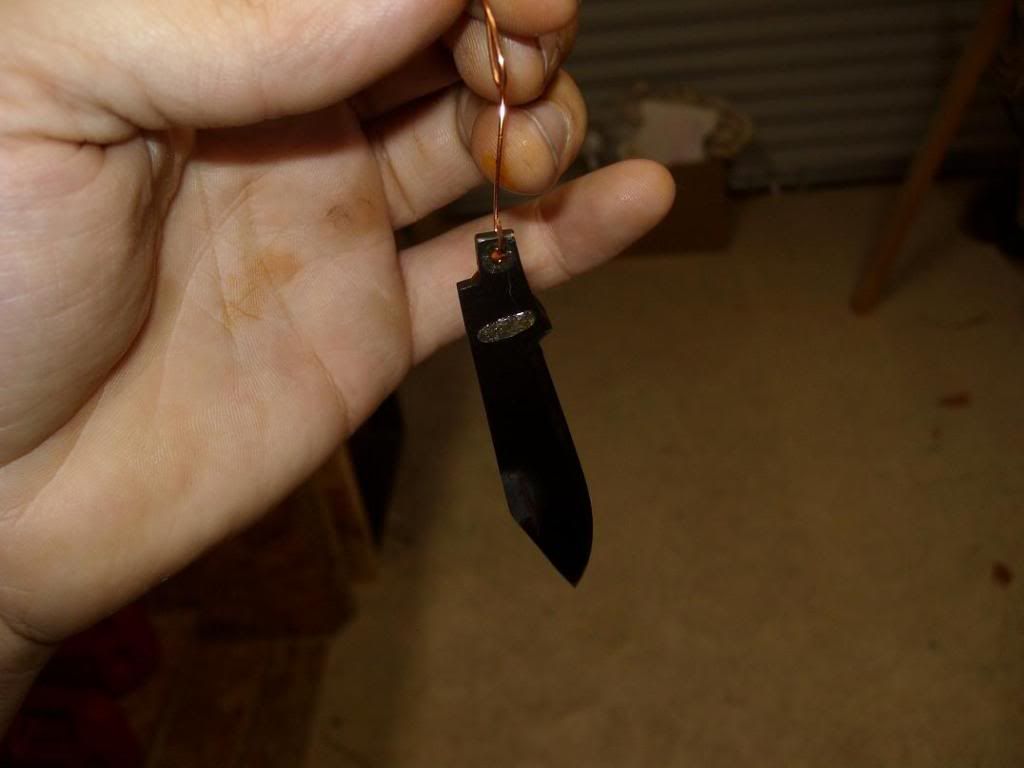
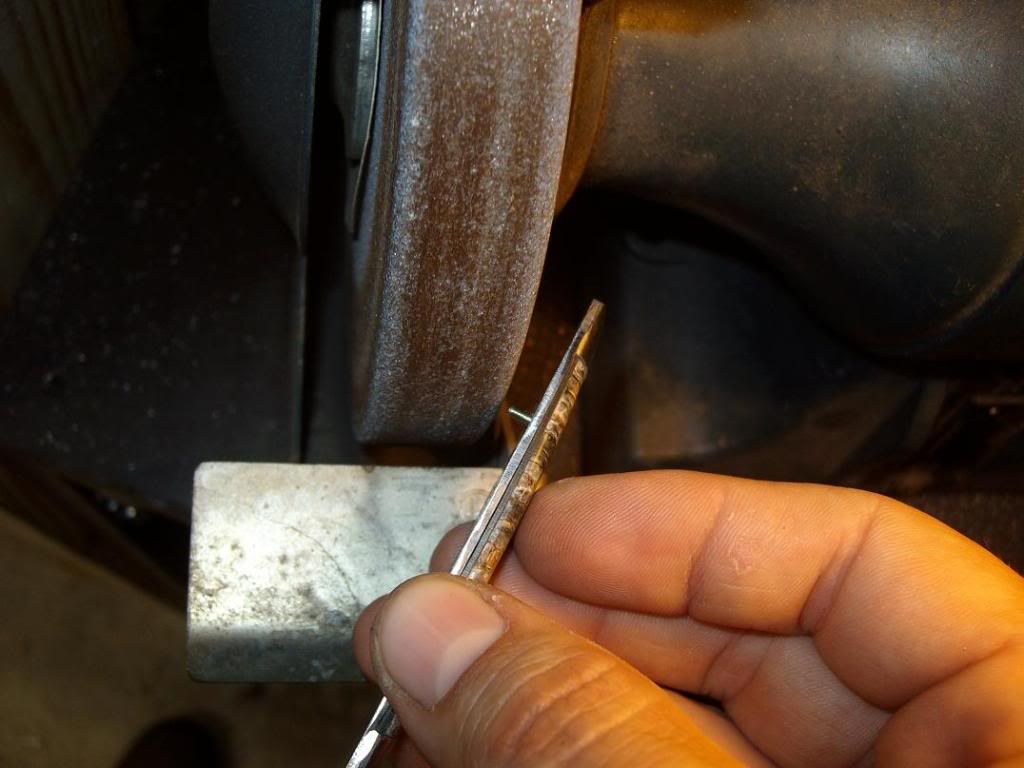
And here is where the nerves get bad. This is the most stressful part of the whole build, to me anyway. To pin the knife together, you have to pien (peen?) the pins with a hammer to spread them. You must do this while holding everything together and also at the same time praying that you don't strike something you are not supposed to. Add to that prayer another prayer that nothing comes apart or goes wrong. In theory (at least my theory) I say that if the knife survives the stress of the hammer blows and the process of being put together, it's pretty good to go. Here I have started with the middle pin which will be hidden. You can see the pins smashed and mushroomed out against the liners. Later we will grind these flush with the liner and the scale will have a flat surface to rest against.

mda128.jpg


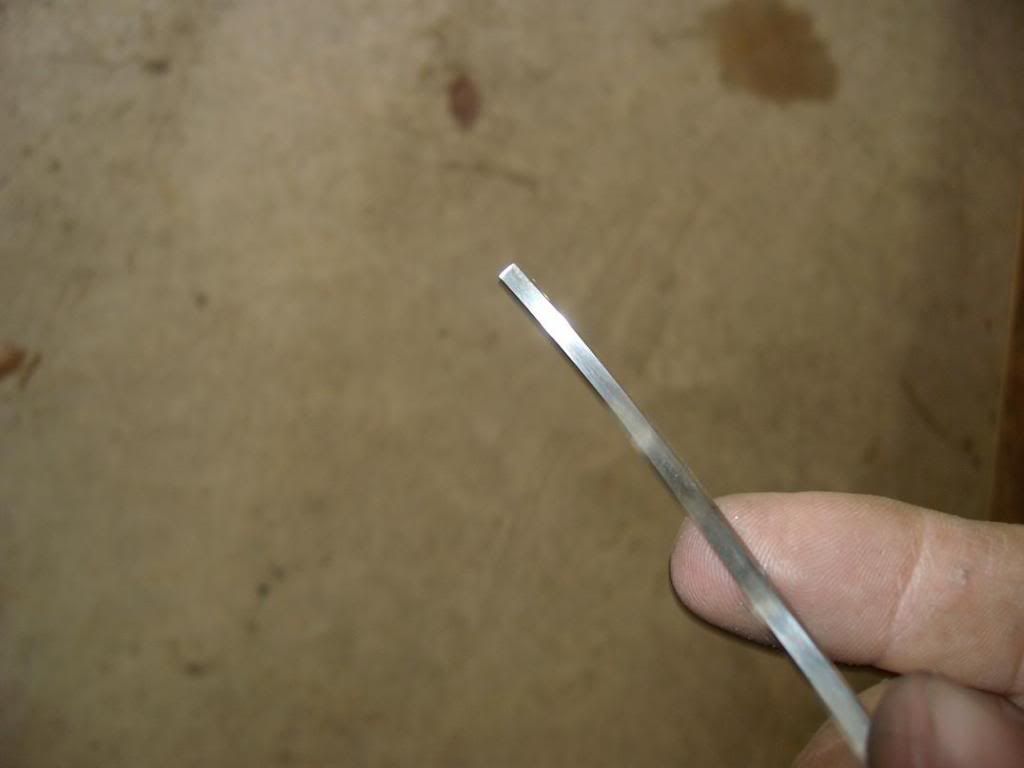
I thought I had taken pictures of the rest of the assembly process but I guess I didn't. The rear pin was installed next, and again very carefully struck with a hammer to pull everything tight. The last is the front pin, which I had to taper a point on to get it to go in. I did them in this order, but it would probably be better to the pivot second and then the middle pin last, especially if you are using a bronze bushing in the pivot. That material will be softer than the steel, and you wouldn't want to risk oblonging the hole with a forced-in pin in that bushing. I haven't used bushings so far, so that's the reason I didn't really worry about the order of the pins.

It is important that when you do get all the pins in, you check they fit of everything. The back one needs to be tight. The middle one could be tight as well, although it occured to me that it may help just a tad if it were not 100% tight, as the spring does flex from this position. I guess the trade off here is that if it isn't all the way tight you might be able to see a small gap between the liners and spring. The last and most critical is the front pin. When using a bushing this may not be an issue, since the balde will rotate around the bushing. If you don't use a bushing - like this design is, you need to be very careful when you start hitting the pin with a hammer. stop every stroke or two and check the blade tension. Be sure you put some grease or oil in the spring tang area first! Now that we are going to start opening and closing the blade, we don't need any gaulding issues, especially this far into the build. Be sure it is well lubricated. continue striking the pin until everything feels tight and it all comes together. Very imortant to not go too far!! If you do, you could freeze the blade and ruin the knife. It's hard to believe, but I do think one too many hammer blows here will mess it up. Again, check the "walk and talk" every hammer blow or two, and be sure it is flowing smoothly without any restrictions. Once it starts to tighten up, you are 99% there. Check for side to side blade movement as you go. once you get to the point where you no longer feel this, you are very close. I can't tell you how much is too much. You will have to use your own judgement form here on out :)

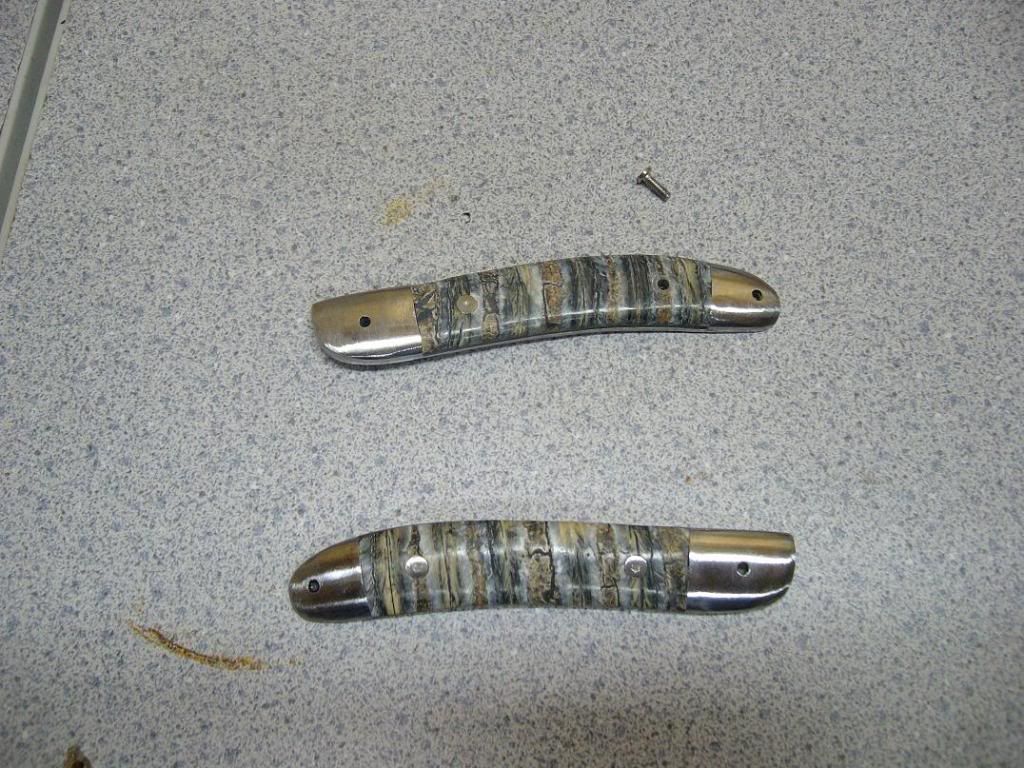
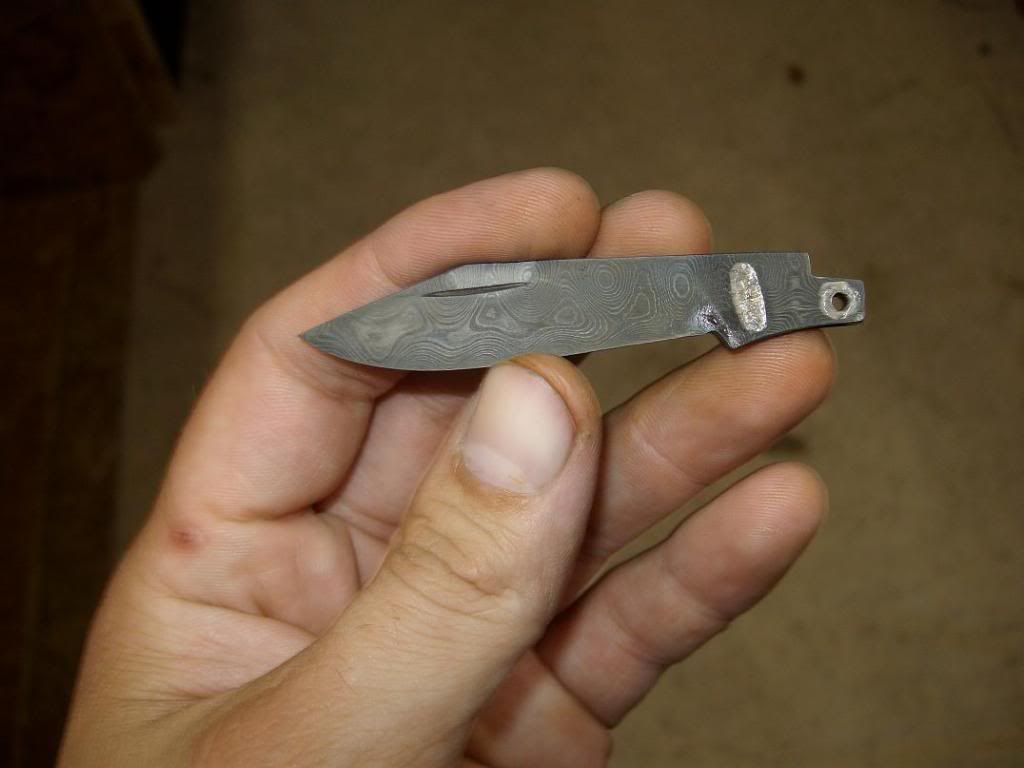
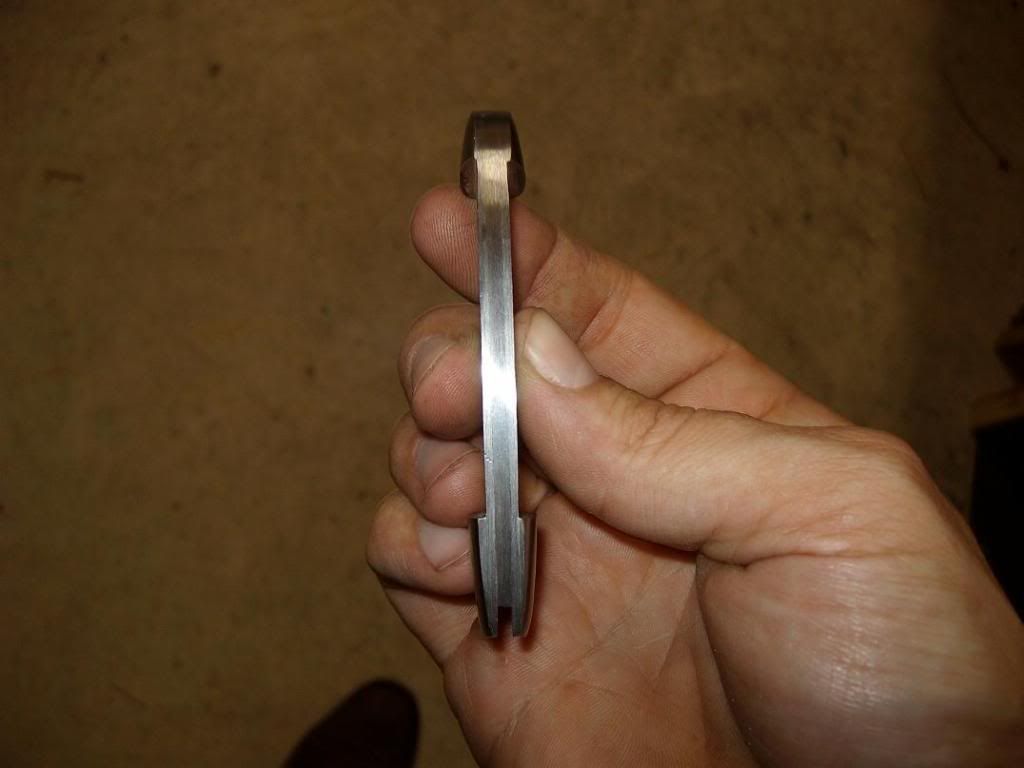
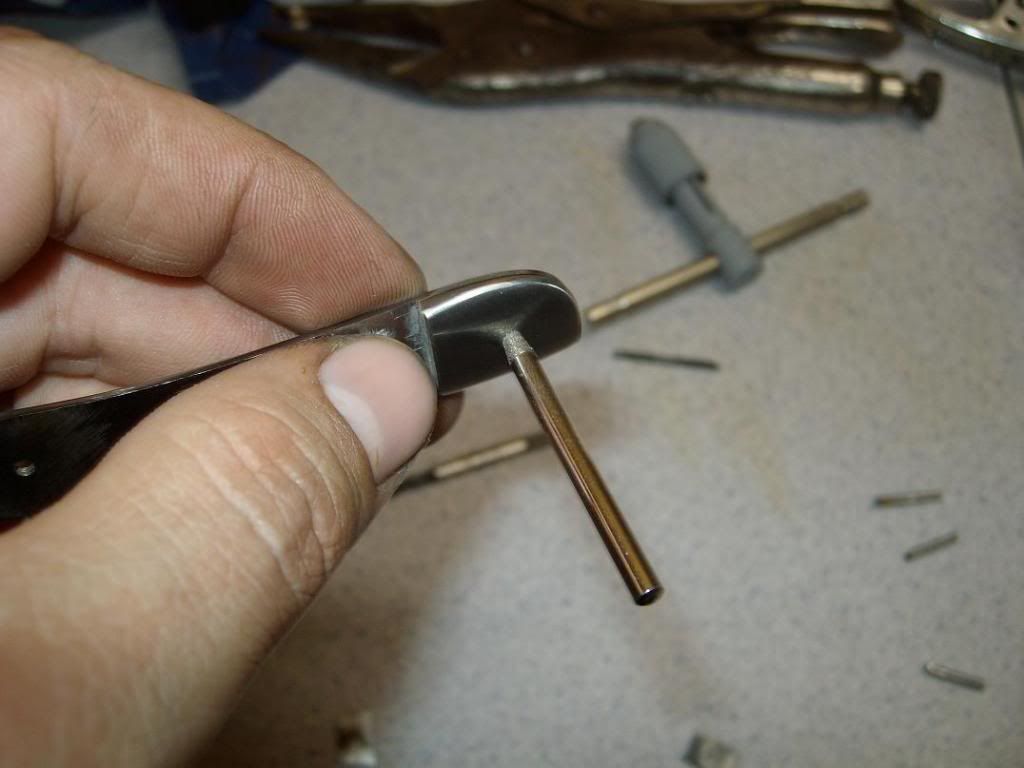
In these pictures I have pinned the rear and middle pins. I am doing that final cleanup on them before I install the pivot pin and blade. Again, do everything you can before you put the blade in.

mda129.jpg


with a little focus here, the whole back of the knife will appear to be one piece. I think that looks nice.

mda130.jpg


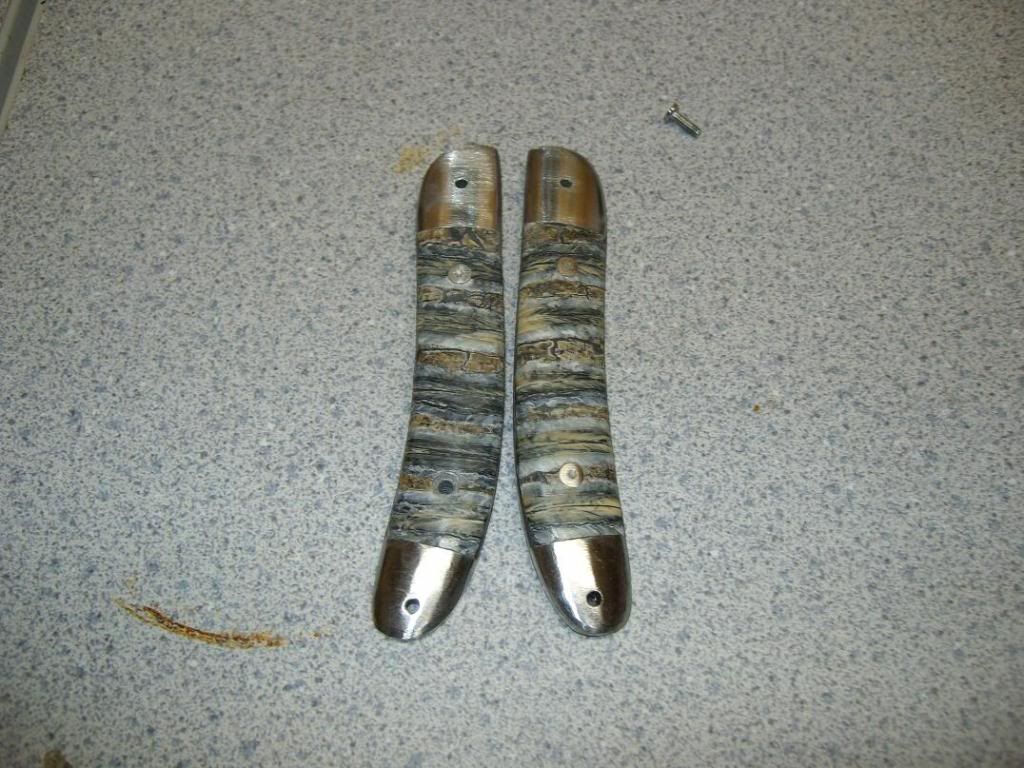
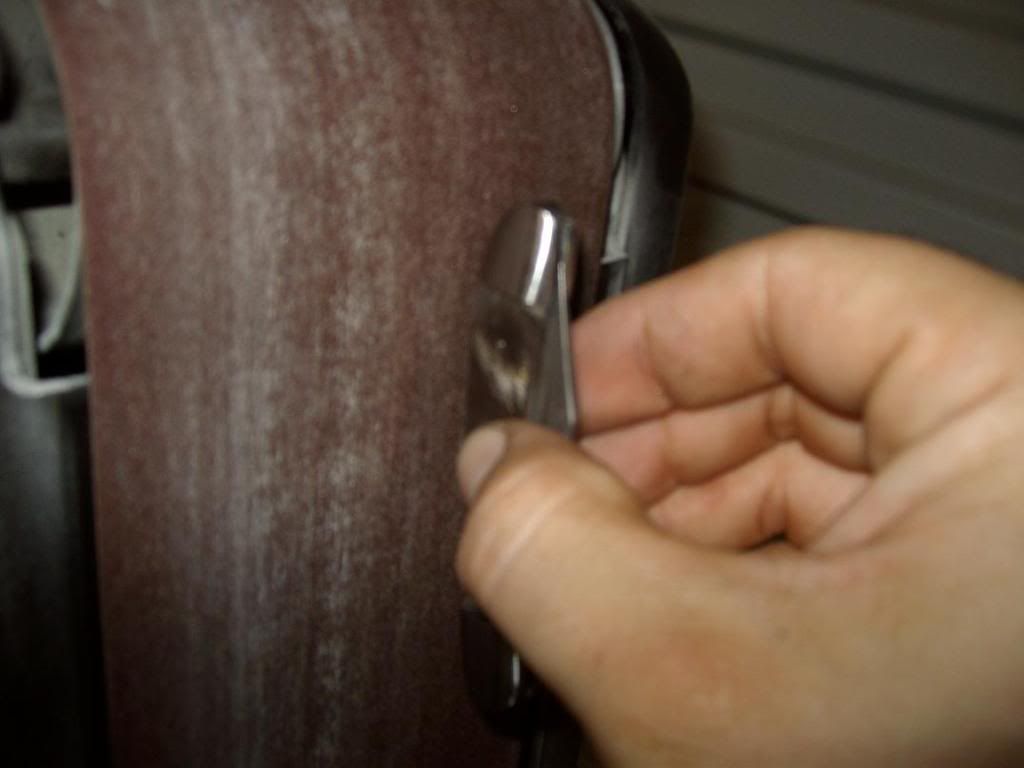
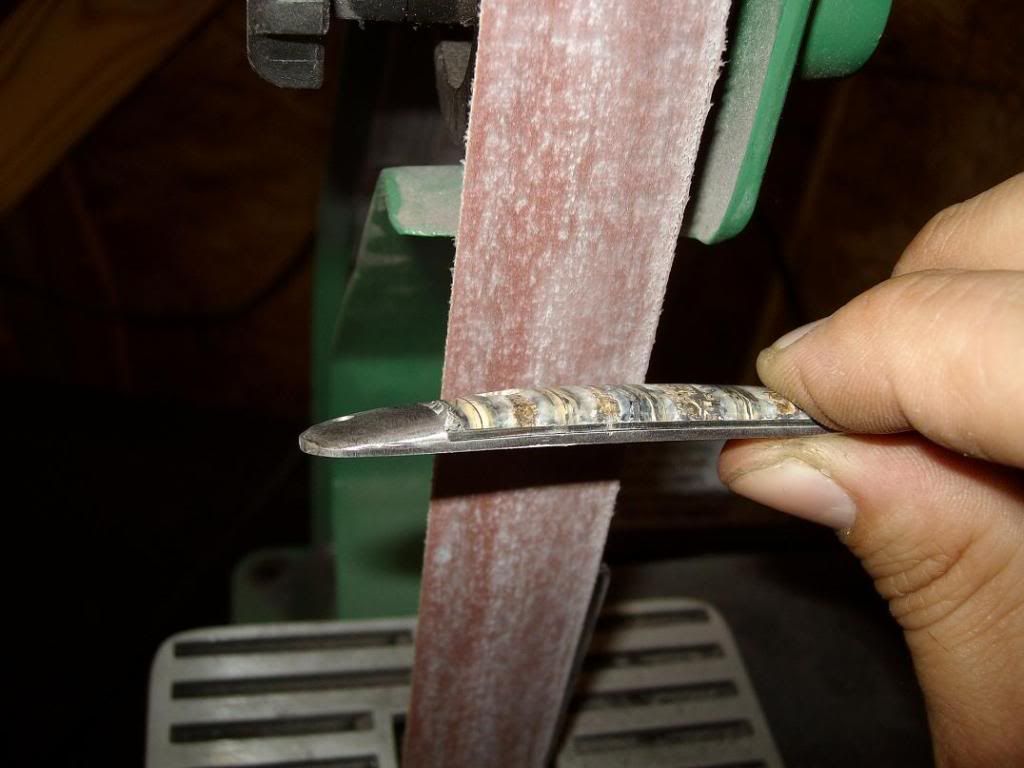
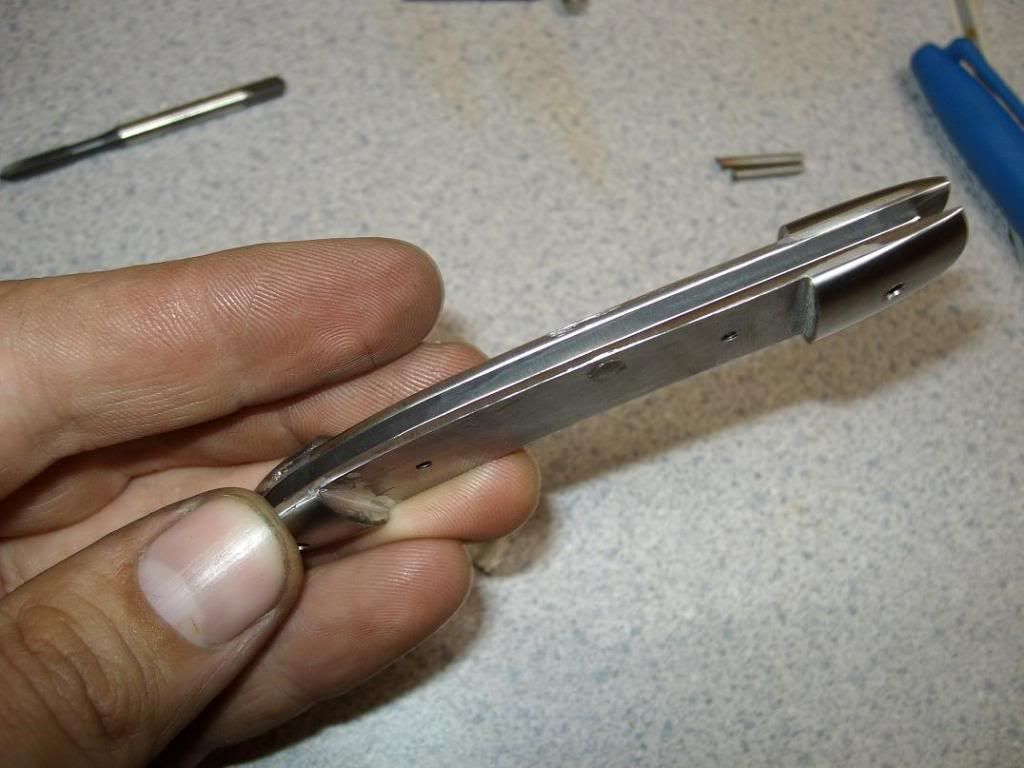
Here I am am focusing on the surface of the rear bolster. with enough manipulation of the bolsters on the grinder, you can make the pin disapear. It will beciome hidden in the scratch marks and everything will flow together. I use the slack part of the belt for this.

mda131.jpg


A crappy pic, but you can see how the light reflects off of the bolster in a even manner. The light on your grinding will show you your flaws. Sometimes this can be very challenging, but if you stay at it, you can get it to look good. You ought to hear the cusswords I make up when trying to get this..

mda132.jpg


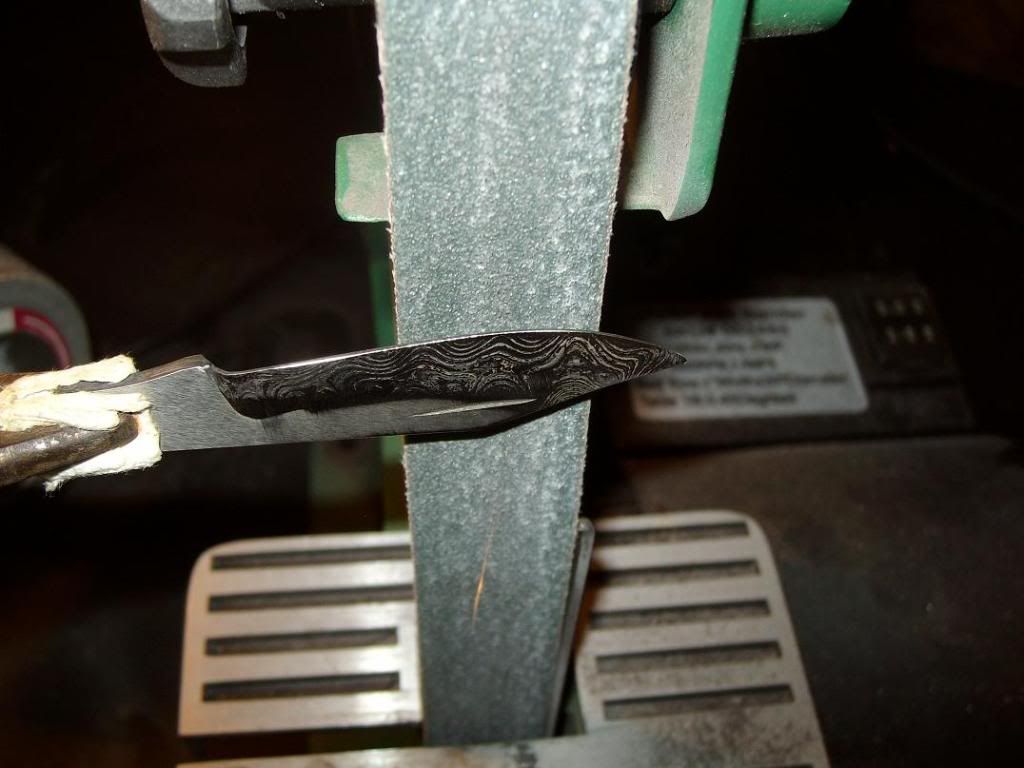
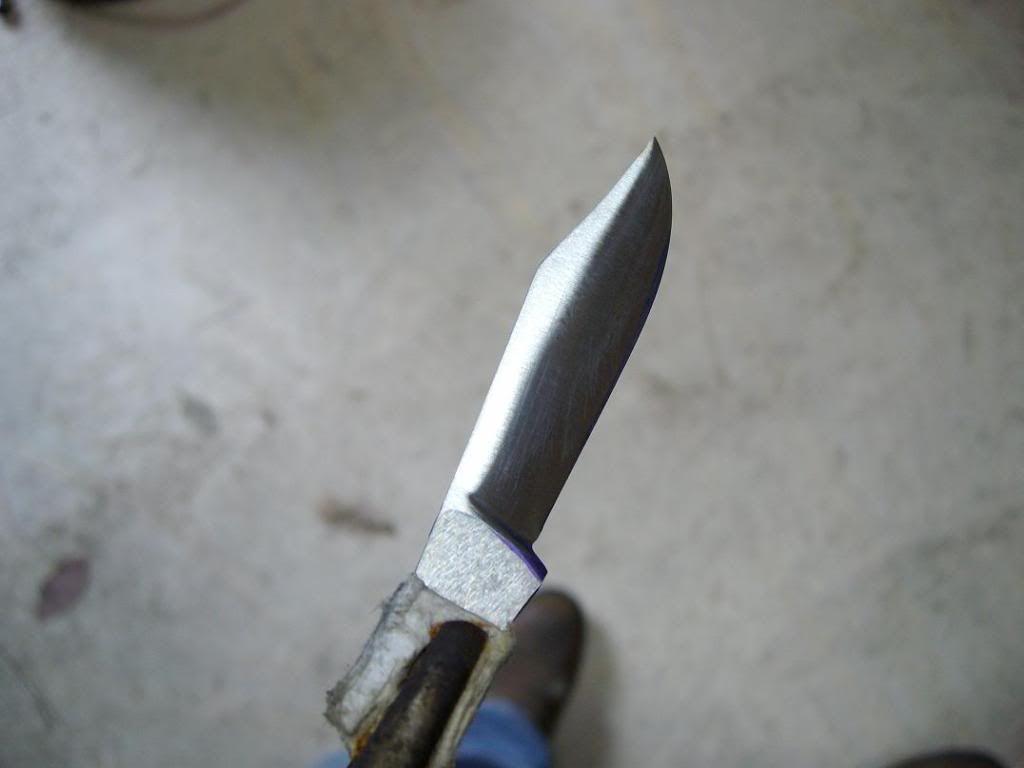
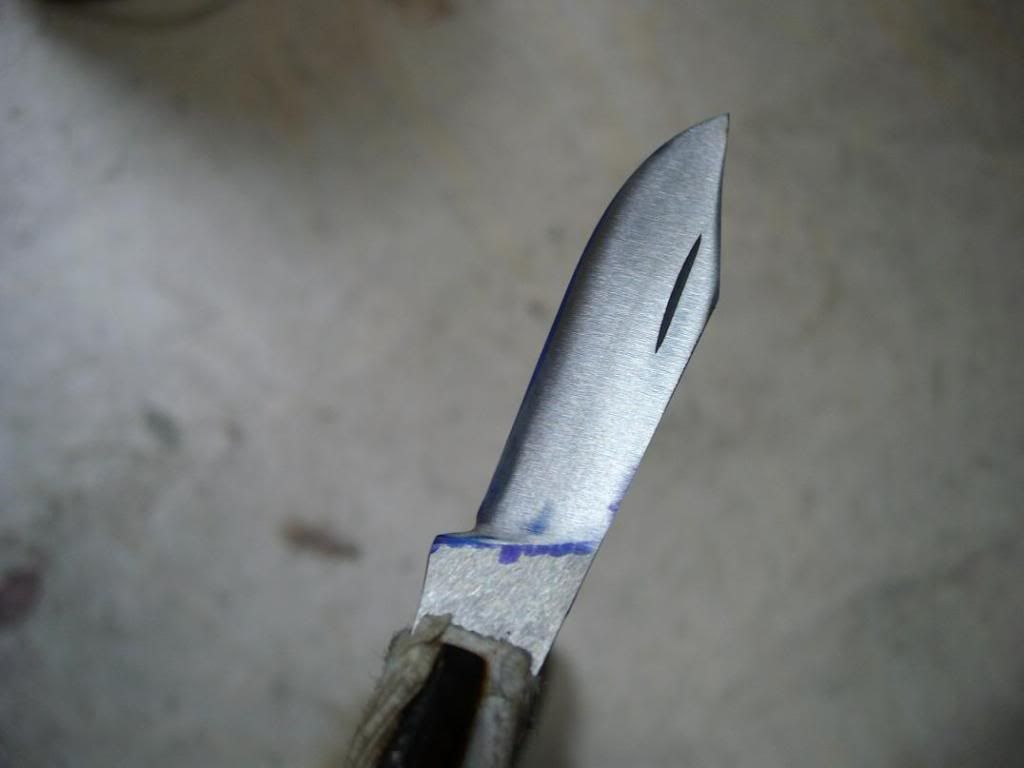
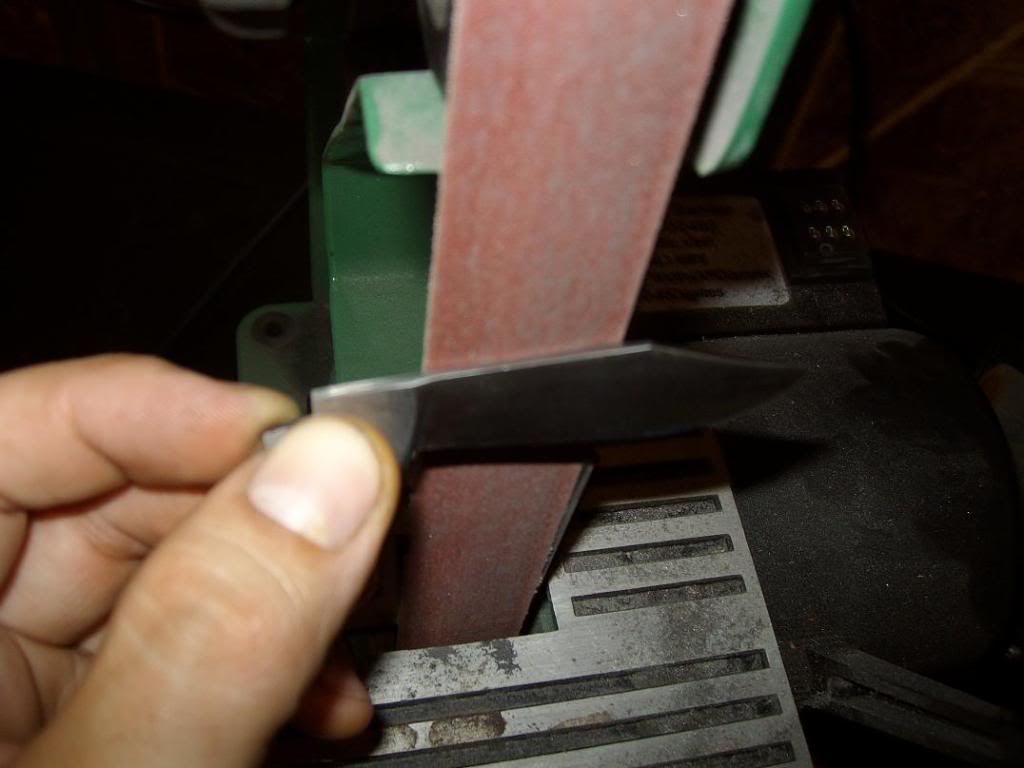
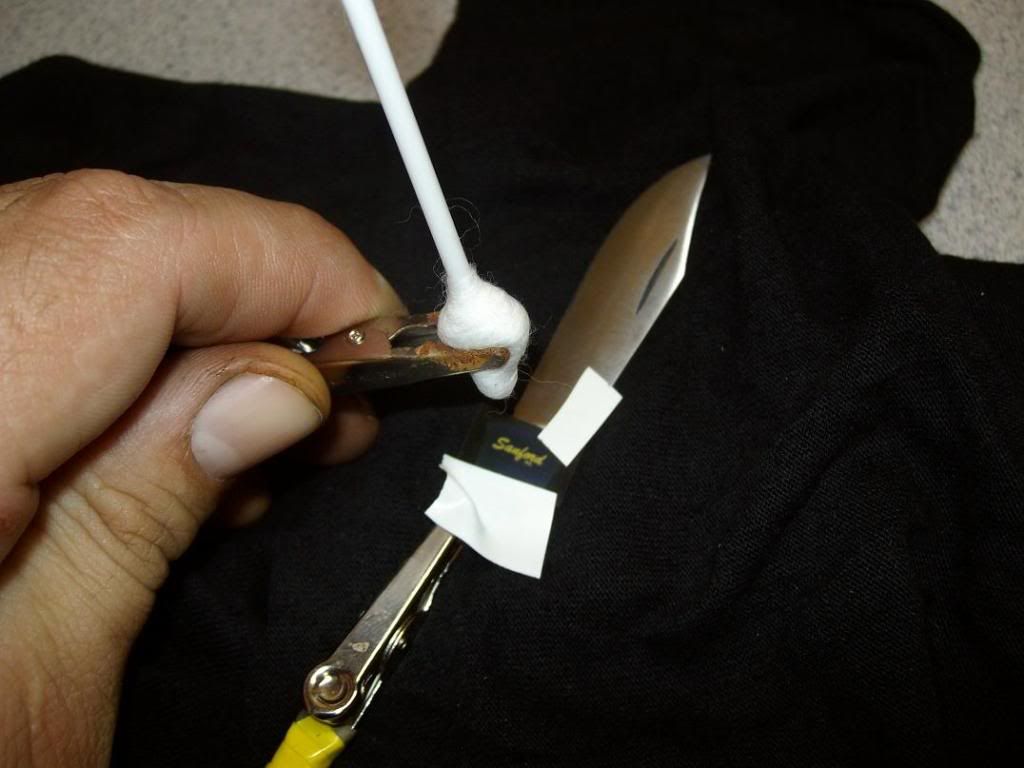
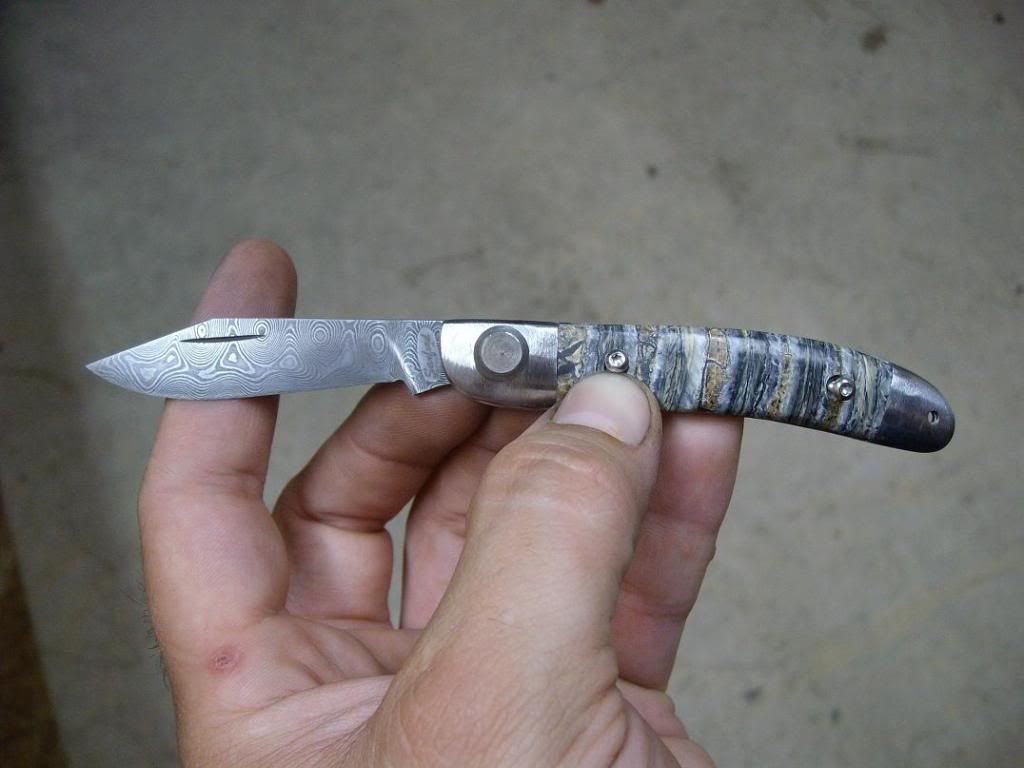
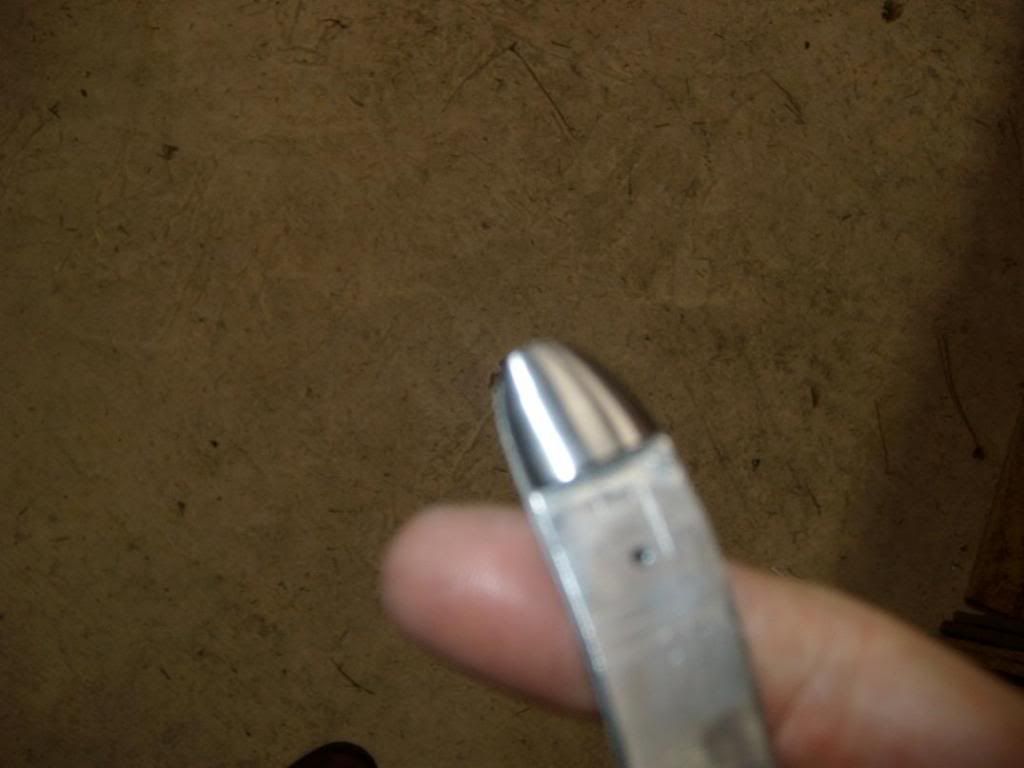
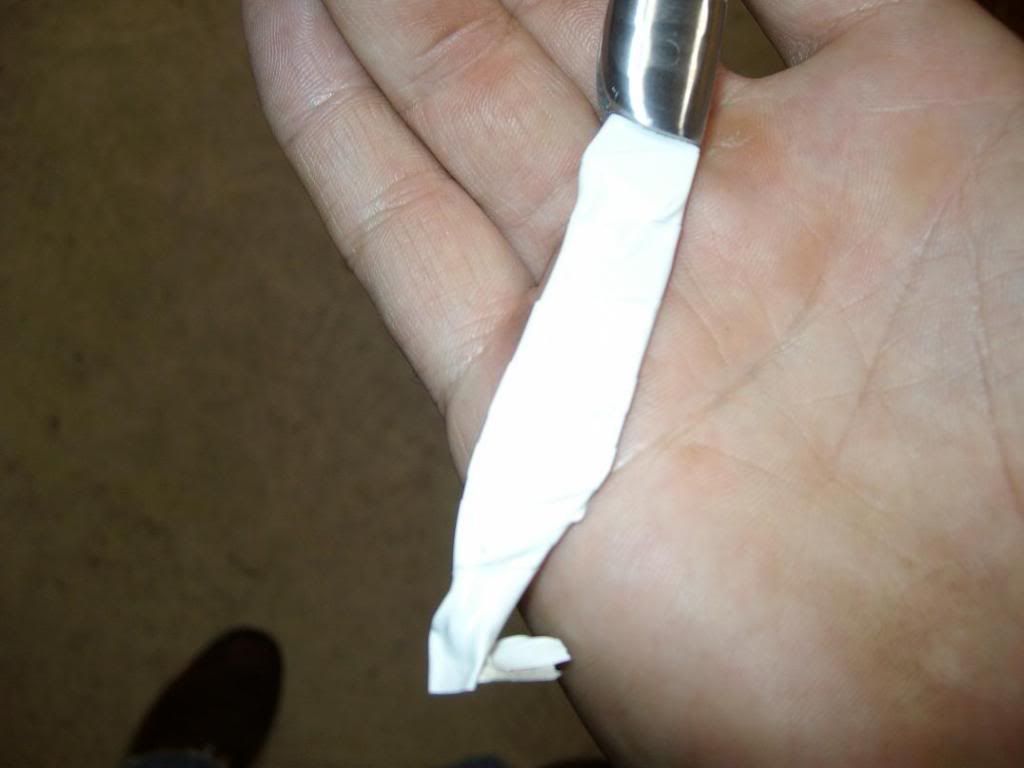
And now it's time for the final steps. Once the blade is in and secure, open the knife all the way and wrap the blade with some tape. I use electric tape. This will give you some sort of buffer if you get a little too excited on the grinder. Remember, stay cool here. I have a hard time containing my excitement at this point, and as we all know, that is a recipe for disaster as it causes folks to lose concentration and forget the importance of taking your time. At least it does with me anyway...

mda133.jpg


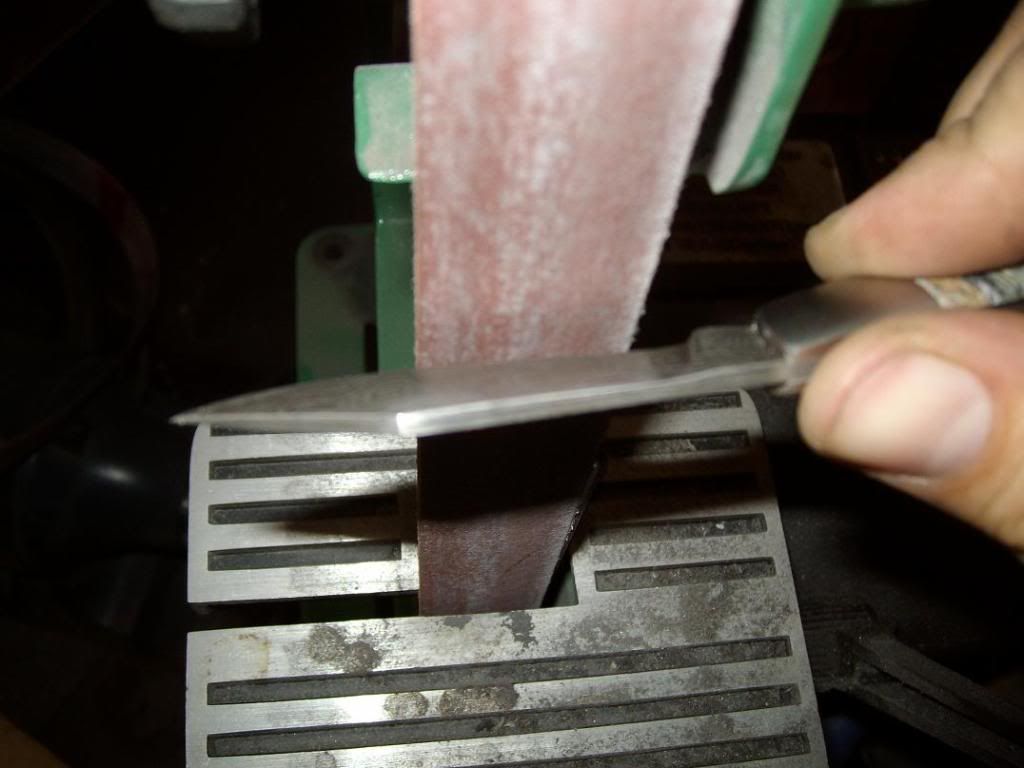
Very carefully, touch up the knife handles and just do an overall check. Be sure everything looks good and then remove the tape. Now time for sharpening.

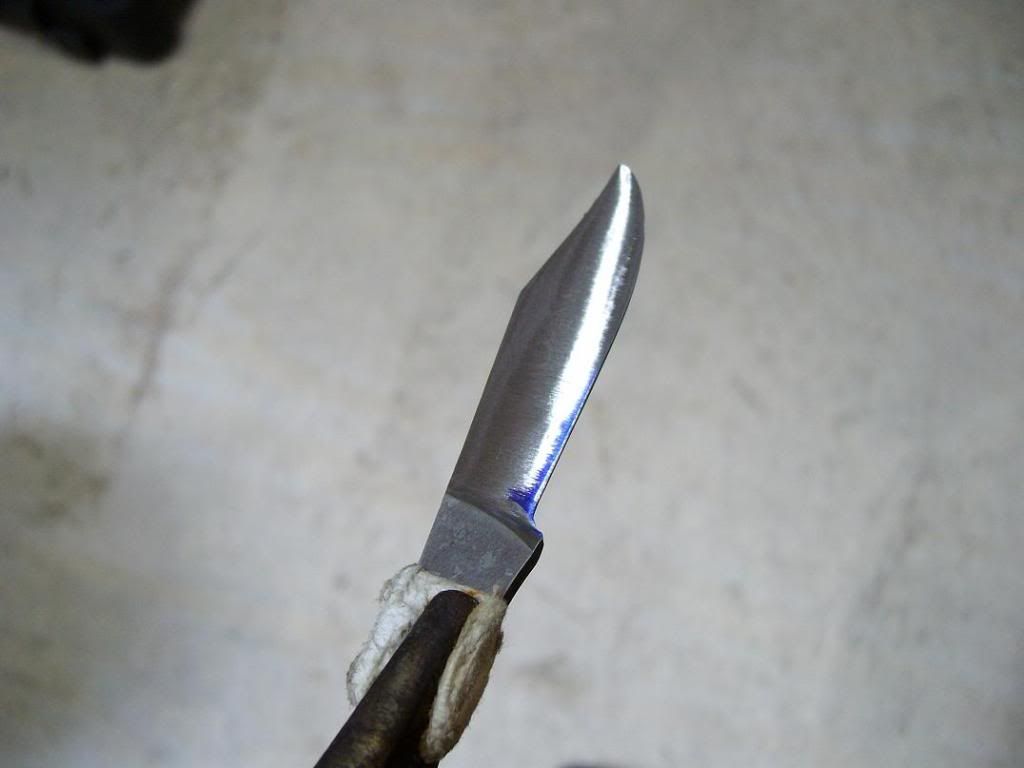
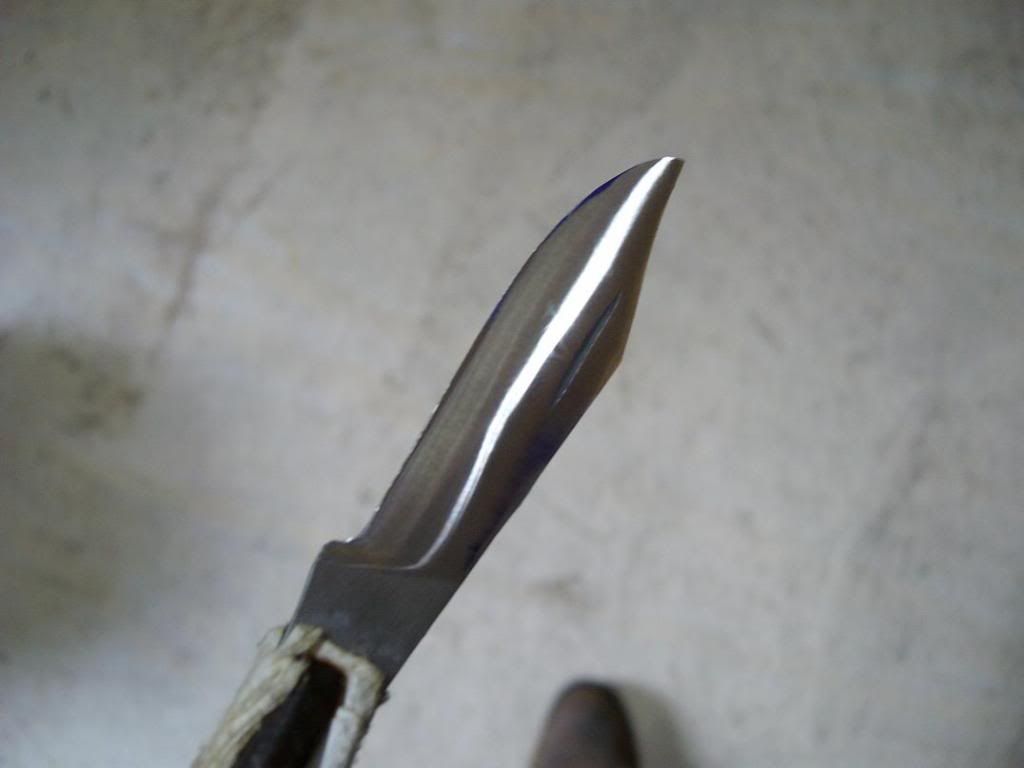
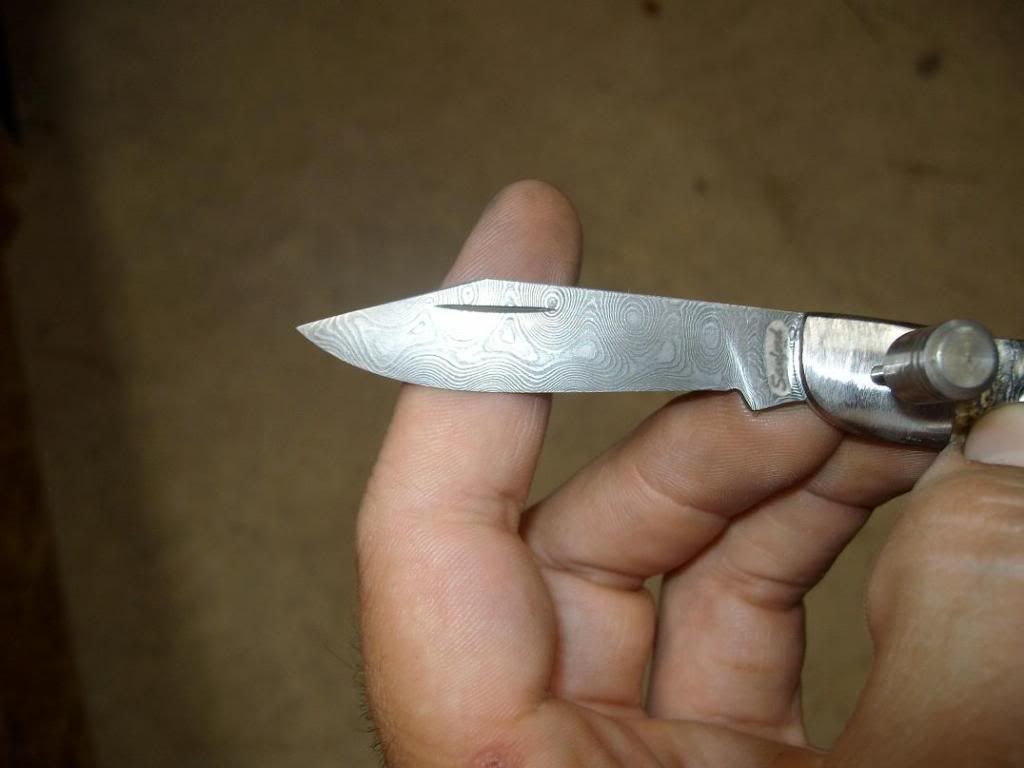
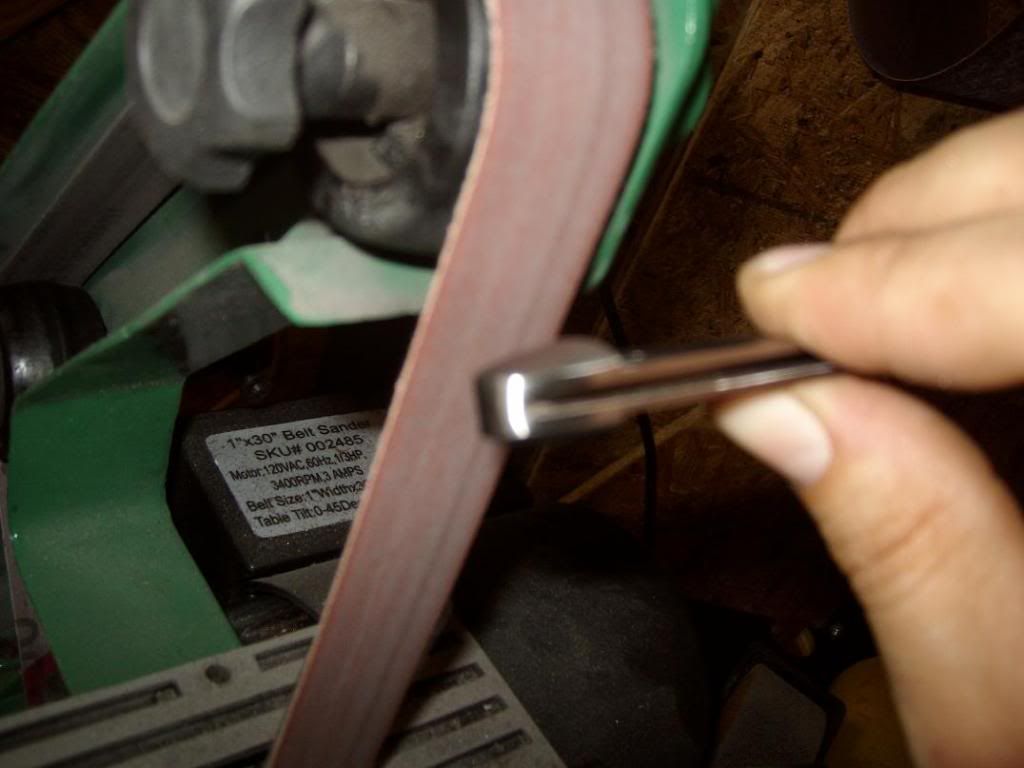
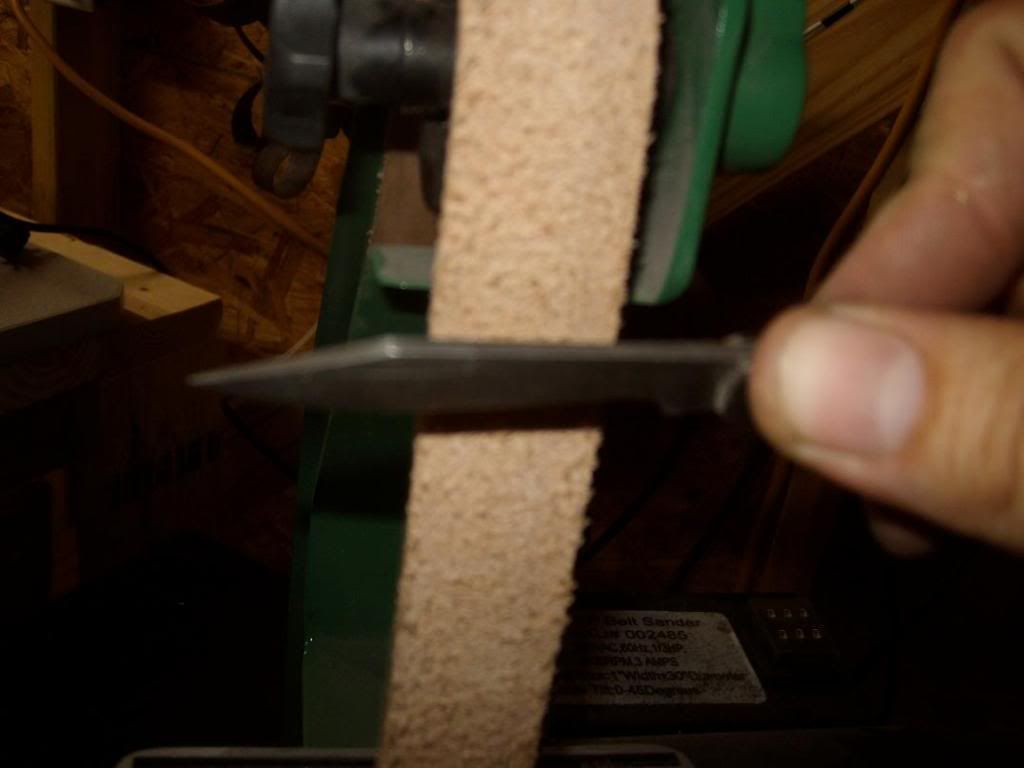
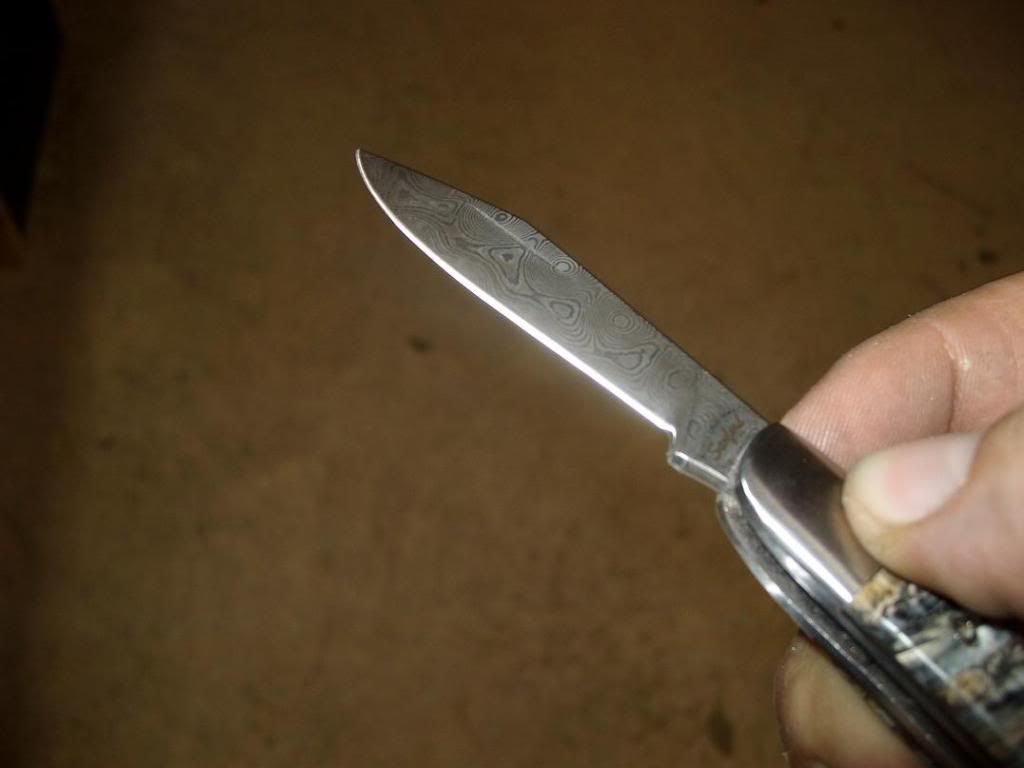
First I start with about a 400 grit belt, and then move up to a 600. After that, I hit it with the leather belt. This puts a scary edge on, so don't cut yourself :)

mda134.jpg


mda135.jpg


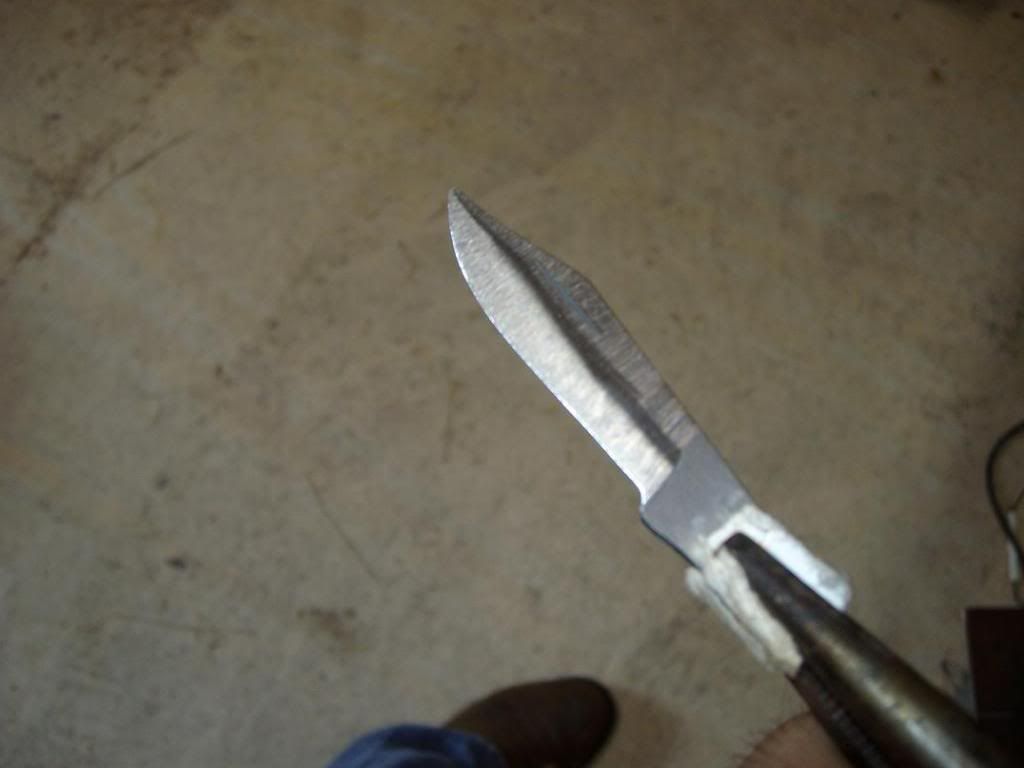
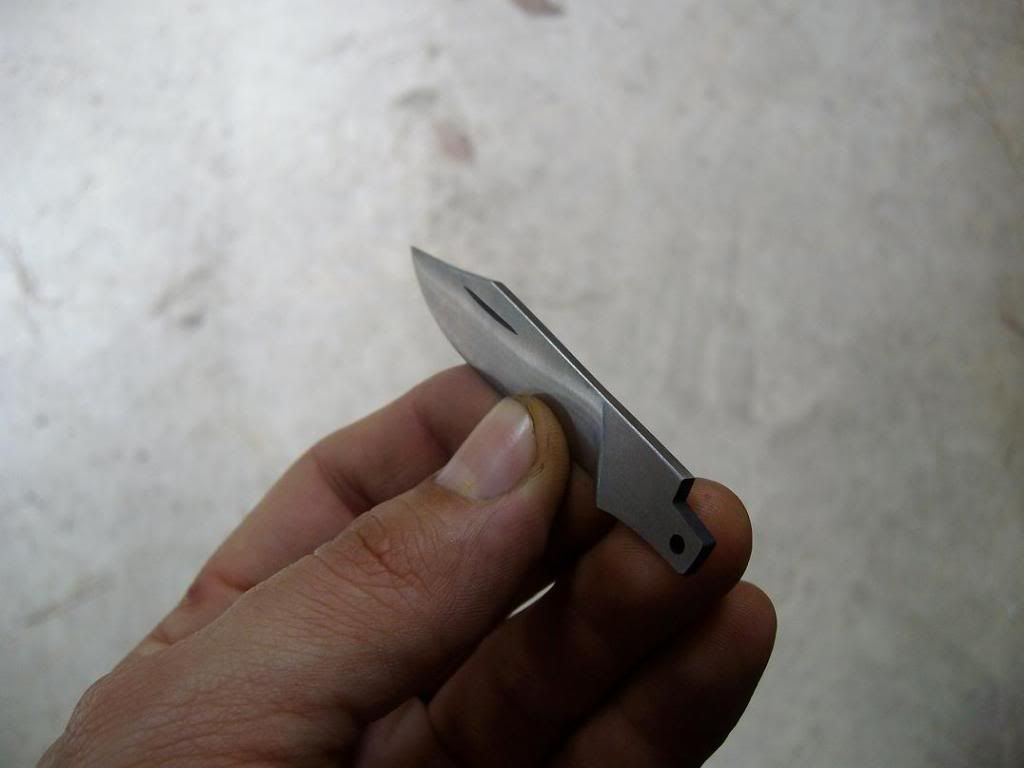
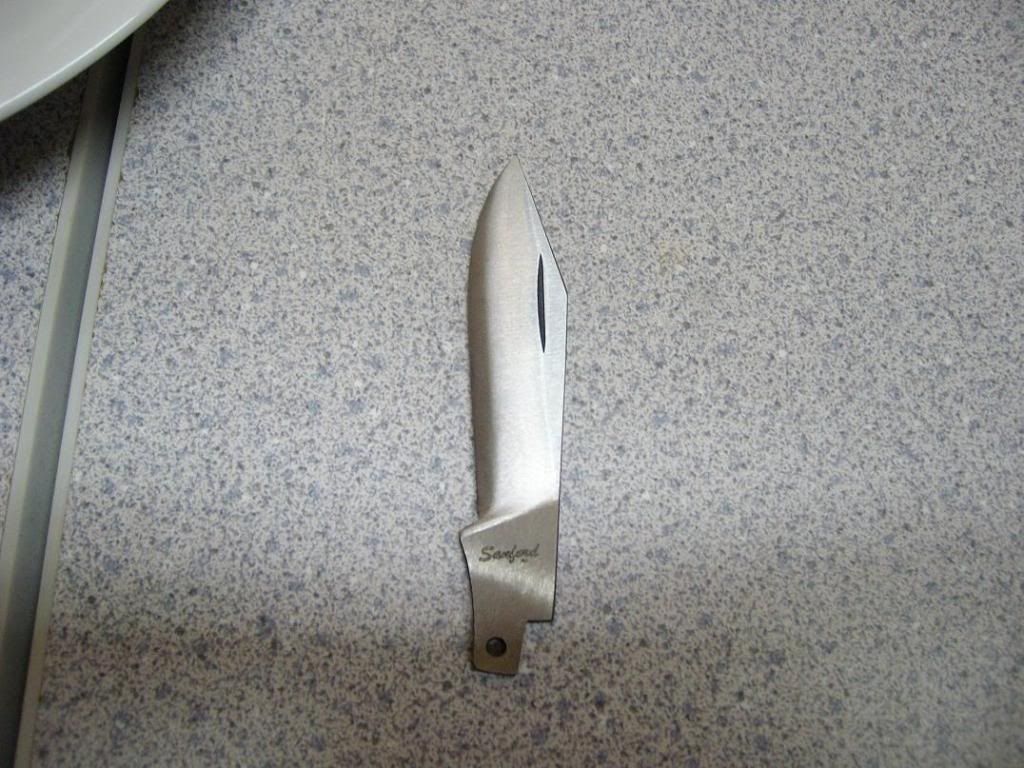
And then finished, you can see the edge gleaming.

mda136.jpg


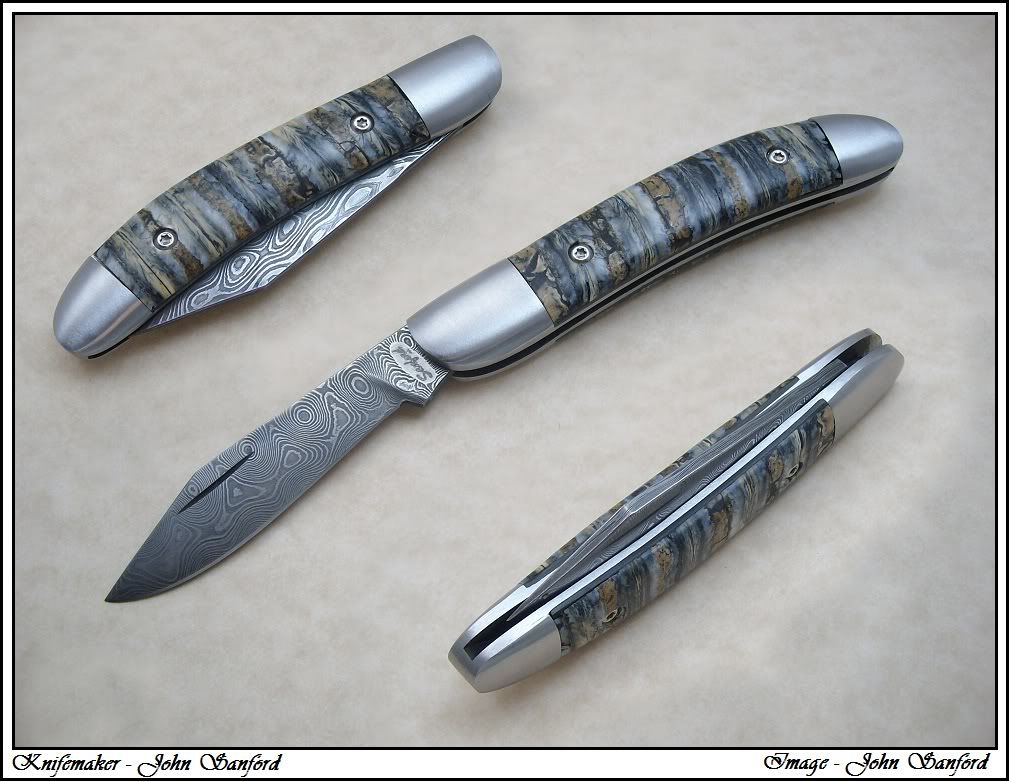
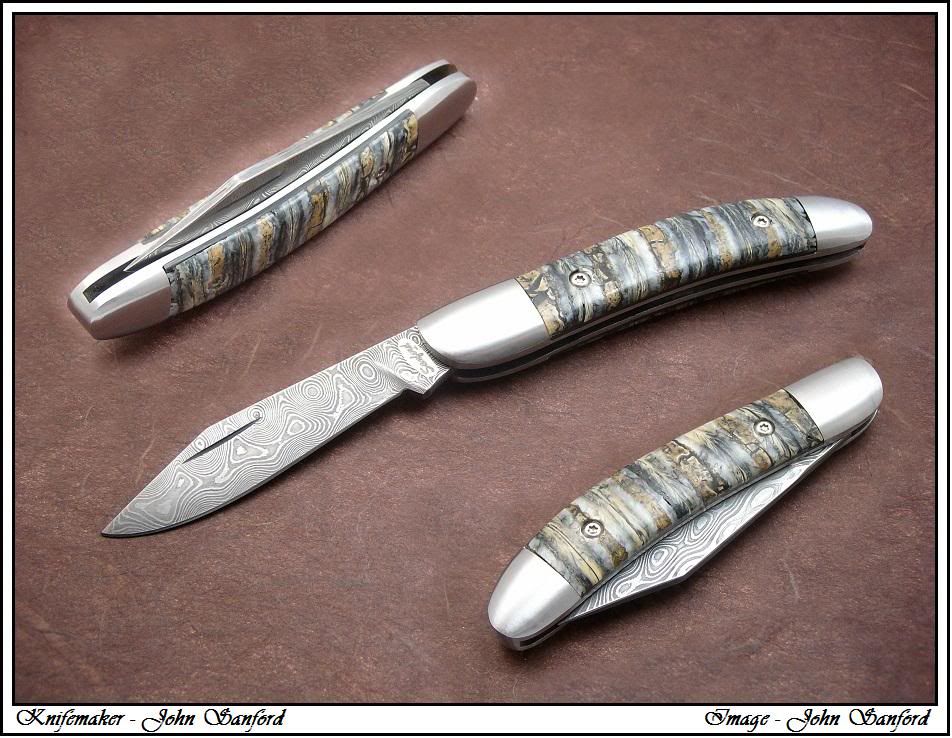
That's about it for the build folks. Stay tuned - I will be putting up some finished pictures in the next day or two.
 
Last edited:
I just wanted to add a final note to this. At times I may seem like I ramble on about how I do things, but I want to give everyone who may use this as a guide a clear understanding of what I'm doing. Slipjoints are a real pain to get right, and you really have to pay extra attention to every step along the way. There are so many places to mess up. Some of the things I do may not be in line with the way other makers do it, but I just do what I know works. I encourage you to search for different WIPs on this forum as well as others, and compare them. There are many great WIPs out there that will get you started in doing one of these.
 
Thanks for posting this WIP. I'm in the middle of building my first slipjoint and enjoyed watching your process. This WIP was very educational and well presented!
 
Great WIP! Thank you! About the belt grinder...I did Polar Bear's GIB frame kit and am very happy with it. With your skills you could put it together in a few hours, me 4 months. But I wasn't in a hurry and buying the parts, motor, VFD, platen, etc. over time seemed a little easier on the pocket book. Anyway, thanks again!
 
After talking with Jim Cooper about taking some pics of this knife, I decided I might try it on my own. He said he was pretty busy, and I was afraid he may not be able to get to this one in time. So, I found a link on his page for a tutorial on setting up a no frills light box. I had heard of a light box, but never used one. Yesterday I fabbed up a cardboard box with all white interior, and a sheet of white paper as a diffuser. Two daylight flourescent screw in type bulbs for regular lamp fixtures, and some card stock from thre local craft store created this..

mdafinal1.jpg


I don't have photoshop, but I do have CorelDRAW software (similar). I had to go through a learning curve this morning on how to combine multiple images into the same image, but I got it ok. I have about $20 in materials and light bulbs in making the light box. The same camera that took the last 50 or so pictures in this thread took the one above...I think it turned out great :)

I'll post another one with a different background in a little bit after I get the editing done on it.
 
Last edited:
Thanks for taking the time to do that I enjoyed that alot. It showed me a couple things I will try. I have become interested in pocket knives and really think Im up to the challenge for a single blade trapper or Dr s knife . I like case s style so I will do something with my own twist . I have possibly 2 surgerys in the next 2 to 10 months so Ill have to play the cards. Kellyw
 
Thanks for taking the time to do that I enjoyed that alot. It showed me a couple things I will try. I have become interested in pocket knives and really think Im up to the challenge for a single blade trapper or Dr s knife . I like case s style so I will do something with my own twist . I have possibly 2 surgerys in the next 2 to 10 months so Ill have to play the cards. Kellyw

They are not as bad as they seem. They only make me want to pull my hair out most of the time :)
 
Back
Top