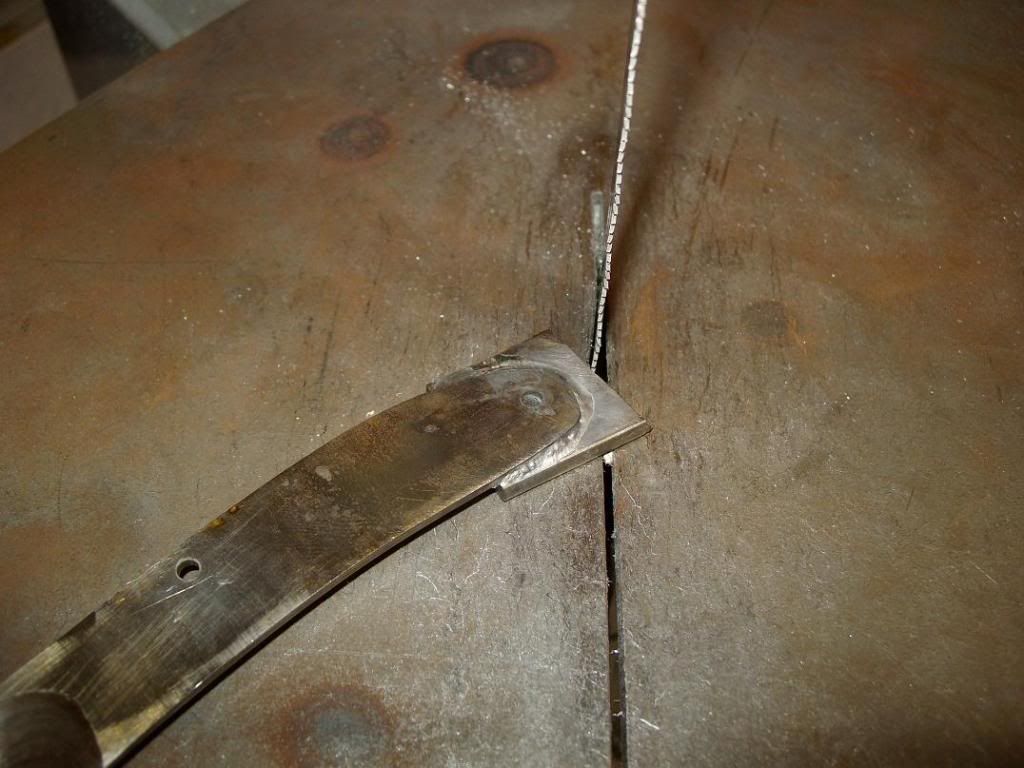
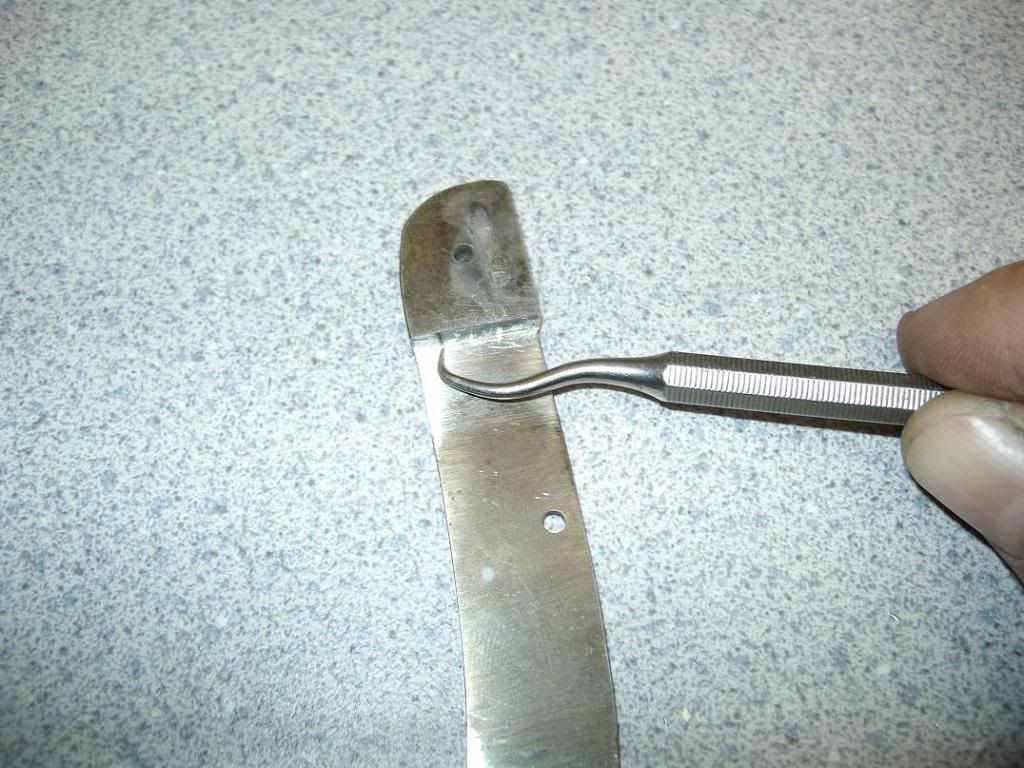
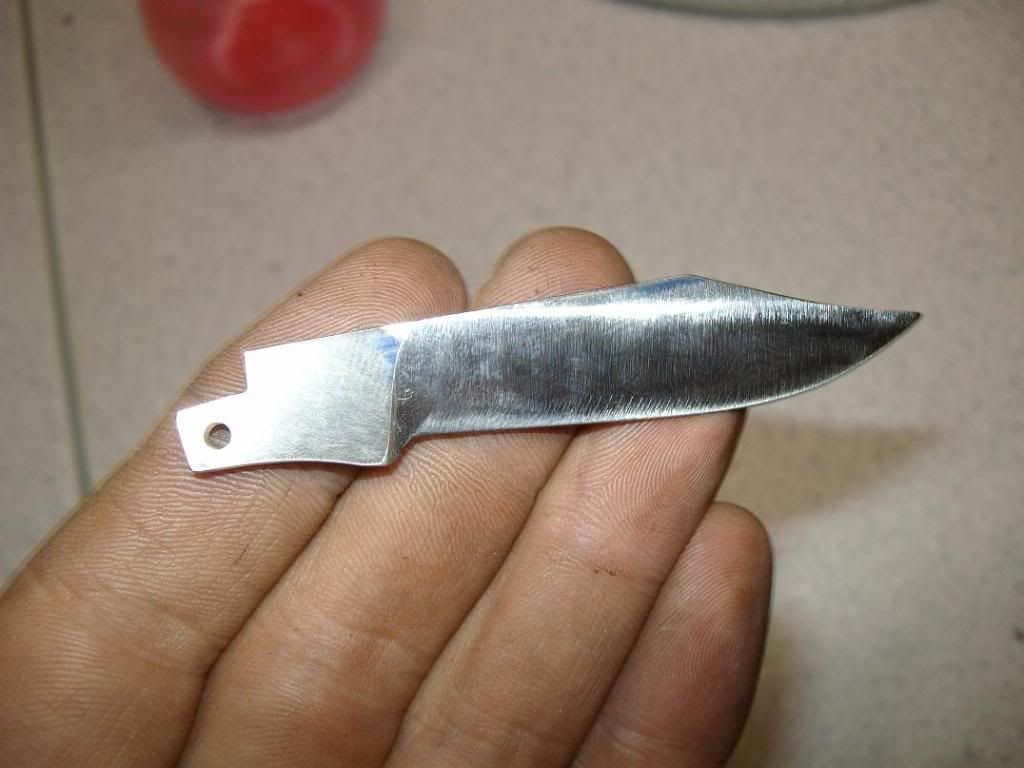
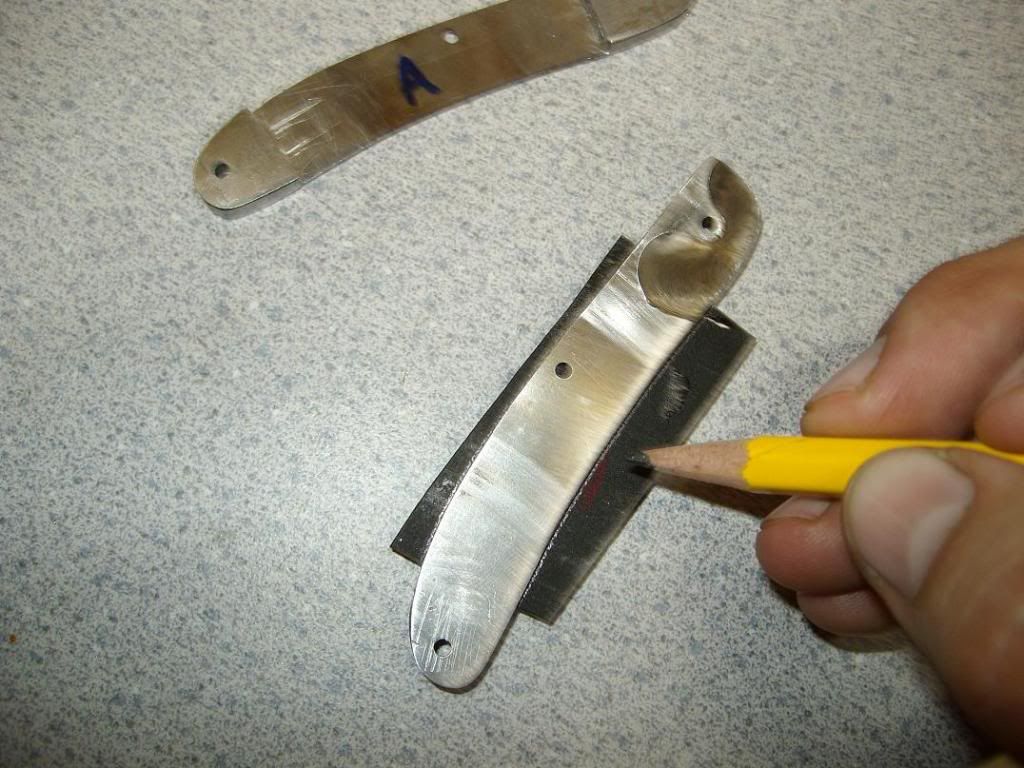
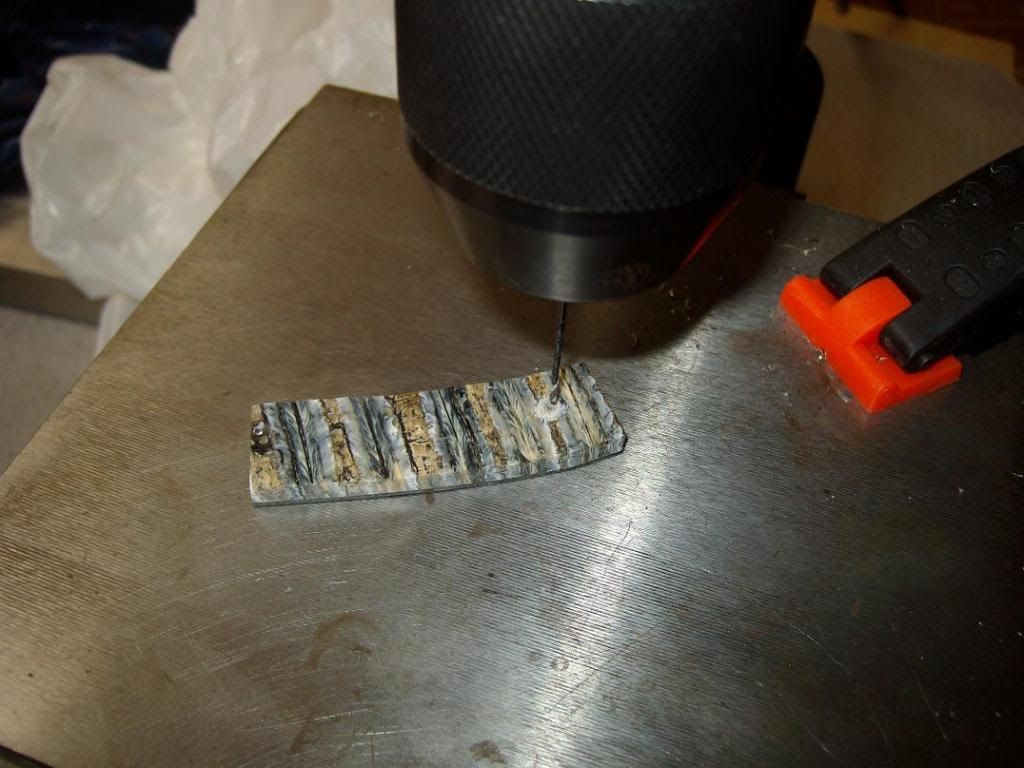
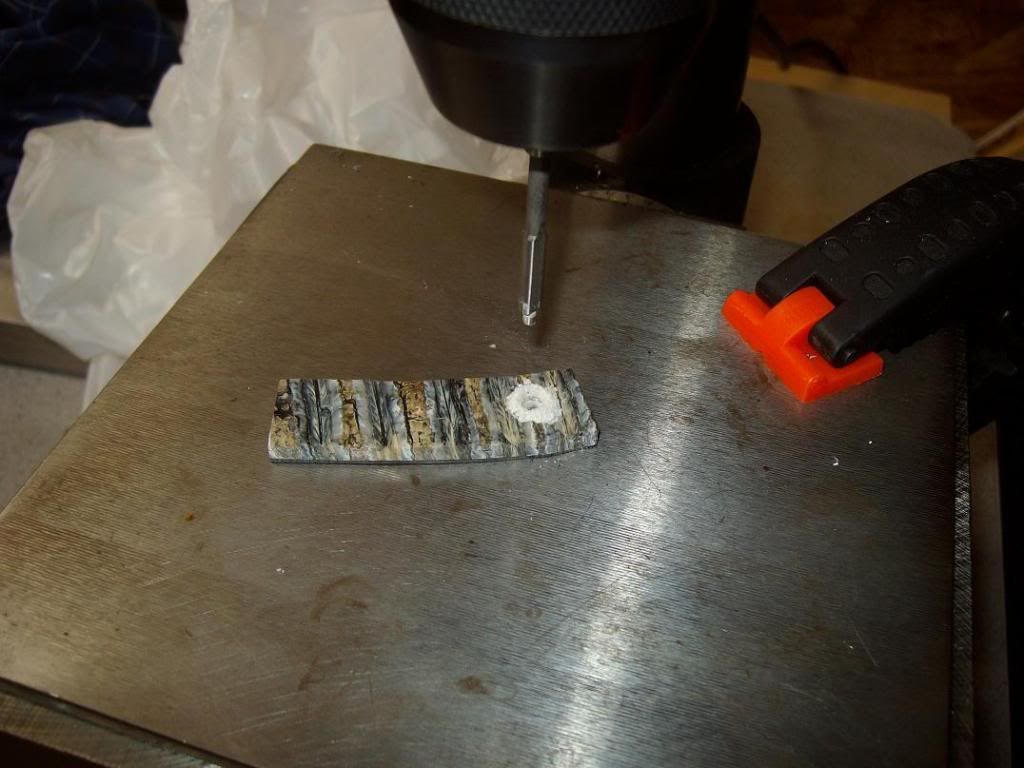
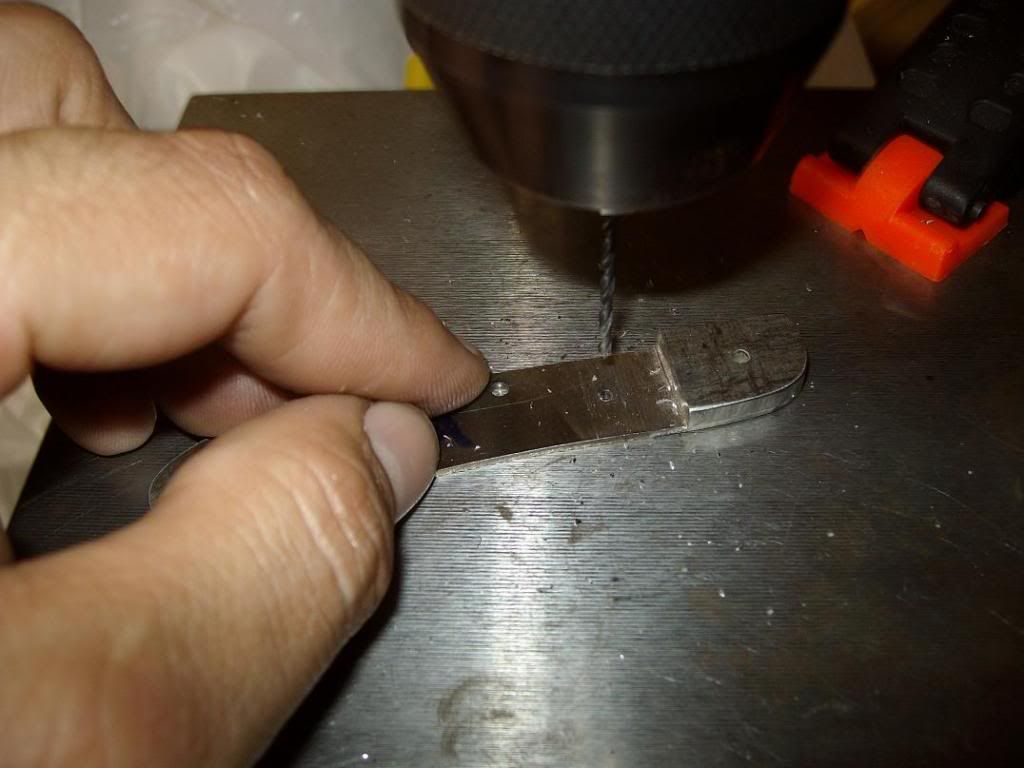
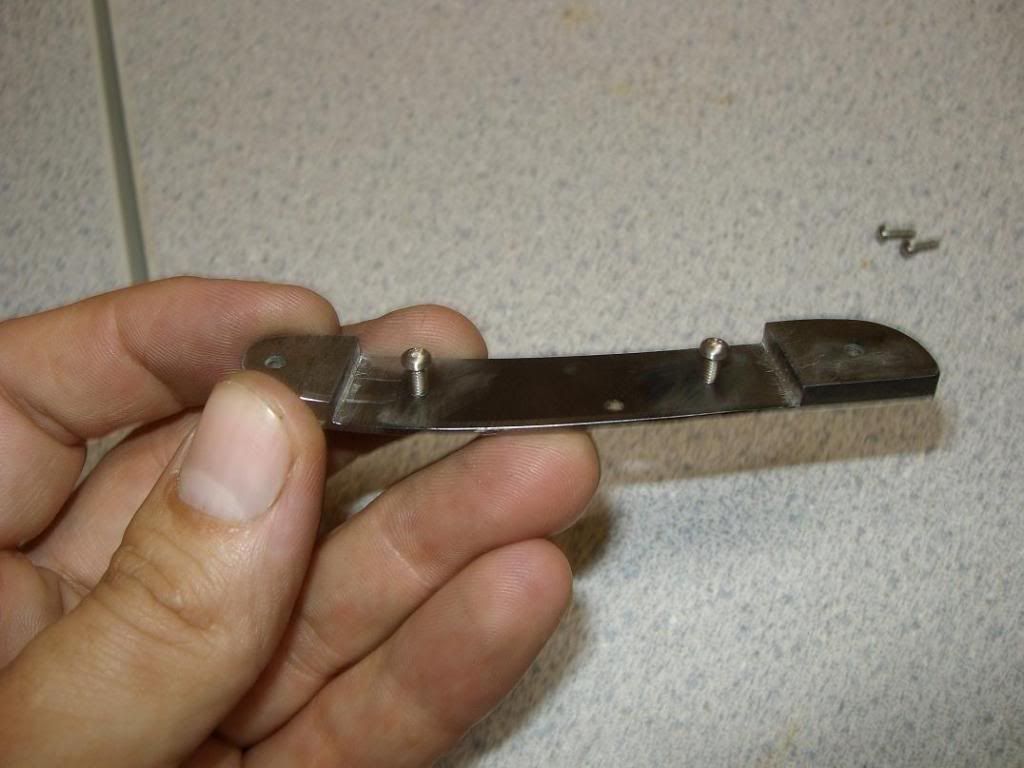
Yesterday afternoon at work during a break I put the nail nick in the blade. I ground my wheel first on a 45, tested a piece, and didn't like the way it looked. I then moved up to a 35 degree, or 55, depending on which way you look at it from 90, and it looked pretty good. That is what I put in here. I think if I went on up to 20 it would look best. the next blade I do will be at 20.
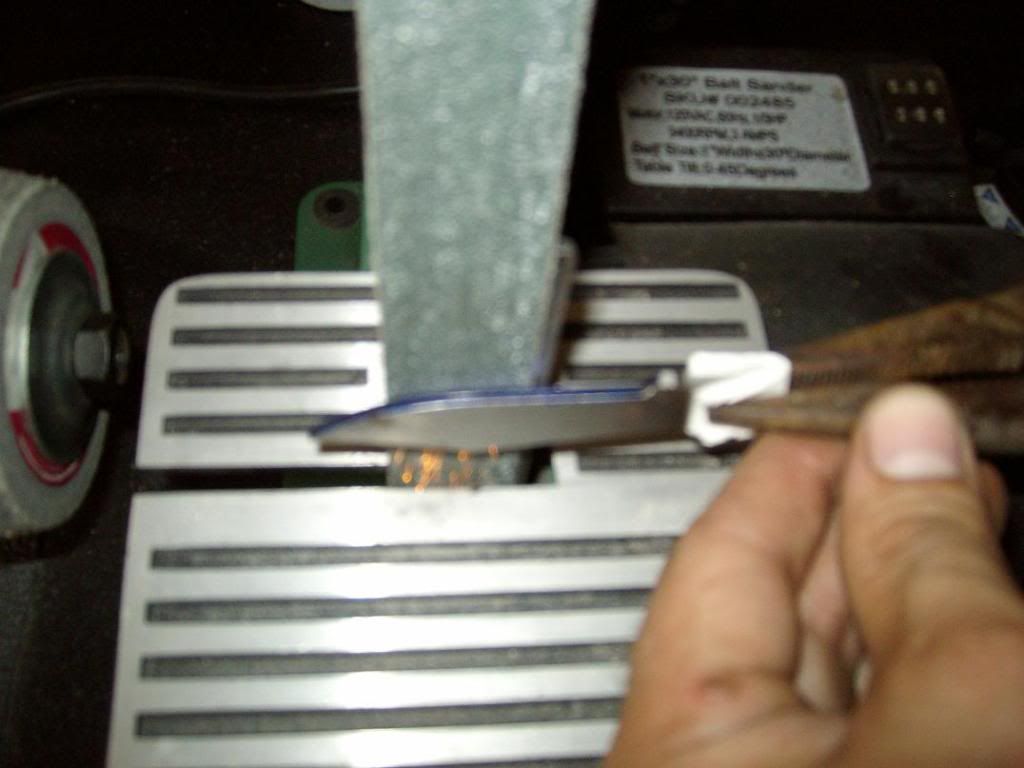
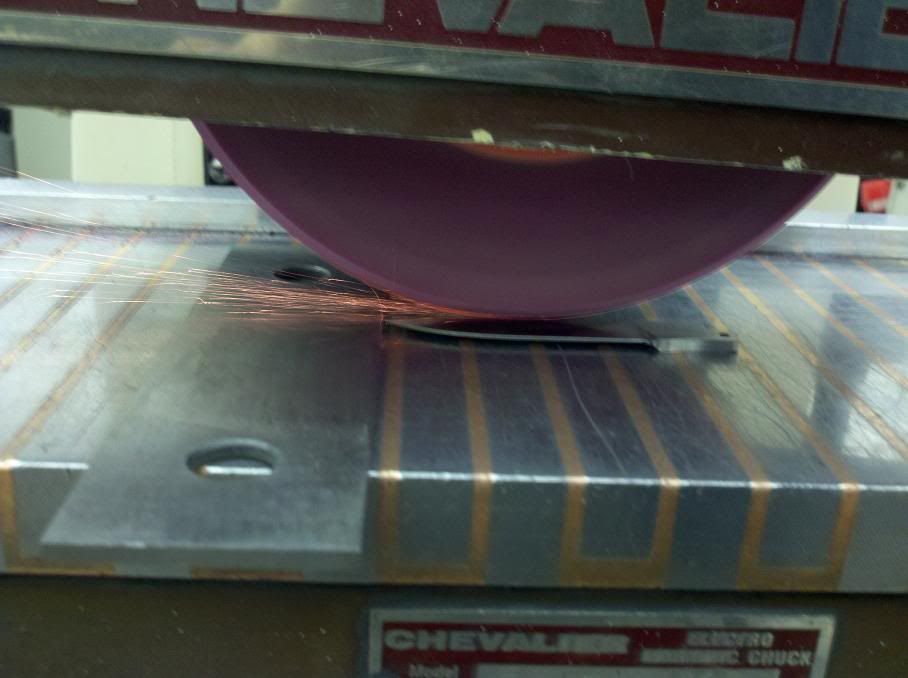
Grinding it in
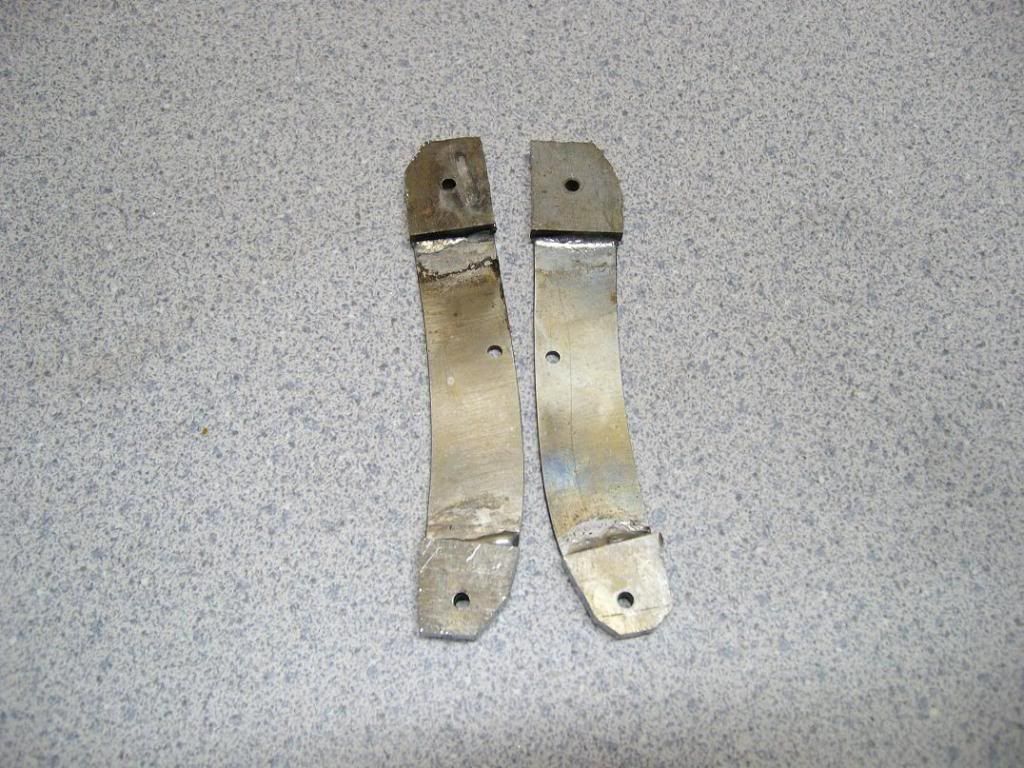
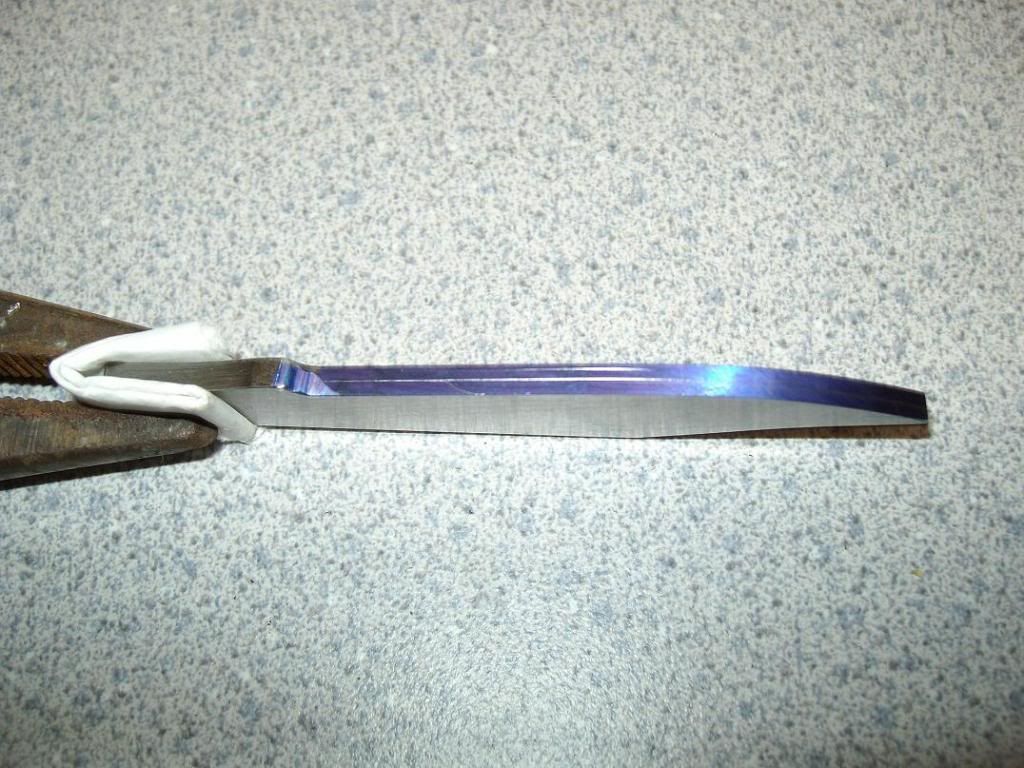
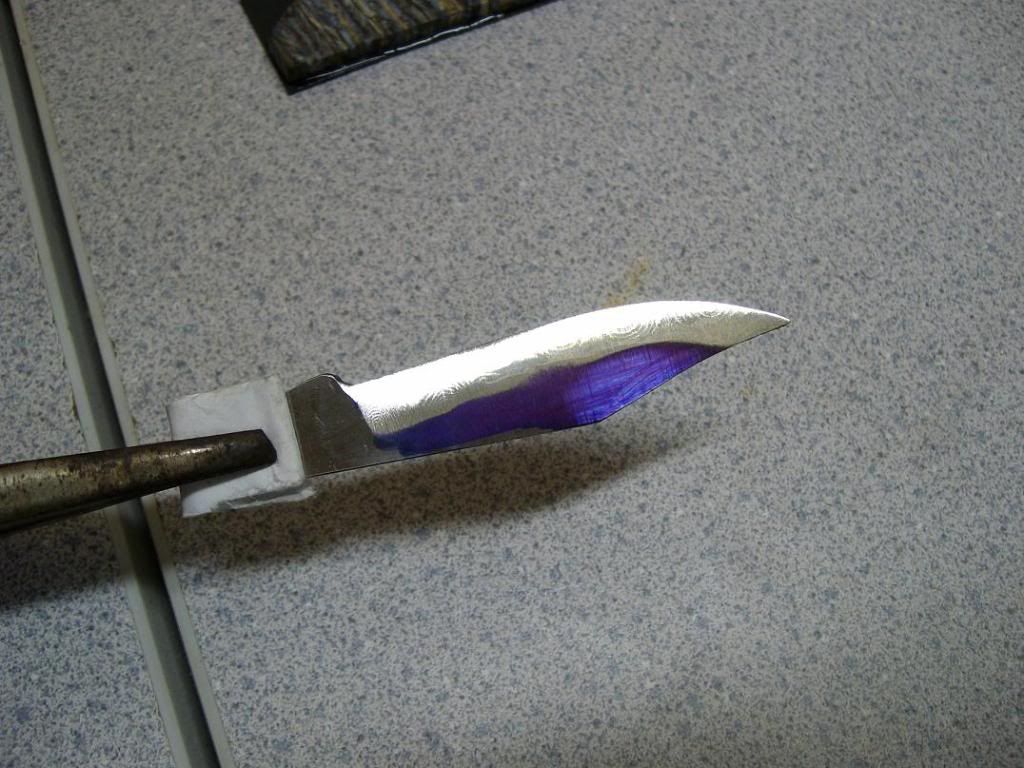
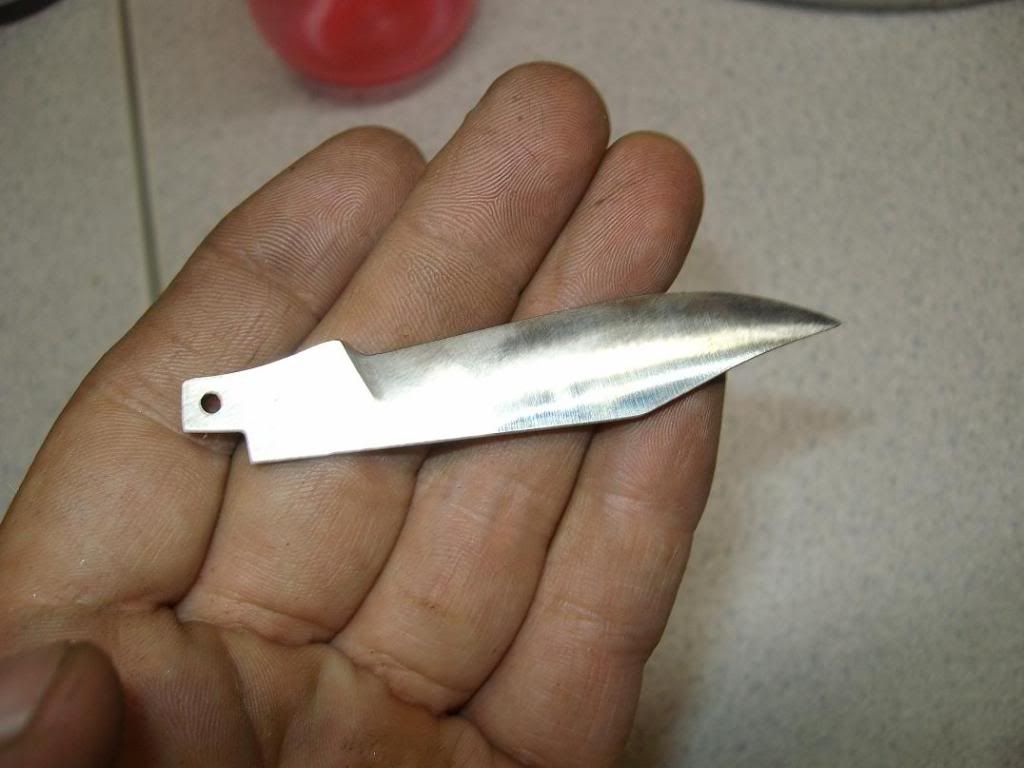
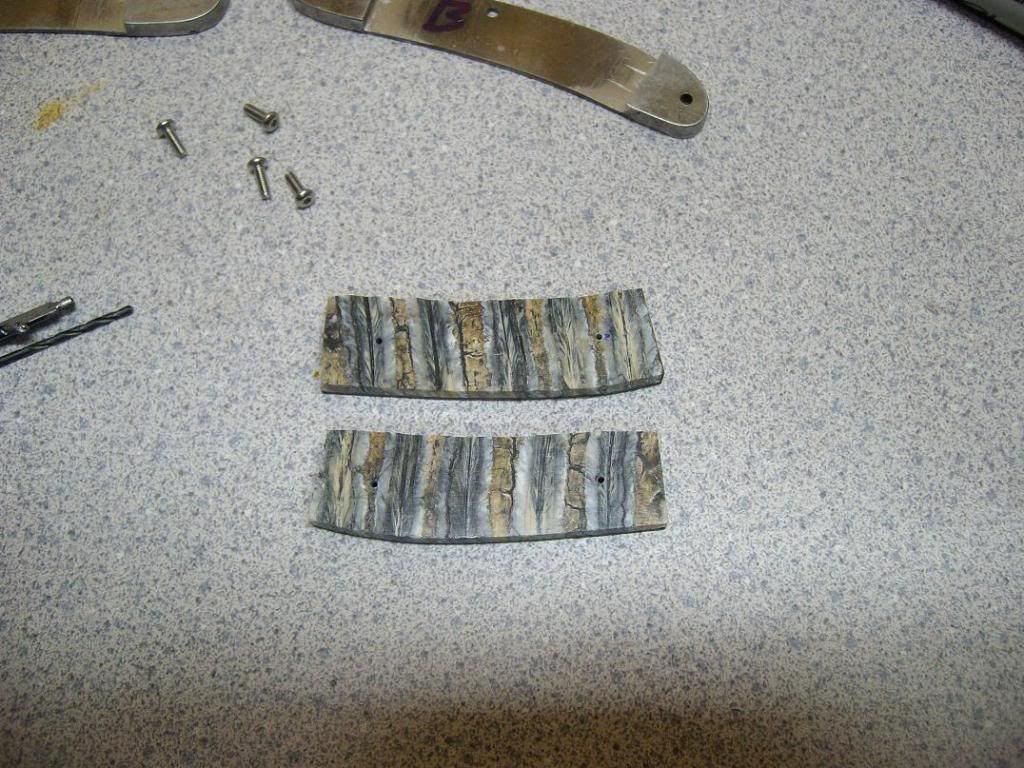
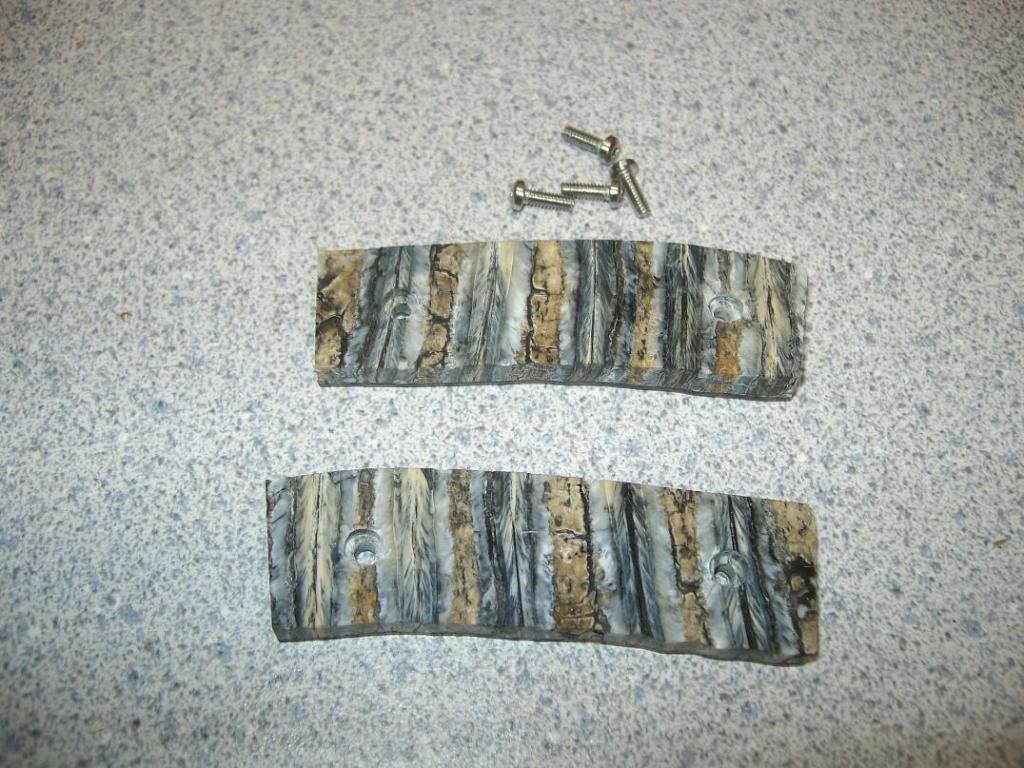
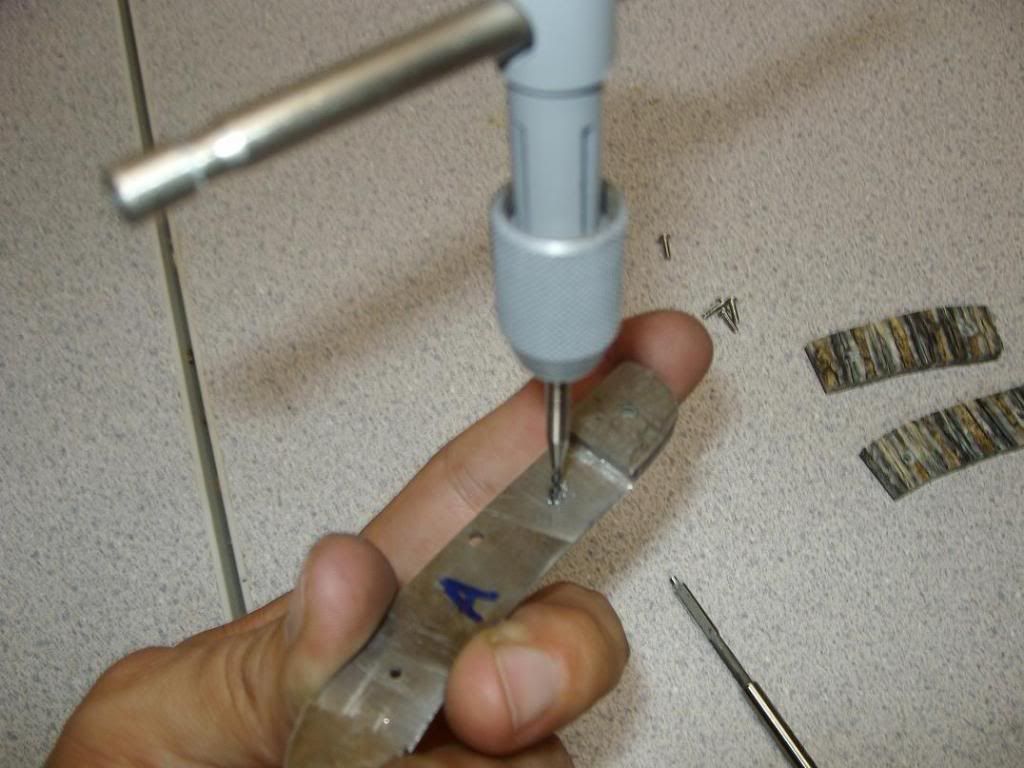
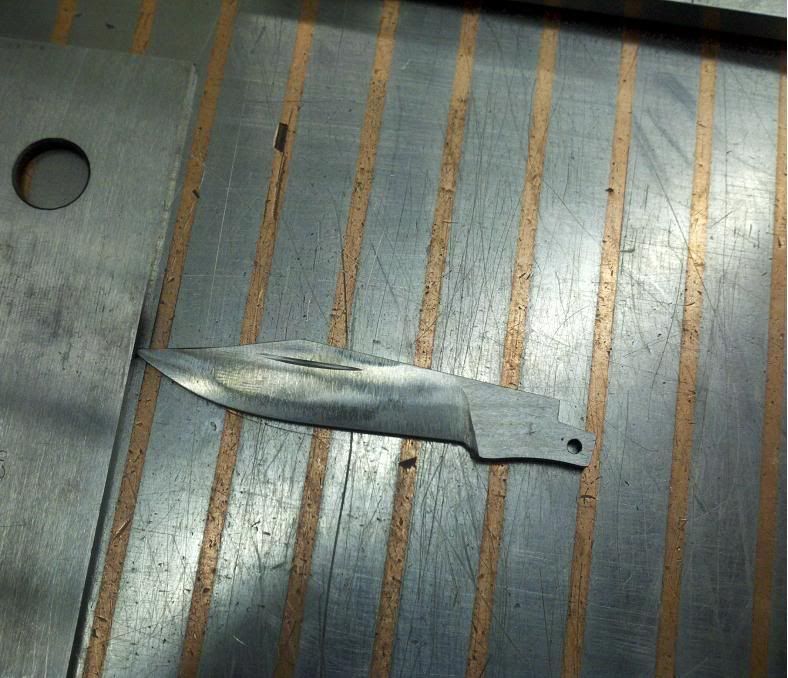
Afterwards
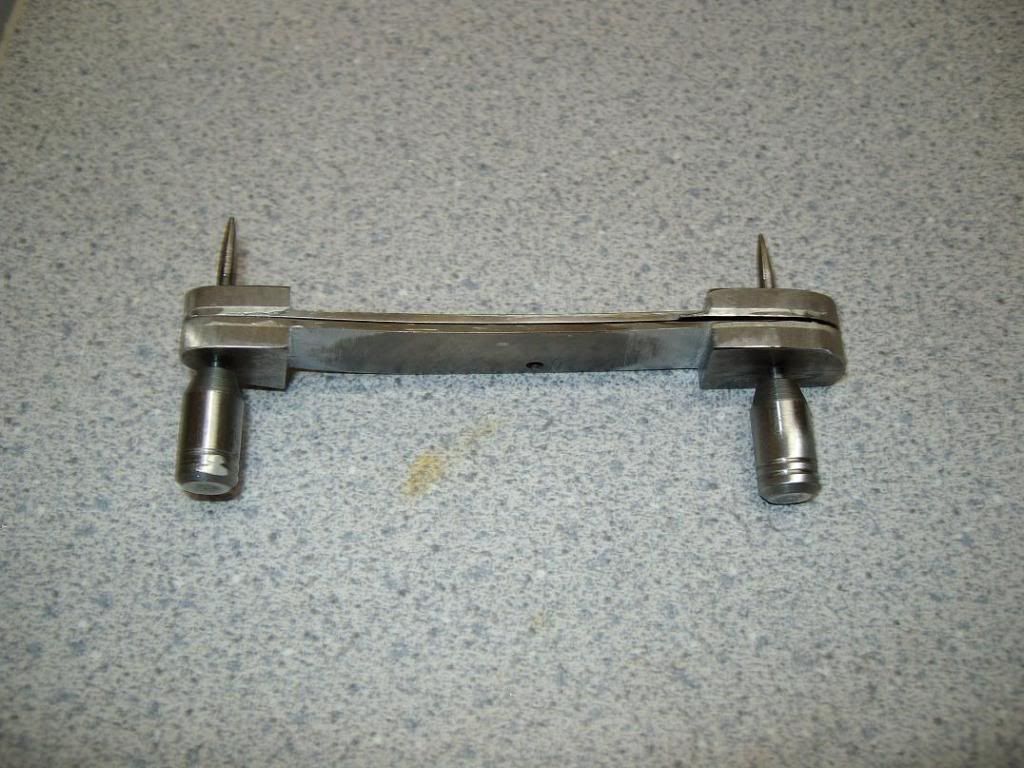
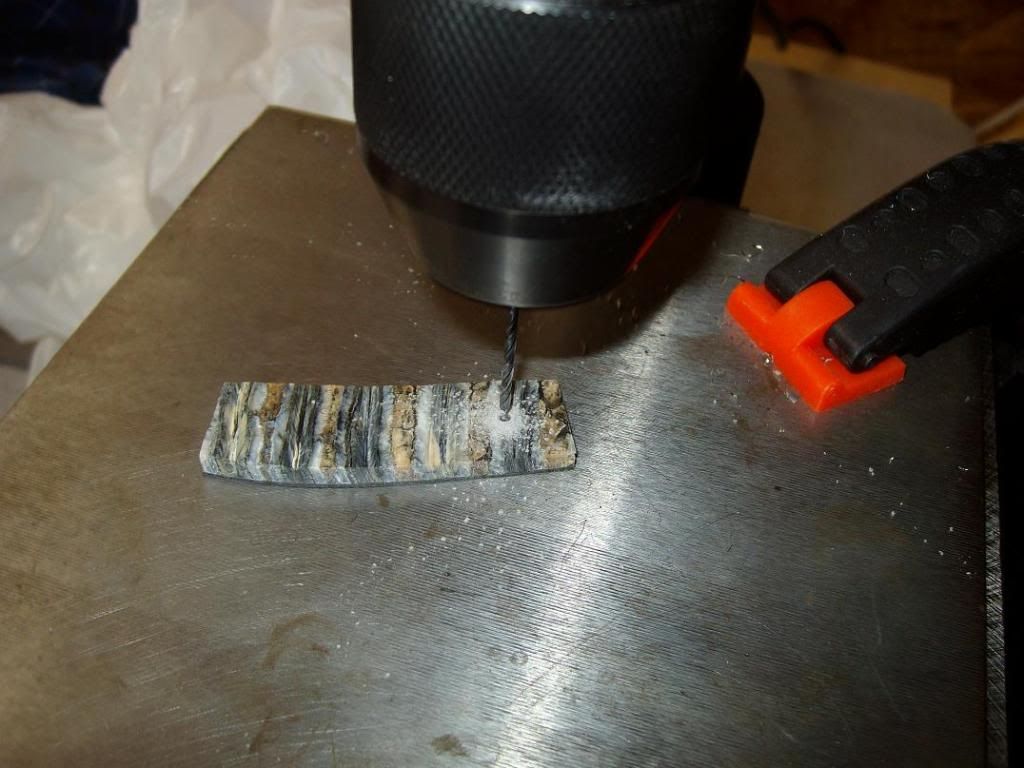
Notice the parallel in front of the blade. Always a good idea to chock up your work when working on a surface grinder. The only real purpose the parallel is serving is to keep the blade from being pushed to the left, which is the direction the wheel is spinning (clockwise). Some chucks hold better than others, but the fact is you don't have much there to hold anyway with the blade. The tang and a very small upper portion of the blade are the only things being held. Easy to make a projectile out of it. Also, lock the bed. Very important. You want the nail nick where it is supposed to be, and not everywhere else on the blade.
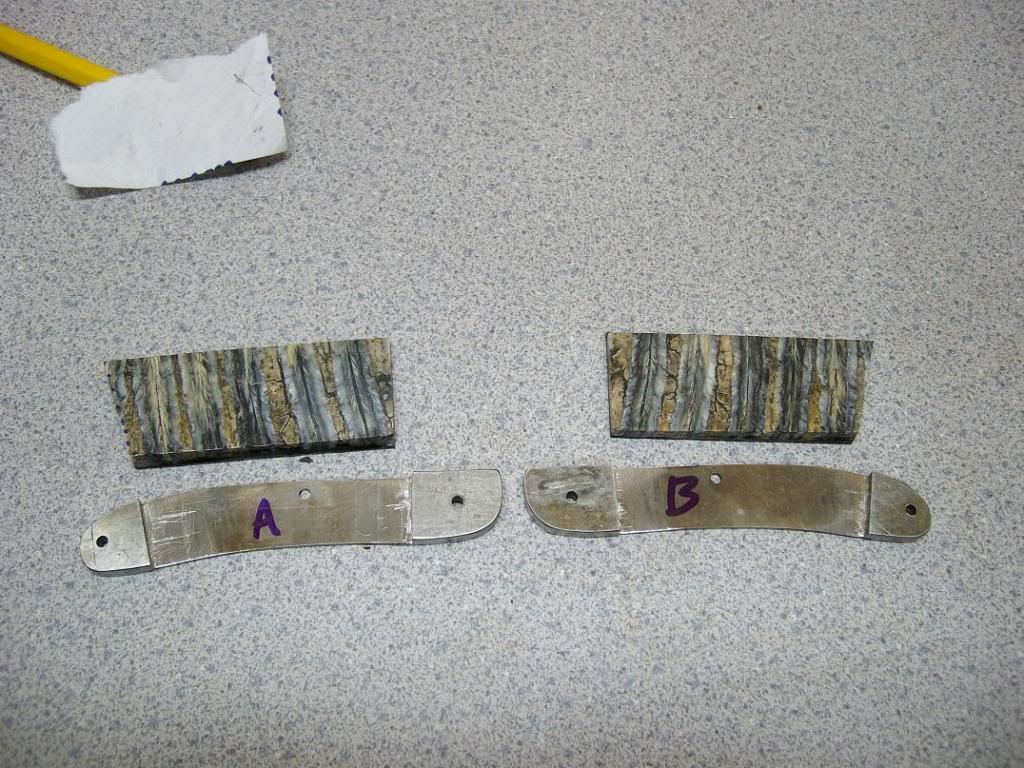
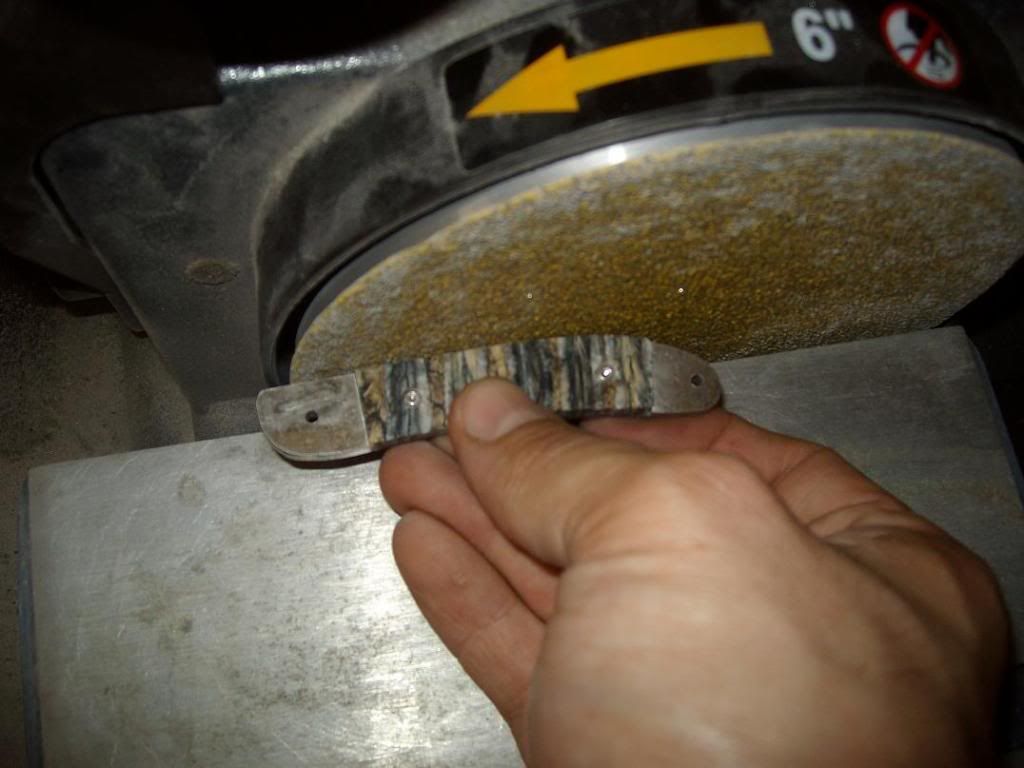
So last night I did a little grinding on the handle assemblies. I know this was what you were wanting to take a seminar on at Blade, Rex. All I can tell you about grinding handles is that to begin with, it is a matter of personal preference. I don't know exactly how I got decent at it, but I just grind until it looks good. As is the case on every knife I make, I am amzed at how much material is actually left when I get done. Through alot of time grinding, very little of the original handle scale material will remain. I'll try to touch on some of the points I follow while grinding.
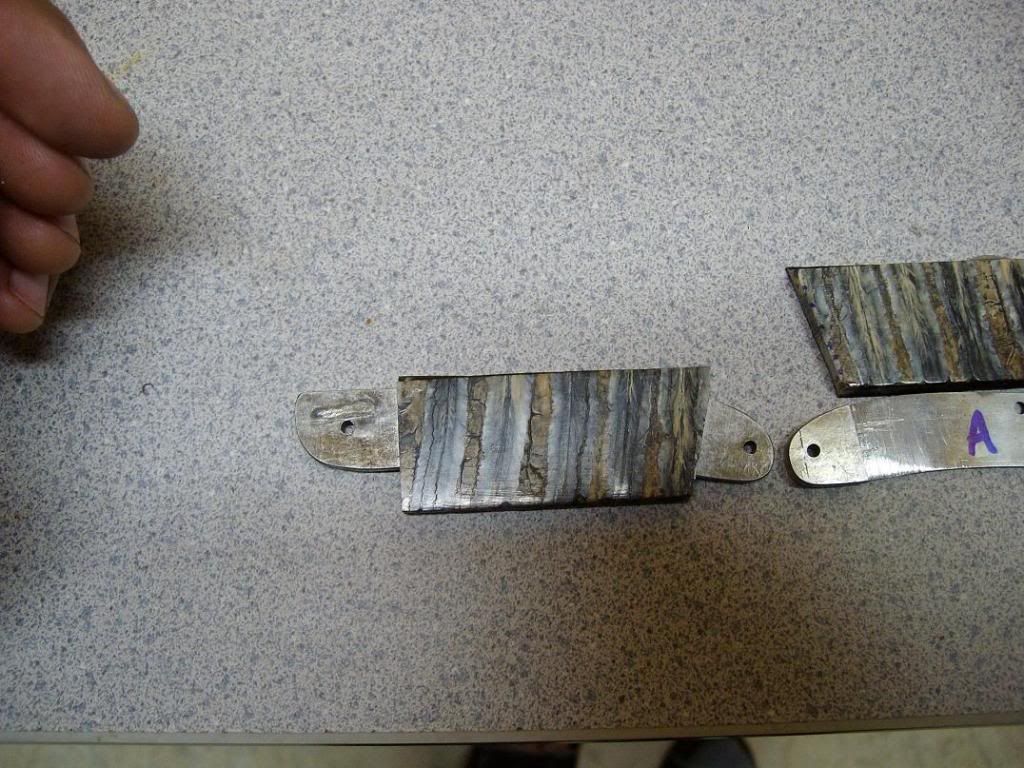
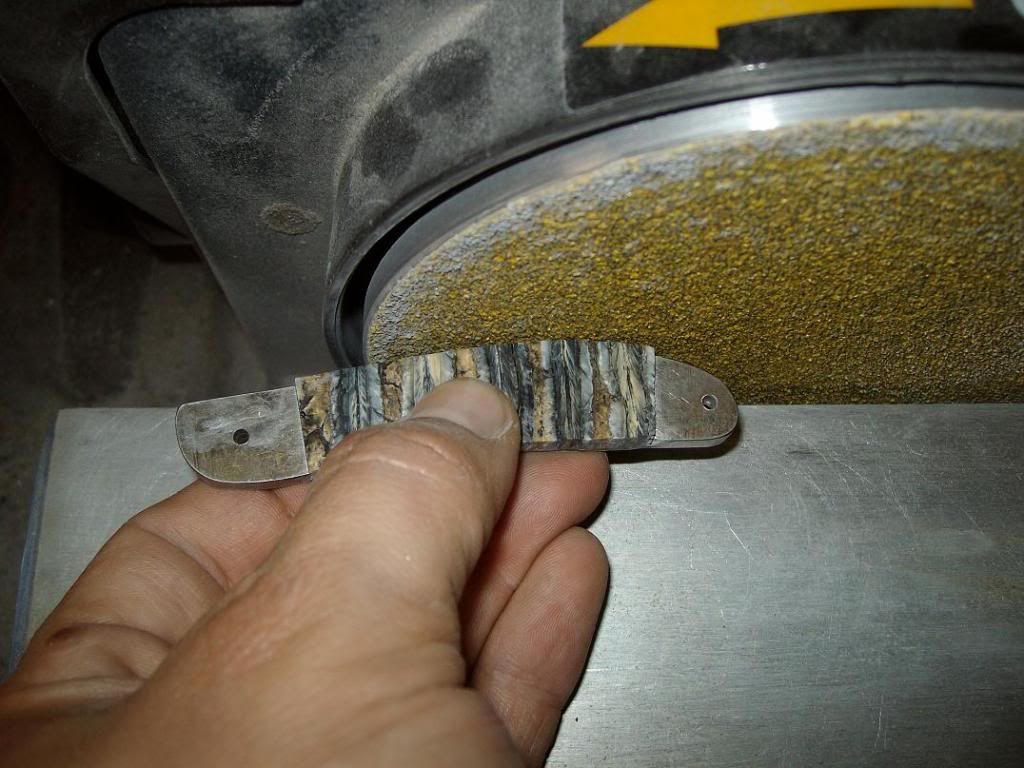
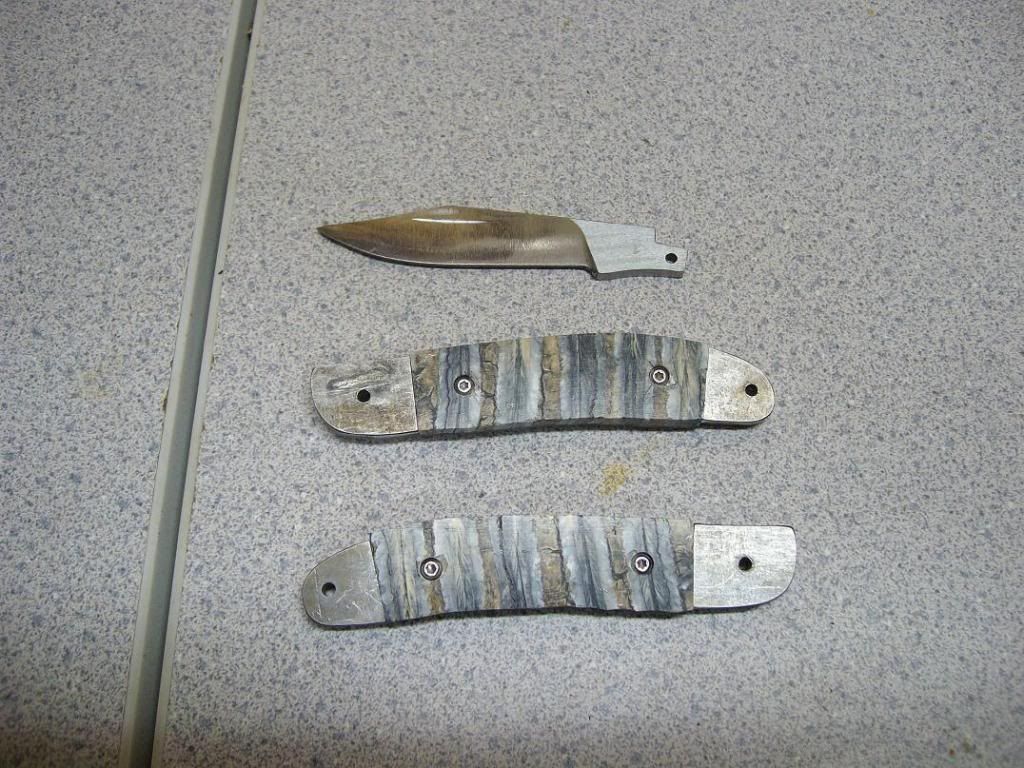
To begin with, I screw the scales to the liners and snug 'em up. You can see here what needs to be worked on around the edges.
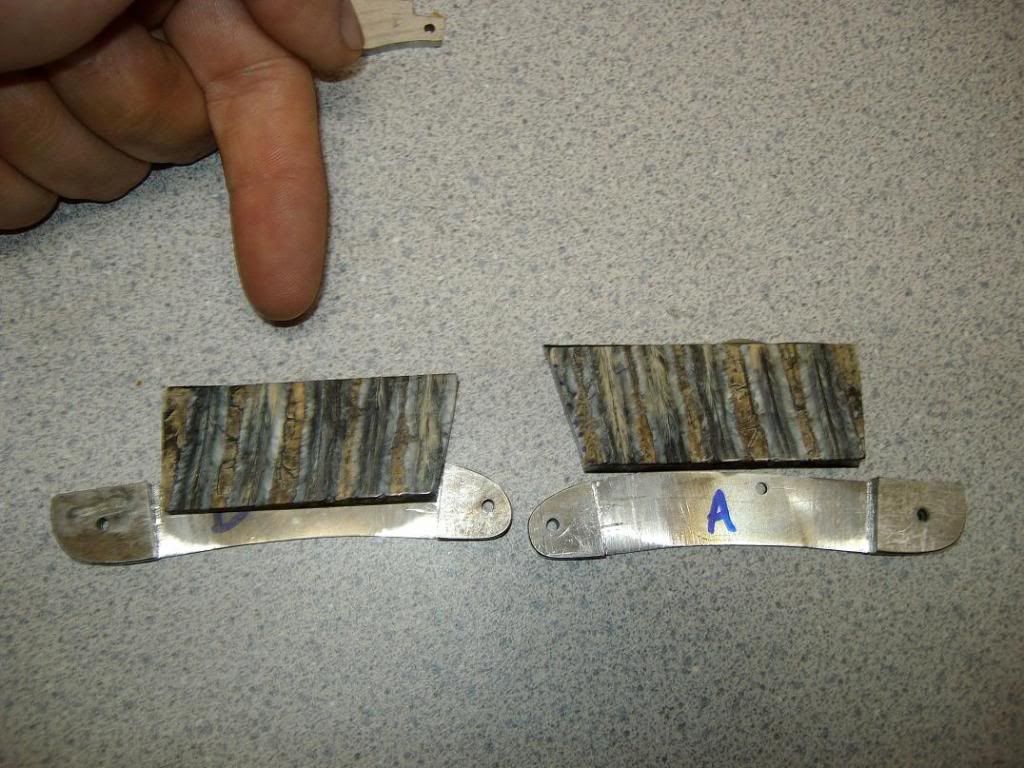
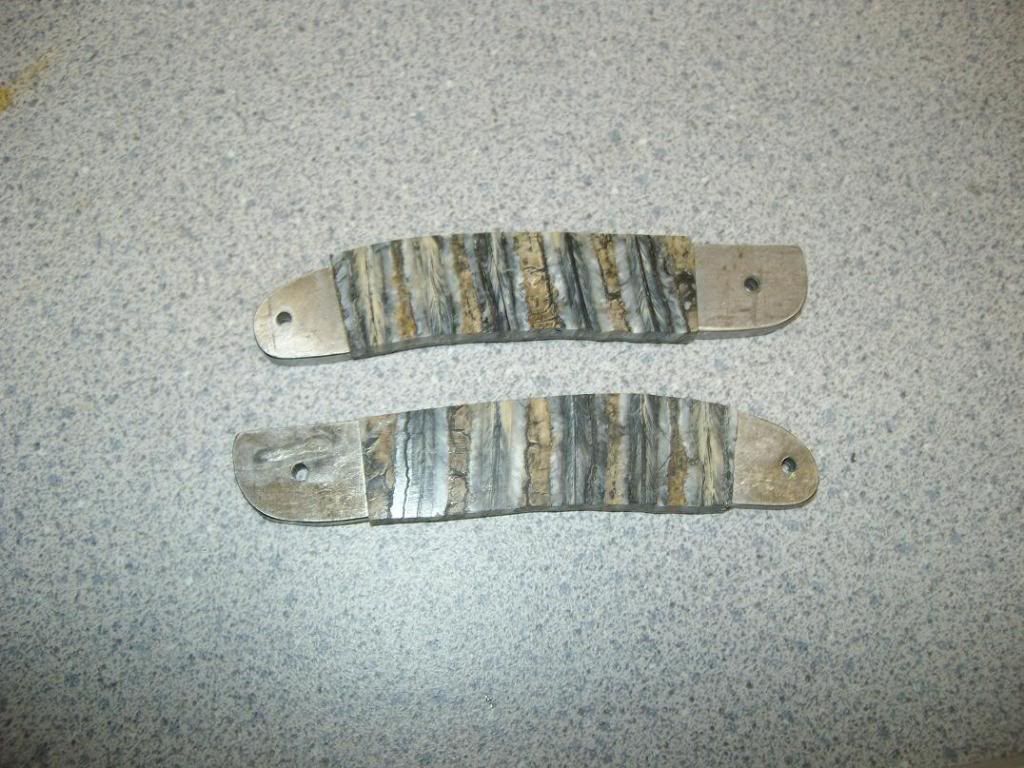
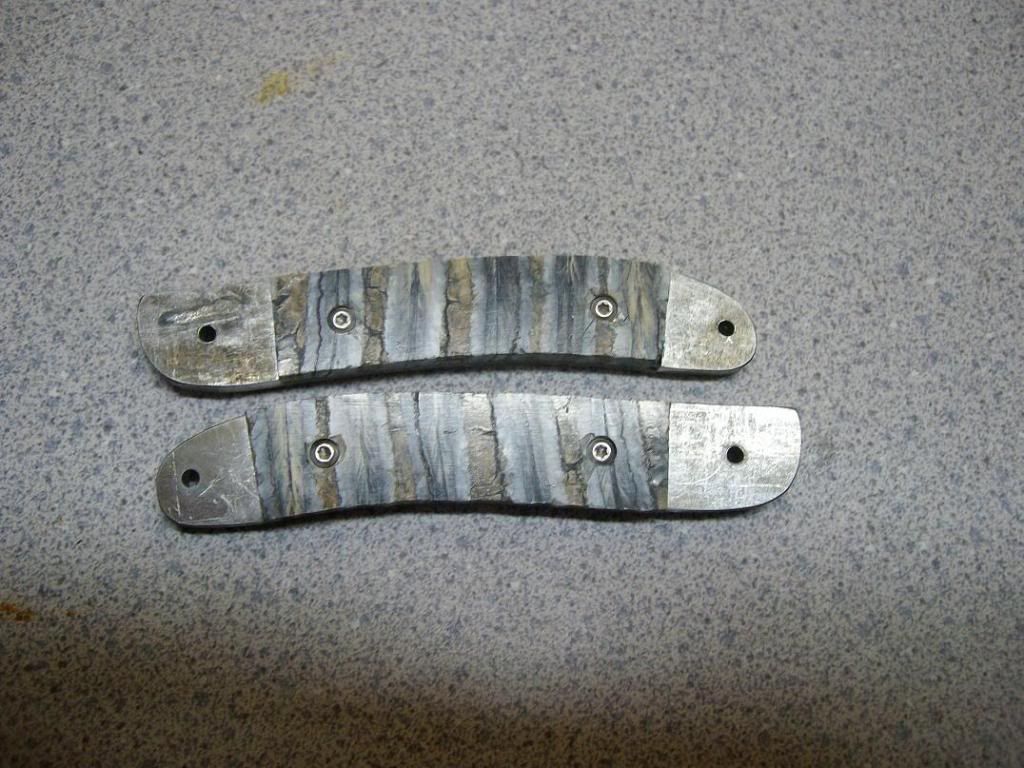
We'll start by taking that off. Using the 40 grit paper here. Try to grind down to where you just barely touch the liners. Remember we still have to final grind to remove those 40 grit scratches so no reason to go rediculously deep.
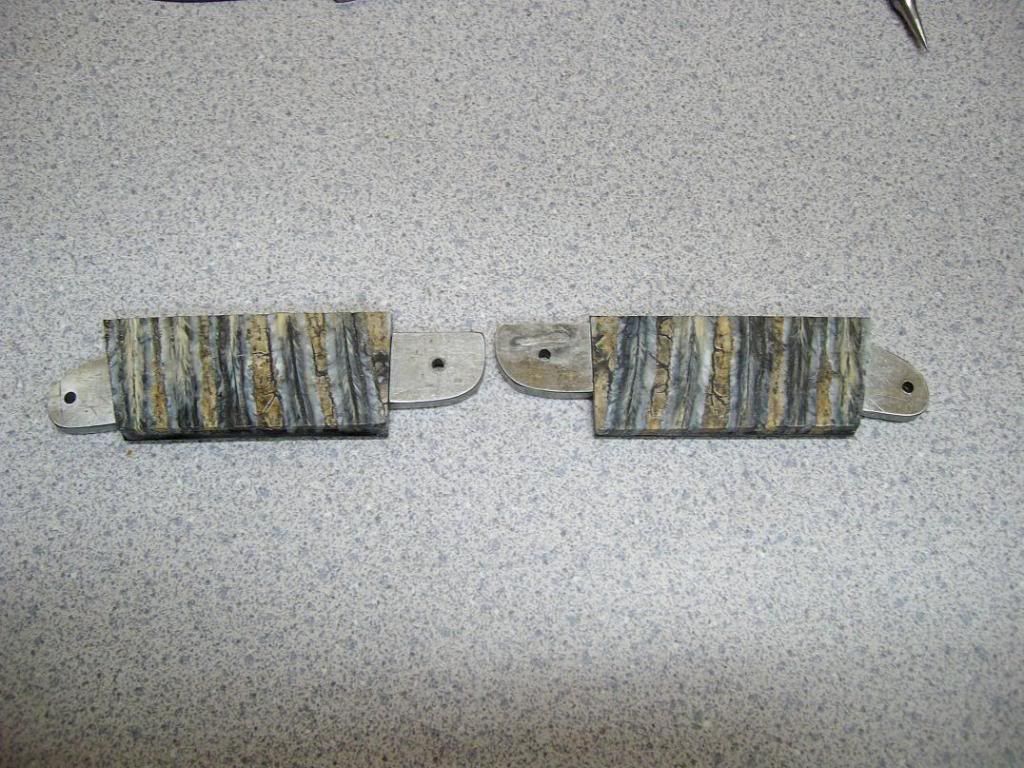
And when finished with that, we are close to what they will be when finished.
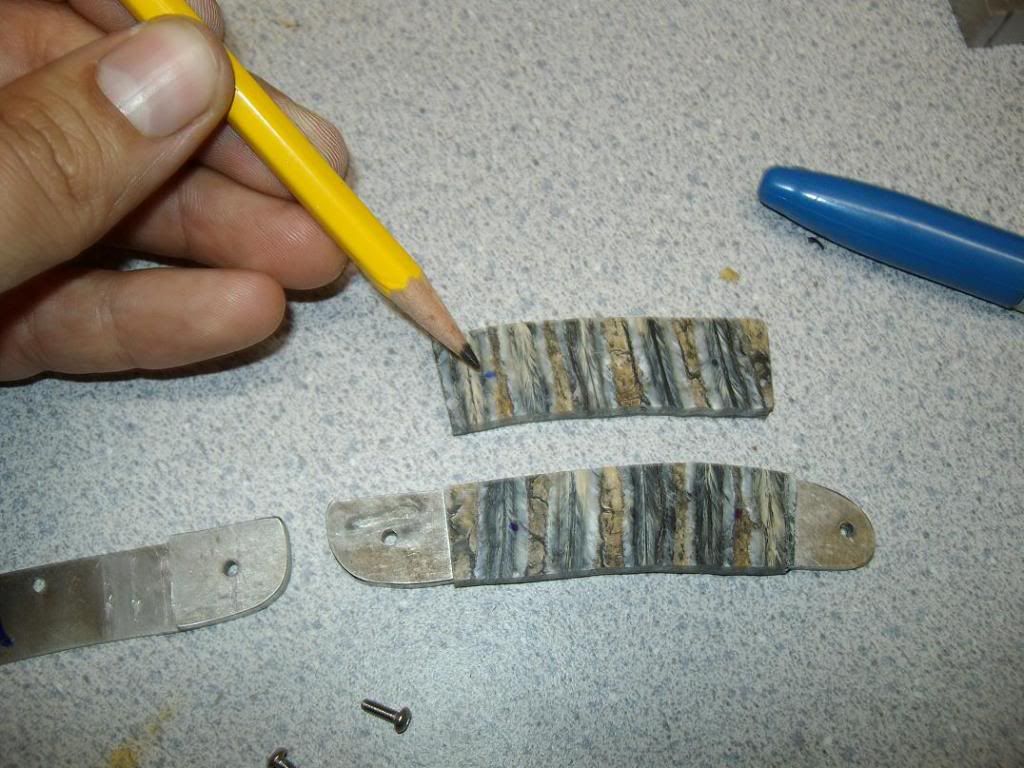
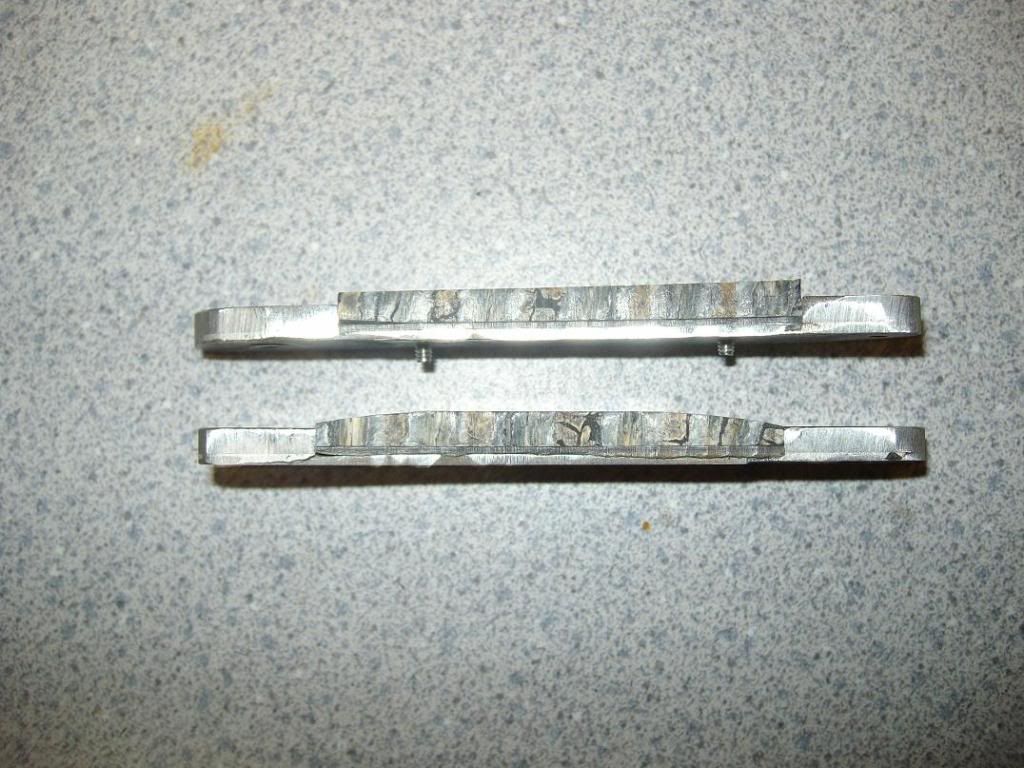
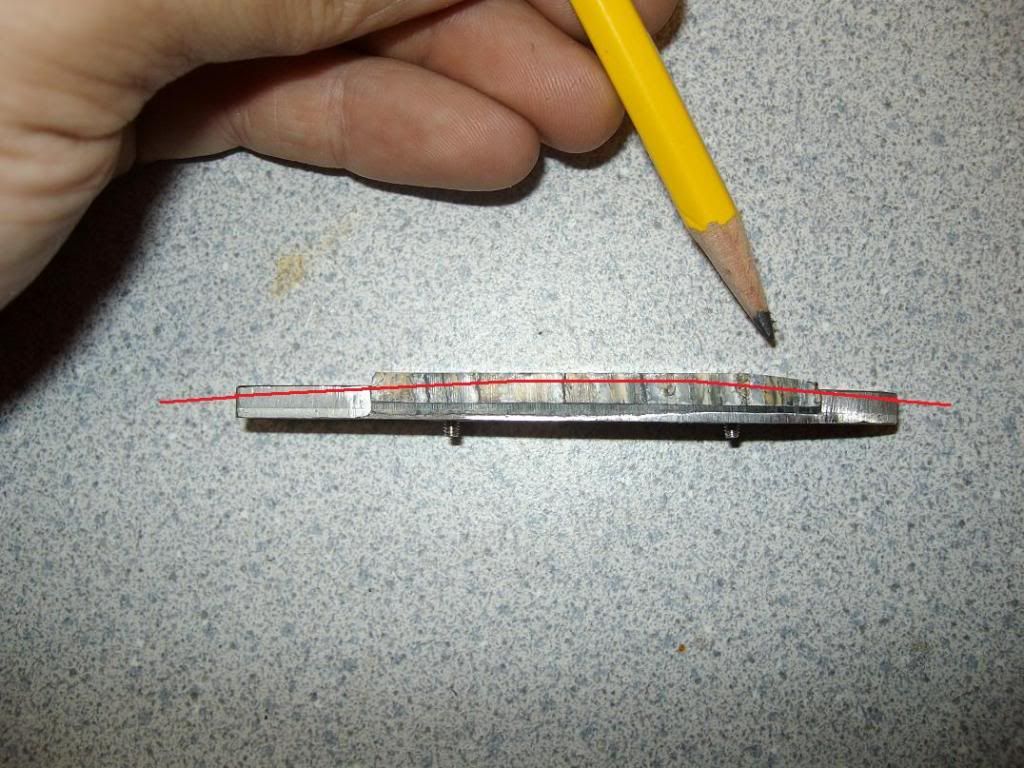
Next step is to address the height difference here. I have drawn a red line on what will need to be removed to get a decent looking handle profile. The scales are significantly taller than the bolsters, and this is only worse because of the fiber spacer material. Just a fact of life here; we have to work around it. One thing that would have helped tremendously on this particular knife is the use of thicker bolster material. I think this stuff used here was originally around .135", which is a little more than 1/8". Maybe some 3/16 would have been ideal.
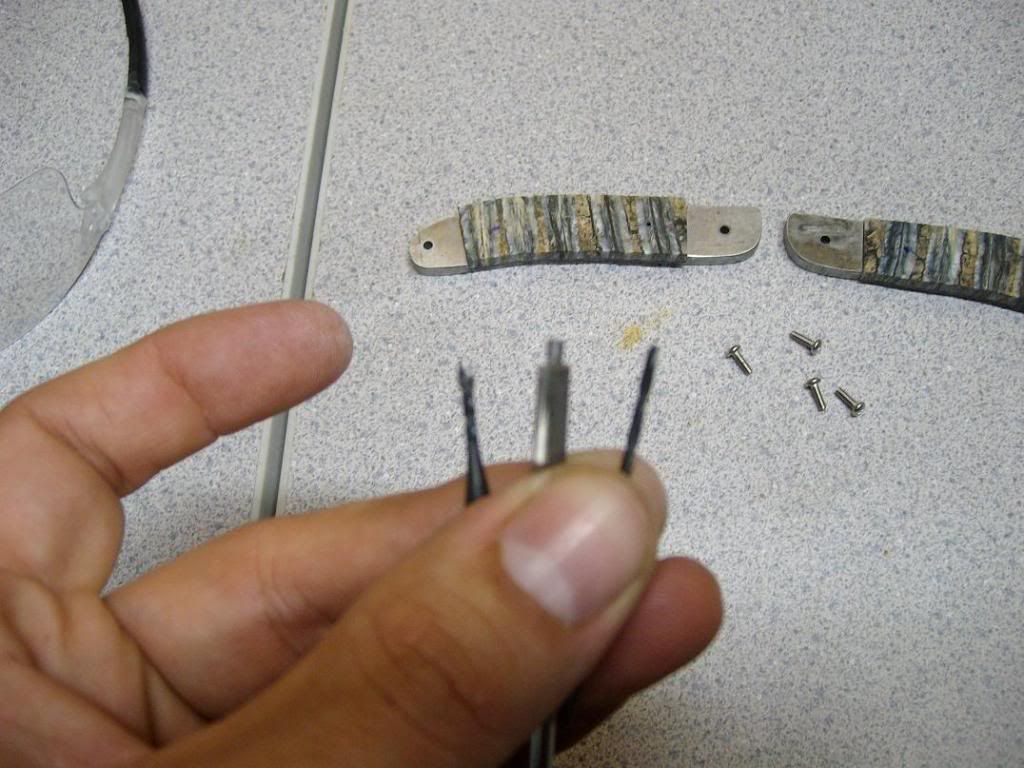
In the picture below, I have started to remove the material on either end of the scales to bring them down to the bolsters. As you can see, it creates a funny looking sharp bend, so the only thing to do really is to take material away from the surface of the scales. maybe 1/32" - 1/16" will bring the center down to where it flows with the ends and bolsters. Be aware that when you do this, you will compromise the depth of the counterbored holes. I also knocked off a good bit of the heads of my screws. Not a big deal; I'll just go back and deepen the counterbores and use some new screws when finished.
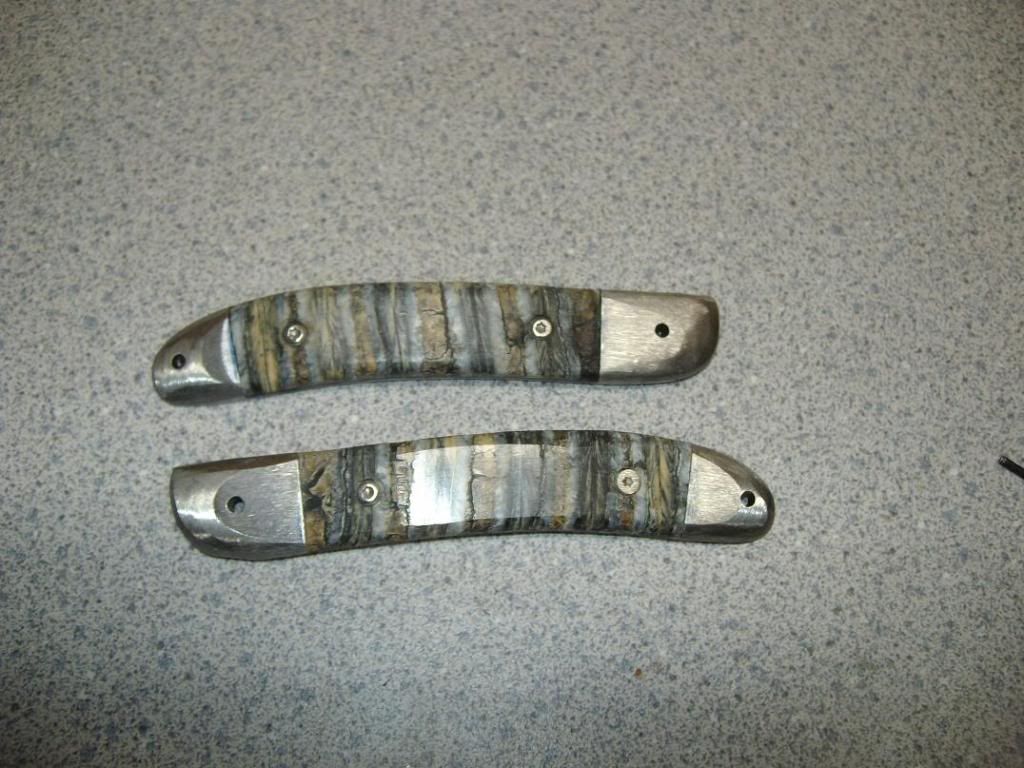
So then I went to work rounding off the bolsters and trying to work the handle profile. After about an hour on the grinder, I got a pretty good ways. They are close to being finished, but not quite. Still some work to do. You can see the bottom scale still has its original thickness, as evidenced by the flat which is reflecting in the picture. It still has to be brought down.
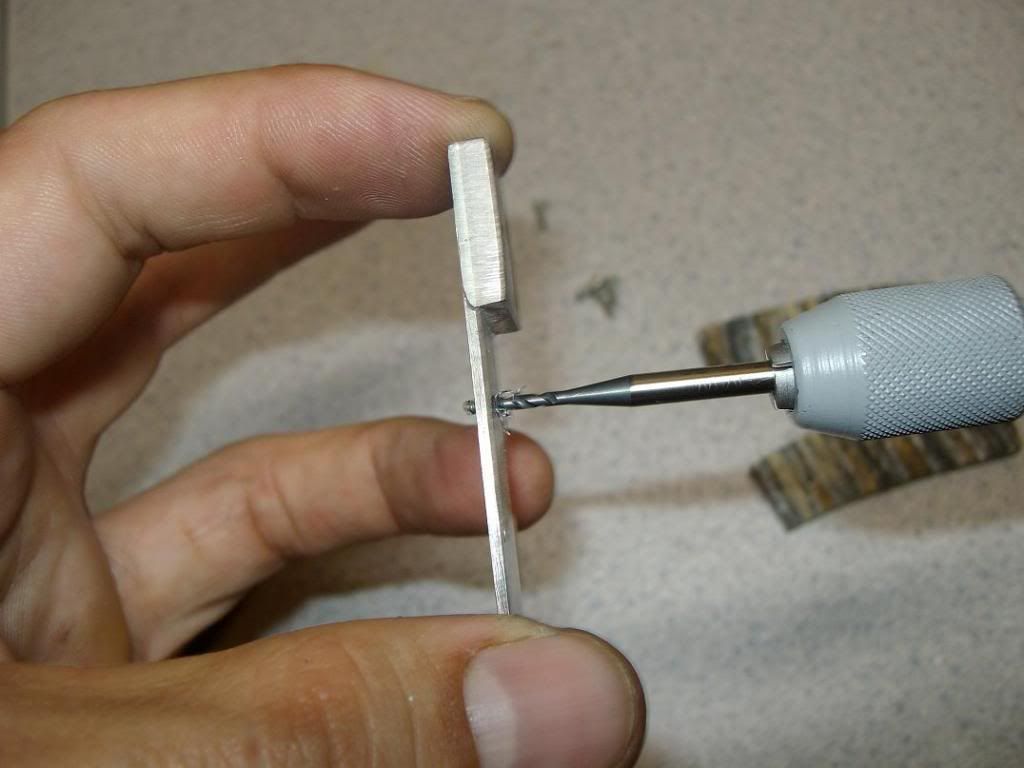
Next is heat treating the blade and spring. Not much to see there, just wrap them in stainless foil and toss them in the oven.