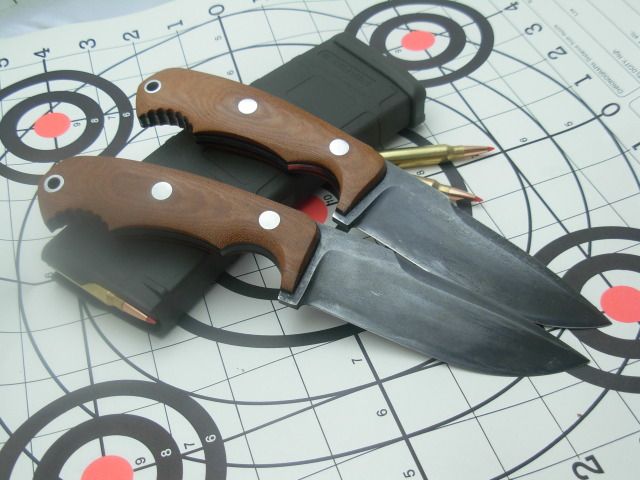
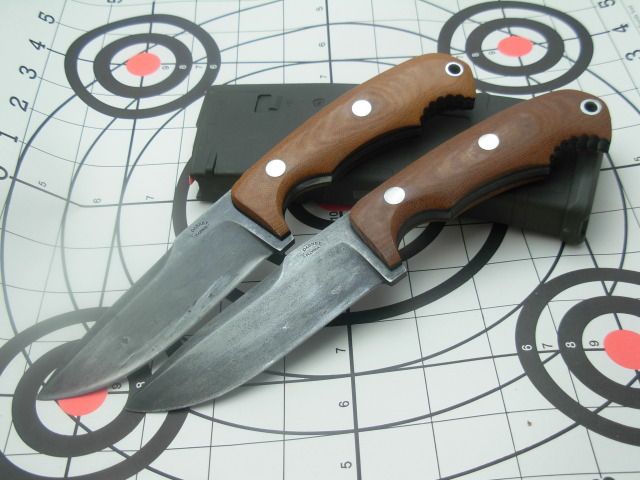
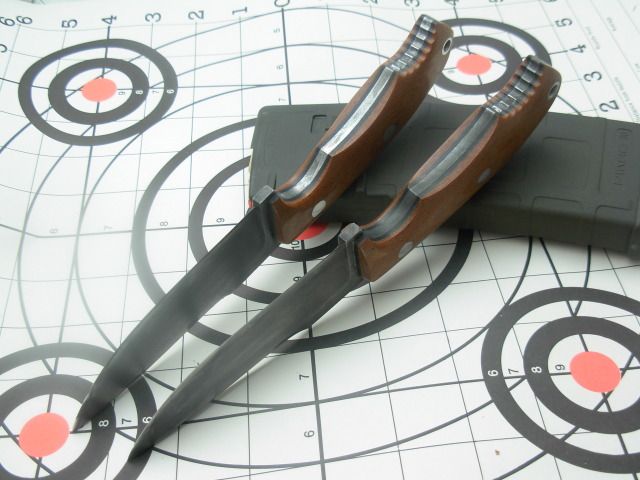
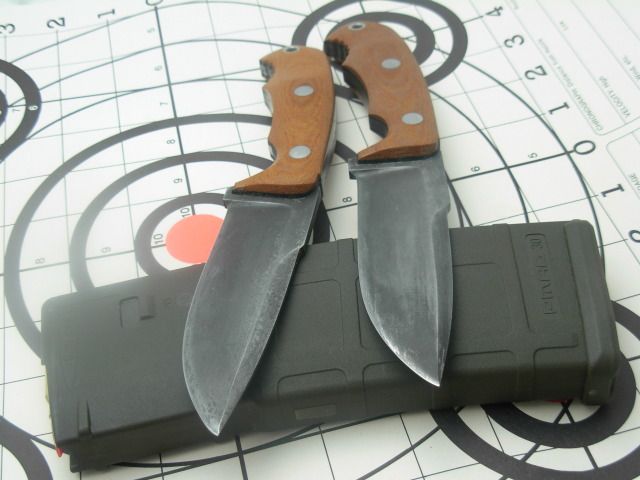
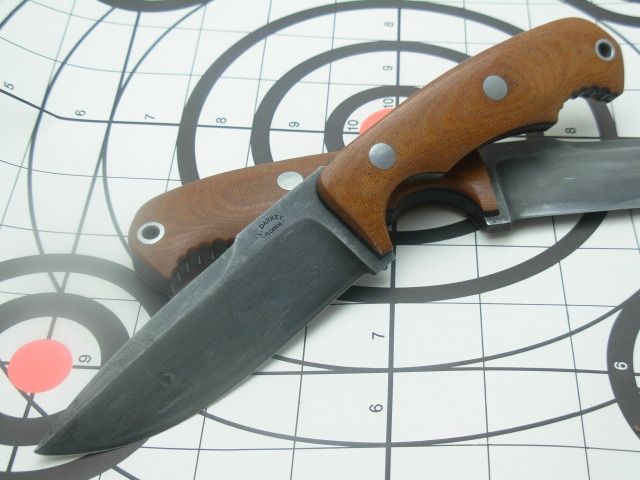
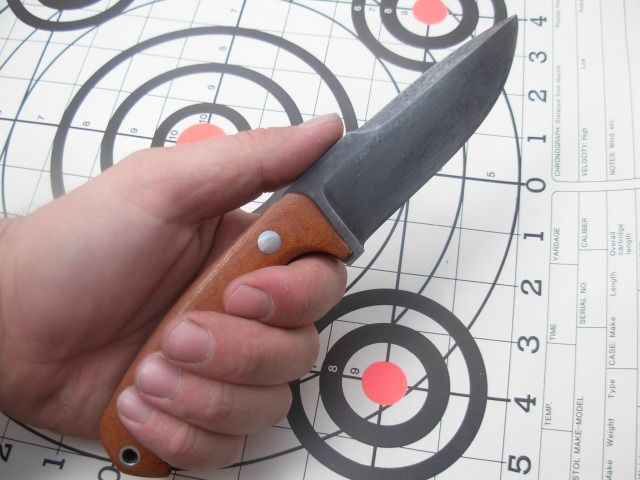
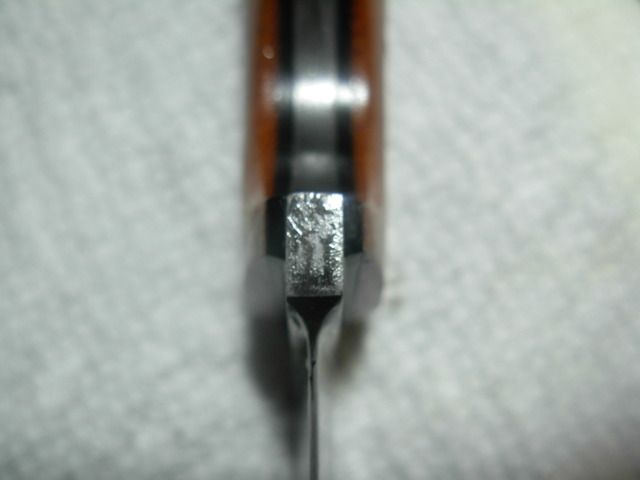
Hometown Hero build ~WIP~

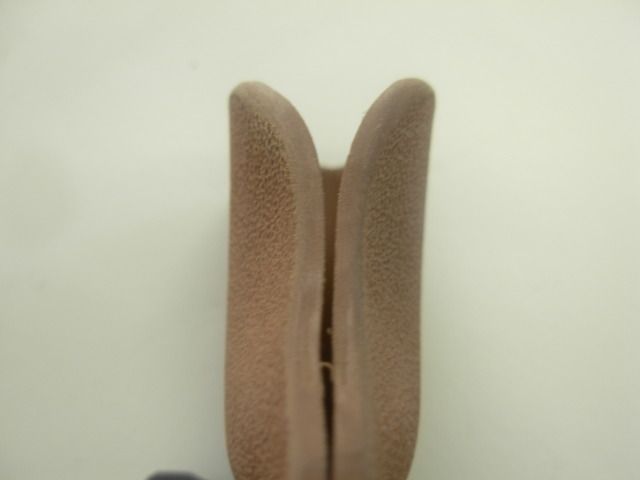
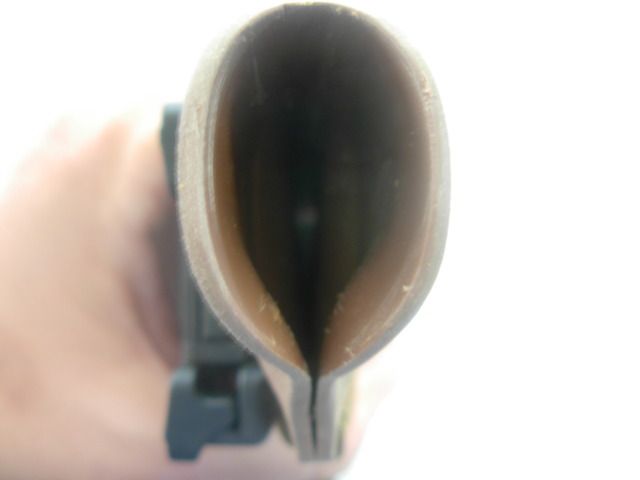
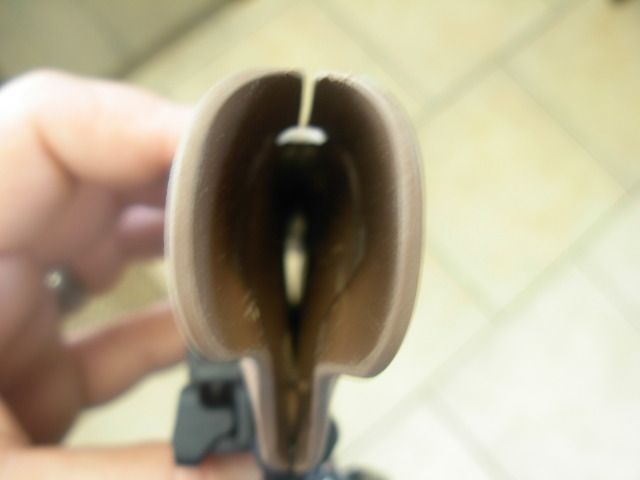
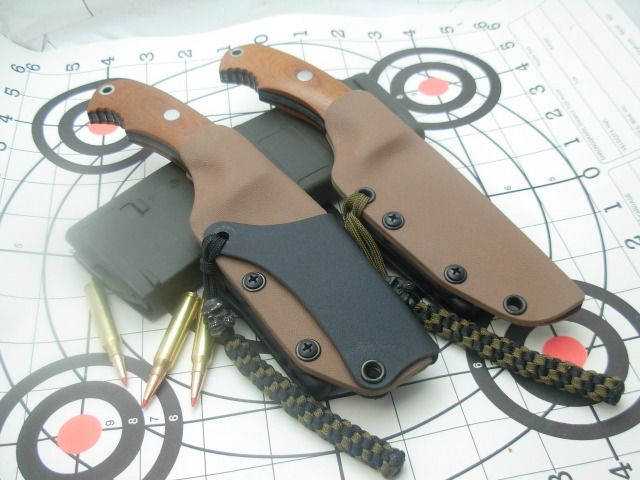
Finished up #2's sheath last night. Again I'm still figuring kydex out but the moon and stars musta been alligned right or something because it came out sweet with almost no fiddling with it.

A few things that I think helped me get a better result this time-

1. When I folded the kydex around the blade I took more care to pull it tight but to also keep the fold alligned more with the blades spine keeping the tip much closer to the fold while leaving a little gap between the top of the handle and the fold. I'm speculating that this cured the issue of the blade having room to move around while sheathed.

2. I still reheated and pinched in the the finger groove area to get a tighter fit. I just didn't sqeeze it nearly as "deep" I'm thinking that when adjusting like this a little goes a long way and a little practice and I'll develop a good feel for this and be able to nail the fit consistantly.

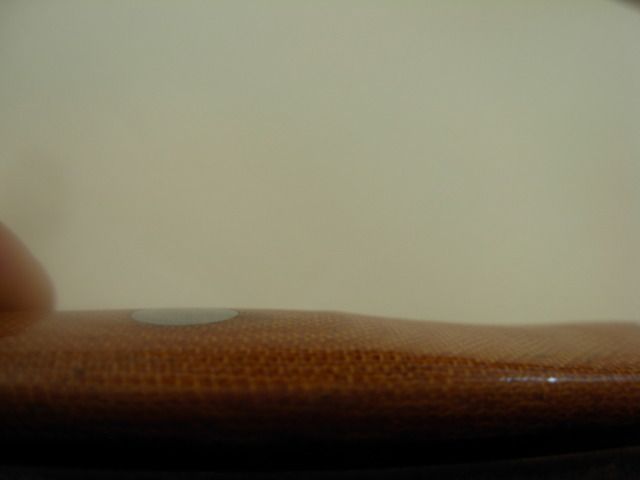
3. I kept the top rivet down just a tad lower. This allows the front and back to flex over a longer distance allowing the mouth to open up easier while insering or extracting the knife.


I also tried out another style of lanyard braid that I like a little better. It's very similar and very easy to make. Here's the tutorial-
http://www.lighthound.com/Cross-Weave-Paracord-Lanyard_ep_41-1.html

Tommorow I'll get working on critiquing these knives but for now they're esentailly completed with one caveat. I dont mind the overlay at all on sheath #1. However I'm not at all liking the chicago screws for attatching it to the main sheath body. Thats the type of thing that WOULD come apart only at the most inconvenient time and could cause a serious safety issue. To correct this I'll be ditching the chicago screws entirely, drilling out the rivets that are in the main body currently, and ordering a pack of the s-66 rivets that are long enough to join all 4 layers permanently. Then I'll be totally confident this sheath will be ready to take on the world.

Although my photography skill are severly lacking I did set up the light box and snap some final pics for the WIP.
001-13.jpg


002-12.jpg


003-11.jpg


004-11.jpg


005-11.jpg


006-10.jpg


007-10.jpg


012-7.jpg


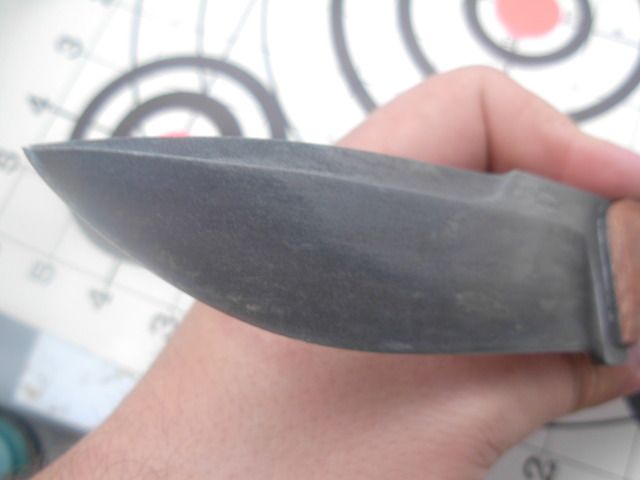
Oooops. Ren wax on the front of the liner -
015-7.jpg
 
Great Job Josh. I've never done kydex sheathes but I might be more willing to try it now that I have seen how you did it.
 
Eric,

I should probably explain a little about my personal feelings as it pertains to sheathmaking and working with kydex.

My mentor was a great sheathmaker and he taught me to design and make sheaths to compliment my knives in design, flow, and develop a "total package" that works together. Rule #1 is that fit and function can NEVER take second place to aesthetics. Fit needs to be what needs to be- no exceptions.

From a functional and aesthetic view I had a few point's I wanted to include on these sheaths-

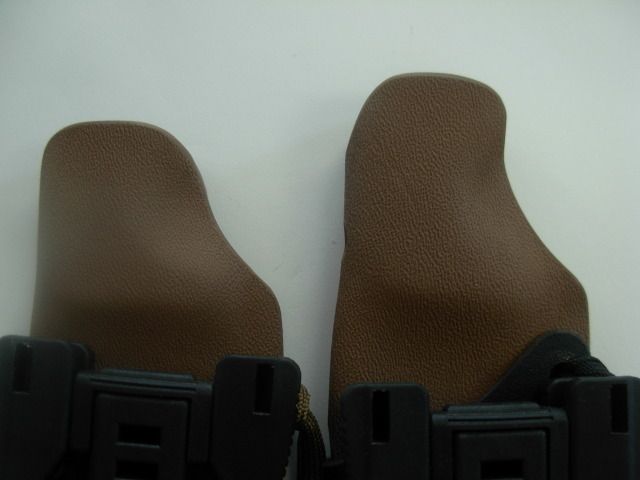
-I wanted the user to be able to reach down and grab the handle and have a perfect grip on the knife with no need to shift the grip once drawn. The profile of the kydex in the finger groove area up to the top not only matches the flow and lines of the center section of handle but it also serves to guide the index finger right into the finger groove of the handle when drawing the knife. IMO this is a case where pleasing form results in proper function without trading off one for the other.

-I had it as a goal to reduce excess bulk as much as possible. From a functional aspect would it make much of a difference if the sheath was another 1/8 or 1/4" wider ? Probably not much at all but I wanted them a small as possible as long as function wasn't comprimised. I tried to keep my rivets close to the blade edge and perhaps this caused me undo stress getting the fit-up right.

I though it important to explain this a little so my personal qwerks don't dissuade you from giving Kydex a try. Generally the initial press will accomplish making a good functioning sheath. Keep the rivets a little away from the blade edge and you'll come up with something usable and functional no problem.

I'm regularly guilty of making things more difficult than they have to be :) just part of my own nature as a knifemaker I suppose.

I should also mention that while I've avoided building a kydex press up to this point since I find myself bending kydex again I'll be ordering some foam from Boss and building one just for the sake of consistancy (and I think my foam is just not dense enough to get a good press). I've managed to get by thus far with my cut-up pilates mat and a fat guy press but generally there's just no substitute for having the correct tool for the task at hand.

Take care- Josh
 
30 days- 2 knives & 2 sheaths. Believe it or not that's pretty good for me considering my "flexible" schedule- which usually flexes towards less shop time not more :3:

This final section of the WIP will cover critiquing knives. What to look for, where to look for it, and how to go about seeing whats there. If we as makers aim to improve it helps greatly to figure out whats "wrong" and how to fix it the next time. Also very handy when looking closely at any knife in general.

Handing these two knives to your average Joe on the street and they would probably never notice most, if not all, of these inconsistancies. Hand it to a seasoned maker and they would point out everything we're about to see and probably some things I've overlooked.

From here out I'll throw up a pic and then critique that pic in the text that follows.

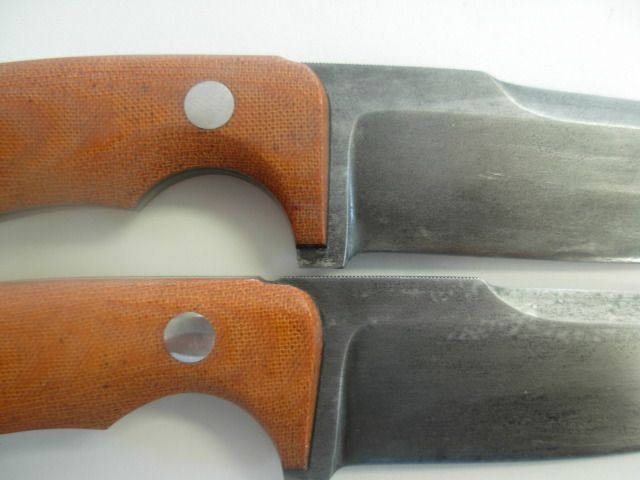
001-14.jpg


This pic has alot to offer !
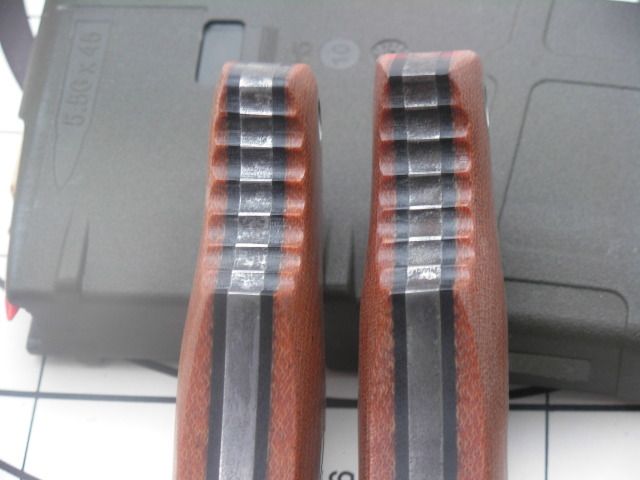
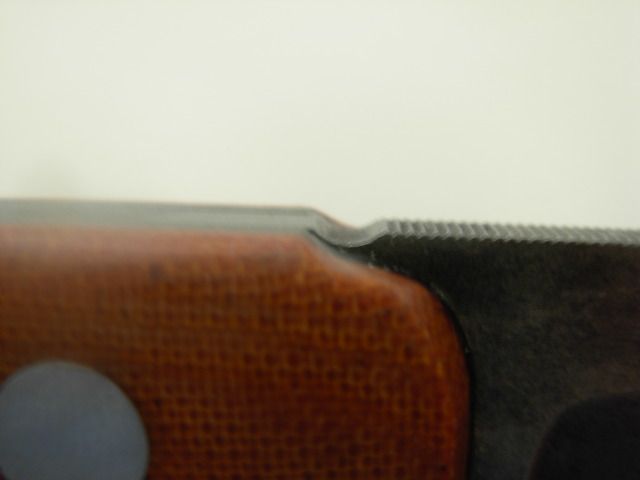
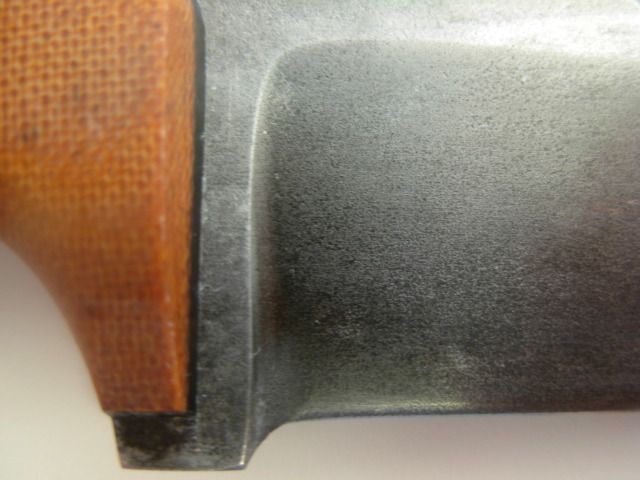
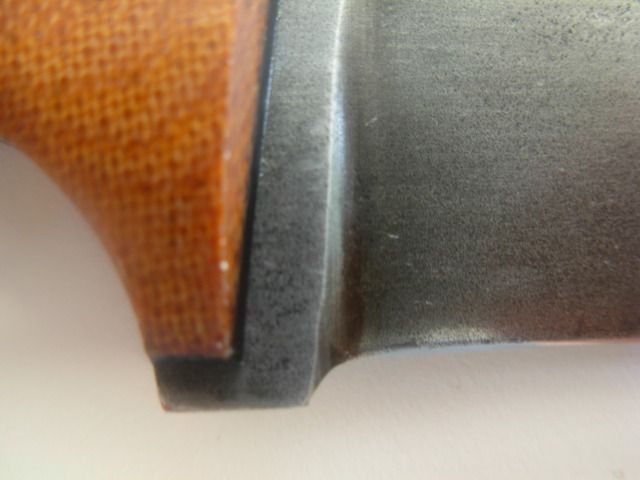
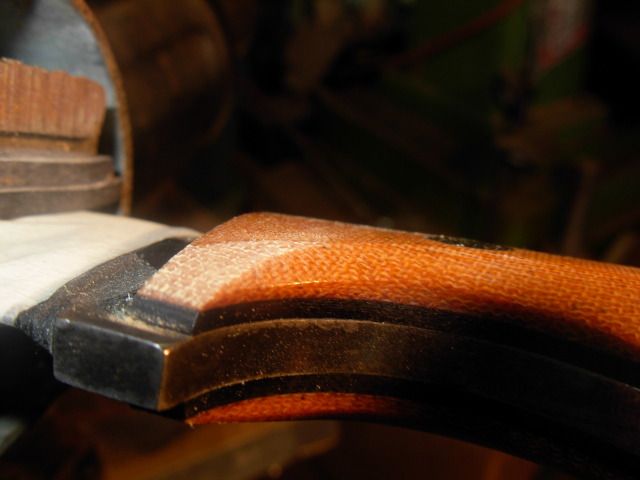
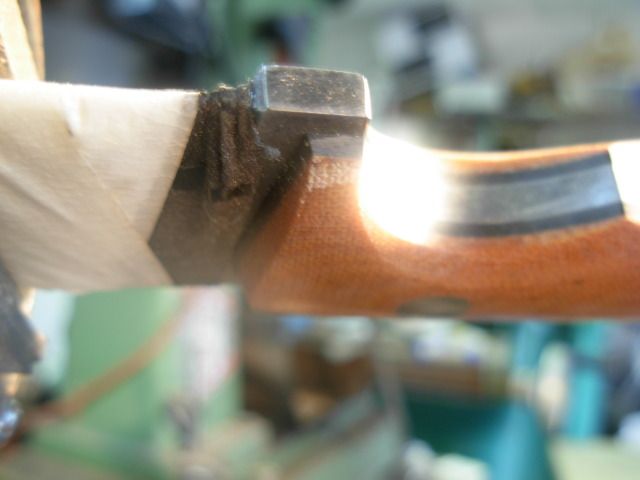
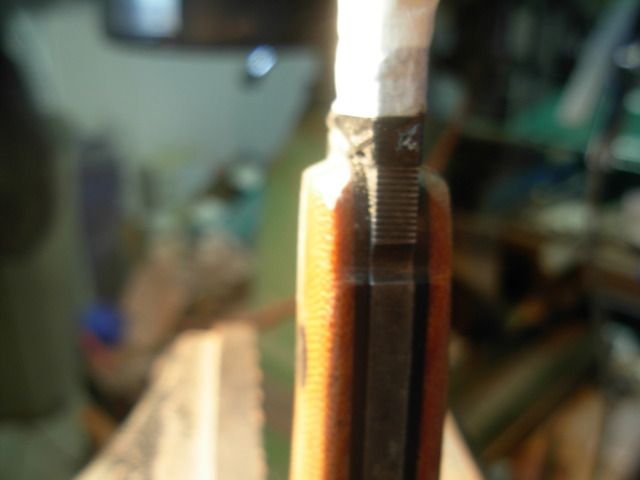
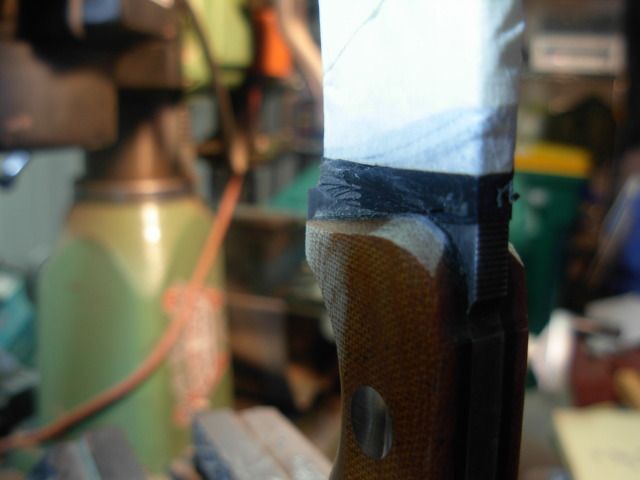
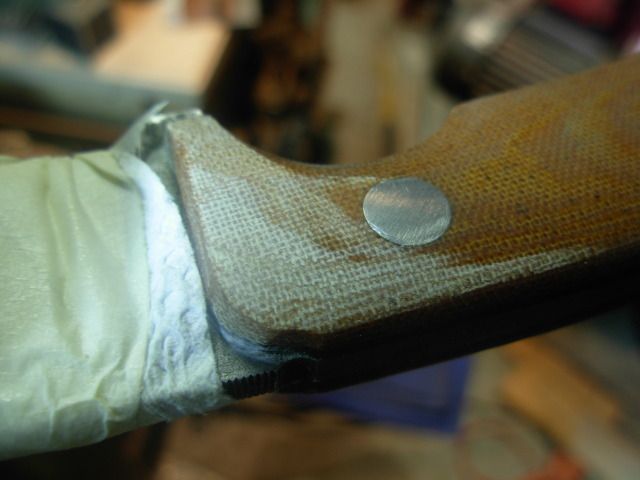
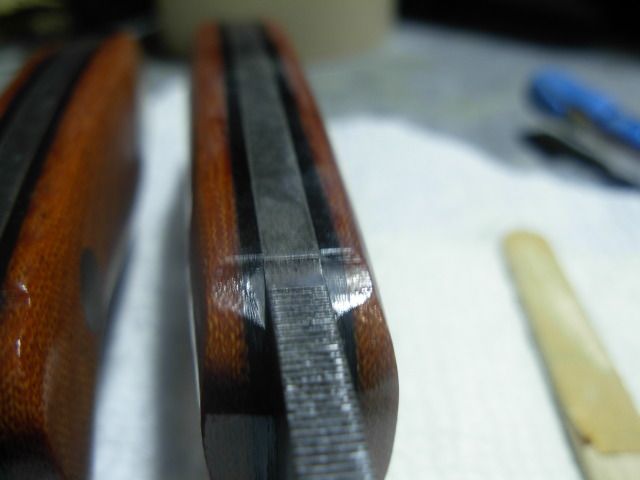
Let's first notice that the left scale extends further toward the tip than the right. I profiled the scales together so why is this the case ? The profile of both scales actually does match and the problem here was caused when I took the scales apart to put the angle on the front face of the scales. On the right scale the angle extends all the way through the liner until it meets the side of the riccasso. On the left I didn't get that angle ground as deep which resulted in a tiny flat on the face of the liner where it meets the riccasso and more bulk left in the scale material. Simply putting both scales back together after grinding the angles would've easily prevented this as the mis-match would've been painfully obvious. Overlooking this one tiny detail really cost me symmetry in an area where it's fairly easy to get it NEAR perfect.

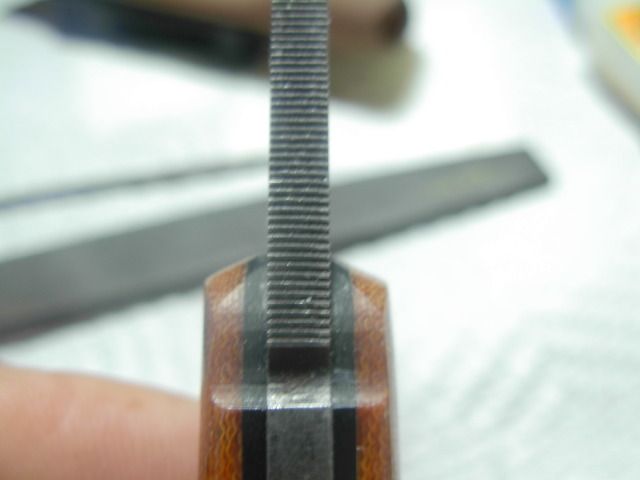
Now look at the right side and count up to the 7th ridge of the jimping and look at the grind line that extends from that point down to the right. This mismatch is also a product of not grinding that angle deep enough. Again could've easily been fixed before installing the scales. The difference here is that I could tape up the sides of the riccasso and wash that grind line out by rounding it over or true it up for a minimum of a vast improvement.

There's actually one more issue here but I got another pic to highlight that point.

The checkering looks pretty good though :3:

002-13.jpg


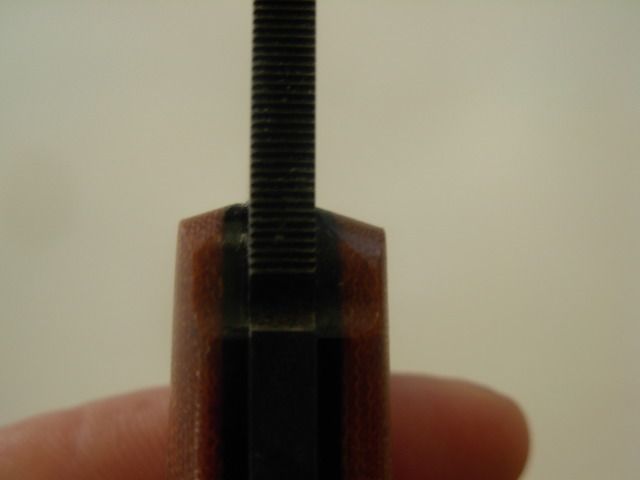
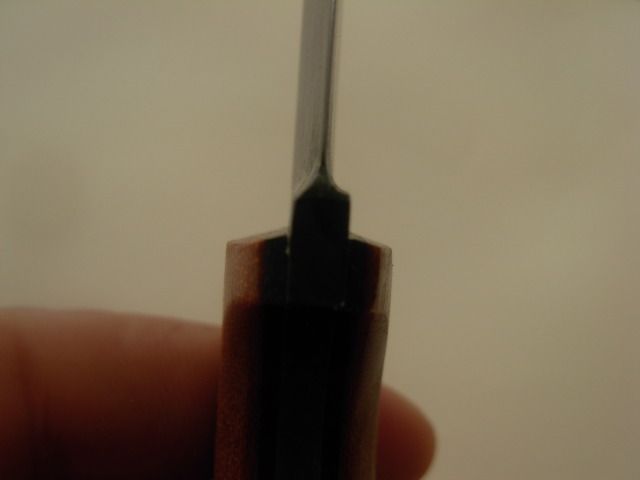
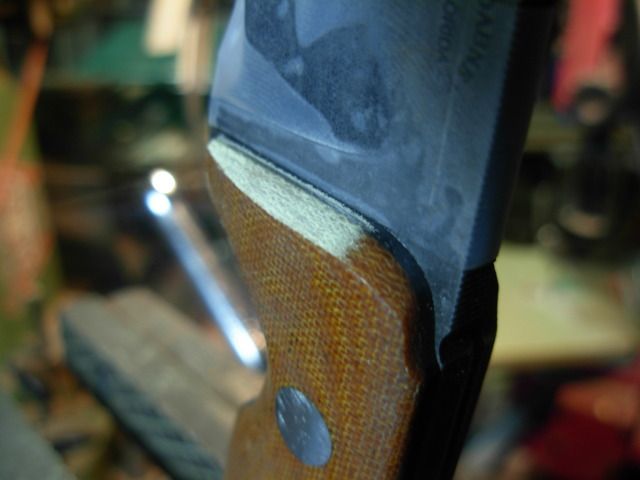
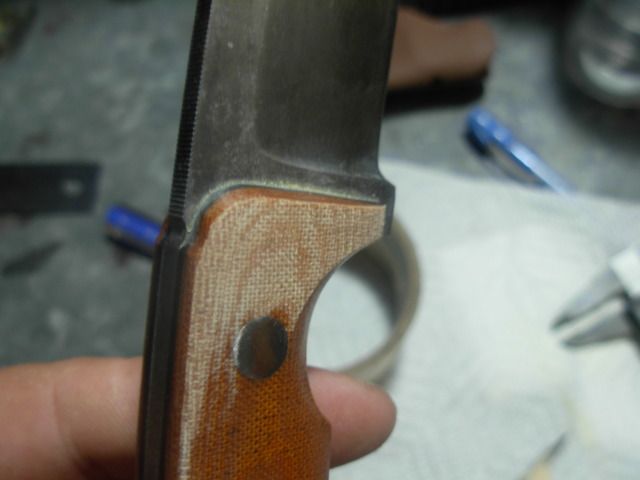
Better pic- This is actually less of an issue because it at least matches on both sides but it was unintensional. When profiling the scales to match the notch area I just barely ever-so-slightly bumped the scale on the belt where the scales were filed to match the notch on the spine. They no longer match :shush:

003-12.jpg


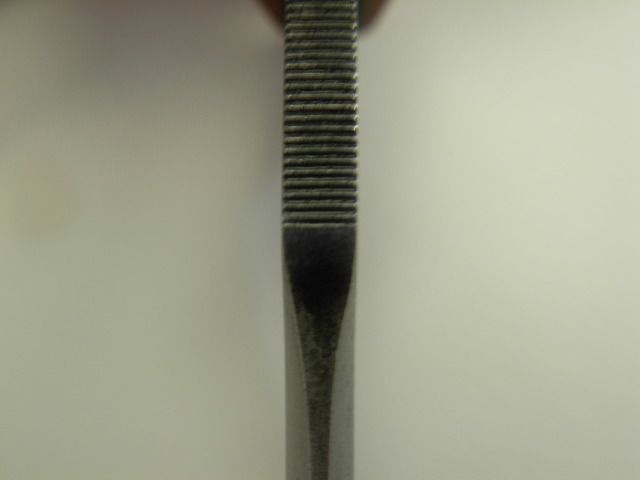
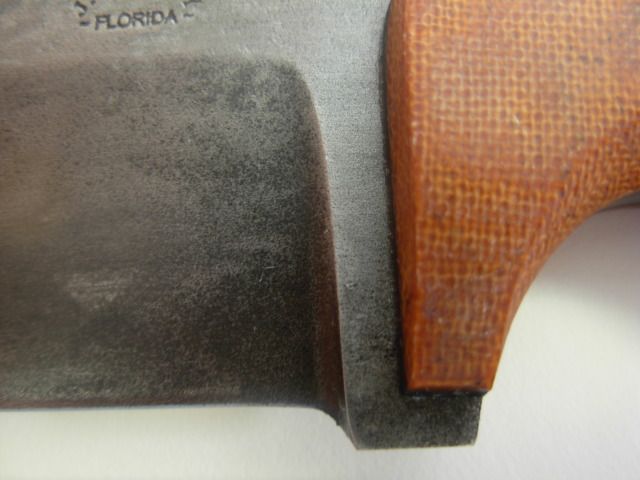
The plunges on this blade are not so hot. I've certainly done better off this same platen. Here you can see the radii don't match and the left side is ground further back than the right. -I will note that the edges of my ceramic glass don't perfectly match making it near impossible to get perfectly matching radii but that something I'm going to be addressing very soon.

004-12.jpg


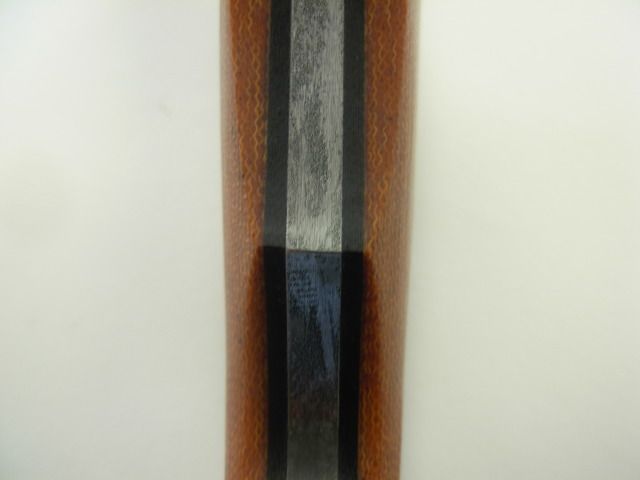
The clip on this knife is EXTREMELY close ! It's however not perfect. in the section on the right side from the jimping to approx half way down the plunge it's just a teeny tiny bit thicker which coulve been sanded out to perfection with more effort.

006-11.jpg


This is a big one that really jumps out at ya. Profiling on the small wheel it can be very difficult to keep the grind perpendicular to the blade. I tend to end up being a little off, then over-correcting, etc etc etc. Sometimes I can nail it but not with consistancy as evidenced here. I'm planning to solve this problem by building a horizontal grinder in the near future.

007-11.jpg


Onto the second knife. Blurry pic but it's still evident that there's more scale material left on top of the liner on that bottom tip of the scales. Could still easily be fixed with some hand sanding. Overall theough I did a MUCH better job of keeping thing's more symetrical especially the plunges and faces of the scales.

009-9.jpg


After the first knife I was on my toes with the notch area. This is what they both should look like

010-9.jpg


Boy the camera sure doesn't forgive mistakes ! The scales match up perfectly to the top corner where the angle rolls around. I obviously didn't roll it around near as far on the left as I did the right :eek:

011-9.jpg


Again the clip is very close but the left side is a weeny bit thicker up where it meets the jimping

013-8.jpg

014-8.jpg


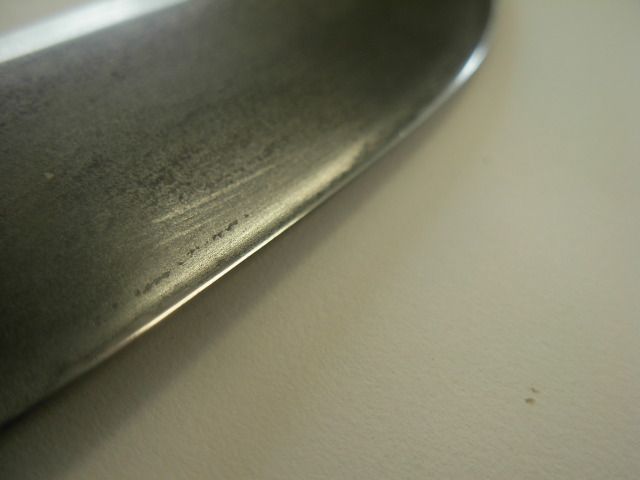
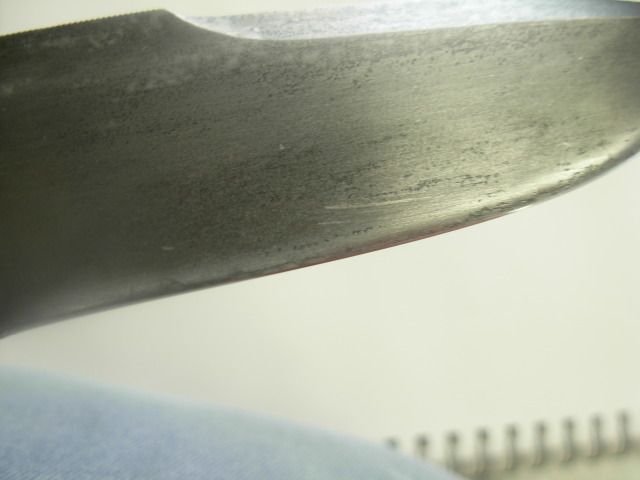
These blades were fairly thin before convexing. One was .019-.017 the other a pretty consistant .0145 which was where I wanted to be with it. I took me some practice with convexing but this shows how I like it. In all the recent pics both knives are sharpened by convexing right to zero then sharpening on a stone and stropping. In the top pic you can see how small the acutal sharpened bevel is with the light bouncing off it. The second pic is same blade same spot but without trying to get the light bouncing of the edge you can hardly even tell it's there and appears to be just convexed without any "micro bevel" Talk about easy an sharpening tough edge. Lovin it !

015-8.jpg

016-8.jpg


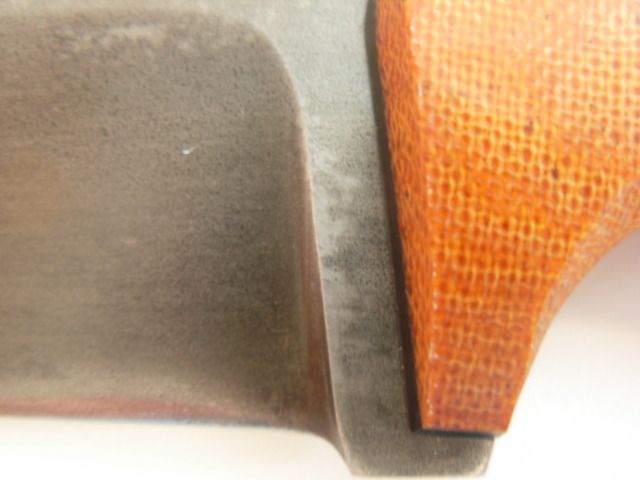
These two pics demonstrate how I washed these to scales out to uneveness with the slack belt. Just look how much "flat" remains to the right side of the back corby. They were pretty much dead even after grinding them to hard lines :(

018-6.jpg


This pic shows the big difference between the sisters. I intended for a plunge even a little more angled than the bottom blade. On one pass I got straigther than the rest of the passes and chewed out the top of the plunge. Only thing to do in this situation is grind both plunges straighter or push them both further back which I didn't want to do. Purely aesthetics but that top girl really lost some of her sex appeal :sad: I do feel pretty confident that someone will still love her though :9: The main thing about this is that the straight plunge isn't what I was after and had this been for a customer being made to my blueprint this plunge error would've meant starting over.

I gotta post up so I can pick my son up from school but there is more.

Take care- Josh :biggrin:
 
020-7.jpg


Close up to show the plunge line (where the radius of the plunge meets the riccasso) It's more of a lazy "s" than a straight line. Notice this is the side ground with the tang in my left hand.

021-6.jpg


Again the left hand ground side of the blade. Fairly straight but take note of the whoop-de-doo just a little above edge height.

022-6.jpg

023-5.jpg


Right handed ground sides much better. I really need to work on my platen. I'm thinking that the sides of the platen are not parallel because no matter what, the plunge left handed is almost perpendicular while the right handed side will end up on an angle where the top of the plunge is closer towards the tip than the bottom. It could be that I just grind cockeyed. LOL. To compensate for this though I'm always squirreling around trying to get my plunge lines to match and end up with the left side buggered up.

024-4.jpg


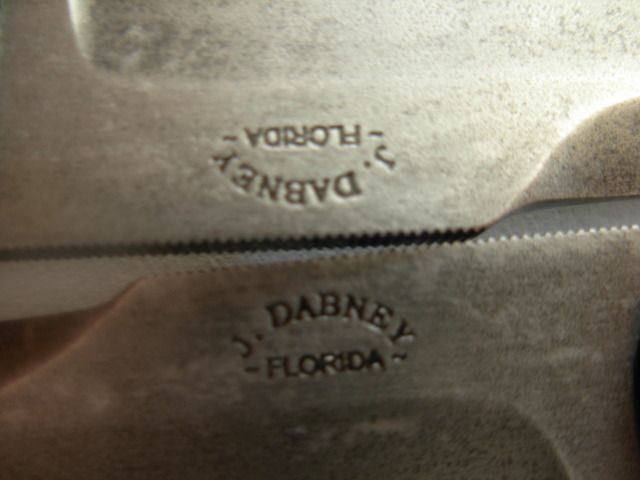
I'm WAY overdue to order some stencils from Ernie Grosspitch. I burned up quite a few learning to use my etcher and this is the resulting mark from the one I have left. Notice the "ORIDA" bleeding together in spots and the center of the A's and a general lack of crispness. For these knives with this finish it's not a big deal to me but for something with a nicer finish this will no longer cut the mustard. I have howere probably etched in the neighborhood of 20 knives with this one stencil so I'd say I got my moneys worth out of it ;)

025-6.jpg

026-4.jpg

027-4.jpg

029-3.jpg

030-4.jpg


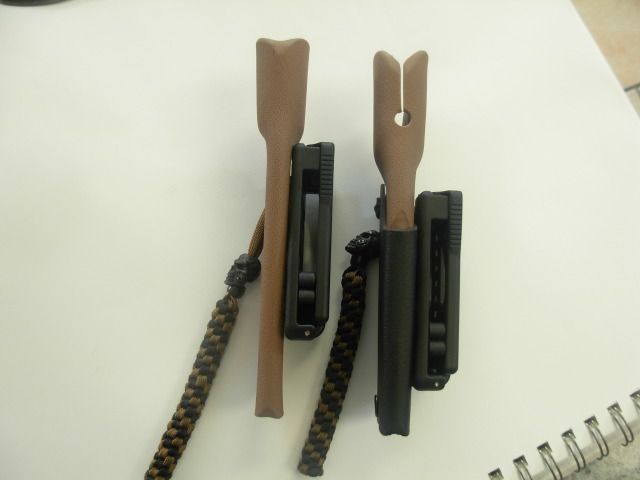
While quite different I think both these sheaths are going to perform just as required- Protect the wearer from being cut, retain the knife under the most rigorous of circumstances, and allow quick access to the knife at a moments notice.

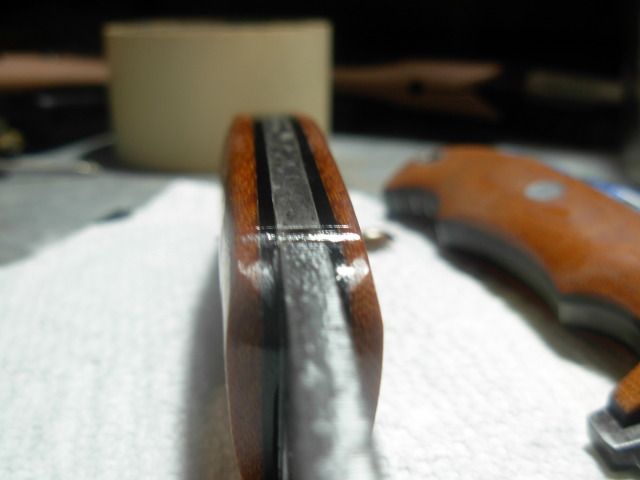
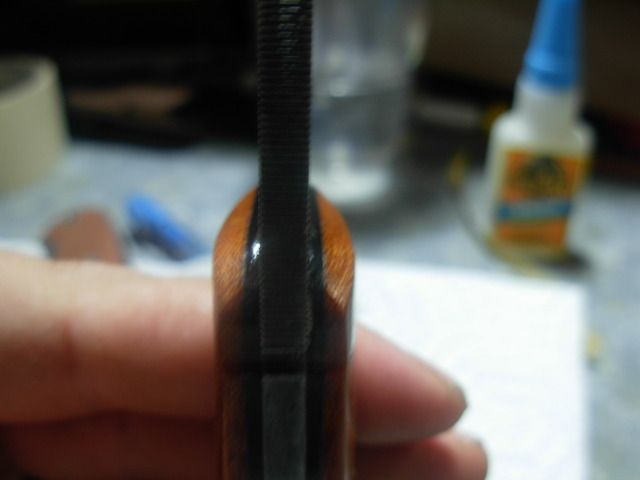
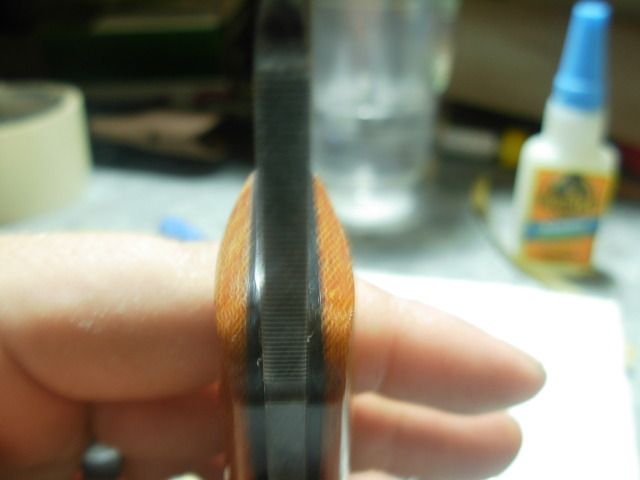
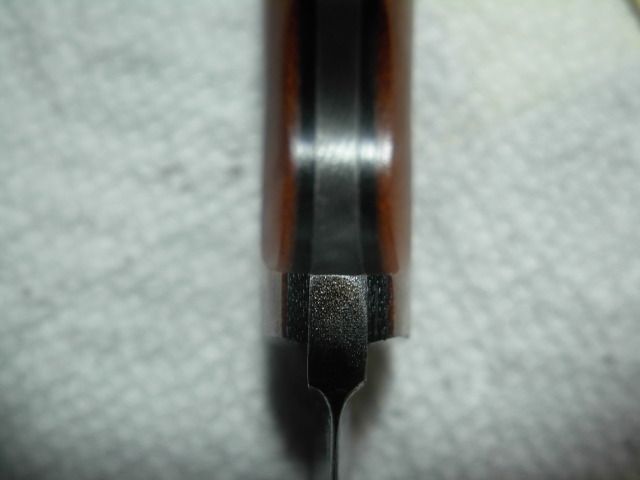
The final little section here is just a description of how to accurately check your plunges and grinds for symmetry-

031-3.jpg


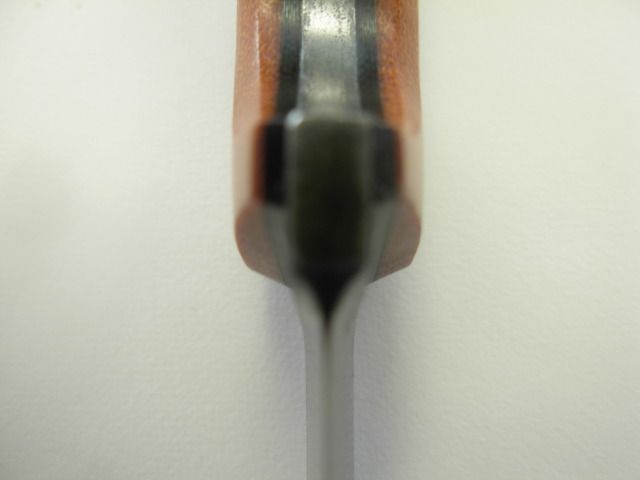
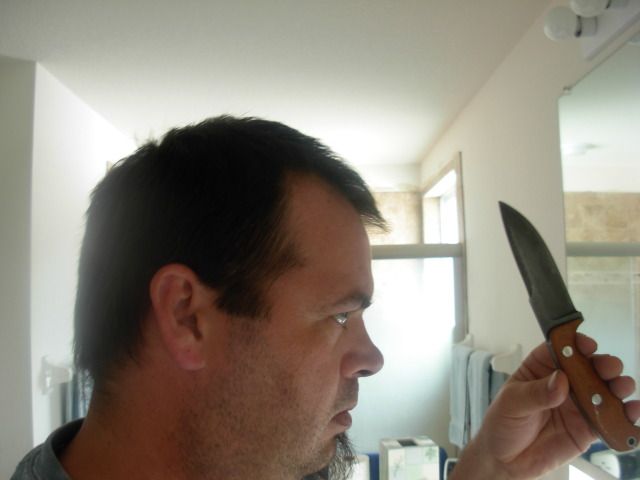
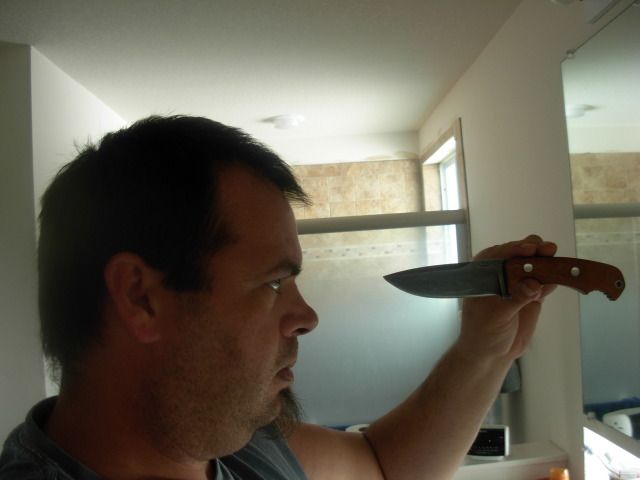
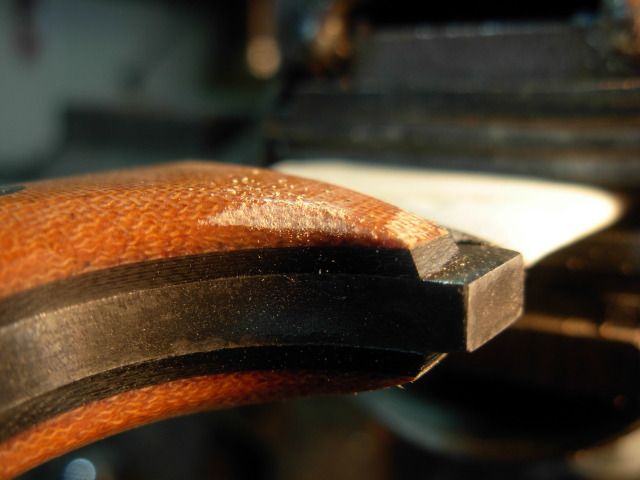
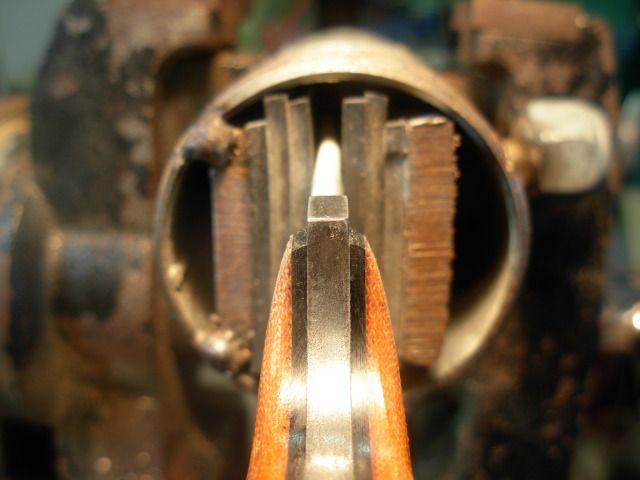
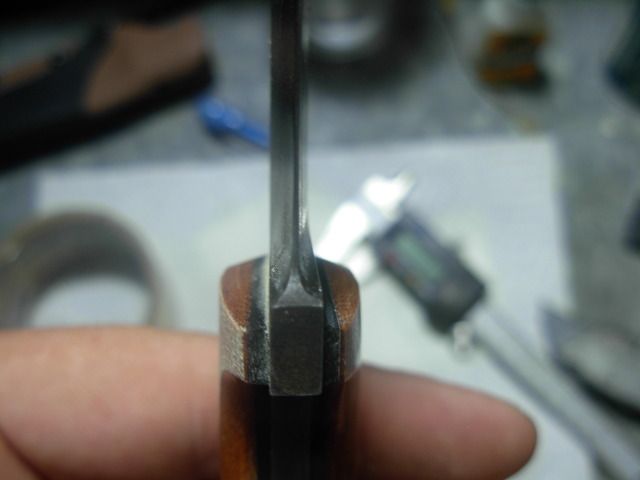
Viewing the plunge lines themselves. Line the blade up looking directly at the edge side of the blade directly between your eyes and the plunge lines parallel with the ground. Many different things will attempt to gain the focus of your eyes but it helps to have a clean backround with nothing in view to catch your attension. To get both sides of the blade into view you need to stare out past each side of the blade without focusing on any specific point. Sounds a little wierd but it does allow you to see both sides of the blade simultaniously

033-2.jpg


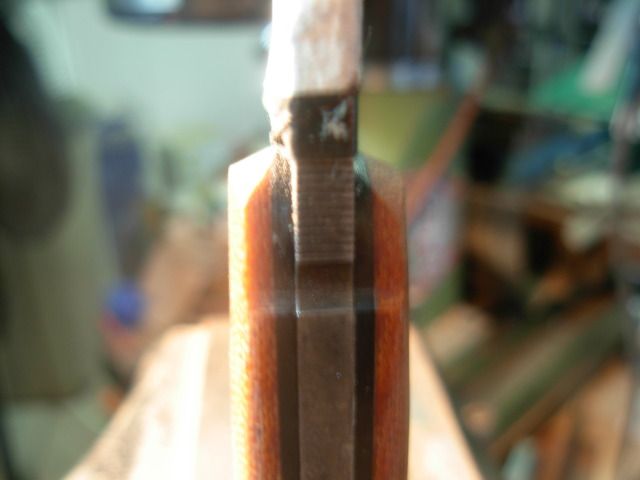
To view the radii of the plunges I find it helpful to look at the spine side of the blade. This eliminates the edge, convex, and bottom of the riccaso/guard from being distractions to the eye.

035-3.jpg


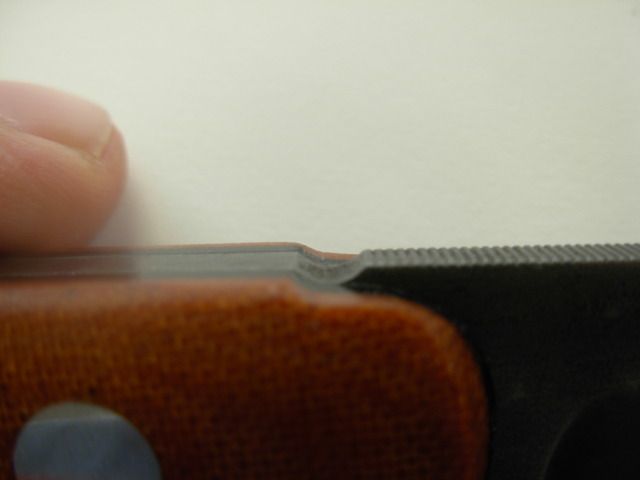
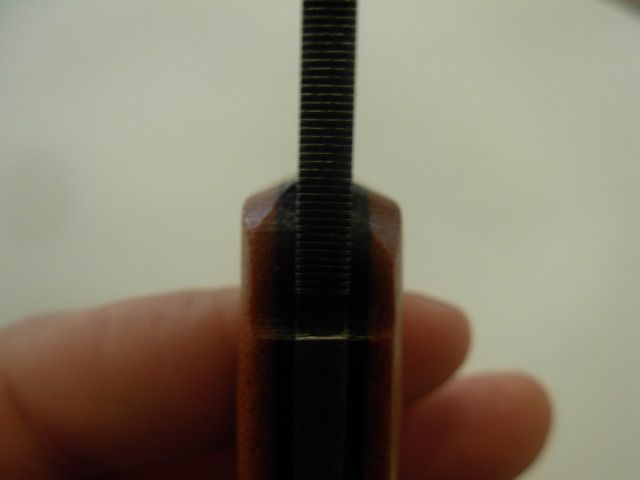
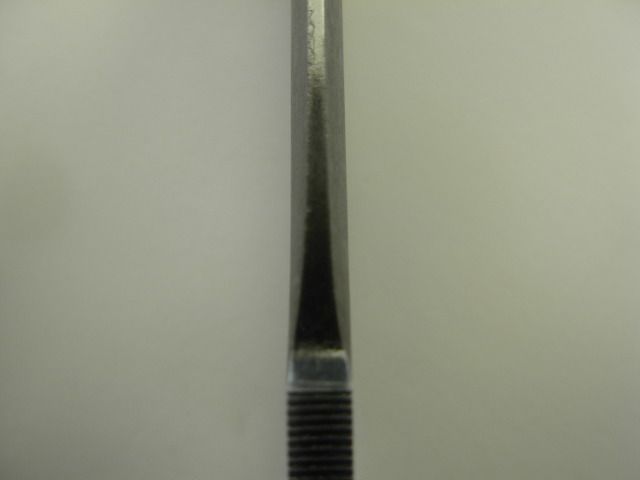
And finally to view your grind lines, bevel or clip, allign the blade like this looking down both sides of the blade in the same manner.

I use these viewing techniques not only with finished knives but all the time throughout grinding a blade.
 
Josh we all should be are worst critic, but not obsessive LOL, those are two great blades for two great soldiers.
And one great wip that i am sure everyone learned from, you should be ubber proud of them both and send them off to prom without worry!!! lol Great job!!!!!!!!!!!!!
 
Thats a pretty great WIP Josh. Thank You. I am gonna give mine the critical eye when im finished and make some notes. Im sure i will be always chasing the perfect knife but i think thats why i have intrest in knifemaking. That and i cant afford fancy knives to engrave on.
 
Don't worry fellas, I'm not beating myself up over the flaws. The most important thing is that I know they're there. I've made these ladies and own EVERYTHING about them, both good and bad.

I certainly could send the knives to prom as-is but I honestly wouldn't be doing myself any favors by doing that. I'll share with you guys something a Mastersmith once told me- "being a Mastersmith ISN'T not making mistakes, it's knowing how to fix them when they happen" A profound statement and one that has stuck with me.

Knifemaking is practice ! I looked at these knives as an oppertunity to practice from the beginning. I ground them out freehand for pactice. I could've used the work rest or some type of jig or fixture to assist in keeping my grind lines in better shape. Could've filed in plunges or used a file guide on the tang to help with placement of the plunges. Could've built a clip grinding work rest. Absolutely nothing wrong with any of these things I just wanted to practice my freehand skills. Really I could've chose an easier grind like a full height flat grind with no swedge and trued up my plunges on the horizontal platen and most likely ended up with a near perfectly ground blade.

For me personally it's not always about what I COULD do to attain perfection but more about working on my grinding skills. When it doesn't come out perfect (which it NEVER does, lol) it's part of the process of learning and advancing my own skill in the direction I want to. With every knife I get to a point where I have to forgive it (and myself) for it's flaws and call it done. I personally reach this point when the risk of screwing something up out weighs the benefit of fixing the flaw in question. Of course there have been times when the flaw is unacceptable and the risk of damage to the work that's good is too great and this situation is when handles get taken off and started over from scratch or a guard gets pitched. Thankfully those scenarios happen less and less with more experience but they have happened.

Conventional wisdom is to rough the handle in and finish it up with files, rasps, sandpaper, and blood sweat and tears. This IS the way to do it when seeking the best end result possible. With these two I challenged myself to go the other way and do as much as possible at the grinder. Aside from blending in the radius that joins the profile and the side of the handle there's very little hand work on these handles. Again I went this direction on purpose to work on my grinding and shaping skills with the grinder. Doing this helps me see where I'm at and what exactly I should do by hand and what I can pull of with my grinder-fu.

Again I could just let these knives go but there are some things I can fix so I'm going to fix them. If for no other reason than to practice fixing mistakes :)


Thanks for the comments guys !

-Josh :)
 
Got the house in order early for the big birthay bash. Daughter's 2 on the 6th and son's turning 4 the 11th but the dual party is tomorrow. Boy how the time flies ! Ended up having a bit of shop time despite party prep so off we go to fixing up these scales

007-12.jpg


These little tips were uneven on both knives so I started there with my favorite simmons black diamond file. I'll be cutting both sides just down flush with the liner material.


008-12.jpg


Compare this pic with the previous one to see just how far off they were.

010-10.jpg


Here I'm using an 1/8" round file to true up the "finger groove cut" on the top scale

011-10.jpg


Rough filed to shape

012-9.jpg


Mismatched radii

013-9.jpg


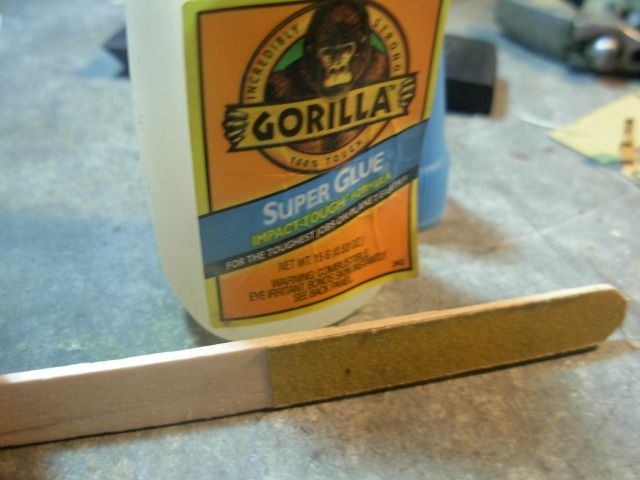
I don't wanna use an actual file for this area so instead I made a 220grit safe edge file to reshape the top of the face of the scale.

014-9.jpg


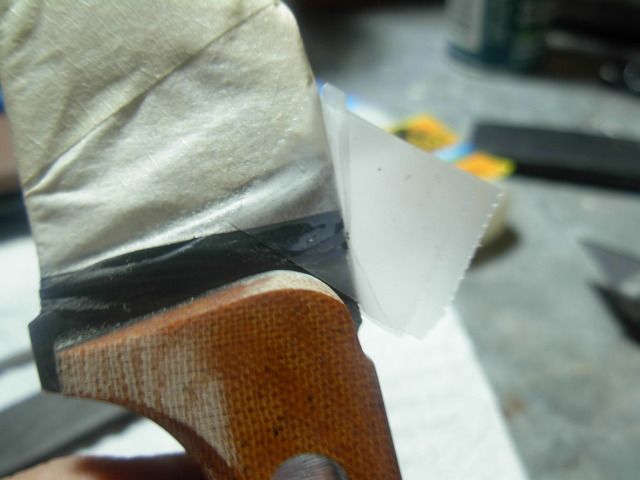
Taped up the riccasso with electrical tape for protection and have the side of the craft stick riding up against the tape

017-7.jpg

015-9.jpg


Cerainly far from perfection but one heck of alot better than it was !


018-7.jpg


Clean all my file work up to 220

019-7.jpg


Headed to the buffer for a light touch-up buff. A word of caution here - Buffers are DANGEROUS tools ! Anything being buffed can instantly become a high speed projectile. These knives are nearly complete and hair poppin sharp & the last thing I want is to have a sharpened knife flying anywhere. Especially my leg or gut !!!!!
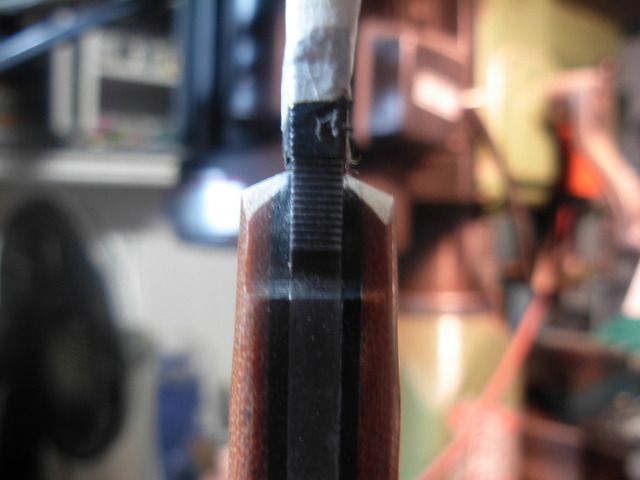
That said, if your unfimiliar with buffers and their "safe" operation buying one and just having at it is a bad idea. It would be FAR wiser to find a nearby EXPERIENCED maker and ask them to show you the ropes. End of mandatory sermon :3:

020-8.jpg


Onto knife number two. Boy this one needed alot more work than the first, LOL. I needed to take the entire left face down a bit until the angle meets the riccasso. I don't want to change the angle just make it deeper

021-7.jpg


One thing that was REALLY throwing off the symmetry of these scales was the fact that from the front corby forward one scale was significantly thicker than the other. A bit of shaping with the file trued thing up

022-7.jpg


Sand at 220 to prepare for buffing

023-6.jpg


Here the left side is still abit thicker than the right. When filing I had the left side poited up facing my light while the right side was down in the shadow. This is why it's important to go in small steps and check things out. This was actually a good place to stop filing the thick side and switch to paper to get that last little bit


Here's how we look now after the tune-up
024-5.jpg

025-7.jpg

026-5.jpg

028-5.jpg

031-4.jpg

032-4.jpg


A couple hours of work on the girls and I'm MUCH happier with them ! Far from perfection (the ultimate goal) but greatly improved.

Always remember- The Devil's in the details.
Aside from all the details about how I went about making these ladies there are some overlying lessons that can be learned from this wip.

-It's always FAR less work to do it right the first time. (the final result is usually better also)

-Get caught up in one task and overlook another and you've got to pay the Piper !

-It's not over till it's over ! Stick with it until the END.

-Most important of all- Have one helluva lot of fun making knives !


Almost forgot to mention- I ordered the longer rivets and some foam to build a kydex press.

:s12205:

It's been a real fun WIP fellas ! Thanks alot for hangin out.

I guess It's about time I should get ahold of the recipients huh. Hopefully I can get them to take pics to post here but either way I'll update once the ladies and their shoes are delivered.

Take care everybody and please feel free to drop me a line anytime !

-Josh :biggrin:
 
GREAT tutorial and WIP, Josh!!

wish i read it before finishing the last knife lol

thanks for sharing,i know i'll probably be coming back to it again soon!
 
Josh, The knives look awesome! Great WIP. Thanks for sharing I felt like I was in the shop with ya for some of the WIP!! made for a very informative and entertaining read!
 
I know this is an old thread but I'm new so they are all new to me : ) . I thought this one was worth a bump and wanted to say thanks! Lots of great info here.
 
No problem Eddie.

In case you haven't run across it yet check out the Master List thread. It's a sticky in the WIP forum.

-Josh
 
No problem Eddie.

In case you haven't run across it yet check out the Master List thread. It's a sticky in the WIP forum.

-Josh

Yikes - how am I ever gonna find time to read all those LOL. Thanks I hadn't seen the master list. I have read through several WIP's already though, and have to say this is easy in the top 3 of the ones I've read (the other 2 contenders being a slip joint WIP and a lock back WIP).

BTW - thanks to you I have a warped blade clamped in angle iron at this very moment. I think I corrected some of warp in a kitchen chopper using this technique. That's how I found your WIP, searching for threads on warping. I have my own WIP of sorts in the newbie's area with some pics. Its just my 2nd knife to fully finish, so its there more for me to get feedback than to help others though.
 
Where the heck have I been? This was an AMAZING WIP! Josh and you are an amazing knife maker! Great explaining and your detail to making us all understand is top notch ! Thank you for a great tutorial ! Im always learning and picking up tips while I watch you ..

Thank You and great job brutha !
 
Back
Top