Hometown Hero build ~WIP~

It's been a GREAT weekend fellas ! :biggrin:

Everything went according to plan other than not getting into the shop on Saturday. Spent the day at the range friday having a fantastic time making bang bang and the fresh AR build functioned without as much as a hiccup. 100% reliable thus far. Ran some rounds through my 1911 and really enjoyed trying out a CZ P-01, an old H&R .22 derringer, and chewed the bull out of a sillouette and put about 20 center mass head shots in with a Kimber Custom Shop compact .45 . What a fine shooting pistol !!!

I did remember to snap a pic of my rifles for those of us who are gun nutz.

Ruger 10/22- Modded factory stock, Clark fluted bull barrel, and some action goodies
AR- Bravo Company Stainless Match grade 16" mid length upper, BCM M16 bolt, YHM Todd Jarrett free float forearm. Magpul MOE grip and stock in OD Green. PSA tube, spring, buffer, and LPK, and OD green P-mags. Optic is a $32 tasco from walmart. Leaning towars an EoTech eventually with a Troy BUIS.
003-9.jpg

001-9.jpg

002-9.jpg


-Josh
 
Rockin AR content outta the way lets embark on a lengthy journey of Dabney handle shaping theory and practice.

Knifemakers SHOULD be asking themselves. What IS a knife ? What IS this knife I'm making to ME ?

Is it-
A Ultilitartian tool and nothing more ?
A generic tool for the masses ?
A specialized tool for a specific task ?
An art knife ?
A fantasy knife ?
A workhorse ?
A safe queen ?
A historical representation ?
A modern representaion ?

How should it LOOK ?
How should it FEEL ?
How will it be used ?
Who's gonna use it ?

For every maker there is an opinion, everybody's got one. Even for makers who may think deeply about their knives and ask these questions of themselves they come up with their own combination of answers that take them in the direction they go.

Now we're to the point where our scales are attatched and profiled to match the tang. This is the point in the process where the answers to the above questions will to a great extent determine the 3-dimentional shape of the handle material.

A great knifemaker recently made an analogy between knives and cars. A simple post but a profound one. What draws your attension to a specific car ? What lines ? What shape ? What makes it attractive to YOU ?

I've often seen folks say something along the lines of - The hand can adapt to many different shapes. True, But all to often it seems an excuse to justify a flat shapeless handle with rounded over edges. This type of handle work is very common with newer makers and they'll always recieve the critique- Handle's too "blocky" Can the hand adapt- Sure. Does it feel wonerful- probably not, does it evoke emotion- nope, does it beg to pe picked up and felt- nope, is it pleasing to the eye- Naaa, it's just there.

What do we wanna build ? A Yugo, Honda Element, 84 chevy pick-up, early 70's Corvette, Cadillac CTS, Infinity M, Ferrari , Lambourgini, nova, chevette, etc etc etc...

Each knife handle is a small adveture and this blank not bing something that's my typical style I put some serois though into the shape of this handle.

Thats the end of Dabney handle shape theory 101 :3:
 
Moving on to shaping in practice we start by going to the bandsaw and cutting off the stubs of the corby bolts
004-9.jpg


One of my personal goals is to get the right side of the knife as close as a mirror image to the left side as possible. Since we're dealing with scales that are equal thickness we can use calipers to scribe scribe some reference lines on the scale to assist in keeping things equal
005-9.jpg


I'm planning for a slight palm swell in shaping the handle so I got a comfortable grip and marked the scale where the thickest part of handle should be
006-8.jpg


Now I used a square to tranfer the mark to the opposite scale
007-8.jpg


I've had issues in the past with tape causing me problems with oxidization on the blade so my current method of protecting the blade while shaping the handle is too wrap with a paper towel then tape over that with a couple layers of masking tape.
008-8.jpg


I started grinding with my 36 grit but as you can see it's finally getting too worn to grind without scortching
009-6.jpg


I switched to the last 80 grit I used for grinding bevels and scortching problem solved. Right now I'm grinding a flat taper from my scribed lines to the thickest part of the handle
010-6.jpg


In the interest of keeping things symetrical I have much better luck grinding in "hard lines" with the flat platen as opposed to just going at it with a slack belt. It's FAR easier to tell if these "hard lines" are symetrical than eyeballing the soft contours created by the slack belt
Here we are with the intial taper ground
011-6.jpg

012-5.jpg


Now I scribed lines on the butt end and I'm going to use the 10" contact wheel to grind the scales similar to the sharpie line
014-5.jpg


Here we are getting very close to where I wanna be.
015-5.jpg


Instead of a just a straight plunge into the scales with the wheel it's kinda carved in using the wheel. You can see how I "rotated" the grind keeping with the radius of the corby
016-6.jpg


Again, grinding in these "hard lines" we can keep thigs very close to even
017-4.jpg


Now I switched from the 10" contact wheel to the 1" small wheel to begin contouring the finger grooves
018-4.jpg

019-4.jpg


An overview shot to show our progress
020-5.jpg


Now that I've got my hard lines ground in I'm going to switch from the 80 grit I've been using to a 1" 220 grit slack belt to contour the hard lines. In case there's any newbies reading who don't know how to split a belt here's how to do it. Use a razor knife to cut through the splice in the belt
021-4.jpg


Then pull the two sides apart until it's all the way around and you now have two 1" wide belts. This one split pretty cleanly but sometime you'll have some "strings" loose on the torn edge. When I get that I'll throw the belt on the grinder and peel those loose strings off until they're gone.
022-4.jpg


I'm posting up and take 5 but more comming shortly :3:
 
Last edited:
Using the 1" belt allows me to get into the small radius of the finger grooves and smooth things over. I also adjust the belt tension according to what exactly I want to accomplish. I started out with it very tight to grind in the domed shape from top to bottom then loosened the belt up to smooth everything over. This is off the 1" 220 belt
023-3.jpg

024-2.jpg


The top scale in this pic is ground to "hard lines" while the bottom is also contour ground
025-4.jpg


Now that I've got the first side contour ground at 220 and know exactly where I need to end up on side 2 I threw the platen and the 80 grit back on to remove some bulk on side 2. I'm guessing this saved me about 20 minutes on the 220 slack belt
026-2.jpg

027-2.jpg


Notice the flat ground from the top of the corby to the edge. Getting my dome shap with the 220 will be very quick now
028-2.jpg


Still thinning it down on the 80
029-1.jpg

030-2.jpg


Back to the 220 to smooth up side 2 and even things up
031-1.jpg

032-1.jpg


Now we're rough ground to 220 and pretty much finished with machine work on the scales. There's still a bit of detail work to do but it'll be done hand sanding instead of with the grinder.

Before continuing with the scales though we need to get our lanyard tube installed. First step is to cut a countersink on the lanyard tube hole
033.jpg


Maybe this step in necessary and maybe not but I cut my pins and tubing a little long on the bandsaw then grind it to final length and bevel the outside and inside edge. I know I'll be grinding some of the tubing off anyway but for a couple minutes of prep I feel doing it this way gives me the best chance for success. Off the bandsaw
034.jpg


Ready for install
035-1.jpg


I start with a little drop of super glue in the hole. Put the tube in and spin it around to spread out the glue. I only use the glue to seal out water not because it's needed to hold the tubing in place.
036-1.jpg


Get the tube through the handle with an equal amount sticking out both sides, insert the #2 wood screws and squeeze in the vise.
037-1.jpg


The initial squeeze flip squeeze got the tube flared pretty tight everywhere but one spot. To get that spot flared tight pull the handle over to an angle and hold it there while squeezing.
038-1.jpg


That helped but I'm still a little concerned that I'll end up with a visible gap between the tube and scale in that one spot so I put one ball peen in the vise to use as a peening anvil and then peened the flare down using another ball peen.
039-1.jpg

040-1.jpg

041-1.jpg


Tubing installed and ground near flush with an 80 slack belt then finsished up with the 220. You can see the tubing is slightly out of round because of the peening but it's better IMO than a gap around the tubing somewhere. Of course this trouble could easily be solved by getting matching flaring dies and countersink but this is the PoBoy method :3:
042-1.jpg

043-1.jpg


Tubing is installed so now we're ready to hand sand the handle so I though I'd throw up a pic of my homebrew knifemakers vise. I think the pipe was about $6 and everything else I had laying around. It's uglier than homemade sin but it works like a charm. My bench vise has a pipe vise on the bottom so I just clamp it in there which works great. It swivels 360 and adjusts to any angle.
044-1.jpg


Hand sanded at 220 using a hard backed block over the pins and tube, cork backed block or shoe shine technique everywhere else to tune things up abit. Followed handsanding up with a light buff with white compund
047-1.jpg

048-1.jpg

049-1.jpg

050-1.jpg


Just needs a sheath and sharpened and it's a knife fellas. What do y'all think ?

-Josh
 
Josh, Great WIP.. and the knife looks awesome. I love your breakdown and descriptions.. Thanks for taking the time to post this!! :)
 
Thanks Josh, it has been fun and informative going through this build with you. The knife turned out great, and the narrative superb. You did a great job all around!
 
Appreciate the comments fellas !

We are however FAR from finished :biggrin:

Getting knife #1 to this point is a major milestone in Operation Hometown Hero but there's ALOT left to do. I'll be working on catching #2 up this week and won't bother with process pics of that since we already covered it but will continue the WIP as we proceed from there.

What do we have left ?
Bend some Kydex sheaths and install TechLoks
Make lanyards- Should be a hoot cuz I've never made one but figure if little girls on youtube can do it I should be able to figure it out.
And with sheaths done and knives sharpened we'll do a thorough examination of the final product to provide us with a critical and severe "self critique" As makers if we aim to improve our product we must find all imperfections and ask ourselves- Why did this happen & how can I do it better next time. I think some of you will get a real kick outta of me nitpicking my own work to death. BE YOUR OWN WORST CRITIC ! It will help you improve :)

-Josh
 
Great thread!! The poor-man's tube flaring technique is pure genius as well as your vise so I'm stealing both ideas if you don't mind.
My table saw fence is made of 3" square steel stock that is about 3/8" thick, so I can tap directly into it from four sides which should allow me to mount the blank both horizontally and vertically.
 
Firecog-

Glad you're enjoying the WIP. The tube flaring technique does work great especially if your working on a handle that has flat and parallel scales. While I'd love to take credit for the idea it actually came from a tutorial from 3 years back or so. One of my projects that I haven't got to yet is making a set of custom vise jaws for the bench vise with some custom features. One of the features will be a set of matching holes in each jaw to hold a pair of these-
http://www.usaknifemaker.com/tube-flaring-dies-for-fastening-handles-p-2969.html

Of course I'll probably make the dies but they'll be just like this. With this eventual set-up I wont have to fool around with putting the screws in the tube and holding them while getting lined up in the vise. Also the dies will be hardened so the tubing wont mar them up.

There's about a million way to make a knifemakers vise. They are also available from several sources commercially.
Here's a tutorial for making a vice -
http://www.knifedogs.com/showthread.php?2294-Knifemakers-Vise-Tutorial

Of course Boss carries these in two styles-
http://www.usaknifemaker.com/knife-vise-swivel-base-p-1715.html
http://www.usaknifemaker.com/knife-vise-tab-base-p-1716.html

And Uncle Al at Riverside Machine also has some-
http://www.riversidemachine.net/item15834.ctlg

Take care- Josh
 
Outstanding WIP, my friend! Your attention to detail always shows in your finished knives and I think its great that you share your thought processes and reasons for doing things a certain way. Thank you for taking the time and caring.
 
Awsome Josh
You now i was watchining. The whole wip was good i think anyone would gleen something from it, two thumbs up, and a big thankyou with the pancake sheath!!!!!!
 
Thanks guys !

I finished out the handle on knife 1 for a reason also. I did that so I'd have some time to play with it and see if anything needed changing on #2.

I'm very pleased with the contour and thickness of the scales on #1 so I'm going dulicate those aspects as close as possible.

The balance point of #1 is VERY slightly forward of the rear edge of the front corby bolt, or a little towards the back of the index finger. This may quite possibly be nit-picking a very minute detail but I aim to move the balance point forward 1/16" to 3/32" ideally.

What I want is for this knife to balance on the front finger perfectly without a tendancy to tip towards the blade or back towards the butt. If this balance point is achieved I believe we'll have a blade that feels near weightless and morphs into a natural extension of the hand without need for a death grip.

Even #1 is very easily flippable between standard grip and reverse grip and back without a tendancy for the knife to get away from you but we should shoot for knife balance nirrvana. I'd also like to mention that one thing I was a little concerned with the starting profile was handle length. I would've stated flatly off the bat that another 1/4" of handle would've been my preference but I have to sheepishly admit that it's about perfect as is. Pinching the sides of the scales with the thumb and middle finger from a standard grip allows the butt to swing right between the thumb and index finger and "roll" right into a reverse grip. Much more handle and this wouldn't work out so well so I gotta give some Mad Props to Randy on his design work !!!!! And tell Y'all to watch out for that guy cuz there's definately some Mad Genious lurking in there :)

Back to the point at hand though. I wanna adjust my balance forward a touch so how do we go about that ?

-Add weight to the blade side- Blade's already HT-ed and ground so we're not going this route on this knife. (I could however take weight away from the blade side in several ways- add some distal taper, grind the clip thinner, or grind the clip further down the blade come to mind)

-What I need to do here is take some weight off the handle side. Since I'm quite happy with handle on #1 I dont wanna go thinner with my scales or change the entire shape of the contour. Being a sketonized tang already I dont wanna taper or otherwise remove any steel from the tang either.

I do however have plenty of real estate and scale thickness to work with on the underside of the scales so I decided to mill pockets in the scales. Not being a crack machinist I scribed around the cutout in the tang to get my bearings so I could get the pockets very close to the same on the left and right side.

Reducing the overall weight of the knife isn't my goal so I want to do what will have the greatest effect on balance while removing the smallest amount of material which is why I put the pockets in the rearmost cutout as opposed to the front one. The furthest away from the actual balance point you remove (or add) material the greater impact on changing the balance. It's easy to think about it like this. Hypothetically if I drilled hole exactly on the balance point all the way through the handle did I change the balance point at all ? No because I removed an equal amount of weight from both sides of the original balance point. I did however remove a good bit of weight from the knife overall

That was alot of typing to say I milled pockets under the scales to move the balance forward a little but a complete explanation never hurts ;) Just want to add that I milled the pockets .060 deep so I basically just milled out some of the liner material.

001-10.jpg


Take care fellas ! Josh
 
KDBuild2lr.jpg

My 5 are almost done. I just need to sharpen them and make the sheaths. I decided to mix them up a bit. The first two are the supplied handle materials and cold blue. The third one has a mustard patina. The fourth one has a black Gun Coat coating and plastic/nylon cammo handle. Number four is a brushed finish with black Micarta.

Sorry Josh, I didn't mean to step on your thread. I thought was a general work in progress thread and it won't let me delete my post.
 
Last edited:
Mike,

Great looking steel ! Going to be 5 VERY pleased soldiers soon.

I'm really liking the looks of the camo handle material could you tell us a little more about it ?

I nearly went to the dark side and tried out some dura-cote on these knives but just couldn't bring myself to do it.


No need at all to delete your post ! We're all here to enjoy knives so the more the merrier. Always have enjoyed your blades anyway :biggrin:

Take care- Josh
 
The cammo handle is some material I picked up at the 2010 Blade Show. It think it was from Texas Knifemaker Supply but I am not sure. It is some kind of synthetic. It works like the polymer materials I have used but it seems a little tougher.
 
Not alot to report. I did however get #2 caught up with #1 and made my very first lanyard.

Used Black and Coyote tan para cord for the lanyard to tie in the colors of the liners, tek loc, and kydex. I didn't snap any pics while making the lanyard but I used this tutorial to help me figure it out-

http://www.lighthound.com/Square-Weave-Paracord-Lanyard_ep_40-1.html

The tutorial says to finish the lanyard- trim the cord 1/2" and melt the ends to lock them in. I found this to be WAY too much length to melt and would recommend about 1/8". Other than large blobs of melty stuff at the ends the lanyard came out fine and was pretty easy to make.

I used two 4' lengths of cord and braided 17 rows for a length of 3 1/4". At $0.12 a foot it only cost me $0.96 to make this lanyard. A nice addition to the knife for less than a buck.

I also picked up 2 Black Oxide skull with rose beads from Boss with the supplies I got for this build. I wanted the Black Oxide finish and these were the only ones in stock when I ordered. I was a little apprehensive about $7.65 beads but these things are totally sick. As soon I as I opened it I thought " oh these beads were SO worth it "
http://www.usaknifemaker.com/rose-skull-pewter-black-oxide-finish-p-2774.html

I plan to be doing some sheathmaking tomorrow but here's a couple quick shots of this weeks progress-
001-11.jpg

002-10.jpg


Take care fellas- Josh
 
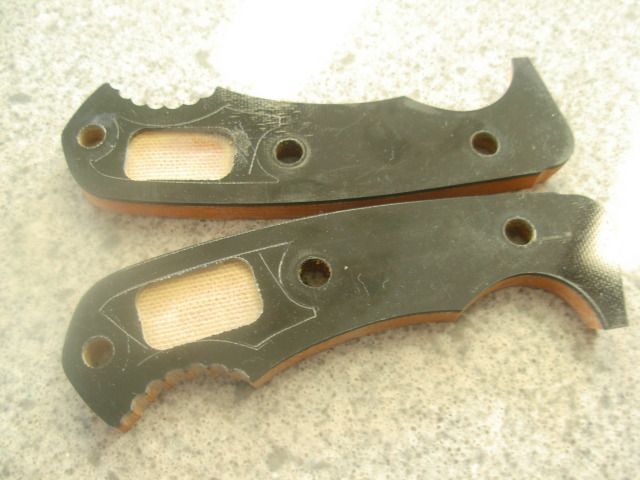
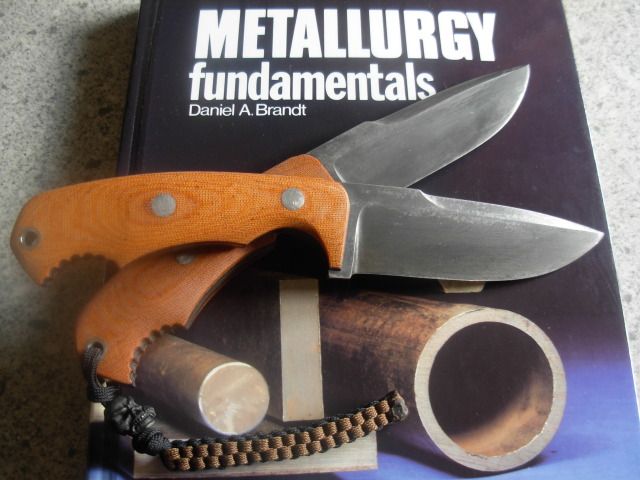
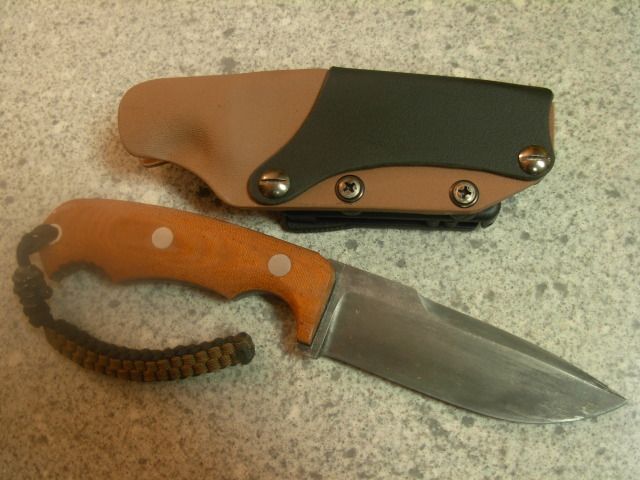
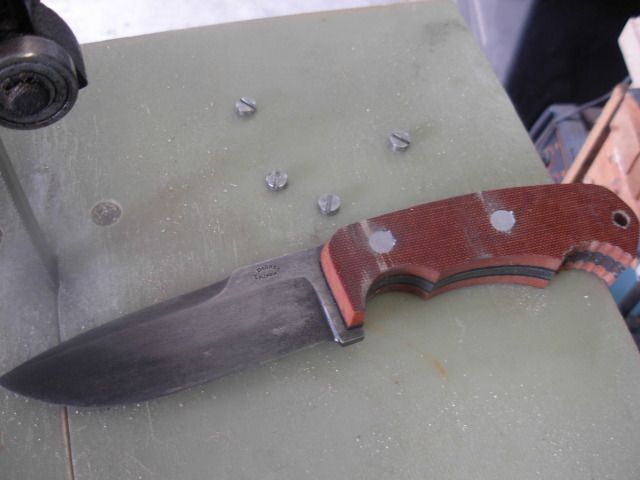
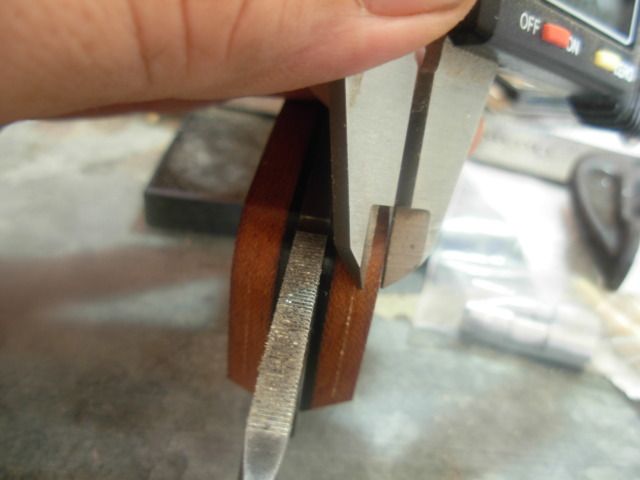
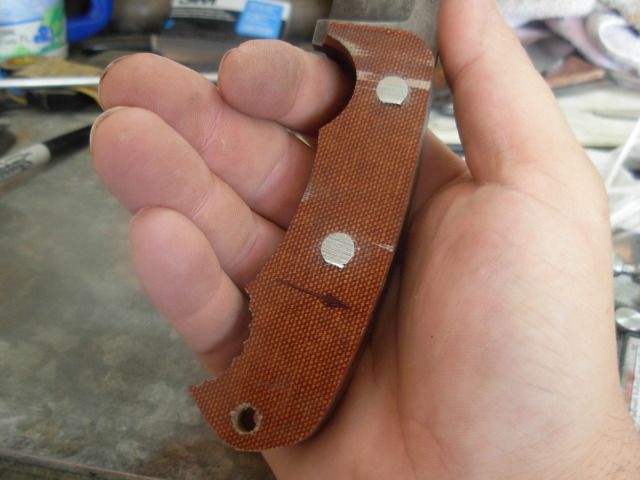
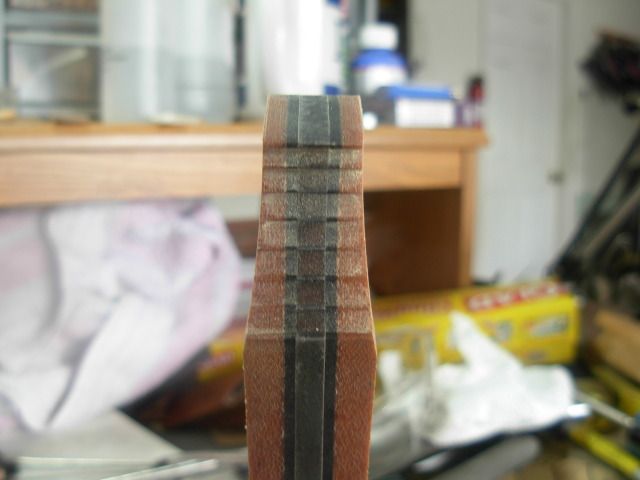
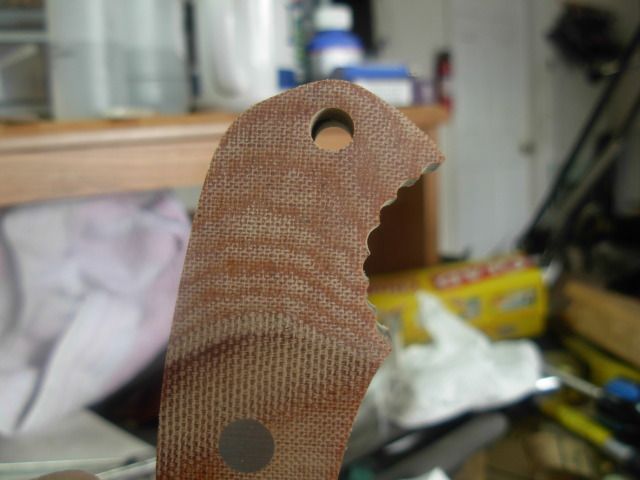
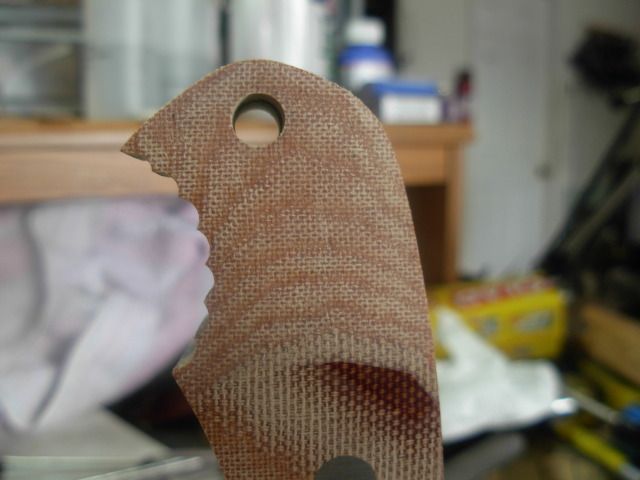
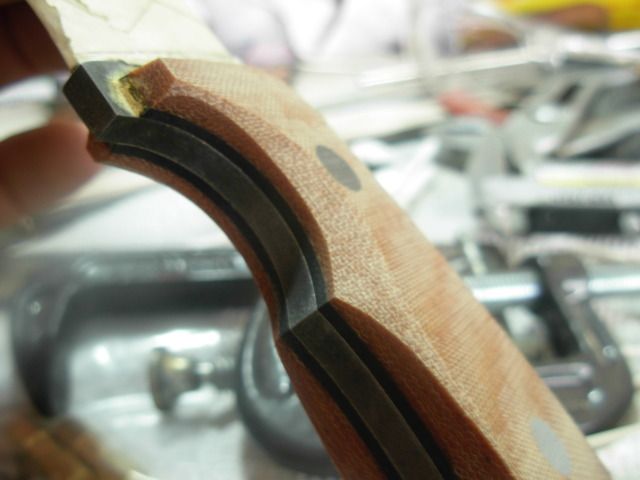
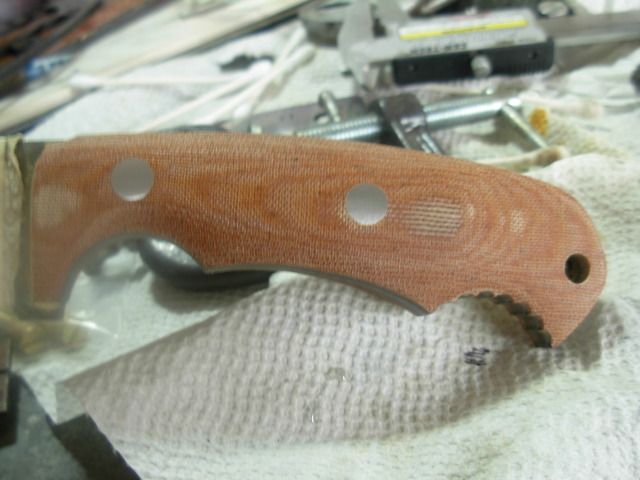
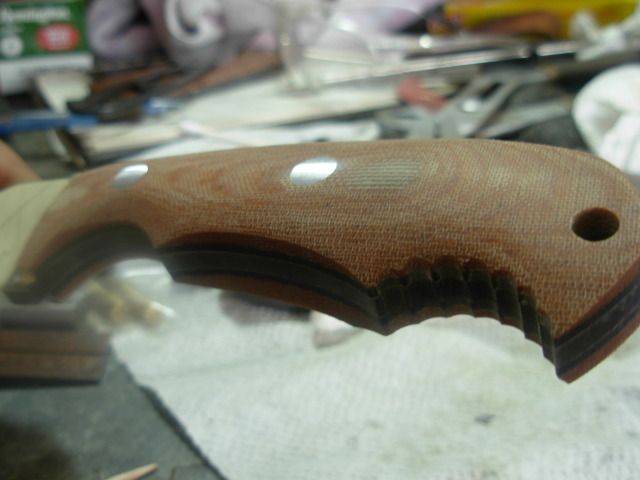
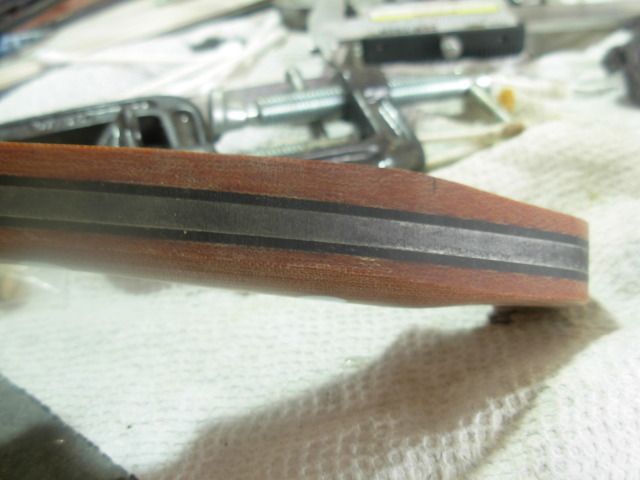
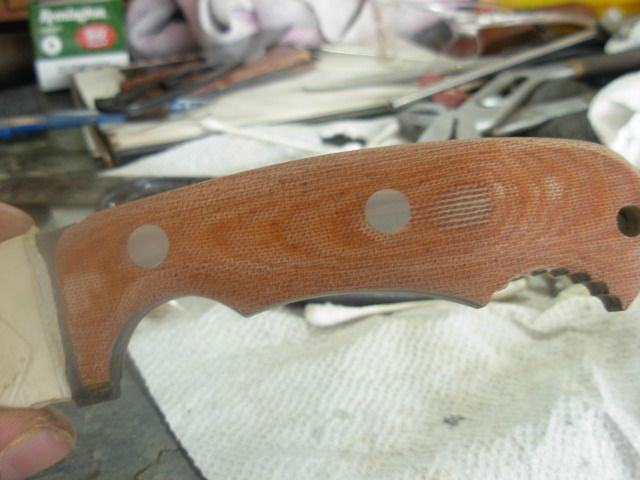
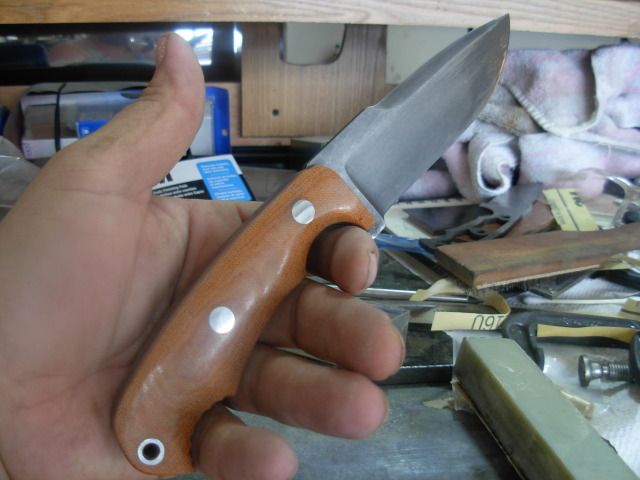
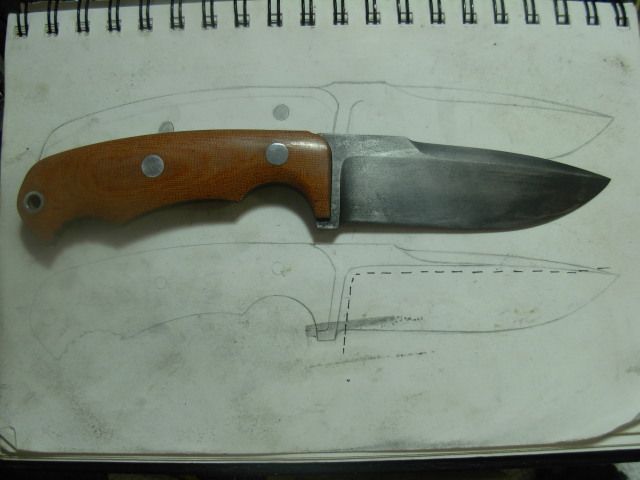
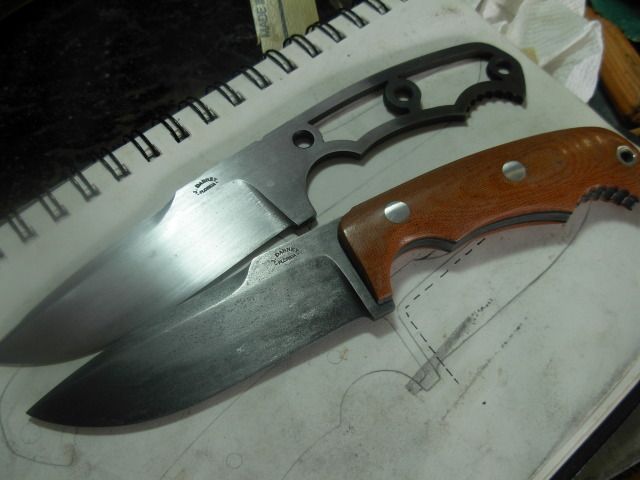
Our girls here are ready for some brand new Kydex shoes. Like shoes, a perfectly fitting and functional sheath will seemingly go un-noticed by the person wearing it while a loose fitting one will rattle, rub, and wear blisters where ya don't want them.

While I've made some Kydex sheaths I'm certainly no master of it so it always involves some adjustments along with a little experimentation. I actually found a little time last night to begin this adventure in Kydex so lets get started.

I've tryed a couple times at making a foldover style sheath but never have got a result I was satisfied with. What I dont really like about the two piece kydex sheaths I've made before is the extra bulkiness in the width of the sheath with the necessary rivets on the spine side of the blade. As a result I'm going with a foldover style here and come hell or high water I'll get them made with a great fit.

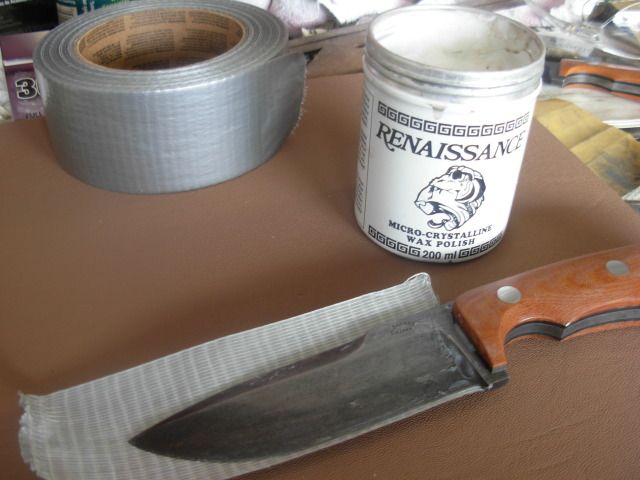
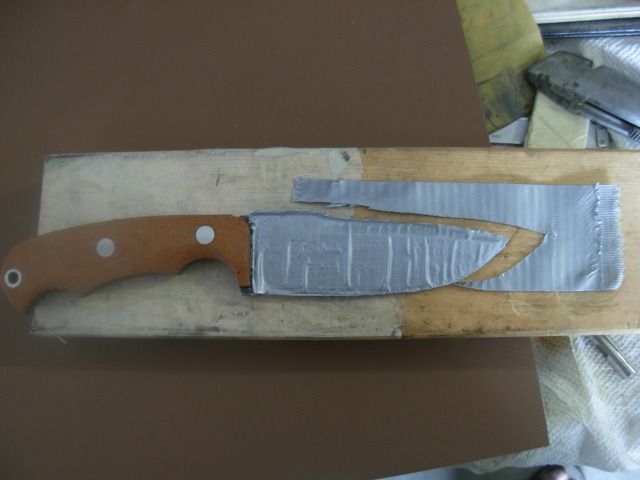
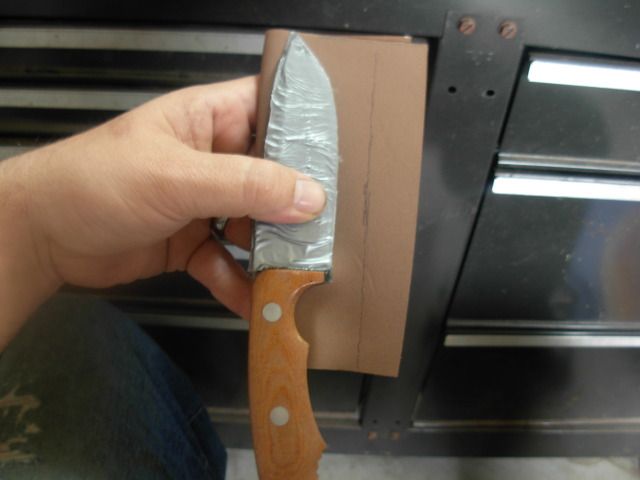
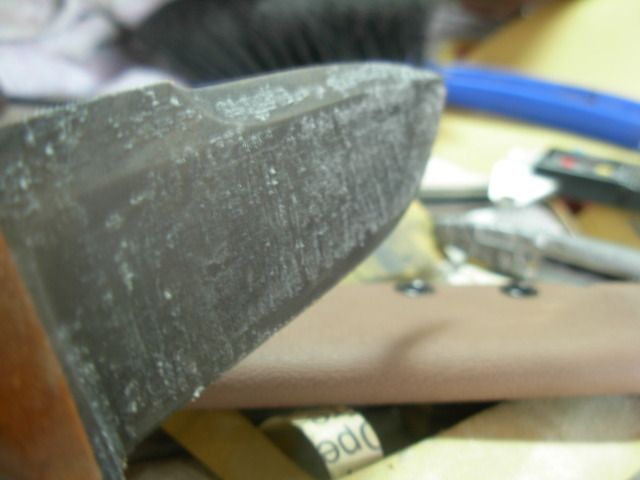
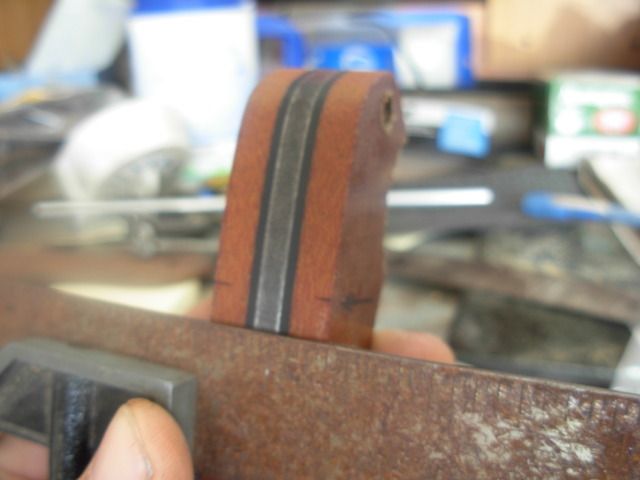
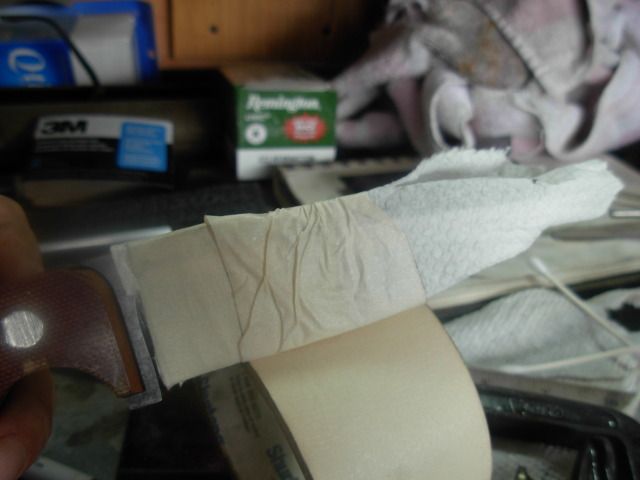
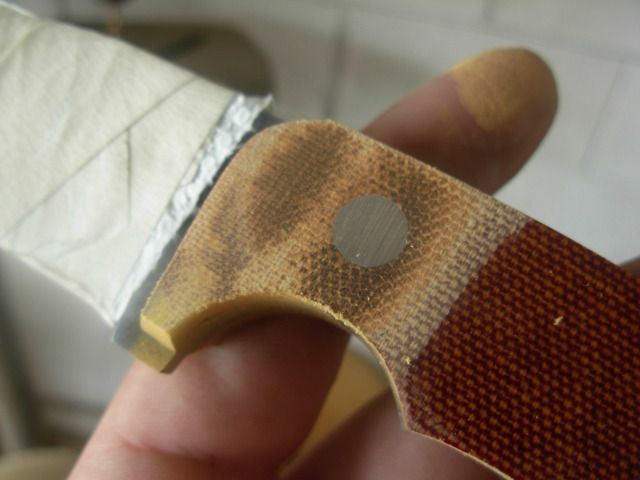
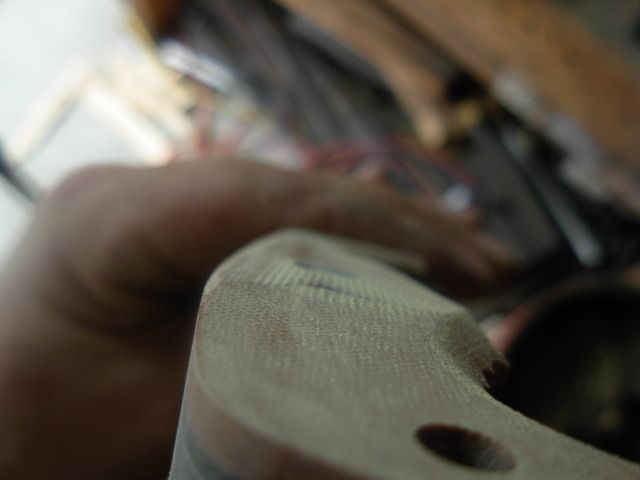
First step is to prep the blade with a single layer of duct tape on each side of the blade. Cleaning the adhesive off the blade is always a pain so as an experiment I first put a heavy coat of Ren wax on the blade hoping for easier clean-up
001-12.jpg


Trim tape to the blade profile
002-11.jpg


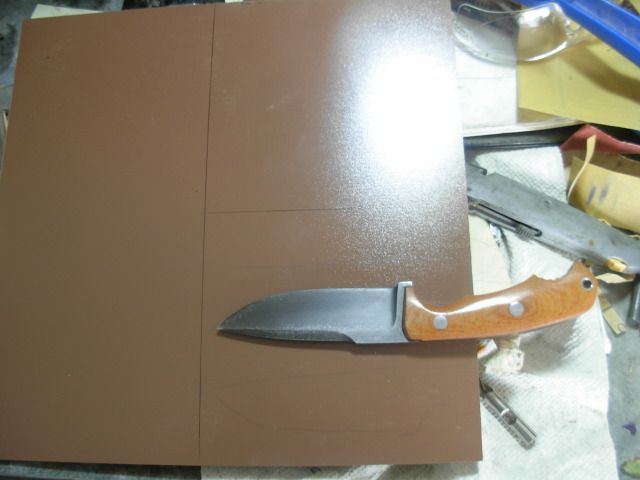
Now we need to layout our sheath body. Lay you knife on the back side of the kydex where you want it leaving yourself plenty of extra material on the "welt" I like at least 1/2" PAST my finished size so I can grind the sheath to final shape. Trace around it with a pencil then roll the knife around the spine side and trace again
-As it works out for this sheath I'm close to half my sheet's width so I Layed it out the height I wanted and just split the width of the sheet in two
003-10.jpg


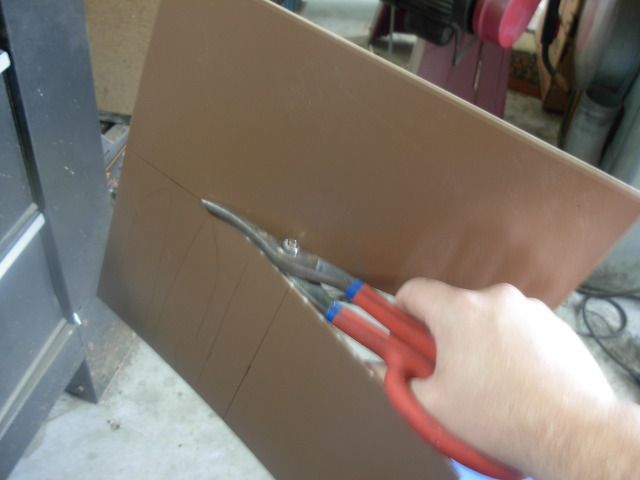
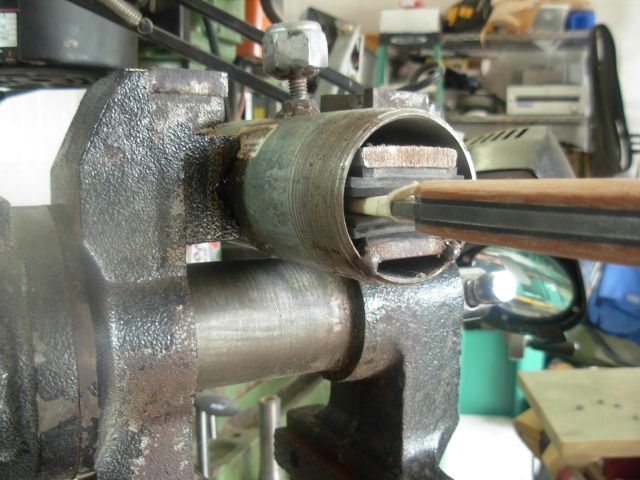
The throat on my 4x6 bandsaw isn't nearly big enough to make this cut so I just use these Weiss tin snips for my initial cut.
004-10.jpg


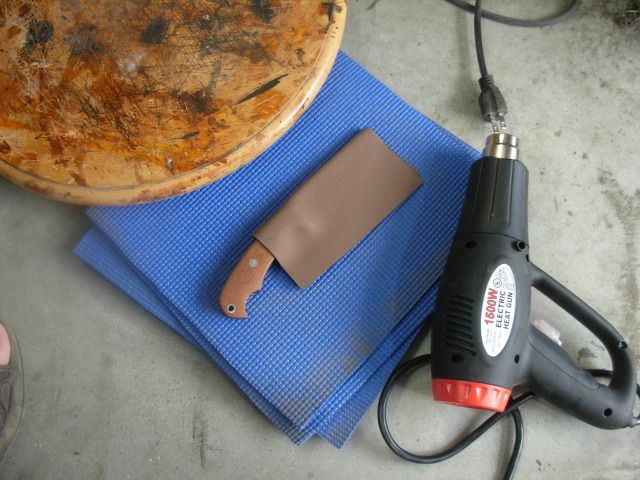
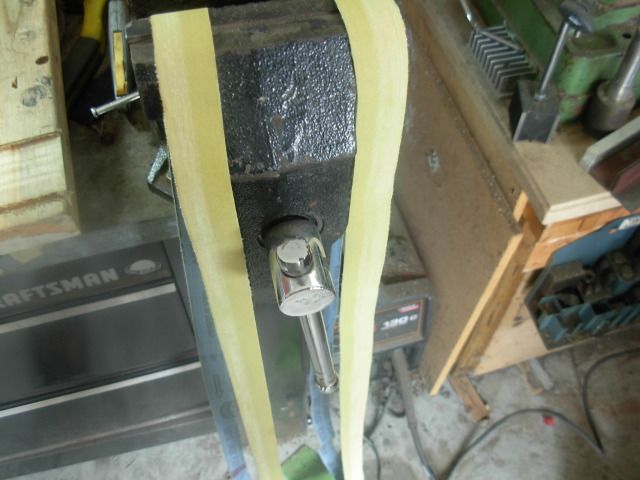
Now we're ready to press our sheath body. I prefer to use my heat gun to soften the Kydex. I throw a glove on my left hand and hold the piece by the corner then heat with the gun on high and cover the sheet using a circular motion just like waxing a car. Go over the first side then flip and do the same on the back. Keep at it with the heat and flipping back and forth until the Kydex softens and will no longer hold it's flat shape. It doesn't take too much practice to get a feel for how hot to get the kydex.

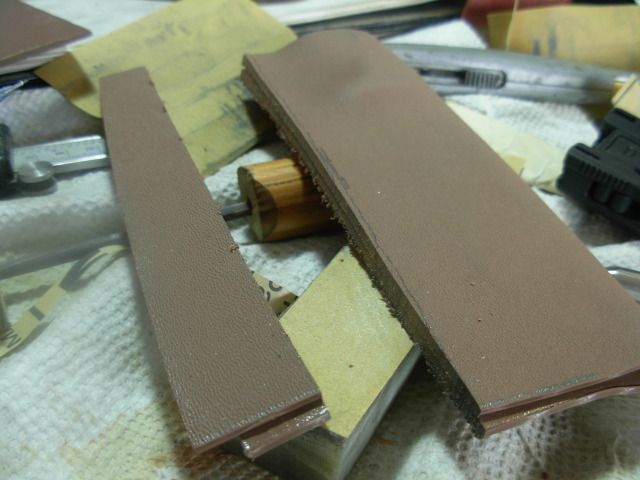
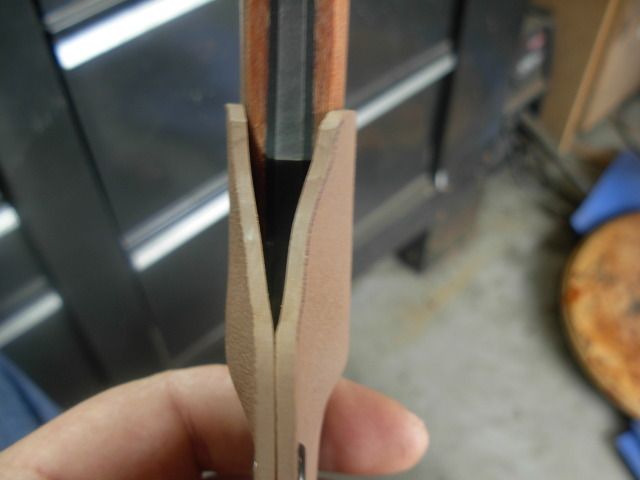
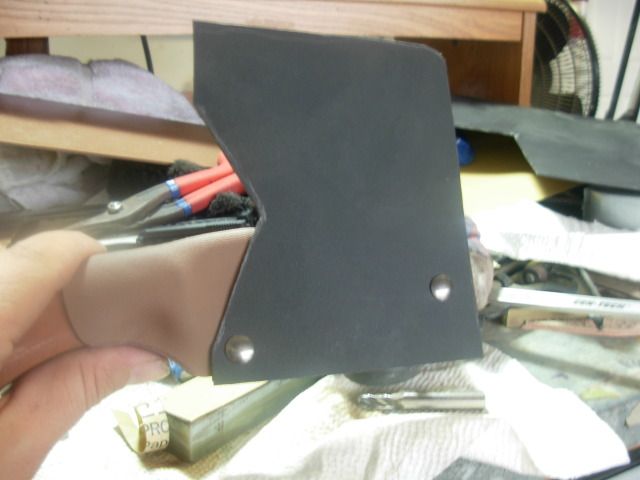
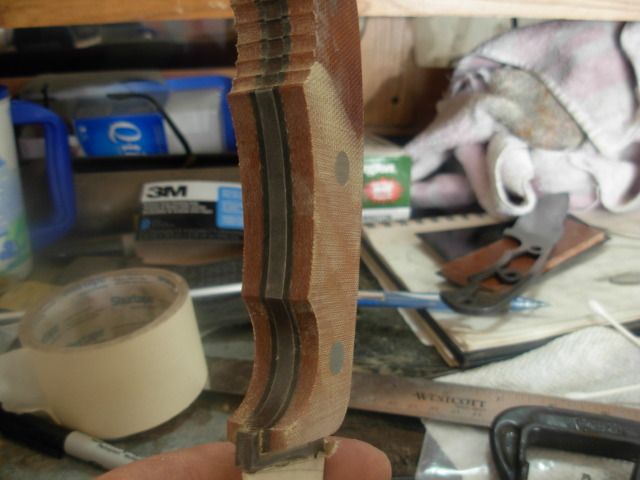
Now it's ready to press. Fold the sheet around the knife and sandwich between the foam then place my cutting board on top and stand on it for a couple minutes to end up with this-
005-10.jpg


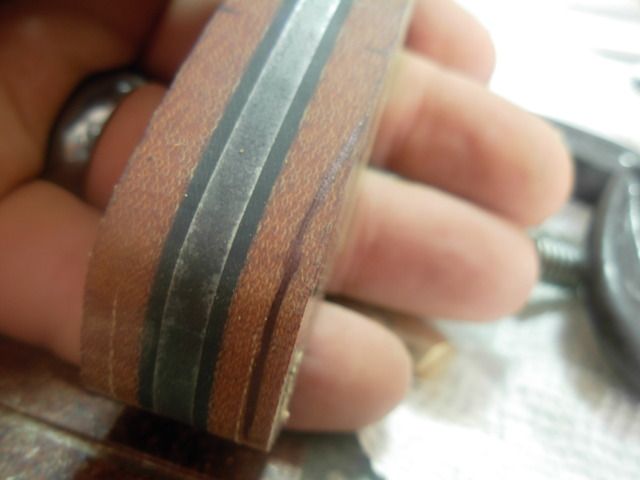
Now I just wanna trim some bulk off the welt to make it easier to work with. Line it up, mark it, bandsaw it-
006-9.jpg

007-9.jpg


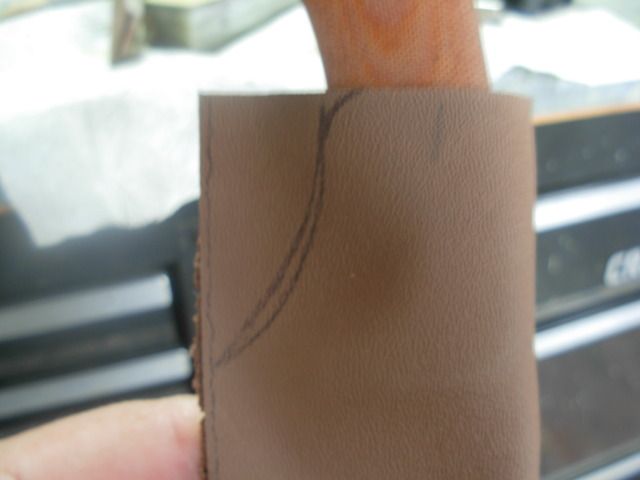
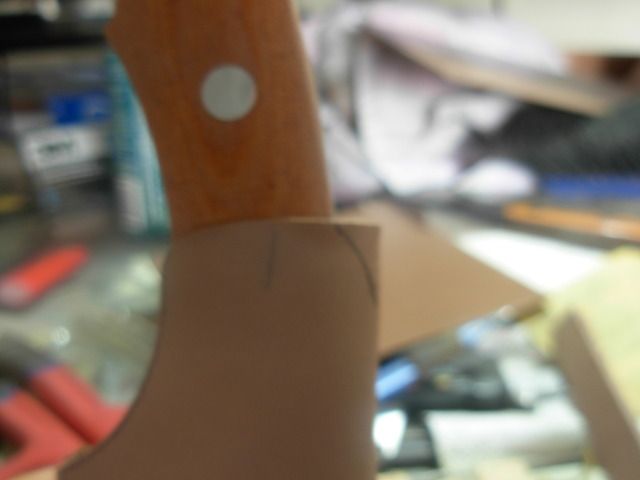
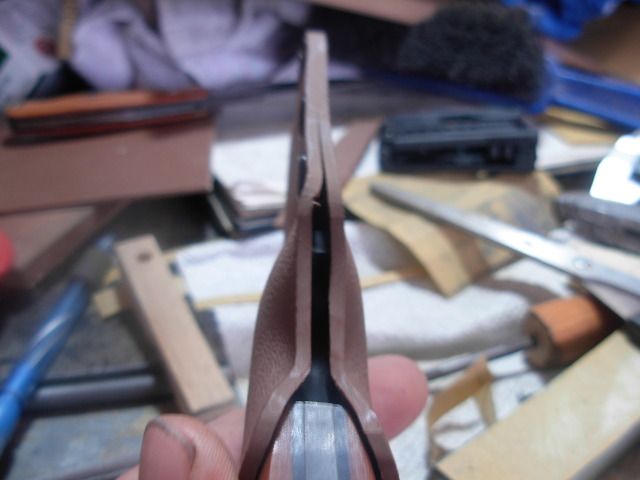
Now I wanna tune the shape of the mouth of the sheath to match the flow of the handle
008-9.jpg


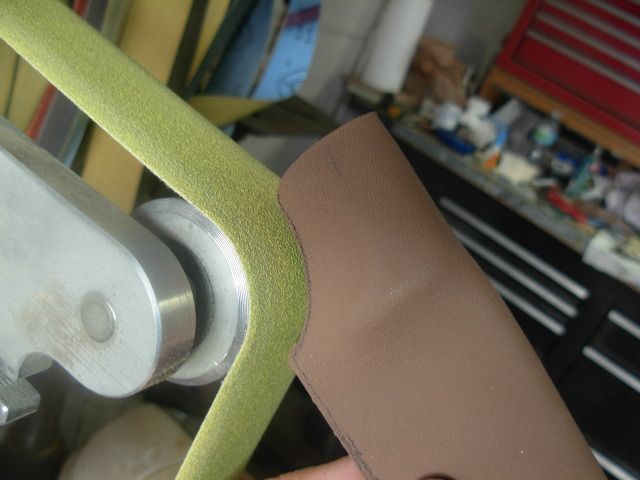
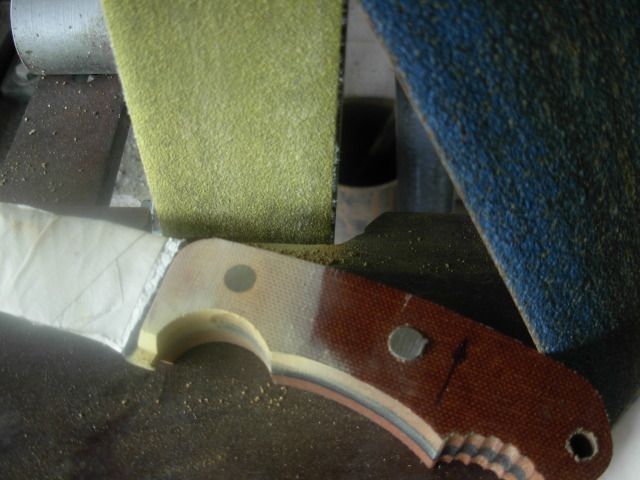
Grind it in with an 80 grit
009-7.jpg


Round over that back edge with the slack belt and mark a radius on the front
010-7.jpg


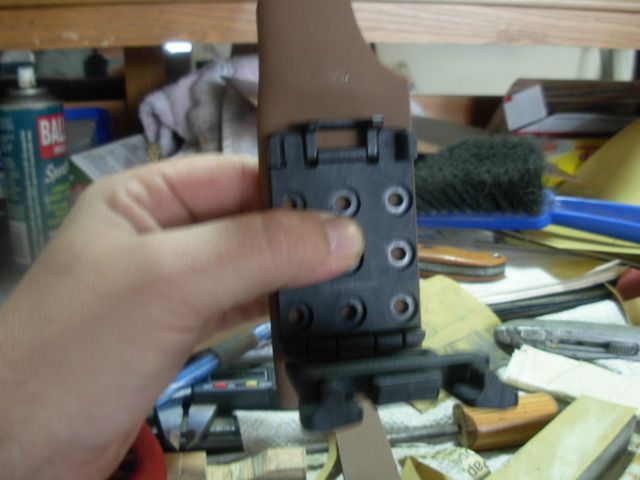
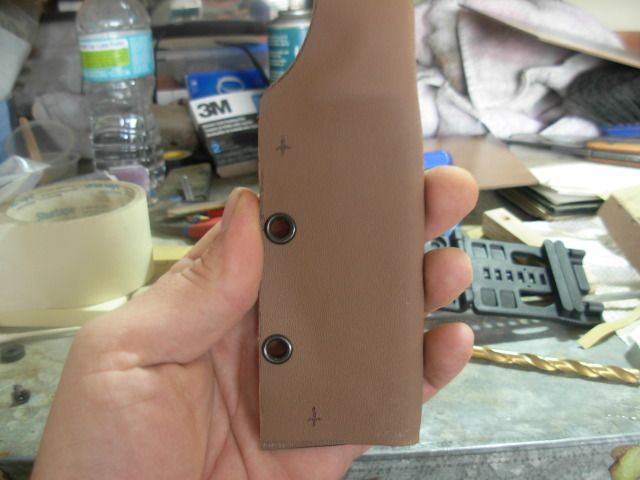
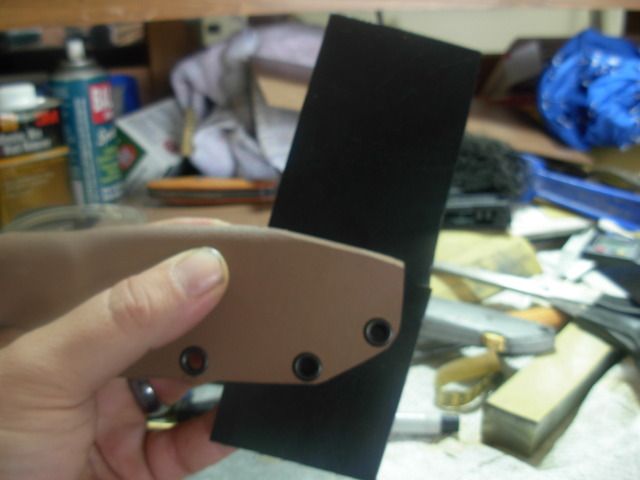
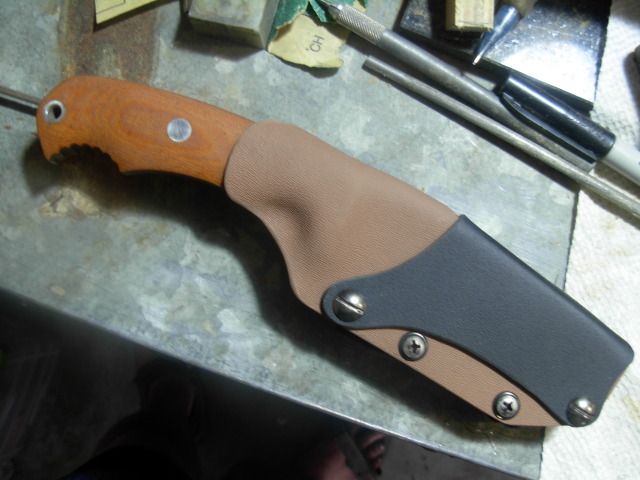
Now our body is roughed to shape we need to install the TecLoc. As recommended by others I went with Large TecLoc's for these sheaths. They make the most sense to me beacause they do have "bumpers" that can be adjusted to fit a skinnier belt so they have more versatility than the small size.

Line it up being sure that the "lock" isn't overlapping the thick part of the sheath where the handle of the knife is
011-7.jpg


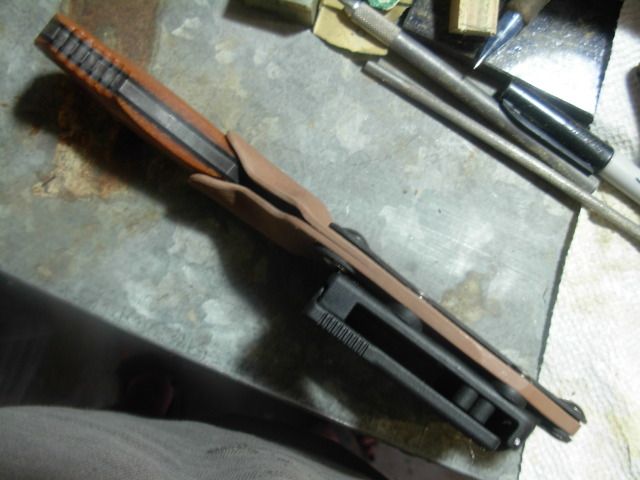
View with the lock in the fully open position-
012-6.jpg


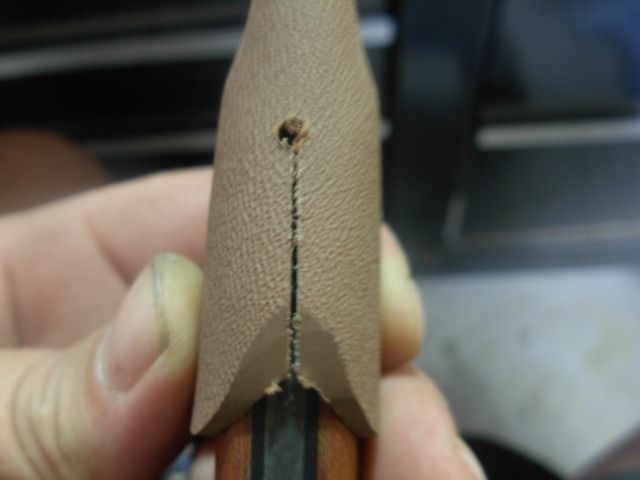
Mark one of the corner holes
013-6.jpg


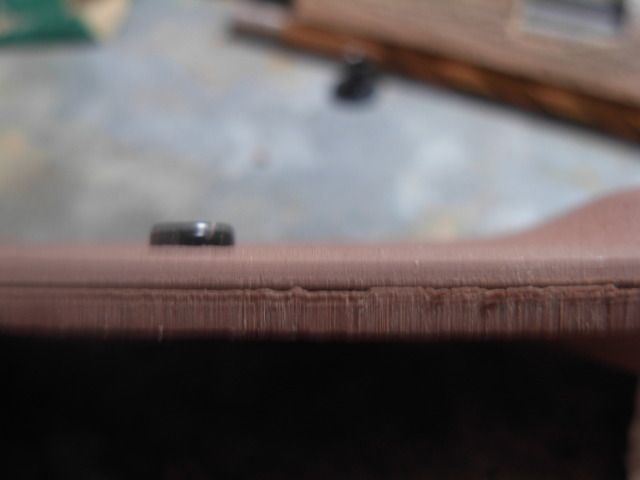
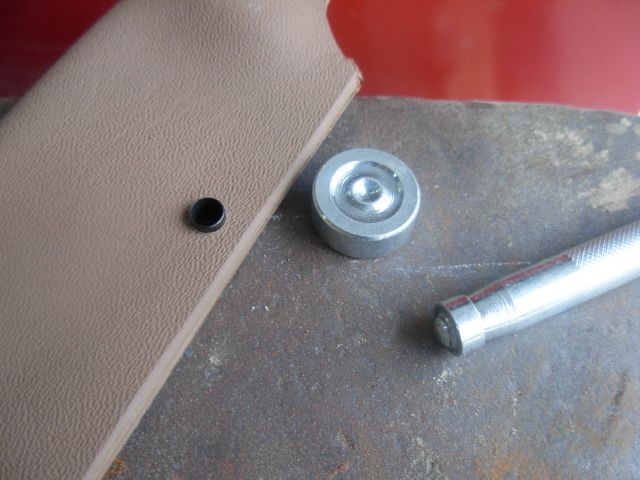
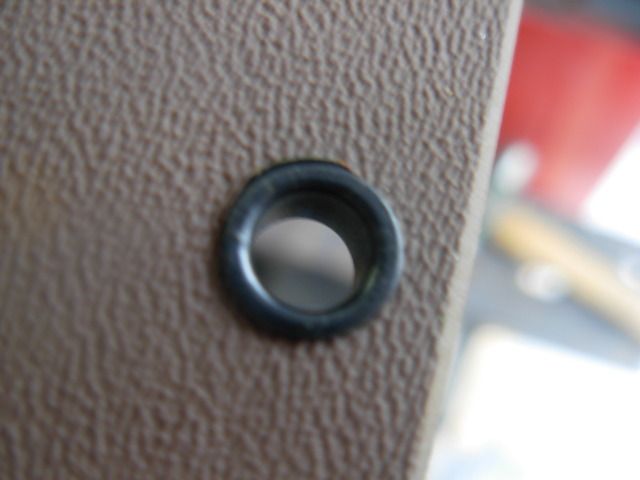
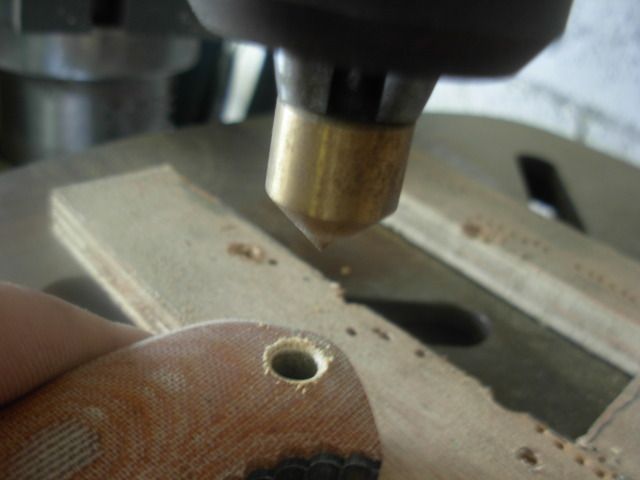
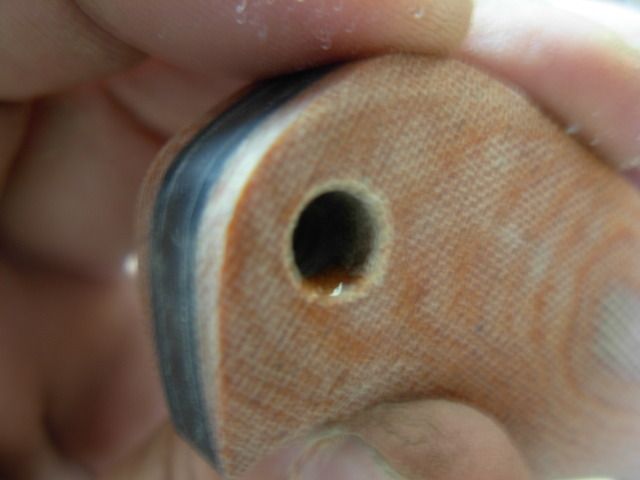
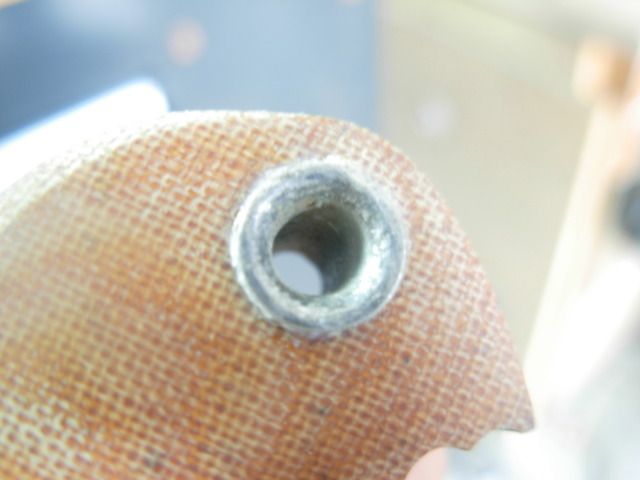
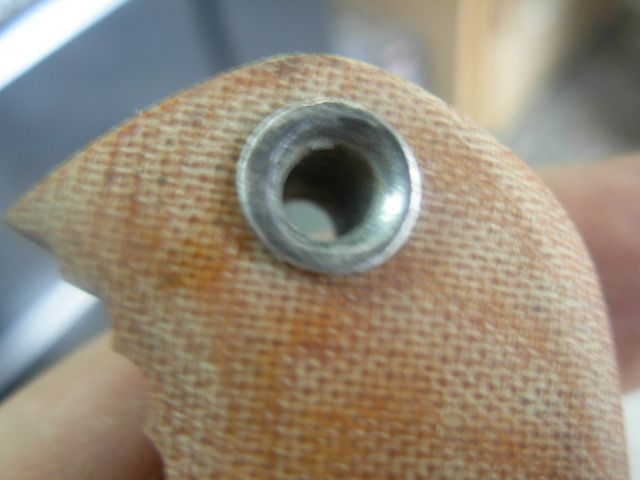
Drill with a 1/4" bit then insert kydex rivet with the nice side facing the front of the sheath.
014-6.jpg


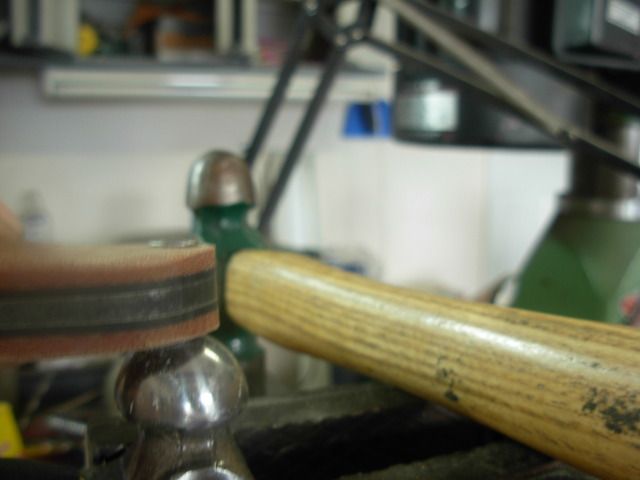
Rivet setter. The anvil part goes with the factory flare side and the stake flares the straight side. You can really mangle a rivet being heavy handed while staking or having the stake held at an angle. I use a light hammer and give it a sharp strike then a couple taps.
015-6.jpg

016-7.jpg


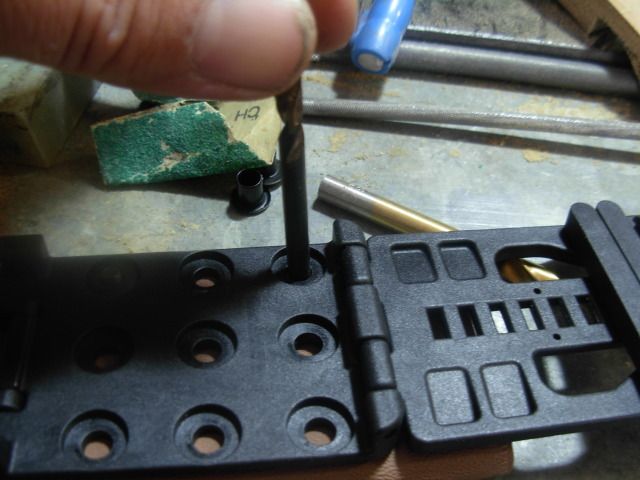
Now install the TecLoc with the hardware through the first rivet and use a smaller drill bit to drill right through the TecLoc's hole and through the sheath body
018-5.jpg


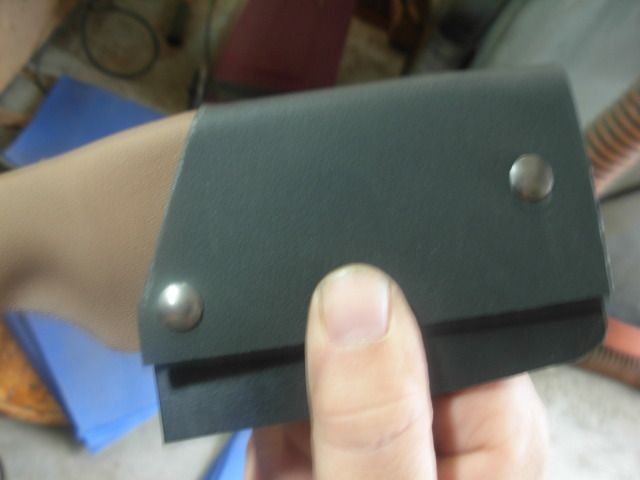
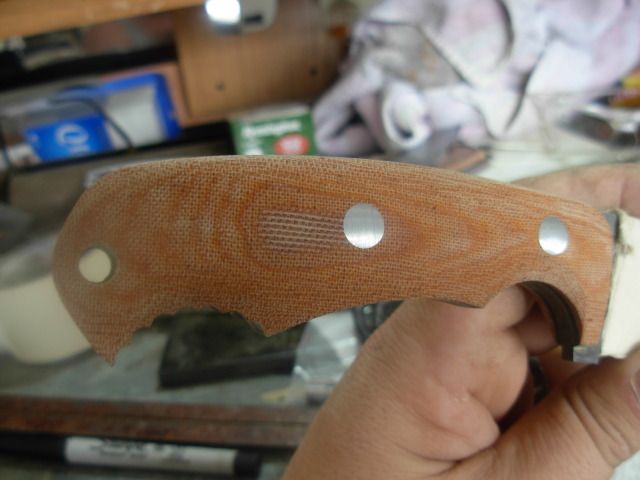
Install the second rivet and mark the other two
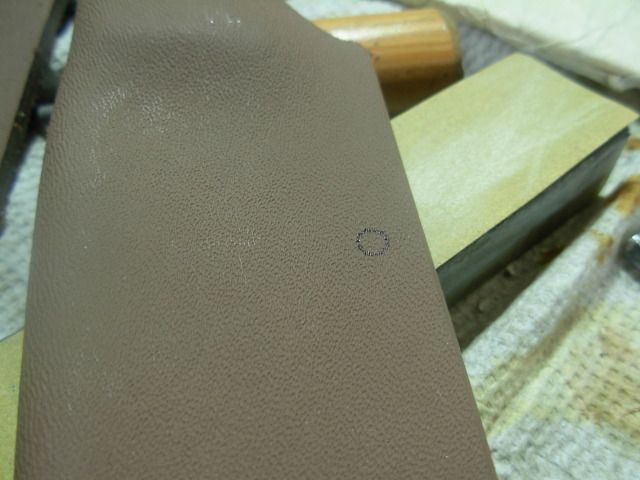
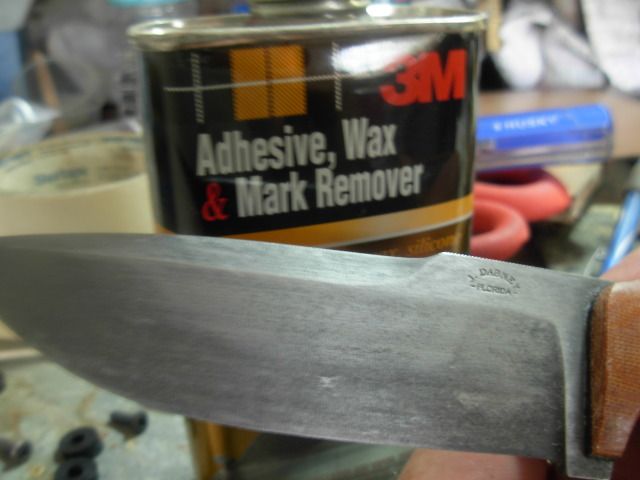
019-5.jpg


Tape residue -YUK
020-6.jpg


This adhesive remover is worth it's weight in gold making clean-up a snap
021-5.jpg


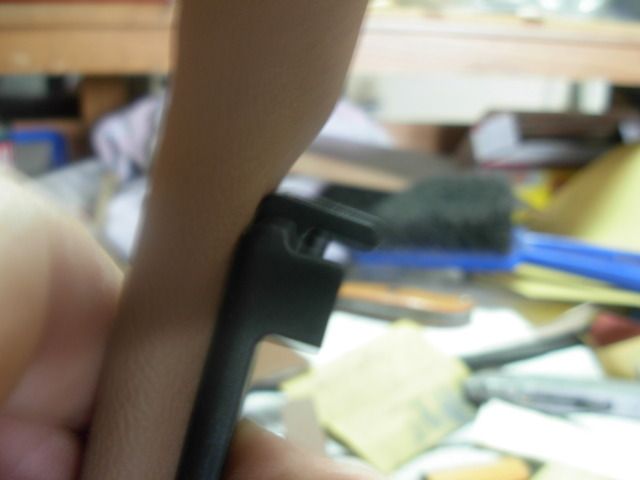
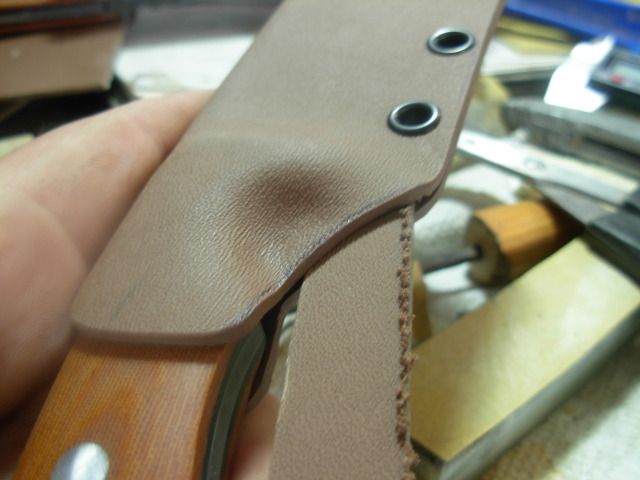
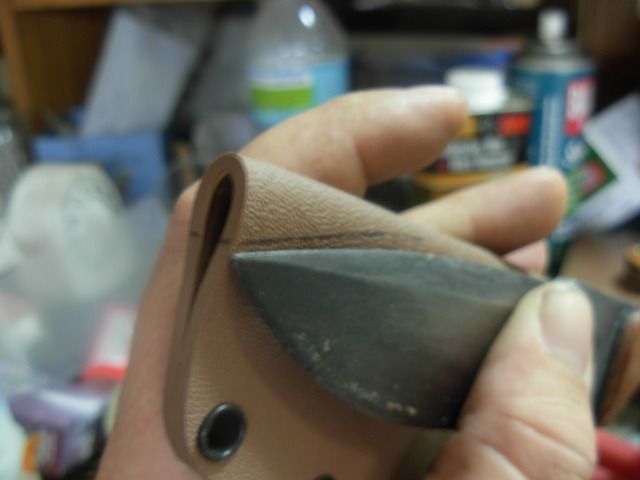
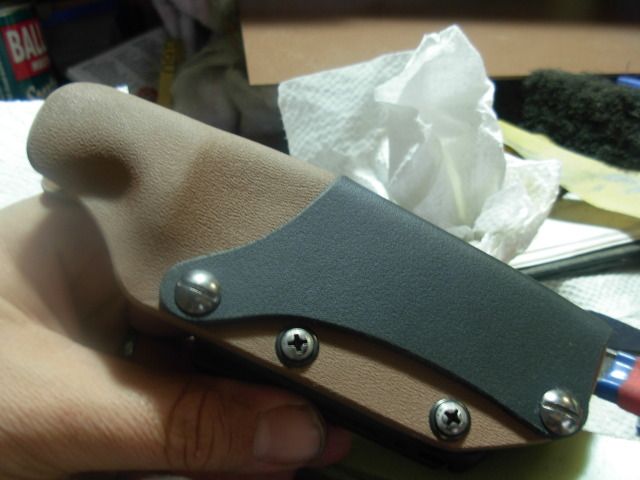
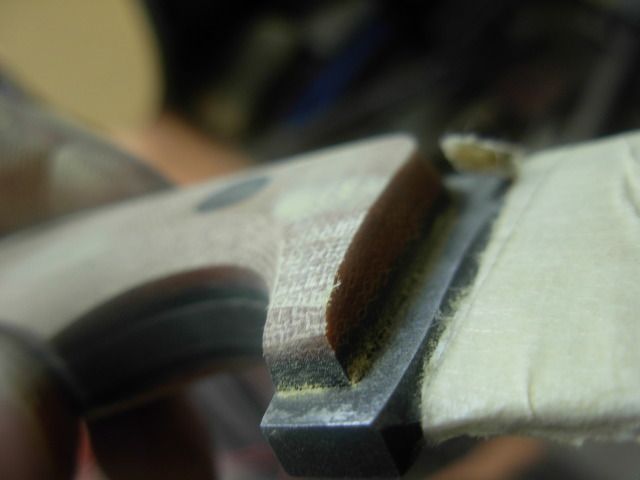
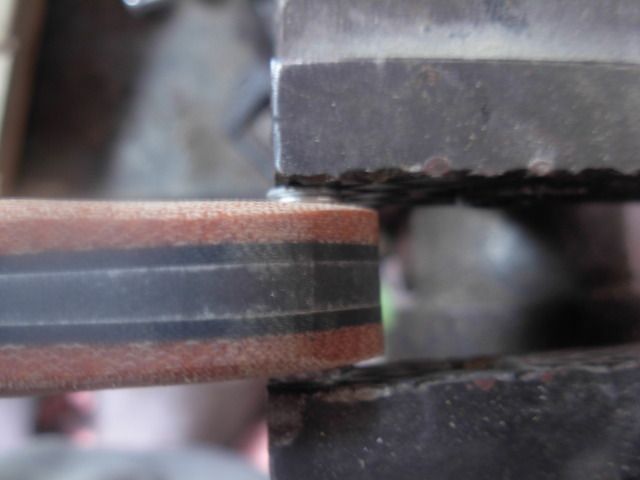
Now I got a pretty ugly press initially so I'm gonna use localized heat to tune this area up
022-5.jpg


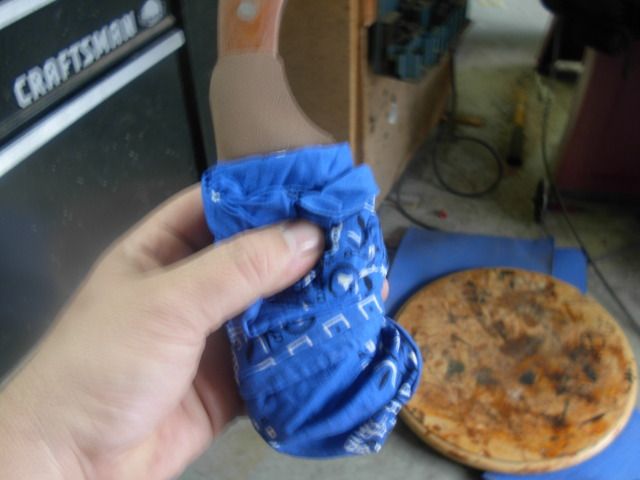
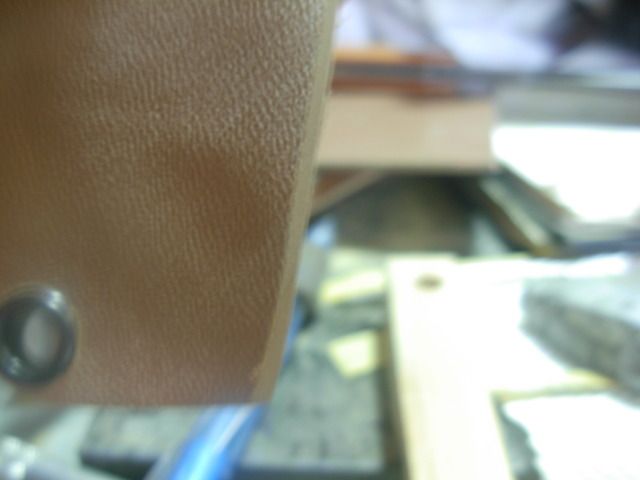
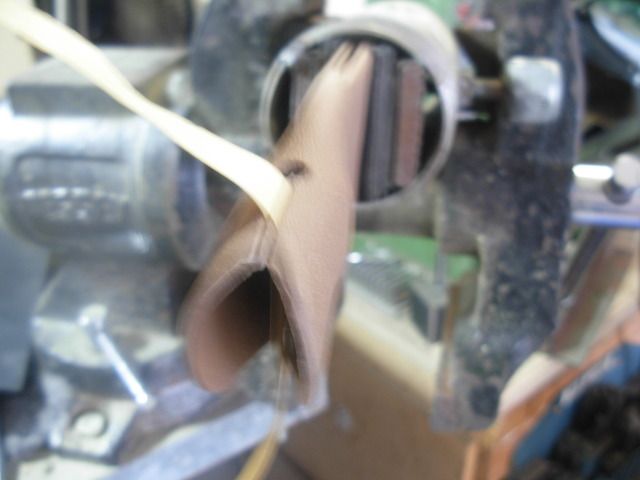
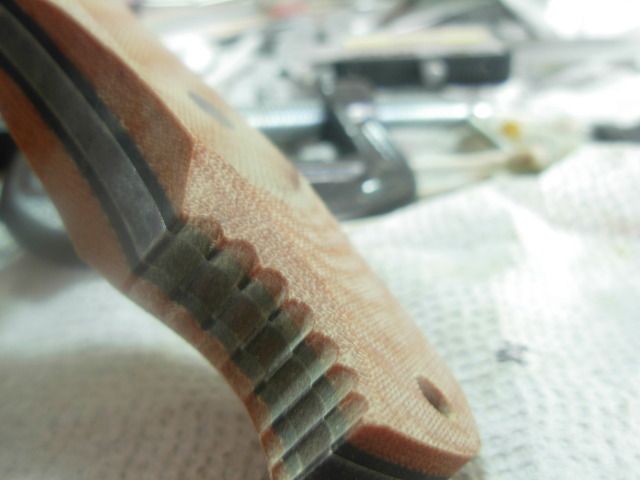
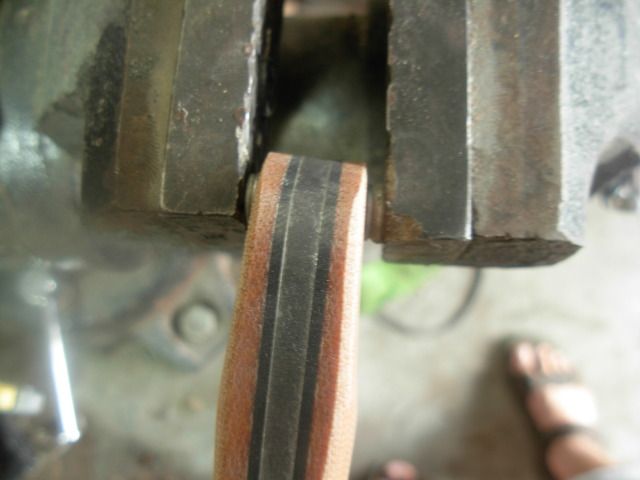
I want to keep the kydex the way it is around the front of the scales so I wrap a bandana around the sheath while heating the area of the finger groove.
023-4.jpg


Got called in for dinner at this point so that's the last pic for this morning but there'll be more to come.

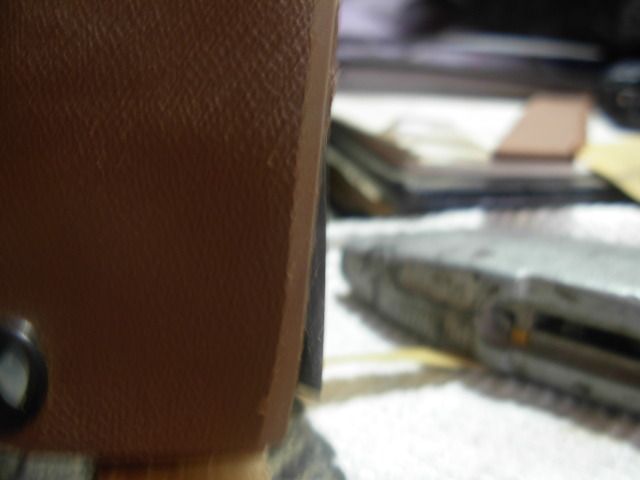
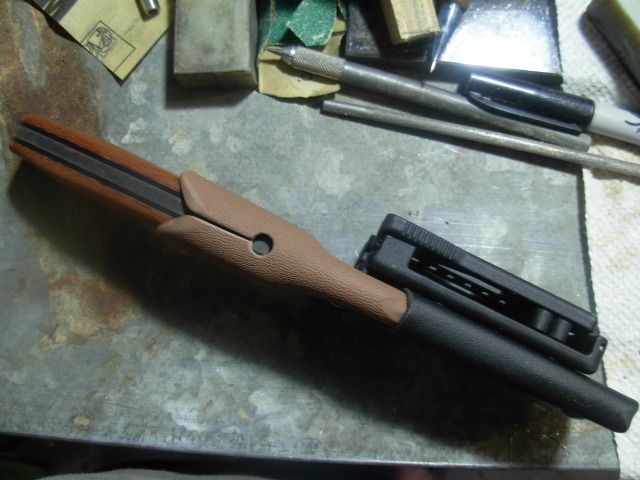
I did heat the finger groove area and straighten it up while pinching the kydex tight around the finger groove. Of course this results in fantastic retention. So good in fact that it's a little difficult to put the knife in and out of the sheath and results in a very audible snap when inserting the knife. I've got a plan to maintain the great retension while making the sheath more functional and easier to use. Of course it's an experiment so it may work great or result in a ruined sheath. Rest assured though we'll get it right or make another :biggrin:

Take Care- Josh
 
Last edited:
When molding the finger groove area I want the kydex tight around the handle material but don't want front and back of the sheath pulled all the way together. To keep this from happening I used a piece of scrap kydex as a spacer then pinched the body tight into the groove.
024-3.jpg

025-5.jpg


Here's my plan for easing the tension a little. I cut this line on the bandsaw a little at a time and kept checking the fit.
026-3.jpg


My next issue is that while in the sheath the blade has room to move around a little. This could probably be cured by simply heating up the tip of the sheath and pinching it in tight over top of the point but I'm thinking this would give me a hideaous bulge at the tip on the spine side.

What I've got right now is a drop point knife in a standard pouch style sheath which is folded over and has a relatively straight spine. I'm going to grind the lower part of the sheath's spine off and convert it to more of a butterfly type sheath. Something like this-
028-3.jpg


Now that I ground the spine we can see what I'm talking about. Here is the knife in the sheath in it's natural position-
031-2.jpg


Now here it is again with a little pressure on the butt-
030-3.jpg


I had to experiment a couple times to get this wrap to work. This pic was the second rendition which didn't work out that well but it gives an idea of where I'm heading to close up the butterfly section with an overlay
032-2.jpg


After grinding the spine higher and flatter I made this piece just rough cut so it would mold around while avoiding the handle part of the main body. I tried heating an overlay then wrapping it around the toe of the sheath and pressing it in the foam but couldn't keep it tight on the spine with that method. I had MUCH better success like this. With Chicago screws holding the overlay to the sheath body I heated just the spine section of the overlay then pulled it tightly around by hand and held it untill it cooled
035-2.jpg

036-2.jpg

037-2.jpg


Apperantly I forgot to snap any pics of shaping the overlay. After molding the overlay I drilled the screw holes through the otherside then sketched what I wanted it to look like with a pencil then profiled it to shape on the top idler wheel and slack belt

With that done I assembled the sheath completely to check the fit. At this time I decided it's near perfect but just a tad still on the tight side for removing the knife from the sheath so I drilled my relief hole out to 1/4" which put me exactly where I wanted to be with the fit. In the sheath there's zero wiggle, wobble, rattle, or anything else. With my pinched in molding in that fingergroove it retains the knife with authority and the addition of the relief cut and hole on the spine the knife will come right out with a firm grip and smart tug. Knife falling out of the sheath will NOT be a concern :biggrin:

Happy with the fit I disassembled everything and hand sanded all the edges to take off any sharp edges and give it a smooth finished appearance.

Sanding inside the sawcut with the shoeshine method
038-2.jpg


I actually sand a little smooth bevel on the outter edge. The smooth contrast to the texture of the kydex gives a nice little polished border look that I like
039-2.jpg


Smooth smooth smooth :biggrin:

And here's the final constuction pics of #1 sharpened with sheath
041-2.jpg

042-2.jpg

043-2.jpg

044-2.jpg

045-2.jpg


I'll continue on with a sheath for #2 then come to a close with a brutal critique of both knives and sheaths

Take care everyone ! Josh
 
Last edited:
Back
Top