StephanFowler
Well-Known Member
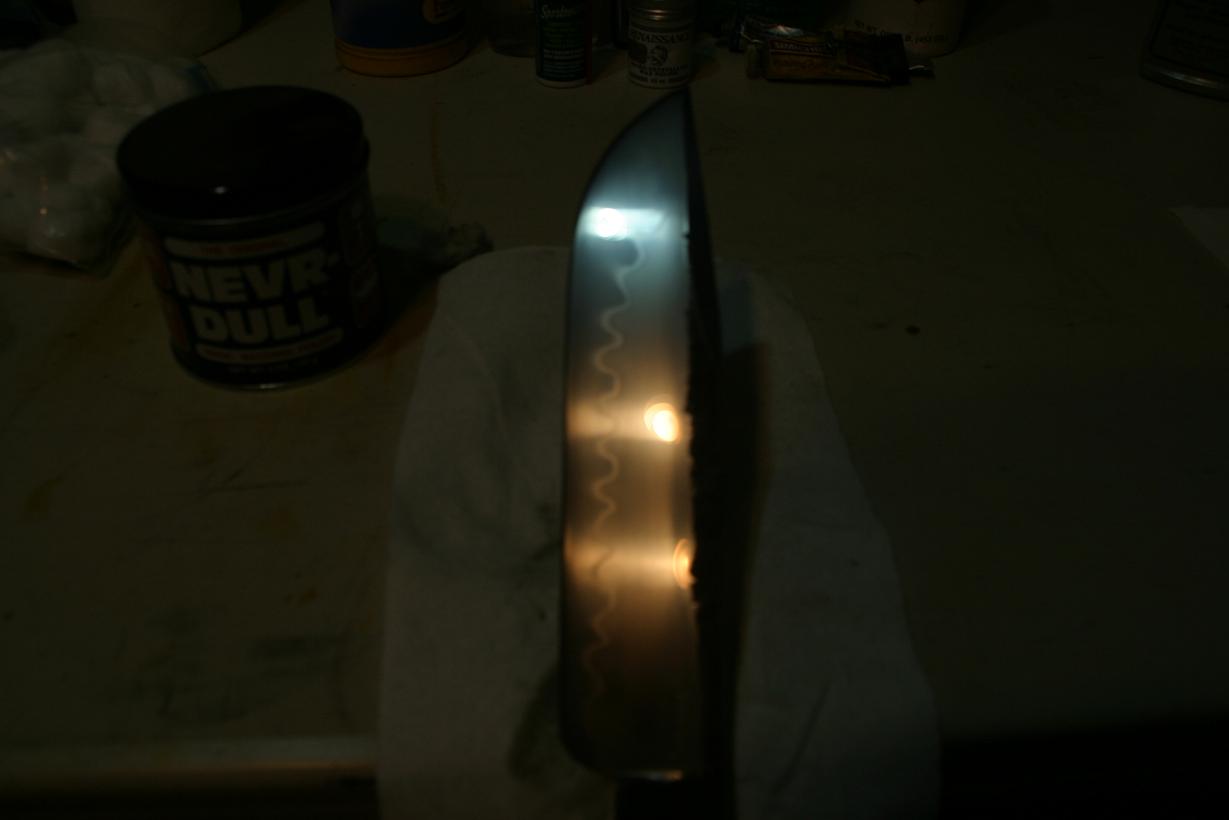
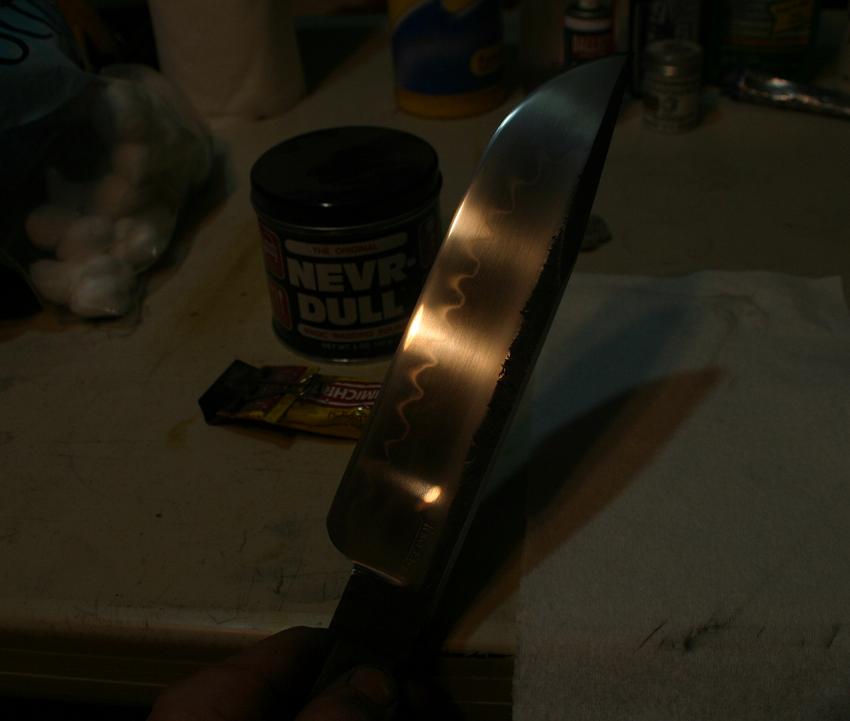
Firstly let's establish what Hamon "is".
Hamon is a Japanese word used to define the pattern that the hardened edge of a properly made sword. A common misconception is that Hamon refers to the hardened area, this is incorrect, the hardened area is known as Yakiba.
In modern knifemaking terms however Hamon has come to define the hardened portion of any knife which displays a differentially hardened edge.
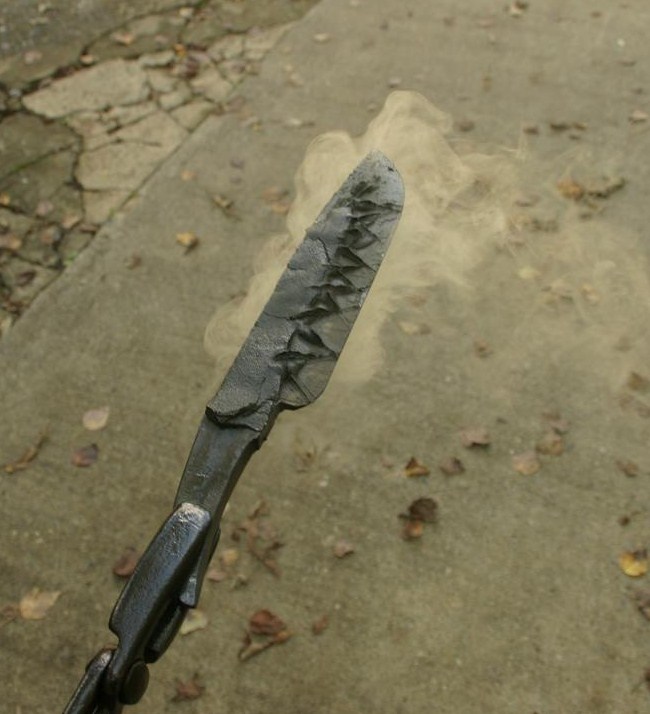
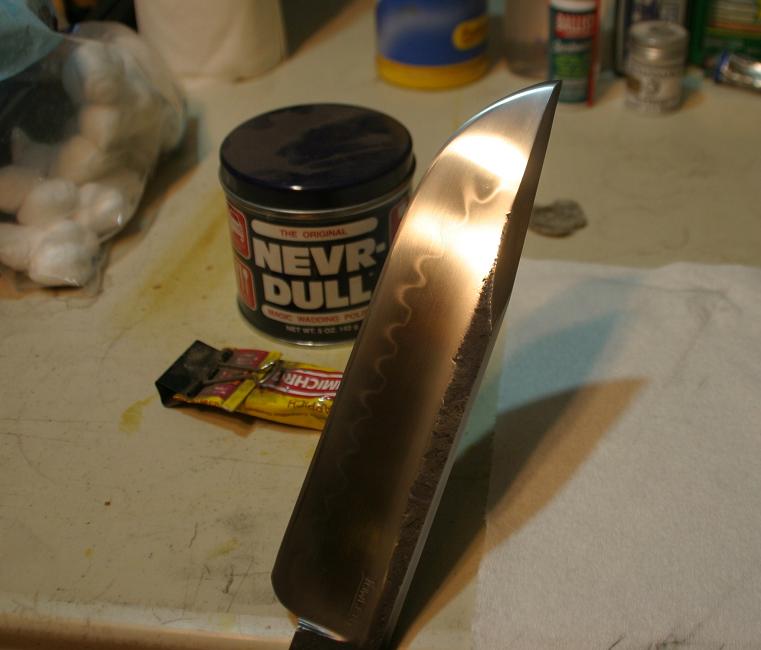
There are many ways to achieve a differentially hardened edge but they all center around the same concept, getting the edge hard while keeping the back soft.
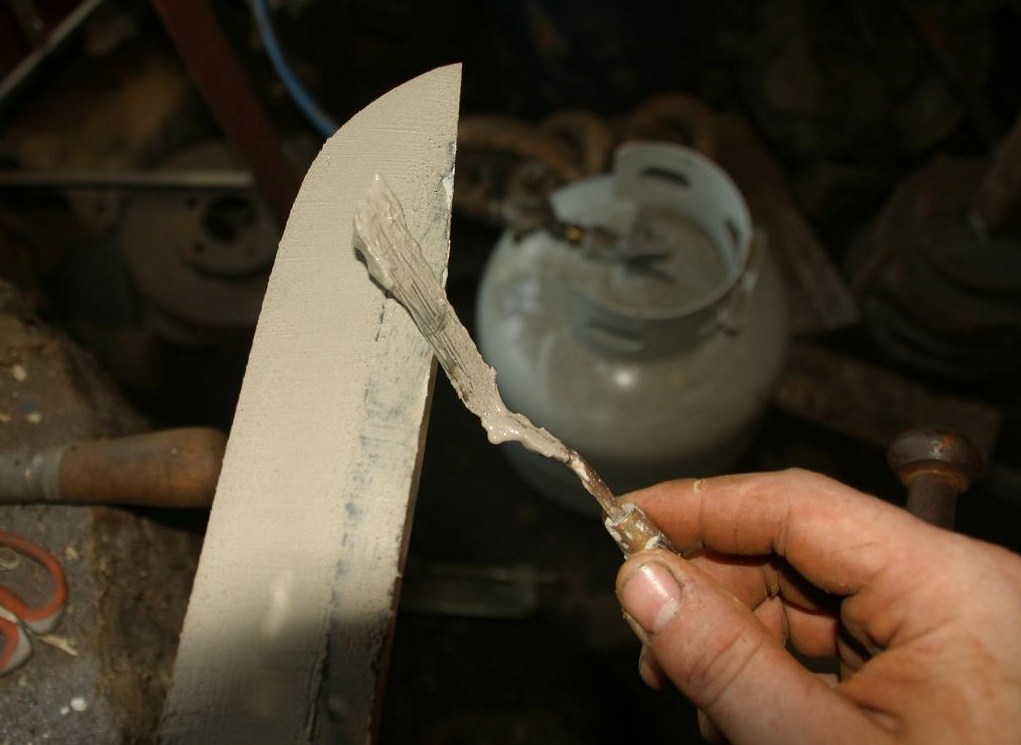
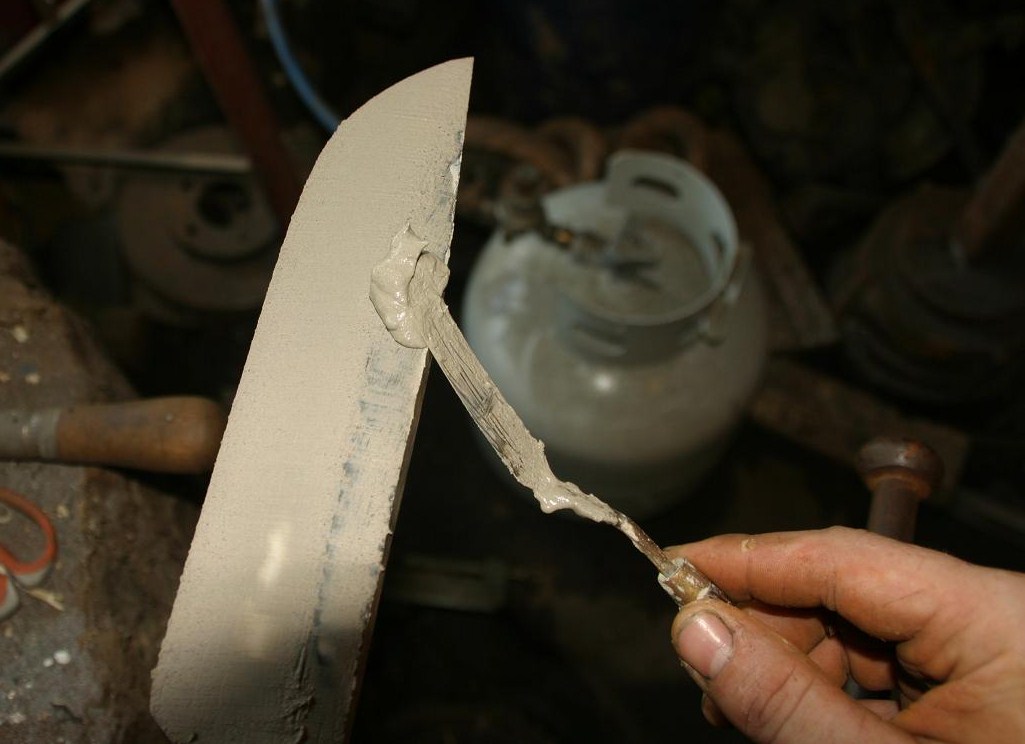
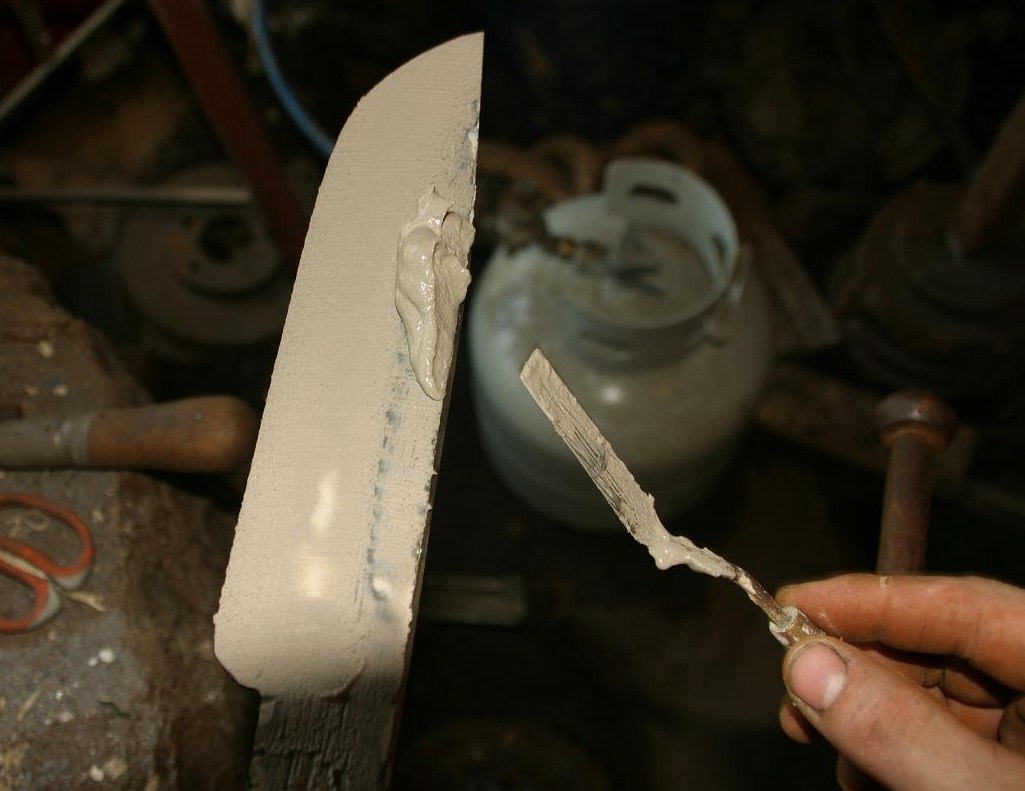
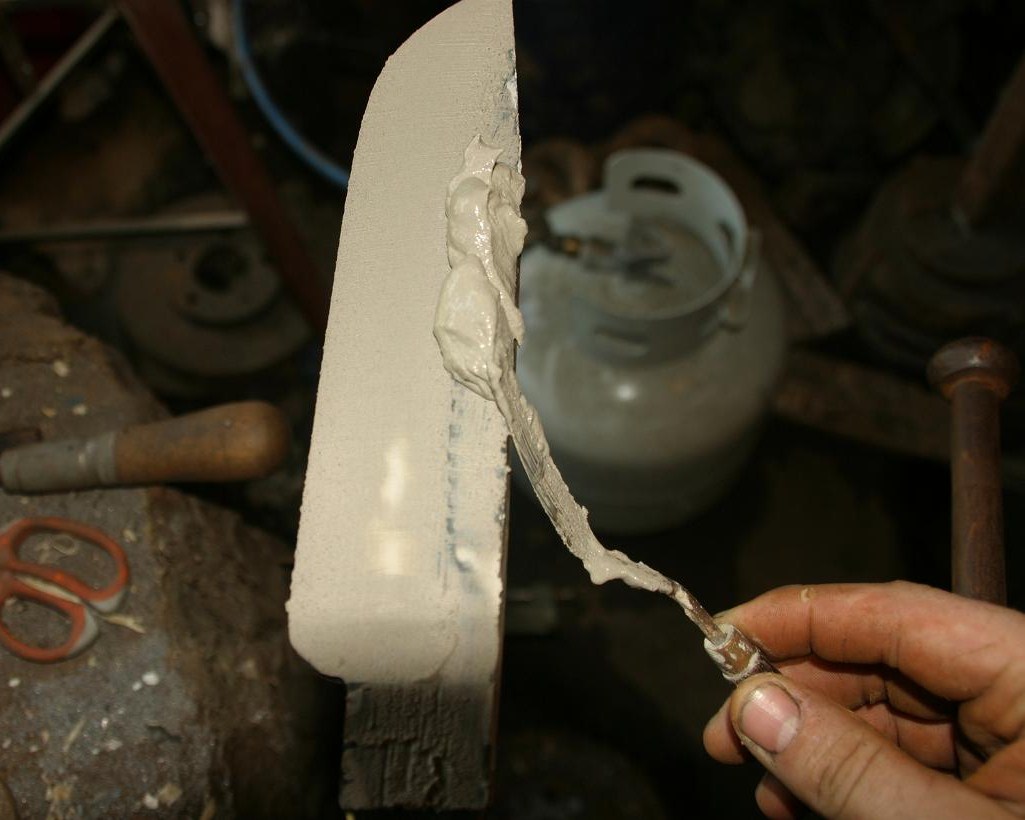
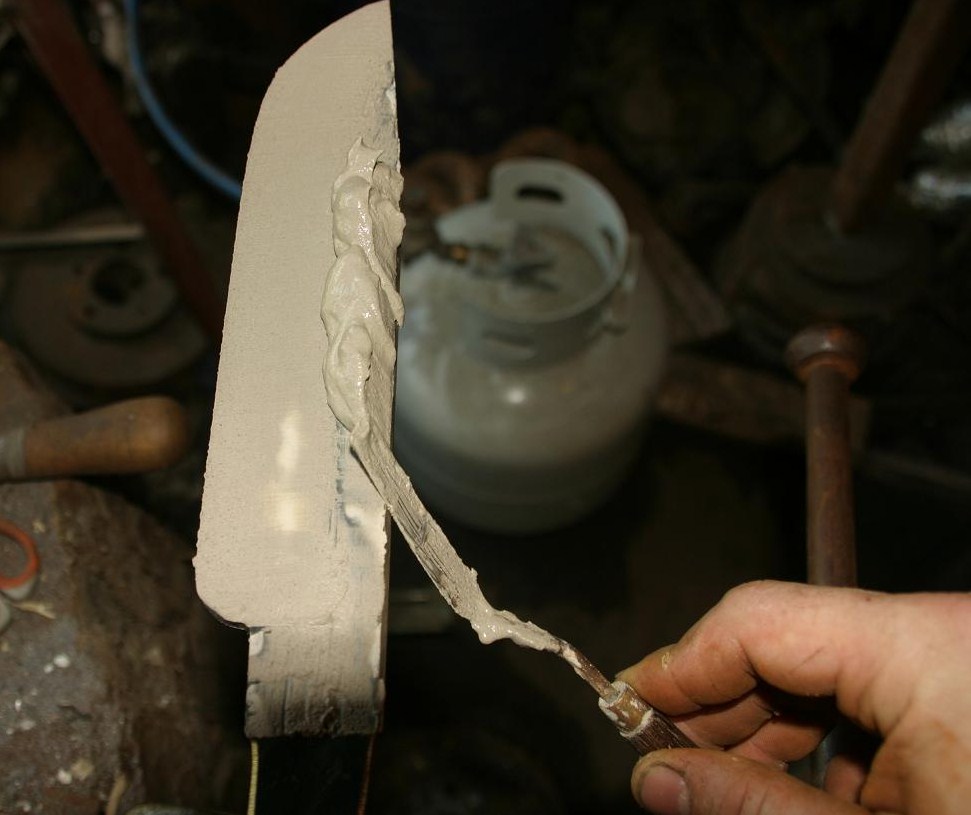
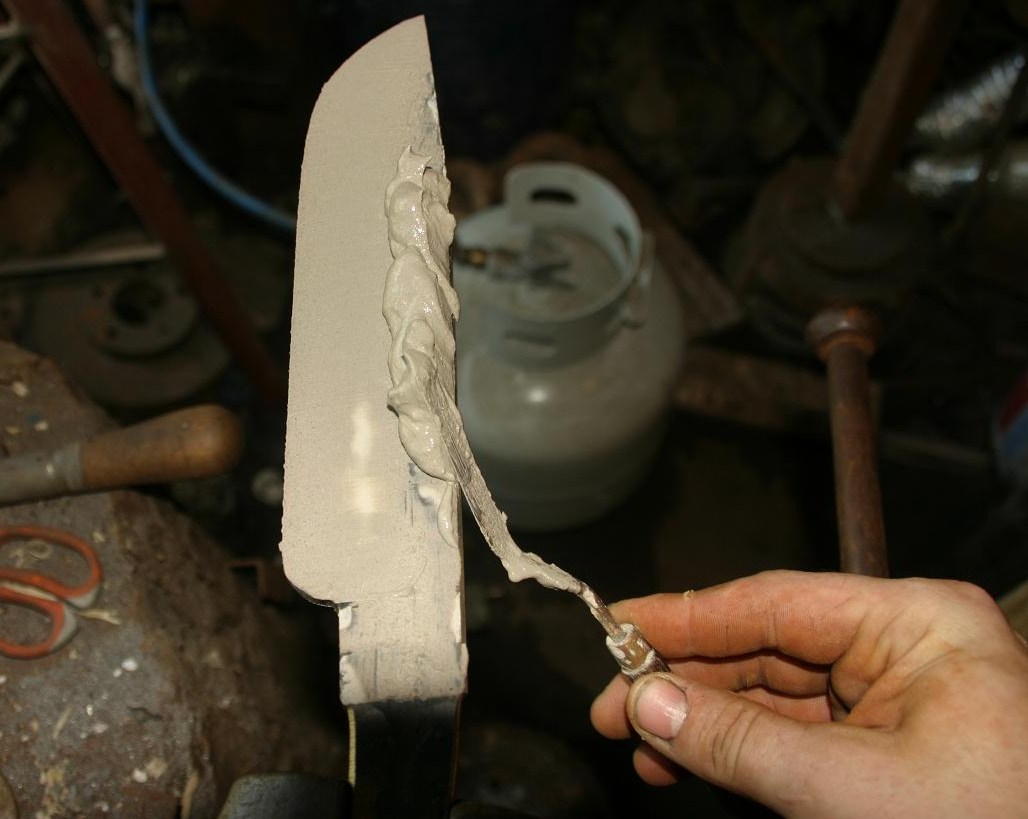
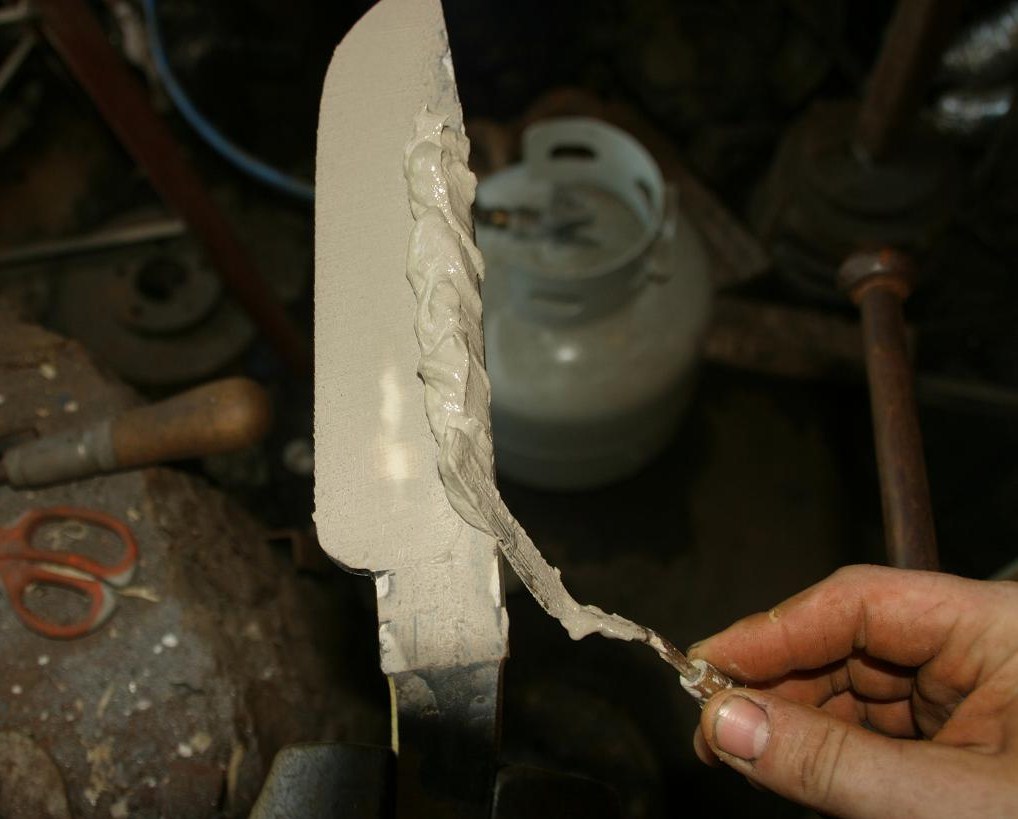
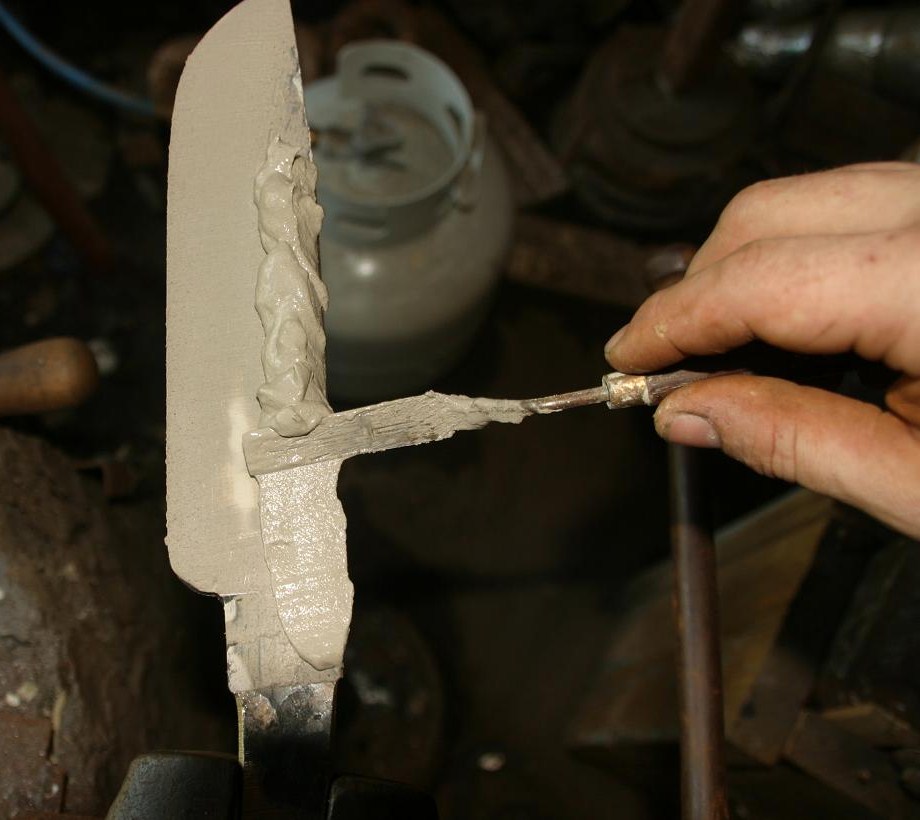
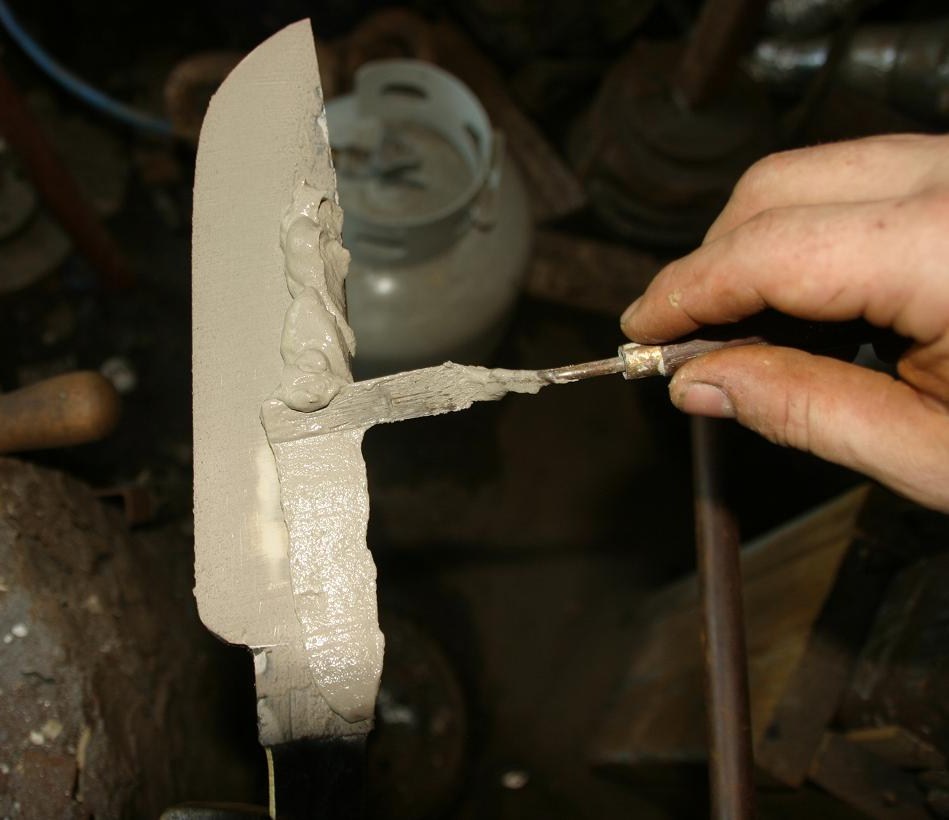
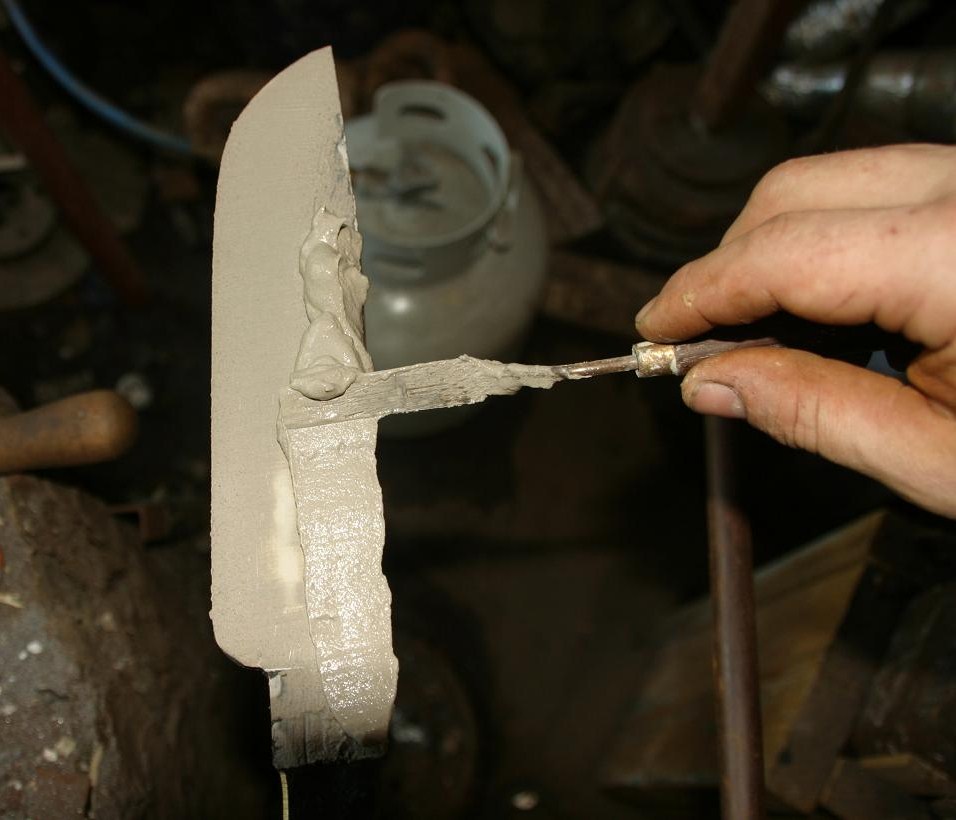
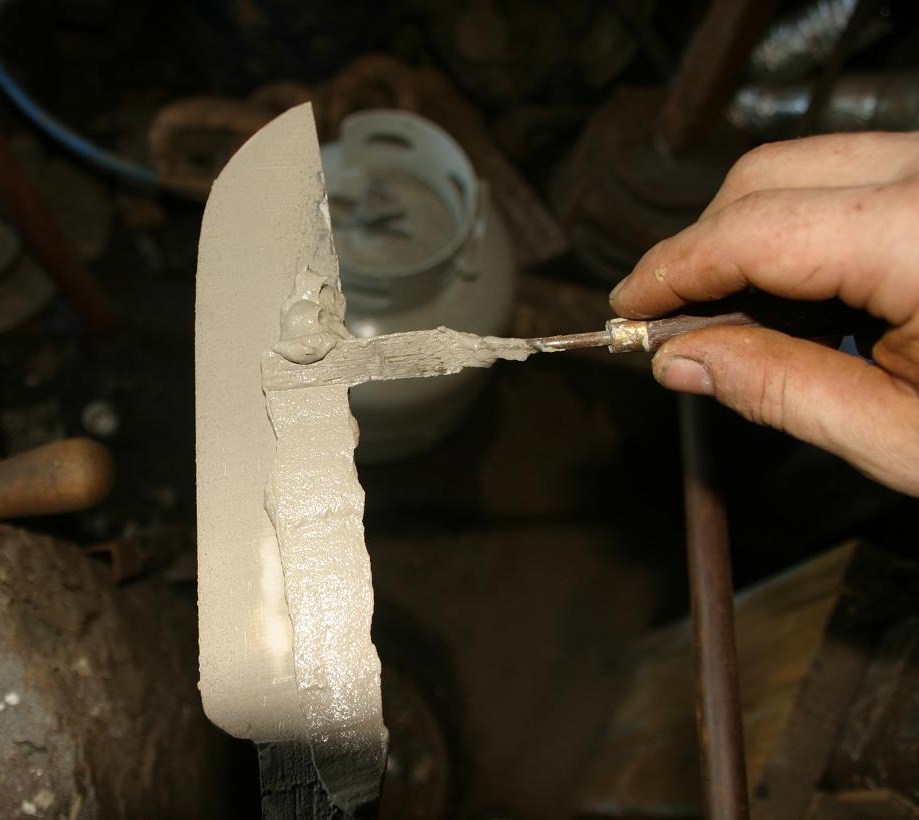
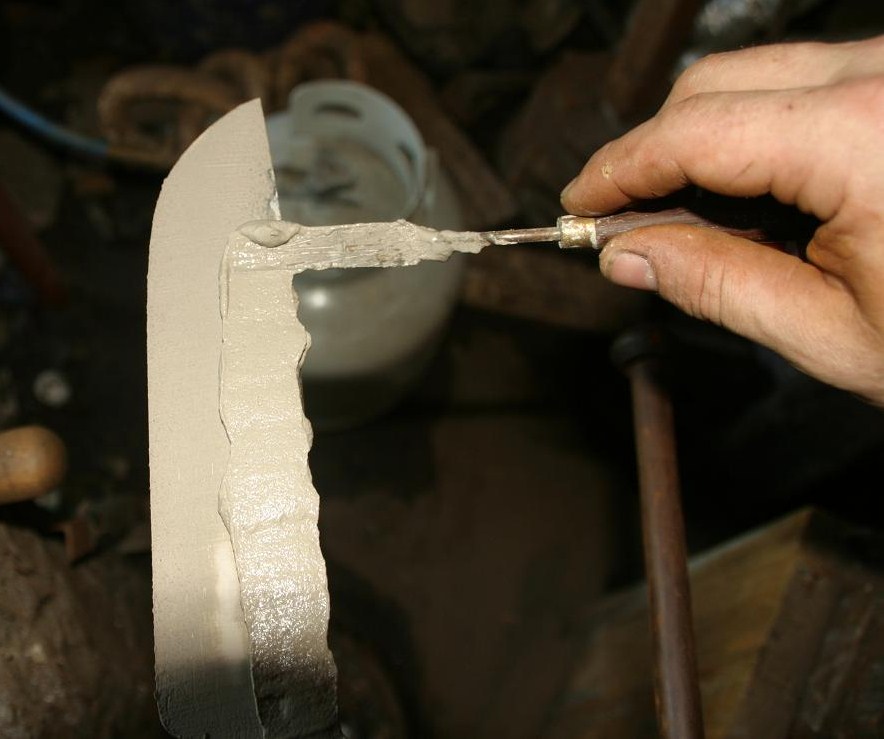
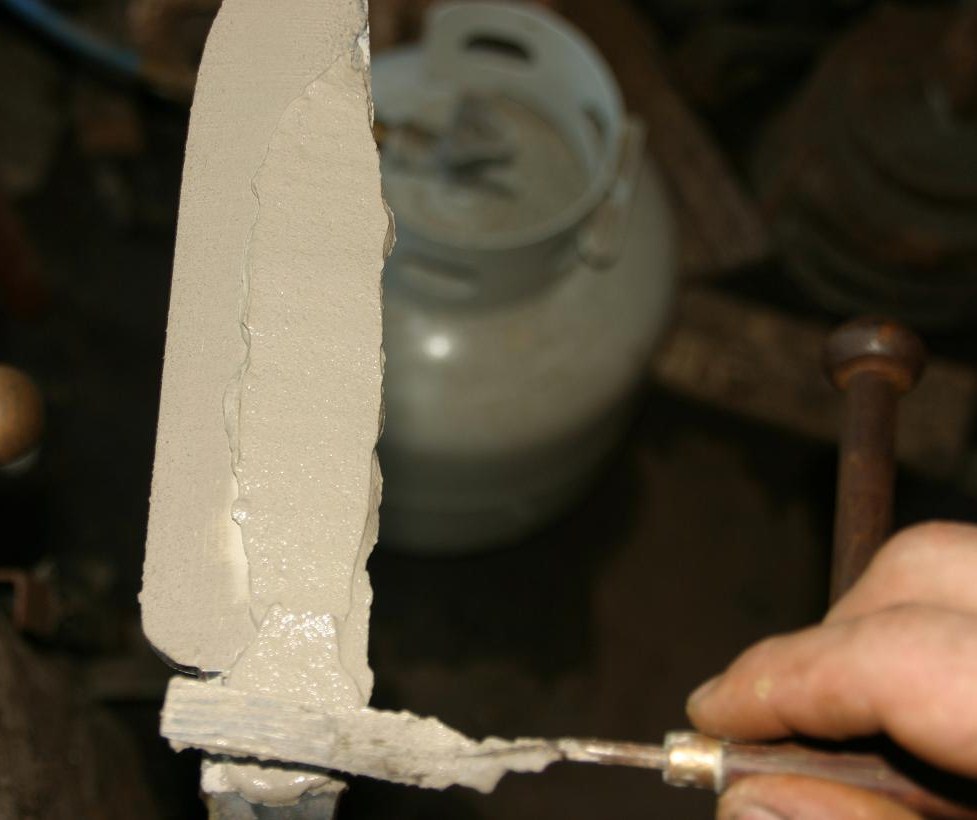
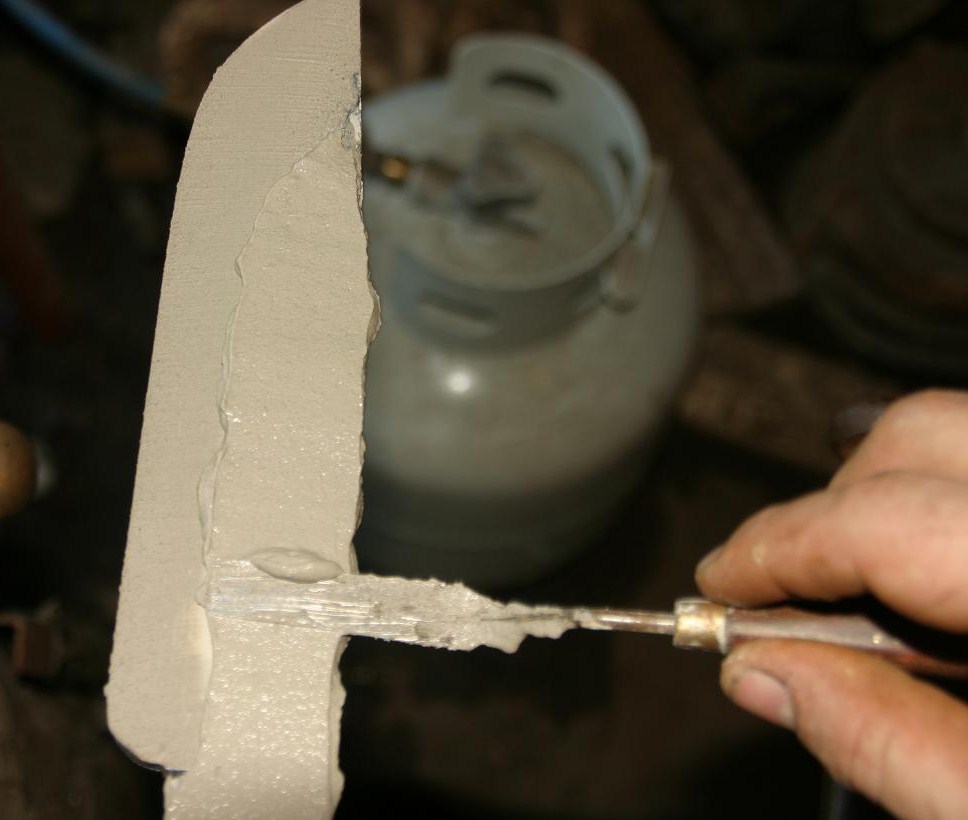
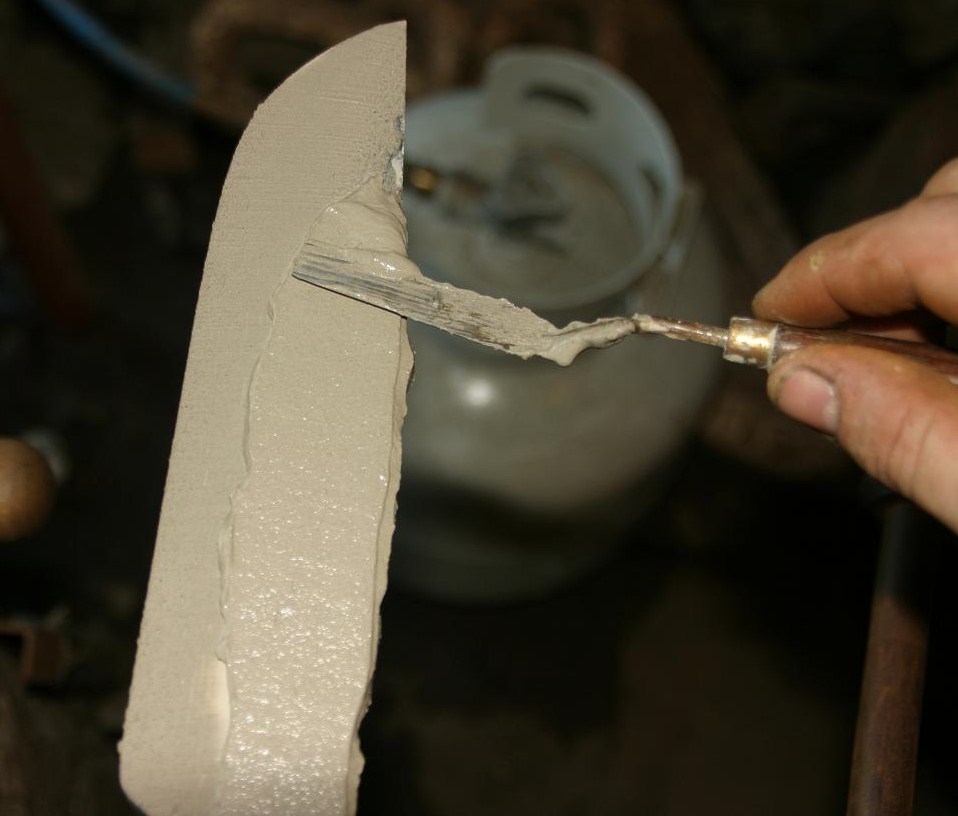
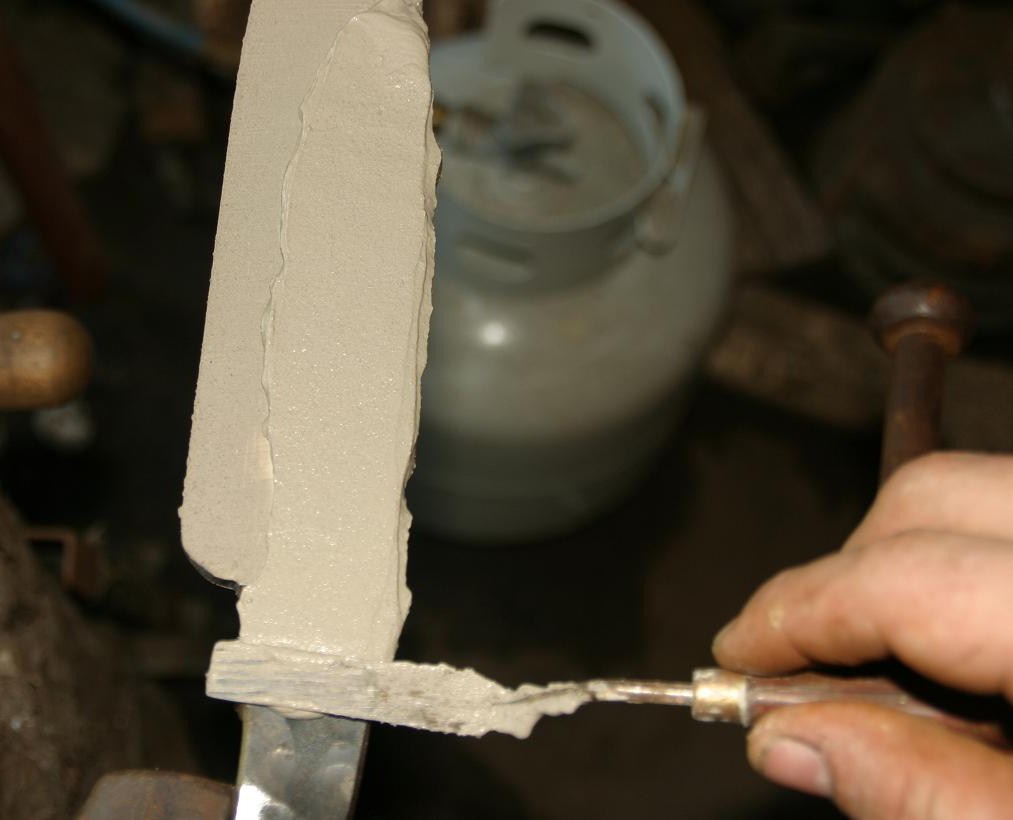
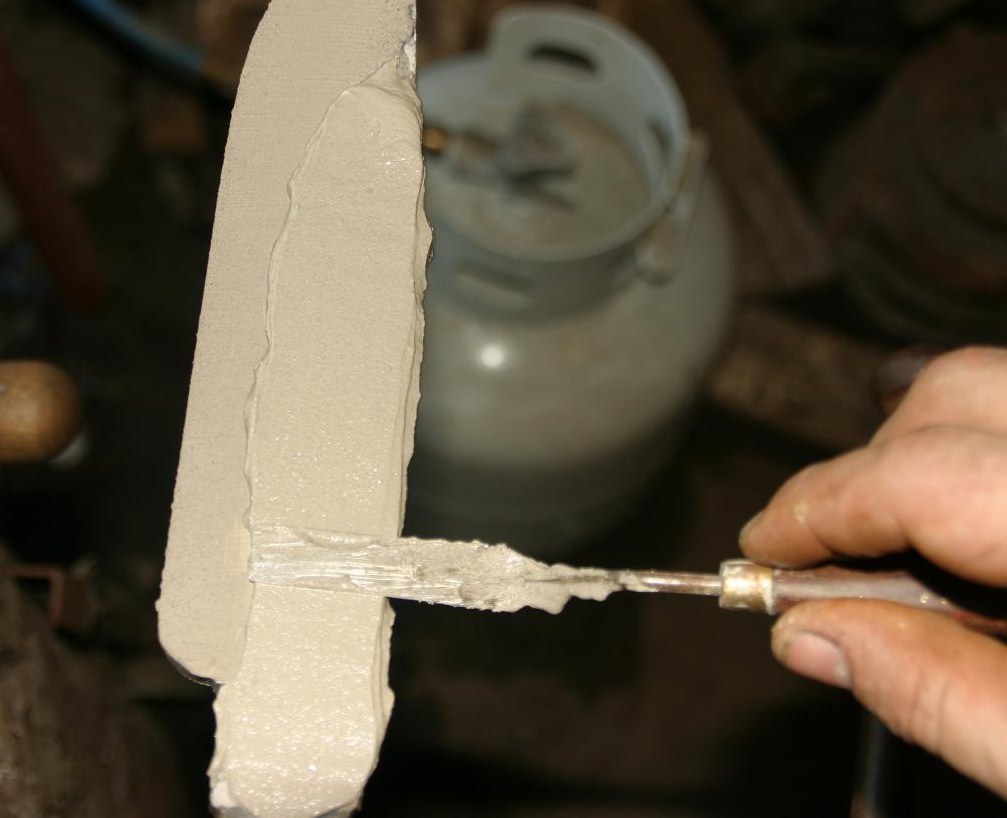
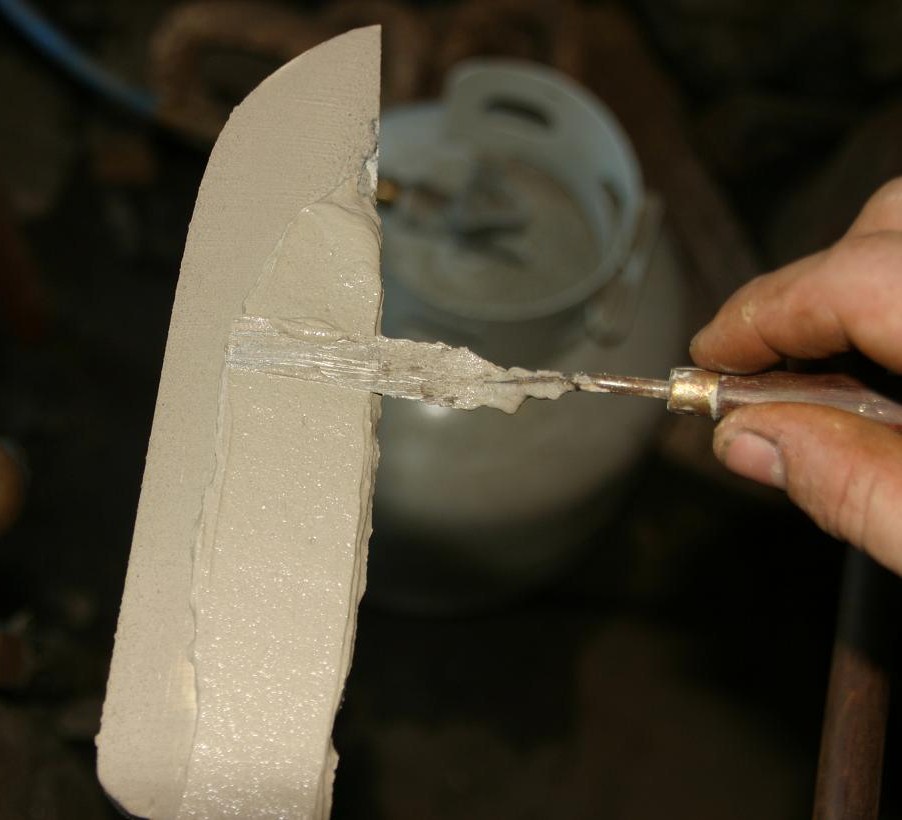
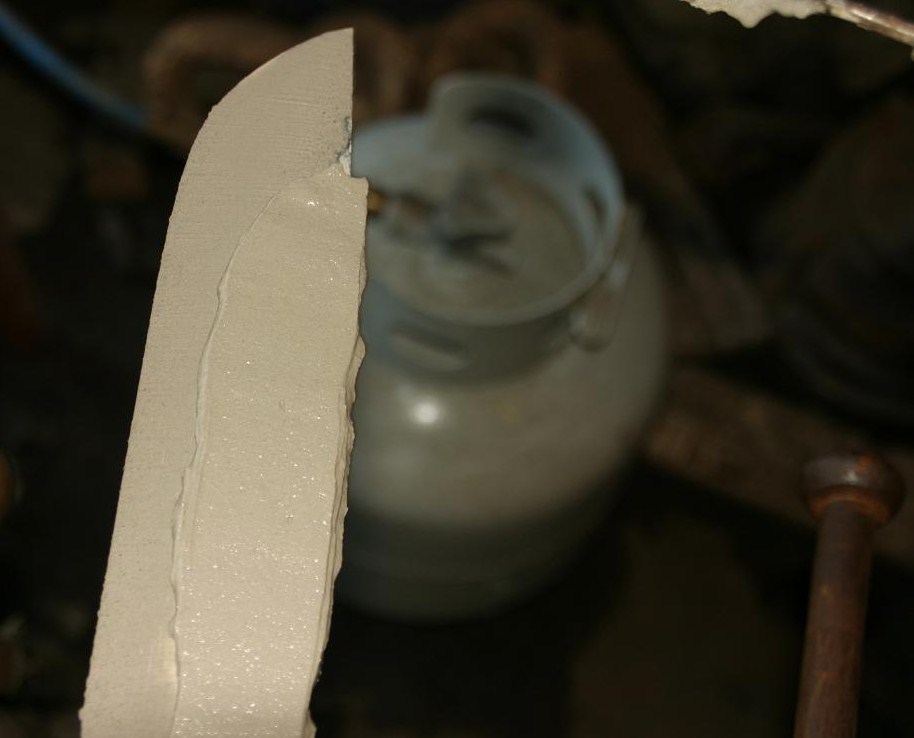
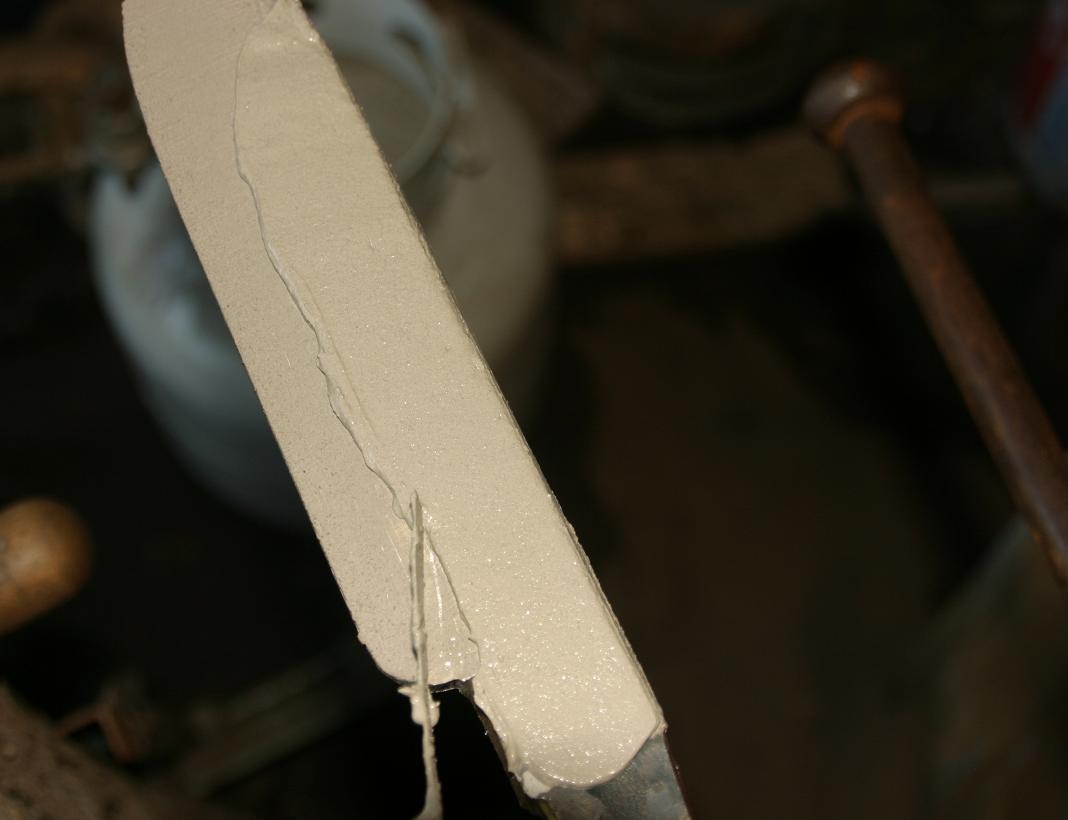
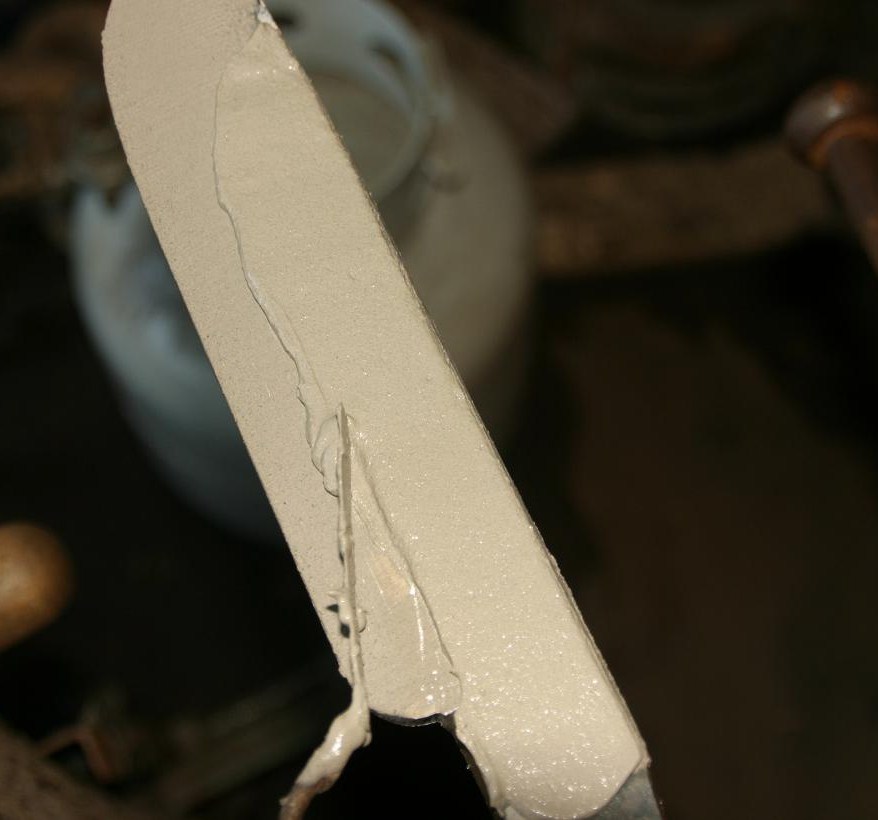
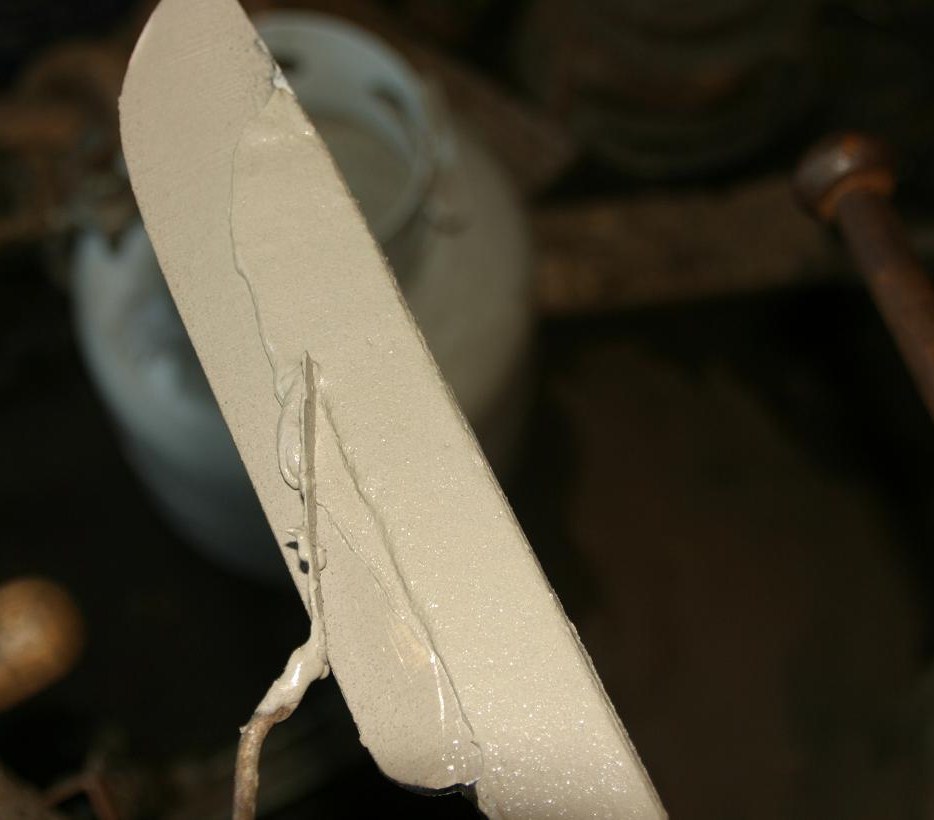
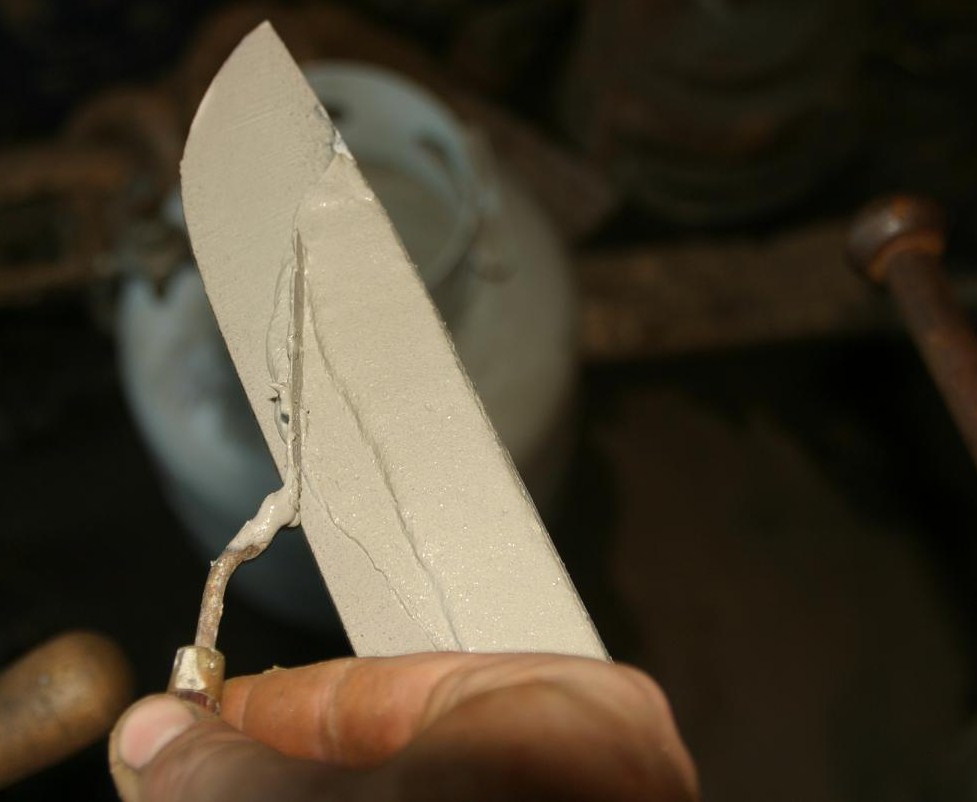
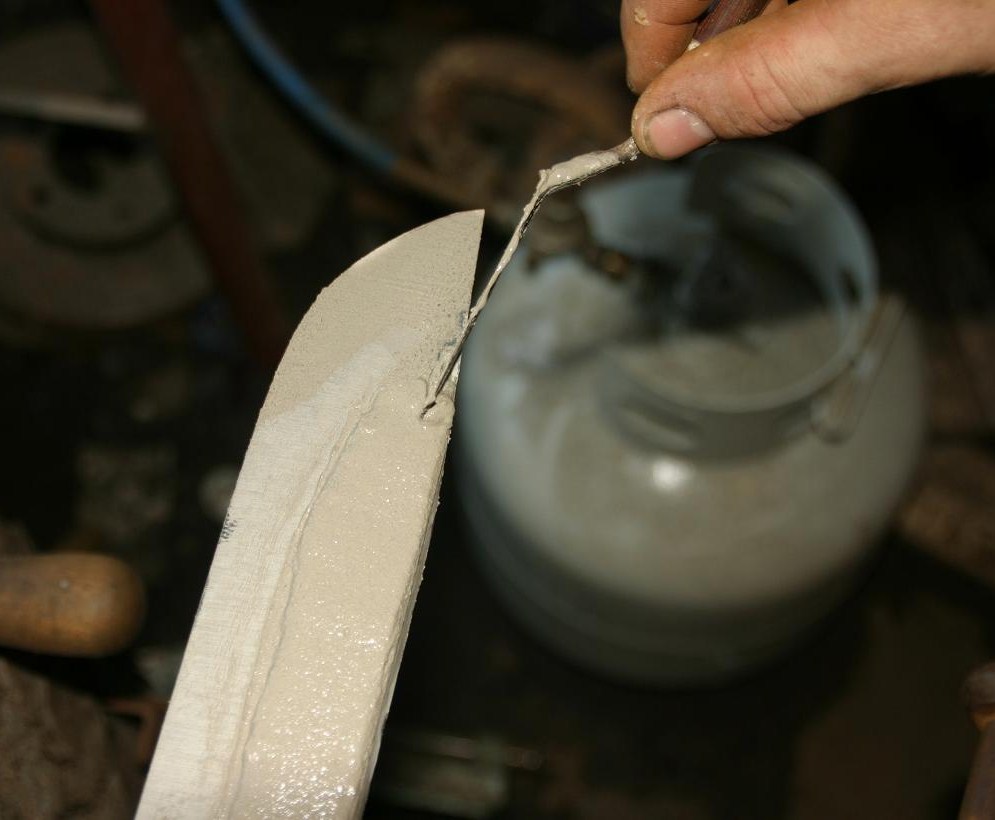
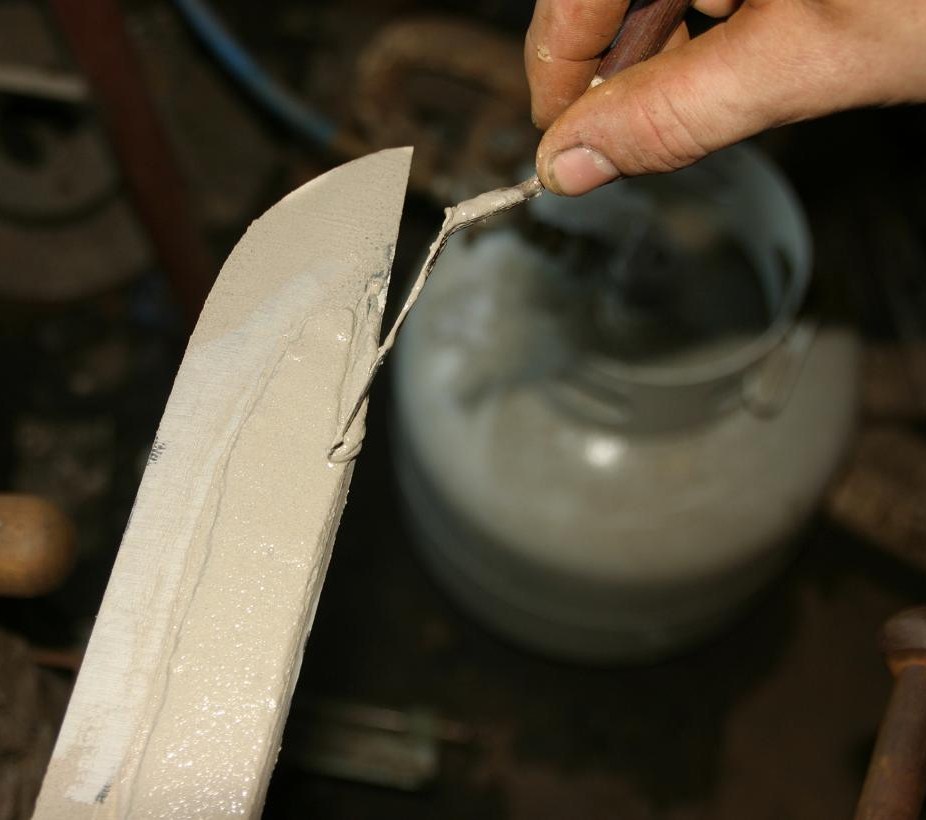
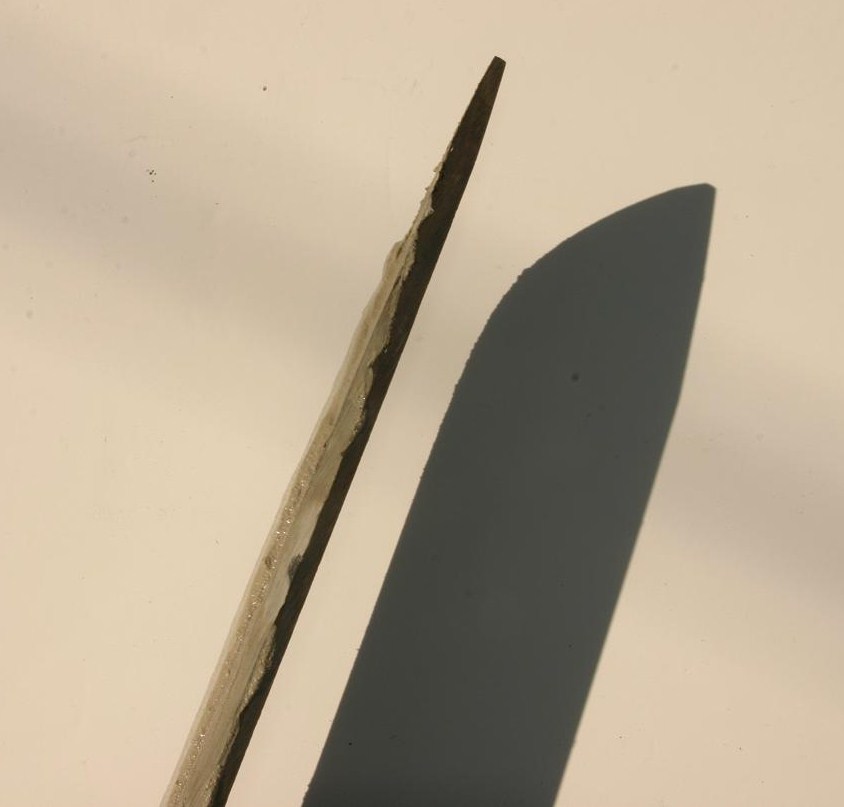
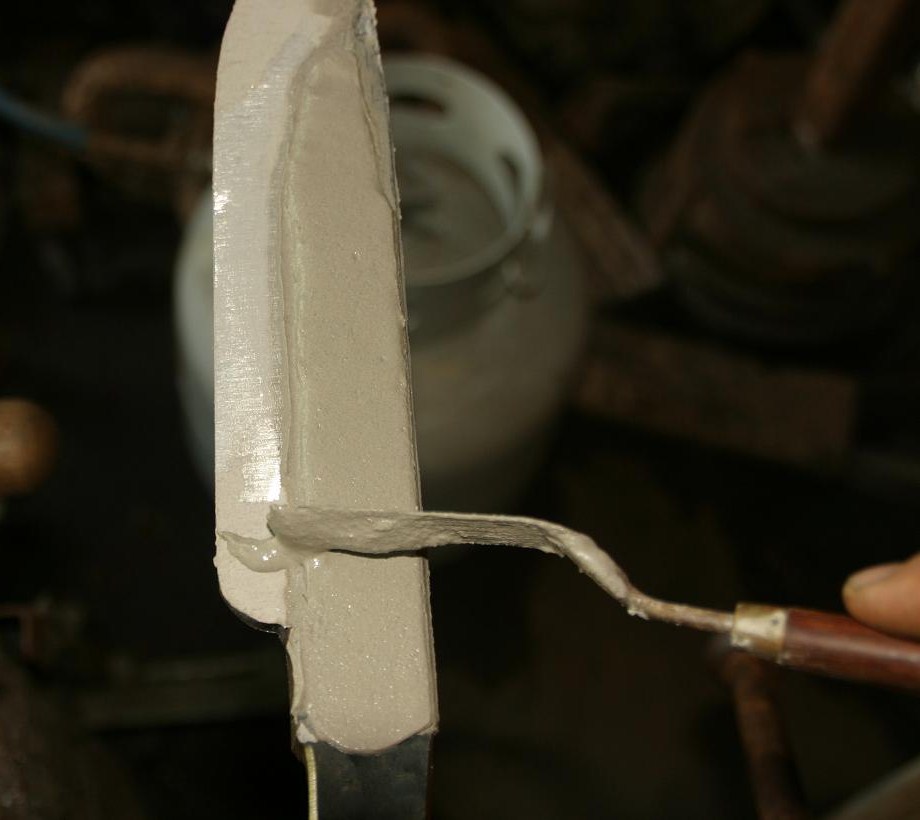
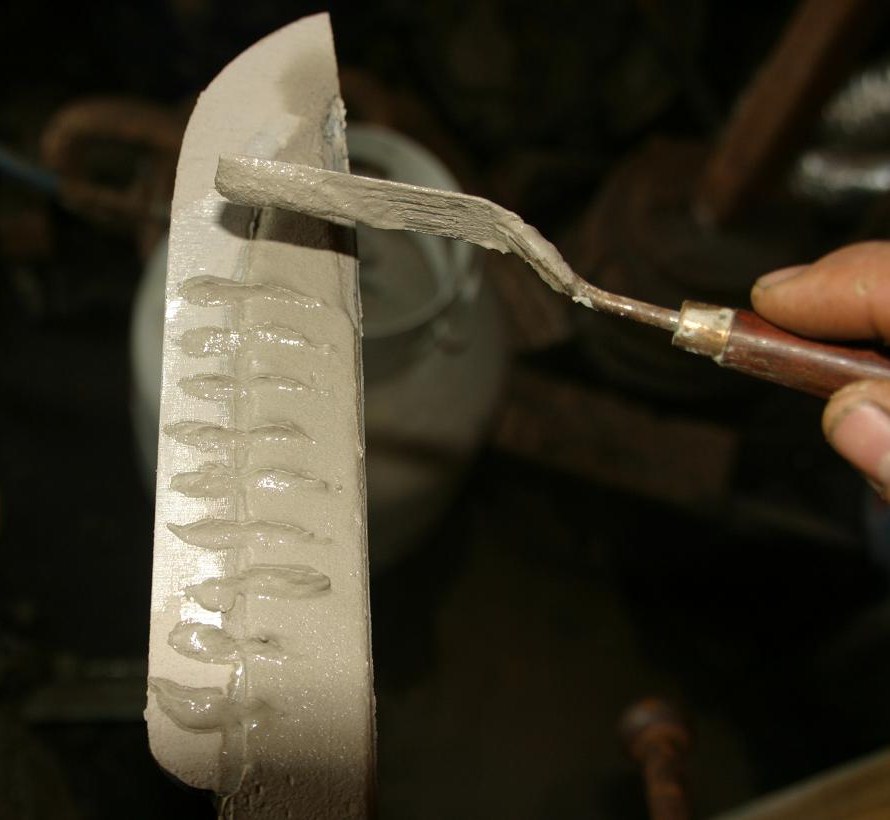
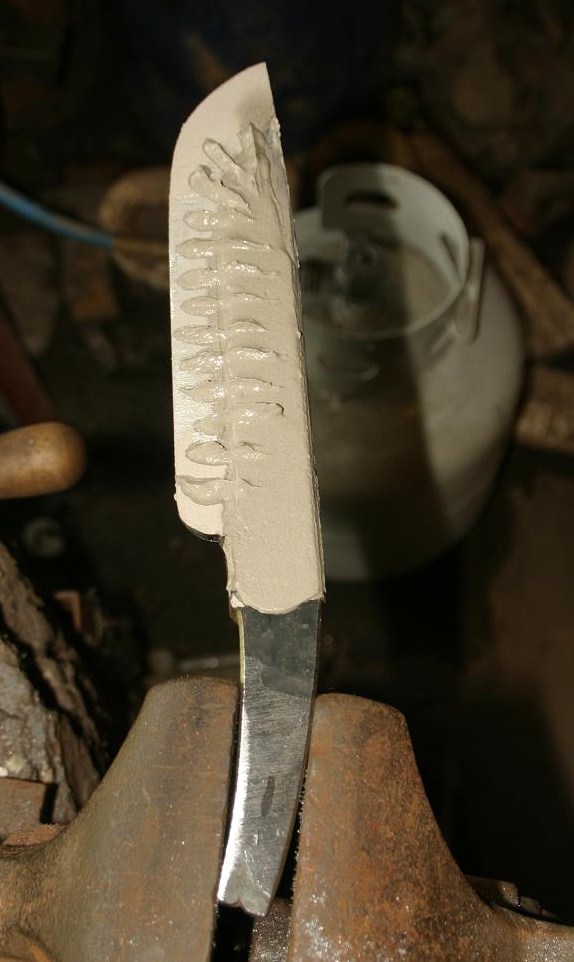
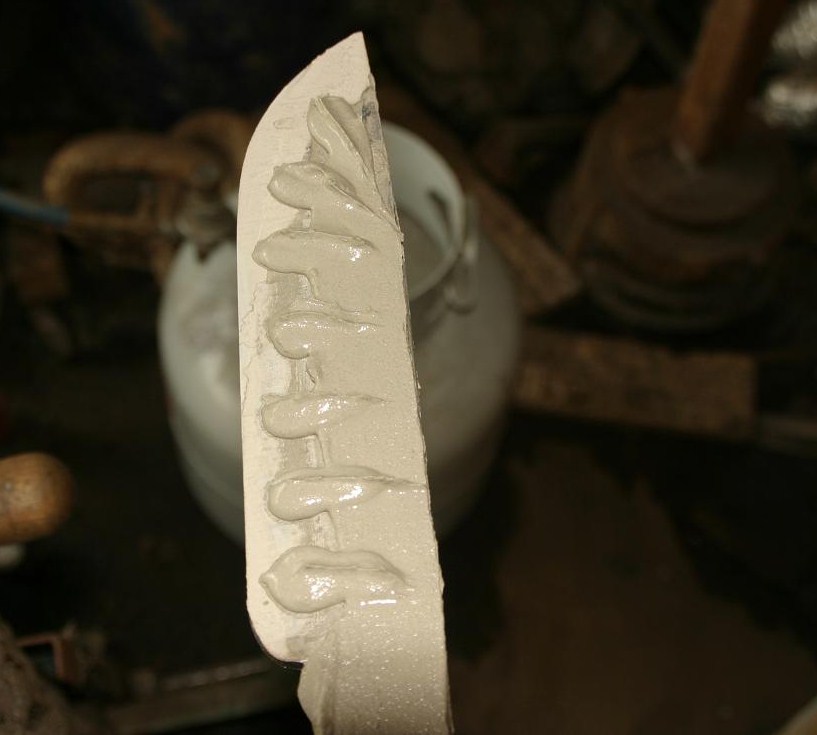
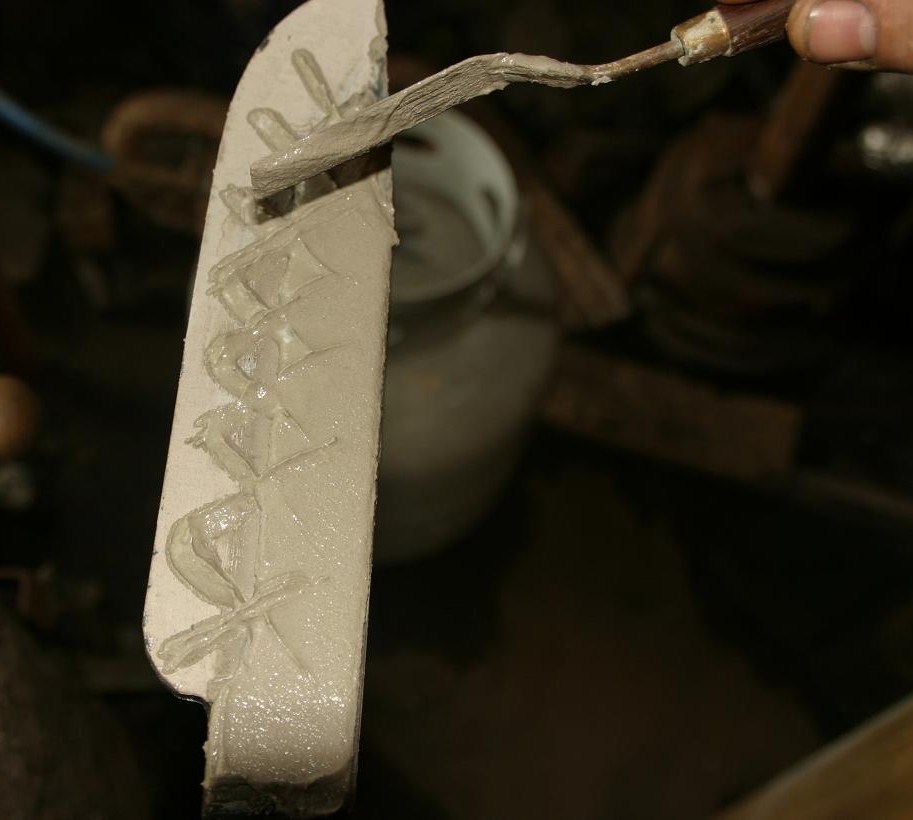
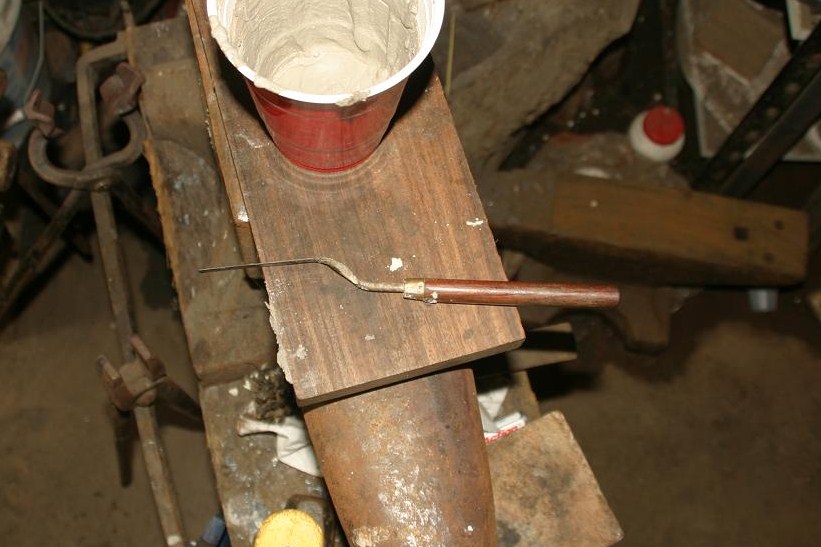
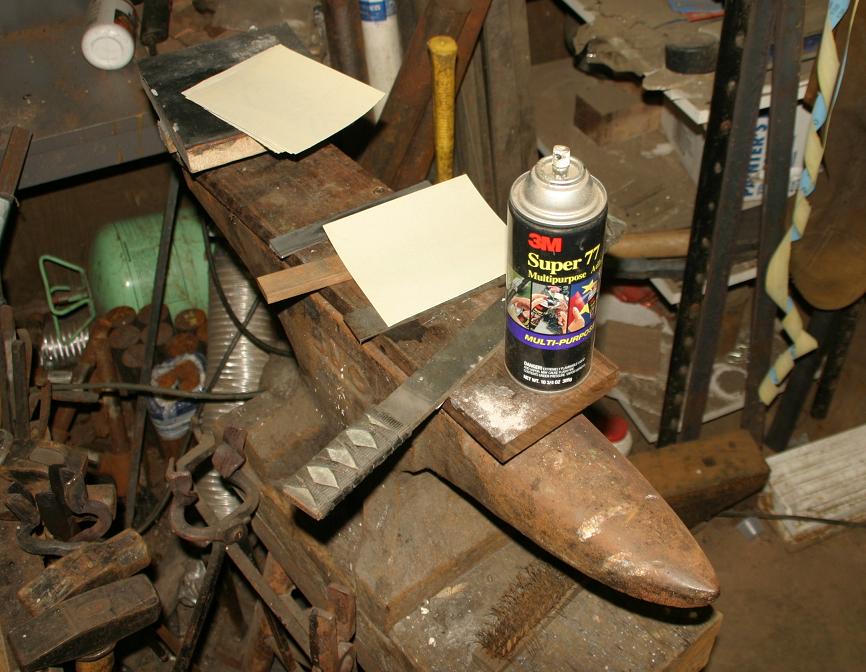
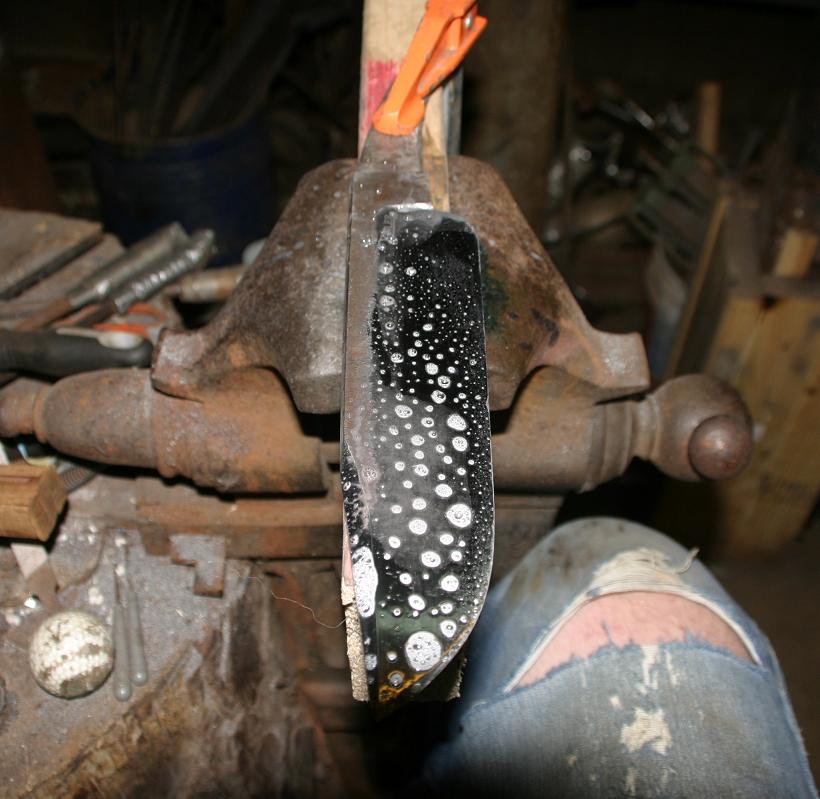
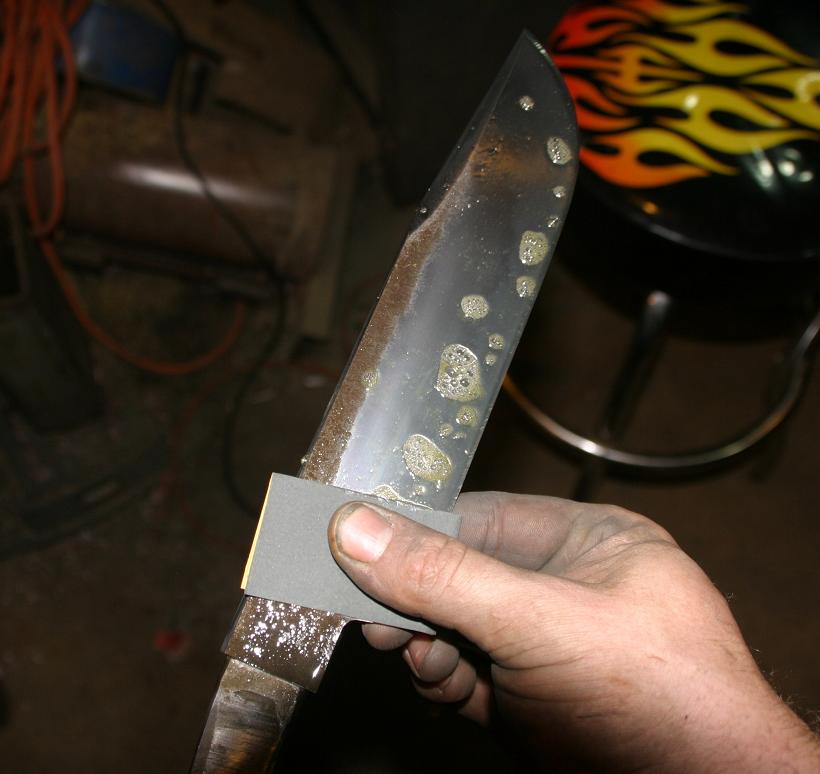
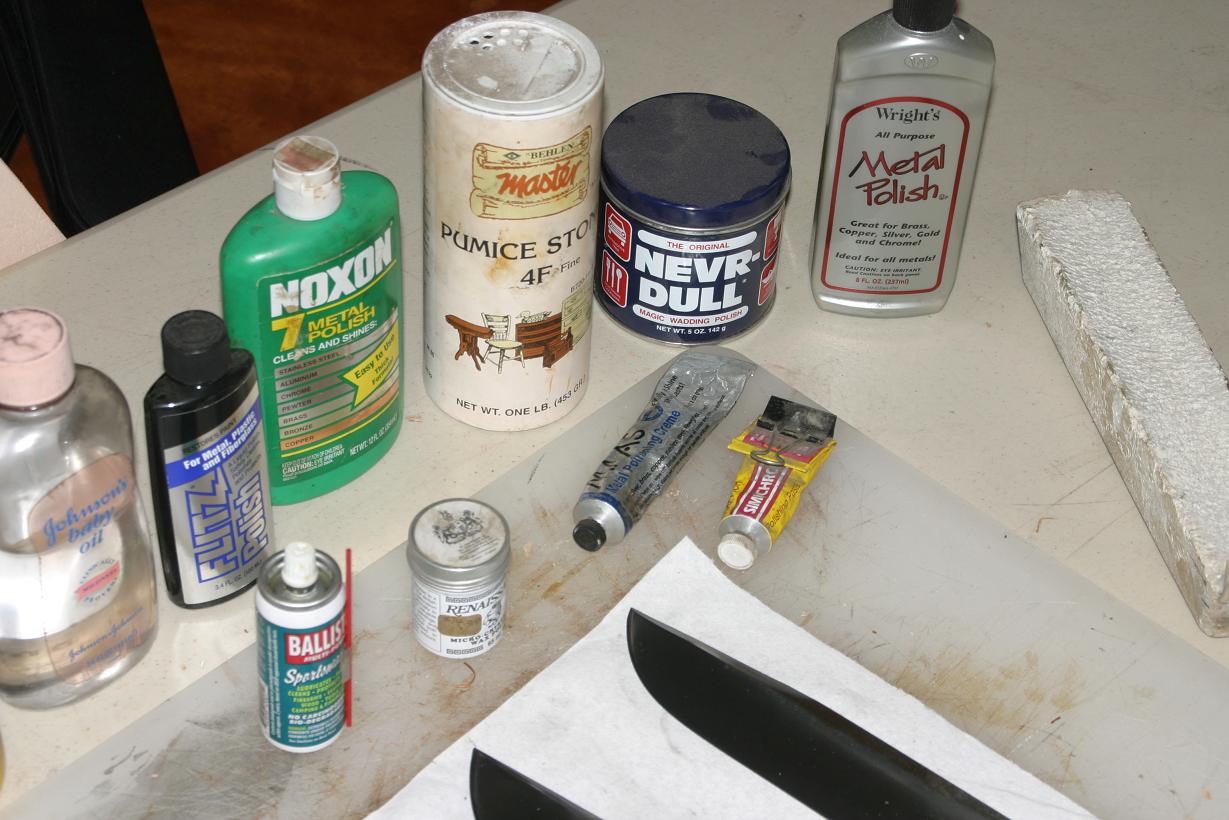
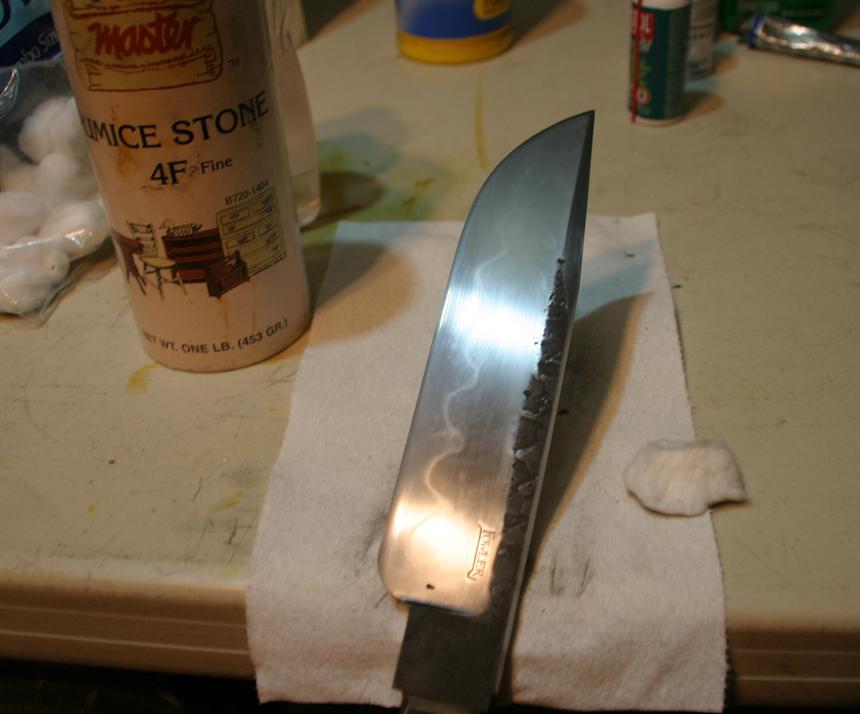
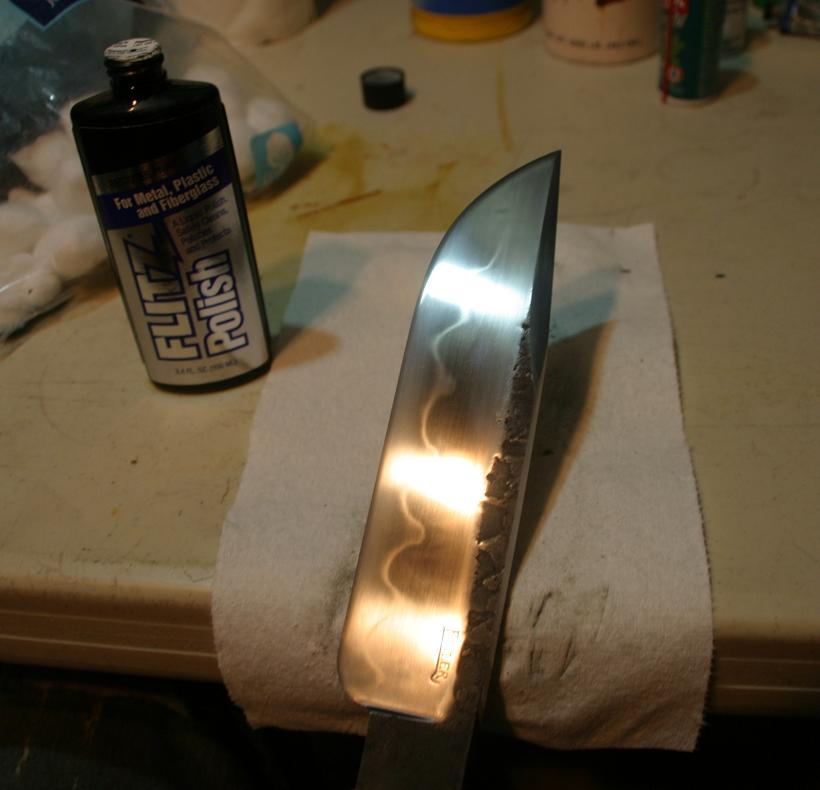
I use Satanite clay to insulate the spine area of my knives, thus preventing the spine from cooling fast enough to form Martensite (hard steel), while allowing the edge to harden. I use Parks #50 metallurgical quenchant with all of my blades but similar results can be achieved with any decent quenchant.
This tutorial assumes that you are using appropriate steel for creating a Hamon, a shallow hardening carbon steel is preferable.
1075, 1095, W1, W2 all do really well, 1084 is a little picky, O1 and 5160 are technically possible but a real bear.
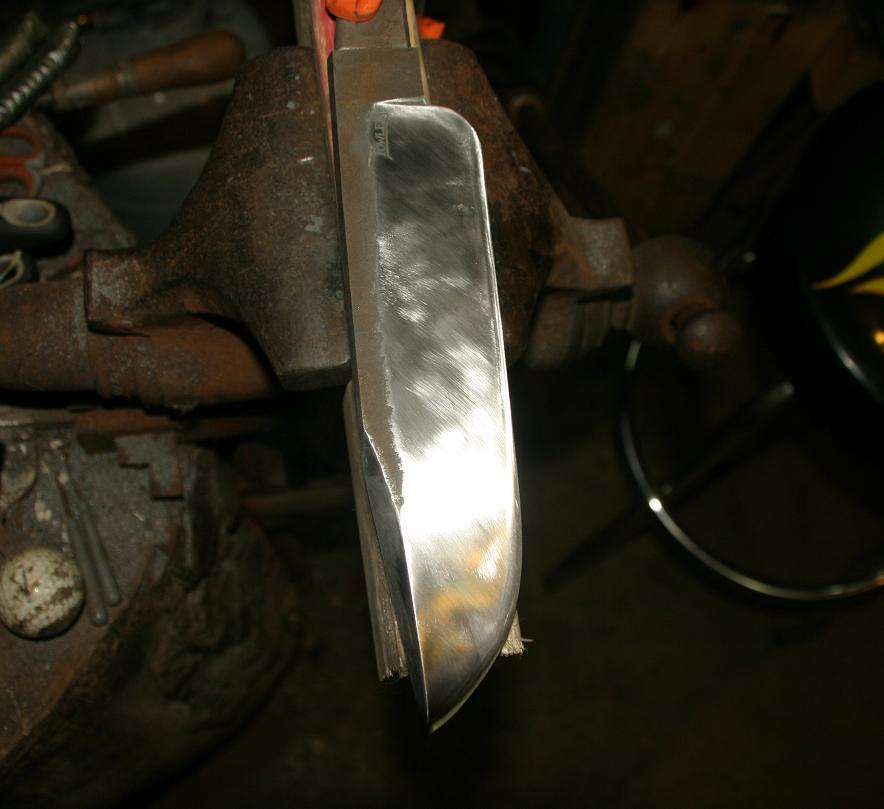
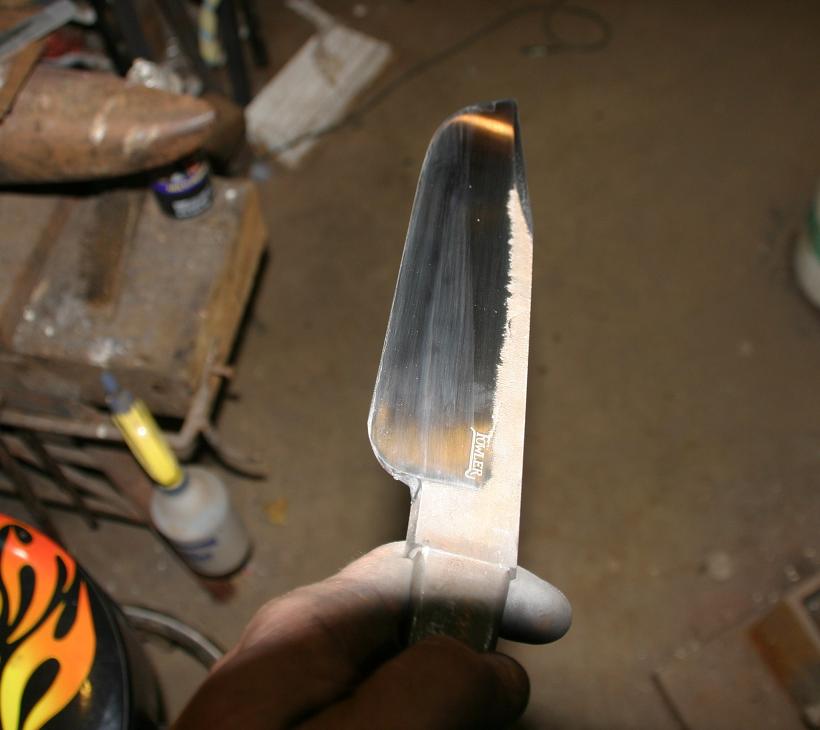
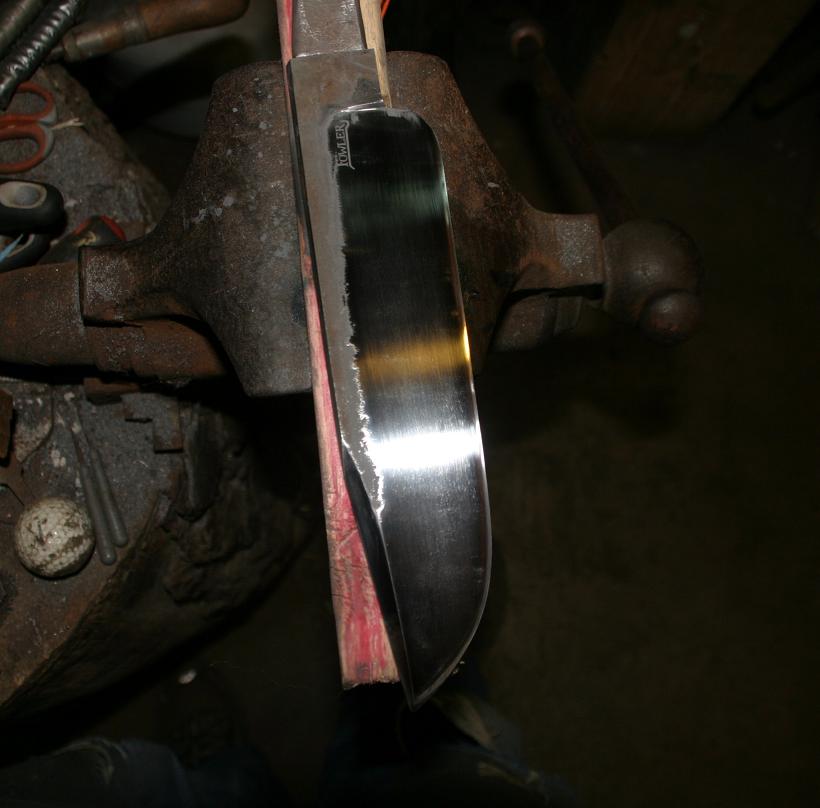
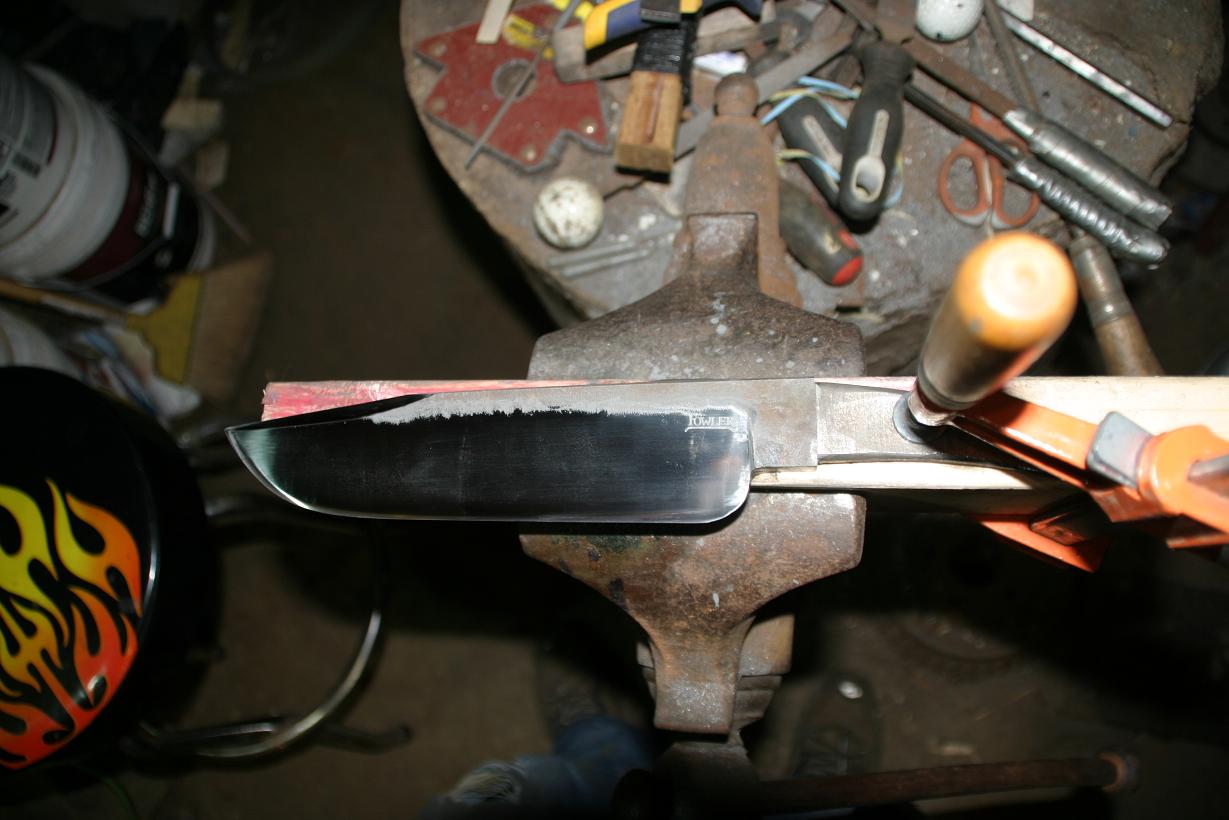
Creating a good Hamon starts in the hammering and shaping phase. It is very important to have an understanding of what each heat is doing to the grain boundaries in your workpiece. If you are doing stock removal you should be pretty well set to go, if not you MUST make sure to properly normalize your work before HT.
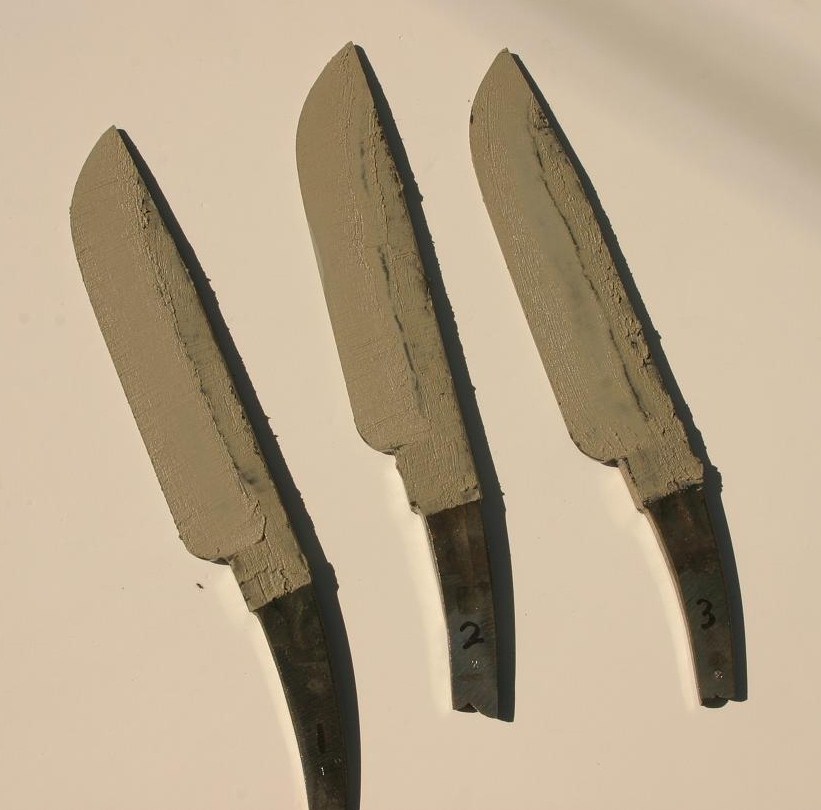
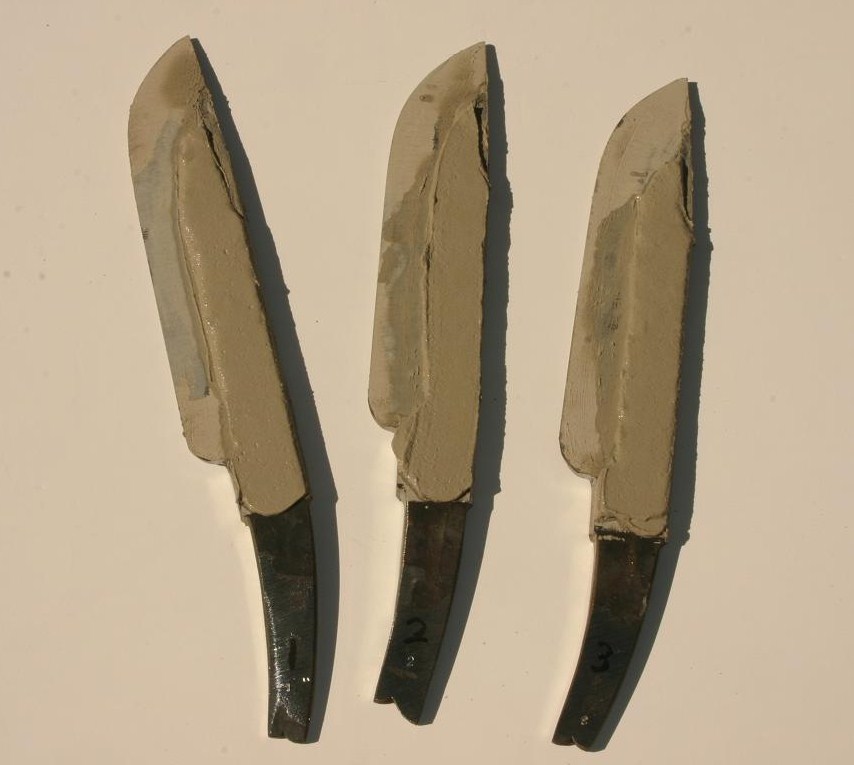
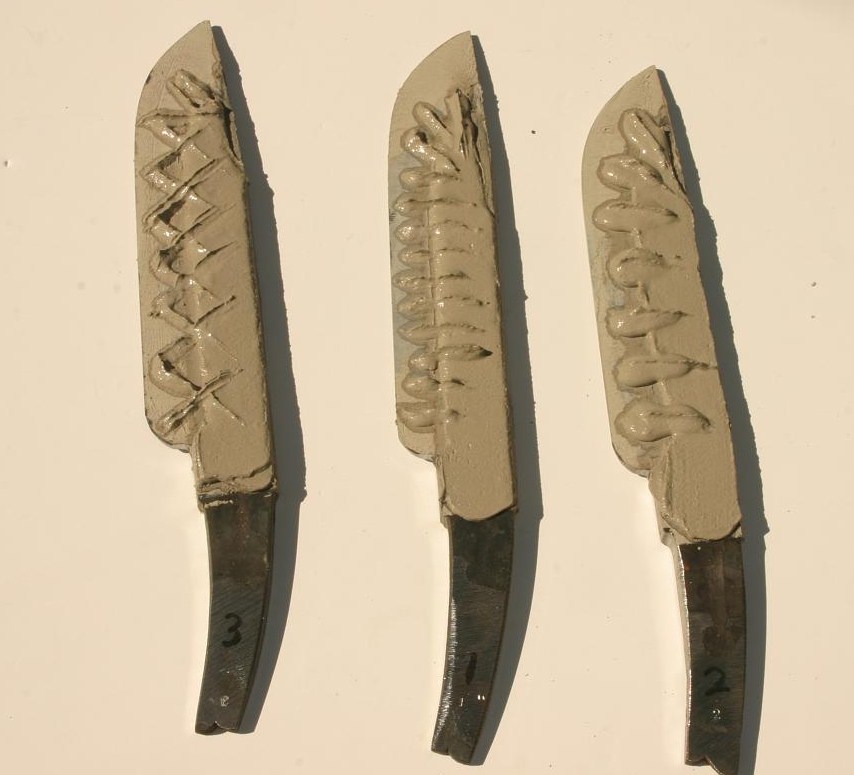
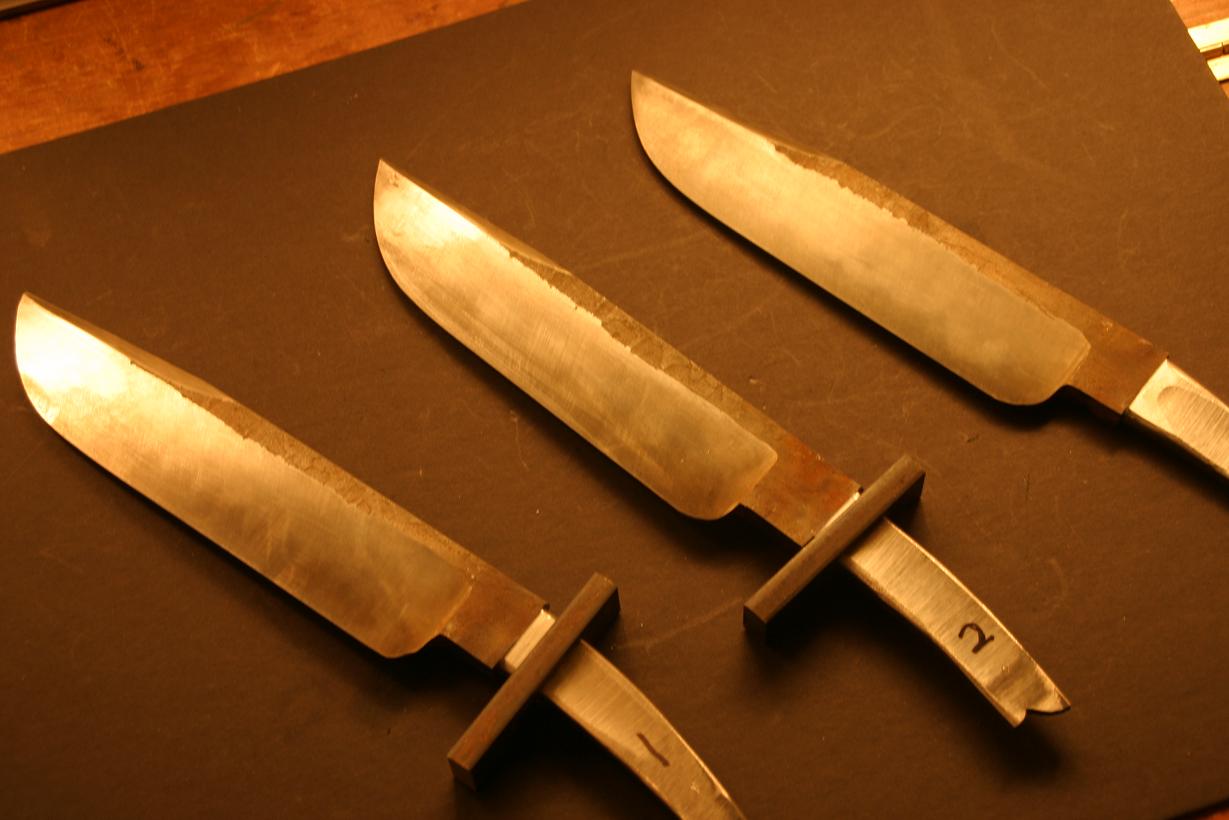
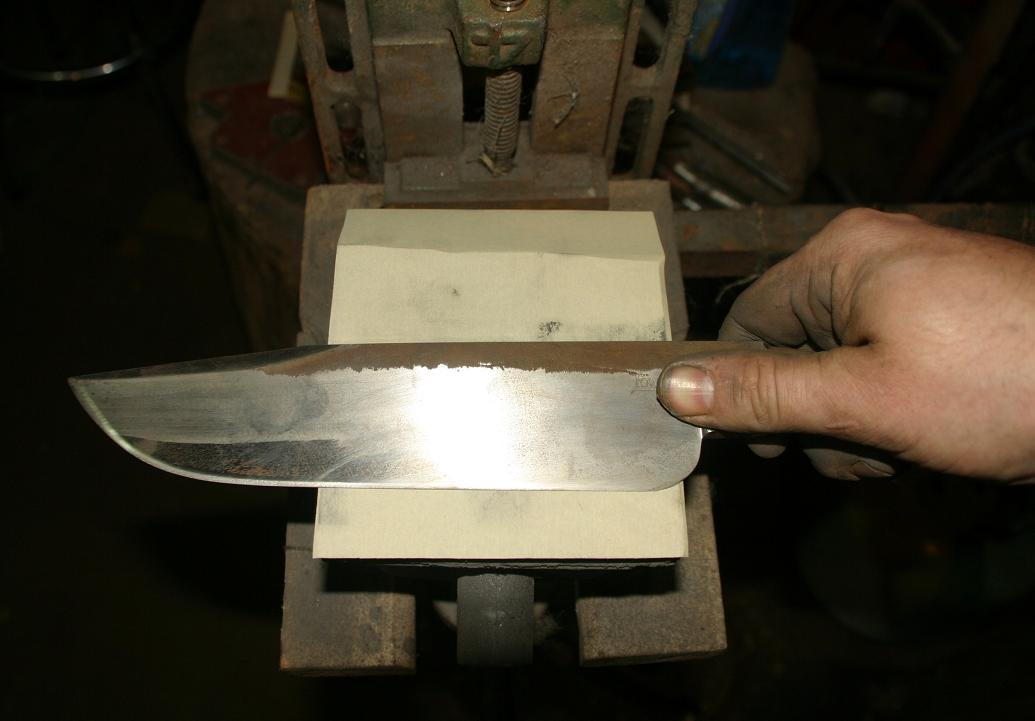
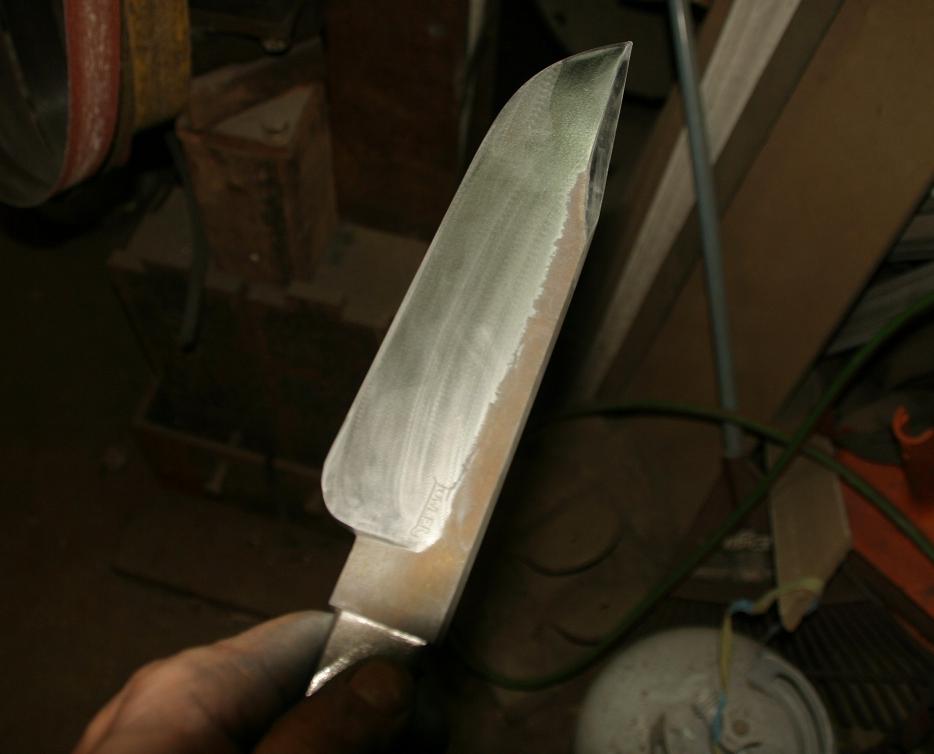
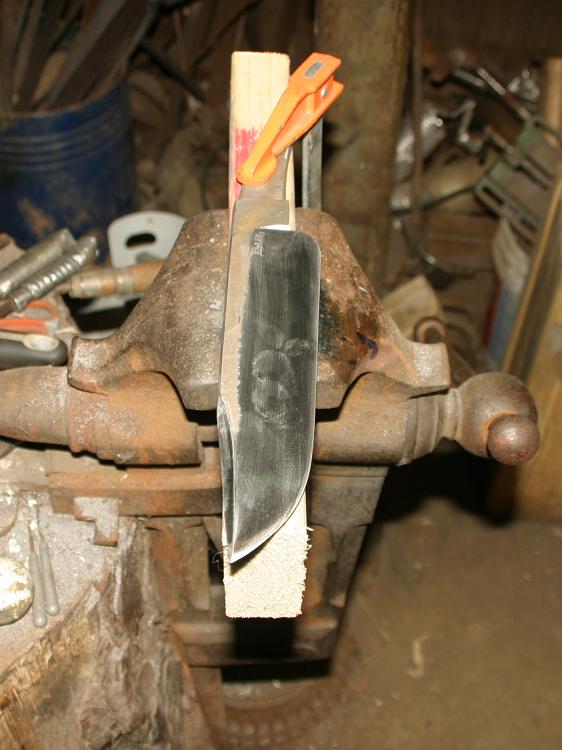
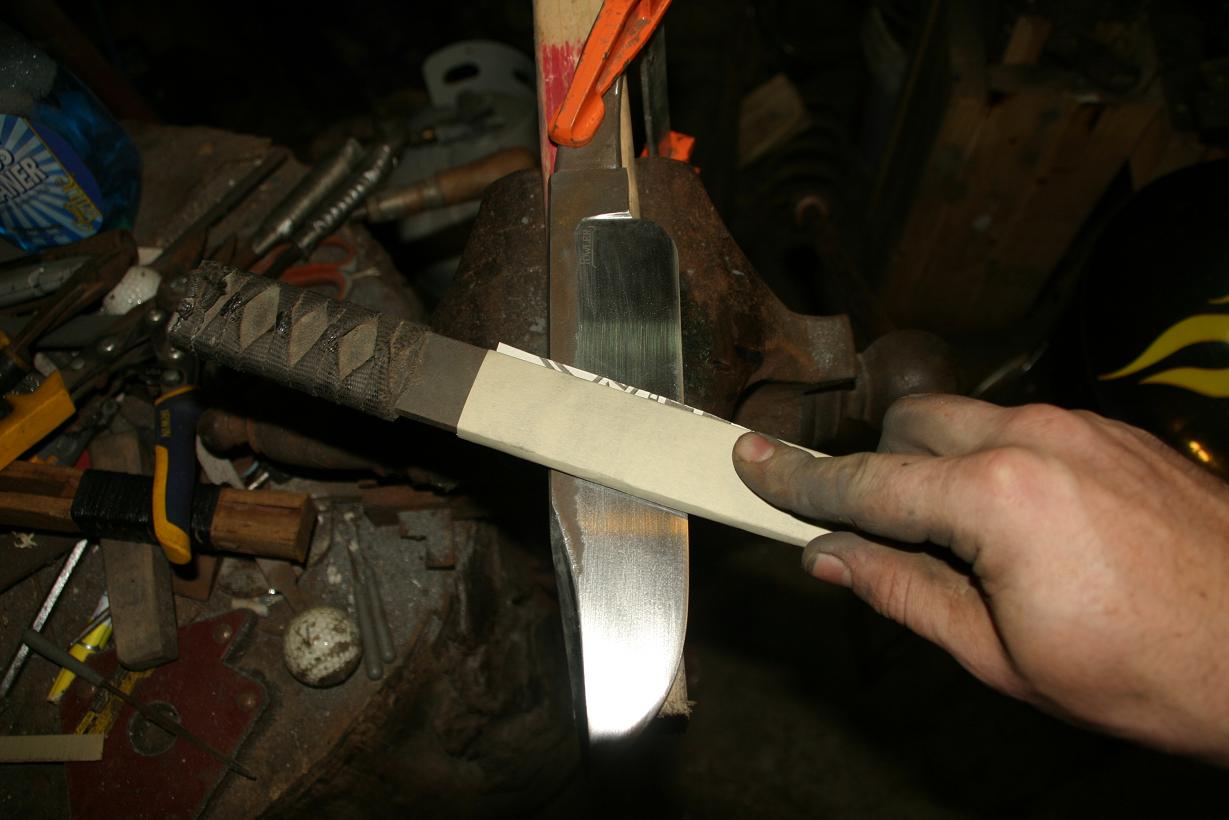
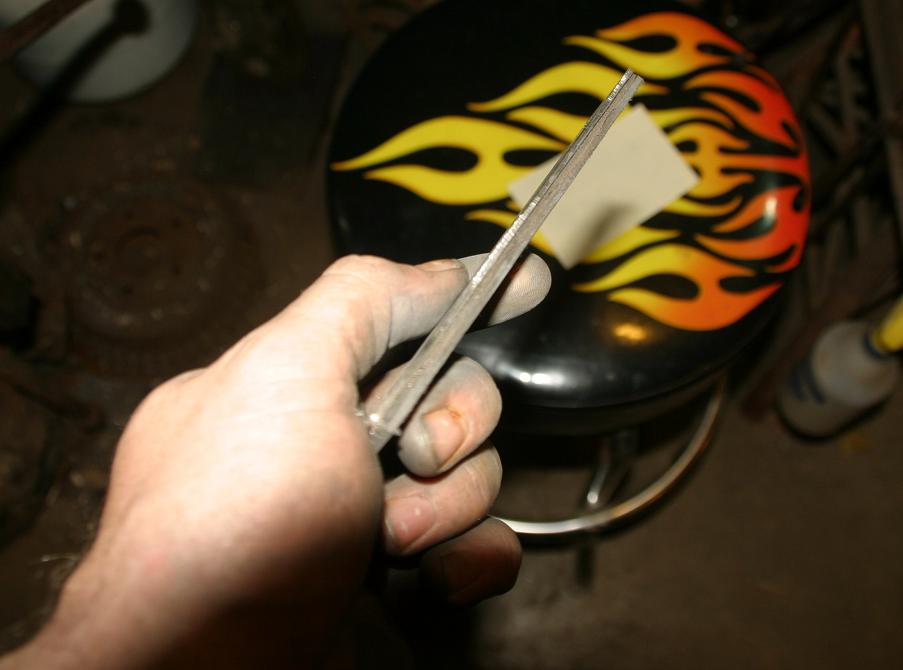
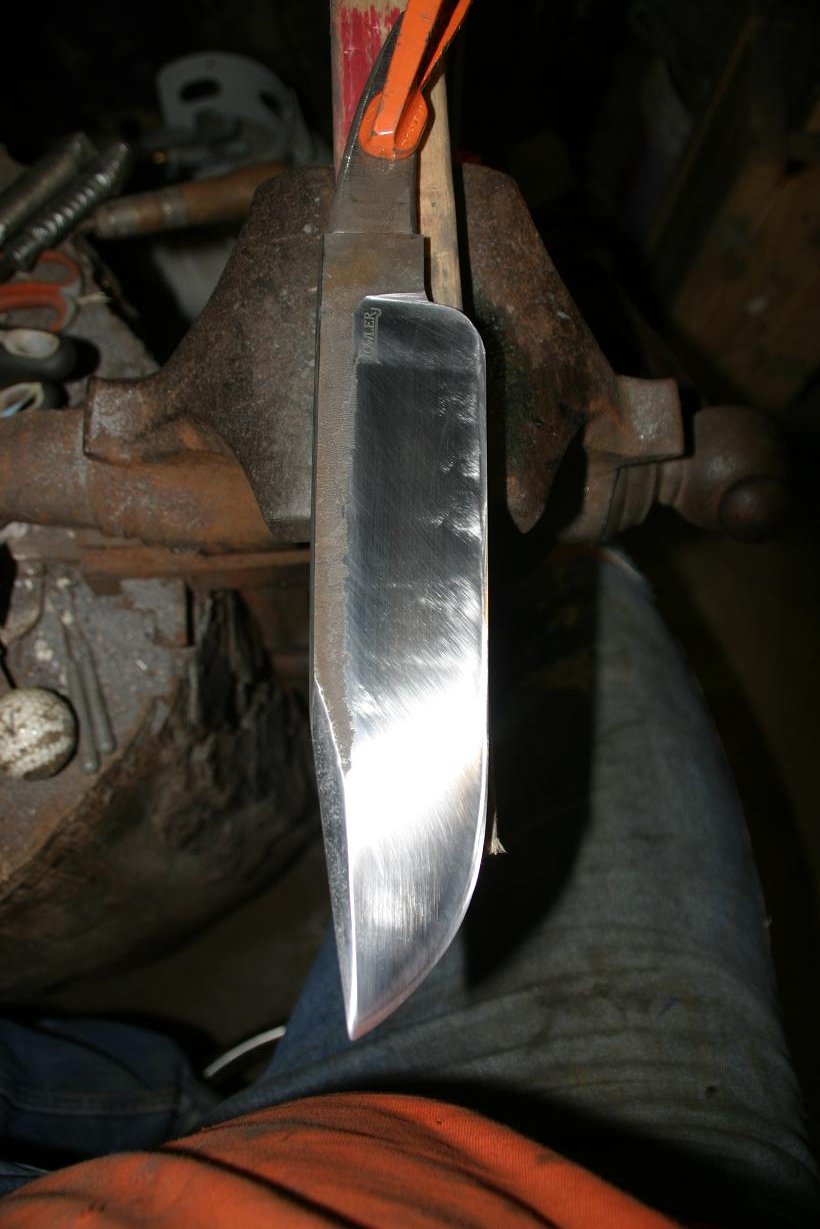
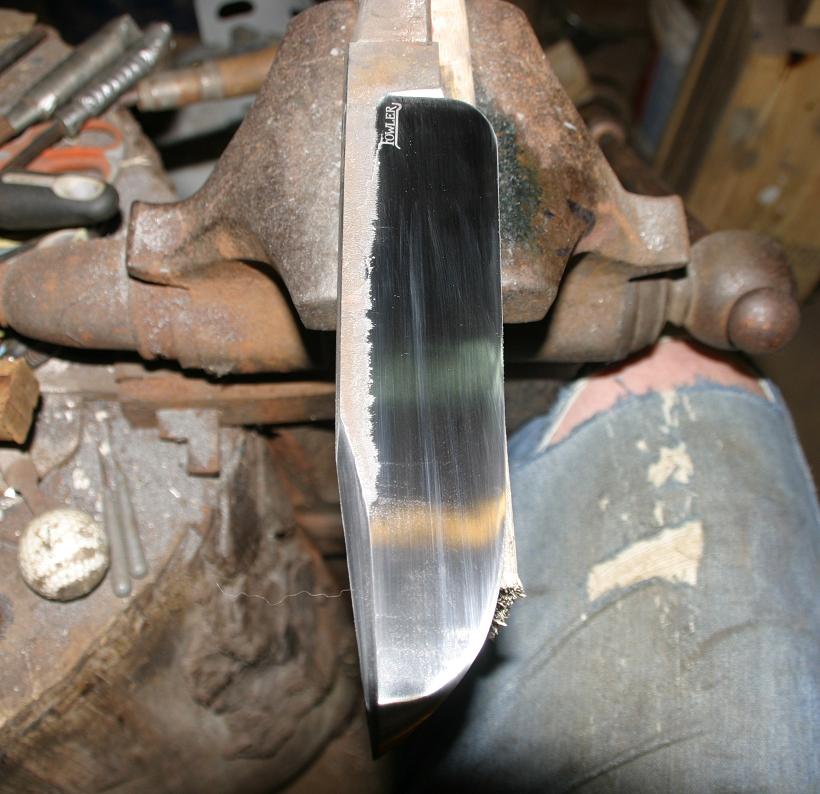
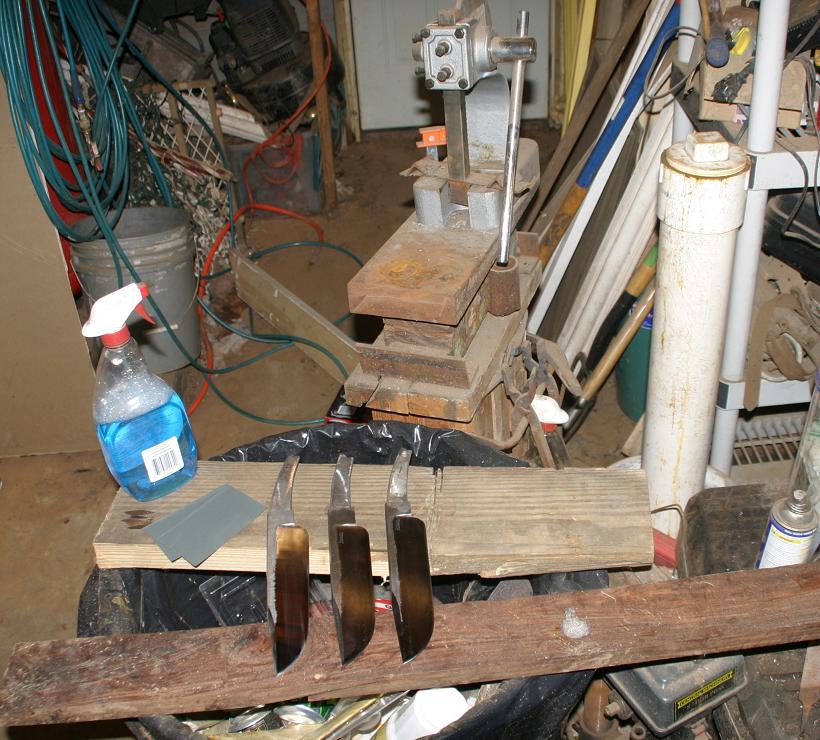
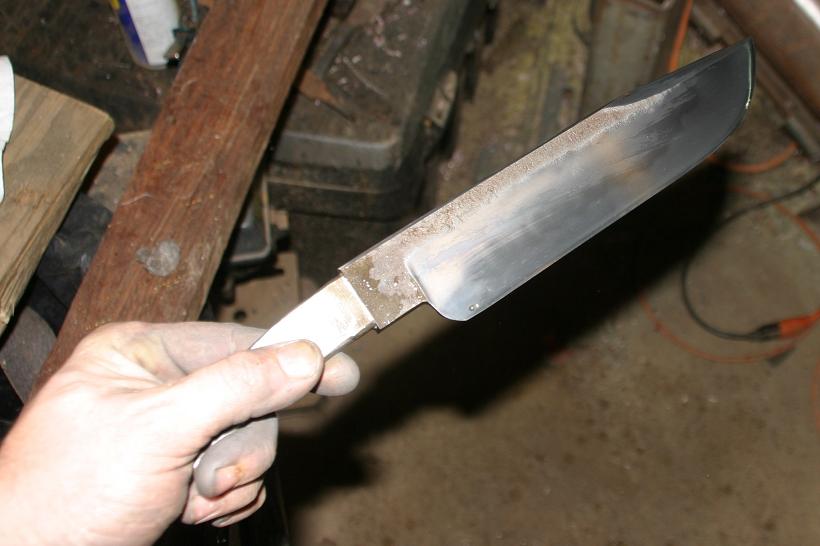
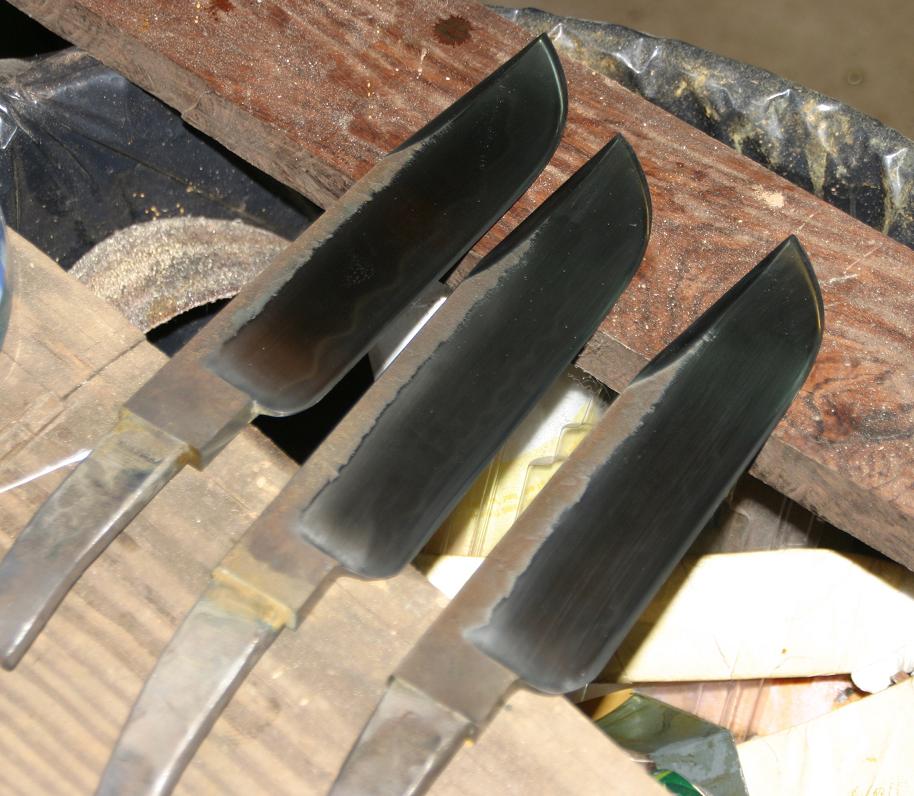
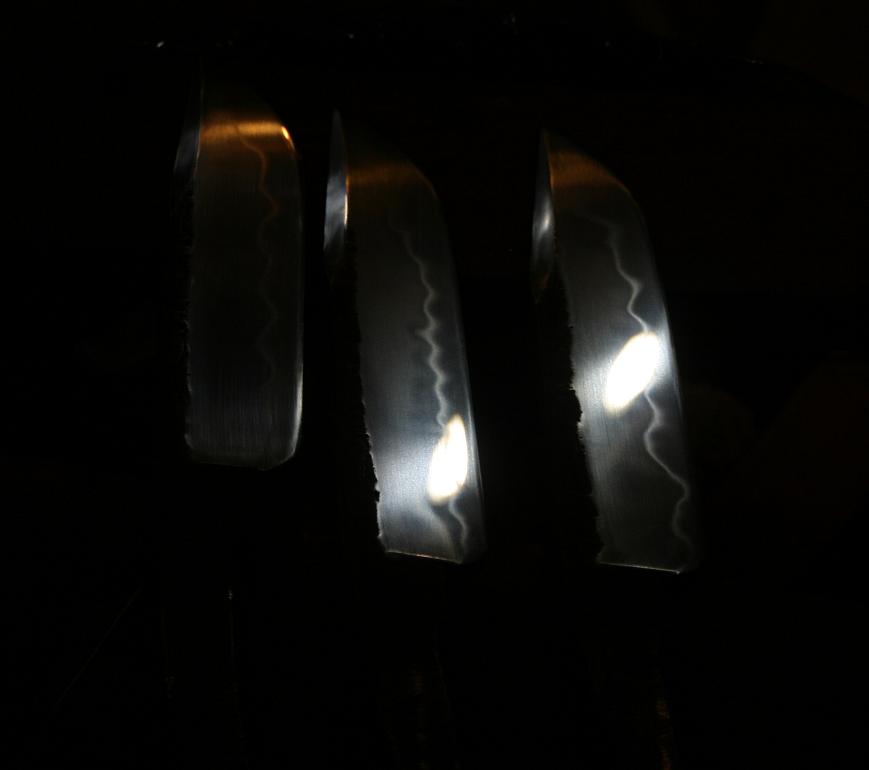
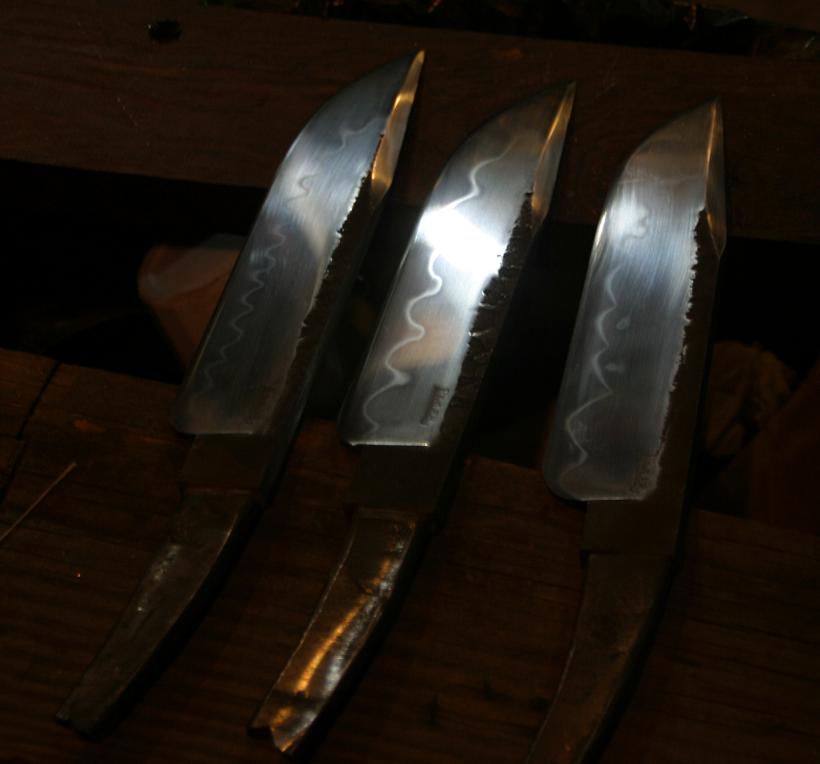
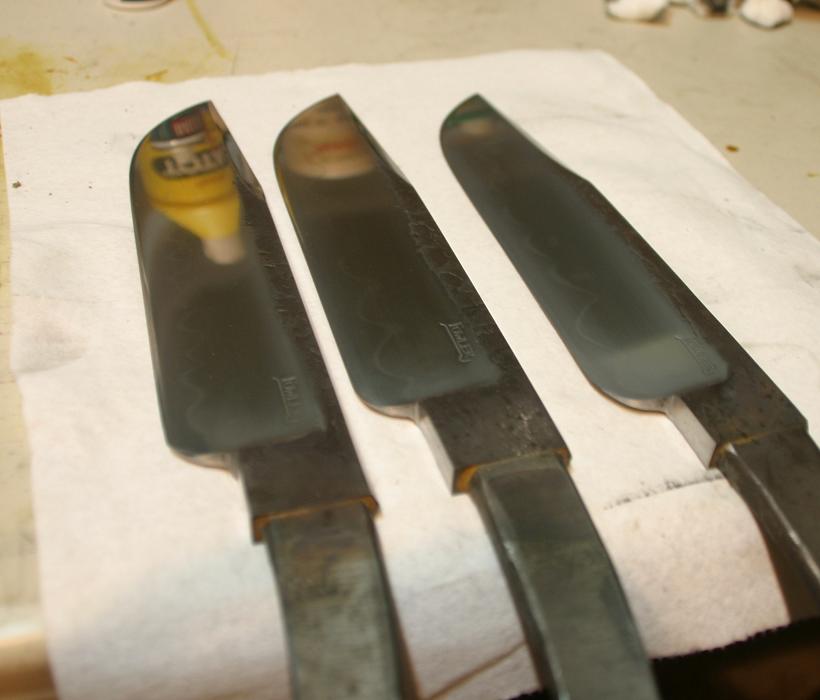
I will show the progress of three blades shaped exactly the same, all made from 1095, each piece was normalized 4 times with descending heats.
The first normalization I went just to Non-Magnetic and let the knife cool slowly.
Then to just shy of Non-Magnetic (the magnet still sticks but very weak) and cooled slowly.
Then to a medium red heat and cooled slowly.
Then to a dull red heat and cooled slowly.
Hamon is a Japanese word used to define the pattern that the hardened edge of a properly made sword. A common misconception is that Hamon refers to the hardened area, this is incorrect, the hardened area is known as Yakiba.
In modern knifemaking terms however Hamon has come to define the hardened portion of any knife which displays a differentially hardened edge.
There are many ways to achieve a differentially hardened edge but they all center around the same concept, getting the edge hard while keeping the back soft.
I use Satanite clay to insulate the spine area of my knives, thus preventing the spine from cooling fast enough to form Martensite (hard steel), while allowing the edge to harden. I use Parks #50 metallurgical quenchant with all of my blades but similar results can be achieved with any decent quenchant.
This tutorial assumes that you are using appropriate steel for creating a Hamon, a shallow hardening carbon steel is preferable.
1075, 1095, W1, W2 all do really well, 1084 is a little picky, O1 and 5160 are technically possible but a real bear.
Creating a good Hamon starts in the hammering and shaping phase. It is very important to have an understanding of what each heat is doing to the grain boundaries in your workpiece. If you are doing stock removal you should be pretty well set to go, if not you MUST make sure to properly normalize your work before HT.
I will show the progress of three blades shaped exactly the same, all made from 1095, each piece was normalized 4 times with descending heats.
The first normalization I went just to Non-Magnetic and let the knife cool slowly.
Then to just shy of Non-Magnetic (the magnet still sticks but very weak) and cooled slowly.
Then to a medium red heat and cooled slowly.
Then to a dull red heat and cooled slowly.