cardoso5fr
Well-Known Member
A guy asked me to make some picture during the creation of his spreader. i share it with you.

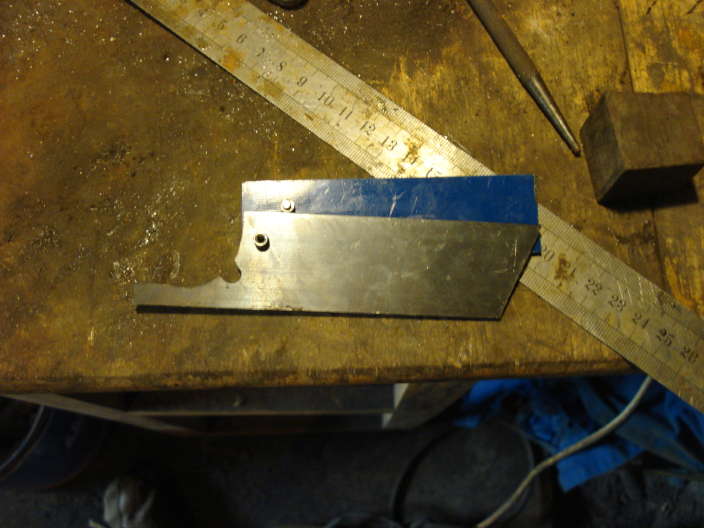
I cut the XC75 and G10 sheet with my angle grinder. (on the first picture if a friction folder blade without tail, the following picture are with a friction folder blade with tail because i forgot when i cut the first blade that i had to make something with tail ))
))

I marked the pivot point

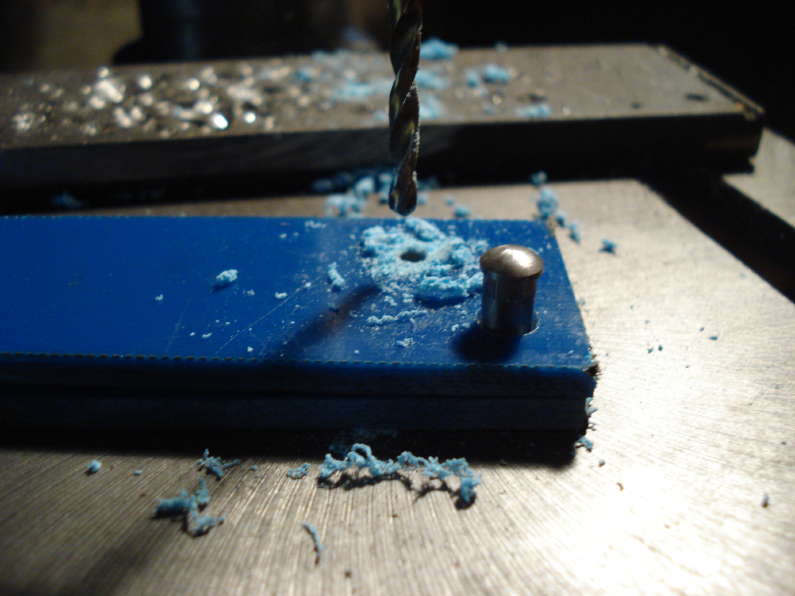
I drilled at 4,8mm

Positioning of the scale.

3mm drilling

I counterbored the sport for the pivot screw

4,8mm drilling

I reamed to 5mm

I reamed the blade pivot hole

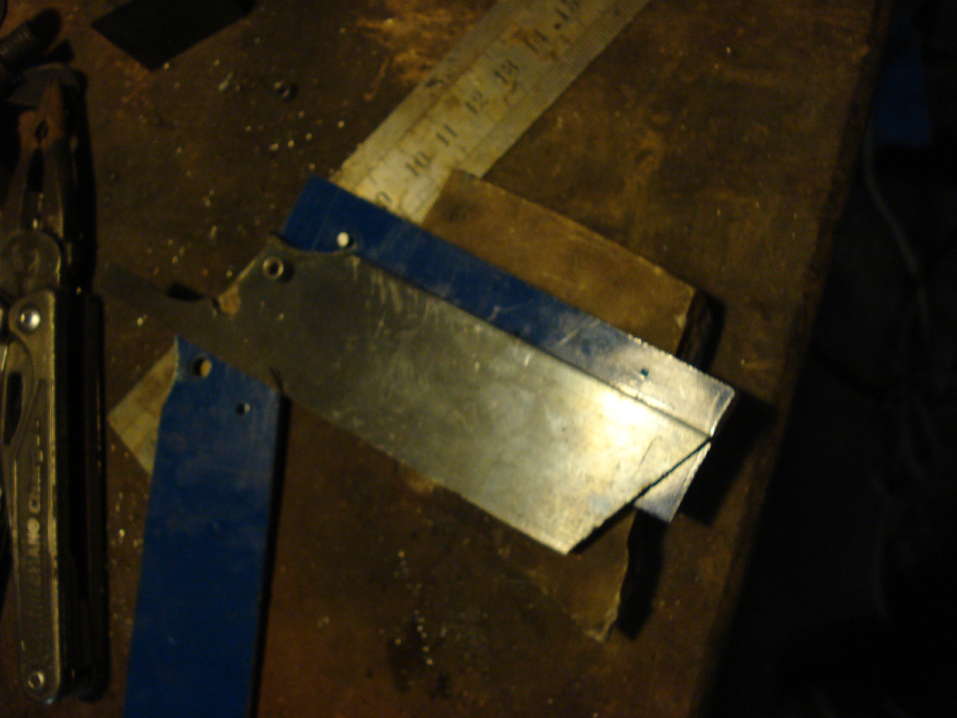
Positionning of the blade to point the tang spot. I marked with a hardened point over the heel of the blade closed .

Same thing on the back heel with the blade open.

I point just on the top left point of the crossed mark.
3mm tang drilling

I pointed on the open blade the place of the tang pin.

With marking point, i draw the way of the tang pin

I grinded the heel with a 40 grit belt.

I put a temporary tang pin

I filled the tang cup in order to control perfectly the work.

OK
Closed
I grinded the finger choil. It's OK i didn't put away too much material. I point the spot for the spacer.

3 mm drilling for the spacer.

5mm drilling for lanyard hole.

90° countersinking

OK

I pointed the future spyderhole, 9mm of the back and 2,5cm of the center of the pivot hole.

6,5mm drilling. (half of the 13 mm drill bit i will use for spyderhole)

13 mm drilling.

I have to grind the handle.

Handle OK

I put the pivot, the washer, the blade and marked where i have to cut.

I cut with the dremel.

I cut the spacer and tang pin. 3,5 mm (0,2mm for each washer and 3mm of blade.) 3,5mm is ok for a good friction.

I shortened the screw

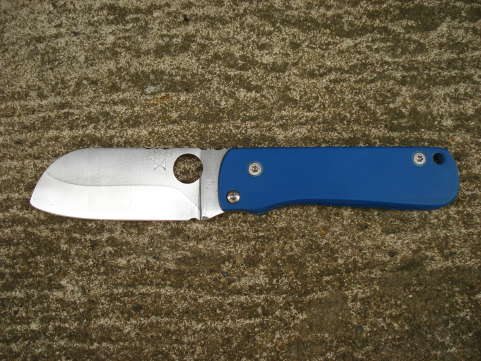
The knife have almost is final shape

Open before grind.

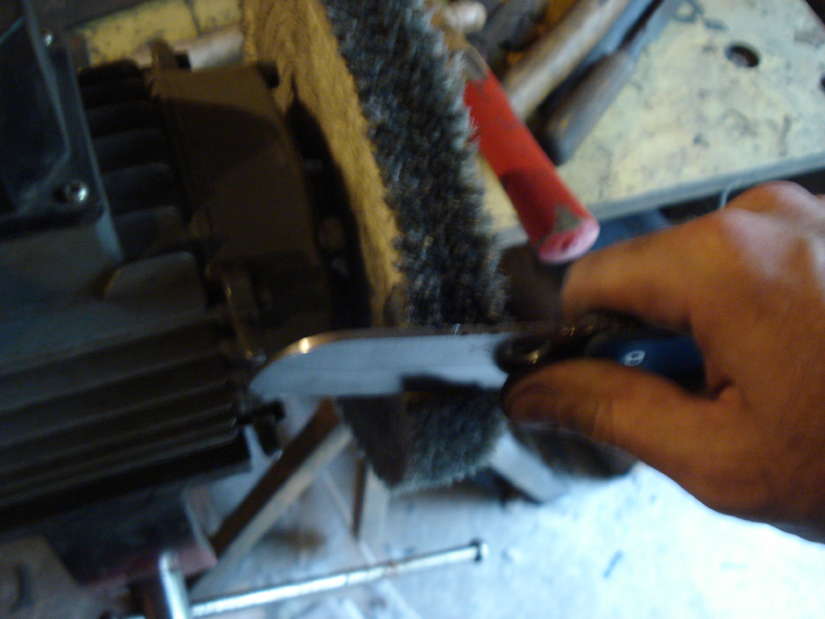
40 grit belt

After 40 grit belt

After grit 120

After 240
Following step
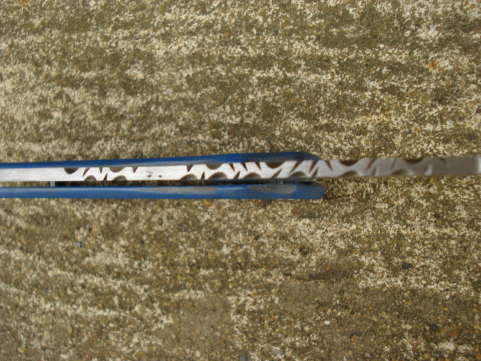
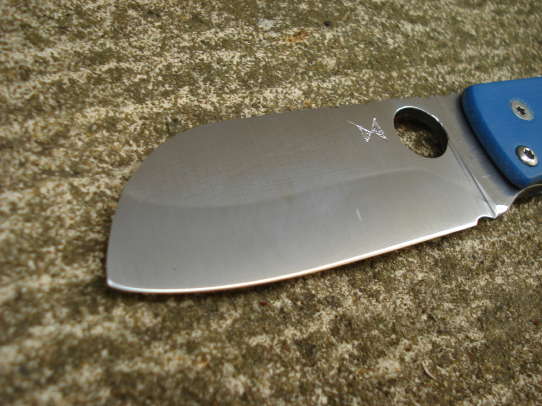
Fileworked, heat treatment, final handle shaping work, final blade grind, cleaning, etching, etching of my logo, polishing, building
I cut the XC75 and G10 sheet with my angle grinder. (on the first picture if a friction folder blade without tail, the following picture are with a friction folder blade with tail because i forgot when i cut the first blade that i had to make something with tail
))
I marked the pivot point
I drilled at 4,8mm
Positioning of the scale.
3mm drilling
I counterbored the sport for the pivot screw
4,8mm drilling
I reamed to 5mm
I reamed the blade pivot hole
Positionning of the blade to point the tang spot. I marked with a hardened point over the heel of the blade closed .
Same thing on the back heel with the blade open.
I point just on the top left point of the crossed mark.
3mm tang drilling
I pointed on the open blade the place of the tang pin.
With marking point, i draw the way of the tang pin
I grinded the heel with a 40 grit belt.
I put a temporary tang pin
I filled the tang cup in order to control perfectly the work.
OK
Closed
I grinded the finger choil. It's OK i didn't put away too much material. I point the spot for the spacer.
3 mm drilling for the spacer.
5mm drilling for lanyard hole.
90° countersinking
OK
I pointed the future spyderhole, 9mm of the back and 2,5cm of the center of the pivot hole.
6,5mm drilling. (half of the 13 mm drill bit i will use for spyderhole)
13 mm drilling.
I have to grind the handle.
Handle OK
I put the pivot, the washer, the blade and marked where i have to cut.
I cut with the dremel.
I cut the spacer and tang pin. 3,5 mm (0,2mm for each washer and 3mm of blade.) 3,5mm is ok
for a good friction.
I shortened the screw
The knife have almost is final shape
Open before grind.
40 grit belt
After 40 grit belt
After grit 120
After 240
Following step
Fileworked, heat treatment, final handle shaping work, final blade grind, cleaning, etching, etching of my logo, polishing, building