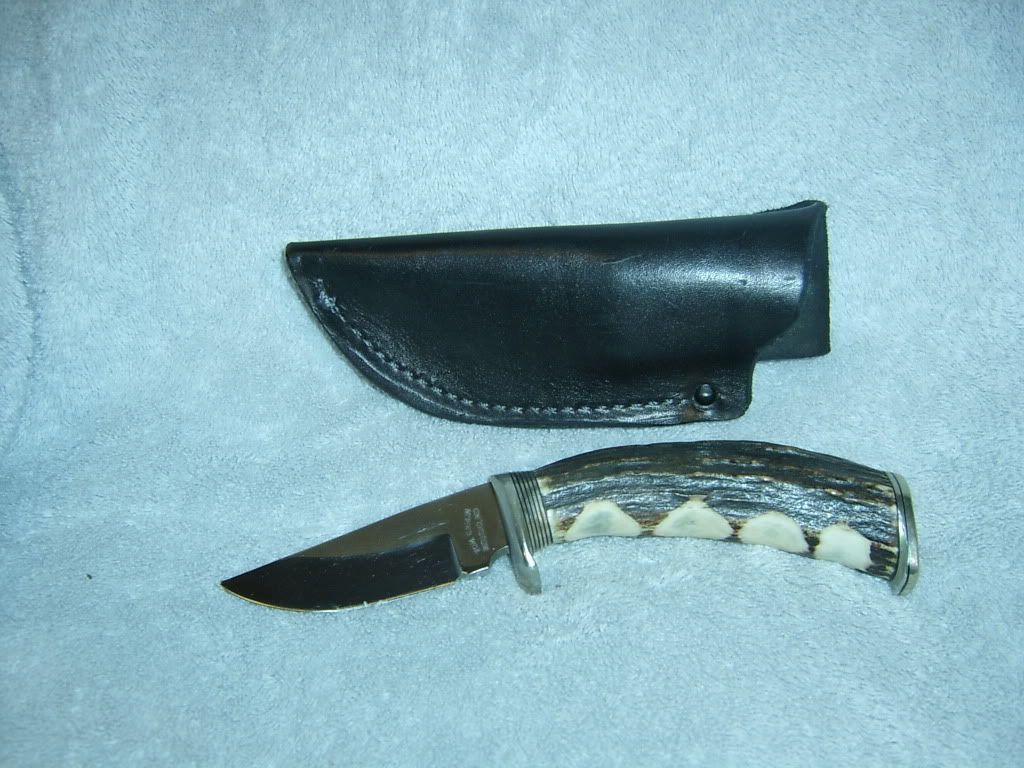
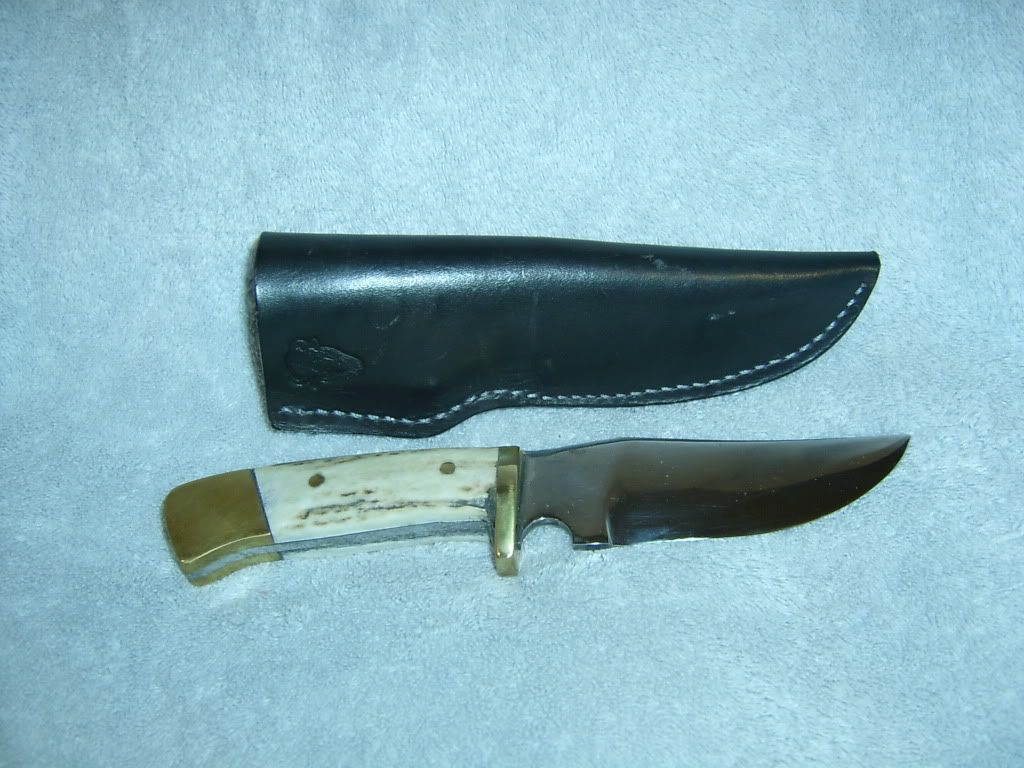
First ones

JAWilliams

KNIFEMAKER
These were the first two shealths I build.
S3600020.jpg

S3600021.jpg

S3600022.jpg
 
They look pretty good for first ones.Feel free to ask if we can help.Dave2thumbs
 
Thanks everyone. My biggest problems are lay out and getting the seam smooth and looking good. But I have been told that that comes with time. Next is learning to do a little bit of tooling.
 
Layout

I'm still a rookie myself but I have literally had a few dozen hours of one on one teaching frome Dave so I'll take a crack at this. Dwayne or Dave can check me out and make corrections or additions as needed.

Sheath Layout-
You can use use paper but file folders will give a bit more durable template for future use.
1. Draw a stright line then put center of the knife spine on the line.
2. Roll the knife over until it is laying flat on it's side and trace the outline of the blade and handle (there will be a gap between knife spine and center line)
3. Draw a line parallel to the outside edge of tracing 5/8" away.
4. Fold template on line and cut around the outside line.
5. Use the line thats left on the template as a template for the inside of the welt.
6. Place template on leather and trace then cut out the sheath body and welt.

This process will give a sheath body with plenty of room left outside the stitch line for proper finishing of the edge.


I'm posting in 2 sections just in case my kid erases me midstream, LOL
-Josh
 
Stitch Line

At this point it is time to layout and tool the sheath body if desired.

If tooling is desired mark a line 3/4" in from the stitched side of sheath. This line will represent the outside of the tooling area.

The spine side of tooling layout will be determined by the thickness of the knife. The fatter the knife handle the further from the centerline of sheath body the tooling will need to be to prevent the tooling from being distorted by rolling around the sheath body.

1. Now assemble sheath body and welt with glue
2. Use belt sander to lightly clean up the outside edge.
3. Set adjustable groover to cut groove 1/2" from edge.
A good substitution here is to mark the stitch line with dividers, compass, or carefully freehand. now lightly wet the leather and use a Ball point stylus to emboss the stitch line. Any small tool with a rounded end will work here like small diameter pinstock with the end rounded.
4. Mark the stitch holes and drill with bottom of 1/16" drill bet sharpened to a point. Care must be taken to keep all holes straight and perpendicular to the centerline of the welt.
5. On back side of sheath use groover, stylus, or home made tool to connect the dots.
6 Now stitch the sheath
7 Back to the belt grinder to round off the edge and make sure it is parallel to the stitch line.

Hope this all helps you out in your sheathmaking endevors
-Josh
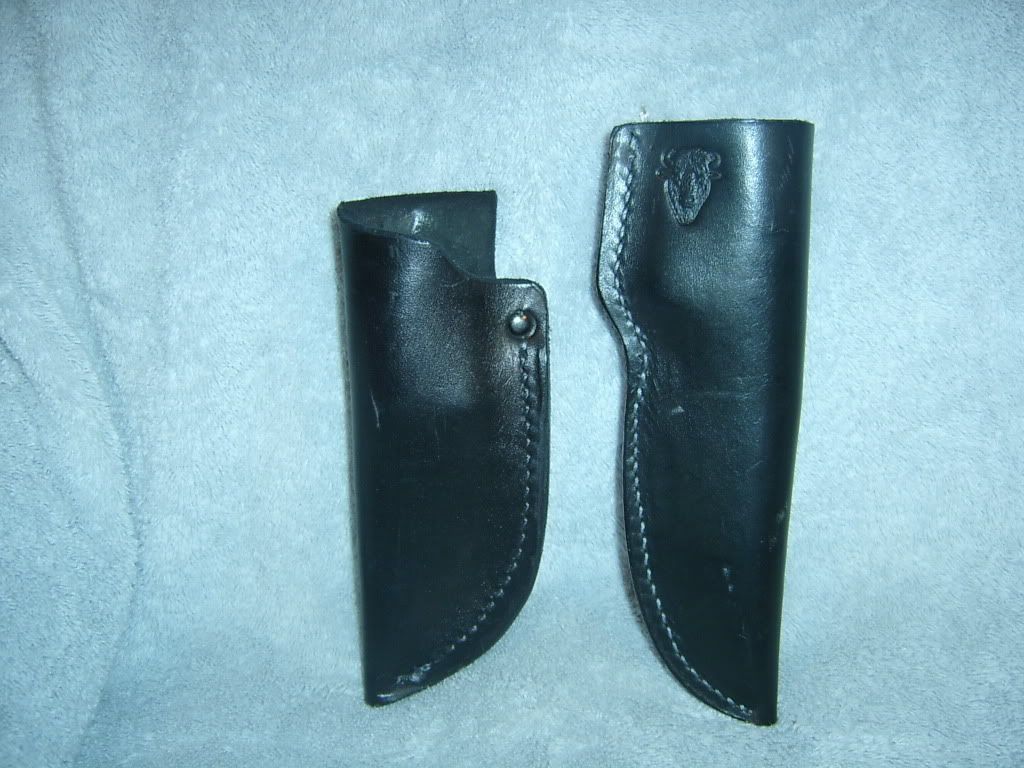
 
Back
Top