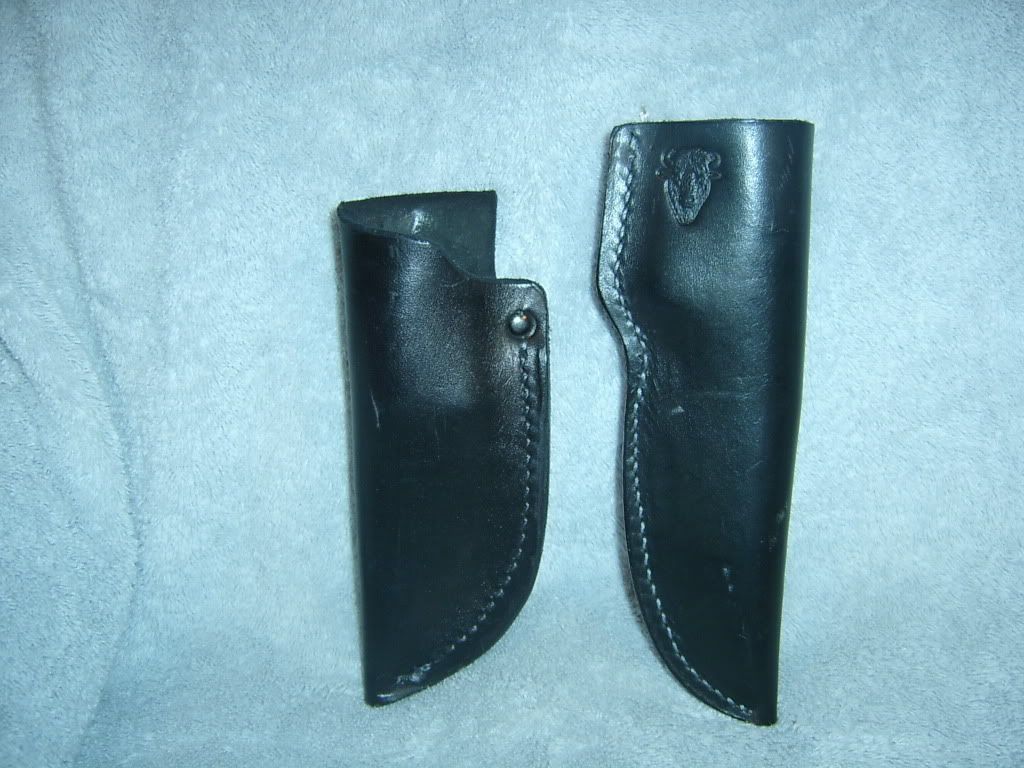
Stitch Line
At this point it is time to layout and tool the sheath body if desired.
If tooling is desired mark a line 3/4" in from the stitched side of sheath. This line will represent the outside of the tooling area.
The spine side of tooling layout will be determined by the thickness of the knife. The fatter the knife handle the further from the centerline of sheath body the tooling will need to be to prevent the tooling from being distorted by rolling around the sheath body.
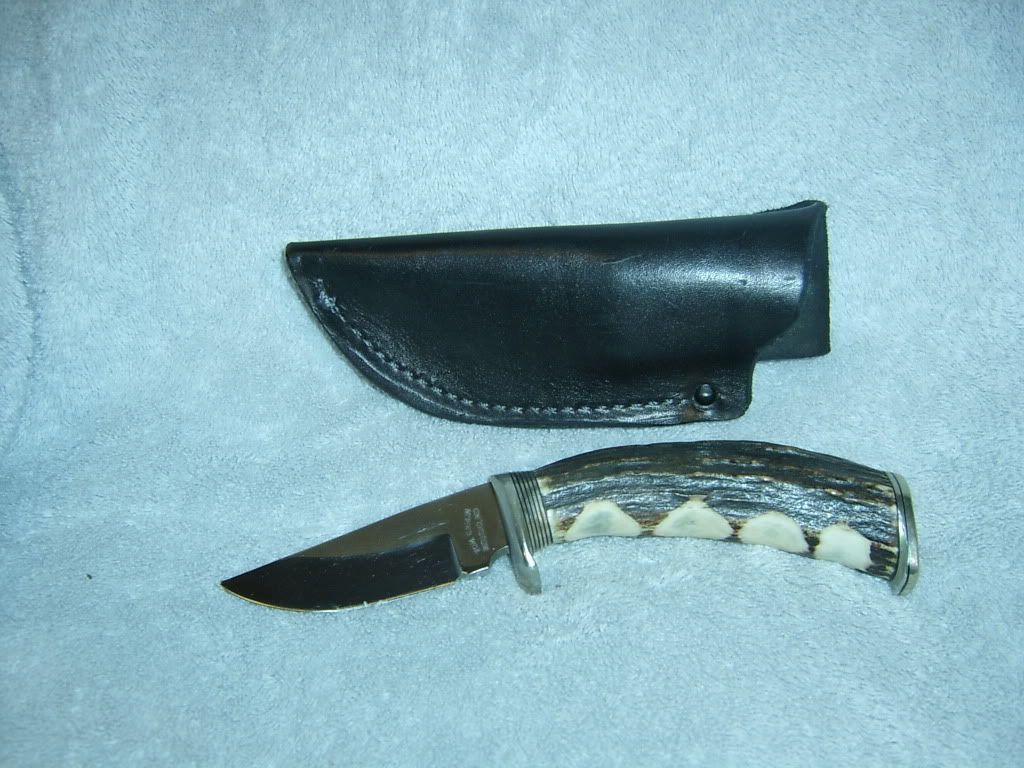
1. Now assemble sheath body and welt with glue
2. Use belt sander to lightly clean up the outside edge.
3. Set adjustable groover to cut groove 1/2" from edge.
A good substitution here is to mark the stitch line with dividers, compass, or carefully freehand. now lightly wet the leather and use a Ball point stylus to emboss the stitch line. Any small tool with a rounded end will work here like small diameter pinstock with the end rounded.
4. Mark the stitch holes and drill with bottom of 1/16" drill bet sharpened to a point. Care must be taken to keep all holes straight and perpendicular to the centerline of the welt.
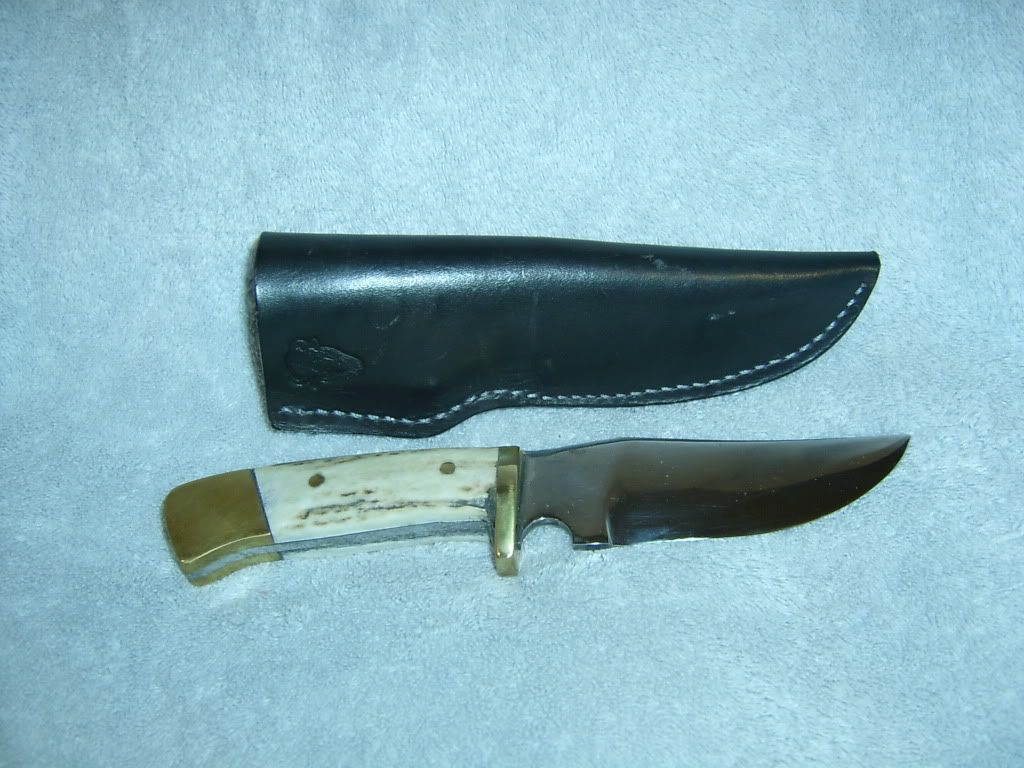
5. On back side of sheath use groover, stylus, or home made tool to connect the dots.
6 Now stitch the sheath
7 Back to the belt grinder to round off the edge and make sure it is parallel to the stitch line.
Hope this all helps you out in your sheathmaking endevors
-Josh