Bruce Bump
Forum Owner-Moderator
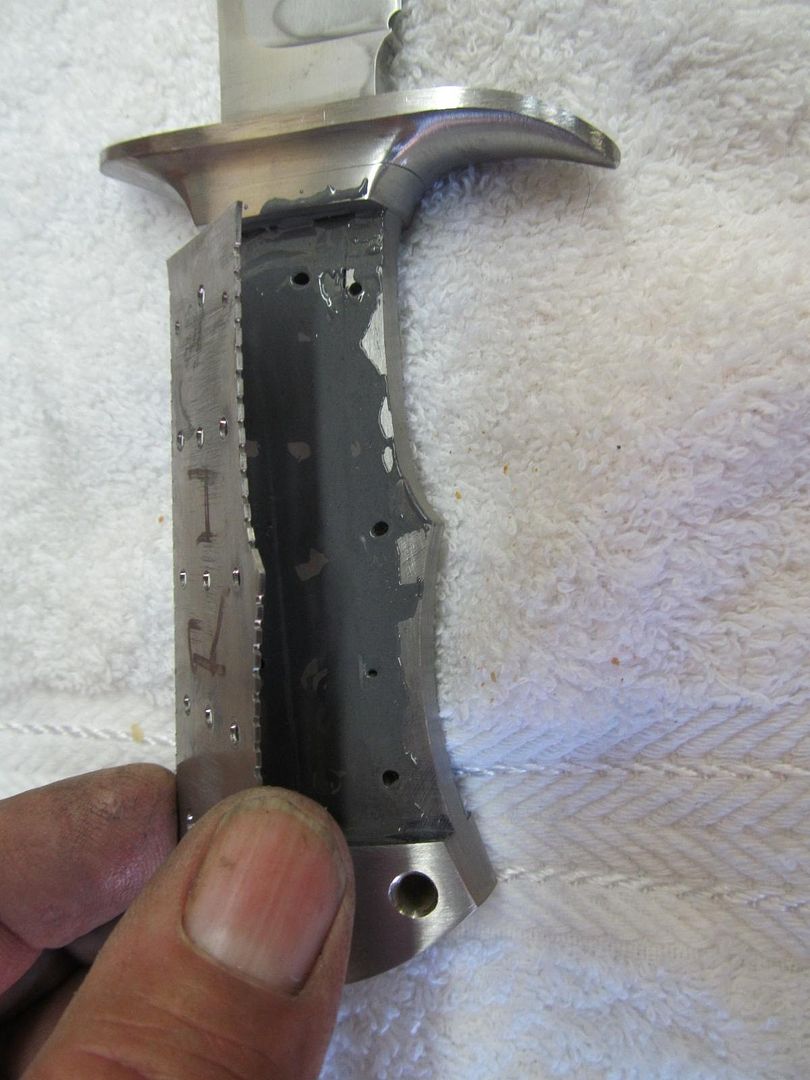
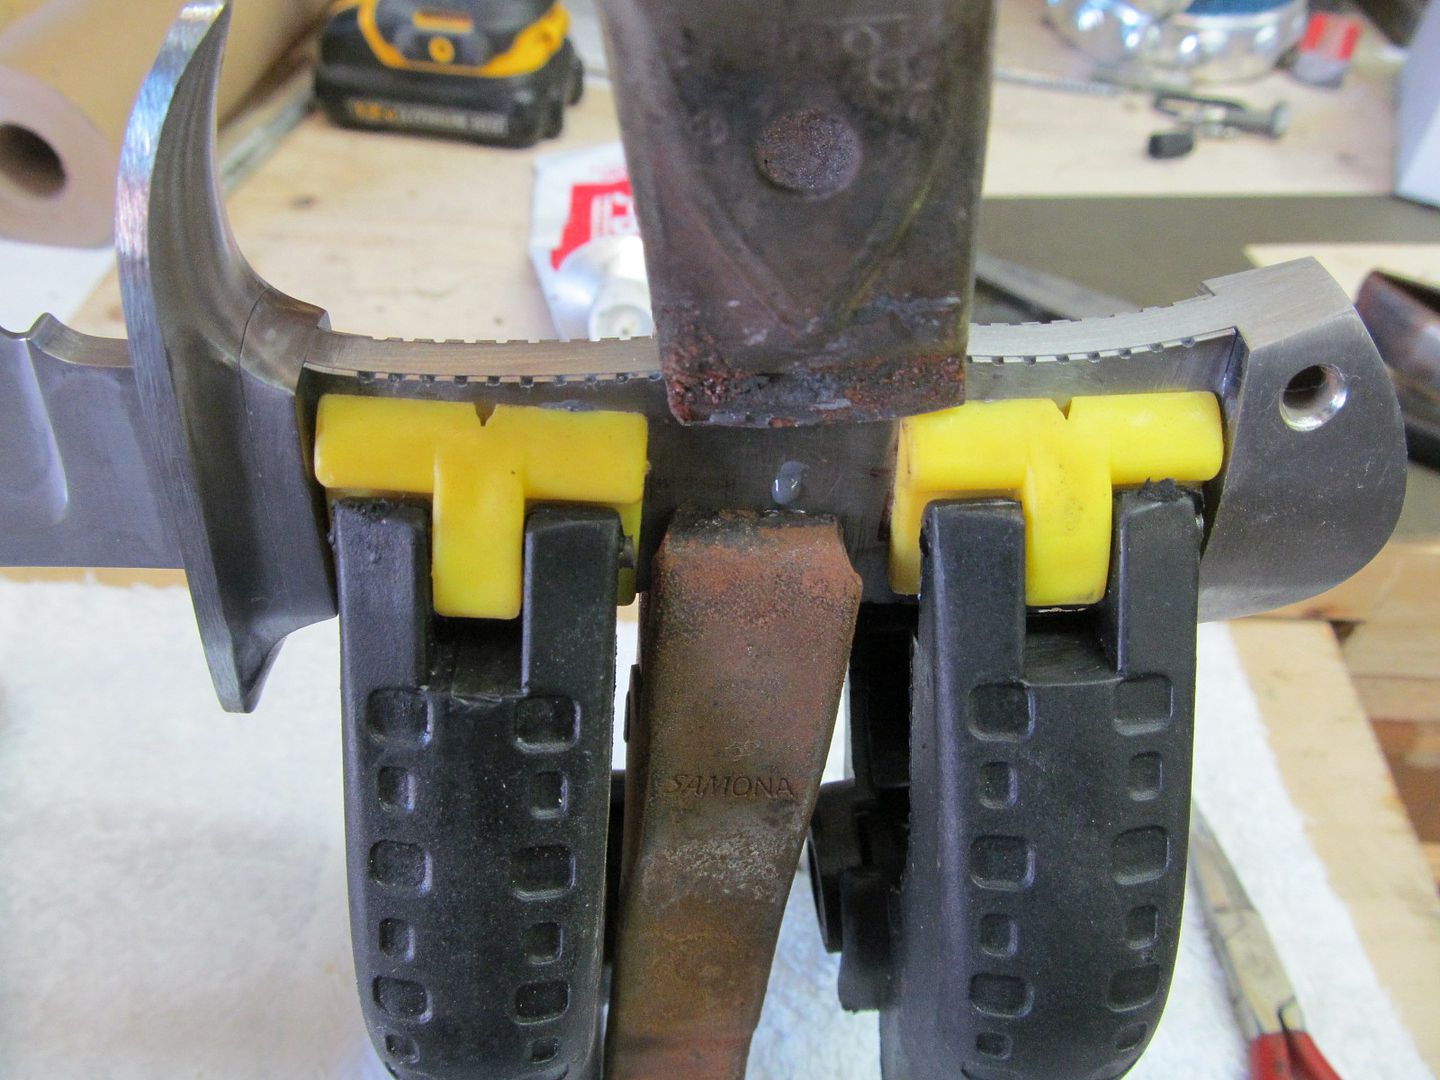
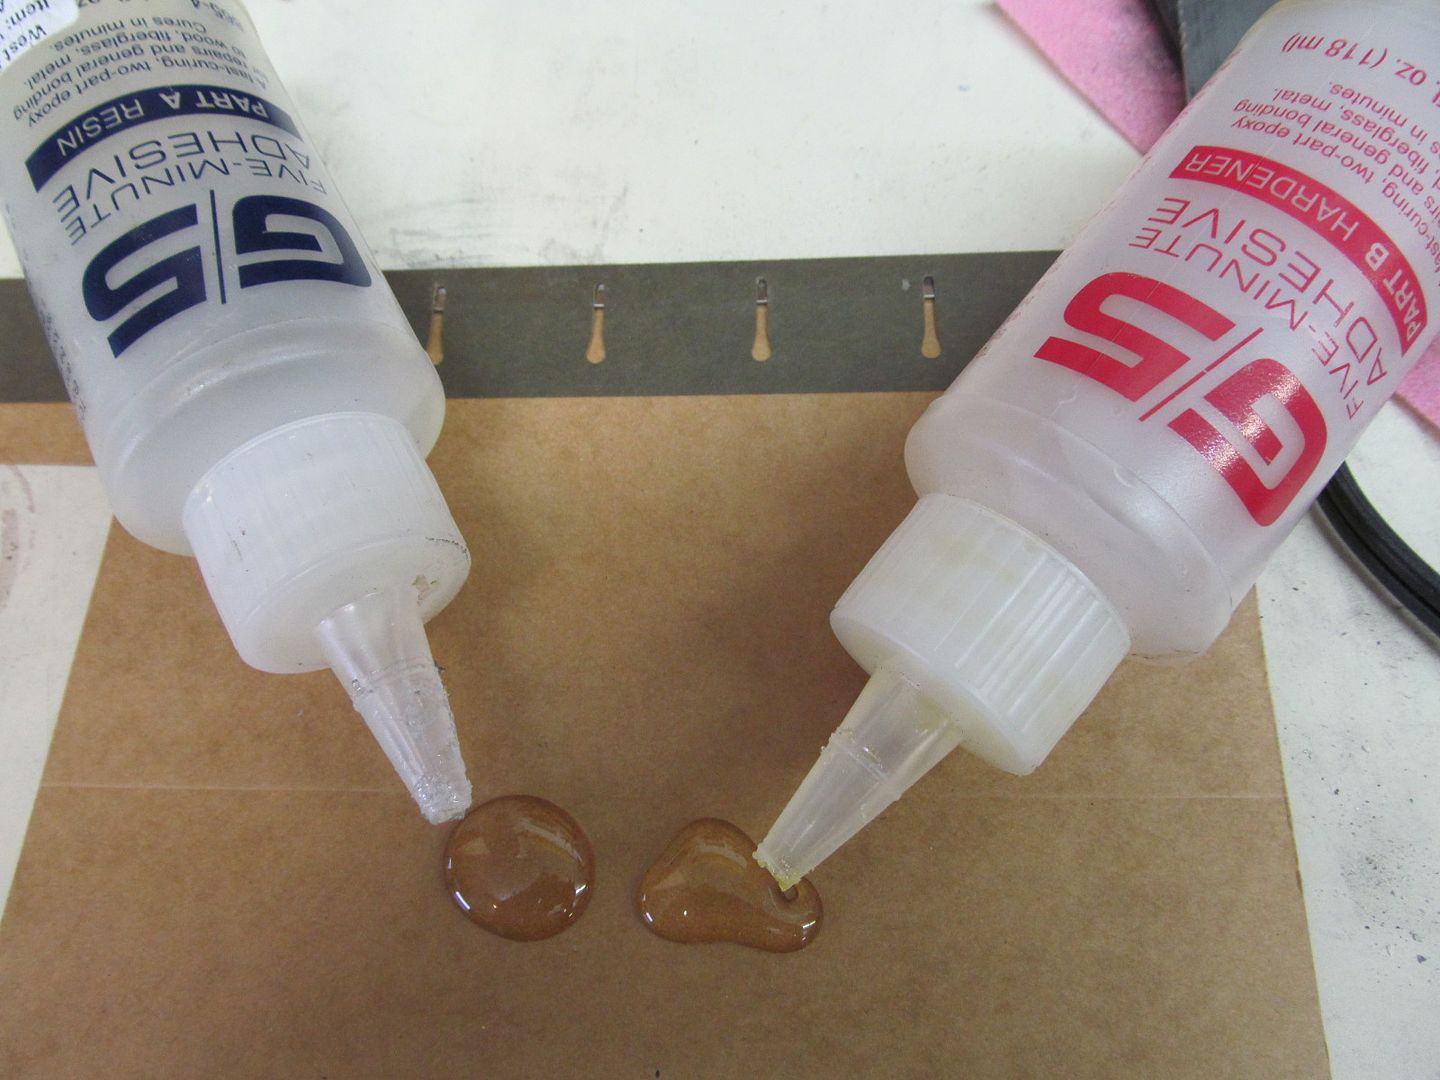
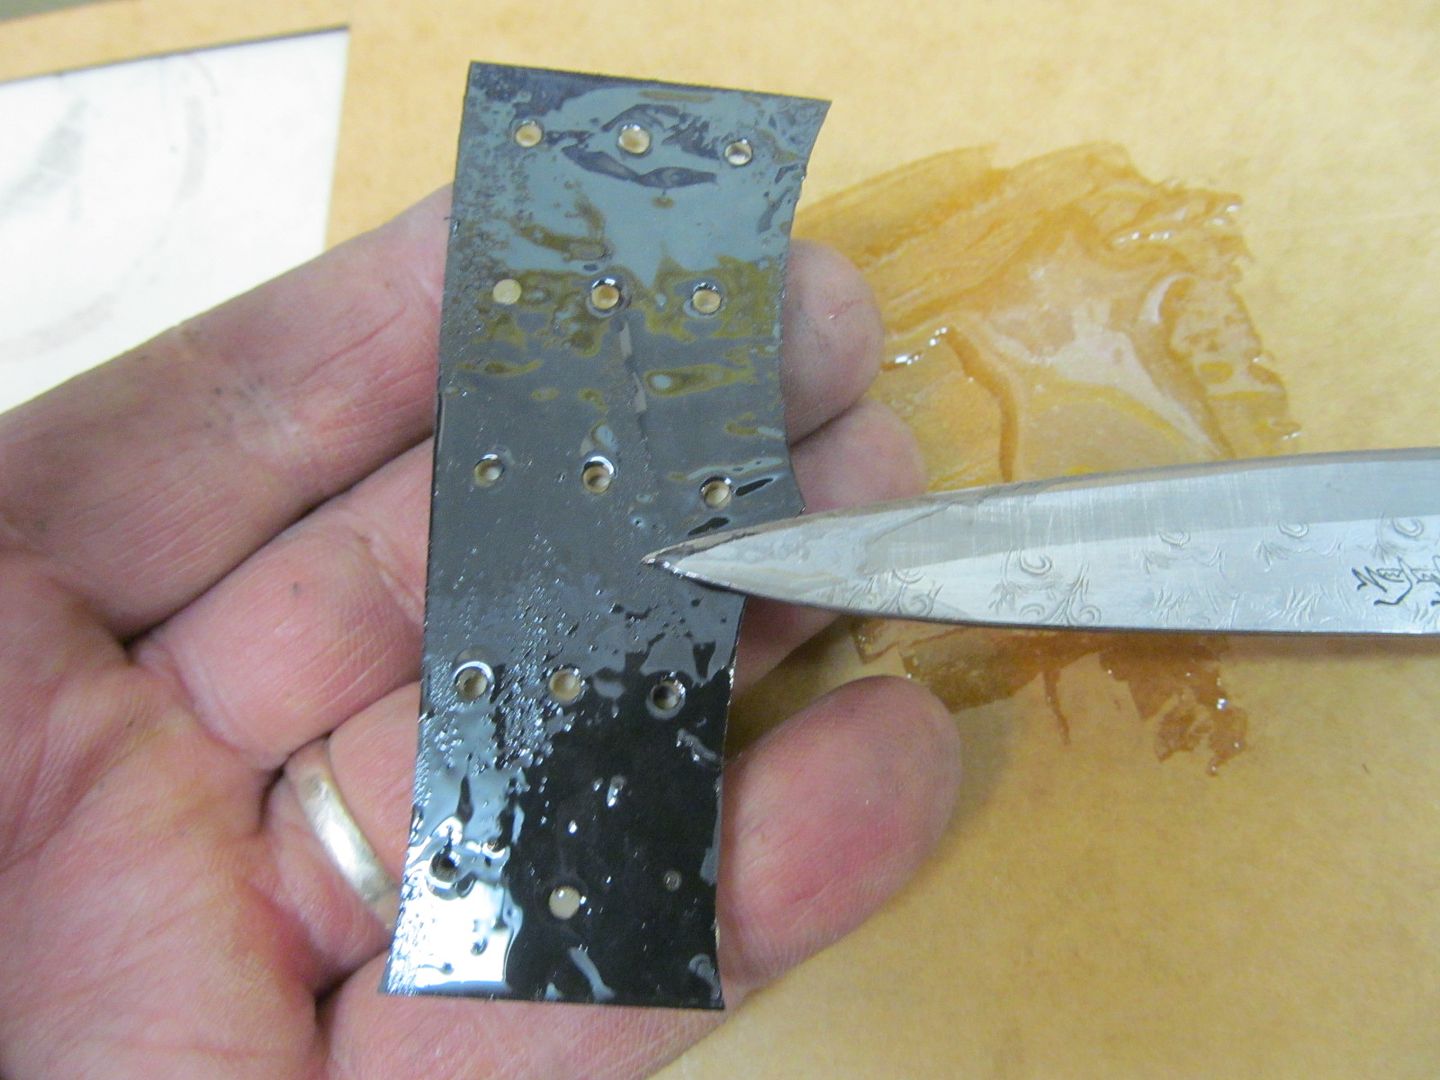
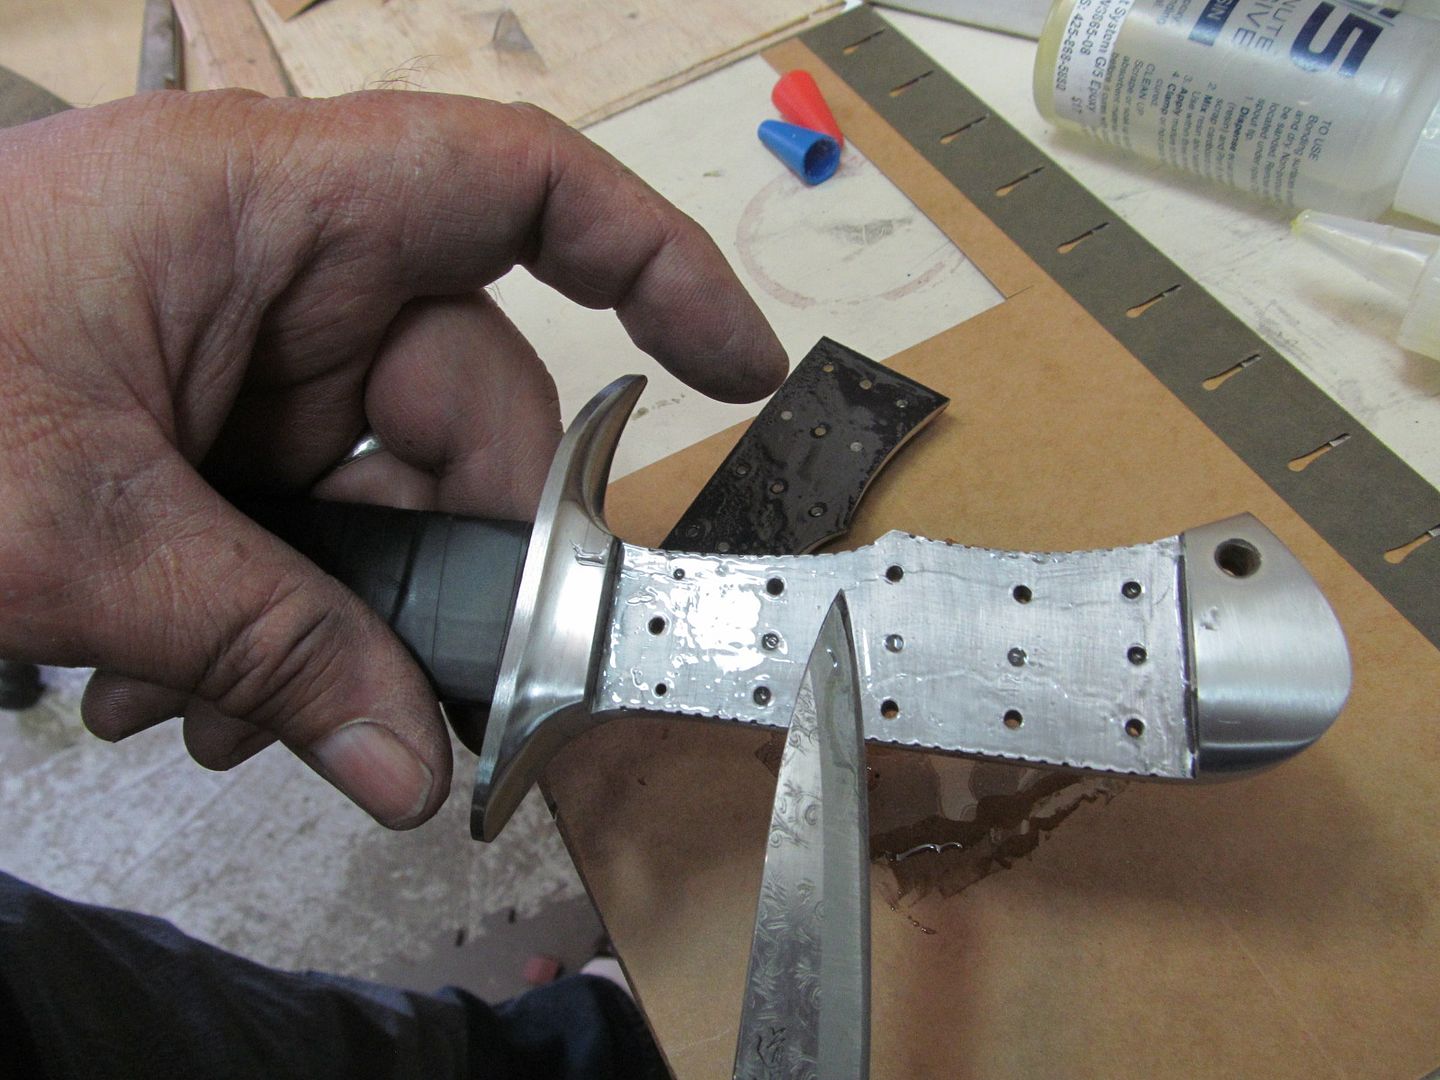
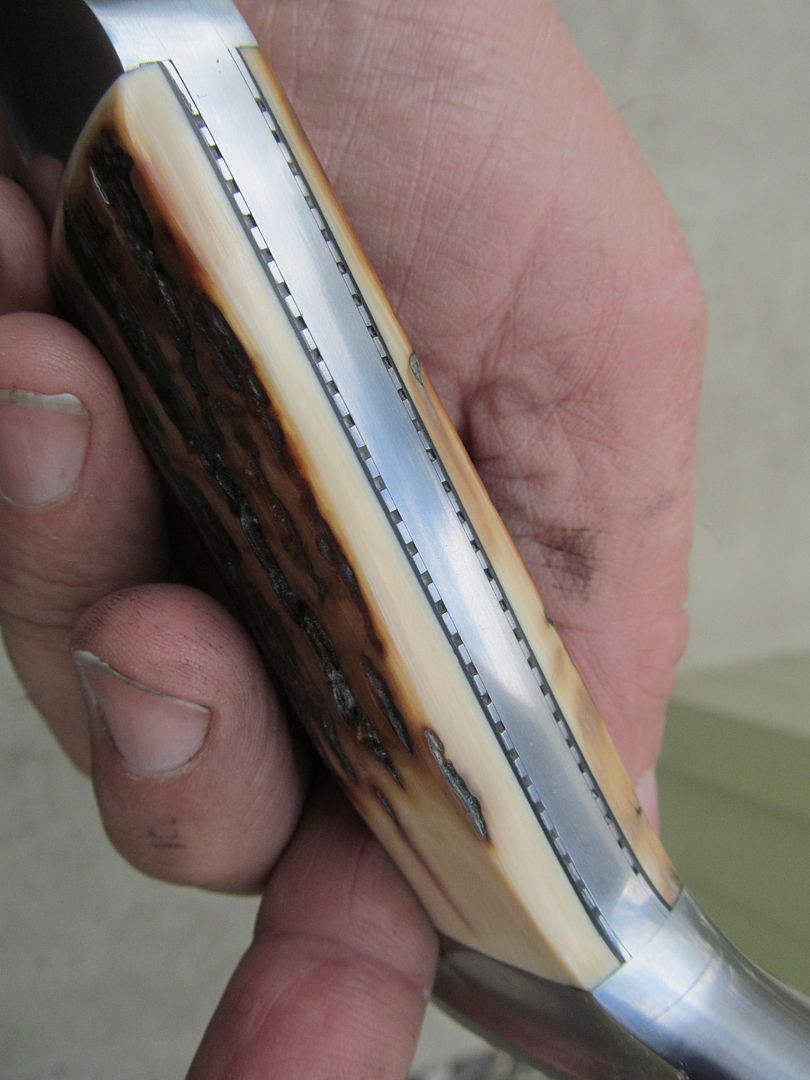
In the morning the liners are epoxied onto both sides of the tang/frame and clamped with pinch clamps.


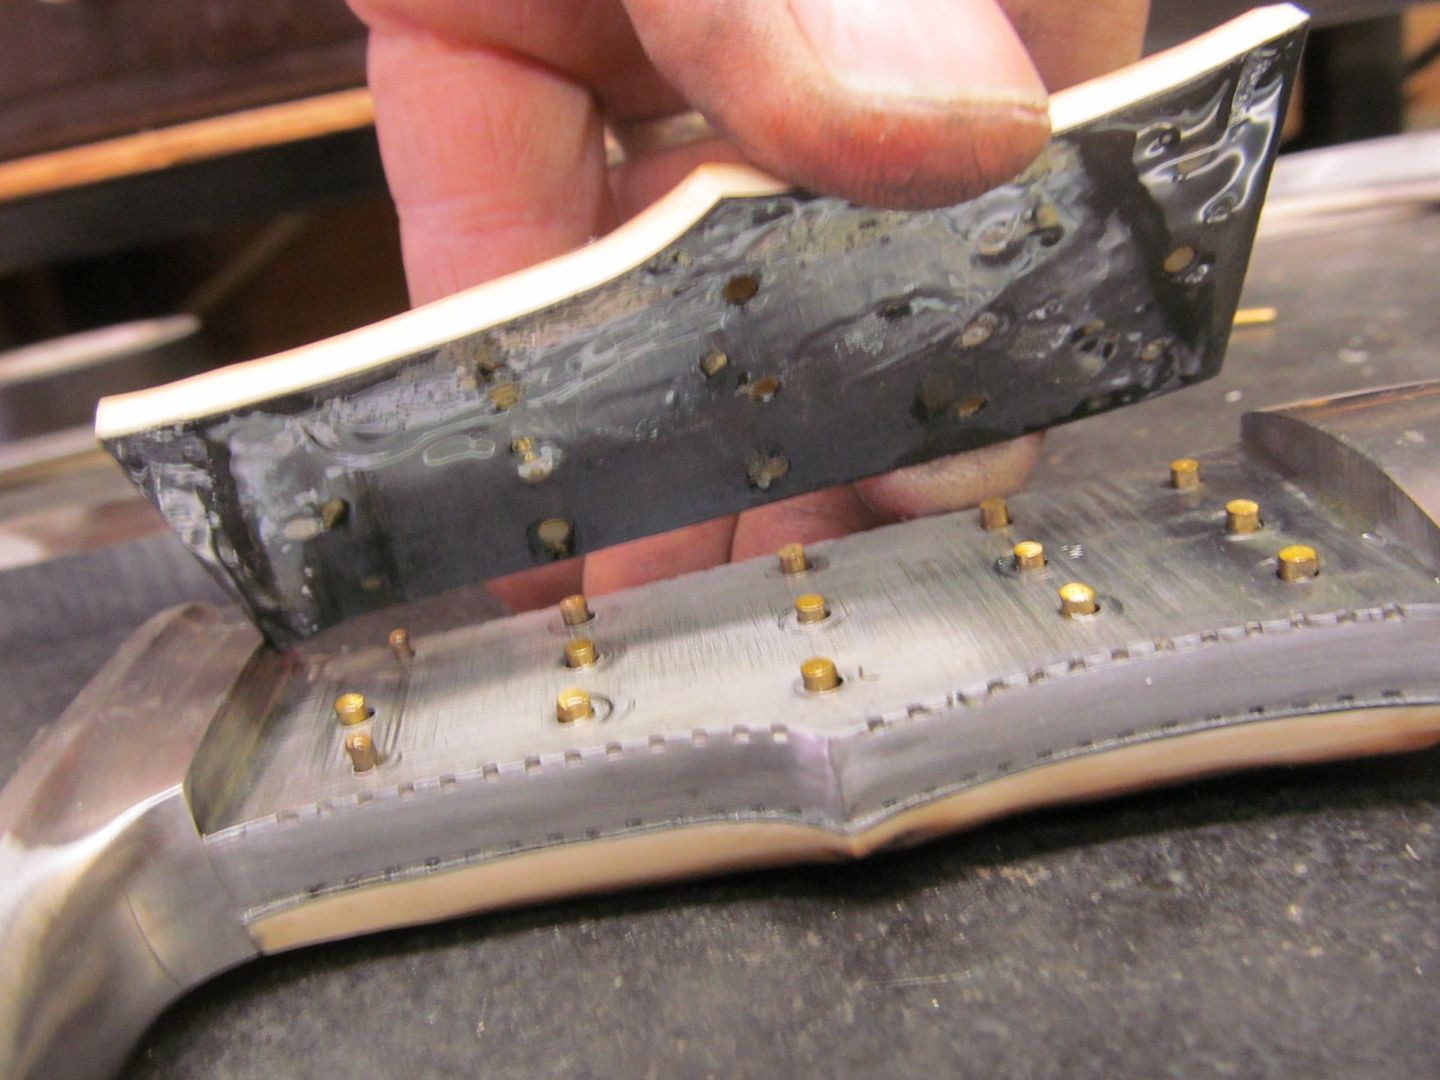
I was wondering the same thing.What about the epoxy from the handle assembly? That seems it would be impossible to remove from the coining or did you clean up before it set?
Mark
I was wondering the same thing.
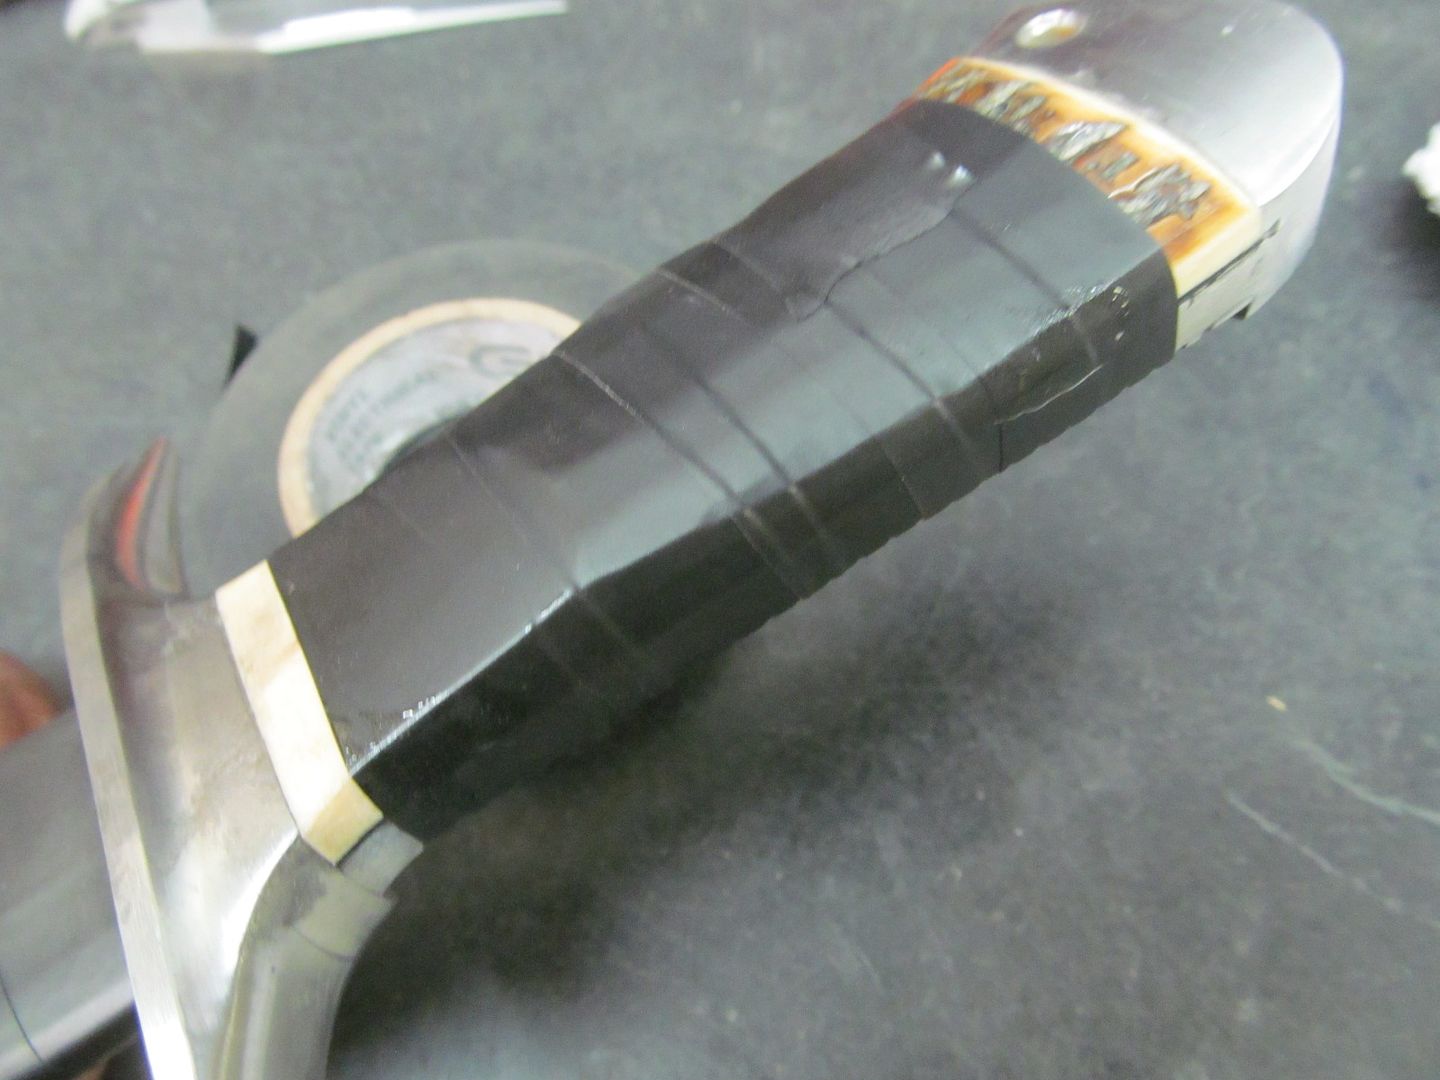
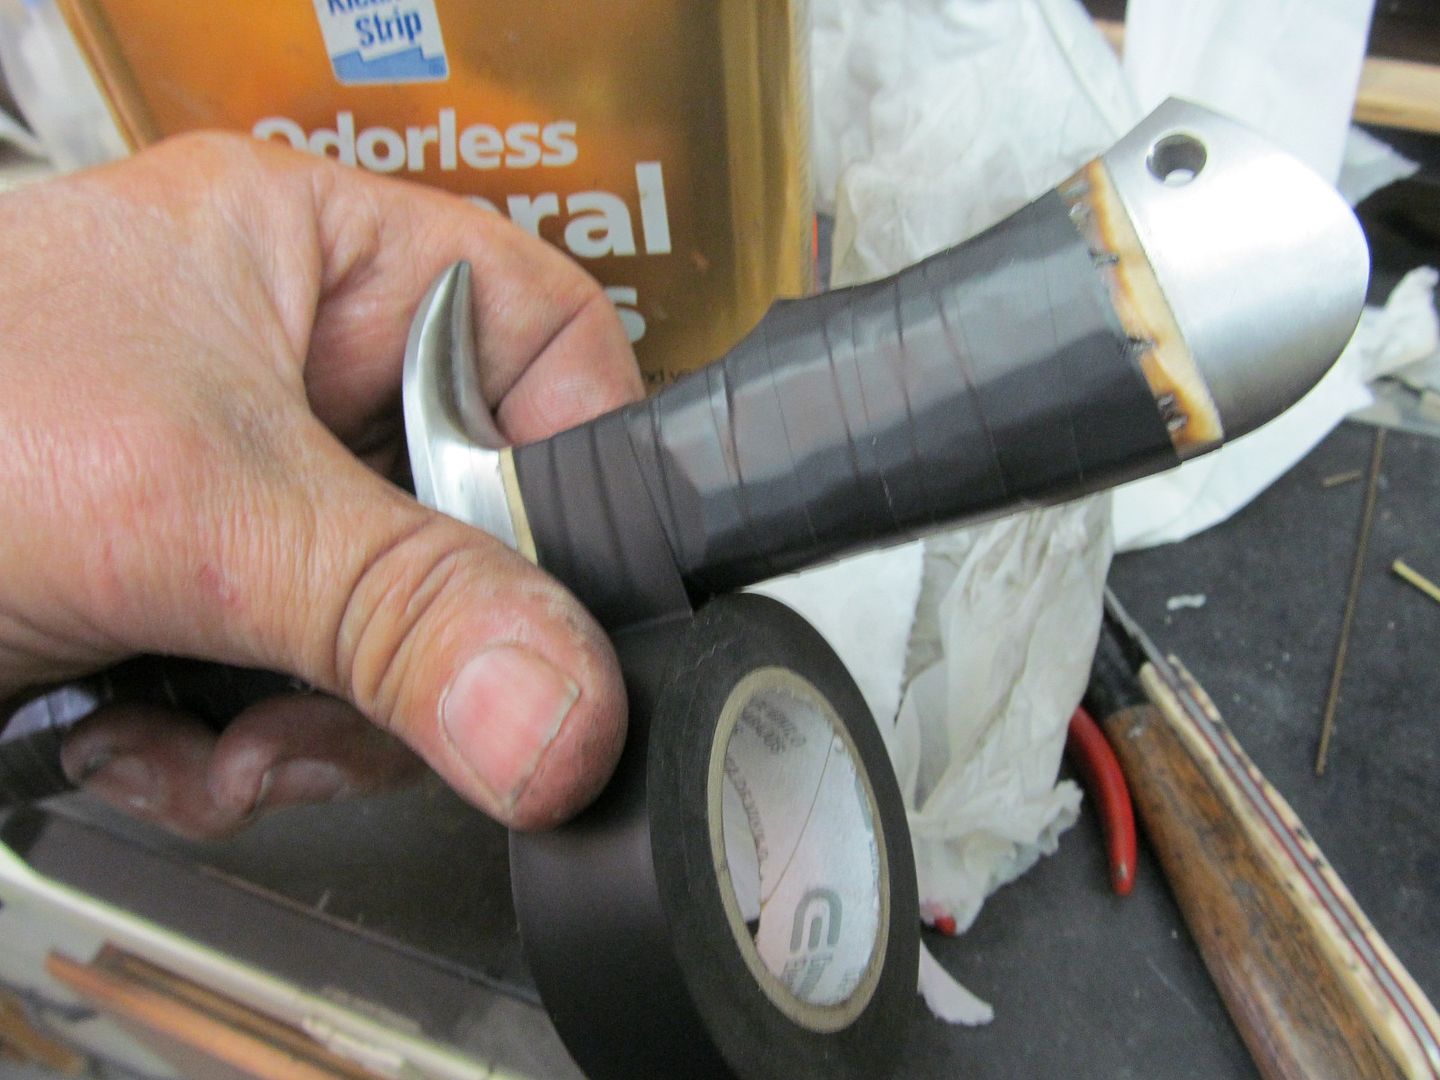
And I think black electrical tape may need to be added to the elite level of duct tape and bailing wire. There always seems to be another use for the stuff!
(I say that because I've learned to use it playing soccer, to keep the tops of my socks up...)
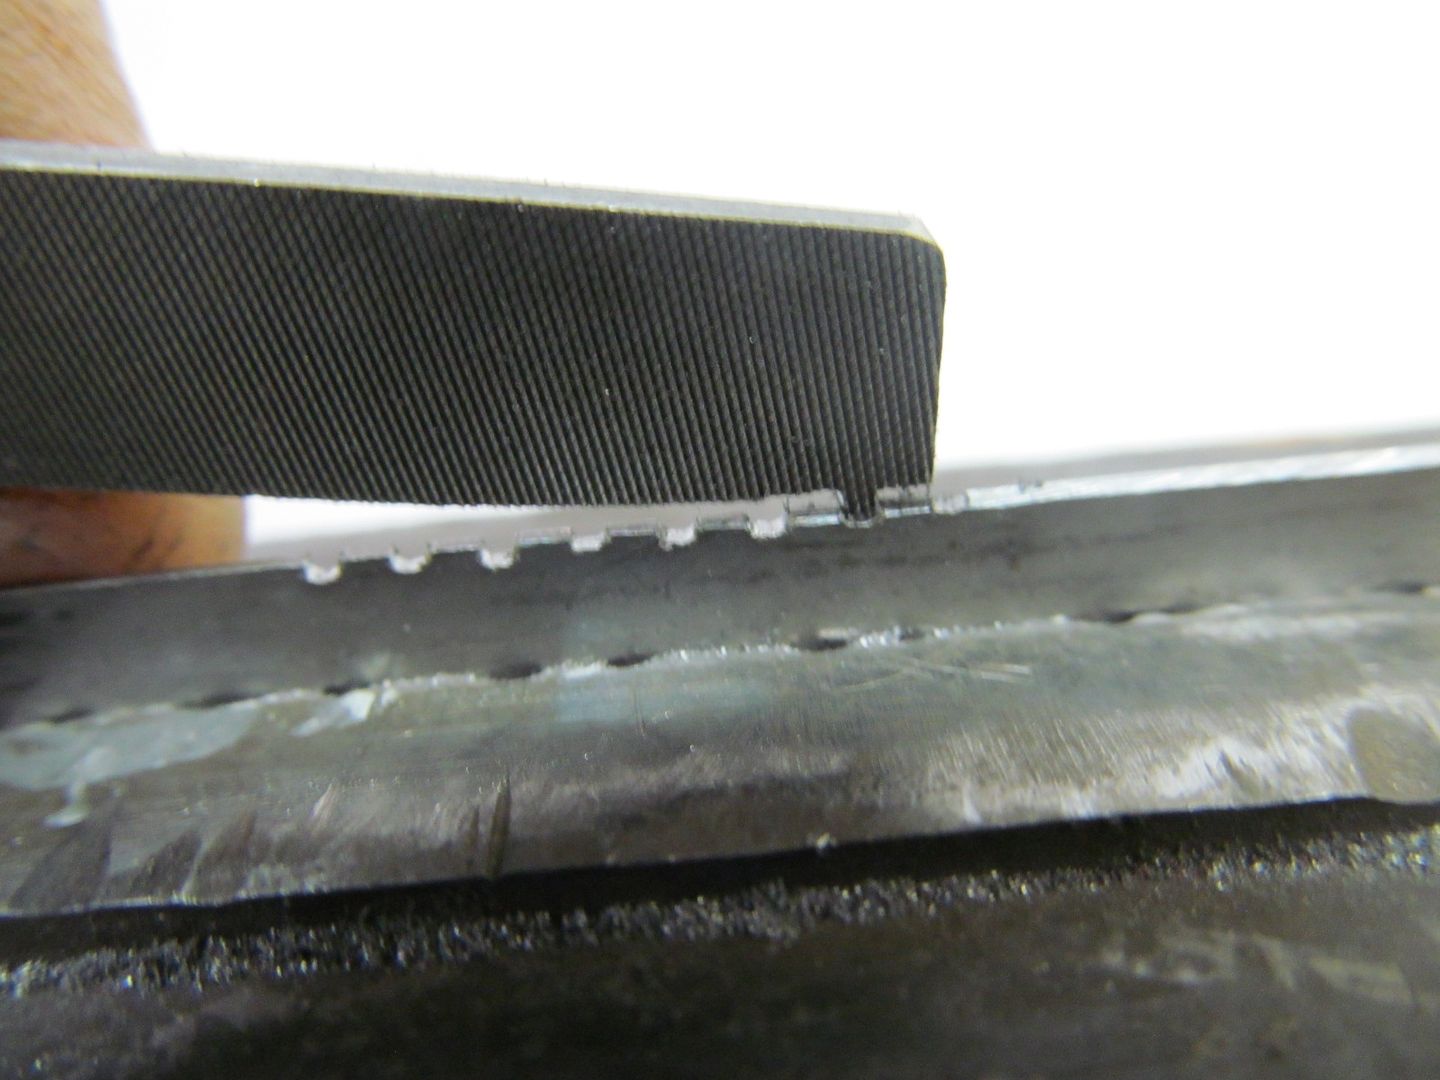

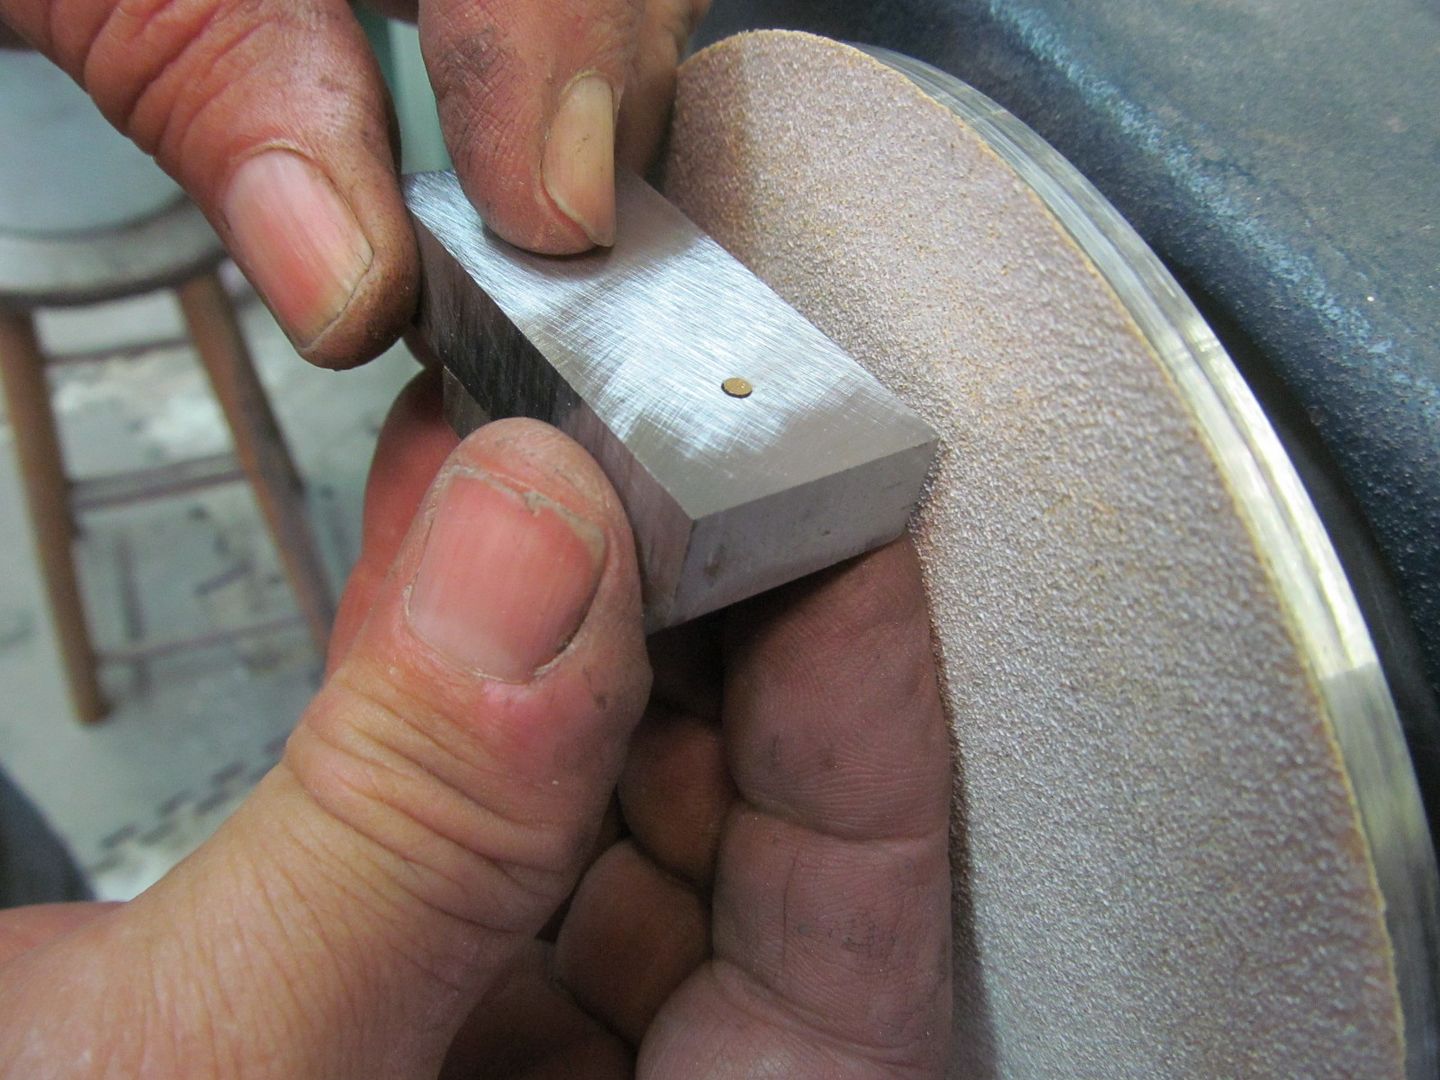
I dont have the actual screw slot file pic, sorry but I could elaborate on this if somebody wants me to.
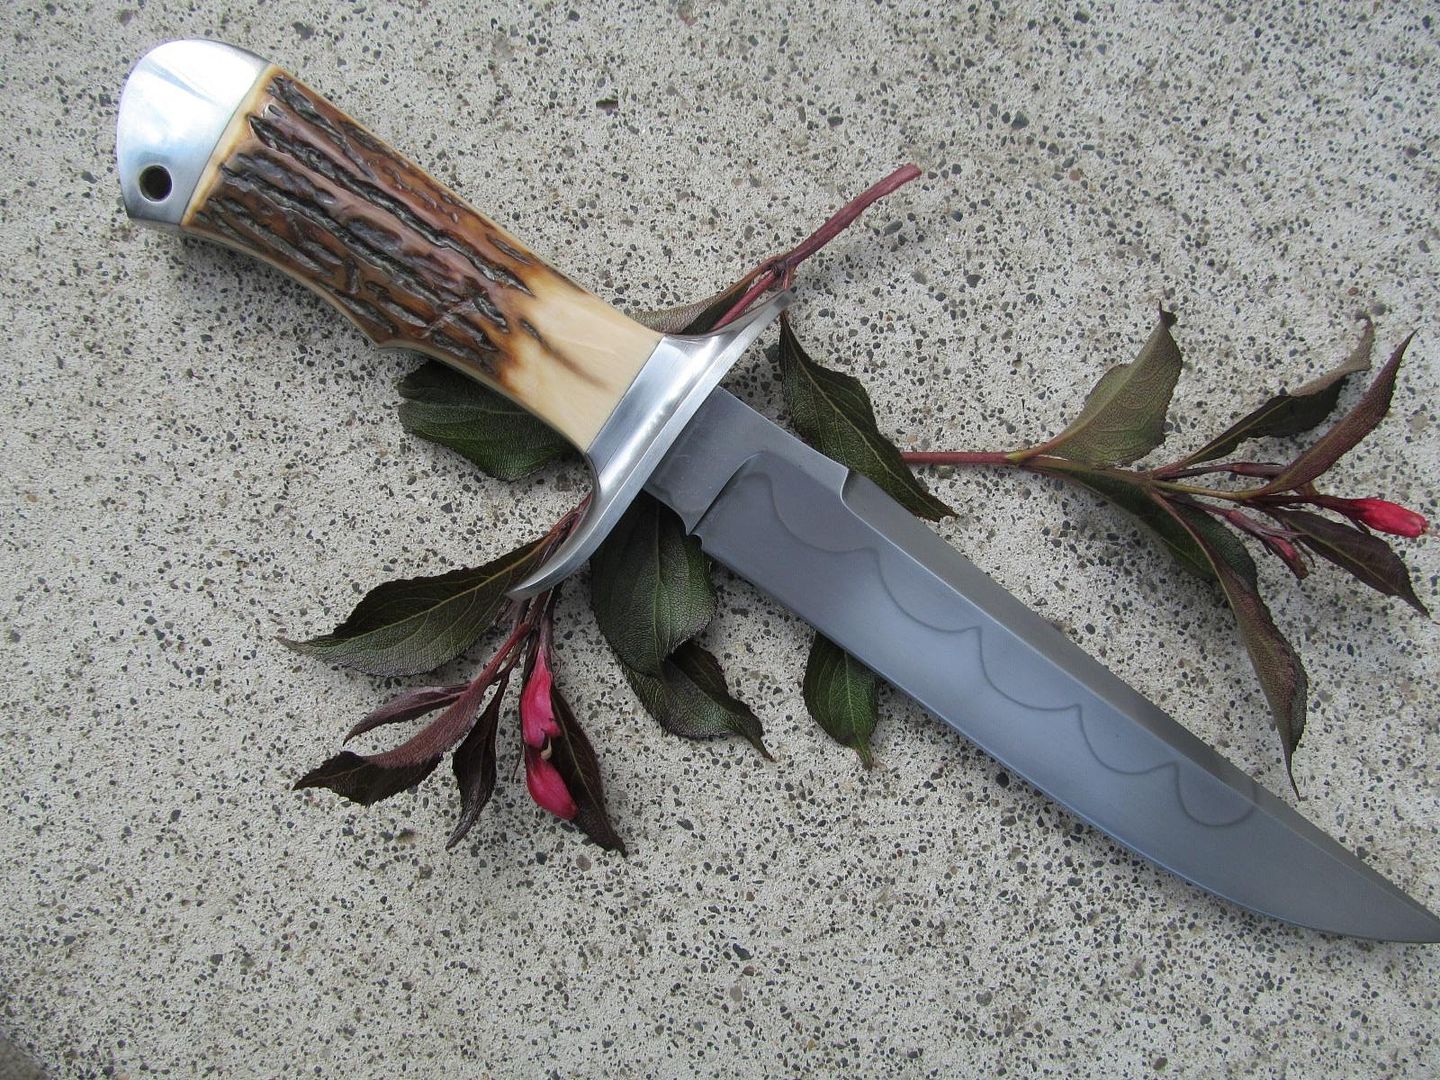
Great build, thanks for posting it. I do like engraving but I must admit I like the knife as is, super clean.
Ok I will be the first to ask I can't seam to figure it out.