Couple of slip joint WIP

Thanks guys. JAWilliams I drilled at high speed, everyone recommended that to me.
Been out with hunting groups one right after the other should have some more to post this weekend.

James I will call you, I haven't been home at a decent hour to do so.
 
Congrats on one hellofa knife , you should be very proud !! Also, congrats on being interesting enough to build up a 23 page following ................
 
Congrats on one hellofa knife , you should be very proud !! Also, congrats on being interesting enough to build up a 23 page following ................


Thanks, with my real job it's going slow. Hunting season will be done soon and this knife will be right after. Then headed your way. It's been a slow journey but it'll get there. Thanks for the patience
 
Ryan you should get this finished before turkey season starts. I know you will be busy then. See you in Tulsa.

:D dang turkeys bout time to brush up on some calling.

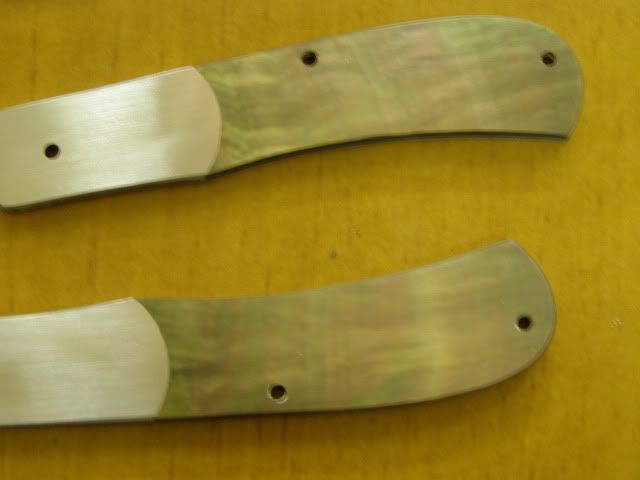
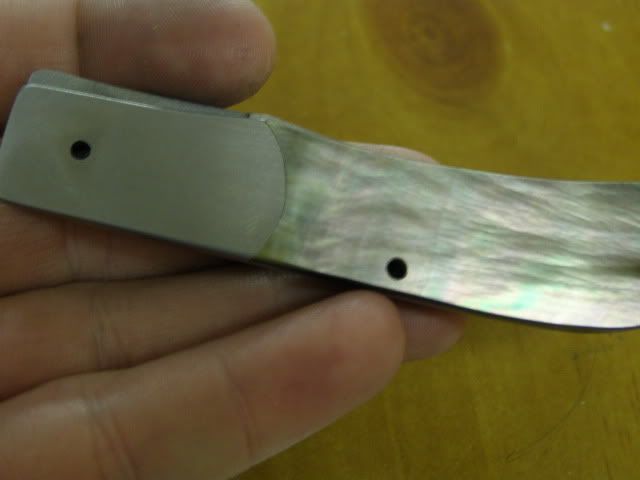
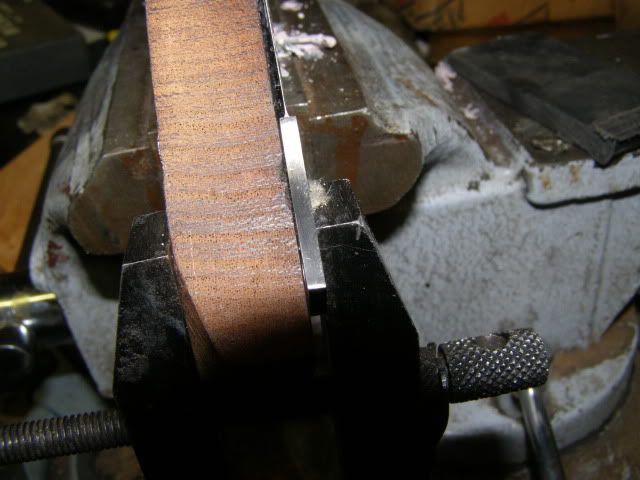
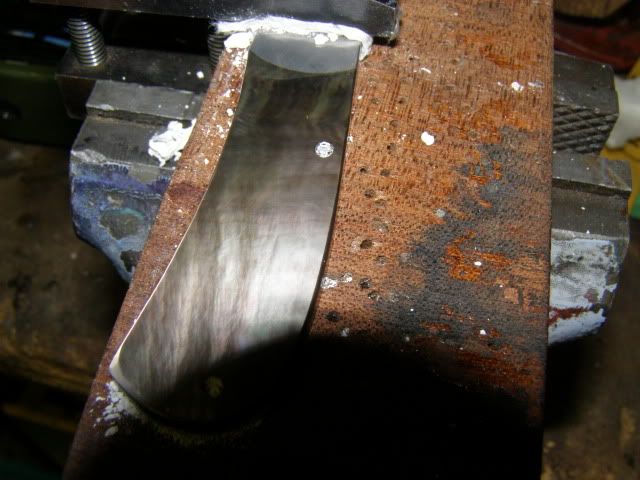
Well yes I have actually been in the shop. WHen I left off I had drilled the mother of pearl. It chipped out some and also I had left the mop a little higher (proud) of the bolsters. This was so that I could lay it on the flat platten and grind it down flush and also do away with the chipped out areas at the same time. You can't tell it but I've done 220 grit and 320 grit here. I used the same method I have been. I wet a paper towel and every few seconds I douse the mop with it. Never let it get hot or too much dust build up.
220 grit
knives941.jpg

320 grit
knives937.jpg


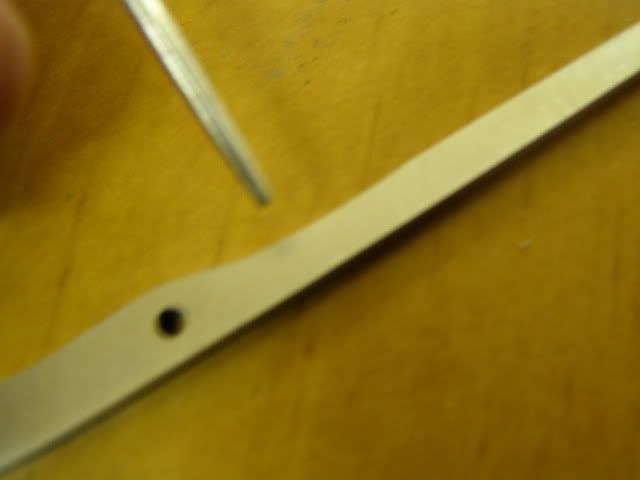
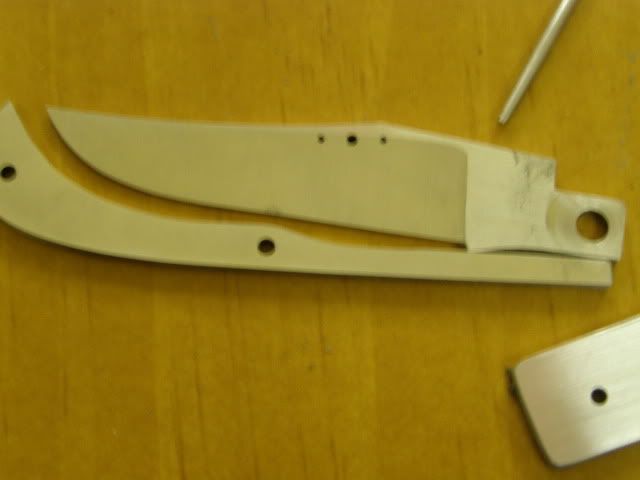
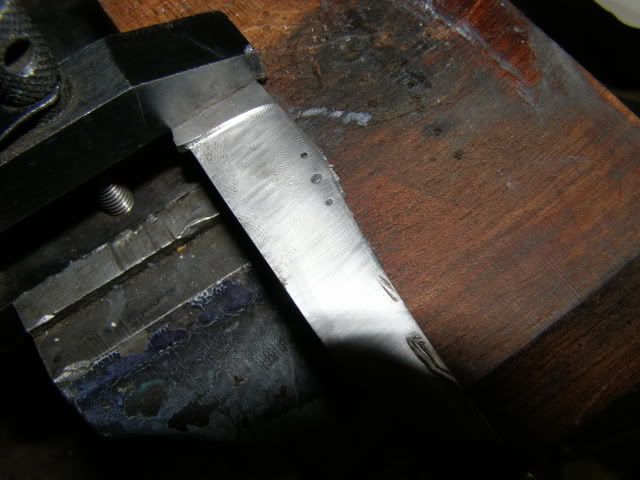
Also the knife has a pull that's a little too strong. To weaken it I used a dremel and a sanding drum. I took out material in the area pointed out below. Notice there are no sharp corners. It's all smooth and it doesn''t take much. I did it a couple of times and will probably do it just a hair more.
knives935.jpg


Another thing I didn't get a picture of, but tried after reading the forums. Earlier in the thread I talked about flat sanding and polishing the flat part of the spring that the back square rides on. Well I noticed it was galling and not as smooth as I thought it should be. I read were guys were using a scotch brite belt in this area to help "hold" oil for lubrication. It seems to have all but eliminated the galling. Really made a difference. I also did it on the area of the blade that touch the spring.


I may not have been posting, but I've been reading while waiting on guest and what not.


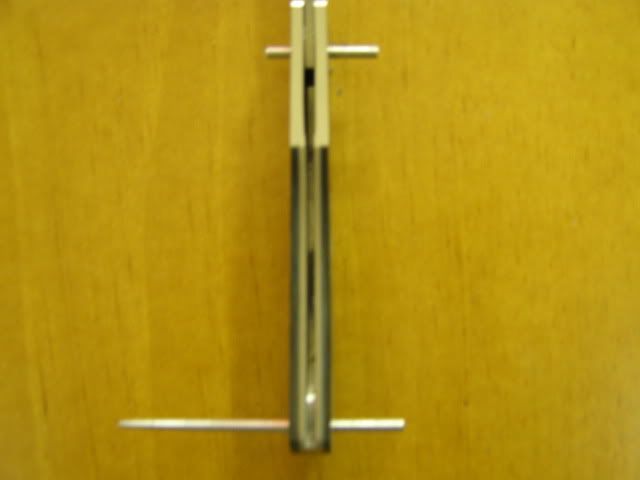
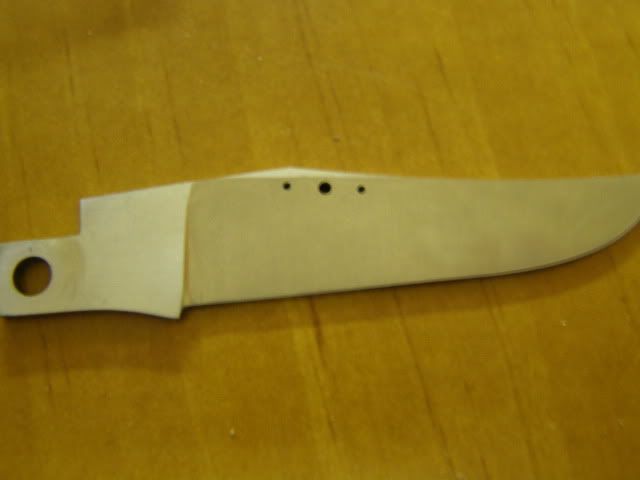
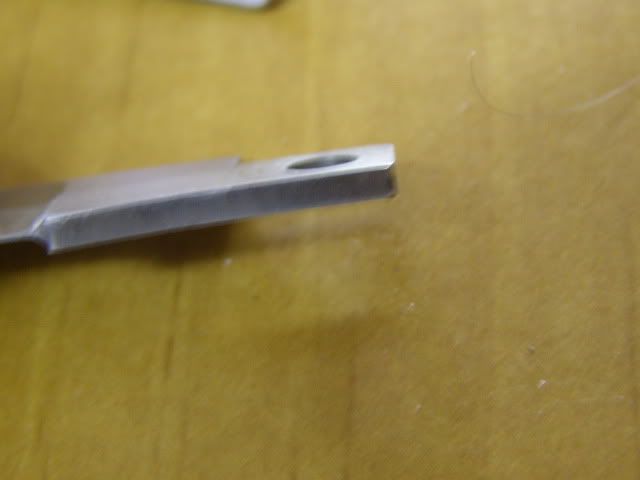
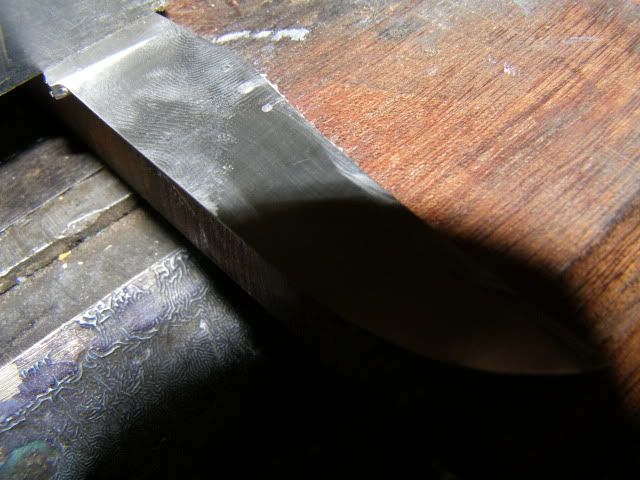
I couldn't get it to show up in the pictures, but I've gotten the edges up to 400 grit on the machine. Notice I don't have the blade in here. It gets too close to the kick area while polshing some of these parts on the grinder.
knives934.jpg


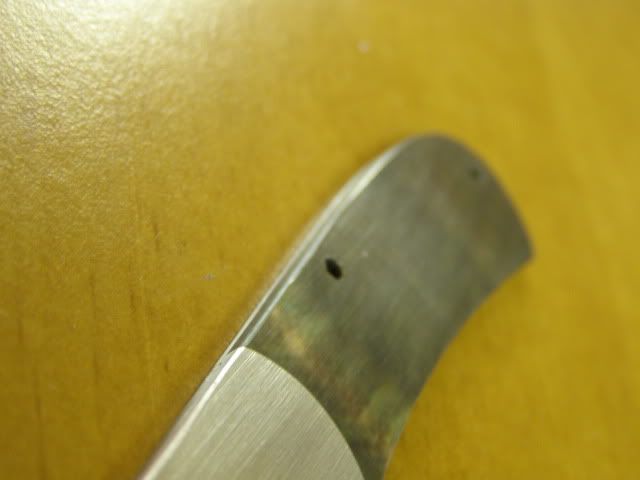
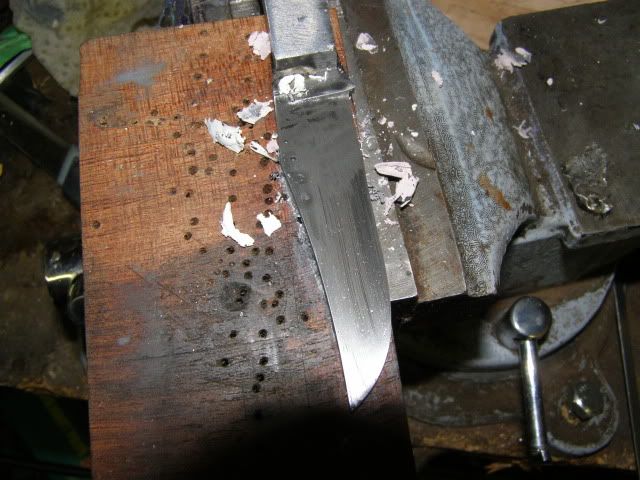
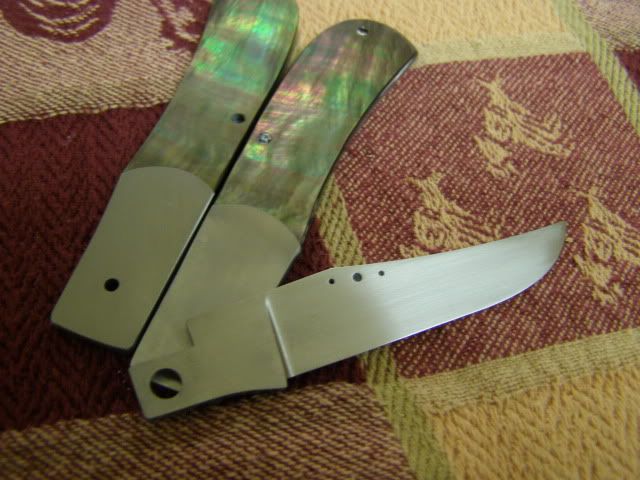
One other thing I worked on was the sharp edges of the pearl. All along I've planed to round them off to help prevent chipping. I used a 400 grit belt then went over them with the scotch brite.
knives940.jpg


It's got a couple of dips, but I will be taking these out when doing my hand sanding.

And last but not least, the blade and spring. I have them to a point that I'm ready to start polishing them. The blade will get a mirror finish and I will work on bringing the grind line up higher as well.
knives942.jpg


Hmm sorry about the blurry pictures. I've something set wrong...again.
 
The "brains around me" tell me not to sand the spring or tang above a 400 grit finish or it will gall. I hand rub 400. I come back to what you have done and have done a couple of folders now. Not as fancy as your just shadow patterns.
 
The "brains around me" tell me not to sand the spring or tang above a 400 grit finish or it will gall. I hand rub 400. I come back to what you have done and have done a couple of folders now. Not as fancy as your just shadow patterns.

I noticed you had to put brains in these"". :D

Thanks for the tip the more I read the less I liked the idea of a polished spring.

I've been doing some polishing tonight I'll post up some pictures tomorrow.
 
This has been an inspirational thread! I have a GLWJ wharncliffe trapper kit on it's way to me now. I really appreciate all the work that has gone into this thread. I am much more hopeful since finding this tutorial.
 
I can always rely on Jerald or Rick to come through when I have a question.


I'm going to have Jerald on his toes this weekend :D

No I have not forgotten about this, I've been working on some problems that were showing up and mirror polishing the blade it's going to be done soon2thumbs2thumbs2thumbs
 
Polishing now
I did put the blade back on the grinder and took the grind line higher. I left the grinder with a 600 grit finish then sanded the flats to 600 grit.
knives946.jpg

Still had the spring sticking up when closed. Using a 600 grit belt I removed some from the bottom of the tang
knives948.jpg

Polishing up the handle. I am taking the bolsters to 600 grit but will go higher with the pearl. Right now the entire piece is at 600 grit.
knives949.jpg
 
It's been a long wait but I'm chomping at the bit to get started on the engraving !!!


Ryan, please call me at 910-221-5288 re. this project. Ken
 
Last edited:
So close, but those little bronze bushings are going to be the death of me. Mr Hurst I don't know what time it will be but I will call you later this evening. Thanks ryan
 
Ok some pictures will be posted tonight or tomorrow night. It's not finished but in the final stages of polish before it's hammered together. Also still waiting on gold for the pins.

One thing I've had to do a couple times so far is make a new bushing. Putting these things together has caused them to deform that I have to make a new bushing every once in while. I won't be doing anymore with the bushings. I like consistancy and I have spent way to long fighting with bushings to make em consistant. If I order 20 bushings no two have been the same in measurement. Some are way to big o.d. some are way smaller than the .1875 I hope for. Some slide over a 3/32 pin and some don't and that's where my real trouble starts. I know a lot of guys like em, but I've put too many hours in fighting them and I don't feel I'm gaining anything for it.
 
Got some pics.
The first is showing how I have it clamped up and polishing the tang to 600 grit.
P6010872.jpg

The next are just some shots during polishing. I use the mobil 1 like my good buddy Frank Niro suggested. I like it.
P6010874.jpg

P6010873.jpg

In this next shot you can see some white shavings. That is buffing compound. As I go up in grits I take and heat the buffing compound and wipe a paper towel over it so that it smears onto the paper towel. I then hand buff the blade. This helps me see imperfections better as I go up in grits. I'll do the same on the final grit but with a slightly different method since I don't have a buffer.
P6010871.jpg


Next is polishing up the handles to 2000 grit then buffing with flitz. The bolsters are finished out to 600 grit running parallel at this point. While polishing the handles that will mess them up a bit, but I'll show later on how I fix that.
P6010875.jpg

In this next photo the scale on the right is buffed out. It doesn't show up in the picture, in fact it might even look opposite. But in person the scale on the right looks completely different than the scale on the left.
P6010879.jpg
 
Ryan --- you're killing me !!! Every picture you post gets better looking each time. Hope I can do it justice. Ken
 
Back
Top