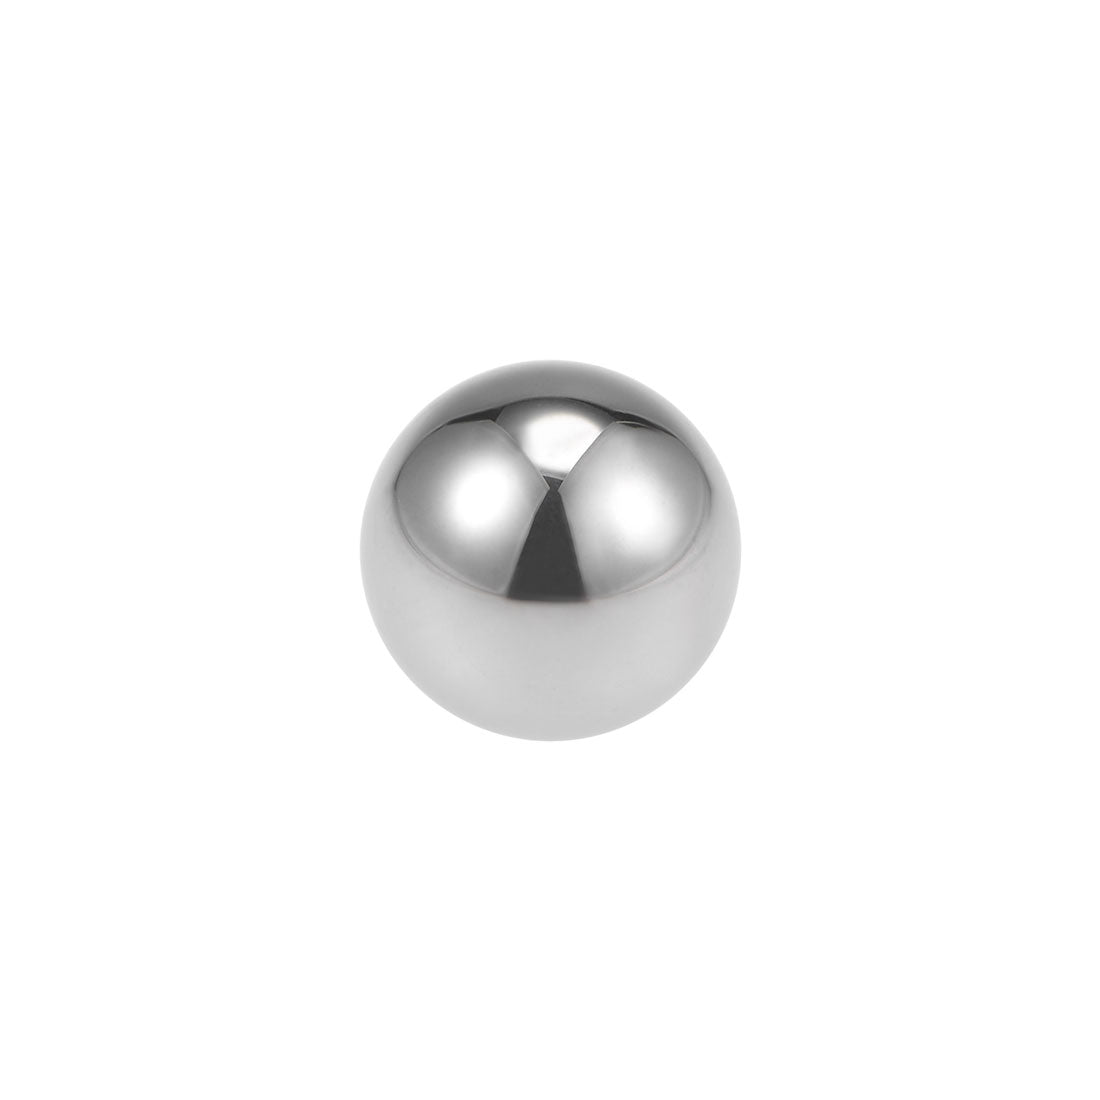
Carbide Straightening Hammer

opaul

KNIFE MAKER
Saw this on another forum. Seems like a good deal and I like the idea. I think there have been threads on this.

 
That's the first of those hammers I've seen using the 3/8" carbide ball. All I'd seen before used a carbide rod rounded on end. Here's the hammer I used:
95930_W3.jpg

Boy, that image got big. The hammer is just right size and works good. I used a broken 1/4" carbide endmill and soldered to the head. I like the idea of the 3/8" ball, so I just ordered a couple of 3/8" carbide balls for $13 shipped. I think I might make another..... just because I like making tools :)

Joshua said he pressed and glued the ball into a hole. I'm thinking something similar, perhaps setting the ball a tad over halfway, then peening the edges around the ball to help hold it in? Not sure about the glue with repeated hammering.
 
I've got one coming. Easy enough to make, but for what he's charging I'd rather be working on one of my own designs, plus he's a good dude to support.
 
That's the first of those hammers I've seen using the 3/8" carbide ball. All I'd seen before used a carbide rod rounded on end. Here's the hammer I used:
95930_W3.jpg

Boy, that image got big. The hammer is just right size and works good. I used a broken 1/4" carbide endmill and soldered to the head. I like the idea of the 3/8" ball, so I just ordered a couple of 3/8" carbide balls for $13 shipped. I think I might make another..... just because I like making tools :)

Joshua said he pressed and glued the ball into a hole. I'm thinking something similar, perhaps setting the ball a tad over halfway, then peening the edges around the ball to help hold it in? Not sure about the glue with repeated hammering.
Braze it?

Sent from my Champion Forge using Tapatalk
 
In my post I said I "soldered to the head", I think it was silver solder now I think of it. Works good but at a lower temp than brazing. Not sure what the temp required for brazing would do to the carbide. Will that high temp harm carbide?
 
Those look nice and a larger radius than my 5/32" drill bit one I made! Gotta get some stuff sold so I can order one!

I did one with a 5/32" carbide bit. Drilled into an old ball peen hammer head with the drill, ground a small rounded oval onto the solid end, broke it off at the flutes and stuck it into the hole in the head. Didn't even glue it in and it hasn't come out yet. I tried to pull it out, but it's in there good! I think the sharp edges may have kinda set itself into the softer hammer head steel? You aren't using a lot of force; I basically let the hammer fall under it's own weight, so I don't think it will vibrate loose quickly?
 
It's a neat hammer and seems good for the price.

I personally don't like the feeling I get thinking about hammering on a hardened blade. Nor do I like that you have to grind/sand the little divots out.

But people say it works.
 
I personally don't like the feeling I get thinking about hammering on a hardened blade. Nor do I like that you have to grind/sand the little divots out.
You got to take care when hammering on a hardened blade. Lay blade on wood - NOT on the anvil. I always laid blade on wood, but once for whatever reason I laid on anvil - broke quick. I straighten the blade as a profiled blade only, and do the bevels after all straightening is done. That way the divots are taken out during normal grinding.

Yes, it does work.

I'll second this! I broke a blade doing this on my anvil. I was also hammering on the wrong side. I figured I needed to lay the blade with the warp down, but the warp needs to be up like a rocking horse leg...
 
I was surprised at how well it worked when I tried it! But yeah, hammer the inside of the curve, not the outside! I straighten and then grind post HT, so the dimples usually come out.
 
I’ve read some guys claim that no dimples are even left sometimes. Not sure how that’s possible, though.
 
I have done this quite a few times. Like KenH, I do it on tempered, profiled blades right after heat treat.
I do it on a bench anvil, and so far I have not broken or cracked any blades.
You are not hitting very hard with the hammer....just multiple quick, light blows.
I always get some divots in the blade, but they come out when I grind the bevels.
 
Something I should have mentioned about that HF hammer I linked to, it's got a HARD head. It will need annealing a bit before drilling. I took a torch to heat the head to cherry red, then did the drilling. Be sure to put the peen part and handle in water with only the head above water to heat. This prevents the handle from melting. I drilled while head was still hot.
 
I made a "straightening punch" out of an old carbide endmill and a scrap of round bar. Just drill out the center of the round bar, taper to taste, insert your carbide and shape the end to a rounded point with a diamond wheel, or chuck into a drill and work with a diamond pad. I too was surprised as to how well it worked. I just ordered some 3/8" tungsten balls to make a hammer too. I'm also wondering about using an automatic center punch with a carbide tip. Those can be found for around $40 or you could probably just solder a piece of carbide on to a cheaper one.
 
No doubt beating on a blade will change its shape. But cold working steel after heat treating seems like a bad idea Each hammer blow will set up a stress point in the blade that could lead to eventual cracking or potential further warping. Part of the objective of heat treating is to reduce uneven stress points as much as possible. Even though the apparent dimple may be ground out so it can't be seen, the underlying stress will still be present. On some stock removal blades I'll peen the blade before HT for a faux forged look. Those stresses are minimized with subsequent HT.
Another way to straighten a blade after HT is to use localized heat as Josh Smith shows in this video at 9:00 -
I've also seen Kyle Royer use this technique. Not done carefully, this process could potentially alter heat treatment of the blade (over heating).
I guess I've been blessed by not having all that much warping in my blades. Careful oil or plate quenching, and clamping during cryo and tempering seems to minimize the issue for me. And, since I'm not making artisan blades for high end buyers, I'll tolerate a bit more blade curve than I probably should.
 
I think the auto punch may have too much force behind it?

Most auto punches have a tension adjustment that can increase or decrease the force of the punch. I'd also probably modify the point to not be as sharp so that the dimples aren't as deep or sharp.
 
No doubt beating on a blade will change its shape. But cold working steel after heat treating seems like a bad idea Each hammer blow will set up a stress point in the blade that could lead to eventual cracking or potential further warping.
From my understanding, most of the dimples/stress points are typically ground or polished out, if the dimples are even noticeable.

I do recall seeing a demo from Murray Carter where he hammered on a blade for about 15 to 20 minutes only to have it snap in half at the end of the demo. :oops: I believe the blade had a pretty significant twist to begin with though, and he was likely hammering on it a little more severely than normal.

I couldn't find the "blooper", but here's a video showing some straightening techniques:

FWIW, I've straightened blades with heat, sandblasting one side or the other, or using a carbide tipped punch, and the only one I've broken a blade on was the heat method. :D It's all about moderation though, at the end of the day.
 
All I can say I've had awesome success carbide hammering to straighten blades. Zero failure so far. It doesn't take much hammering. I know a heat treater that converted a sewing machine to use for straightening. Think about that. It just takes PECKING. I use a flat metal machine plate to straighten on.
I bought a cheap tiny claw hammer from Lowes. Removed it from the wooden handle. Annealed it so I could drill it. Drilled a 1/4" hole on flat surface. Cut a 1/4" carbide masonry drill bit to shorten. Rounded it off with belt sander. Used JB weld to fix in place. Reinstalled the wooden handle. It's worked awesome. I was blown away of how easy it was to straighten blades. It's just pecking not full blown swings. The tiny dings grind away .
 
Last edited:
In my post I said I "soldered to the head", I think it was silver solder now I think of it. Works good but at a lower temp than brazing. Not sure what the temp required for brazing would do to the carbide. Will that high temp harm carbide?
It's common practice to braze carbide onto steel shanks for lathe tooling.

This Old Tony has a good video about brazed carbide.

One this to consider is that the steel is going to expand when heated and then shrink back in around the carbide.

Sent from my Champion Forge using Tapatalk
 
Back
Top