countryguy
Member
UPDATE: PID and Controller Refit
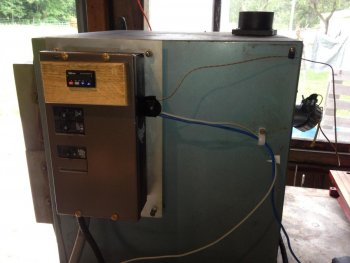
To keep the update on what the OP could accomplish on an updated DIY setup. Here is my completed unit all wired up. (finally!!!). It incorporates a few of the Original parts from the old 70's controller also. The Wood on the face came from a felled tree on the farm. I was tired of milling ALu or plastic stuff for bezels. I wanted a hunk of wood on it.
Will be running thru some basic ramp and soak time to cure the Mizzou side panels we cast and then into Steel HT tests.
The software for the unit is free from Automation Direct. It's simple and does the job. Thus far I like it!
.... And I'm a real newb here but the Son seems to really like working in this Venue and it's been a blast! Cannot wait to heat and quench (after reading the archives here too).


IT does not look all that big (as a unit) to me. My concern is the small work/heating chamber. I cannot tell the size but looks pretty small. I wonder if this is a High Temp item with all that insulating space? Anyway- To add some items to this thread related to making new encasedelements which seems to be a muffle furnace thing?
To take this and convert it into something more moden here are a few items from my own conversion going on right now:
Info on the overall build to the oven in the post above is finally to final phase.
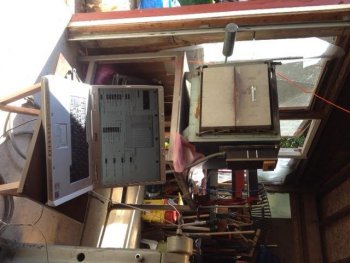
The Soho PID temperature controller is in.($80 to 130) The TC (Thermocouple) probe is in($30-45). The TC wire obtained. ($35) The USB to 485 comms adapter ($13) is installed. Each are shown in the Circle's in the image below of the bench test setup. The new panels we poured are installed and connected. The way we hooked them up is shown in the hand drawn note (pic) below. I set it up for 24Amps. We have heated the new panels up to 500F on the bake cycle but need to get to 1200F which I could not do w/o this setup from Automation Direct. I must say I really like these guys! Great CS. No hassle on returns. Great docs and instructions (to me anyway).
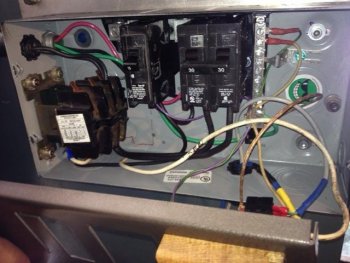
To make this all work; I have 2 sets of 3A NO contacts on the SOLO PID controller. I'll use 1 set to trigger a 110VAc coil large contactor which will place the 240VAC & 24Amp draw on the coils. I know a lot of folks on the ebay PID sales use the Solid State's? I get that a mechanical & contacts will burn but is that all?
A few pics :
View attachment 55237 View attachment 55238 View attachment 55239
Last edited:
